
The title, of course, is a cheap shot aimed at getting attention but stems from a serious question from a customer asking if one range of 28mm figures was compatible to another. The answer depends very much on your own standards or personal degree of OCD. I’ll be showing you my thoughts and opinions (never humble – but opinions, nevertheless!) through my own collection of Napoleonic figures. I think the principle will apply to most periods, though.

My collection features at least eight different manufacturers -it’s difficult to see them at this distance.
So first of all, lets establish that we are talking about 28mm figures here. Other sizes are available and again, many of my comments are as relevant to them as 28mm figures, particularly when the ‘scale’ is given in millimetres. So whether 6mm, 10mm, 15mm, 20mm, 25mm or 28mm we are talking about a size of figure NOT a scale. Whatever manufacturers may claim, it is not really sensible to think of scale when it comes to wargames figures. As a side issue, I get a bit twitchy when I am asked what ‘scale’ a model tree is – it is rare that such items are a particular scale but simply a depiction of how a tree might look. But I digress and perhaps I’ll look at scenery in another blog.
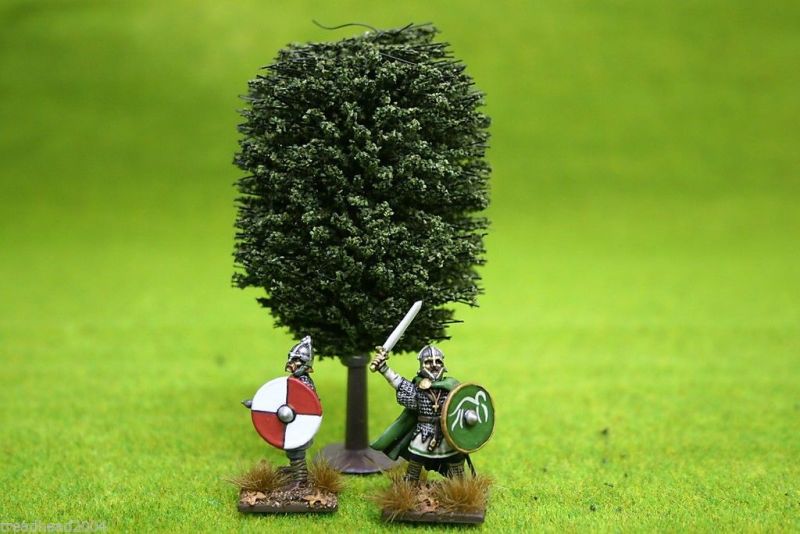
What scale is this tree?
Back to wargames figures. They are sculpted and manufactured to a size rather than a scale and for 28mm figures this is supposed to be the height, from feet to eye level of the figure. In theory, this means that all figures will be the same size. Which in scale terms is immediately a nonsense. People come in all shapes and sizes. So where has the idea of scale come from? I think in the main, the issue has grown out of the need to match figures to vehicles and guns, particularly as wargamers moved into the industrial age with their games. In the main, a gun or vehicle would be manufactured to a specific size, so one Sherman tank will be identical in size to another. The ‘hobby’ seems to have fixed on 1/56th scale as the ‘right size’ and there is a growing standardisation in this scale for vehicles. That in turn seems to have fed back into figures and customers seem to be increasingly concerned with a ‘scale’ as opposed to a ‘size’.

Peter Crouch was disappointed that he would not be represented in the Spurs Subbuteo team once again
From my own point of view, so long as the figures are reasonably similar I guess that I am happy to mix and match…up to a point. Different companies use different sculptors for their figures and this leads to both variations in style and size. At the smaller end of the scale Foundry and HaT produce some nice figures in 28mm but Foundry can be smaller – some are closer to 25mm, although not all the range is so…HaT tend to produce plastic figures that look thinner and more to a ‘scale look’ than the ‘chunkier’ metal manufacturers. Sitting nicely in the middle, the main Plastic manufacturers , Perry, Victrix and Warlord are all very similar and certainly compatible with each other to the point that interchanging components is very straight forward when converting. At the top end of the size comes Front Rank and Trent Miniatures. Front Rank and Trent sculpts are simply superb but tend towards 30mm rather than 28mm. So how do they all mix. See for yourself.

I deliberately haven’t captioned this picture but I can tell you that there are Foundry, Perry metals & plastics, Warlord, Victrix, Front Rank and Trent Miniatures all present. If you start to look closely enough you will see differences in style and size but are the differences really that great? They look like a natural line of blokes in uniform…

Line infantry Comparison
This picture shows from right to left, Perry Miniature plastics, Warlord games plastic, Front Rank Metal and Victrix plastic. The most obvious difference is the thicker bayonet on the metal figure.

Light infantry Comparison
I’m actually not sure but I think the models here are Foundry, Front Rank, Trent Miniatures and Perry metal. Yes, there are slight differences but more in style than size and were they not side by side I think that it would be difficult to tell them apart.

Regiment Comparison
Apologies for the poor photograph, but the point here is that if you use the same manufacturer for different units rather than mix them, the difference becomes less obvious, particularly when on the table. This means that I am more than happy to mix and match manufacturers in my collection and army. I tend to produce one unit from a manufacturer rather than do too much mixing within units. That said, when it comes to skirmishers, as they are individually based, I am happy to mix things up and if there is a noticeable height difference, an extra piece of plasticard under the base can level things out.
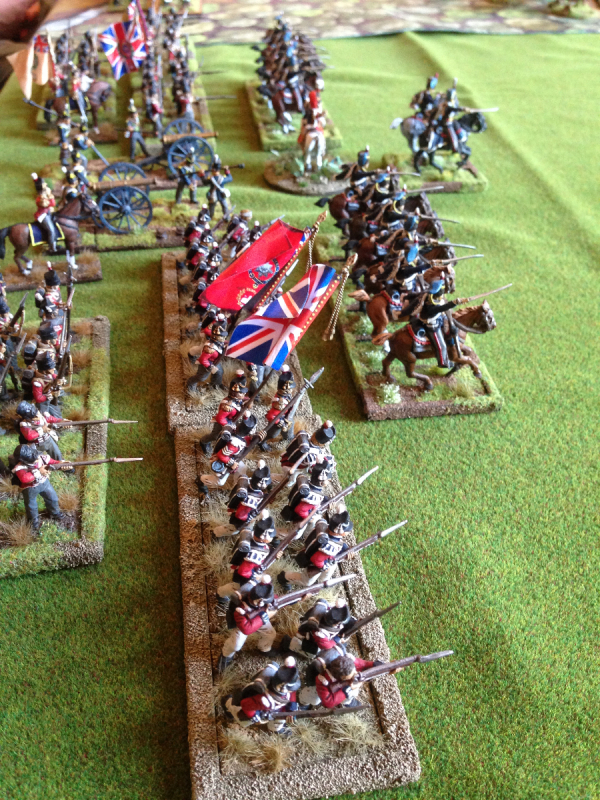
The Guards line up ready for battle!
The final picture shows figures from at least four different manufacturers on the table. With hind sight, my army would look more cohesive if I had been more consistent with the basing! Unfortunately, I have a tendency to experiment with different products and techniques! The old wargaming adage that ‘faces, bases and flags make a good unit’ is great advice and applies to armies as well. I do have plans, or more accurately, dreams, to standardise all my movement trays and that will go a long way to give a more uniform look to my collection.
So, in the end it is up to you whether you mix things up or stick to just one or two manufacturers. My experience is that the majority of the well known manufacturers produce superb figures that in the main are compatible with each other. I guess that some people have their favourites but I have always been happy to mix and match. Without getting too analytical, I think that different people want different things from their hobby. I know that some collectors and wargamers prefer their figures to be identical and all lined up in the same pose. It’s not for me though. When discussing the subject of all units looking the same in the same pose with my wife, her opinion was that if you had 400 blokes marching down the road together, the chances are that at least one would be scratching his arse or picking his nose….
Happy modelling!
You can see our comprehensive range of 28mm Napoleonic models from many of the manufacturers mentioned above all mixed together here:
28mm NAPOLEONICS


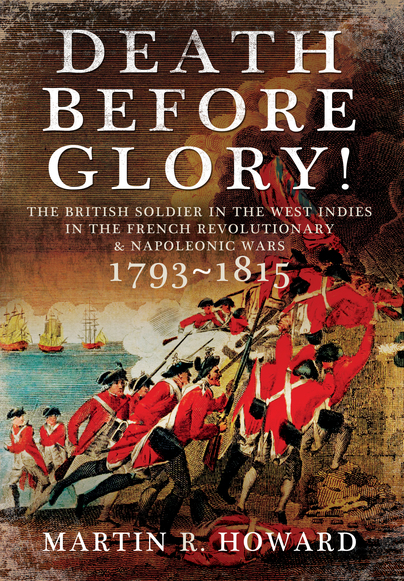 I suspect that the lack of huge set piece battles has meant that the war has not been well documented despite the fact that the stakes were so high. Britain, France and Spain, gained an incredible economic benefit from the area and these Islands were crucial to these countries ability to finance their wars elsewhere. To be clear, most of my little knowledge comes from reading just one book, ‘Death before Glory’ by Martin Howard and some web articles. However, this has been enough to whet my appetite and I am rapidly learning as much as I can whilst continuing to build my forces.


