Fit to Paint.

I have noticed the number of times that I have moaned about not having enough time to do all the painting and modelling that I have lined up. It’s somewhat of a thread that runs through my blog. I guess that most in the hobby that have full time jobs and a family are under similar time pressures. Now that I have clocked up my ‘three score years’ and have started to move into the ‘ten’, time seems to be just a bit more precious than the carefree days of youth. The other factor, of course, is health. I am fortunate enough to enjoy generally good health and apart from the usual colds and coughs that go around and self induced indigestion, I fair pretty well. However, over the last couple over years I noticed that my BMI has moved from being healthily overweight into obese territory. Even with all of my scepticism for the  ‘nanny’s of this world who insist that they know what’s best for us, I had to admit that something must be done.

Having given up on trying to grow taller, it seems that my only option to bring my BMI down is to lose some weight. Matters were brought into focus by the approach of the festive season and I noticed that I was already over my last Christmas peak weight. My excuse is that I missed out on a holiday this year, so didn’t bother with my usual attempt to get beach fit. In my case, this means losing just enough weight to avoid attracting the attention of Japanese whaling ships whilst out swimming or being dragged off the beach back into the water by green activists! It’s fair to say that I model myself on the guy in the Southern Comfort Ad, except, of course, for the moustache…

The up shot is that I have been spending some of my hobby time out walking in the evening. Just a couple of miles at a steady pace – my jogging days are long gone- and very gradually, the weight is coming off. At this rate, I will be back down to just being over weight and ready to take on the Turkey, Christmas pud and all that Christmas brings. I guess that if helps avoid Type 2 Diabetes and some of the other issues that come with carrying a bit extra, then I’m hopeful that the time spent exercising will buy a few more years in which I can finish my Napoloeonic Army…
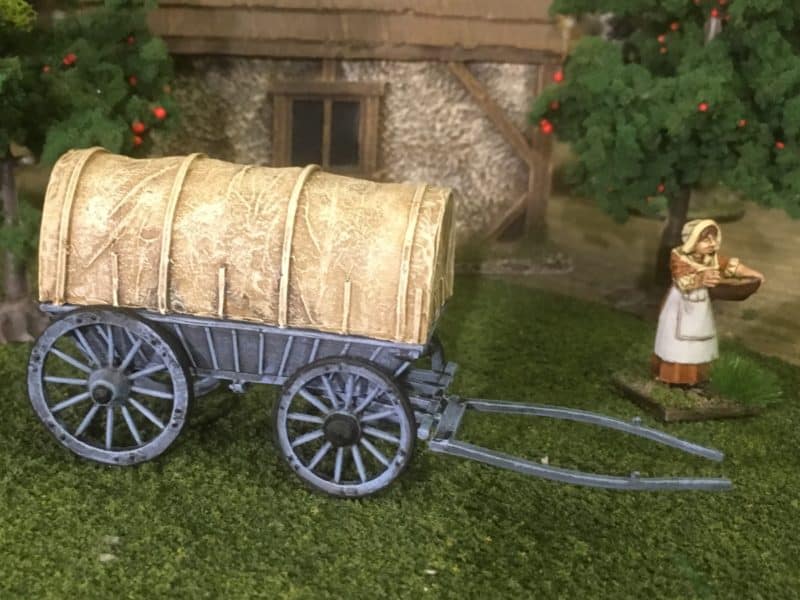
Perry's British Ammunition Wagon

Perry’s British Ammunition Wagon

Talking of which, as you can see from the above picture, I have now finished the Perry’s British Ammunition wagon. Once I had cleaned up the casting, painting it was relatively quick to do. The next job is of course to paint the horses and crew and of course base it, which I suspect will be a bit of a longer task. It doesn’t help that I am also distracted by the new releases from the Test of Honour range. The new Bandits and Brigands set is also on the work bench and I have just about finished the first model.
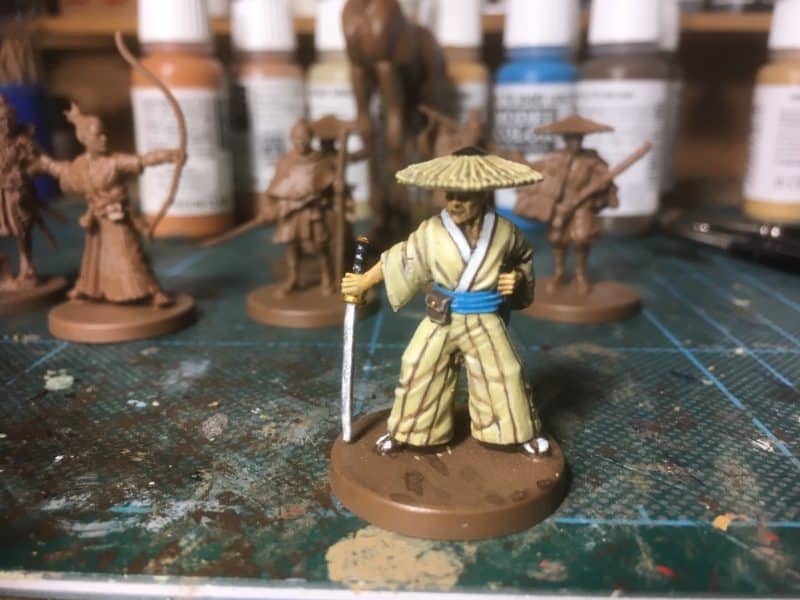
First Bandit on the work bench

First Bandit on the work bench

I decided to copy the painted example on the Warlord web site, using predominantly Vallejo Buff to paint his clothes ( Kimono? Pyjamas?). Here he is all based up.
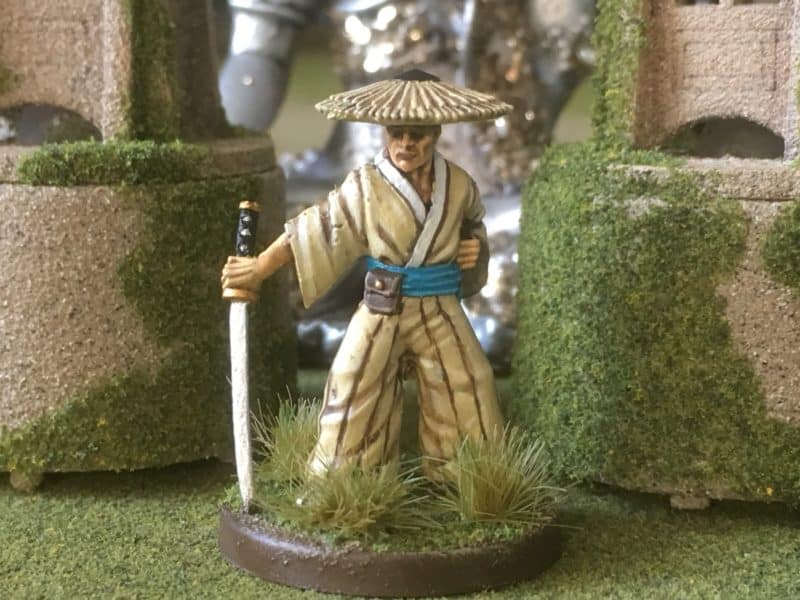
First Bandit based

First Bandit based

As you can see from the work bench, the rest of his gang are now primed and ready to paint. And yes, that’s a DeeZee giraffe in the background also underway.
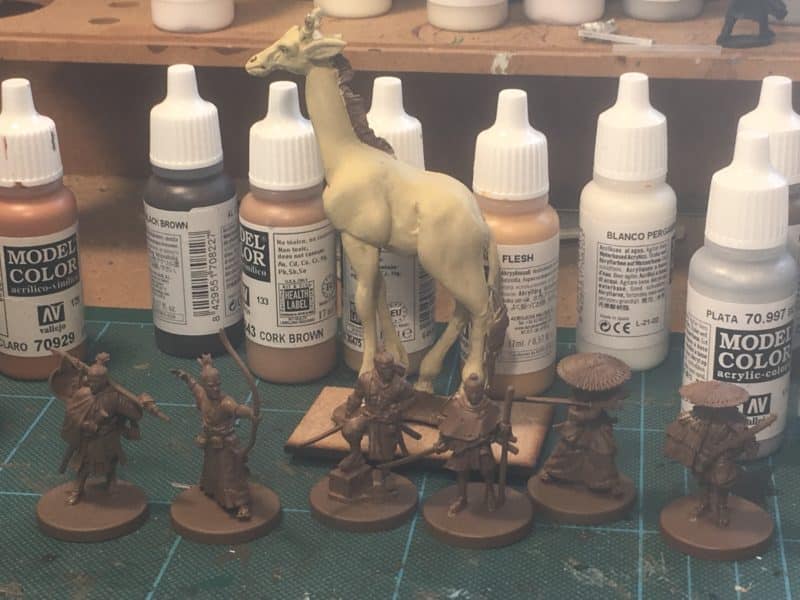
You're having a giraffe!

You’re having a giraffe!

What with DeeZee models, Test of Honour, Napoleonics, my Caribbean project and my Dark ages warbands, I guess that I need all the time that I can get. I’ll keep walking, I need to be fit to paint!

Remember, If you are looking for anything to help with your hobby, visit my shop:

ARCANE SCENERY AND MODELS

Most of the items that we sell are available post free to most worldwide locations at the time of writing.


 

Brontotherium!

It seems at the moment, I am easily distracted. I have been giving the DeeZee range a bit of an overhaul with a view to perhaps extending it in the New Year. Whilst going through the display models I noticed that the Brontotherium was looking a bit tired and that we didn’t even have a painted example on the web site so I thought that painting a new display model would be a nice little project.

For those that don’t know, a Brontotherium (‘thunder beast’) is an extinct genus of prehistoric odd-toed ungulate mammal of the family Brontotheriidae, an extinct group of rhinoceros-like browsers related to horses. The genus was found in North America during the Late Eocene. Many Brontotherium remains have been found in South Dakota and Nebraska. In the past, specimens exposed by severe rainstorms were found by Native Americans of the Sioux tribe. The Sioux believed these creatures produced thunderstorms when running over the clouds, and called them “thunder horses”.  Many of the skeletons found by the Sioux belonged to herds which were killed by volcanic eruptions of the Rocky Mountains, which were volcanically active at the time.

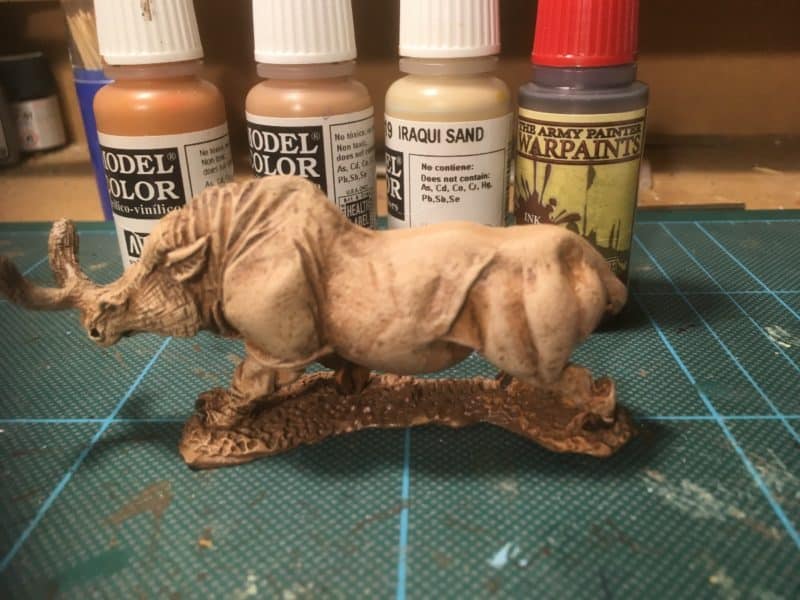
DeeZee Brontotherium Basic paint job!

DeeZee Brontotherium Basic paint job!

I decided to paint my Bronto in brown rather than as some references, that show them as grey. I had also decide to use a limited pallet of just three colours, Vallejo Light Brown 70929, Cork Brown 70843 and Iraqi sand 70819. I took the same approach as if I was painting a horse. Once cleaned up and primed with Army Painter Leather brown, I first used a large brush to roughly coat the Bronto with the light brown. To give a bit of definition, I then liberally applied a wash of Army Painter strong tone ink. When the ink was dry, it was just a case of using a large brush to dry brush a succession of coats using lighter shades of the three colours mentioned above. I picked the eyes out in Black and painted the hooves and tail in a dark black brown (70822). It was all done in about 30 minutes!

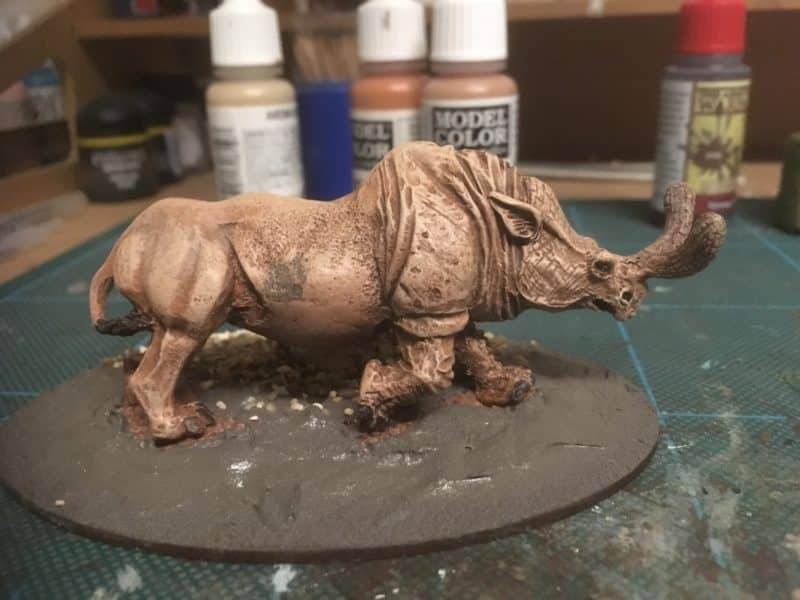
Brontotherium on base

Brontotherium on base

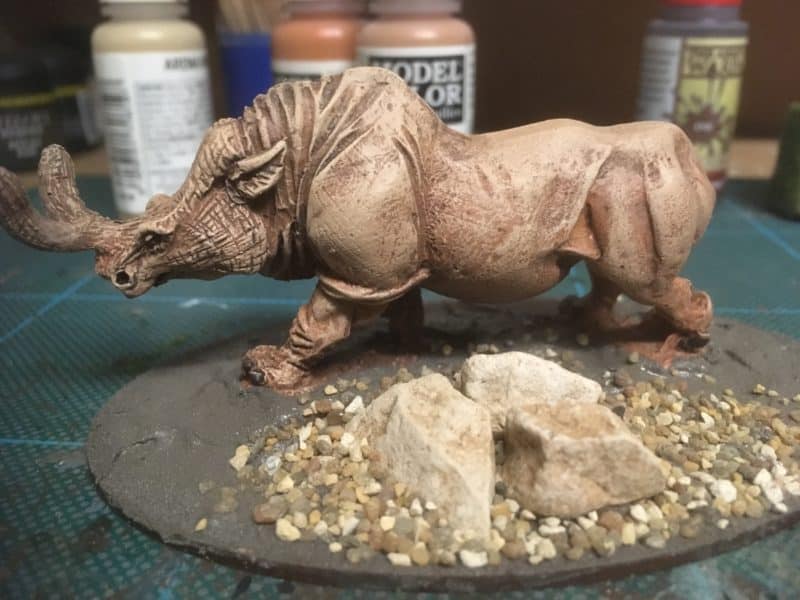
The next job was to base Bronto. As usual, I attached the model to an MDF base using Vallejo Dark earth textured paste. I also set some rocks into the paste and pressed in some coarse sand for additional texture.

Base Detailed

Base Detailed

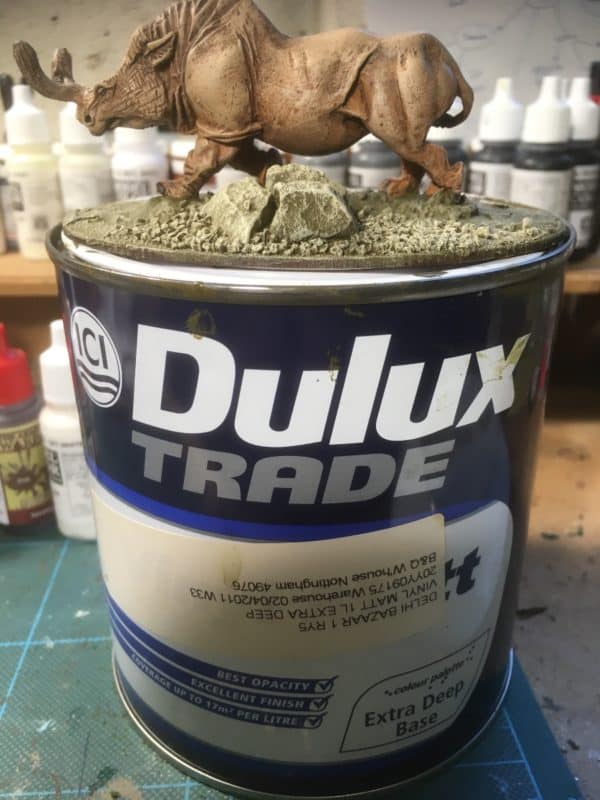
I then painted the base using my favourite basing paint, Dulux ‘Dehli Bazzaar’. I have mentioned before that I think that it makes sense to use Emulsion paints for basing rather than the more expensive paints that we use to paint the actual models. I had actually got out of the habit and was going through Vallejo Chocolate brown bottles rather quickly until I remembered my own advice!

Photo 09-11-2017, 09 34 09 A tin of emulsion goes a long way!

I am happy to mix Vallejo paints with the emulsion but obviously in small quantities. I this case, I used Iraqi Sand to provide highlights and simply dry brushed over the base coat.

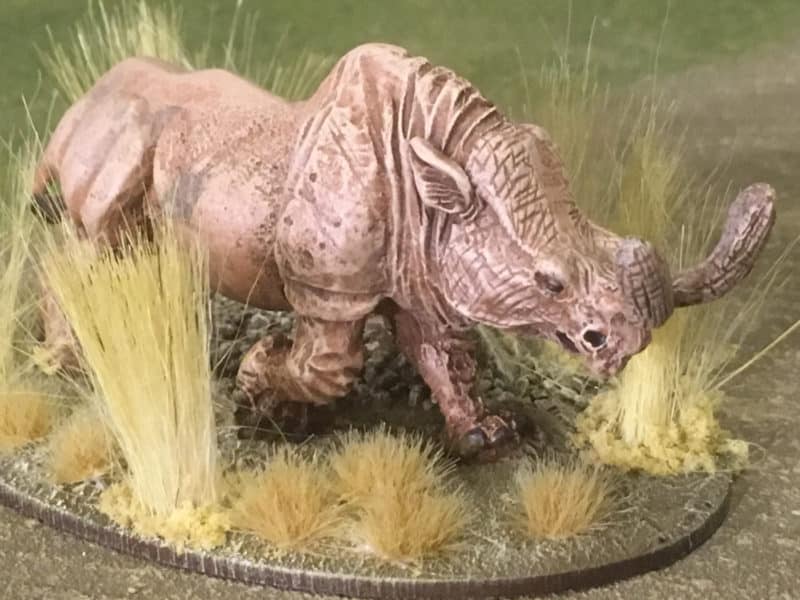
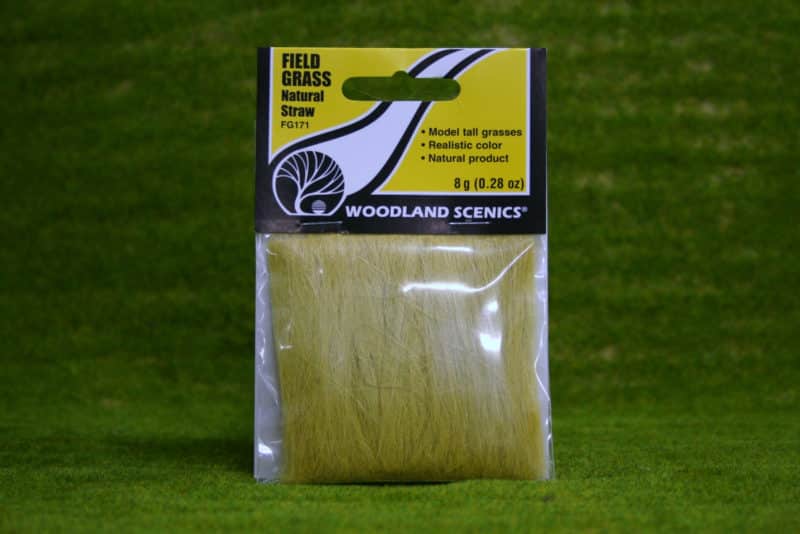
The next job was to detail the base by adding some grass. I wanted some long grass for the Brontotherium to be charging out off. Woodlands scenic make packs of long grass and this seemed ideal.

Field Grass from Woodlands Scenics - Natural Straw.

Field Grass from Woodlands Scenics – Natural Straw.

It was the first time that I had used this type of grass but it worked very well. There is a surprising amount of material in the packet and a little goes a long way! I Just took small clumps, cut them to size and then fixed them to the base using a hot glue gun. PVA would have worked but would have taken longer to dry. I have since found this video from the terrain tutor on you tube which shows an alternative method of producing long grass clumps – I’ve tried it and it works well! I now have a batch ready for another project:

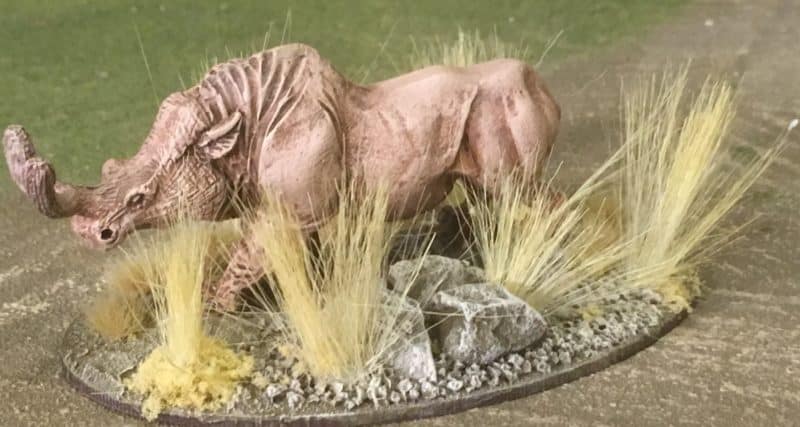
I also used some Woodland Scenics yellow coarse foliage to hide any glue around the base of the long grass and added some Beige coloured Gamers grass tufts.

Brontotherium on finished base

Brontotherium on finished base

The whole project was surprisingly quick and simple to complete and I now have a new display model for my DeeZee range. If you would like to see the rest of the range, the links, as usual are to be found below the final photo.

brontotherium

Most of the products used in my Blog ( except the Dulux paint!) are available post free to most worldwide locations ( at the time of writing) and can be found here:

DEEZEE MINIATURES

VALLEJO PAINTS AND TEXTURES

WOODLAND SCENICS

MDF BASES

Shine a light!

I continue to bit and bob between one project and another. The problem is there are just too many great games and figures out there! Test of Honour, being a case in point. It’s got an addictive quality to it that keeps pulling me back into it’s world. Before it’s release I had no intention of ever building a Samurai or Japanese army. I now find that I have an increasing collection of both figures and scenery. If I’m not expanding my scenery collection, I’m looking at the next set of miniatures to paint. All of this when I am supposed to be finishing my Napoleonic project…

The latest set from Warlord - just too tempting...

The latest set from Warlord – just too tempting…

The latest release to catch my attention was the Bandits and Brigands set, the first set that is all new metal models from Warlord. I had intended to get some Samurai Cavalry but the figures in the Bandits set are just superb – possibly the best release of the year! No doubt once I get into painting these, I’ll complete a proper review of the box set but for the time being, lets just say that that I am smitten!

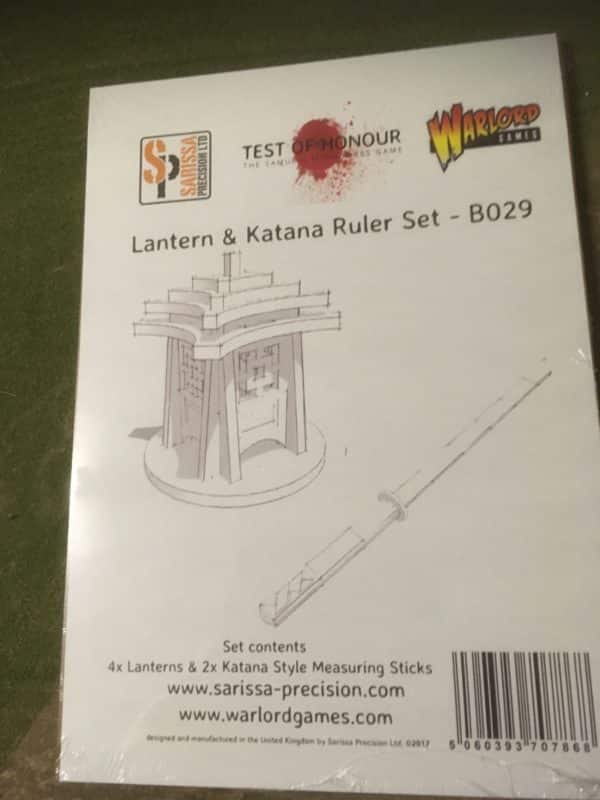
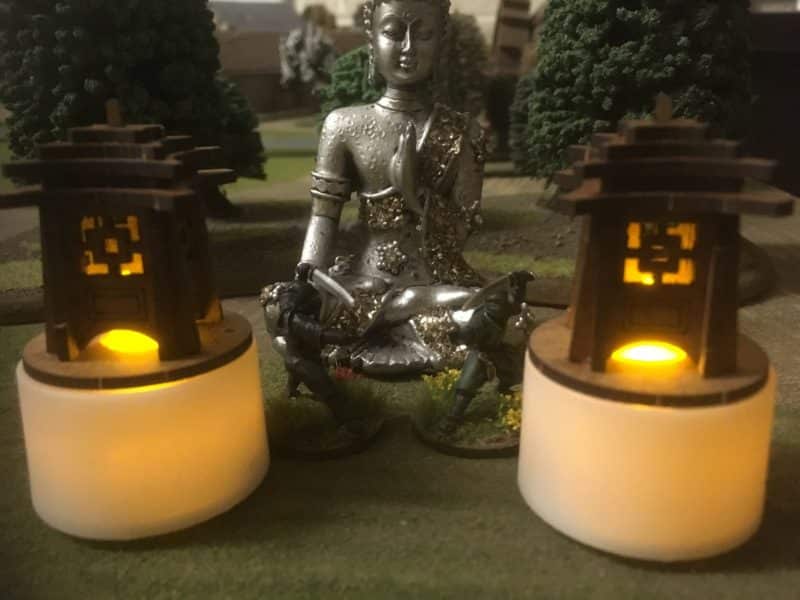
The scenario book that comes with the set includes some night fighting scenarios and the possibility of adding Lanterns to my playing board. Of course, Sarissa make a really nice set of lanterns so I decided to start here. It seemed a shame not to install lights in the lanterns but I was looking for a simple solution. That solution was found at my Granddaughters Halloween party – flickering battery operated tea lanterns! So here’s my progress so far.

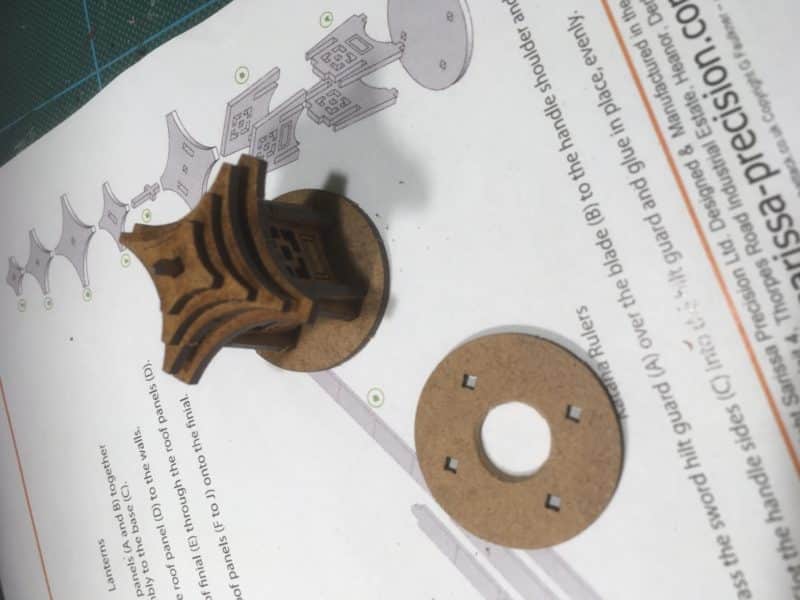
Sarissa Lantern Set

Sarissa Lantern Set

The Sarrisa Lantern set includes four lantern that are very straight forward to put together – regardless, I still suggest that you follow the instruction sheet as it will ensure you don’t make any mistakes!

Hole cut into MDF base

Hole cut into MDF base

The only modification that I needed to make was to cut a hole throught the MDF lantern base as shown. MDF is a fairly soft material, so once I had drilled a pilot hole using a simple hand drill, I used a sharp knife to carve the hole to the size required.

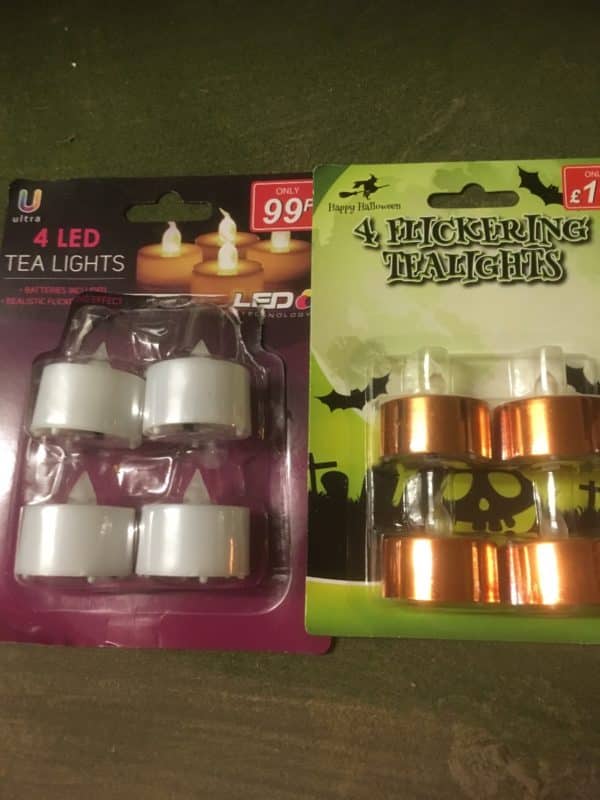
LED Tealights - batteries included

LED Tealights – batteries included

I grabbed a couple of packs of tea lights from the local BM bargain store. The plain ones were just 99p – the posh Halloween ones, twice the price at £1.99 – still a bargain! As it turned out, the cheap ones were the best. My first attempt involved removing the outside of the tea light to see if I could incorprate it into the lantern base.

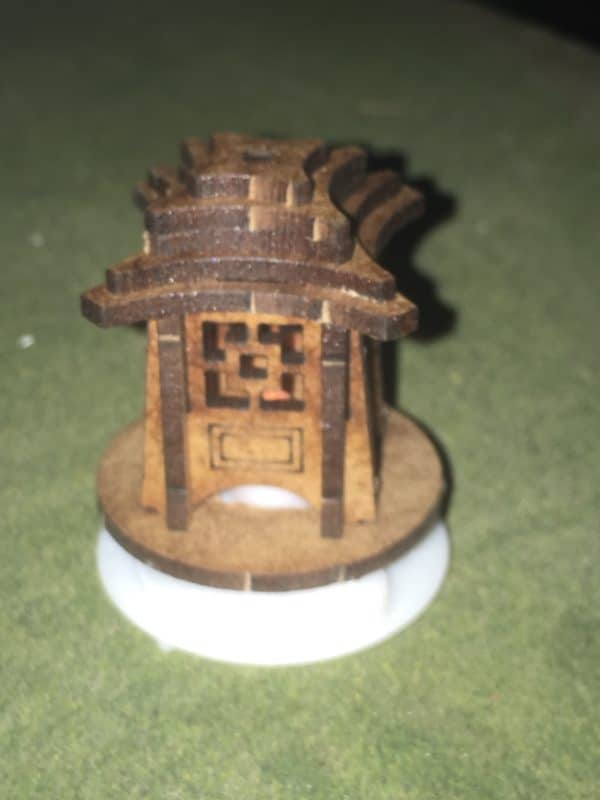
First attempt - base of tea light removed.

First attempt – base of tea light removed.

It worked OK but I would have needed to built a new cover around the base and the on/off switch wasn’t quite as easy to use. Whilst fiddling around with the cheaper lights, I found that they actually looked good without the modification. They were a perfect fit. I didn’t even have to glue the Lantern to the tea lights – they simply just sat on the top. I guess you could glue them but I now have the option of using them with or without the lights.

Tea lights added intact!

Tea lights added intact!

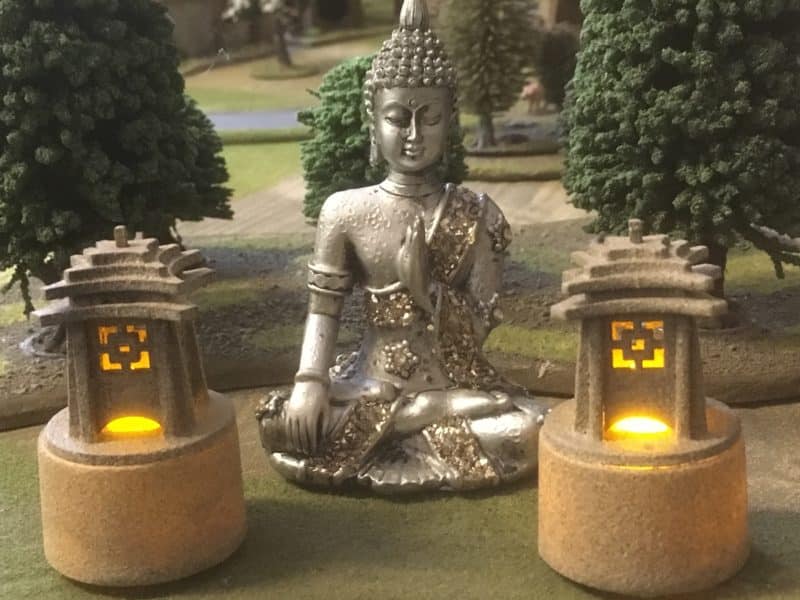
Although they are standing a bit taller than I first wanted, I thought that the effect was OK and certainly saved time. To cover the tea lights and blend them in, I simply sprayed the whole assembly using a textured spray from B&Q. The MDF takes the spray well as do the tea lights and the result is a stone effect. Just remember to use a piece of masking tape to cover the light bulb when spraying!

Lanterns sprayed with texture spray

Lanterns sprayed with texture spray.

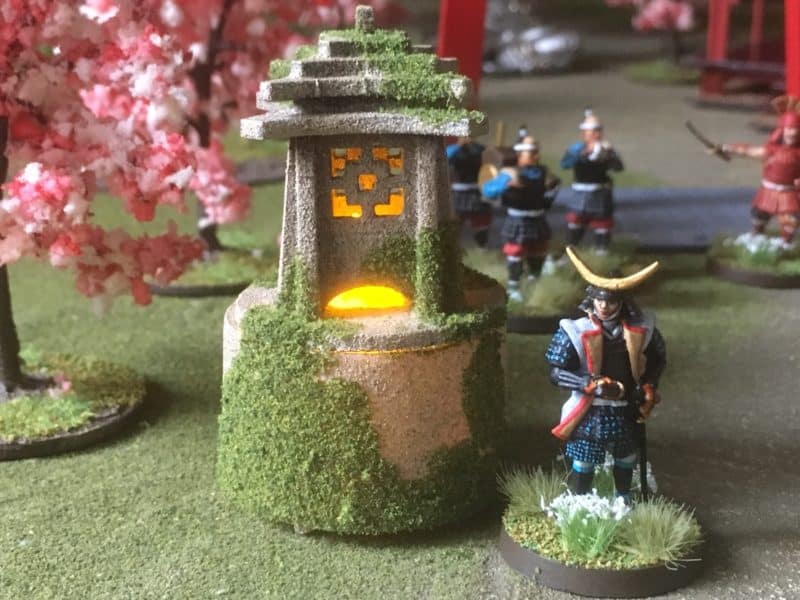
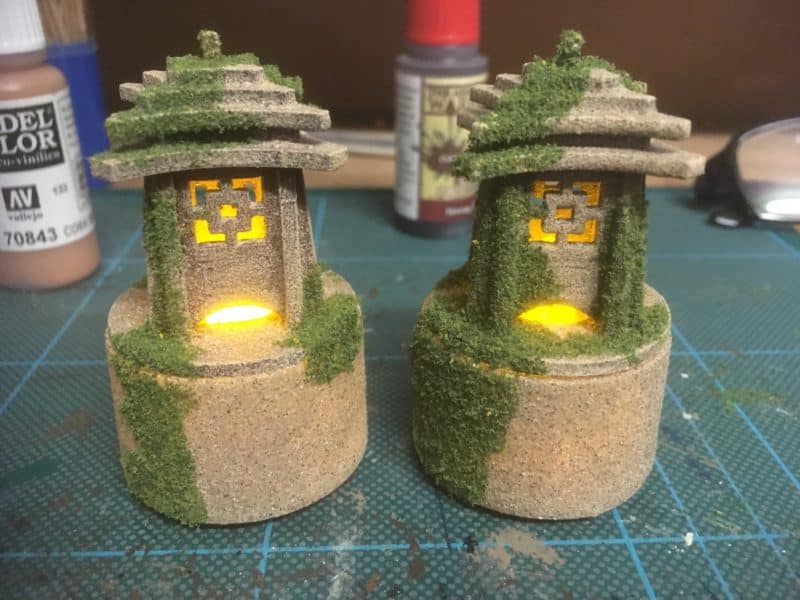
Just to finish things off, I decided lightly dry brush the lanterns with Vallejo Iraqi Sand 70819 and then to add some ‘moss’. This was simply woodlands scenic green scatter stuck on using a watered down PVA glue mix.

Lanterns with moss added!

Lanterns with moss added!

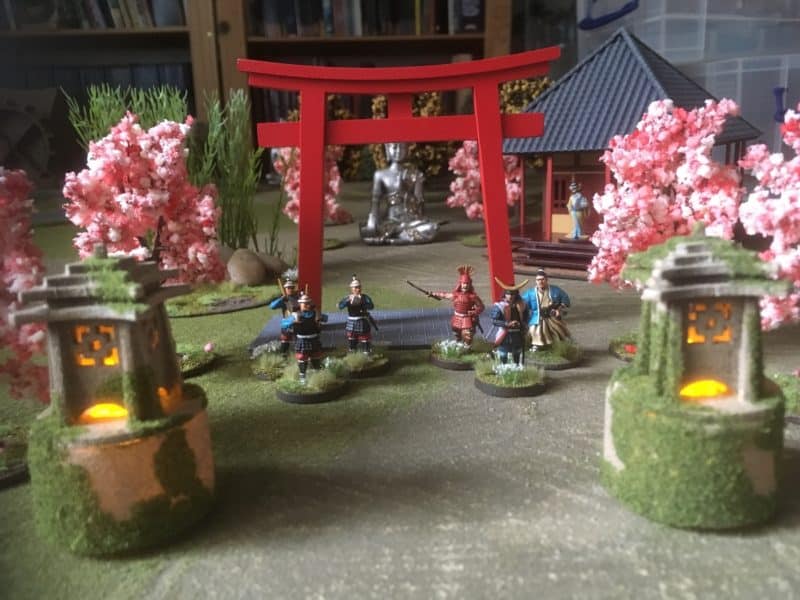
As you can see from the final pictures I added a bit more moss for effect. I think that these make a nice addition to my scenery box and I will get on and finish the other two lanterns although I might just be tempted to see if I can make the lower profile versions without too much extra effort!

Lanterns on the gaming table

Lanterns on the gaming table

Close up of Lanterns

Close up of Lanterns

As usual the links to most of the products used are below – you will have to search out your own tealights & textured spray but a trip to B&M bargains will help! At the time of writing, all products are POST FREE to most worldwide locations.

You can see our range of Test of Honour products and Samurai scenery and accessories here:

SAMURAI

Happy modelling!


Sloop ahoy!

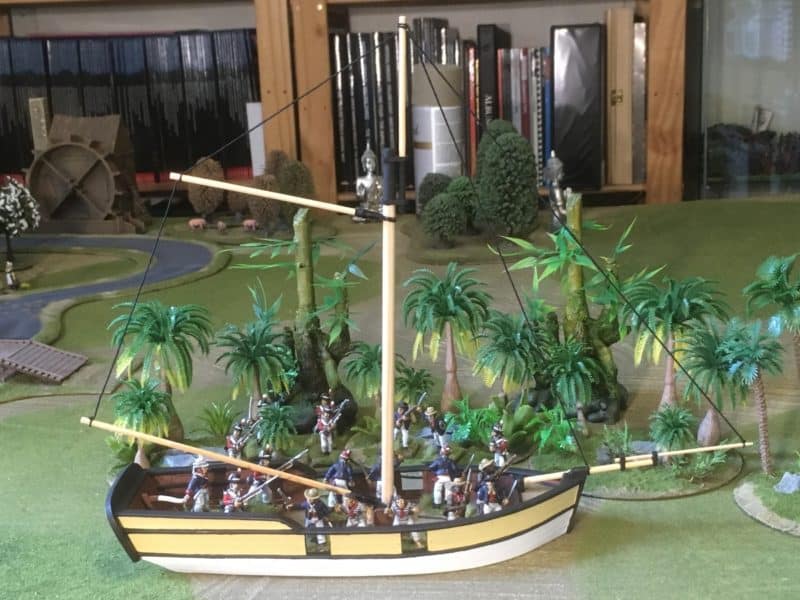
I’ve continued work on my sloop and have surprised myself by nearly finishing it. In fact, it’s got to the stage where I have to remind myself that I am building a piece for the wargames table and not a display model. The thing is that the model is so nice that it is tempting to go overboard ( pun intended) and really detail it – the problem being that it would then be impractical to use because of the rigging and the sails. Regardless, the masts are now in place – I went for a straight forward varnished finish – they will darken over time anyway – and the tiller/rudder is done. I am still working on a name for her – I wont consult the internet for answers, Boaty Mc Boat Face is already taken….

Sloop all rigged and ready for action.

Sloop all rigged and ready for action.

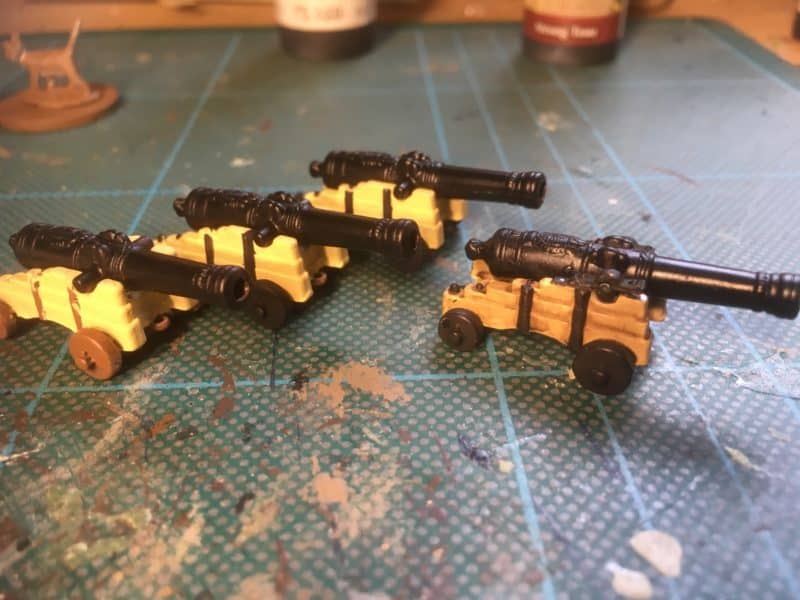
There are a few additions that I will make. For a start, she needs guns and I have four cannon that I am painting. I should have finished them last night but I was distracted by the football on the radio – Tottenham beating Real Madrid 3-1 was too exciting to let me focus on the painting! I’m nearly there though.

Cannon on the painting mat.

Cannon on the painting mat.

The guns are made by Amati and supplied by Expo – we do carry them in our shop and the link is below. I think that they might be a bit on the large size for the Sloop but they look superb and should deter pirates! I decided to paint the gun carriages to match the ships hull, with any metal parts painted black.

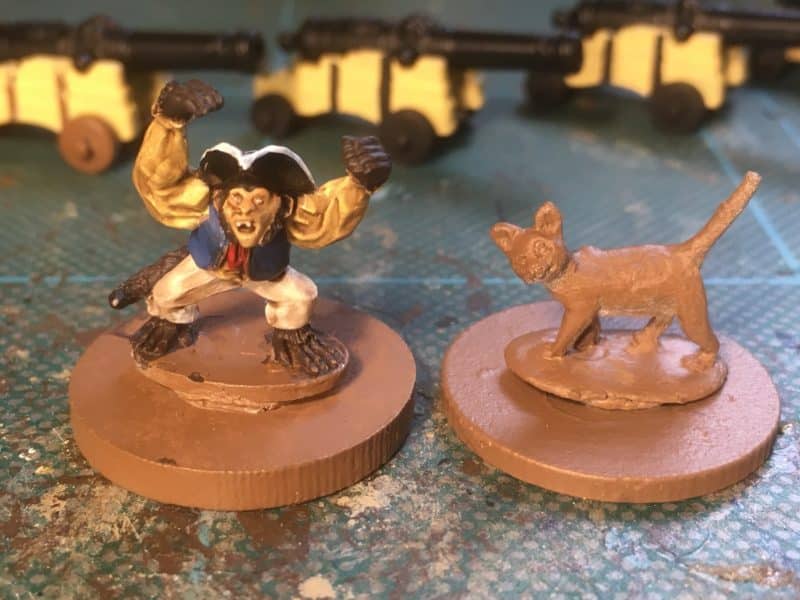
The crew!

The crew!

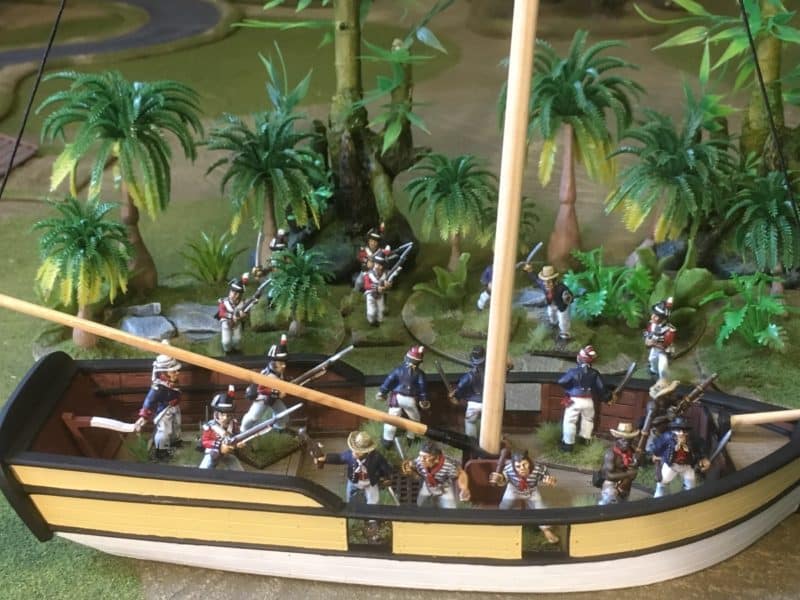
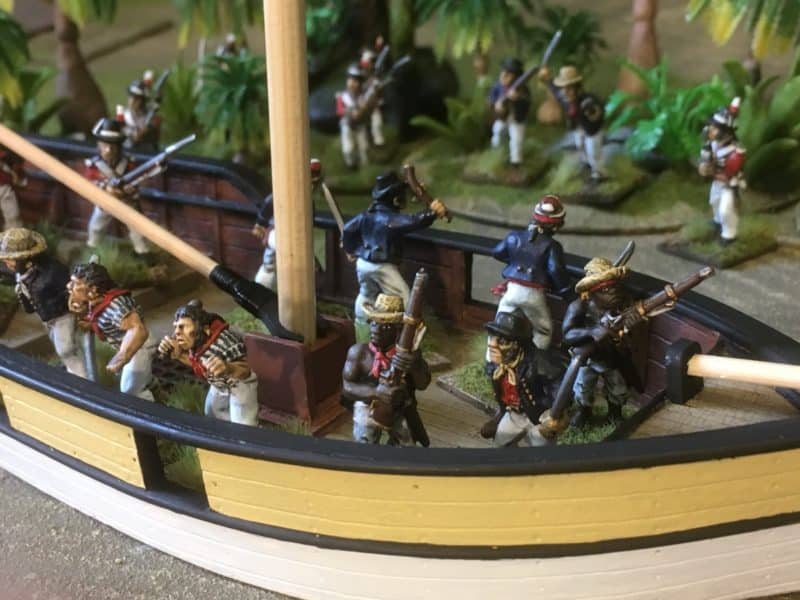
Just for fun, I’m also going to add a couple of permanent crew figures, a ships cat and a powder monkey! The cat is from the DeeZee small dogs pack and the monkey from North star, although I don’t think that he is now available. Again, there is still some more work to do to finish these off. The only other additions planned are an anchor and a lantern for the mast. When it comes to the crew, I do have a few Sailors and Marines that I can use as you can see from the picture. It might be nice though, to add a new crew that have bases that either match the deck of the Sloop or are clear. I am also tempted by the Footsore figure, John Finch…

Sloop with crew

Sloop with crew

Close up of the Crew

Close up of the Crew

You can also see from the pictures that the three pieces of scatter scenery for the Caribbean are now complete so I better get writing those rules! As well as the sloop I have also been playing around with some Japanese lanterns for my Test of Honour set up. These are also nearly complete – I’ll put the results up in next weeks blog!

As usual, here are the links to the items used in this weeks blog. The ship is from Games of War and only available direct from their web store:

GAMES OF WAR

The cannon are available here:

SHIPS CANNON AND FITTINGS

Palm trees are here:

PALM TREES AND JUNGLE PLANTS

The cat is available as part of the DeeZee Range:

DEEZEE RANGE

and you can see John Finch here!

JOHN FINCH

 At the time of writing, the items are available post free to most worldwide locations.