Ready to base!
If you have been following the series of blog posts, you will know that from the outset, the aim has been to produce a unit for the Black Powder rules set. So deciding how to base the figures is now a straight forward task. I prefer to base my figures on Renedra plastic 40mm by 40mm bases, four figures to a base. This gives each figure a 20mm ‘frontage’. Other basing configurations can be used – the Perry’s use six figures on a 45mm by 40mm base, each figure having a 15mm frontage. To be fair, this looks more realistic, with your troops standing shoulder to shoulder. However, it would involve painting more figures per battalion and by now, you will know that I prefer to take the easier option.
The other point that I would make concerning basing is that by using a consistent 20mm per figure approach, you can get around the need for multiple basing by using movement trays. In the early days of my change to Napoleonics from Scifi gaming, I based figures individually on 20mm square bases to use them in Sharpe Practice skirmish games. It was easy enough to then change these into battalions by putting them into movement trays when I started to play Black powder.

Ready for basing Sir!
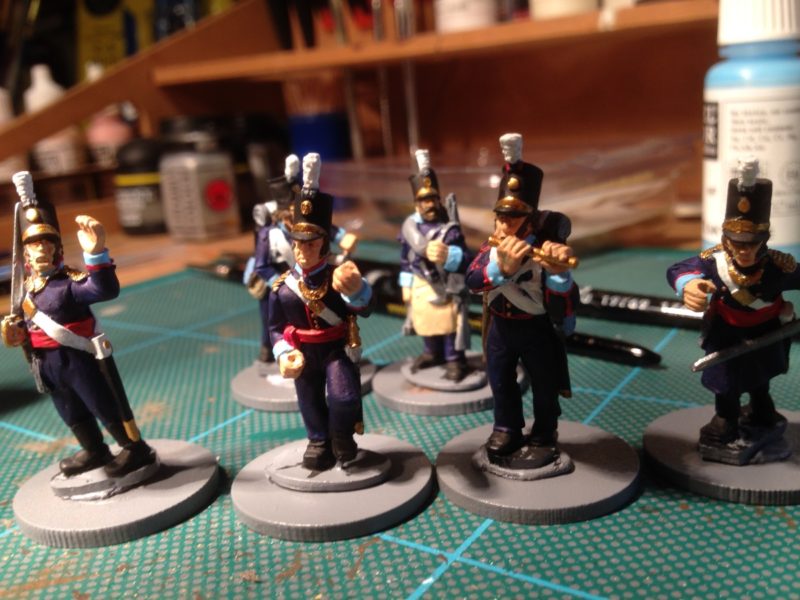
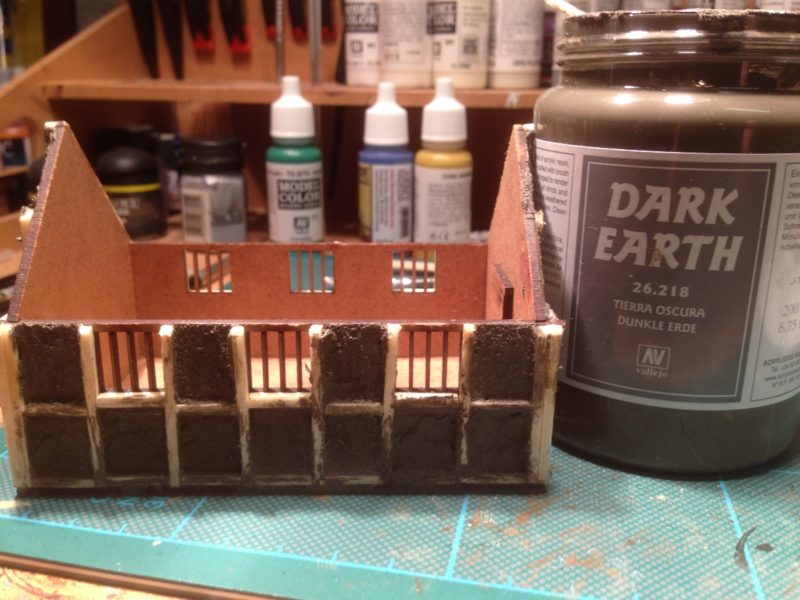
I now base in fours and you can see from the picture above the start of the process. I take the Renedra 40mmm square base and cover it in Vallejo 26218 Darth Earth paste.

Splot! put figure on the base!
Then just push the figure into the paste. I don’t even glue the figures, there’s enough adhesion in the paste to hold them solidly in place when the paste dries. It even is good for metal figures. In the unlikely event that I decided to rebase my collection, it would be a simple task to gently pull the figures from the bases.

Four on a base
As each figure is placed on the base, I use a sculpting tool ( it could be a cocktail stick!) to bring the paste up over the figures base to blend them into the groundwork. You could at this stage, add some other detail to the bases – small rocks, logs etc – on this occasion I’ve kept it simple.
Whilst the bases were drying, I went back to the Grenadier company. I should confess – My OCD had got the better of me and I decided to change the badges on the back of the shakos. They are still slightly oversize but by using a smaller strip of evergreen, I managed to cut some slightly smaller diamonds. It was then a case of using a scalpel to slice off the larger ones and to replace & repaint the badges & any damage to the shakos. I also have decided that I would paint 28 figures for the Battalion. I thought that a full base of four grenadiers (the guys with all white plumes) would look better than just two on their own as they would have the French backpacks. I then would have four figures in the Light company (all green plumes) that I would base seperately to be used as skirmishers. All of this will be clear when you see the finished unit.

French back packs
To make the french back packs it was a simple task to cut the water bottle & cartridge case from a British pack pack and then glue them to the cleaned up French style packs as shown above. I then painted the packs in leather brown with off white patches – everything else was painted as standard. These were then super glued to the Grenadiers and they were finished as per the rest of the unit using the quickshade & rehighlight method described in last weeks blog.

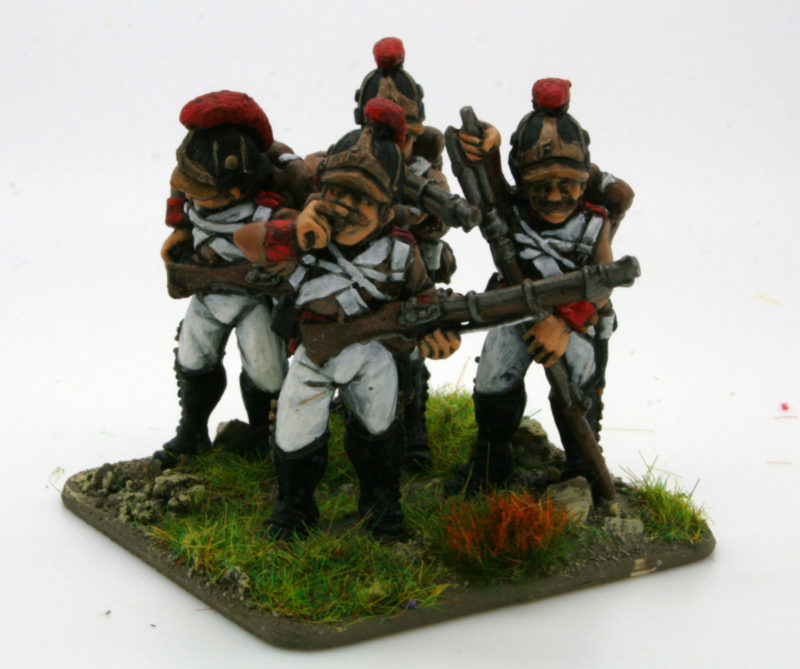
Light company will skirmish!
The picture above shows the four figures from the light company on their seperate bases. The Vallejo paste has dried and I have painted it first with Vallejo chocolate Brown and then highlighted this with a quick dry brush of the chocolate brown with some Iraqi sand added to lighten the top colour.

Green scatter added to the bases
The next stage is to add some green scatter, in this case I have used Woodlands Scenics Green blended turf. I use watered down PVA and apply with a small brush. Then just dunk the base into the scatter, tapping off the excess.

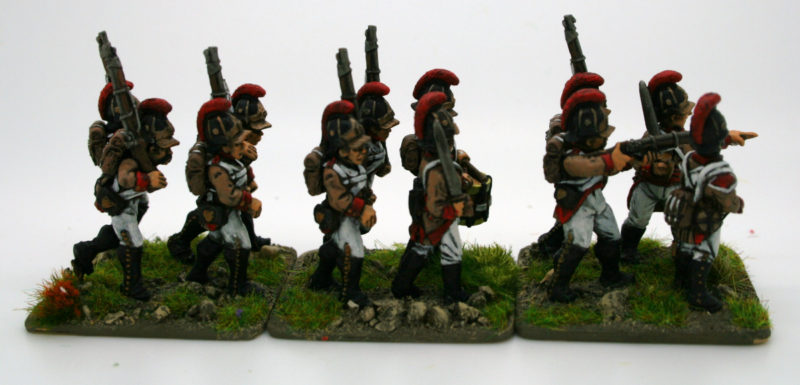
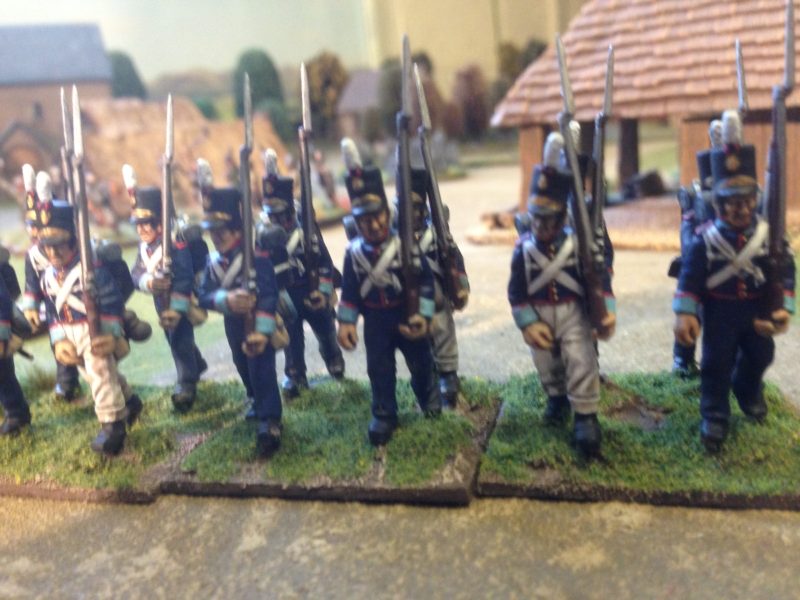
Grenadier Company based
The picture above shows the Grenadier company based but there is one final touch. I like to add some grass tufts to give another layer of detail on the base. I’ve used Gamers grass Dry green tufts and attached them with a dot of super glue.

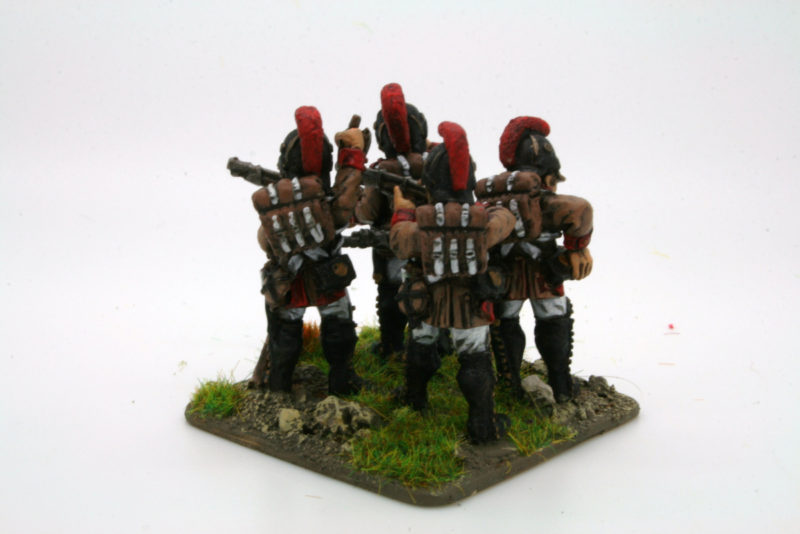
Rear of Grenadier Company – tufts added

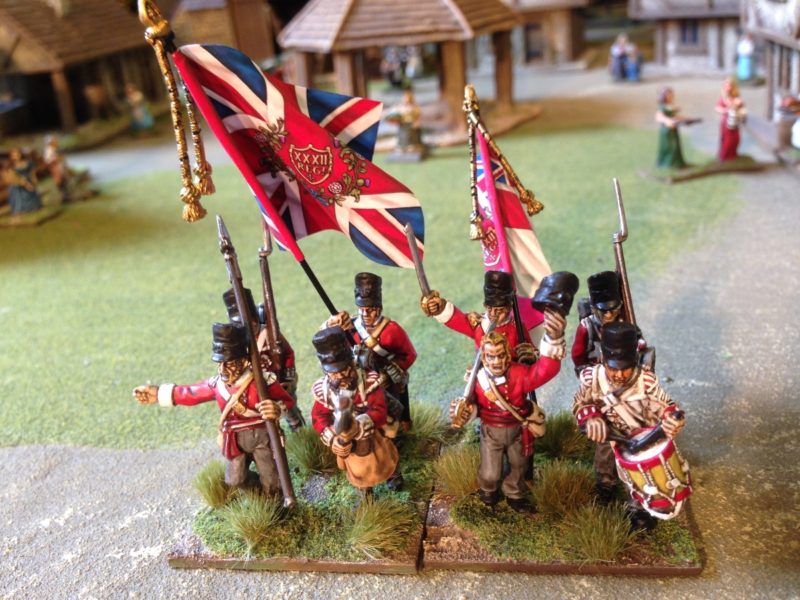
The Command Stands
You will have noticed that the Officers & ensigns have also been painted and added to the unit. The procedure that I use is exactly the same as for the troops but I paint the Drummer & Sapper separately, rather than as part of a batch. The ensigns are carrying flags supplied by GMB, my favourite flag supplier. With the flags and tufts added, the Battalion is now ready to take to the table.

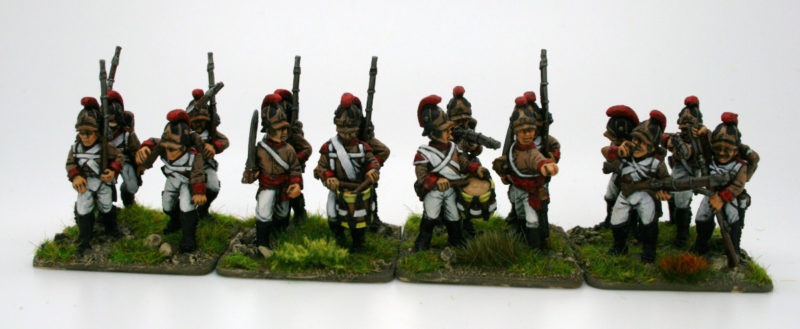
Full battalion in line ready for action!

The Light Company will skirmish!
So another unit is completed and it’s on to the next project. I tend to have a break between Napoleonics so I’ll be painting something a bit different. However, next week, I’ll just explain how I use movement trays and how to split the battalion into two to facilitate a black powder game on a smaller table.
If you would like to have a go at painting your own unit, as I write, we have an offer in the shop. Buy the black powder rules set and get a box of Warlord figures for free. This also includes free postage. For more details Click here:
Special Offers
You can purchase the other products mentioned using the links below:


 With the last two blogs explaining the rules choice and the research that I had done, it was time to start work on the unit itself. The figures that I had ready to paint were Warlord Games British Peninsular Infantry. As you can see, they have the stove pipe shakos that the 28th continued to wear at Waterloo. The only slight problem being that the shako plate on the front is incorrect for the 28th. I had two choices, either sand the incorrect plate off and replace it with the correct style plate or ignore the minor difference. I chose the latter. Even as I type this, my OCD reflex is twitching, but to replace all the shako plates was too much work for this project. I would either have to paint on the correct style three piece plate, model it with, say, green stuff, or track down a decal set of some sort. There may even be replacement heads available out there. On this occasion, the simple, albeit incorrect solution won the argument.


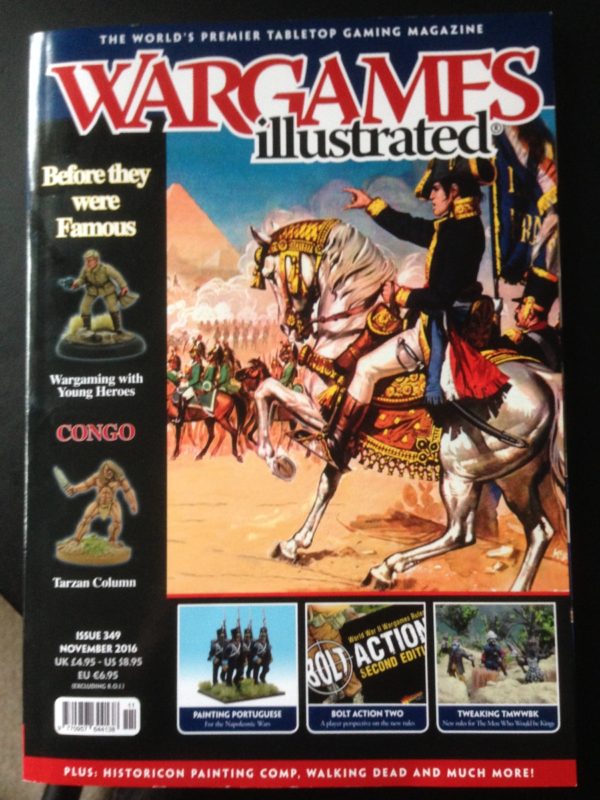


 The group decided that we needed a simple set of rules that would allow us to play a skirmish game on a Thursday evening that would not tax the brain too much and would be something that could be read quickly and absorbed. Step forward, Andy Callan, veteran rules writer, who volunteered to put the two rules sets together and simplify them down to two sides of A4 paper. Andy has been writing rules and war games scenarios for many years. His rules set ‘Loose Files and American Scramble’ appeared in the very first edition of Wargames Illustrated ( why the hell we aren’t using these at the club is another mystery to me…..) and his current joint project with Peter Dennis is the Paper Soldiers rules sets & armies published by Helion Books that I have previewed