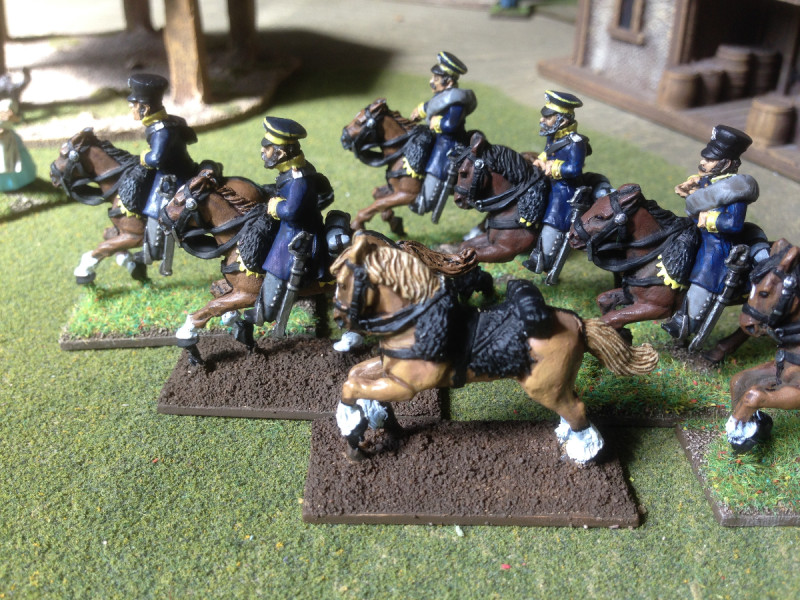
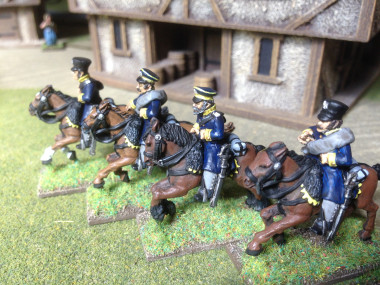
Prussian Landwehr Cavalry – Work in Progress
I guess that you can make painting horses as easy or as difficult as you like, from just a brown coat to the more complex spotted greys. I have tried quite a few of the different techniques over the years but I’ve been trying to improve my results to make the horses look a bit more interesting without spending too long on each horse. It’s also been a good way of practicing highlighting and shading, without relying on Quickshade or Inks.
There are two techniques that I’ve been trying with this latest batch of horses. Both are very similar and both are based on using the three colour; shade, main coat , highlight technique that the professionals, such as Kevin Dallimore use to such good effect. Lets be clear, I’m a long way from that standard and I’m still set on producing regiments for wargaming rather than high quality figures for photography. However, practice makes perfect, as they say, and learning a particular style will help me speed up my painting process.
If any one is interested in seeing a master class in how to paint horses using this method, then I recommend this youtube video by Toby of Art Master studios – it’s an hour and a half of watching paint dry but still better than 90% of the stuff on TV these days! There are some great ideas here and I’ll just summarise them, as much for my own reference, although I hope that it will be useful for other wargamers.
First choose your colour pallet for your horse – using three colours will allow you to get variation on horses, even when using the same colours on a batch of horses. Here’s a few of my favourite recipes using Vallejo paints! All of them are used over a black undercoat.
For Browns: German Cam. Black Brown,70892, Flat Brown,70894, Orange brown 70891 or Mahogany Brown 70846. Be careful with the mahaogany brown, it is quite red and adding white to it will make your horse look pink so if you want to lighten it, use a Light brown, 70929. Another useful combination is Chocolate Brown 70872, Flat Brown,70984, Cork Brown 70843.
For a light brown or cream horse, try Flat earth 70983. Cork Brown 843 and Green Ochre 70914. Or try gold brown, 70877 as the mid colour.
For black horses, use Black 70950, Black Grey, 70862, and highlight sparingly with light grey,70990.
For Grey horses, Dark grey 70984, Neutral Grey 70992, Light grey 70990.
And for White horses ( still Grey really!) Light Grey 70990, Sliver grey, 70883 and Off White 70820.
So that’s the horses body done. I stress that these are just some of my paint combo’s that I have tried. There are plenty more out there but using three colours in combination will give you plenty of variety. I mentioned that I was trying two techniques when painting. The first one is to carefully paint one colour over the other building up the highlights by picking out the muscles on the horse. This is the most time consuming and if done well gives superb results. The other method is to use a dry brush technique with the the colours. This is much faster and the results are still pretty good but you will need to go back over the harnesses etc as the paint will cover them if this method is used.
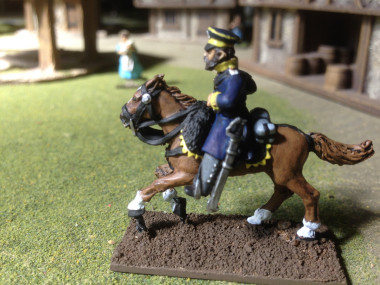
Prussian Landwehr Lancer on Brown horse
Next up, is the detail on the horses. The obvious ones are the mane & tail. You can either paint these in the same colour as the body of the horse or use black or green ochre to give variation. On the Cream horses, Biege 70917 looks good and on the greys, either a dark grey or white mane & tail looks fine. As these areas tend to have more texture, using an ink and then dry brushing with a light shade or even white will really bring the detail out.
The next area to look at are the legs – painting white or black ‘socks’ on one, two, three or four legs is fine and will give variation in your regiment. Finish off the legs with the hooves. I paint them either black or a dark brown, it just tidies them up. You can also paint the horse shoes in steel if they are showing but it’s something that I tend to leave as a detail too far – besides , my thought is that they will be covered in mud…..
The last thing that I paint is the head. Again, a bit of variation here can make all the difference. I usually paint a white ‘blaze’ on the horses head. You can leave the muzzle the same colour as the horse or paint it black, dark grey or even a dark flesh colour. The eyes are painted black, although I will sometime use gloss black for this to get a shine.
The final bit is to paint the horse furniture and that is dependant on your Regiment and an article for another time. I have mentioned variation in horse quite a bit. Some of the elite cavalry regiments would of course ensure that the opposite was true. For example, the Household cavalry would be mounted on all black horses but I think that other regiments were less fussy and of course when on campaign or in battle, so long as the horse had four legs, it would do!
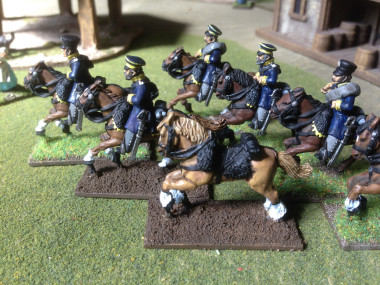
Work in progress – light brown horse
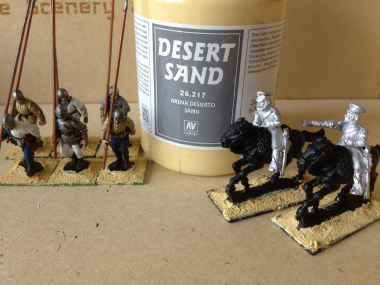
The pictures in the article show my latest regiment, Prussian Landwehr Lancers. As you can see they are yet to be finished, with some based with riders & some still not quite painted fully and none of them with their lances yet! I tend to paint horses in batches of three using one colour combo and then finish with the command group. As the trumpeter usually rode a grey and the officer would have had his own ‘posher’ horse, I leave these until last of all. Once they are all painted, I’ll go back over them all adding a few last quick highlights, correcting any obvious paint errors and of course detailing the bases with a few tufts and flowers.
So that’s my take on painting horses – Cheers!
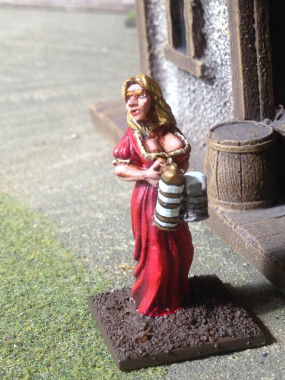
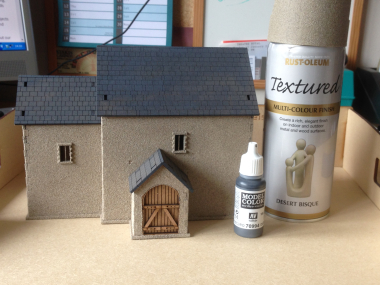
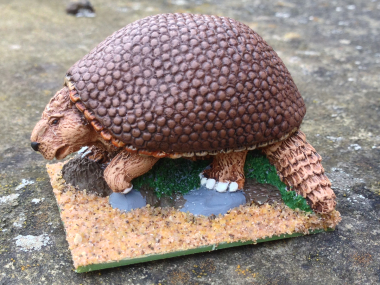
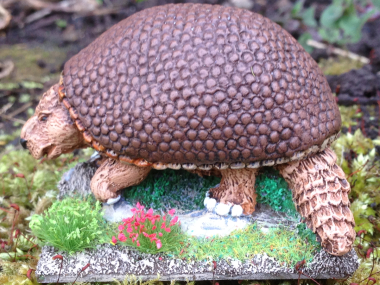
The latest resident in Little Bingham – just the basing to finish!

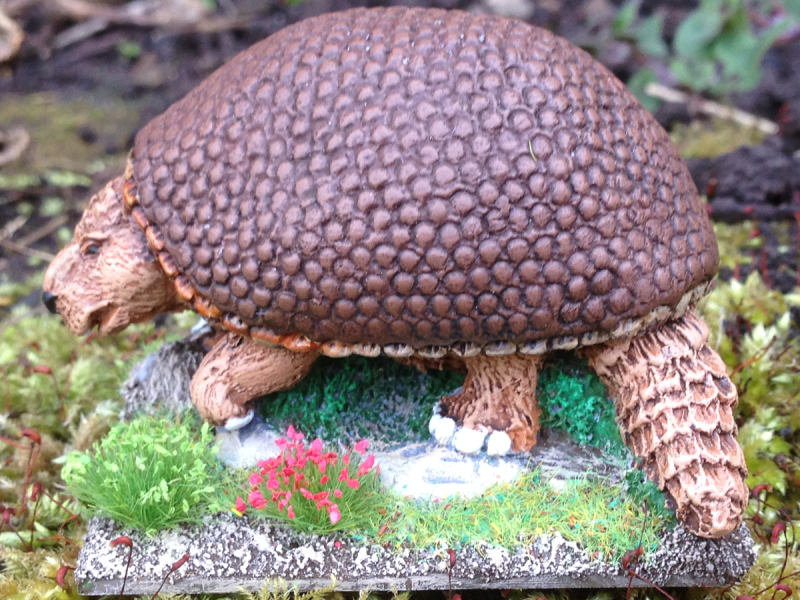
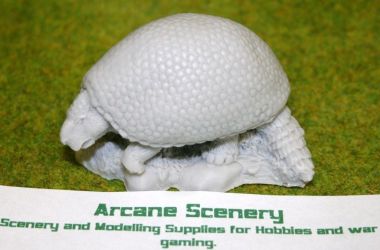 As we go into the Easter break it seemed appropriate to paint something vaguely egg shaped and as the Glyptodon had been sitting forlornly on the work bench in just an undercoat I decided his time had come!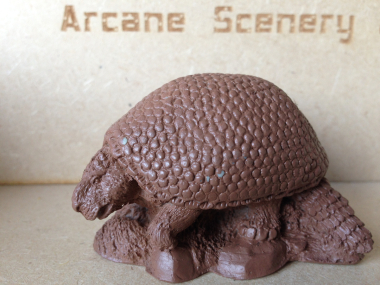


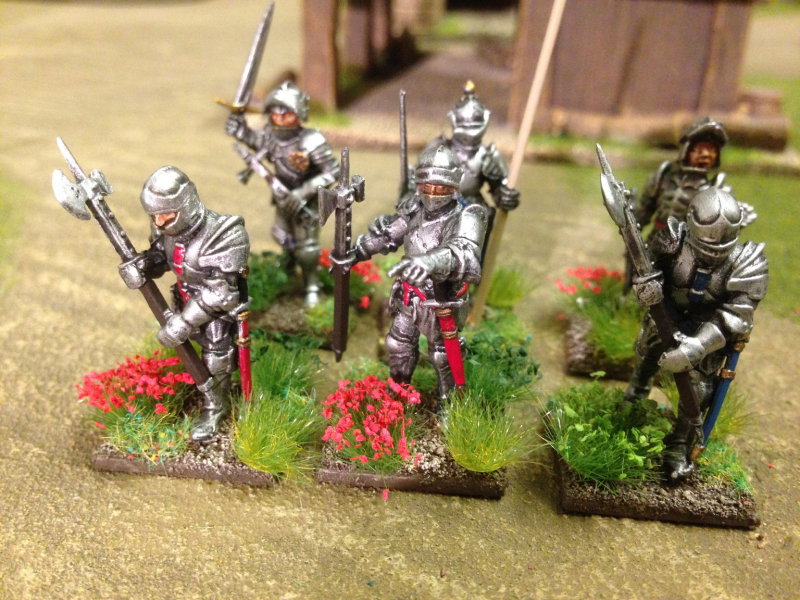
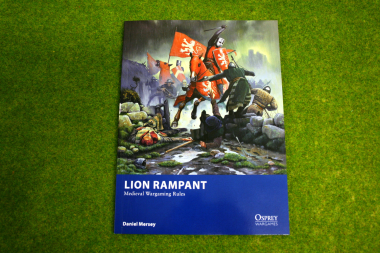 I mentioned in my blog earlier that I had signed up for the Wargames Illustrated Magazine’s Lion Rampant day, to be held on 31st January 2015. Although it seems some way off, I thought that I better start putting my retinue together and of course practicing the game. As I am somewhat focused on collecting English Armies (and their Allies!), I thought that I would start with a typical English Warband. In the LR rules this breaks down to: a unit of 6 foot men at arms; a unit of 12 ‘expert’ foot sergeants and two units of 12 ‘expert’ Bowmen; a total of 42 figures to assemble and paint.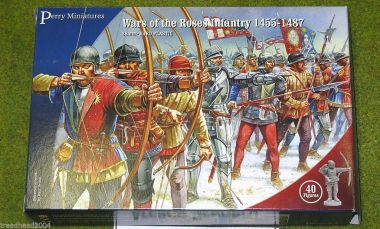
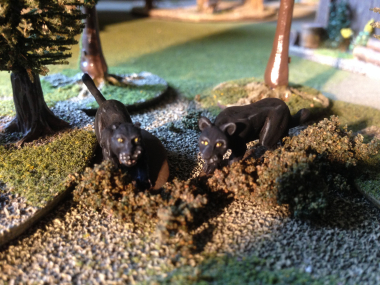 The next project was the Jaguars. I’m not sure that I am happy with the finished result. Painting and highlighting black is a devilish business! I’ve tried using blue rather than grey or white and in the end it was a mixture of both but I haven’t got the effect that I was looking for. I also used white to paint on some whiskers & for the teeth but it all looks a bit stark. the standard of photography isn’t too good either!The yellow eyes have just about worked. I think that when they are properly based, with plenty off jungle cover they may look OK. So that’s it for this week. Next up, back to Hanoverians – the officers this time.
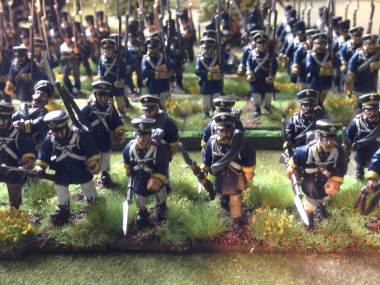
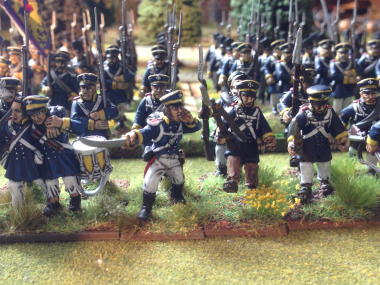
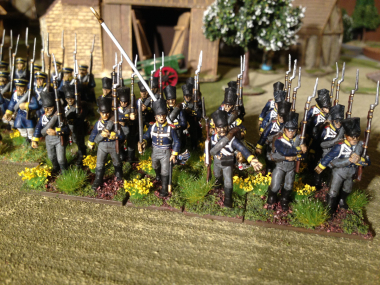
 A strange mix of subjects on my workbench at the moment! I’ve just about finished painting 18 rank & file Hanoverian Landwehr. As you can see from the picture, they’re all based and ready for the table. There are of course 6 figures missing – the officers, ensigns & sergeants. They are undercoated and ready to paint, so they should keep me busy for the next few painting sessions. I will then have a nice unit of 24 figures representing the Munden Landwehr battalion. As far as finishing the figures went, once I had painted them with Army painter Strong tone, I gave them 24 hours to dry and then sprayed them with Army painter Anti shine. I tend to use a light coat and if the figures are still a bit shiny in places then I use vallejo matt varnish, just brushed on, to finish off.
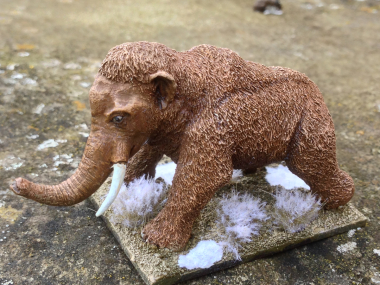
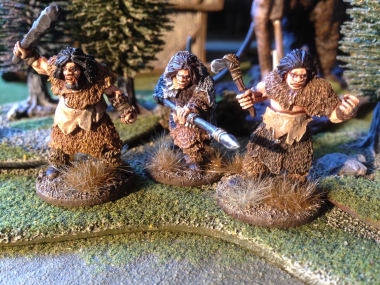
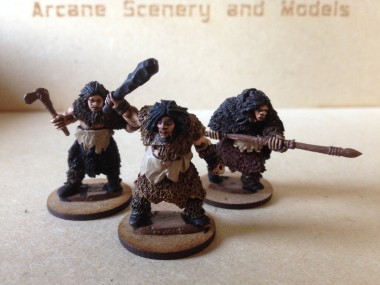 The other project that has leap-frogged up the painting queue is pack two of the Lucid Eye Neanderthals. Arcane Scenery are now stocking the Lucid Eye Range and of course the Neanderthals go really well with some of the Ice Age DeeZee miniatures that we produce. The Mammoths, Cave Bears & Smilodons for starters! So I’m working on getting a little band of Neanderthals ready for a Hunting party. One is just about finished, except the basing, the other two are just awaiting the fur pelts to be highlighted & the detail picked out. The techinique that I have used for these is slightly different from my usual style. Rather than using ‘dip’ to shade, I am shading and highlighting using inks, dry brushing and mixing lighter & lighter shades of the base colours. It’s a bit more time consuming for me but gives a nice result, particularly when the figures are so well sculpted. Here’s the progress so far. I’ll spend a bit more time in my next blog detailing the colours used.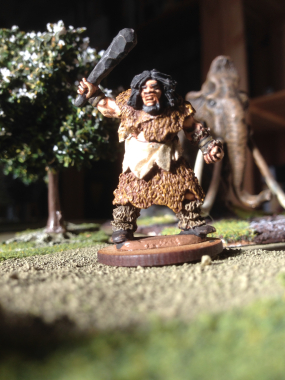
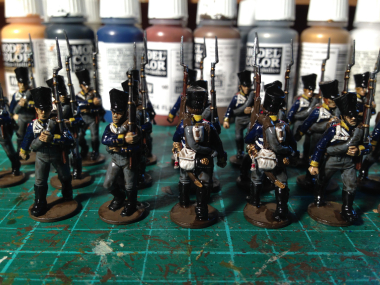
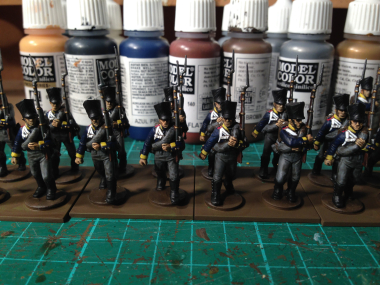
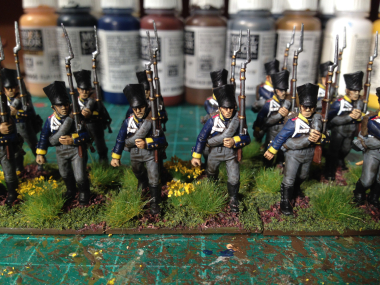
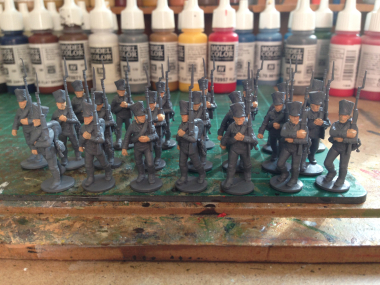
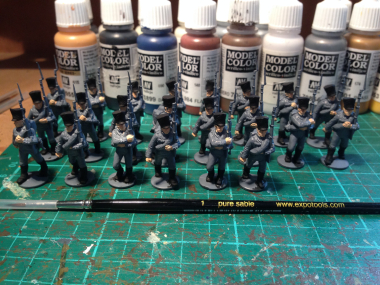
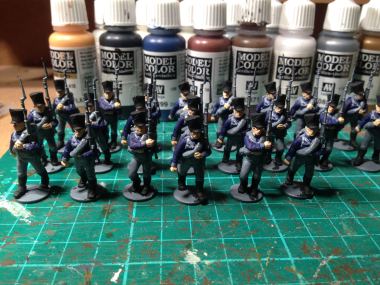
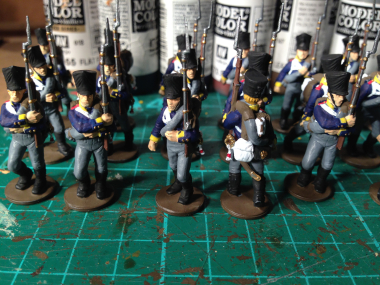
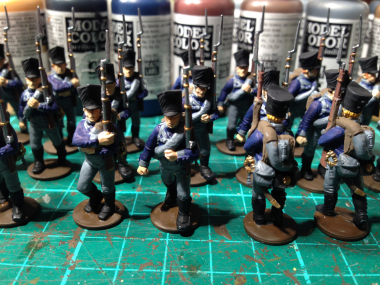 , brass for the bands on the barrel, stock, sword handle, scabbard end & badge on the cartridge box. Next up, I carefully paint in the webbing, Bread sack and detail on the back pack, as well as the sword knot. You could use Vallejo white 951 but I prefer to use the off white 820. At this stage the figures are nearly fully painted. So far, it has taken me about 8 hours of painting, or to be more realistic 4 evening sessions of two hours. Any longer & my back seizes up!