I am not easily distracted when focused on a project. In fact, I pretty much stick to what I have started, regardless of all the shiny new toys that I see every day. However, a casual enquiry at the recent Salute show set my mind working and before I could stop myself, the workbench was cleared and I was off on a complete tangent. The enquiry was, ‘Do you sell Polar Bears?’ I answered that we didn’t but that we did have some nice cave bears that could be painted white. Which made me wonder why we hadn’t done this before.
So as soon as I had a free weekend, I had a go at painting the three DeeZee bears as ‘Snow Bears’. We can’t describe them as polar bears as their heads are a bit on the large size, although the bear attacking looks almost sleek enough. The painting process was surprisingly quick. Once any mould lines had been removed, I primed the bears with a Model Mates Light grey primer.
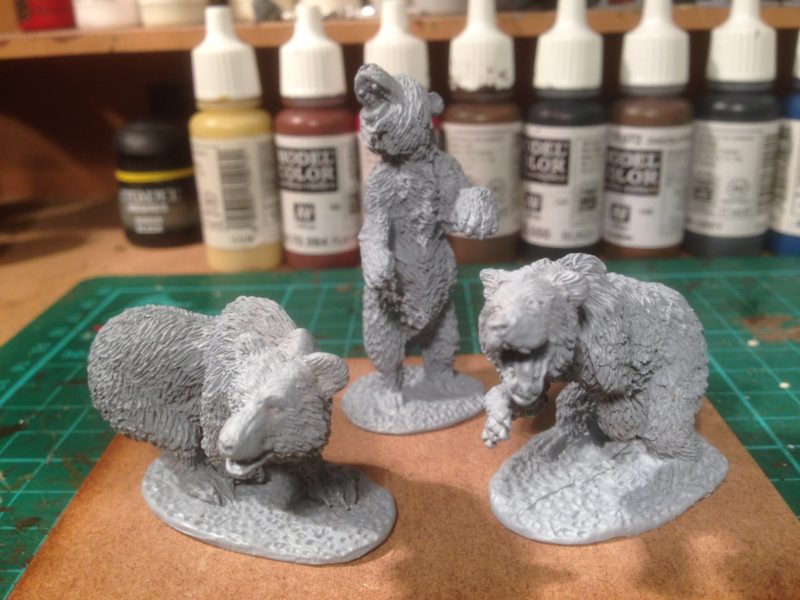
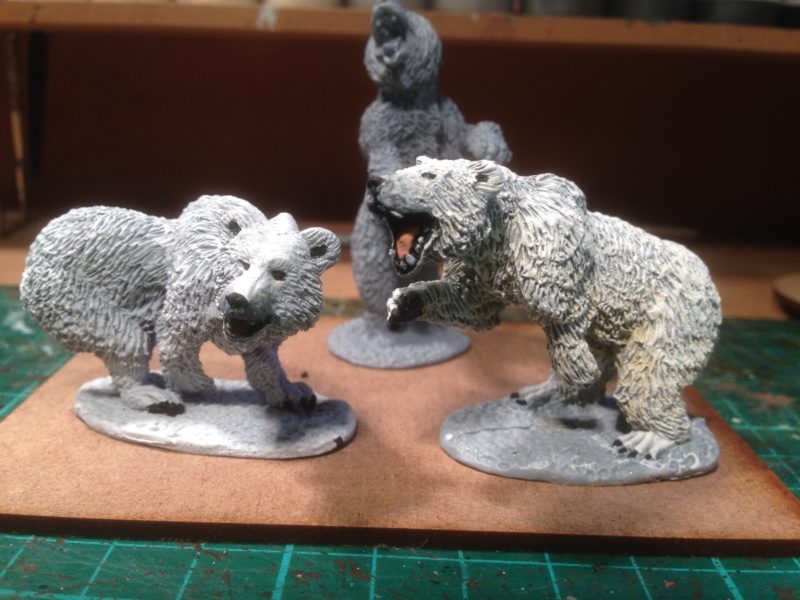
DeeZee Cave bears primed and ready for painting.
I had already decided to put them onto one base so that they could be display models for future shows. I decided to try a slightly different painting technique for each bear. For the Bear attacking, the one on the right, I first used a Vallejo beige to dry brush the undersides and shadows on the bear. This would give that slight yellowish tinge that you often see on Polar bears. I then used Vallejo Ivory, followed by Silver grey, followed by off white and finally Vallejo white in successive dry brush coats to build up the high lights. For the prowling Cave bear, the one on the left, I simply lightly sprayed him in white over the grey undercoat!
The first two cave bears painted as snow bears.
The details were quite straight forward. I painted the eyes, nose, mouth, ears, claws and paw pads in Vallejo Black. The tongue was painted Beige red and shaded with a brown wash. I added some dark greys around the snout and finally the teeth were tidied up with Vallejo white.
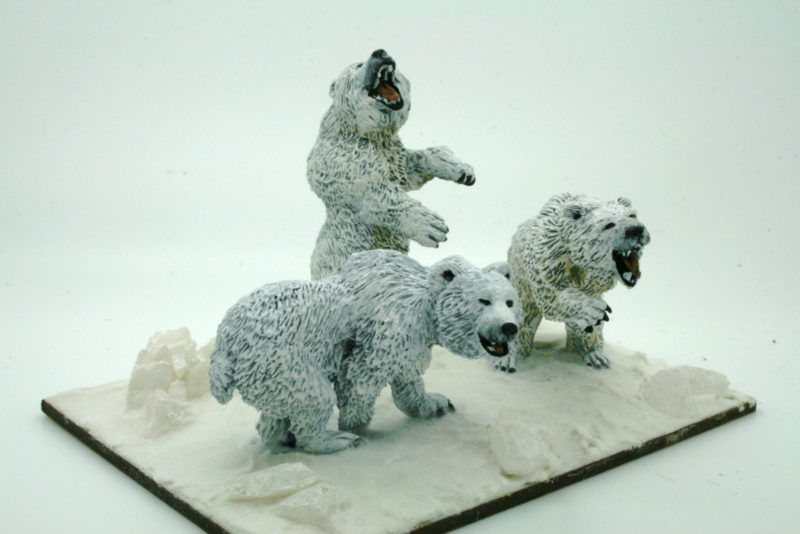
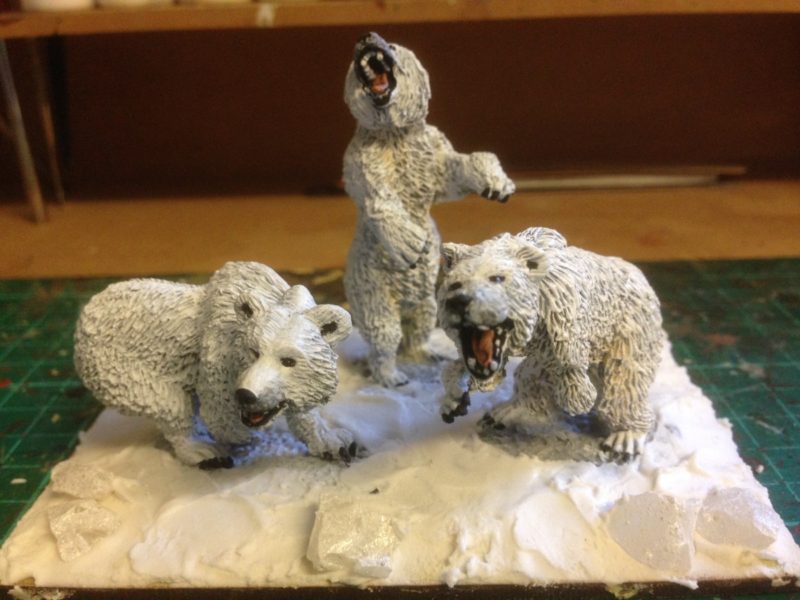
Three Bears!
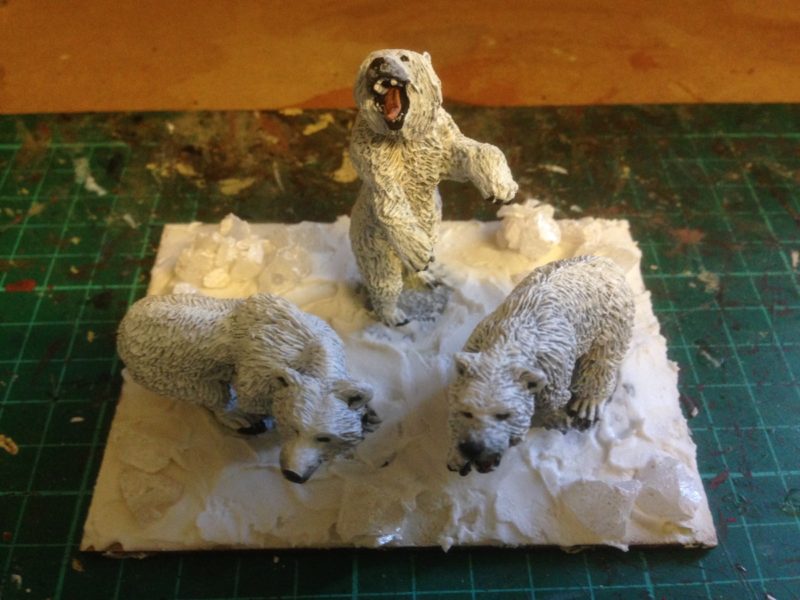
When it came to the third bear, the rearing bear, I followed the same process used for the attacking bear but shortened down. I still used the Vallejo Beige as a shade colour but went straight to the white dry brush to save time. The base ground work was done initially with milliput ( to stop the base from warping) and then covered in polyfilla to get the snow effect. I also added some Arcane scenery ‘Snow and Ice’ rocks to the base to add a bit of detail.
Base work done.
The final touch was to add some Noch Snow effects to the base and that was my little project complete. A bit of a change from my usual Napoleonic addiction but good fun. I think that if you are looking for a Snow Bear for your games – Frost Grave springs to mind – then the DeeZee bears will look great!
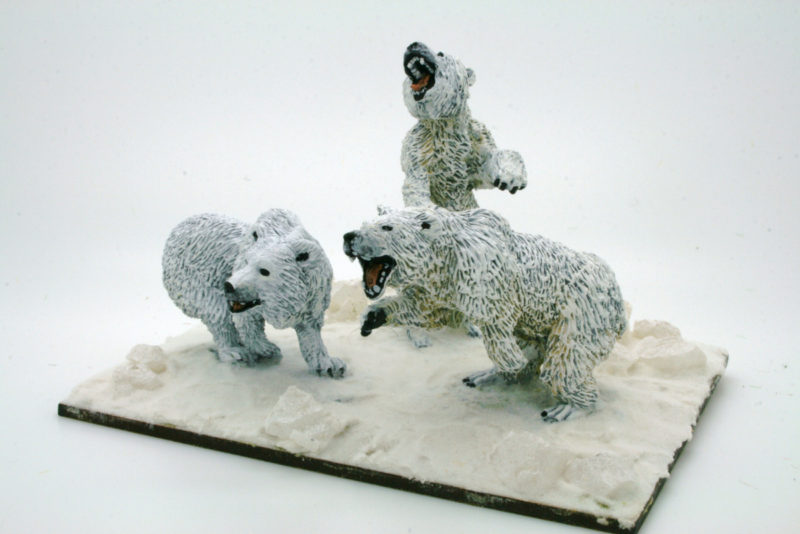
The finished Snow Bears

Another view of the completed Base