Back in April 2015, I wrote a blog article entitled ‘It’s All About The Base’ where I explained why I thought that the base was the most important part of finishing a figure. It’s still a view that I hold and judging by some of the frequent questions and queries on forums and Facebook it is an important subject for most wargamers. The problem is that we all seem to have our favourite way of basing our models, influenced no doubt by the rule set that we are using.
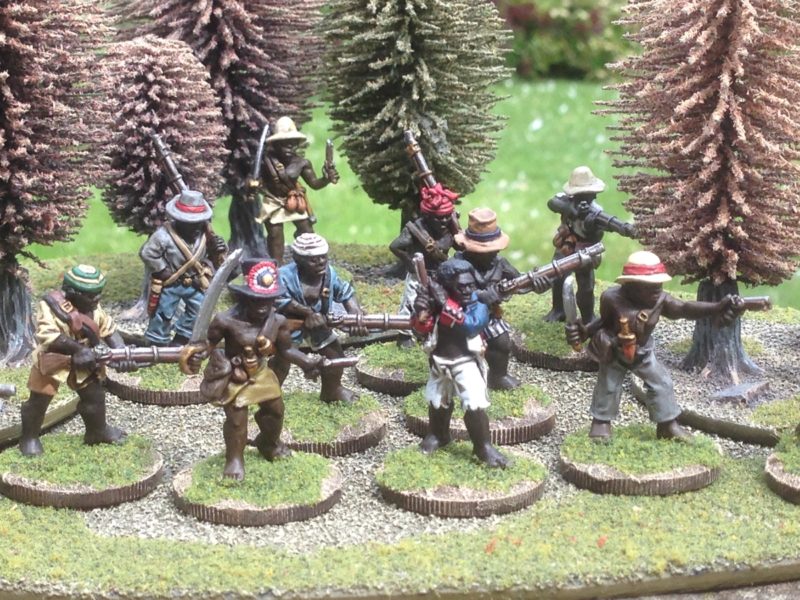
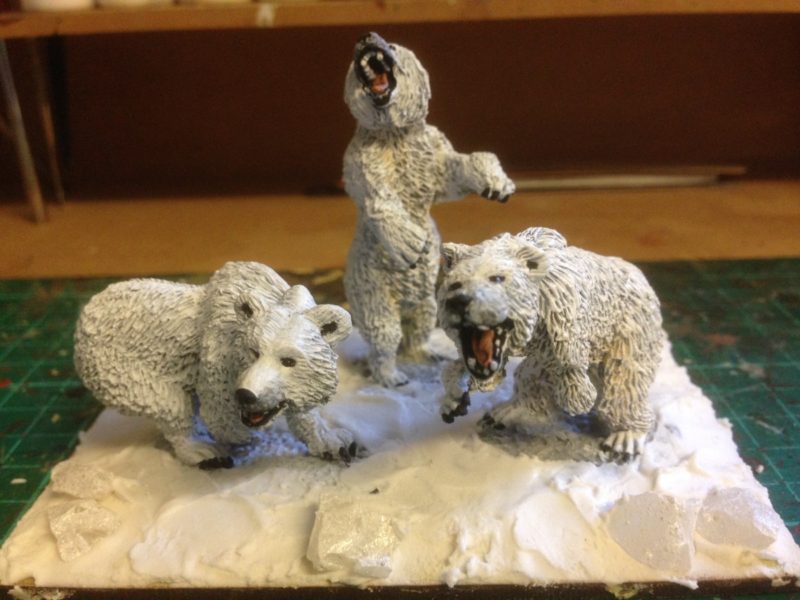
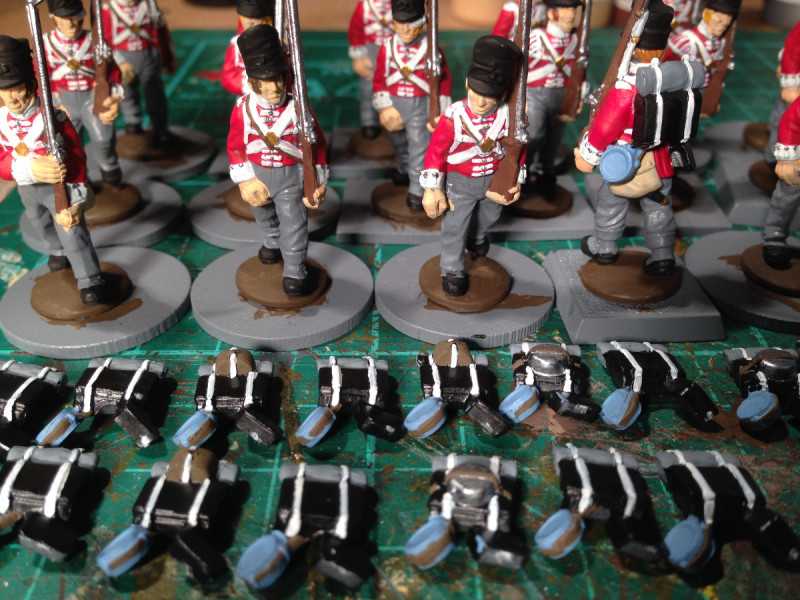
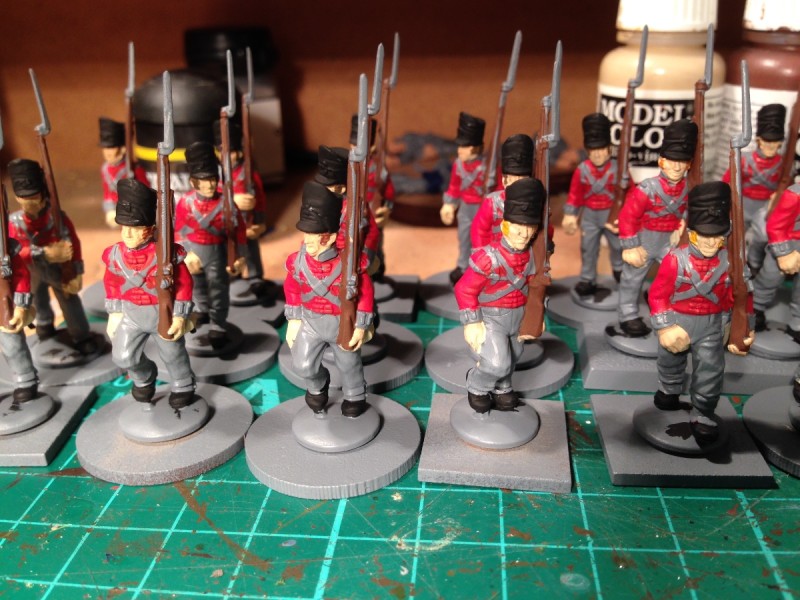
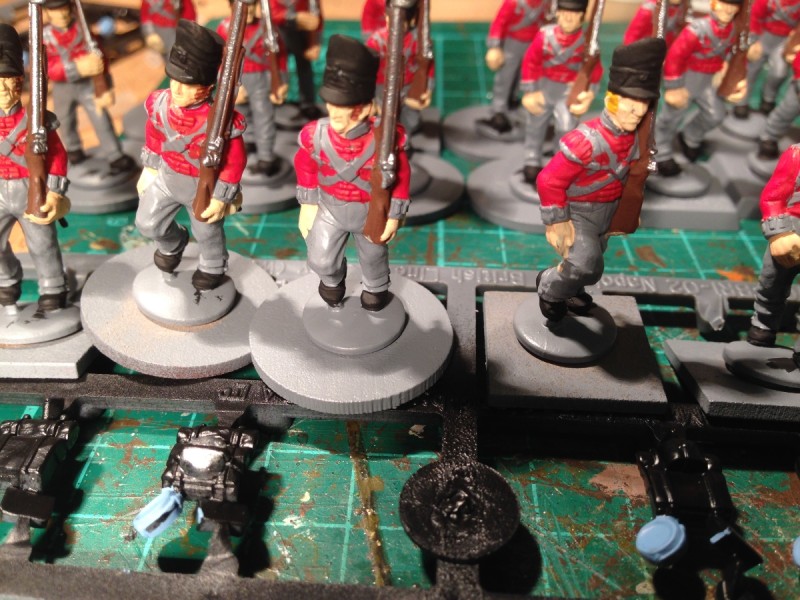
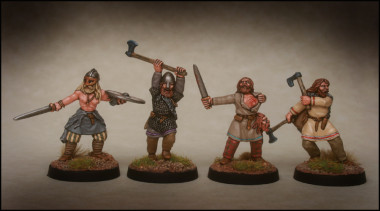
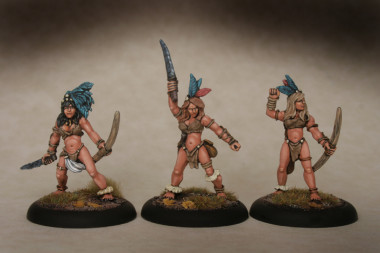
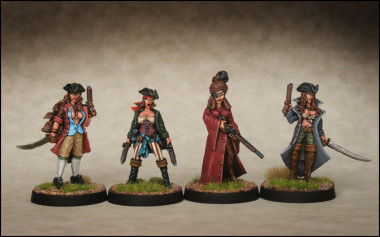
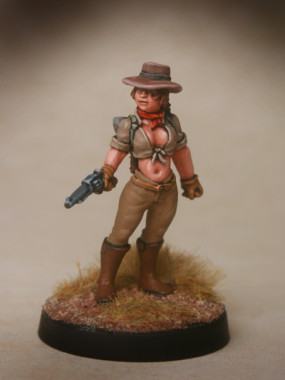
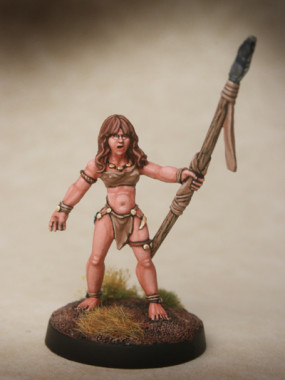
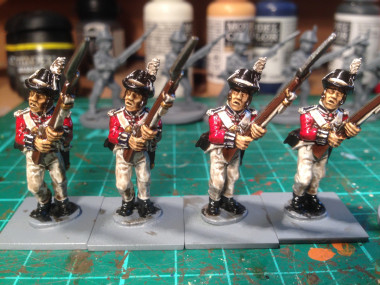
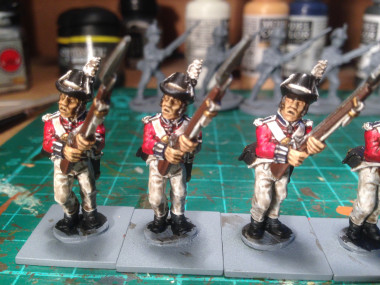
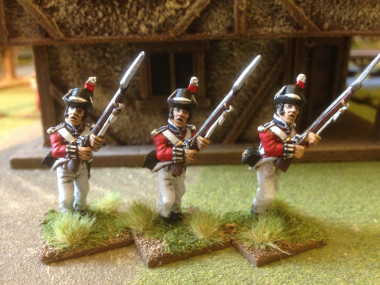
Maroon skirmishers
I’ve recently been working on some Maroons from the Caribbean wars and next up on the work bench are a batch of Dark Age Irish Slingers for Saga. Both sets of troops are designed to be used in a skirmish game and so I have based them on 25mm round bases. The problem is, I don’t like them – the bases that is. I cant explain why, but I prefer square bases. I particularly like 20mm square as a base size and in the past I have been more than happy to use these. Even for my Napoleonic troops. The problem of moving regiments on the table is simply solved by using movement trays. There are some difficulties with movement trays in that they hold your units in a rigid formation, which can make it tricky when negotiating terrain. It also makes formation changes awkward. My British do tend to stay in firing line but if forced into square it’s a nuisance having to take them out of the tray to form square. However, movement trays generally make deploying, moving and even storing your army easier.
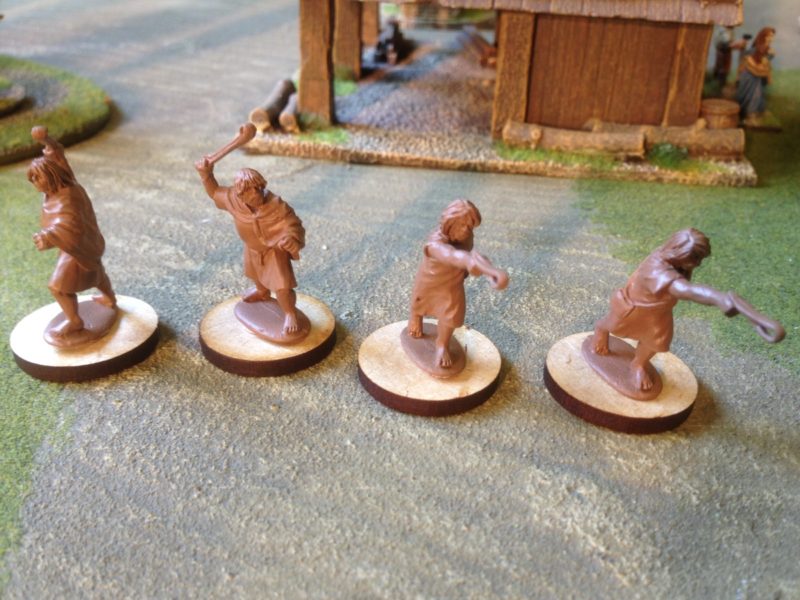
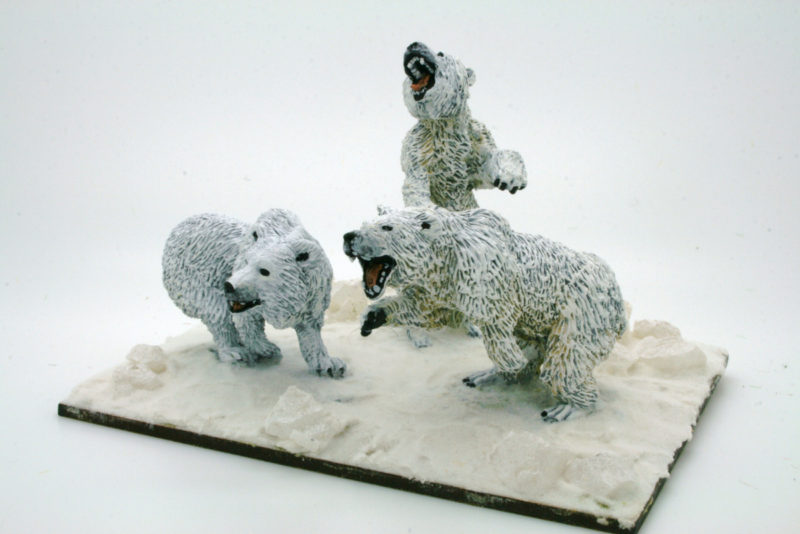
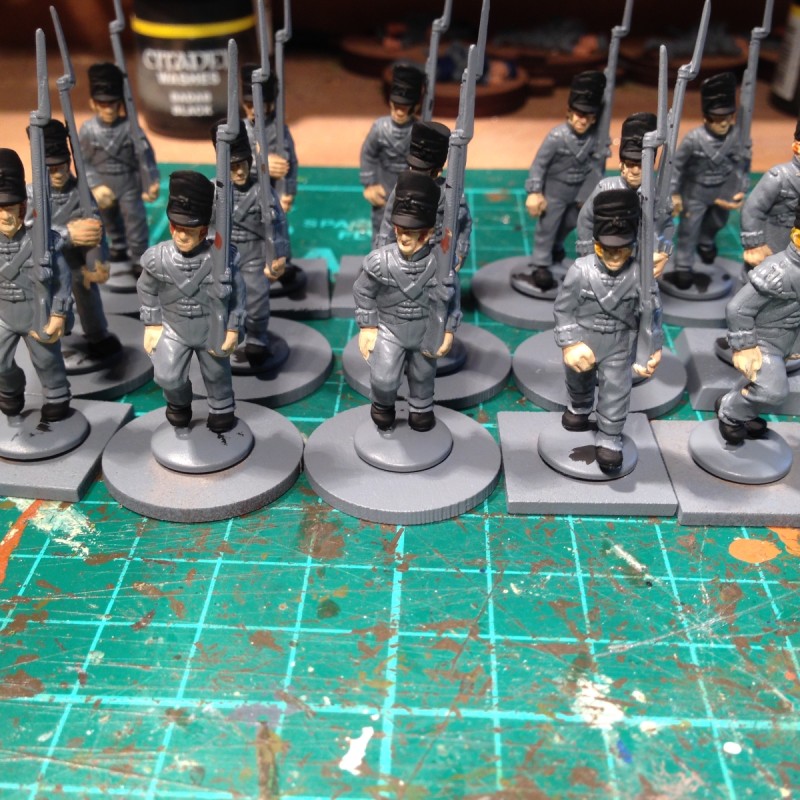
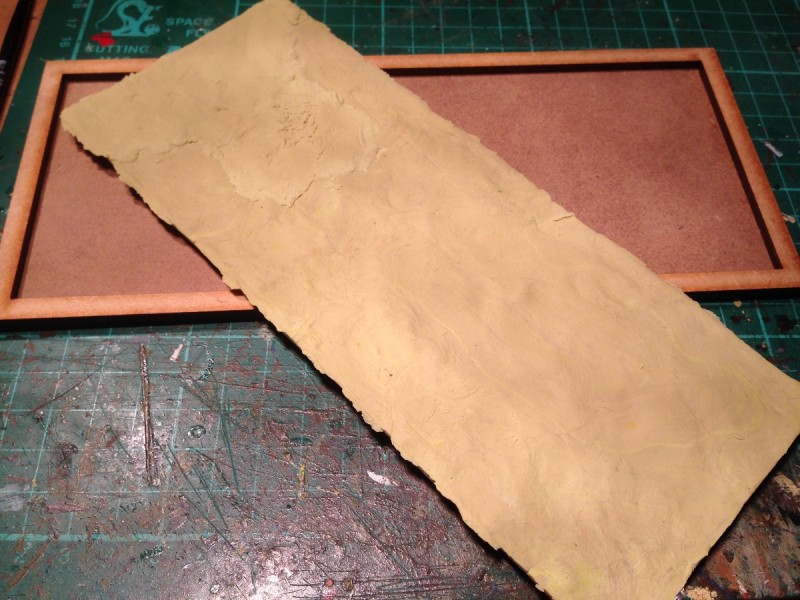
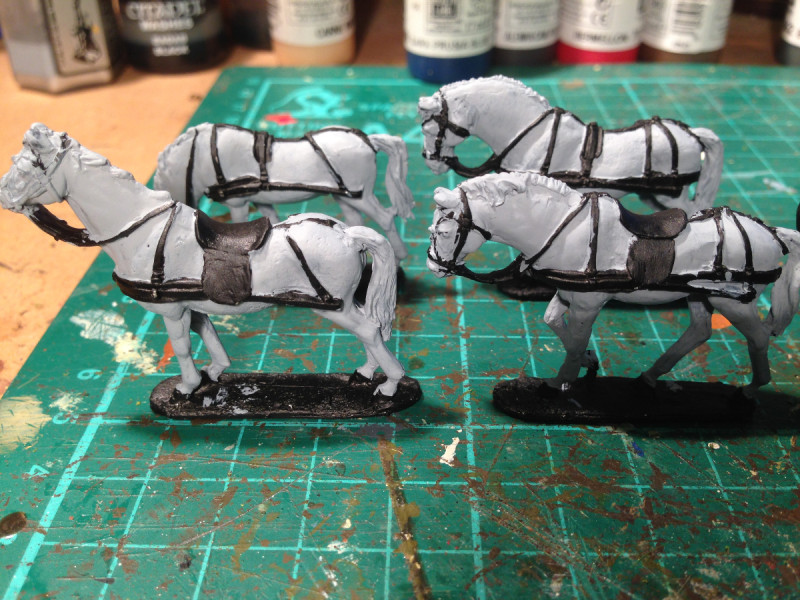
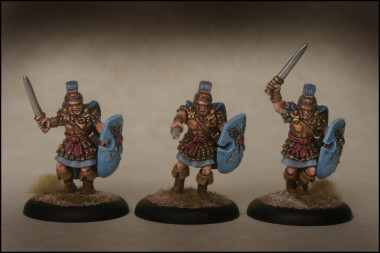
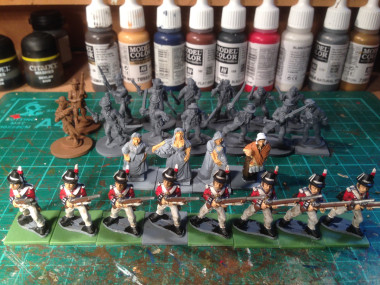
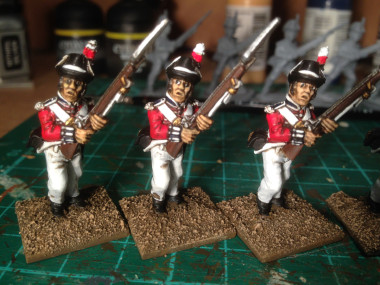
Irish Slingers undercoated and based for painting
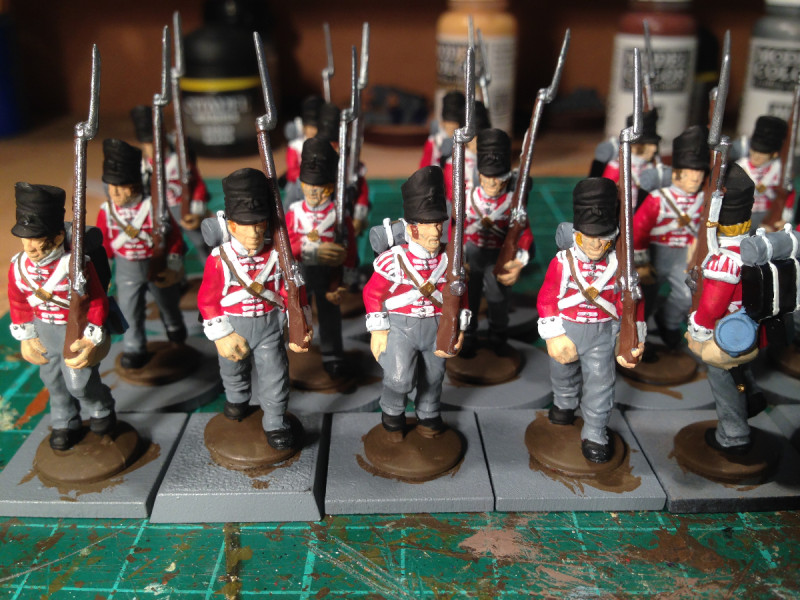
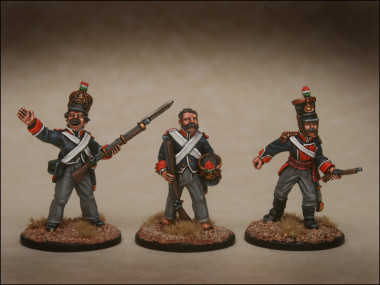
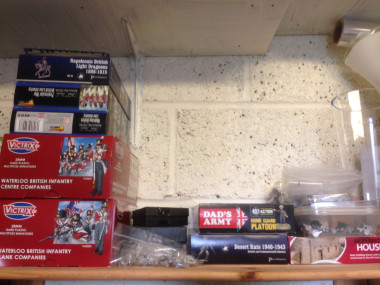
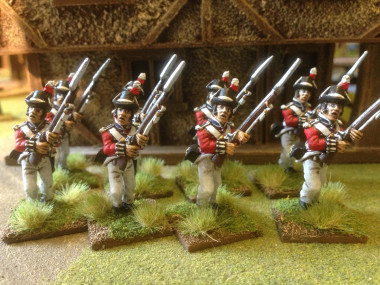
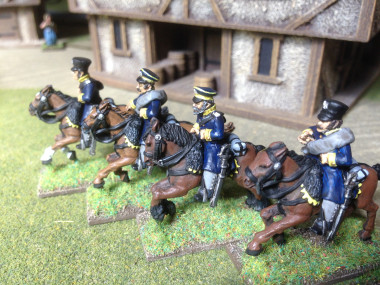
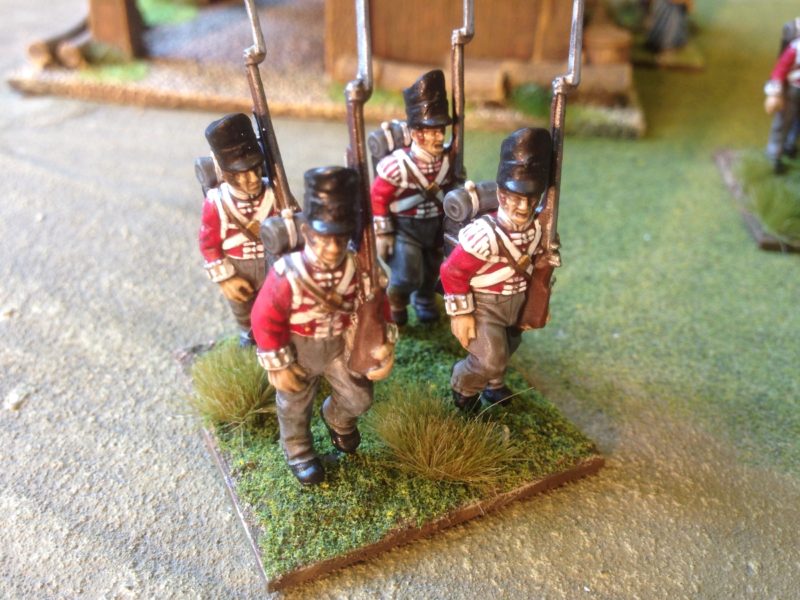
Just recently I have started to use 40mm square bases for 4 figures. This is ideal for Napoleonics as they rank up nicely, you don’t have to use movement trays, giving you a bit more flexibility but it does mean that you have to think about how you put your regiments together. It’s no good mixing flank companies in with centre companies and you need to think where the ensigns & officers are going to go onto the bases. My Napoleonic Battalions are built as 24’s. This is ideal for Black Powder and even better, I can split them into two 12’s for club battles, giving me two battalions for the price of one.

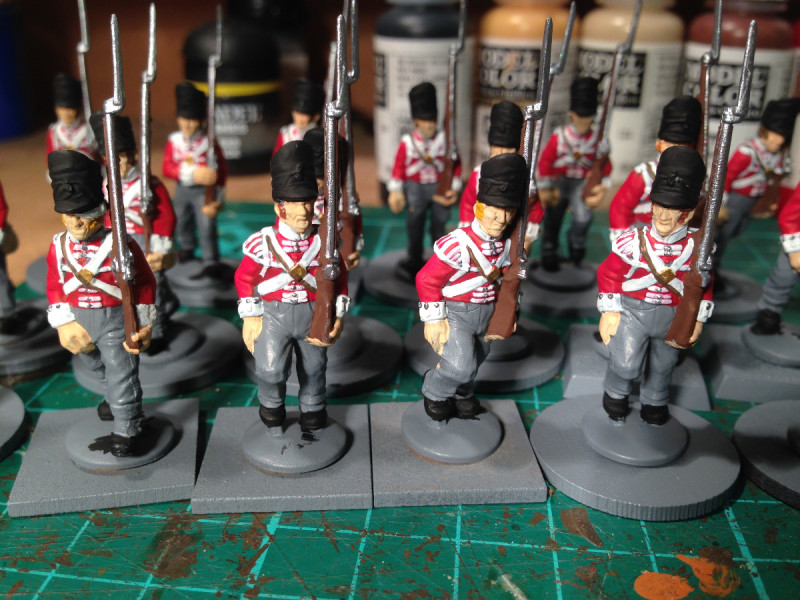
four to a base
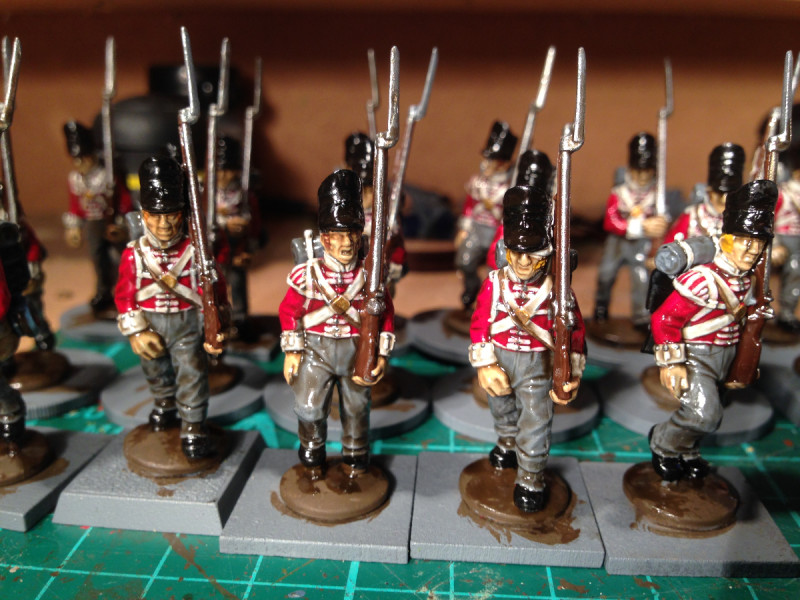
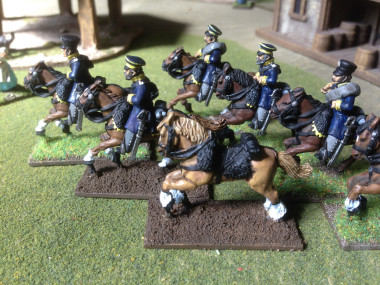
I am currently thinking about how to design a movement tray that will allow me to incorporate a disorder marker, casualty marker as well as a name plate for the unit. If I perfect it, I’ll add it to the blog. Even better, I’ll sell it in my shop….
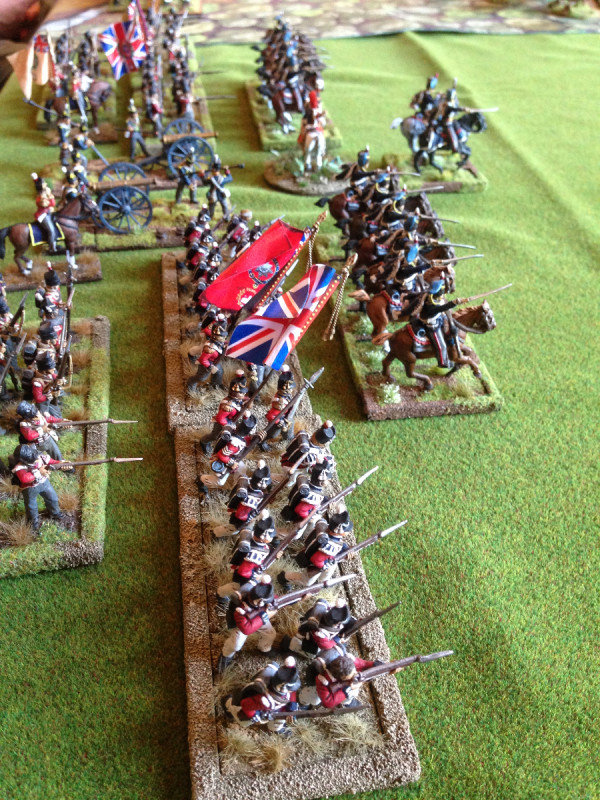
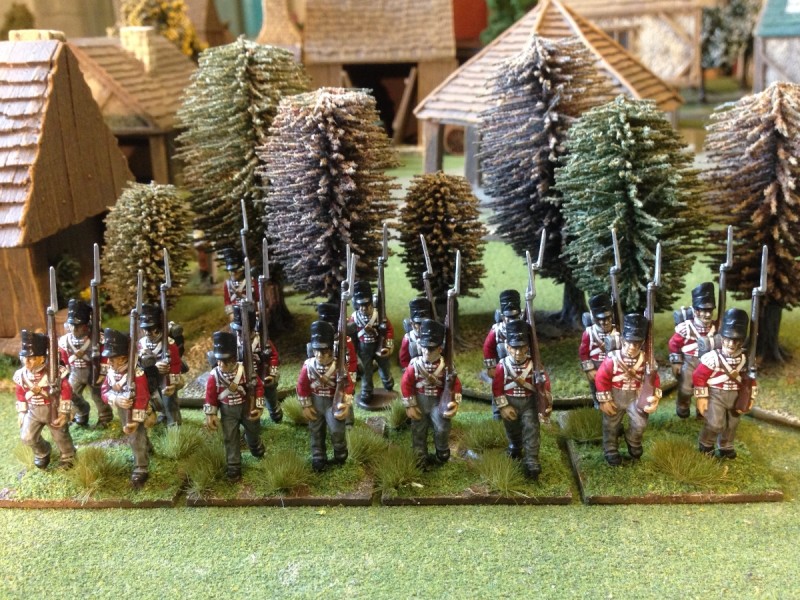
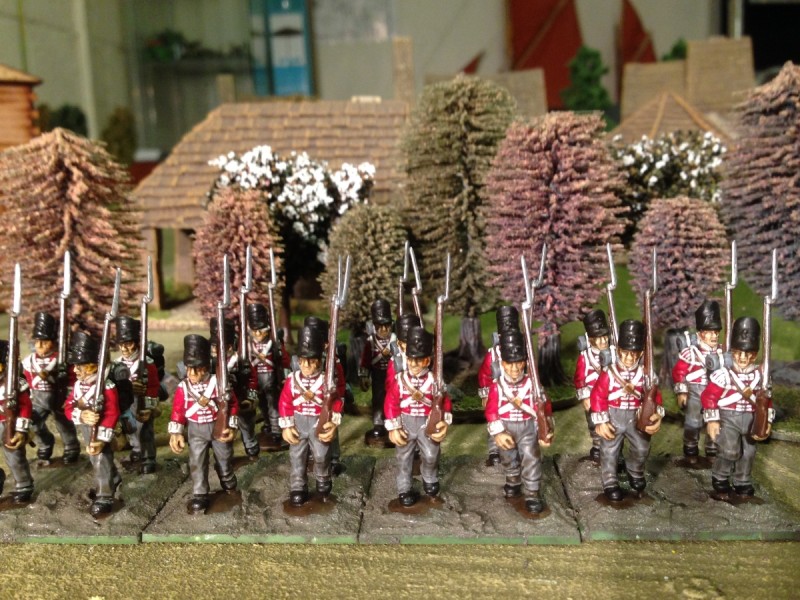
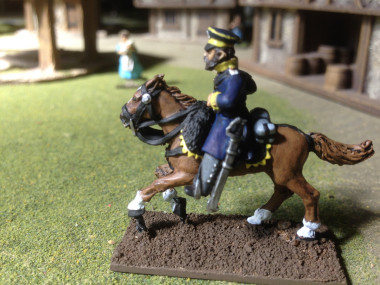
movement trays make movement easier
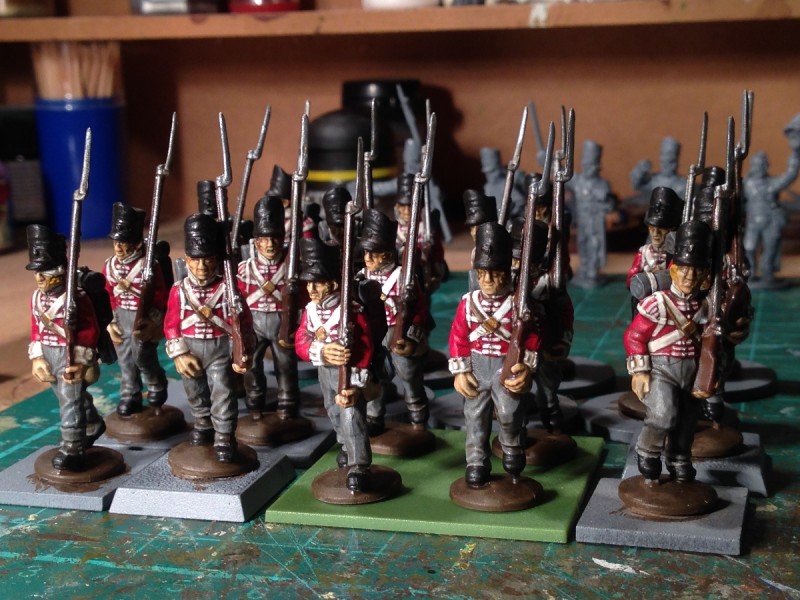
And so back to the round bases. I think that I will have to get used to them if I am going to play Skirmish games but I do have a solution for making them look easier on the eye when they are back in the cabinet. Yes, movement trays are the answer, this time with 25mm round cut outs. It helps with my OCD tendencies to see the troops all lined up smartly, even if on the games table they spread out a bit! So once they have finished their battle they can go back into the tray for storage and then back to the display cabinet in smart order!
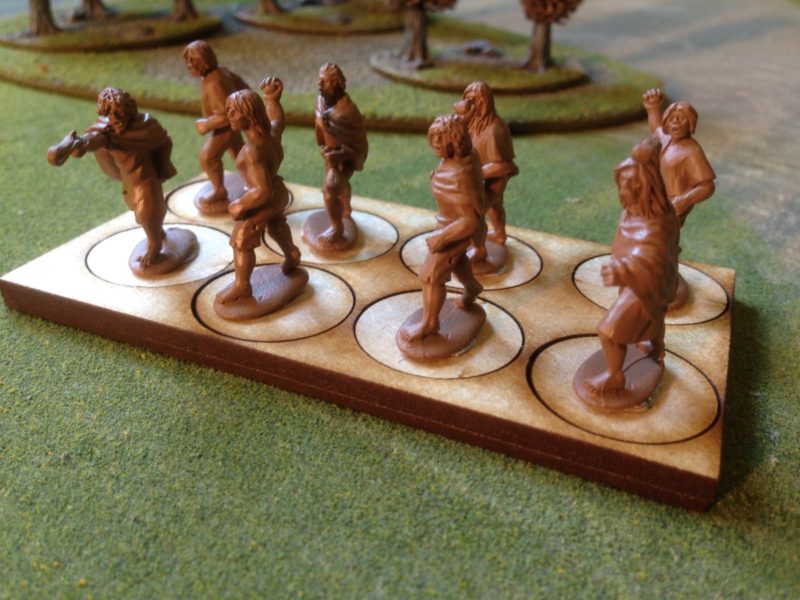
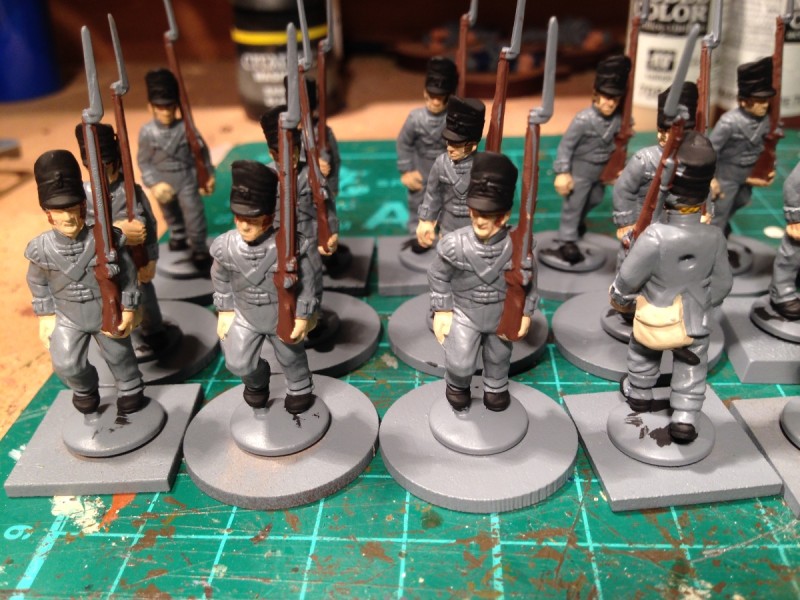
Irish Slingers will form line!
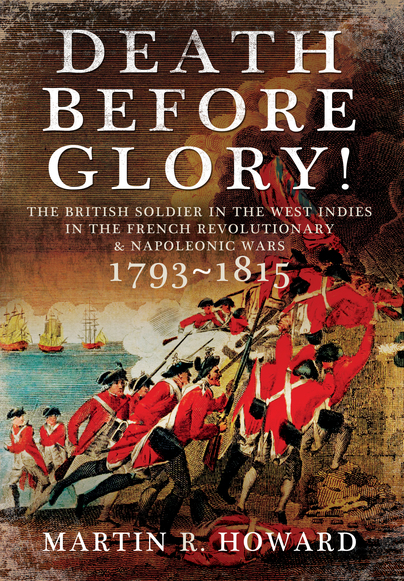
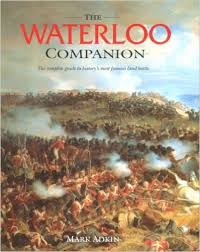
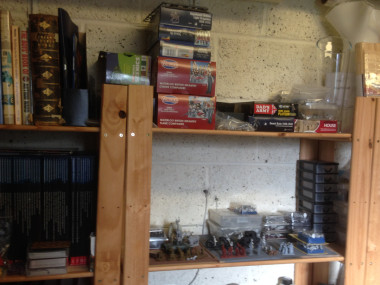
 Of course there are plenty of other books out there that will inspire and I suspect that we all have a few favourites on our shelf. My next read, although I will finish Death before Glory first, is Conn Iggulden’s Wars of the Roses ‘Bloodline’. It’s time I painted a few more troops for my WOTR retinue…