My attention has been very much on domestic and nursing duties this past week and so my hobby has taken a back seat. That said, I have still found the time to sneak off and get some painting done and so I have made some progress on my latest batch of figures, Napoleonic Portuguese Infantry. As I have mentioned previously, I have painted these for an article that will appear in this months Wargames illustrated, issue 349. If you would like a copy, it will be available, post free from my shop here:
Wargames Illustrated 349
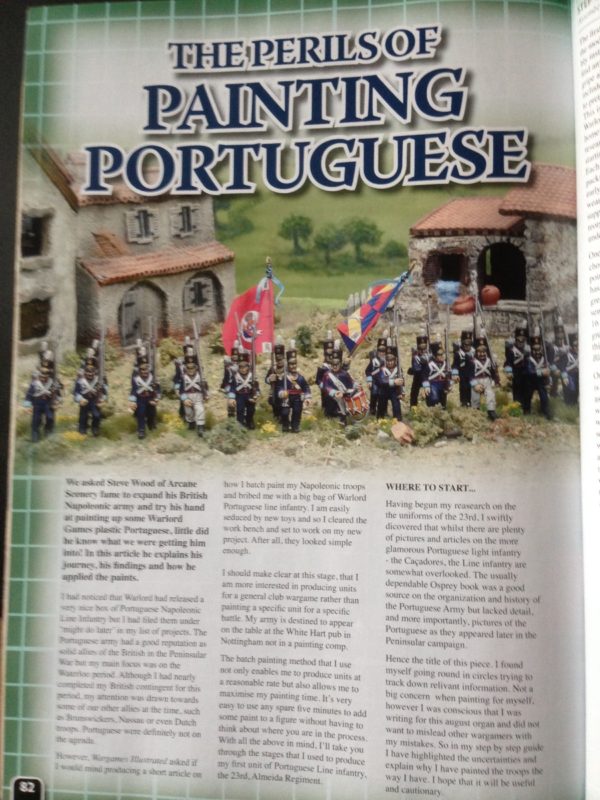
As you can see from the article, I had painted a full battalion as well as part painting another battalion to show the various steps that make up the process of batch painting these troops.
Painting Portuguese article
The article is entitled, The Perils of Painting Portuguese, not because the figures themselves were difficult to paint but because of the problems that I had in getting good reference materials to confirm the various colours. To find out more you will have to purchase the magazine but I am willing to share some of my references here:
https://uk.pinterest.com/horzawood/portuguese-napoleonic-uniforms/
It’s a link to my pinterest boards and if you are interested in painting some Portuguese infantry, I hope that you will find it useful. If you haven’t come across this site before it is a very useful way of gathering reference material for a project and if you check out the rest of my boards you will have a clue as to what I am interested in painting next!
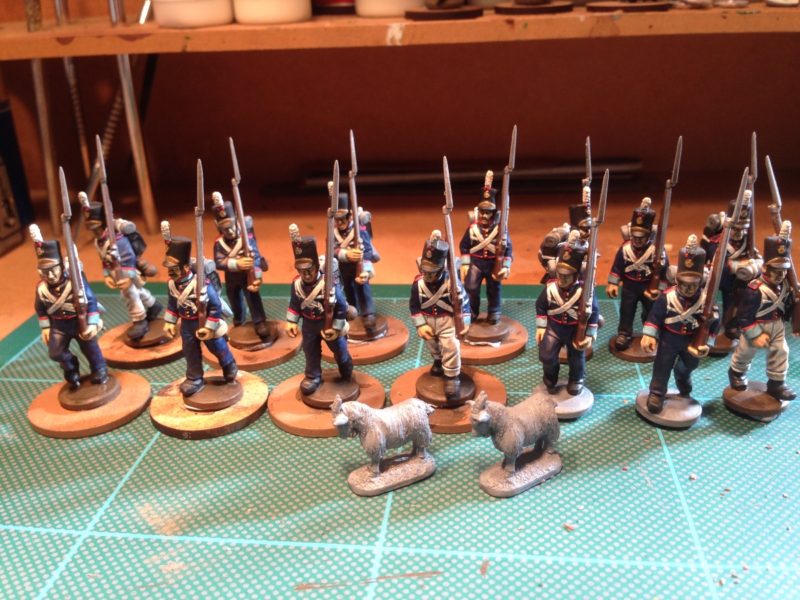
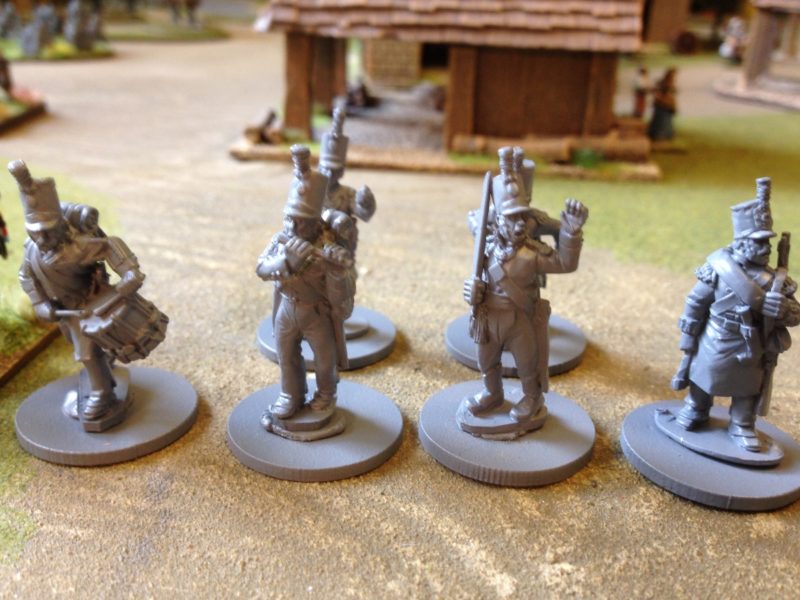
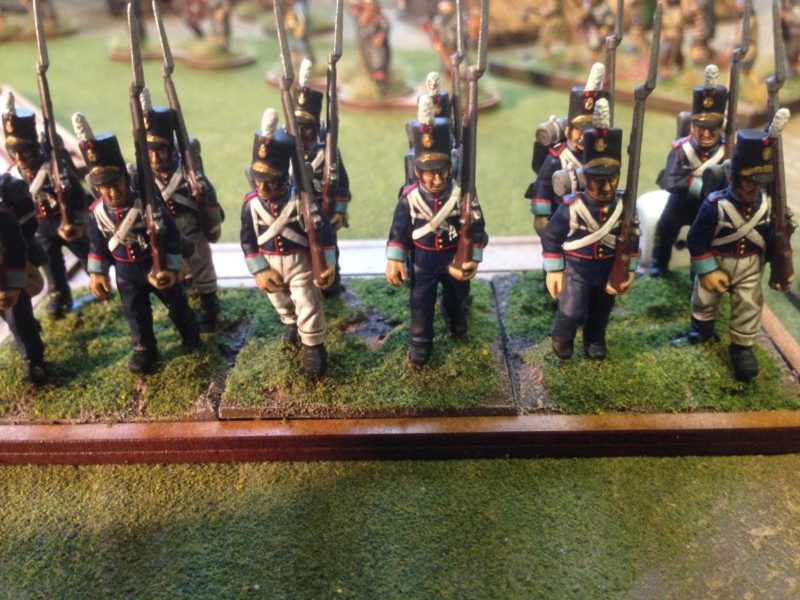
So back to my work bench and as you can see, I have finished and based the Infantry:
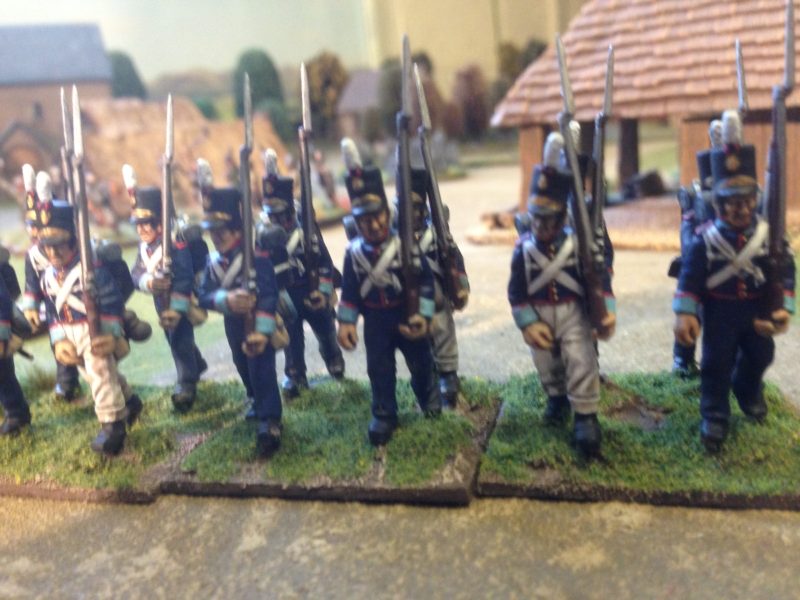
Portuguese Line Infantry
And the command group are nearly finished. They are just awaiting the last touches of paint, a coat of quick shade, matt varnish and then basing!
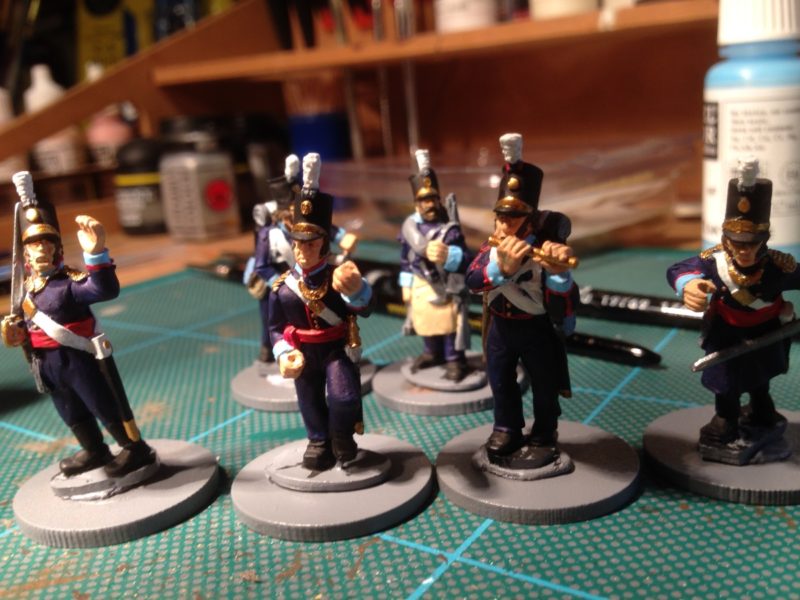
Command Group still W.I.P.
I’m afraid that the pictures were taken in haste for this blog post – once the battalion is complete I’ll post some better ones! That said, Portuguese infantry may be occupying my work bench for some time to come. The reason being is that I have decided to build the full regiments for both the 11th Penamacor from the Central Division and the 23rd Ameida Regiment which were brigaded together in the Peninsular War. Each regiment consisted of two Battalions, the first battalion carrying the Royal Standard, the second battalion carrying the Regimental flag. So in all, I will need 96 figures, which means that I have another 48 to paint. I have decided that I might as well complete these whilst I am ‘in the groove’ so to speak, rather than come back and of them later. It will also force me to do a bit more research as to which battles they fought in and who they fought alongside.

Portuguese Infantry in movement tray
So there will be plenty to keep me busy as we go into the Autumn and the clocks go back! My target is to have a full brigade of Portuguese, complete with Cacadores as skirmishers and some artillery support. Unless of course I get tempted elsewhere…..