I couldn’t resist posting another battle report using the Sharp Tomahawks rules set that Andy Callan had produced for the club. It was one of those battles that had plenty of talking points and had us both chuckling at the situations created. Afterwards, I drove home with a big smile on my face, thinking this is why I enjoy this daft hobby of ours! As usual, Andy had written a short scenario to set the game up, here it is:
THE ISLAND OF ST. AILLEURS
East Of Madagascar, December 1810.
After the fall of Ile de France (Mauritius) and Ile Bourbon (Reunion), earlier in the year, the surrender of the isolated French garrison on the remote island of St.Ailleurs was only a matter of time.
The small inland post at Fort Josephine has been under a desultory siege by British marines and irregulars loyal to the Sultan of Zanzibar (the former ruler of the island). Now word of the general surrender of French forces in the Indian Ocean has arrived with orders for all regular troops to march back to the island’s capital, Port George (formerly Port Bonaparte), the British to return to their ships and the French to embark for re-patriation.
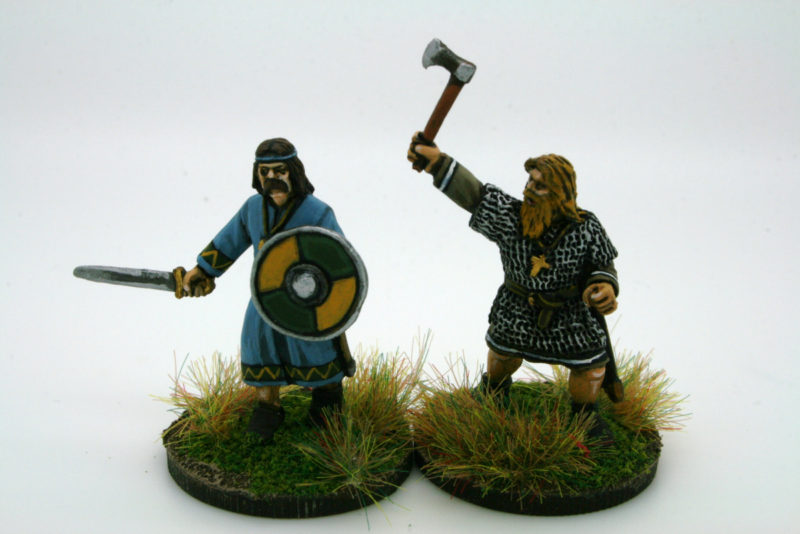
The prospect of leaving this god-forsaken hell-hole has been welcomed all round and everyone concerned is looking forward to a return to the fresh air on the coast. The former Austrian Grenz soldiers – reluctant servants of the French Emperor- have even raised their old flag in honour of the occasion. (our usual French figures weren’t available!)
But the Zanzibaris are not so happy. They were expecting rich pickings from looting the fort and its garrison and now it seems the perfidious British are planning to annex the island for their own purposes. The alliance is over. Death to the unbelievers!
Capitaine Vachequirit and Colonel Cheshire will have to put aside their former differences and work together to fight their way out.
The French (Capitaine Vachequirit – he cannot order British troops)
2 companies of the 124e regiment de Ligne (@12 figures) (rated “Average”)
2 companies of the 15e provisional colonial battalion (ex-Austrian) (@ 12 figures) (Average)
Mule train (carrying the garrison’s pay chest, powder supply and rum rations). It moves down the road whenever a “Special Event” card is drawn.
The British (Colonel Cheshire and Captain Lester : roll 4+ to give orders in French)
Marines (12 figures –Elite)
Naval landing Party (12 figures – Average)
The Zanzibaris (all troops start off hidden- randomly deployed, with dummies – in woods)
Osama bin-Liner, Mustafa al-Qorbyn
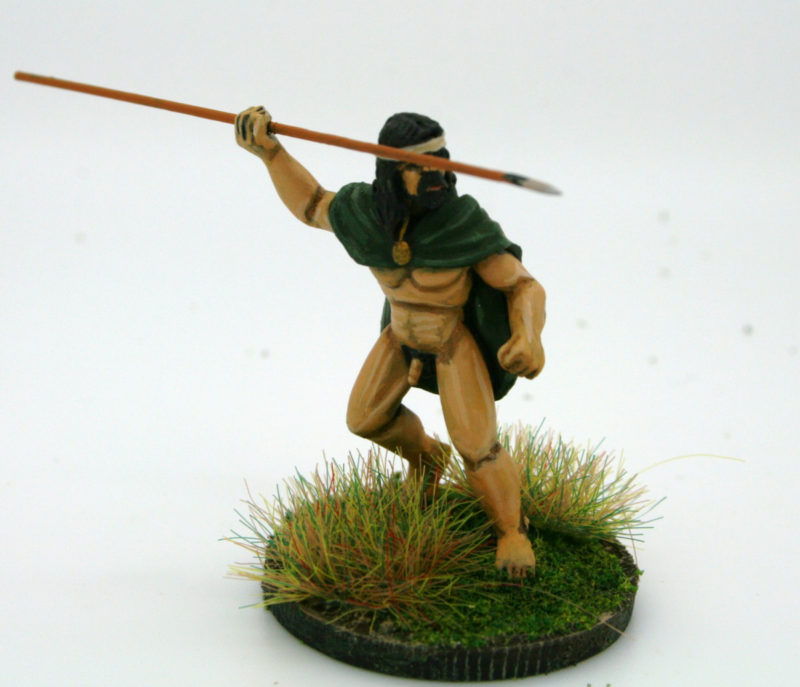
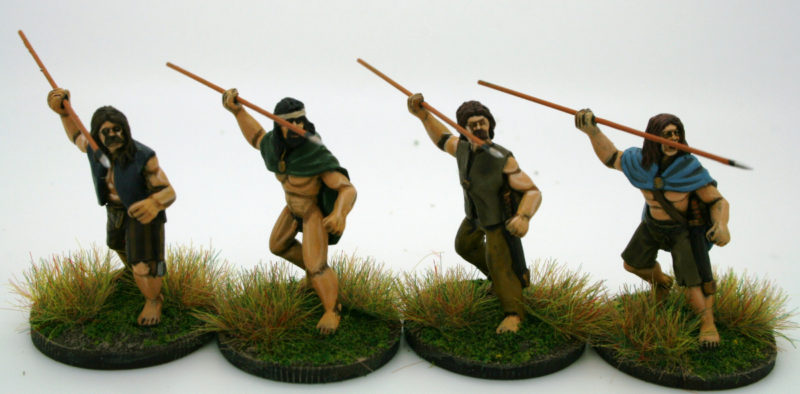
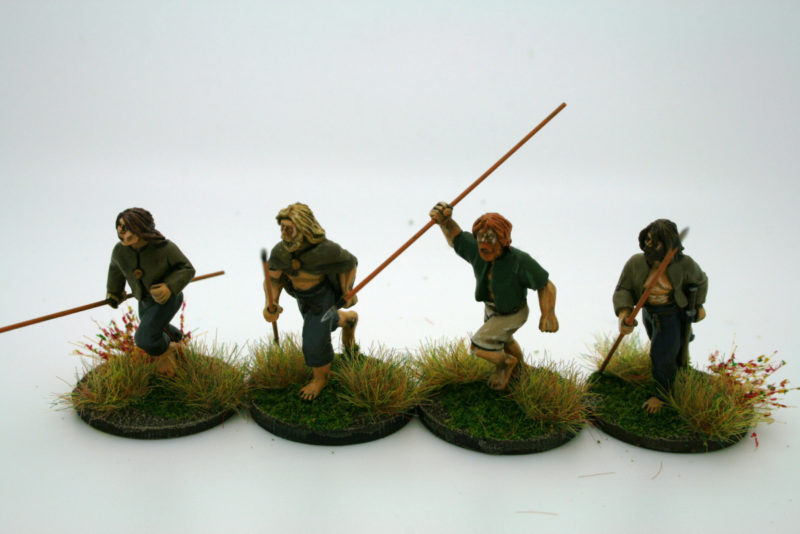
4 x bands of Irregular Skirmishers @ 10 figures (rated as “Raw” troops)
1 x band of Pygmy (25mm!) tribesmen @ 10 figures (rated as “Indians”)
Special rule : Any Zanzibari unit that routs will immediately be replaced by a fresh unit on the baseline for a roll of 4+. An individual unit can only be “resurrected” once in this way.
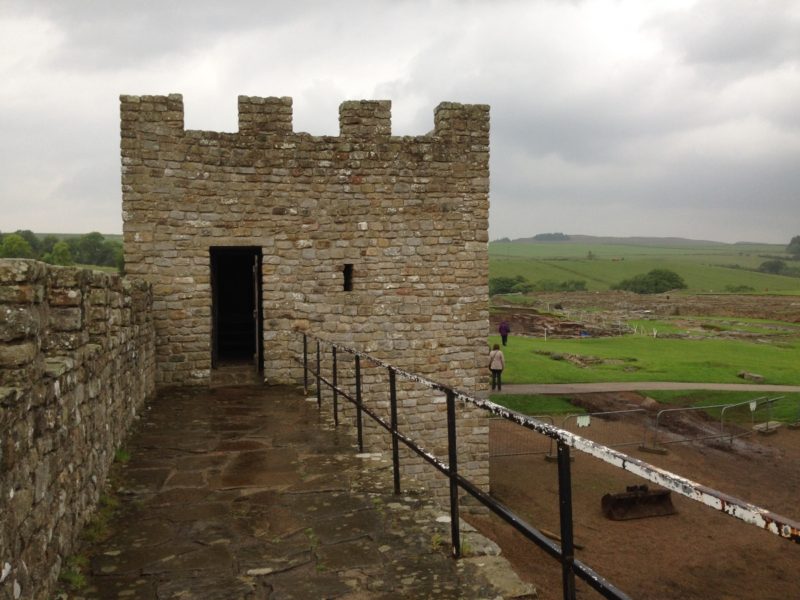
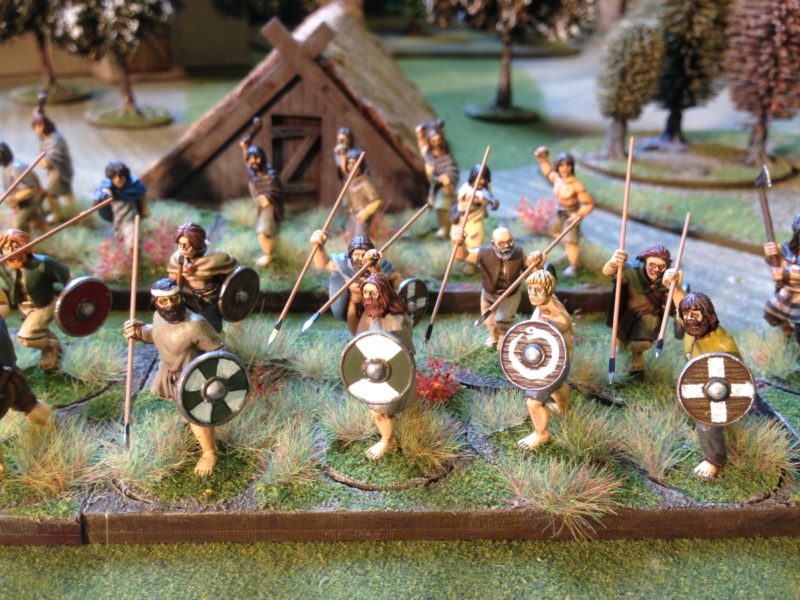
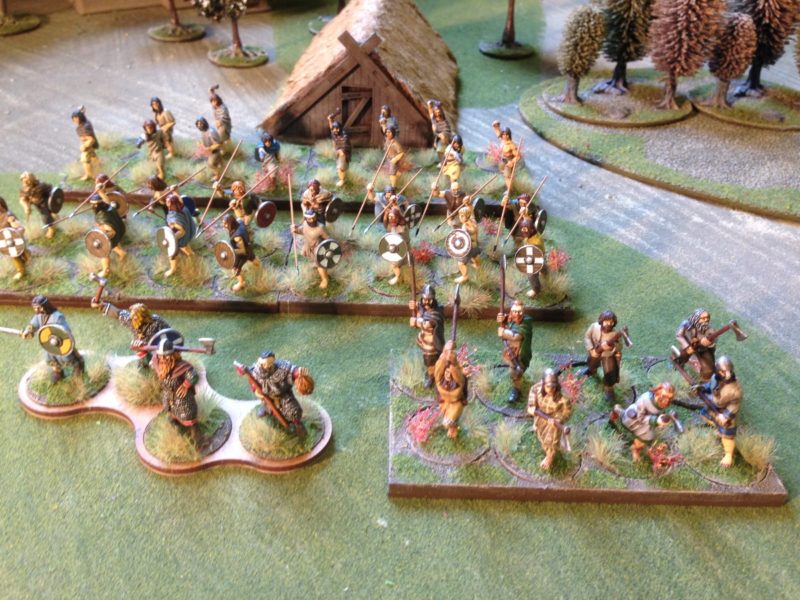
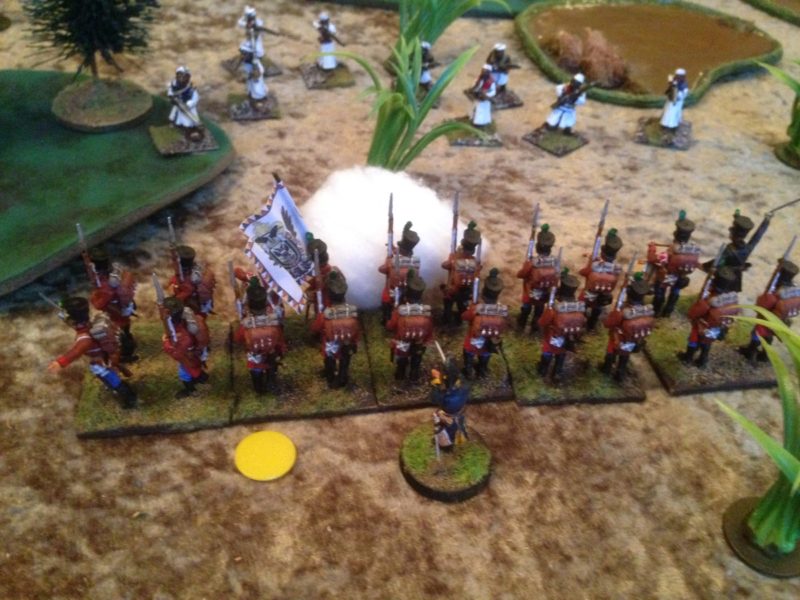
British forces gather to start the retreat.
We started the game with a new idea. Instead of drawing the cards. Each side was allowed to move one unit in turn until contact or the first exchange of fire was made. This meant that the game moved along at a faster pace whilst units took up their positions. For my part, I started to organise my column, the French were assigned to escort the mule train, whilst the British would act as the vanguard, dealing with any threats that emerged from the jungle. Andy had a different set of problems to solve. Although he knew where his commanders were, his troops were deployed at random on the table. Each location was marked by a scrabble tile and to activate the troops, the commander had to move into command range of the tile. The problem for Andy was that the tiles with consonants had no troops, vowels indicated that troops were there. So initially, Mustapha al- Qorbyn was running around the table like a man looking for an empty seat on a crowded train.
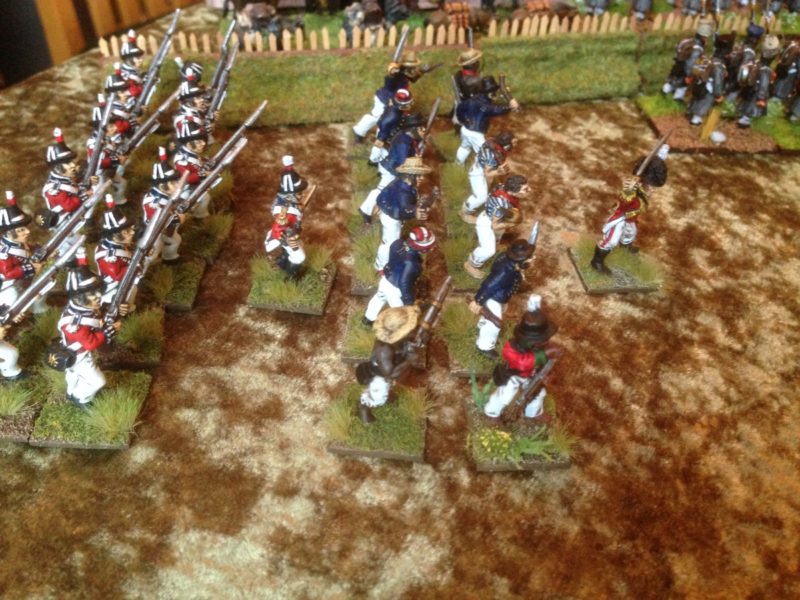
Eventually, he was able to muster his band and the action started with a flank attack on the Austrian troops guarding the mule train. To add to the drama, the pigmies charged out of the jungle to engage the rear of the formation.
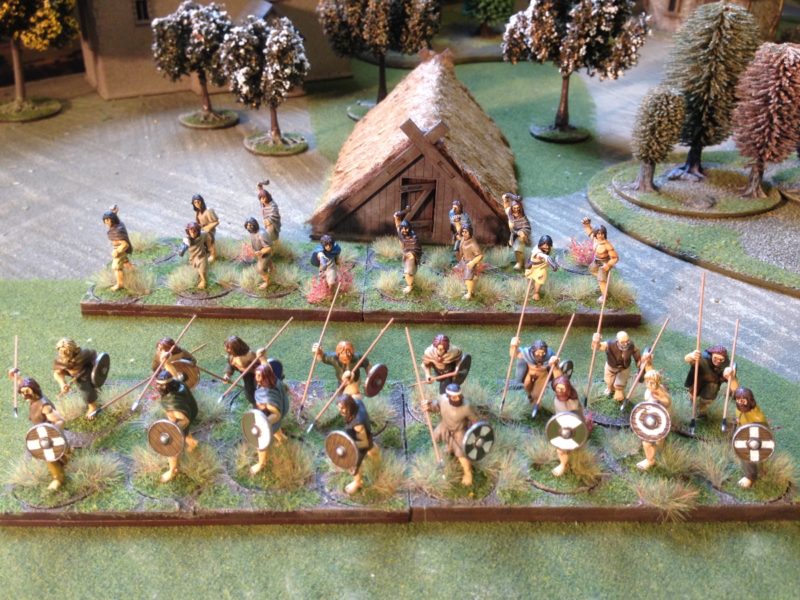
The Austrian Grens fight off the first attack!
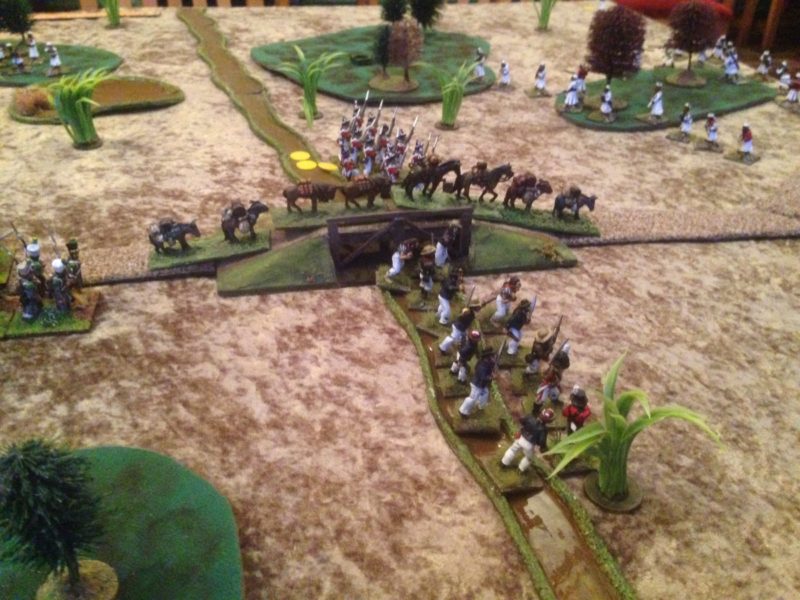
Although the Austrians were able to shake off this attack and repulse the Pigmies, they had suffered a few casualties and to make matters worse the pigmies had disappeared back into cover still intact! It wasn’t clear to Captaine Vachequirit where they had disappeared to but the grass was shaking ominously out on the flank again! Meanwhile, the mule train had moved off down the road with the British contingent acting as vanguard as planned. All went well until they reached the bridge over the stream. At this point, Osama Bin Liner ordered his troops forward to engage the Brits and capture the Mules.
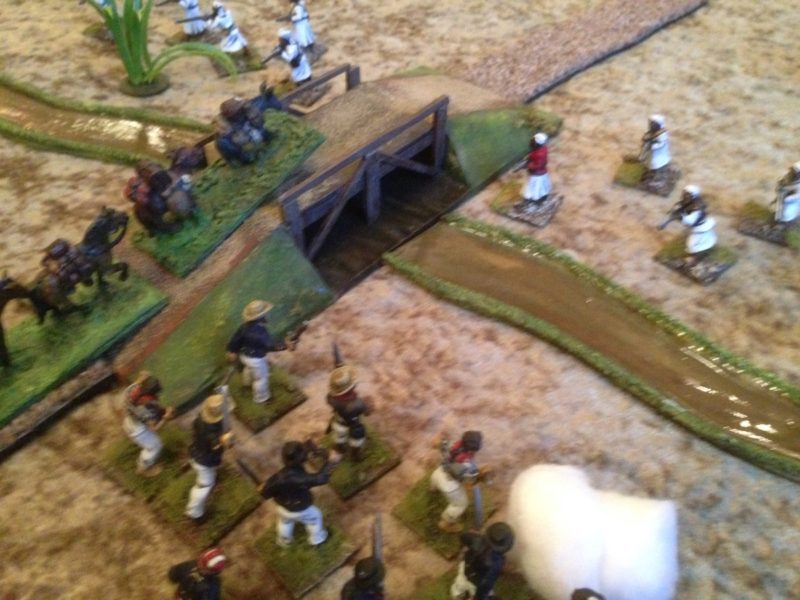
Ambush at the stream!
Bin Liners Zanizibaris were no match for Captain Lesters Marines or the shore party commanded by Colonel Cheshire and they were soon chased off. There was just one problem…the mule train was panicked and started to stampede down the road on it’s own. With the French and Austrians engaged to the flank and spooked by the Pigmies, and the British busy engaging the Zanzibaris at the stream, no one had taken control of the mules…
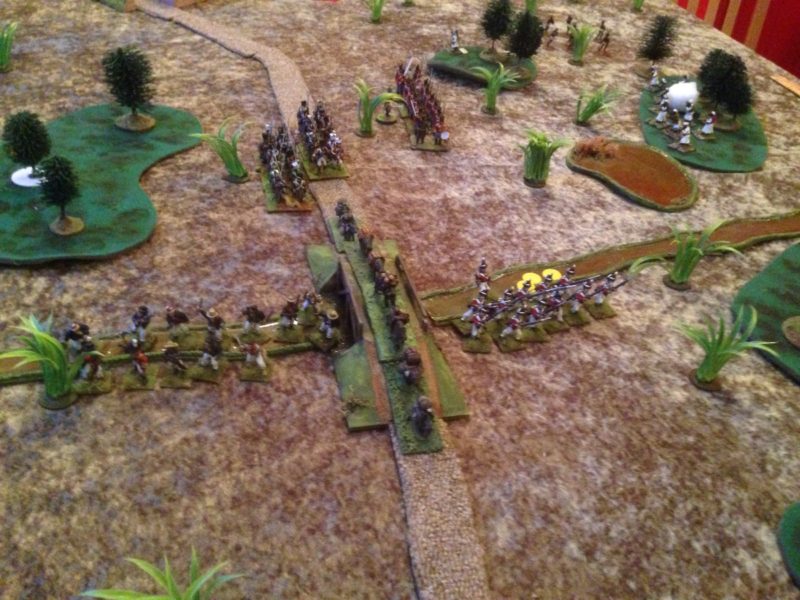
Somebody stop those mules!
With Osama Bin Liner rallying his troops to the front and Al- Qorbyn causing problems on the left, the column was suddenly in trouble. The French and Austrians were ordered to cease fire and try to catch up with the column, whilst Colonel Cheshire ordered the shore party to catch up with the mules. The Zanibaris took full advantage of the lull in the firing to close once again with the Marines under Captain Lester. In a fierce fire fight he was badly wounded and although able to continue, he was only able to command of his own troop of Marines. Those pesky pigmies had also reappeared and were once again threatening the mules!
There’s more trouble ahead!
In a desperate attempt to save the Mule train, Colonel Cheshire threw caution to the wind and led his troops the front of the column. Immediately, he was set upon by a large band of Zanzibaris and a ferocious melee took place. Despite his best efforts, Captain Lester was unable to come to the aid the brave Colonel – and the shore party was overwhelmed.
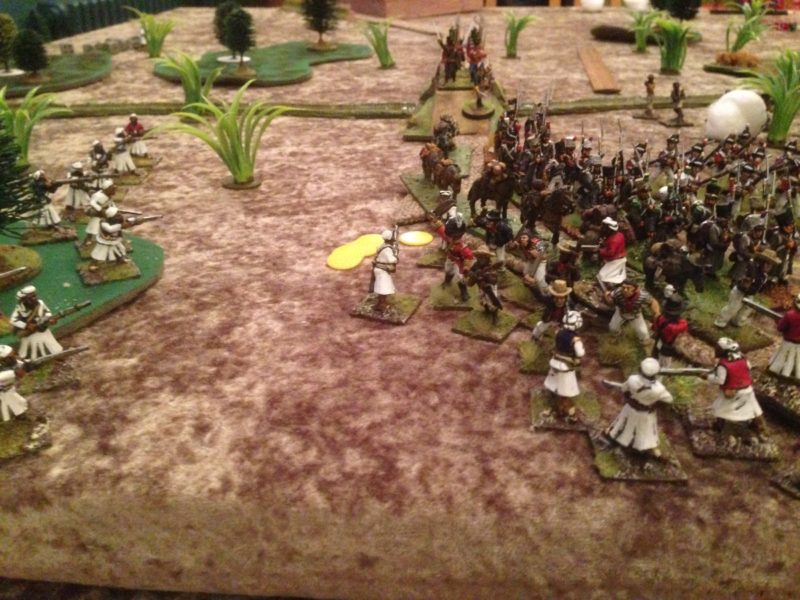
A desperate fight for the mule train!
Captaine Vashequirit, managed to bring up reinforcements but the damage had been done. The shore party was no more and the Marines had suffered terrible casualties, even the gallant Captain Lester was wounded. Although the Mule train was now back under control, there was nowhere for it to go. The Zanzibaris vastly outnumbered the survivors. Bin Liner and al Qorbin were triumphant! Terms were called for. The Zanzibaris agreed to let the survivors continue back to their ships so long as the Mule train and it’s spoils were left behind. So with their dignity still intact, the Allies continued on towards the safety of the harbour. What was that though…a rustling in the bushes… the damn Pigmies were still out there!
If you would like to have a go at using Andy’s rule set, the latest version is available her in PDF format for you to download:
SharpTomahawks
To make life a bit easier, here is todays scenario, also as a PDF:
St.Ailleurs
and if you enjoy it, here is last weeks scenario, ready to download:
Scenario
If you look at the last couple of weeks blog entries there is a bit more information as to how the rules were put together and how you can use them. I hope that you enjoy them as much as we have.