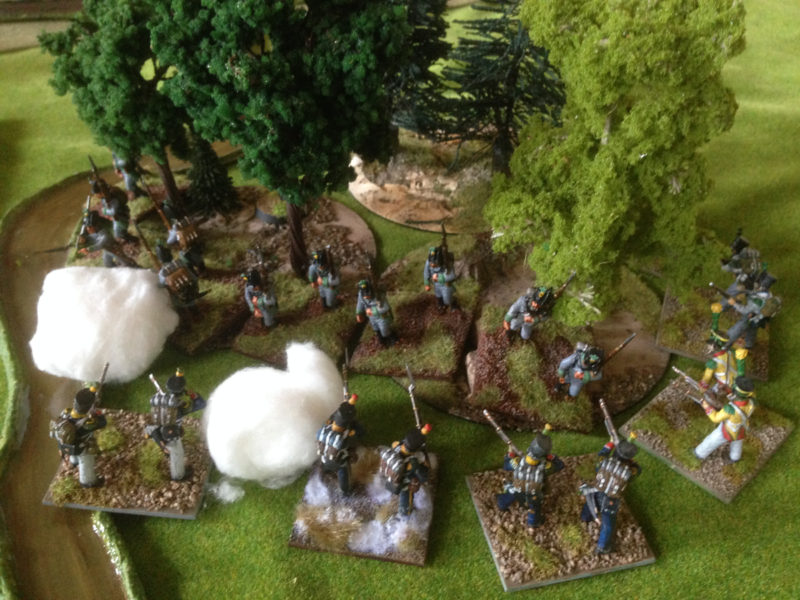
Having played Black Powder for some years now, our group has been looking for a set of Skirmish rules for the Black powder era that would enable us to game using a limited number of figures. We all have quite large Napoleonic Armies but when it comes to, say, the AWI, French Indian Wars and similar periods, some of us are still playing catch up with painting. So skirmish rules are the way to go. We had been playing Muskets and Tomahawks but in truth, the groups enthusiasm to learn a new set of rules was on the wane. The other issue was that we were playing M&T’s fairly irregularly so the rules just weren’t sticking in our brains….
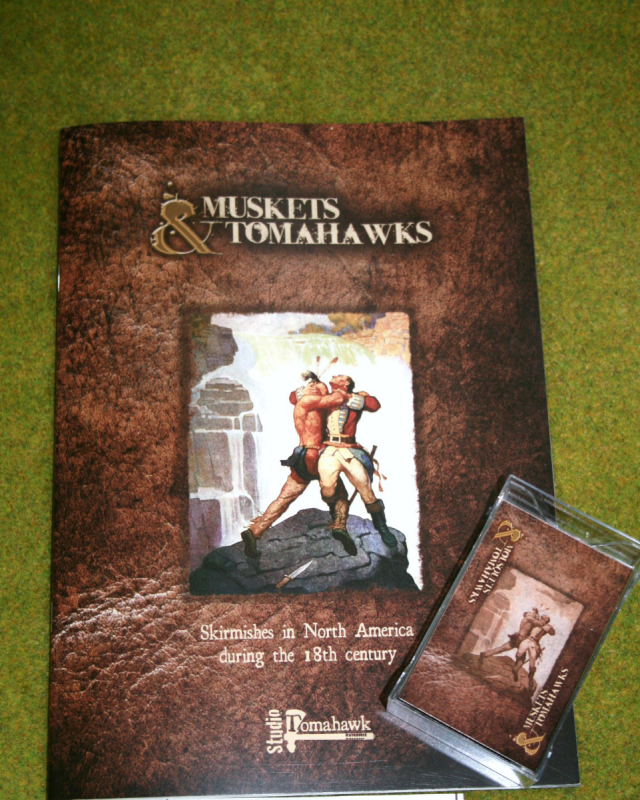
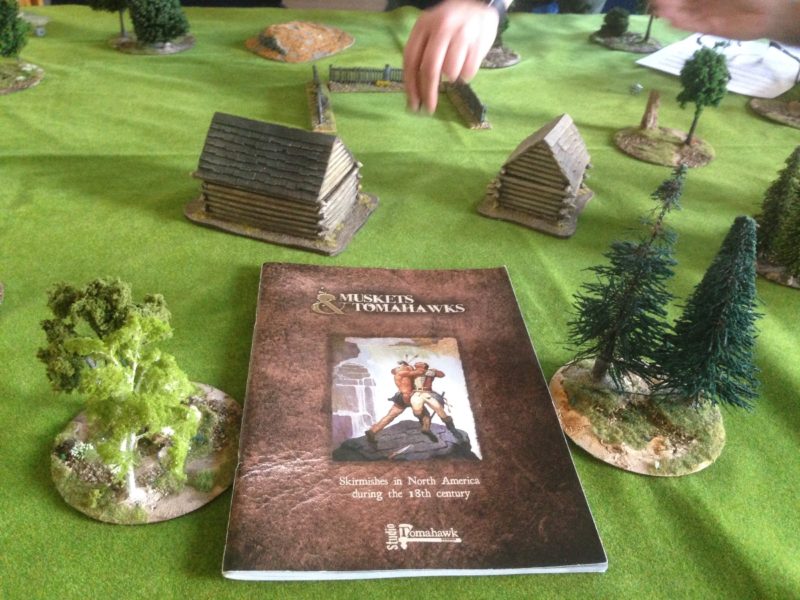
muskets & tomahawks from Studio Tomahawk.
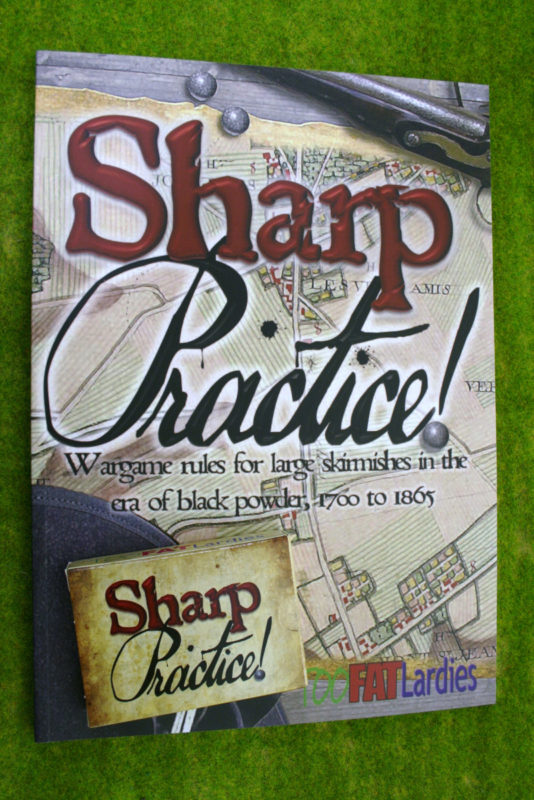
The first Skirmish game that actually introduced me to the hobby was ‘Sharp Practice’. With the launch of the new version, complete with the cards, this seemed to be the answer to our problems. The Sharp Practice rules set has a depth to it that really encourages you to develop characters and scenarios and provides a ‘rich’ game play ( no pun intended) that develops into a story line of it’s own. Unfortunately, we encountered the same issues. Although we were familiar with the rules mechanism, the lack of experience and consistency meant that we were having to constantly refer back to the rule book to resolve queries. Of course, it didn’t help that half of our group had sort of read the new rules and the other half played in blissful ignorance, happy to do what ever they could get away with!
 The group decided that we needed a simple set of rules that would allow us to play a skirmish game on a Thursday evening that would not tax the brain too much and would be something that could be read quickly and absorbed. Step forward, Andy Callan, veteran rules writer, who volunteered to put the two rules sets together and simplify them down to two sides of A4 paper. Andy has been writing rules and war games scenarios for many years. His rules set ‘Loose Files and American Scramble’ appeared in the very first edition of Wargames Illustrated ( why the hell we aren’t using these at the club is another mystery to me…..) and his current joint project with Peter Dennis is the Paper Soldiers rules sets & armies published by Helion Books that I have previewed here
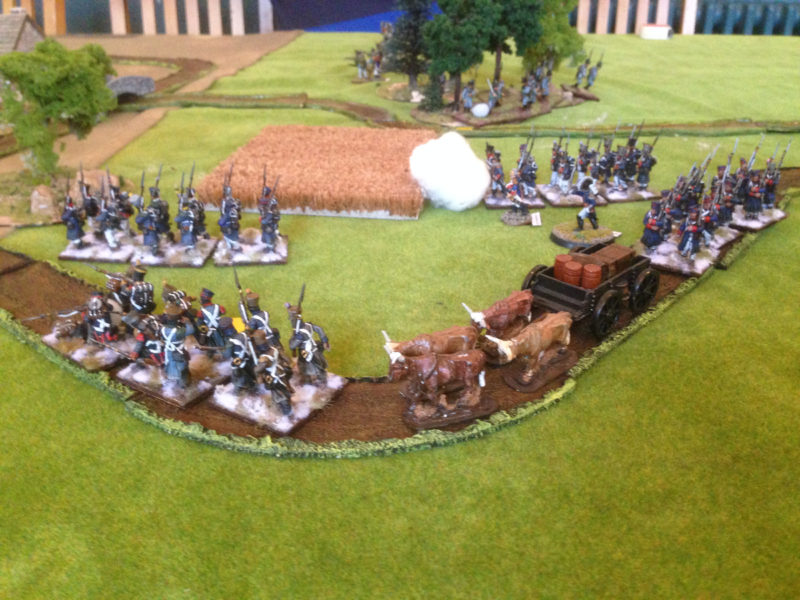
The rules are not an attempt to replace the other two rules sets. In fact, I would suggest that either are a mandatory addition to war gamers collections but Andy’s rule set serves two purposes. Firstly, it is a quick, playable set of rules that will allow you to explore either a Black powder period or campaign without committing to vast numbers of figures. Secondly, the rules are a good introduction to Card driven activation games. Many players are not familiar with this style of play and are more used to the U Go – I Go turn sequence of most rules sets. The card driven rules activate units in a random sequence on either side. This can be frustrating to players that like to implement carefully made ‘chess like’ strategies. However, if you would like a more ‘cinematic’ type of game, with tense stand offs and risky gambles, the card mechanism is one of the best ways to achieve this. If you do like the way Andy’s abridged rules play and would like more detail, including army lists, either of the two rule sets, Muskets & Tomahawks or Sharp Practice are ideal. Once again, I would heartily endorse both!
So if you fancy a go at this style of play, the rules are contained here in a PDF in the link below. Hopefully, if I have the technology working correctly, you should be able to click the link and down load these for free. If you are worried about how to make the cards, there are a couple of simple solutions. First of all, just cut them out of card board – an empty cereal packet will do – remember to write on the blank side though… If you prefer a less ‘Blue Peter’ approach, use an old deck of cards and place stickers on them with the Officers names, and the other miscellaneous card types written on. If you don’t have an old ceck of cards, pop down to the local pound shop and get one. You should be able to pick them up for a pound….. Anyway, I hope that you will give the rules a go and have fun playing them: