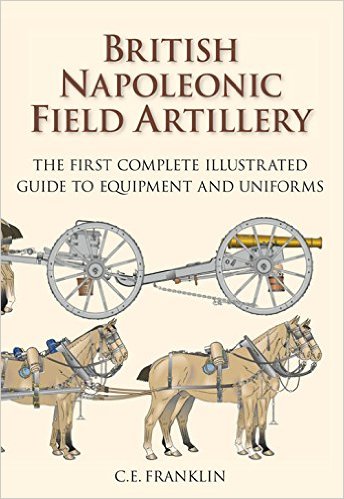
This is a conversion that I actually finished some time ago and whilst I had all the step by step pictures I didn’t get around to writing up the article. A wheel wagon isn’t going to make much of a difference to your army’s firepower but I have been fascinated by the logistics involved in getting a Napoleonic army to battle and a subject like this makes an interesting talking point. I saw the plans in Franklins superb book on British Artillery and thought that it would make a nice project. The only picture I have is from the actual book itself and I hope that showing it here will not offend.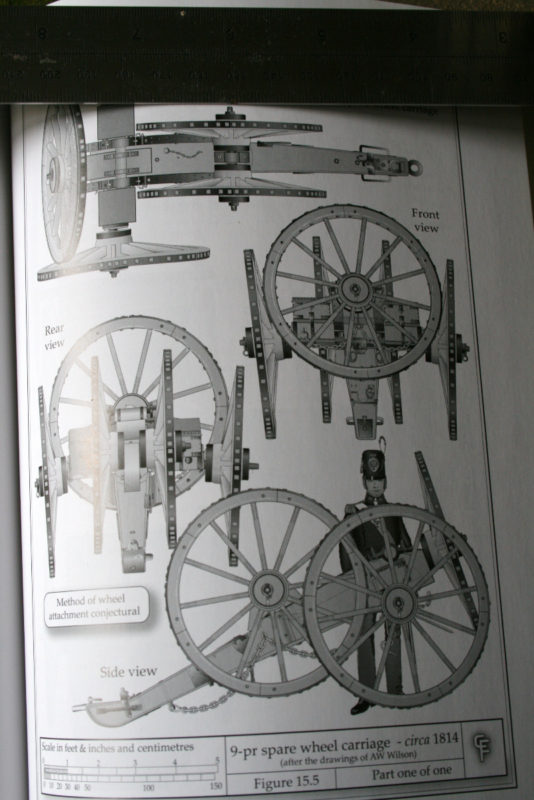
If you dont have this book in your collection I thoroughly recommend it. It is of course available from Amazon and many good military booksellers!
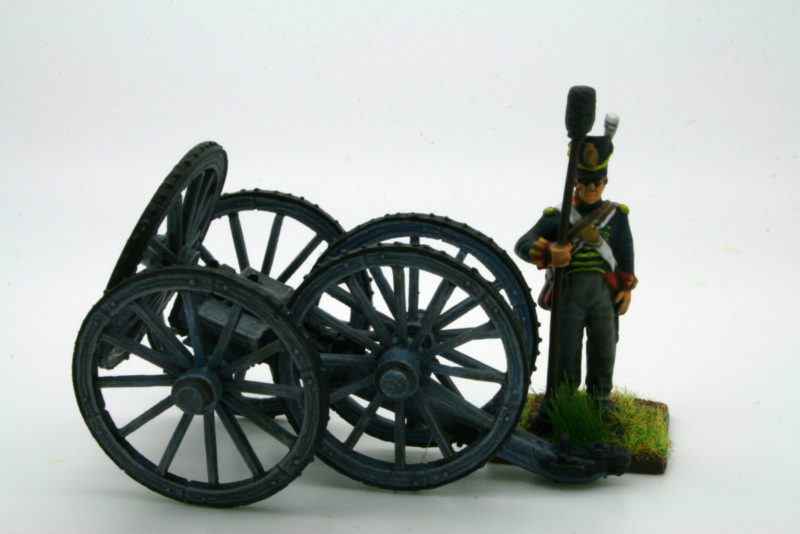
So onto the conversion itself. I used the British gun carriage from the Trent Miniatures range, pack number BA01, the British Light 6pdr and long 3pdr. You will have the barrels left over but these will no doubt come in useful for a future project! You will also need a pack of British wheels from the same range pack number EQ07. There are 8 wheels in the pack, so again, you will have some spares. Both packs are £4.99 each and are available post free from my shop at the moment, so for under a tenner you will have a nice new wagon and lots of spare parts! The wheel wagon itself consists of the carriage and 5 wheels in total:
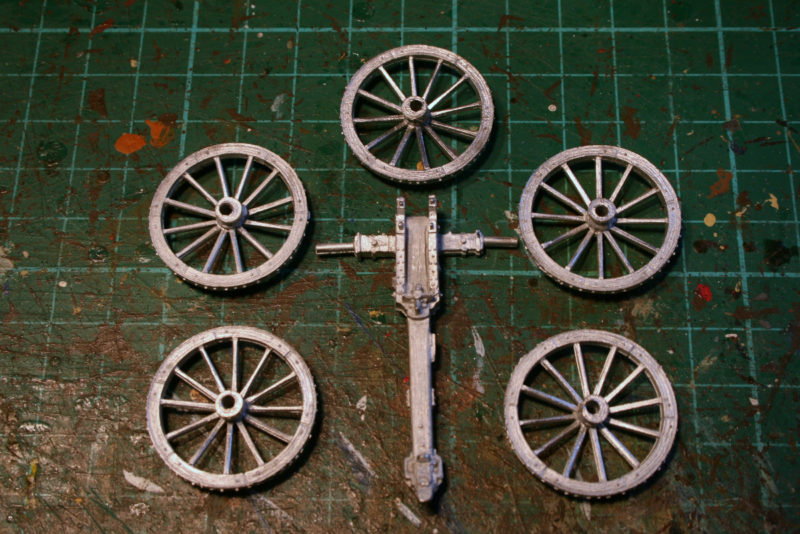
The main components laid out ready for assembly
You will also need a few scraps of 1/8 inch square balsa, some evergreen plastic rod and some thin evergreen plastic strip. You will use so little of these items that rather than purchase these, a delve into your scrap box may find some bits that can serve instead. If my lack of exact dimensions for these parts is a bit frustrating, it is more to make the point that even Franklin says that the wheel fixings ‘are conjectural’ so feel free modify as you wish.
I used a small piece of balsa and a short length of rod to make the central axle that would hold the two side mounted wheels. A similar piece of balsa and rod was used to make the front axle for the 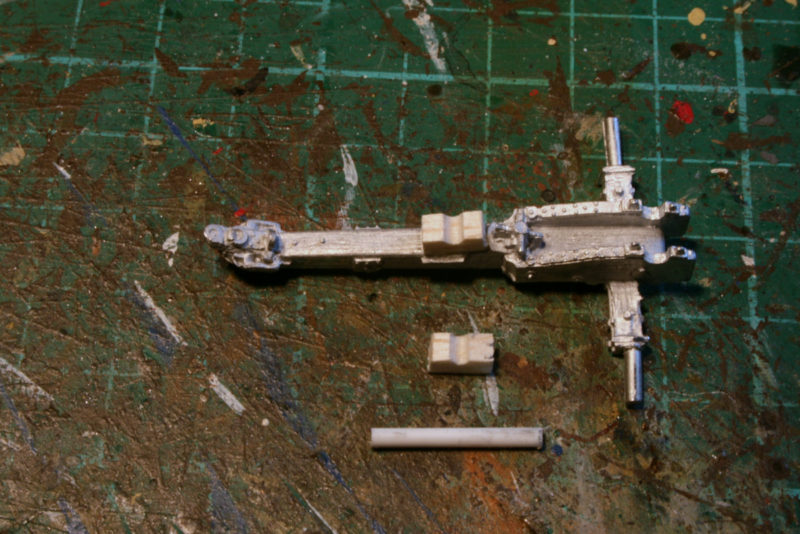
other spare wheel. Both axle holders were detailed with some thin plasticard strip. The strip is only about 0.25mm thick so is easy to bend and mould around the components. I used super glue for all the construction. It was the easiest way of gluing the various components into place but mind you dont stick your fingers together as I did!
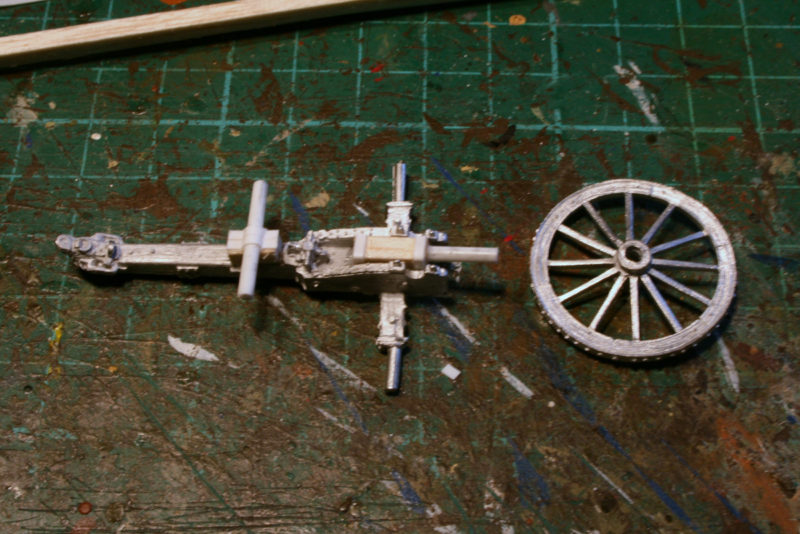
It is then just a question of adding the wheels themselves and the wheel wagon is complete. The next picture shows the main wheels on and the spare ones ready to slide into position. I have also fixed the two equipment boxes that are supplied with the gun carriage into position. As you can see, I have also primed the wagon ready for painting.
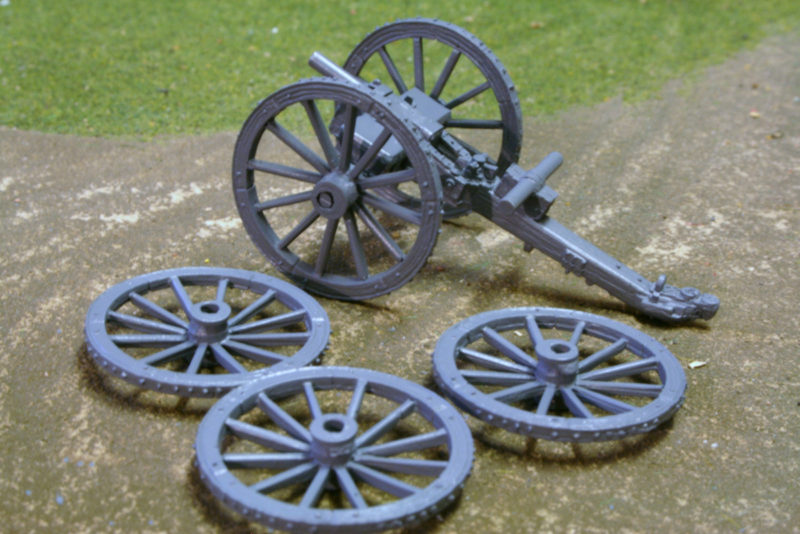
At this stage it is easier to paint the wagon before affixing the wheels. I used the British Artillery grey paint from the Foundry range. I then added white to the colour and dry brushed the whole piece to get the highlights and show the texture of the wood. When dry, I picked the metal work out in matt black and used steel to add chips & highlights, particularly on the wheel rims. I also stippled various shades of brown lightly onto the wheels to represent a bit of mud & dirt. The picture below shows the wagon as it would have been attached to a standard artillery Limber. I think that four horses might be more appropriate than six though!
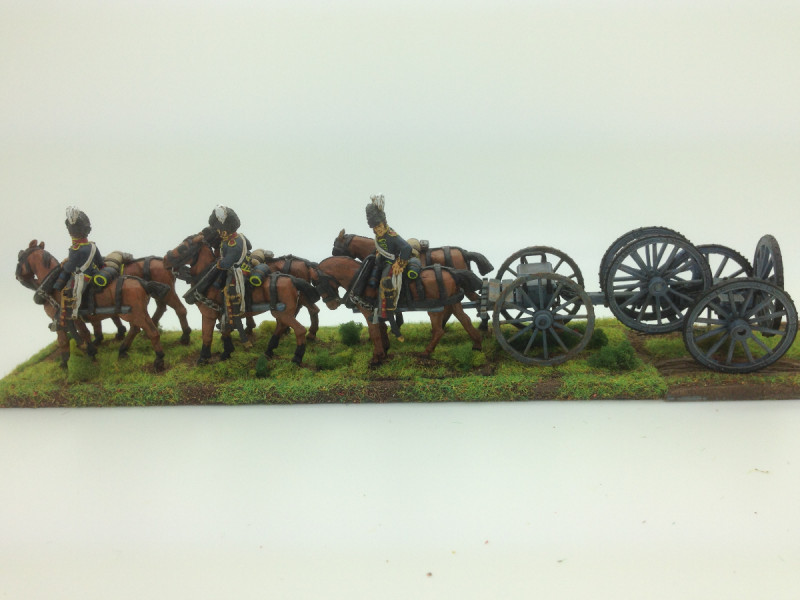
Wheel wagon and Limber
As you can see in the final pictures, I added some wheel caps from small discs of plasticard to fill in the gaps on the ends of the wheels. These are easily made by punching them straight out of a plastic sheet using a button hole punch ‘borrowed’ from the wifes sewing kit! That is it, done. Another wagon to add to my growing collection.
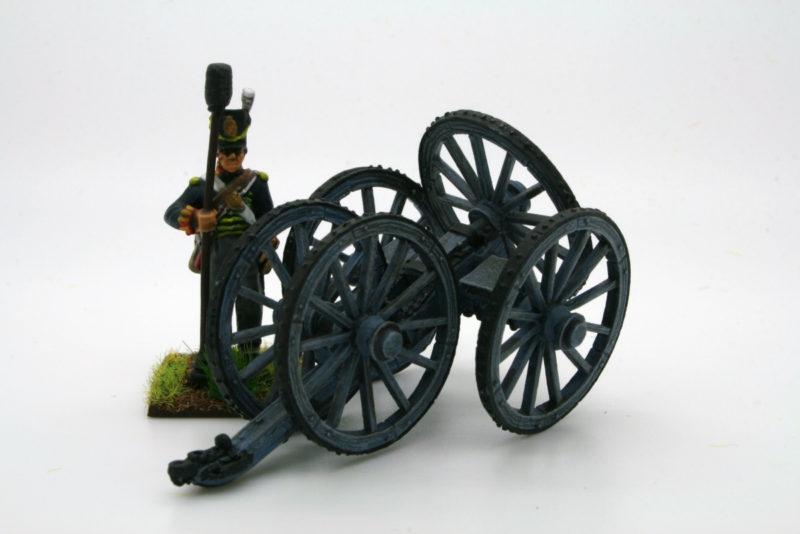
Wheel carriage rear view

Wheel Carriage side view