Wargames Illustrated were running a second ‘Lion Rampant’ event day at WI headquarters here in Nottingham. I had originally thought that I would be unable to attend but a last minute change in family plans left me with a free weekend. There was a place available and so it seemed sensible to sign up.
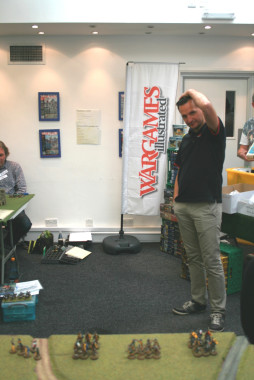
Dan, from Wargames Illustrated starts the day with a briefing and wonders how he will keep 18 gamers under control!
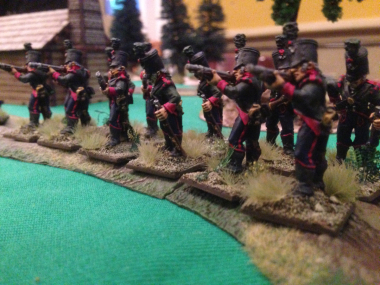
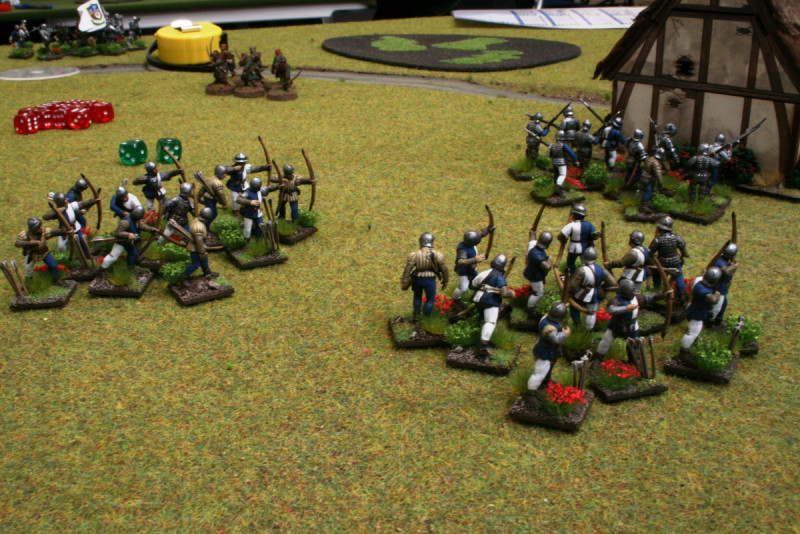
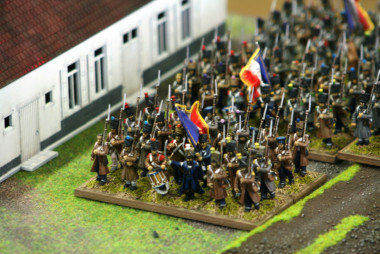
I had my retinue ready to go and after a couple of games the week before the event, my knowledge of the rules was refreshed. My army was ready to take to the field of battle. My Retinue is based on a War of the Roses English Army and consists of:
Leader and 5 Foot Knights 6pts
Unit of 12 Foot Sergeants 4pts
Two Units of Expert Archers 12pts
unit of Bidowers 2pts
My Lion Rampant Retinue
The army is essentially a defensive unit, that although lacking maneuverability, given the right position, can hold it’s own against the more aggressive and mobile armies that are often fielded in the game.
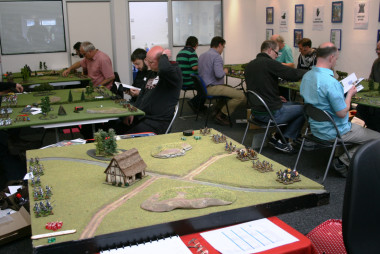
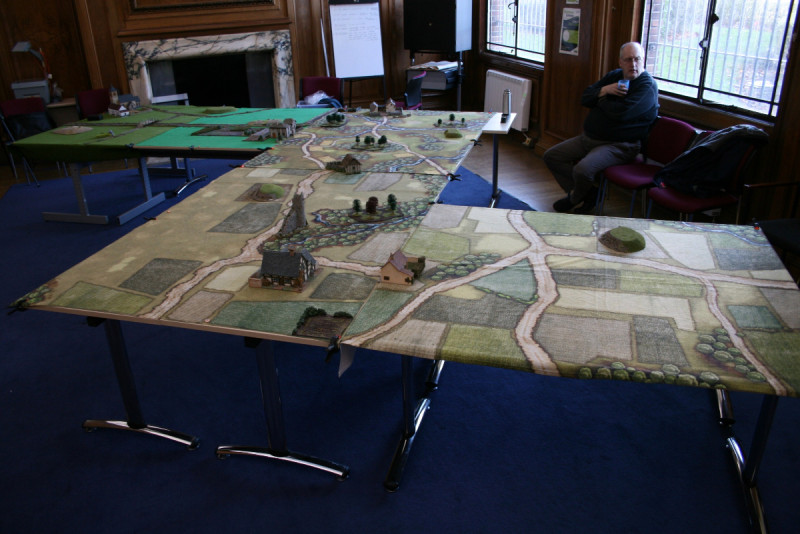
Set up complete – players now check the rules…
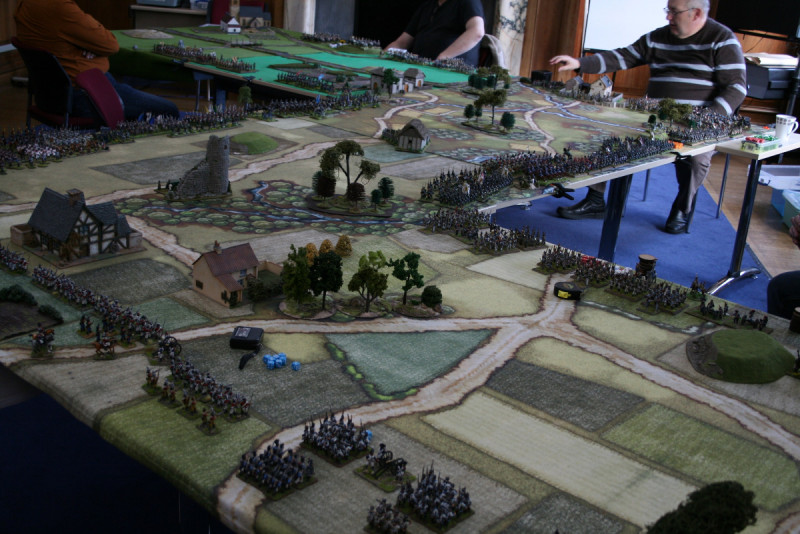
The Lion Rampant day was themed around the 9 Bastards of the previous king ‘Jeffery’ from the first Lion Rampant day and involved each of the factions doing battle with the view of conquering their opponent thereby forcing them to switch allegiance to the victors faction. There would be three battles to see who won the day and as usual, Dan from WI had built in some twists and turns to the scenarios to keep the day interesting and balanced. I represented House Wagner – it was time to join battle!
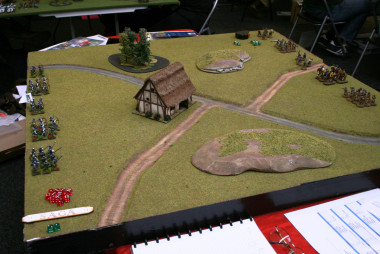
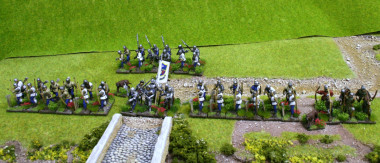
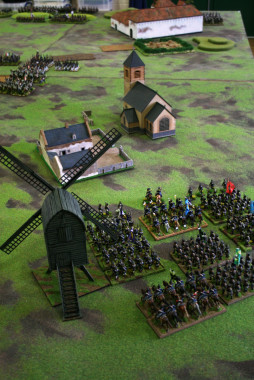
The first battle is ready to commence
BATTLE 1 – BLOODBATH
My first battle was against Sir Mike who was fielding an army consisting of 2 units of Mounted Sergeants, 2 units of Crossbowmen, a unit of Foot Knights and a unit of Bidowers.
Sir Mikes’ army immediately advanced, with his mounted troops leading the way. One unit of Sergeants attempted to flank my army, the other going straight for the archers in the centre. The Crossbow men had moved up in support and his Bidowers made for the woods on my other flank, where they would attempt to harry my army from cover. My reply was somewhat slow, having failed a couple of activations but my Foot sergeants formed Schiltron on the Left flank, effectively stopping the Mounted Sergeants in their tracks. My Bidowers charged into the woods to meet the enemy Bidowers and hold them. Whilst in the centre, My Foot Knights stepped forward under the cover of my Archers to meet the other mounted unit.

The Schiltron holds!
A fierce encounter ensued in the centre, resulting in the elimination of the first Unit of Mounted sergeants. Although my Foot Knights had taken casualties they turned to face the enemy foot knights who were now ominously approaching. The encounter in the woods between the two Biddower units got off to a slow start. There was a suspicion of a party going on, but obviously at some point, someones cider was spilt and the fighting started. The result being that my Bidowers were routed and killed.
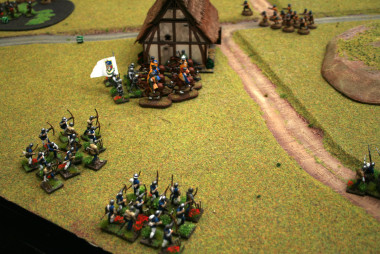
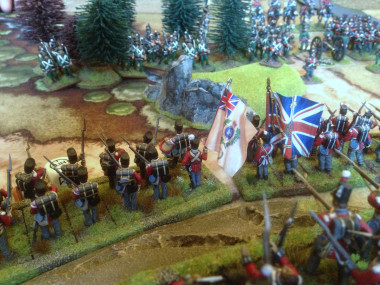
Foot Knights into battle whilst the archers await.
Although penned back on my start line, thing were not going too badly. I was helped by the fact that after a shaky start, my archers were now firing consistently at every turn, inflicting ever mounting casualties on the enemy. The other unit of Mounted Sergeants was destroyed by arrow fire as soon as it came into range, being no match for 24 English archers! My fire superiority was helped by the Foot Knights, who were standing in range of the enemy crossbows, taking fire every turn but fortunately, their armour held and they shrugged this off. The only real threat now came from the enemy Foot Knights as they were determined to close with my troops. As the archers at last saw off a Crossbow unit, they turned and fired at the Foot knights, slowing them and reducing them to half strength, even killing the leader but unable to prevent combat with my Foot Knights.

The enemy Bidowers in the back ground are feeling a bit exposed!
In the brutal fight that followed, my Foot knights prevailed but only my Leader, Kenneth Hotspur was left standing. He was then struck down by a final shot from the last crossbow unit – the cry went up ‘They’ve killed Kenny!’. Despite this, the archers avenged his death by forcing the last Crossbow unit to rout. Only the enemy Bidowers were left on the field and given their precarious position in the open in front of the Archers, they threw down their weapons and surrendered. Victory to House Wagner!
Battle 2 – The Messenger
Before the start of the second battle, we were given the chance to spend some of our victory points ( represented by Chocolate coins!) on small upgrades for our armies. I decide to speculate to accumulate and purchase an extra unit of Bidowers. I think these are very underrated by some players and can be quite a nuisance if deployed carefully. I had already noticed that there was plenty of cover on the tables and Bidowers and cover go well together!
The Messenger scenario involves escorting a messenger from one end of the table to the other, with the opposing player doing his best to stop you. Deployment is in opposing corners of one end of the table, with the player trying to stop the messenger allowed to deploy 6 points of his army at the far end of the table ready to meet the messenger! A further complication is that there is insufficient room in the deployment zones to get all of your army on the table, so some units start off table.
My opponent for this game was Sir Phillip, who had the following army: 1 unit of mounted Knights; 1 unit of Mounted Sergeants; 1 Unit of Mounted Sergeants with Crossbows, 1 Unit of Crossbows with Pavasis. A very mobile army but despite this, I decided to elect to be the attacker and to try and stop the messenger. I had a cunning plan…
The messenger had to be attached to the Mounted Knights, and Phillip deployed them and his two other mounted units on the table ready for the off! I sent one unit of Bidowers to the far end of the table along with my trusty foot sergeants. As the game got underway, the mounted units of Sir Phillip moved off and started their journey down the table initially leaving my foot sloggers behind. However, this soon changed as my Biddowers took up position in the Woods near to the exit point and my Foot sergeants formed schiltron, blocking the exit. As Sir Phillip desperately tried to bring up support (His Crossbowmen repeatedly failed their activation roll and stayed off table), my Foot knights found their ‘running shoes’ and had almost reached the far end of the table in support of my detached units.

You mean we have to charge those Bidowers again?
It was now that my cunning plan began to work. Sir Phillips mounted knights had to pass within 10 inches of the Bidowers in the woods. This would force the knight to make a ‘wild charge’ at the Bidowers. At this stage I was hoping merely to delay the messenger but my Biddowers in cover actually out diced the Mounted knights (the bonuses gained by the bidowers in cover put them on even terms with the mounted knights) causing them two casualties and making them fall back. Sir Phillip was not happy! As the Bidowers had held their nerve, they were able to fire on the mounted Knights in their turn, causing yet another casualty. Enraged, the Knights had to charge back into the woods again, only now they were down to half dice facing a group of confident Bidowers rolling twice as many dice in combat on even terms.
Once again the Knights were beaten back losing another casualty and once again, the bidowers stood firm in their woodland haven and poured arrow fire and scorn onto the Mounted Knights! Of course, whilst this was all going on, my Foot knights had gradually made their way to the scene of all the commotion and were now in striking distance of the messenger. Elsewhere on the table, Sir Phillips mounted sergeants had tried in vain to hold up the march of my archers whilst his crossbow men, having eventually appeared on the table were engaged with my other unit of bidowers ( in cover of course!) and my second unit of archers.
The killing blow was landed by the my Foot Knights, who although somewhat tired from their long march were strong enough to kill the last mounted knight and capture the messenger. Victory to House Wagner!
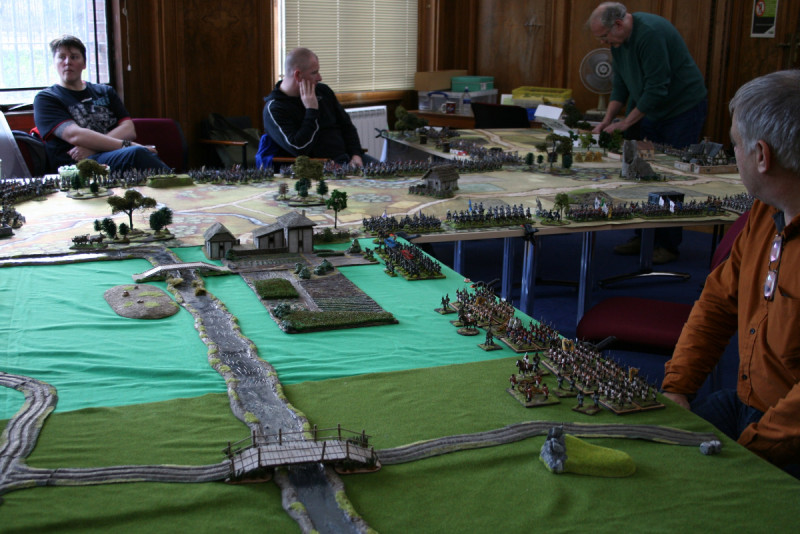
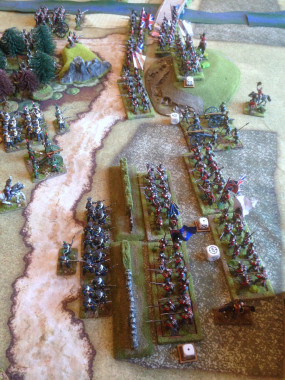
Battle 3 – the Final Encounter, Double Bloodbath!
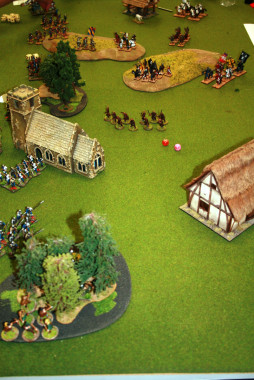
The final battle saw four players fighting a last battle to secure the field for their faction. In theory, units from either player on one side could engage any opposing unit on the other side. In practice, it was a case of first deal with your immediate opposition before sending units to help elsewhere. Of course the real danger would be from missile troops who could take a shot at whatever unit happened to be in range.
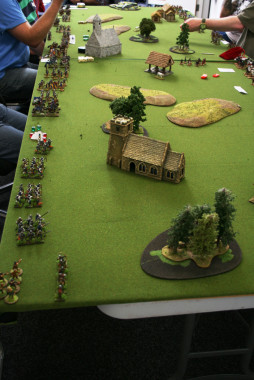
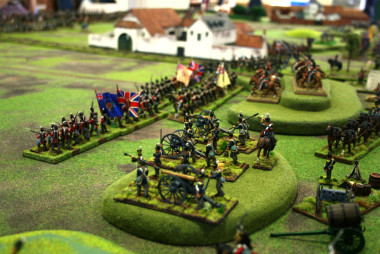
The Final Battle!
My immediate opposition was from Sir Ben, fielding an army consisting of 2 units of Fierce Foot, 2 Units of Foot Knights and a unit of archers. I was somewhat wary of the Fierce foot. They are devastating units when charging and do not suffer from being in cover or moving through rough terrain. Despite this I sent my two units of Bidowers out as bait to draw the fierce foot into bow shot where they are very vulnerable.
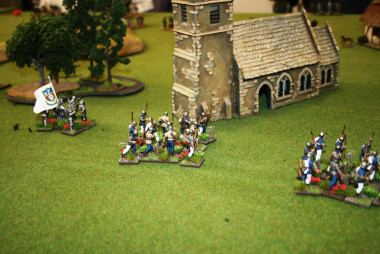
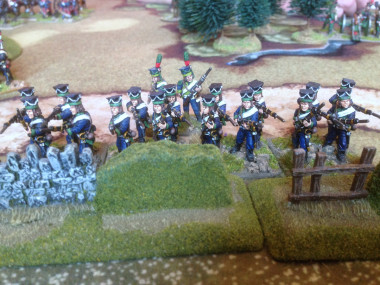
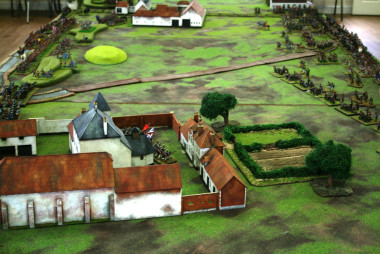
The enemy are out there somewhere.
The game this time was somewhat stop go for me. I failed a number of activation tests and was barely able to move my army. I watched with increasing trepidation as the Fierce foot bore down on me. However, Sir Ben had allowed his army to become divided and thankfully, just as combat began, his fierce foot were unsupported. Even better, the first unit of Biddowers that he charged managed to skirmish their way out of trouble causing the now not so Fierce Foot to retreat! My archers now decided that they would join the battle and sent flight after flight of arrows into the enemy causing a rout in the enemy ranks, both units of Fierce Foot were destroyed.
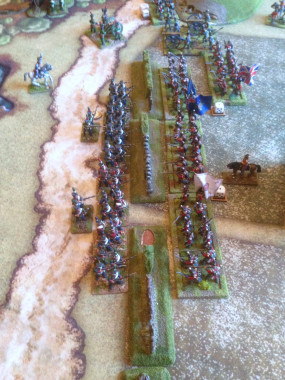
We’re not moving – they’ll come to us!
Although victory now looked likely, my army once again refused to move with any urgency and was unable to exploit the carnage caused. Gradually, we moved up the table and every now and then the archers would take a pot shot, wearing the enemy down. Eventually, another unit of Foot Knights were left looking like pin cushions and the opposition archers decided that they had had enough and took to their heals! Victory, albeit in slow motion, once again for House Wagner!
So three battles fought and three battles won was a good return for the day. Despite our good performance, House Wagner did not finish on the winning team or accumulate quite as many victory points as some of the other players at the event. Nevermind, though, we had a fine hoard of chocolate coins and had been fully involved in a superb day. You can read the full account of the day over at the WARGAMES ILLUSTRATED web site.
Should you have the opportunity to attend one the future WI days, I would heartily recommend that you do so. The team at WI are great at creating a friendly atmosphere in which to play the games organised and whilst there is a narrative running through the day, it is not about individual competition but on a team result. Great fun, all in all – now I’m off to eat my chocolate coins!
If you would like to try the Lion Rampant rules they are available in the Arcane Scenery shop. Even better, I’ve put together a little bundle of the rule set with a box of Perrys War of the Roses Infantry and English Foot Knights for just £50, post free, world wide of course! There are more than enough figures for you to build your own retinue. If you would prefer, Mounted knights instead of Foot knights, just add a note to your order and we will swap them over for you – watch out for wild charges though, they can get you into trouble….
LION RAMPANT BUNDLE DEAL – RULES SET plus 2 Perry Plastic boxed sets

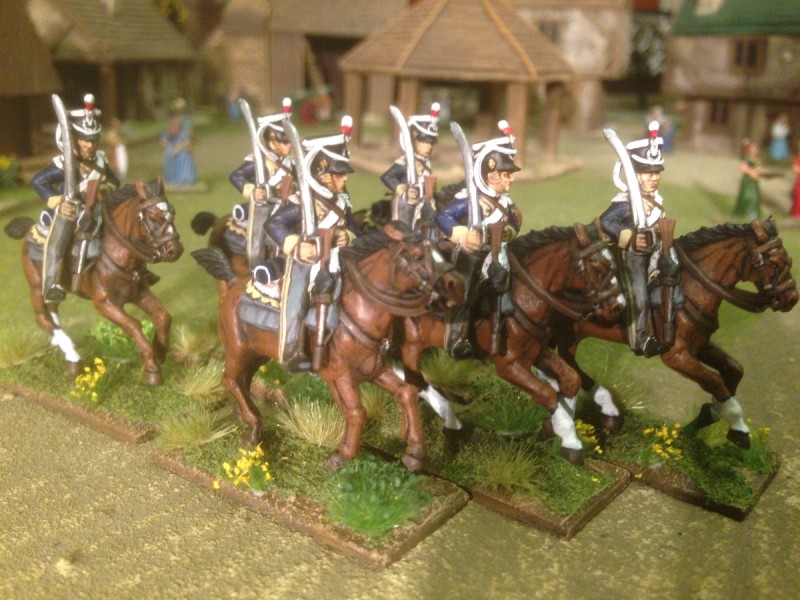

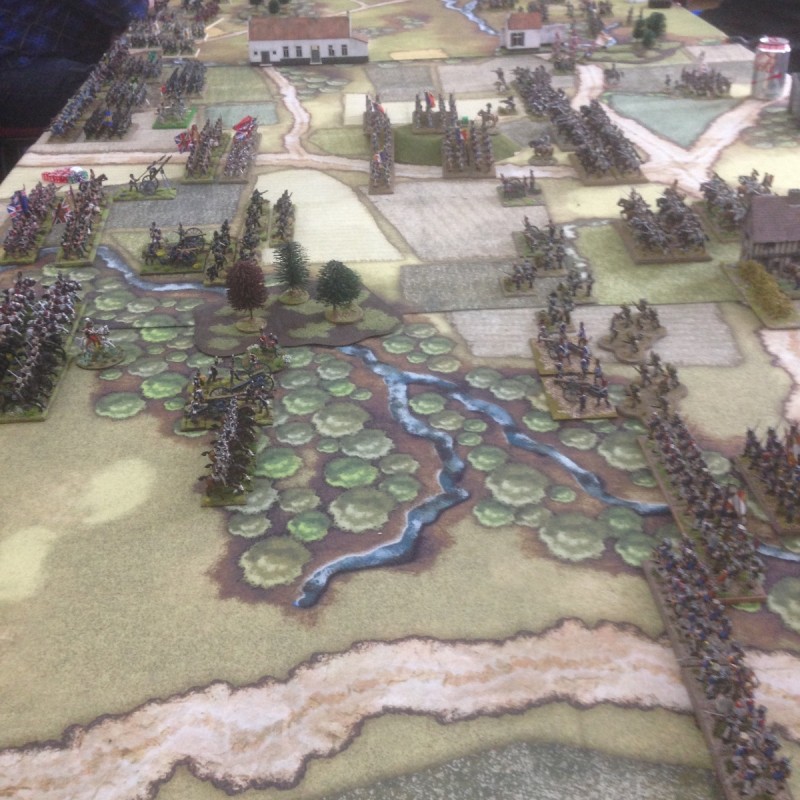


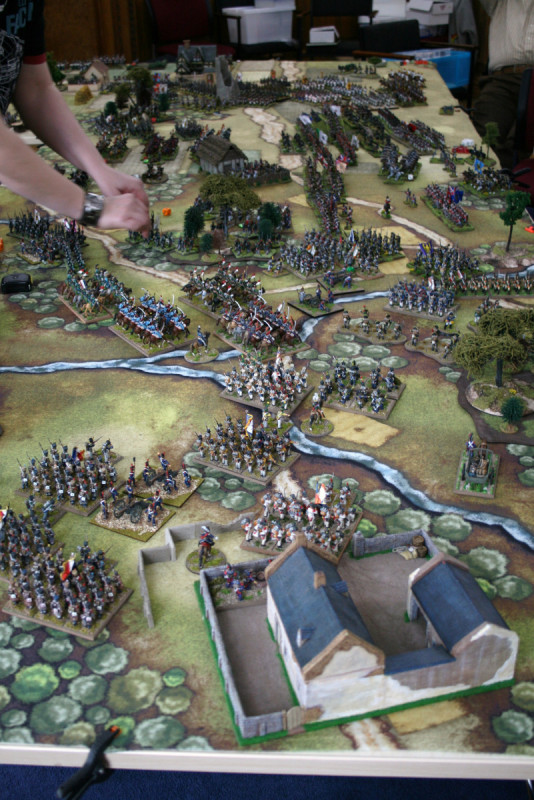
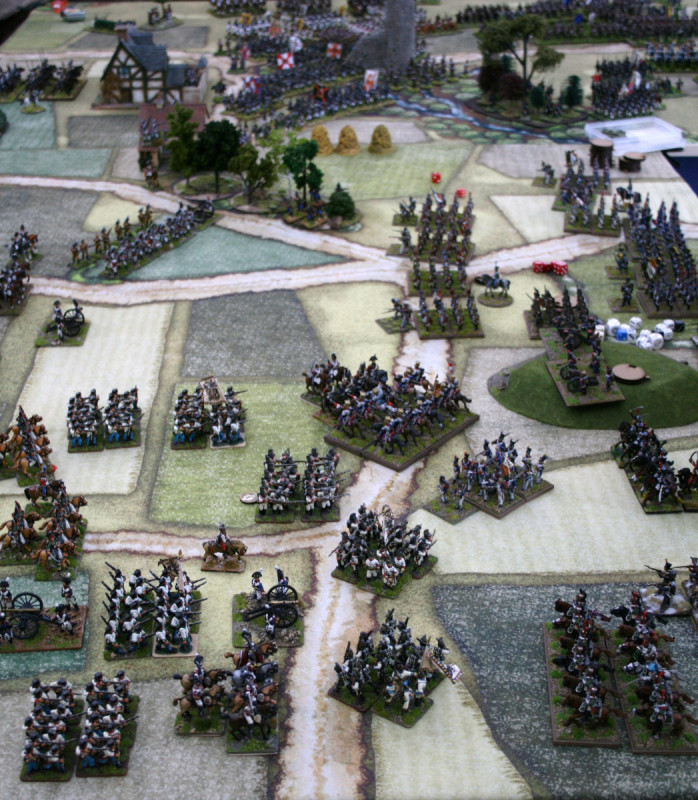

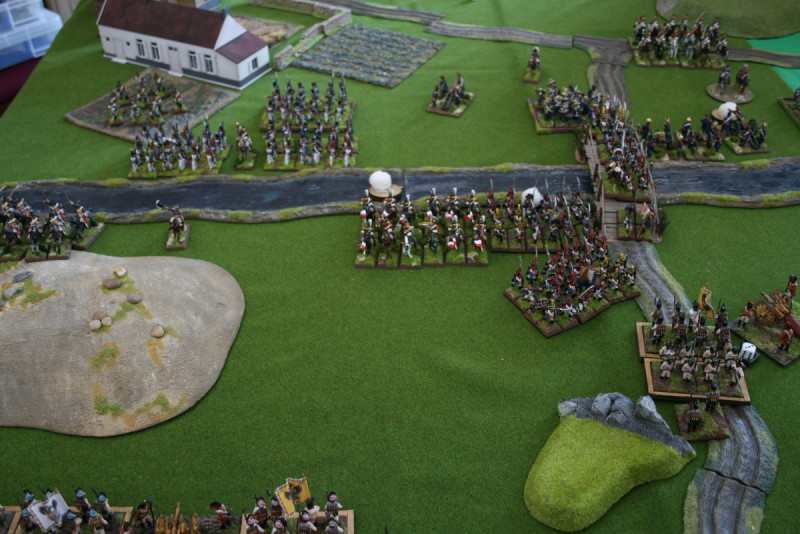
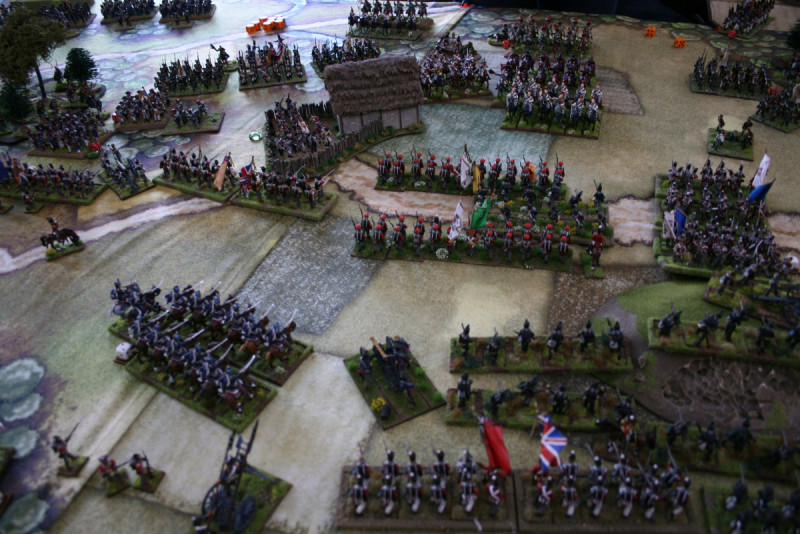
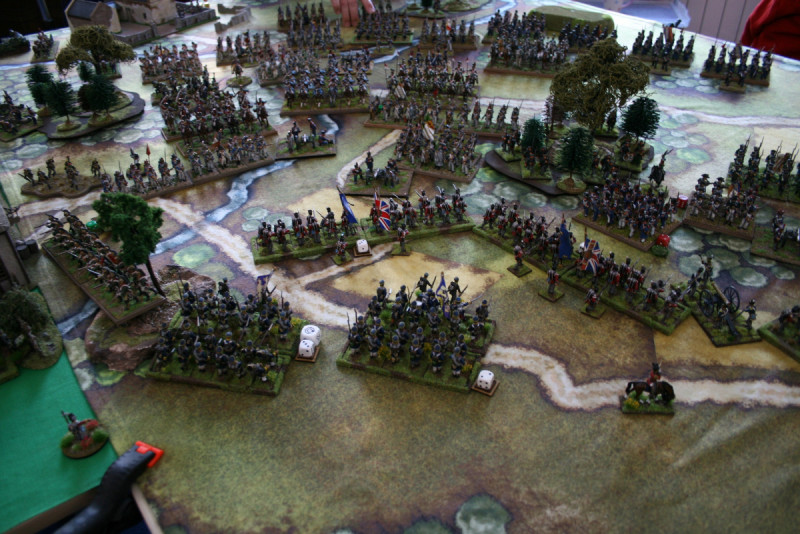
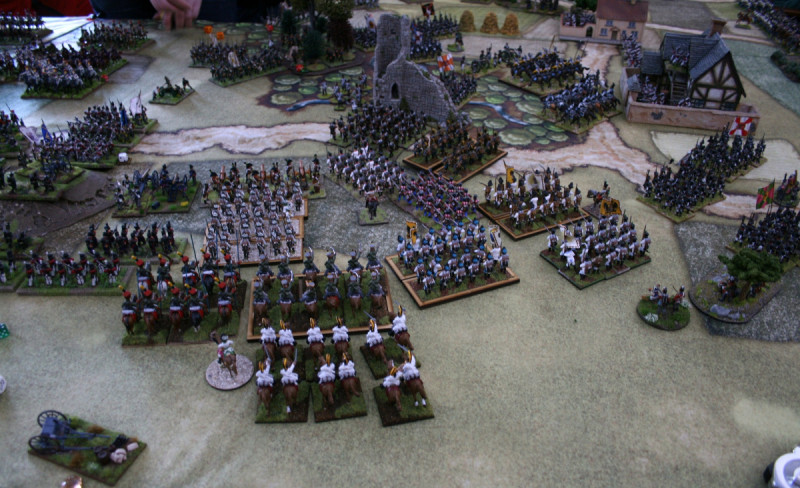

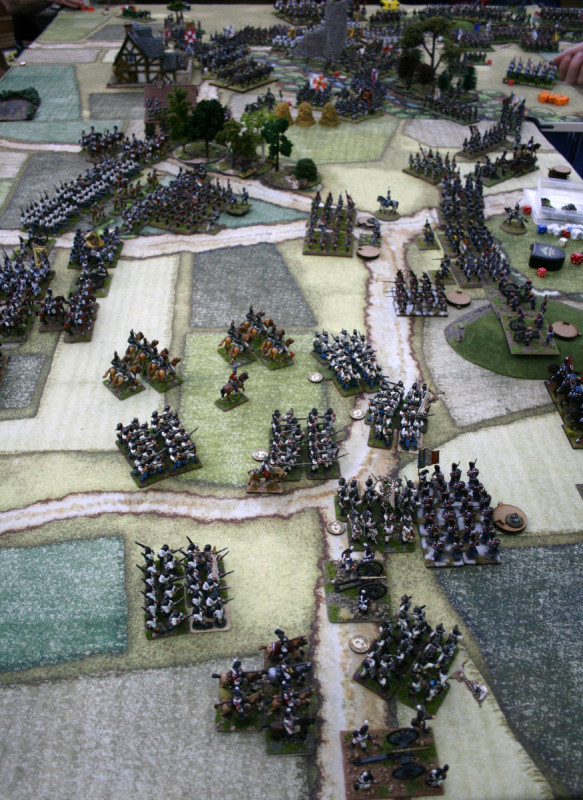
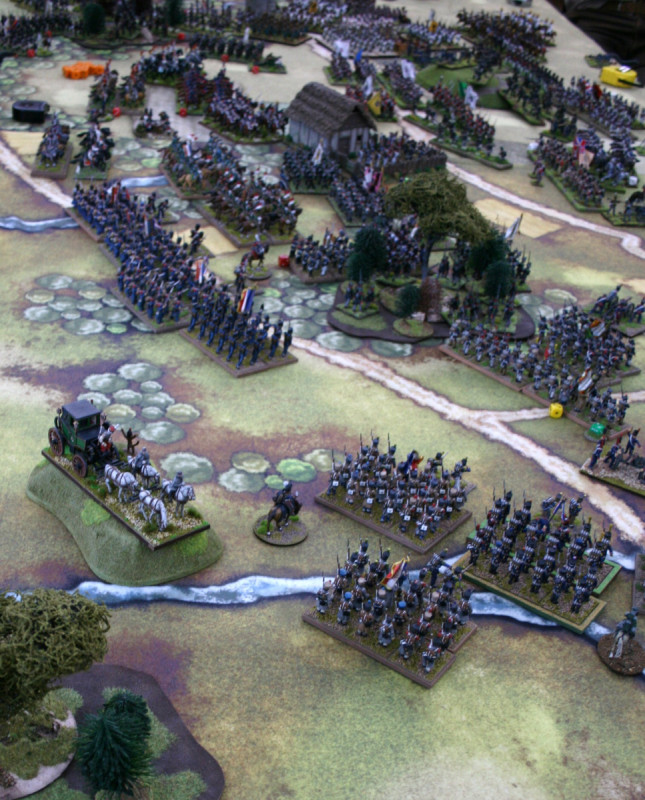


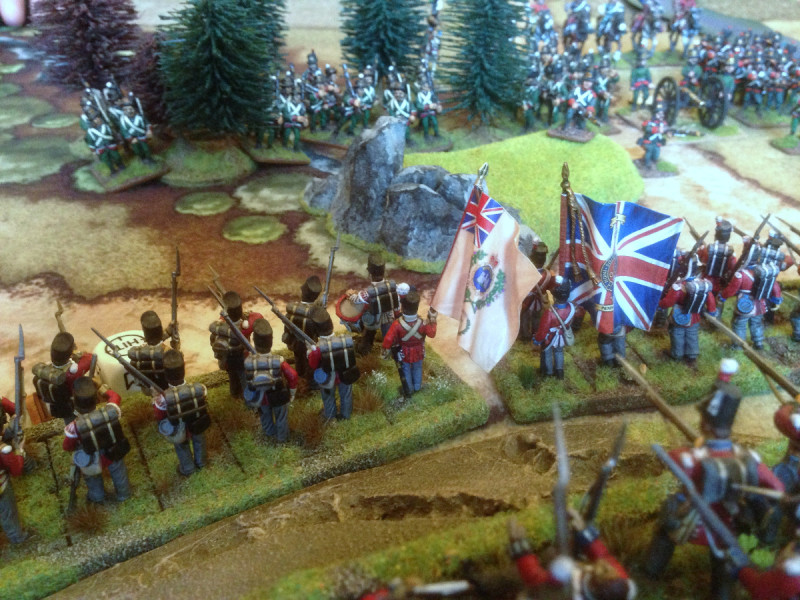
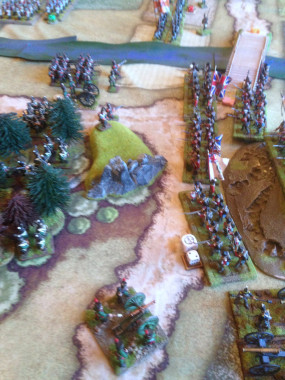
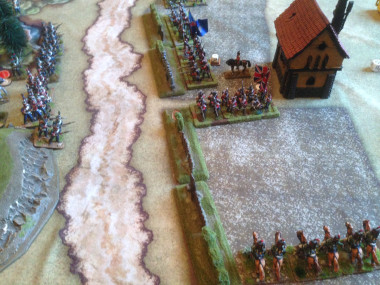
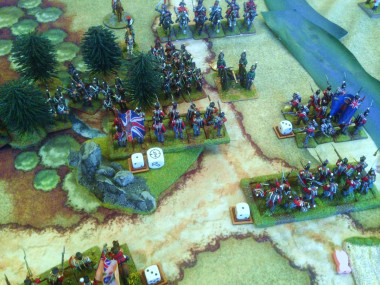


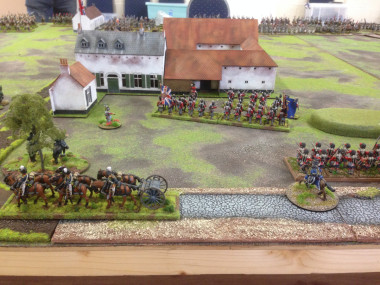
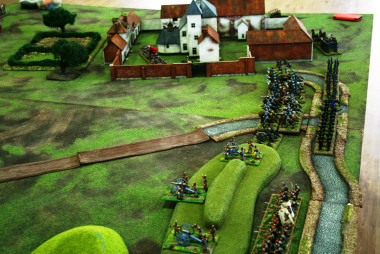
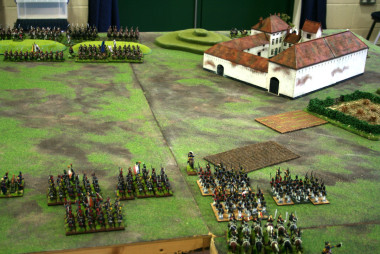

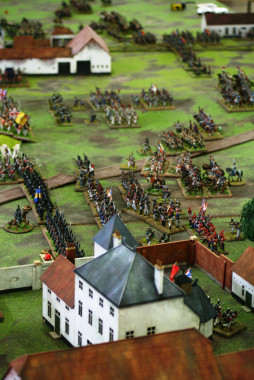
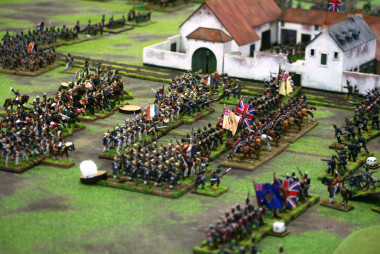
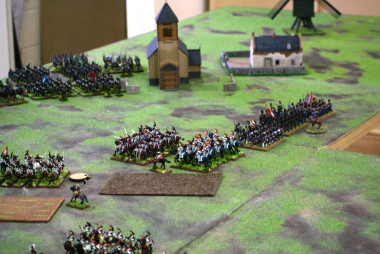
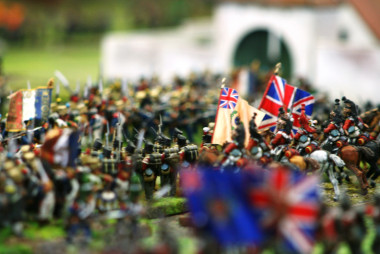
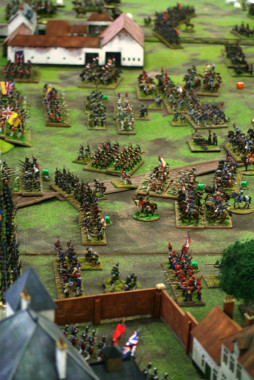
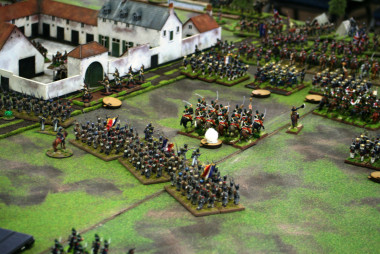
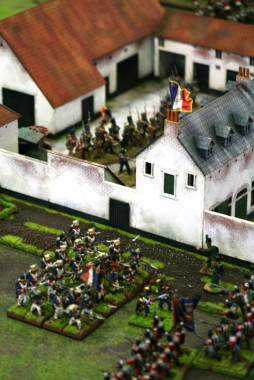

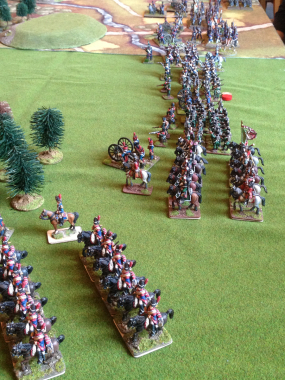
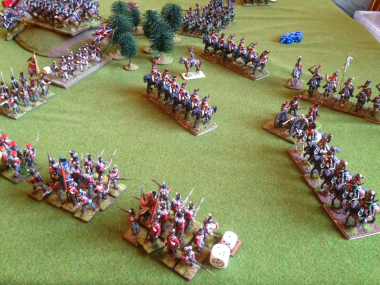
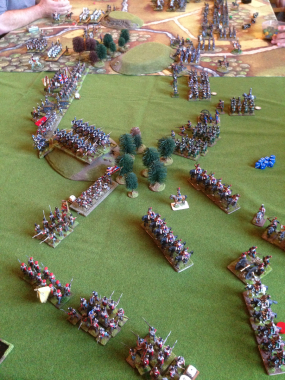
 Playing Black Powder with Napoleonic figures continues to be my obsession, with no sign of ‘game fatigue’ appearing. I still play at least once a fortnight at the club, only recently having a break every other week to play Muskets and Tomahawks. The other guys at the club are quite amused at our adherence to this rule set and period and we are now known collectively as the ‘Black Powder’ lot! That said, our ‘gang’ is growing and whereas it used to be just two of us slugging it out over a table, there are now at least six ‘hardcore’ members of the sub club, so to speak, with a few more that are happy to join in and even more that come over to check our battle progress during the evening.
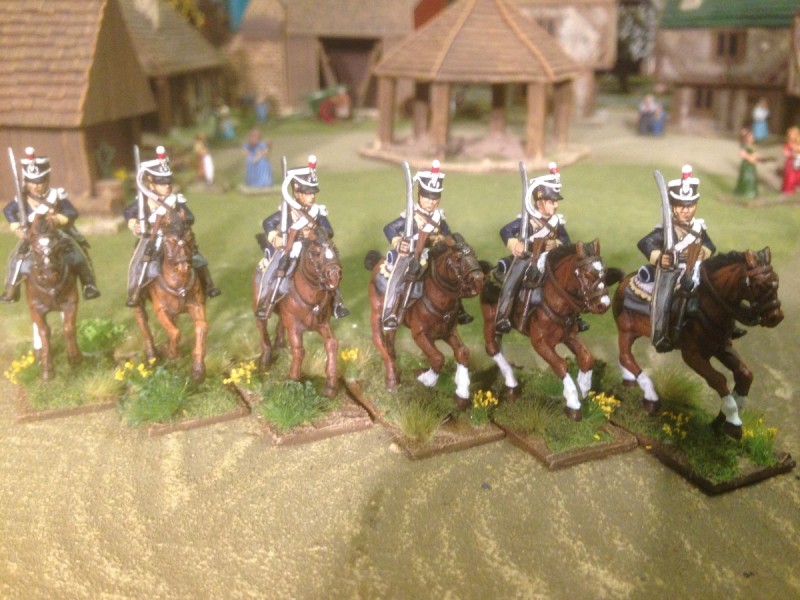
 gether, you take the rough with the smooth. That’s not to say we haven’t modified some of the Black Powder Rules to suit our style of gaming. The two Napoleonic Supplements, Albion Triumphant 1 & 2, introduced some new rules and ideas, some of which we have adapted, some not. The beauty of Black Powder is that it allows this, provided everyone is clear at the start of the game.
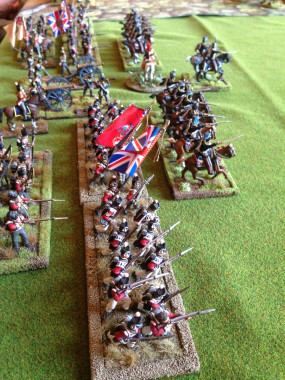

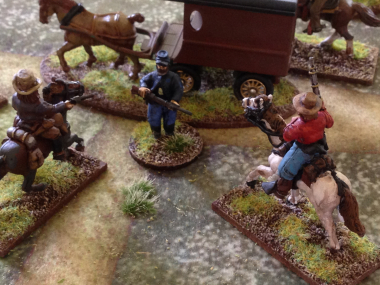
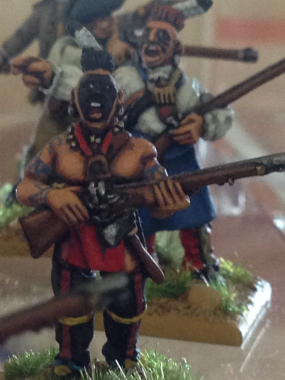

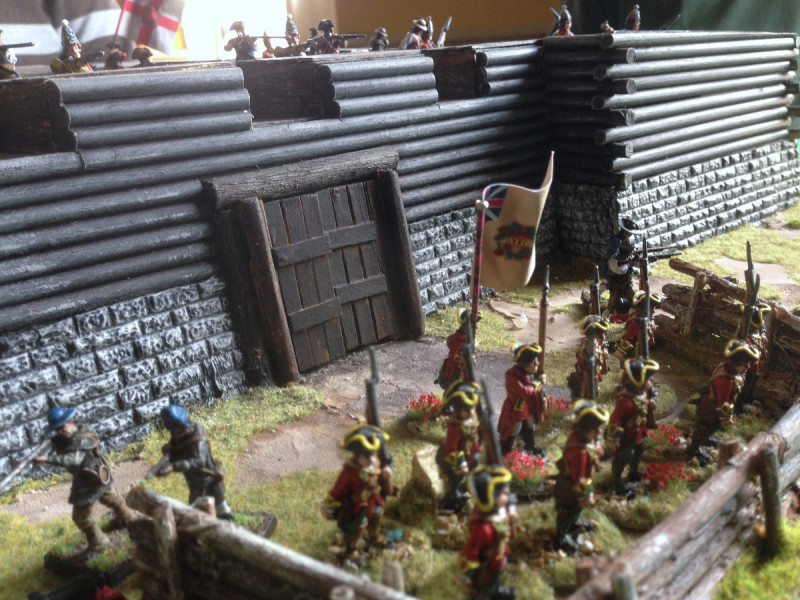
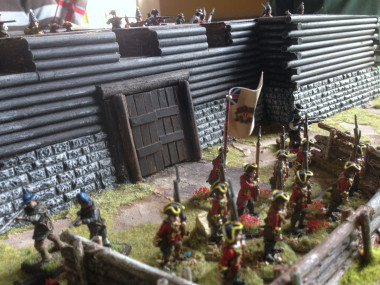
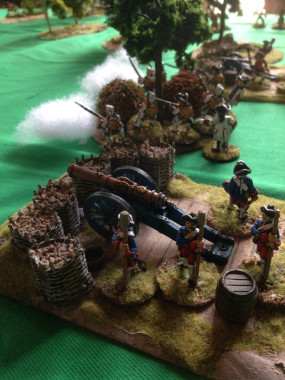
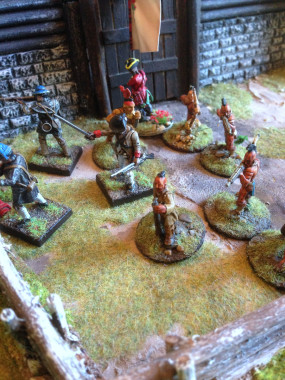
 I’ve been blathering on about my Carribean force for sometime now but have yet to use it on the field of battle. There have been two problems; one, the lack of a rules set and more importantly, the lack of an opponent! I started to collect and paint the Trent Miniatures Caribbean figures because I thought they were superb models. The sculpting is of high quality with some really characterful models in the range. Add to that, the uniforms look pretty good and there is plenty of scope for all sorts of variety when putting together a force. The theatre of action, the Caribbean islands in the late 18th Century provides plenty of scope for all sorts of battles, from small scale skirmishes to full on battles, naval landings and sieges. And of course the scenery will be interesting – anything from Plantations to Jungles.
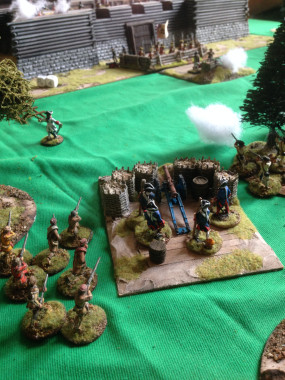
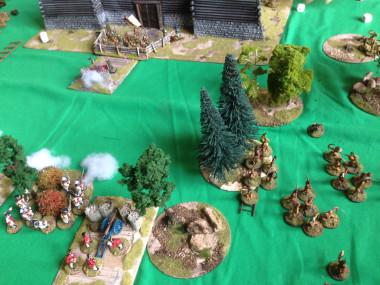
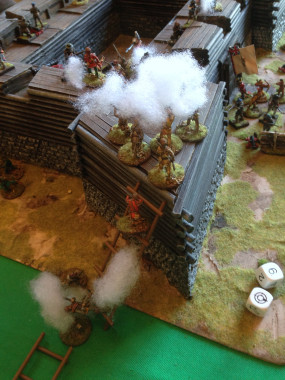
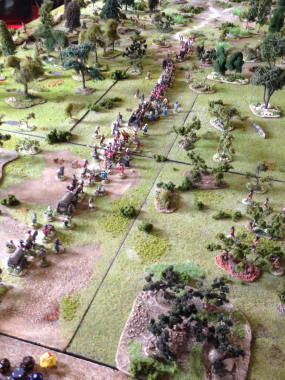
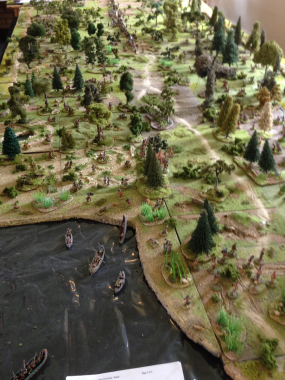
 Well, as usual, the answer was right in front of me. There is a superb rules set by the very talented Alex Buchel of Studio Tomahawk called ‘Muskets and Tomahawks’ for skirmishes in North America during the 18th Century. I could see immediately that it would be very straight forward to transpose the Caribbean forces over the North American Forces in the rules set and I could use my figures on the wargames table! Luckily there are a few players at my local wargames club that play M & T’s, so I asked one of them, John Grant (or Nice John as he is known locally!) if he would take me through the rules with a practice game. John has a terrific set up with plenty of scenery and AWI figures, so the game was great fun and confirmed my impression that the rules set would transpose to the Caribbean. The next step was to ask if I could use my Caribbean force in a game!
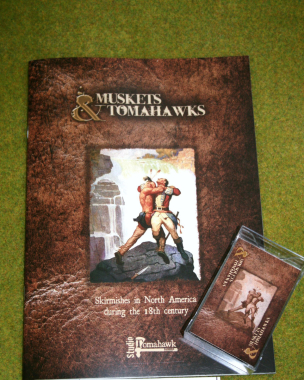