You can learn a lot by looking at photographs, they give you another perspective and a chance to see detail that you might otherwise overlook. My last two blog articles have been quite instructive in this respect. First of all, it’s clear from the photograph of me painting the house that I need to lose a few pounds. From my usual perspective I had always thought that I looked quite slim…..looking upwards, that clearly isn’t the case….
That aside, I also reviewed the Hanoverians and it’s clear that they would benefit from an ink wash over the bayonets & a highlight with silver just to bring out the detail at the top of the muskets – A job that will take about 10 minutes – more on that next week.
The final insight and the real point of this observation was last weeks battle report and just how good the battle was, in part because of the scenery that we were using. I had actually commented that good scenery wasn’t really necessary for Napoleonics as you needed plenty of space for your troops. Well looking back at the pictures made me question this and at this weeks club battle, we put a bit more effort into both the scenery and the scenario itself. The result was a most enjoyable battle. We used one of the new ‘Cigar box’ battle mats that has a scenic design printed onto it. Although a bit expensive, there is no doubt that the result is much better than playing on just a plain battle mat. Some of the scenery that we used is a bit tired and battered but by adding a bit more than usual, the table was broken up and a few problems were added for the ‘generals’ to solve.
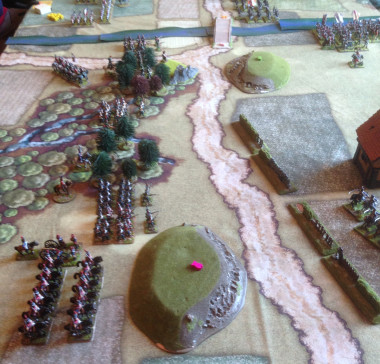
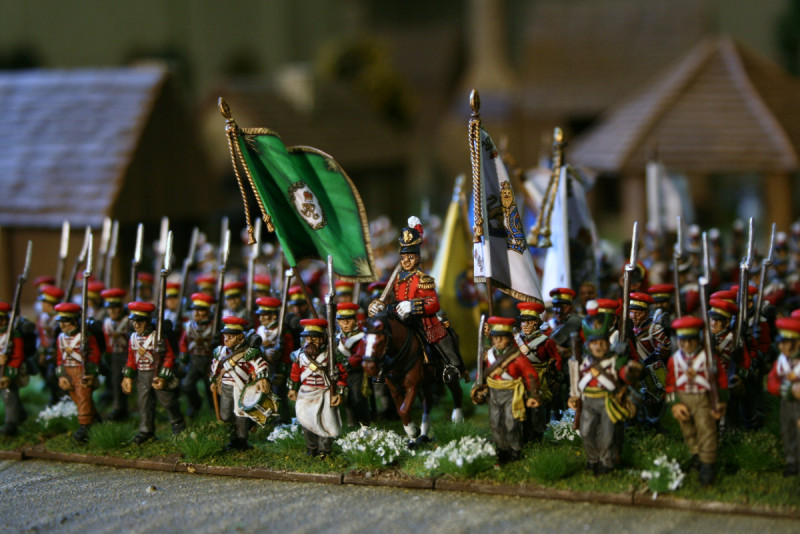
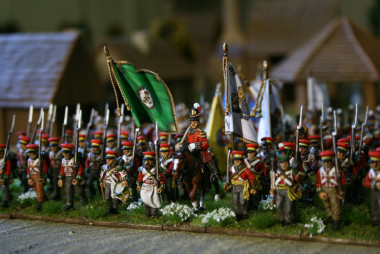
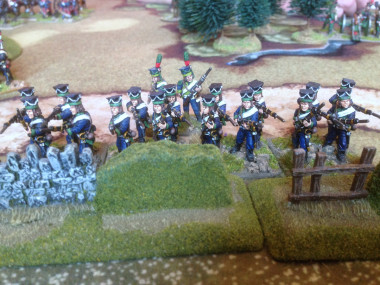
Italians & Polish take up position on their new battlefield!
The actual game was an entirely fictitious affair involving a joint Italian/Polish force (Duncan) taking on a British force (Steve). The objectives being to secure one end of a bridge and capture the two hills dominating the approaches. Deployment was carried out simultaneously, without too much regard for each other, although the objectives became the focus of the main Infantry forces, with the cavalry deployed facing each other out on the far flanks. The British won the initiative and ordered an advance to secure the objectives. Unfortunately, the first roll of the evening produced a blunder, leaving the largest British Infantry brigade out of position, hard against the river in column of battalions.
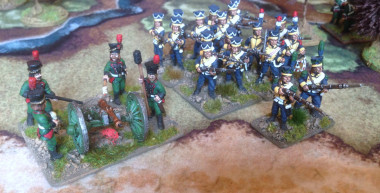
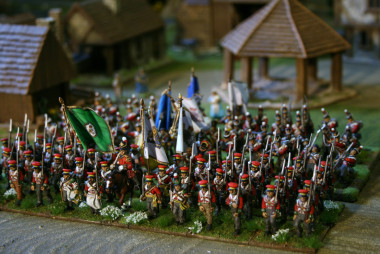
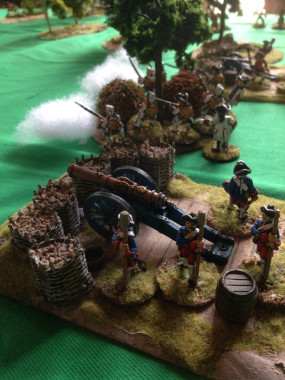
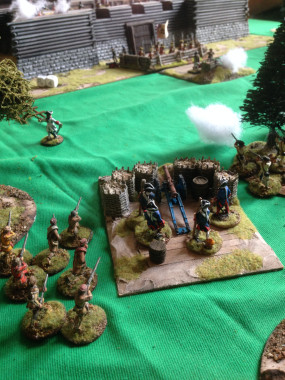
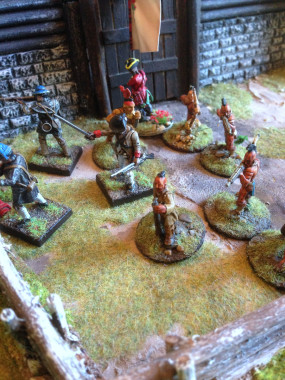
Polish Artillery supported by infantry
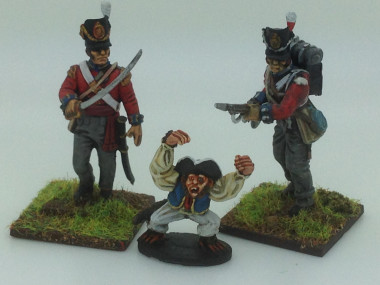
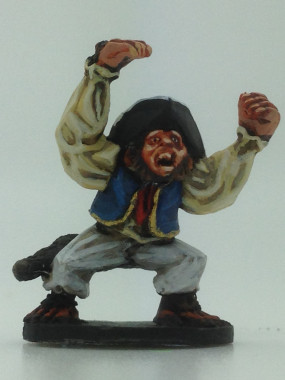
Polish advance in column – figures from the Trent miniatures range
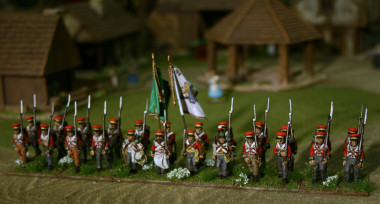
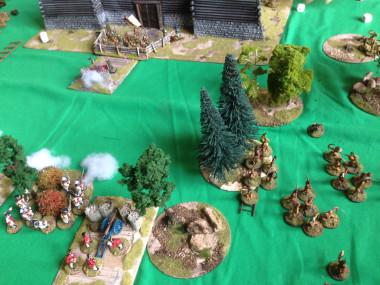
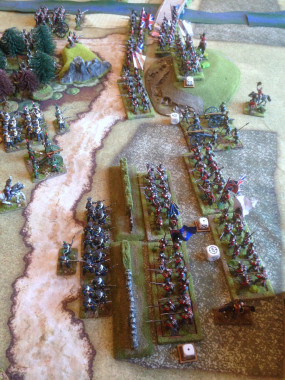
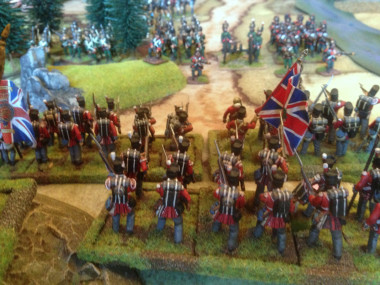
The opposition, taking full advantage of both the confusion in the British ranks and the terrain, moved forward at a more measured rate forming a cohesive line as can be seen above. If the British Infantry were somewhat slow to respond, the cavalry ( two heavy regts, two lights) did as they were ordered and advanced to threaten the Polish Flank. The response from the Polish/Italian force was immediate and a fierce cavalry battle ensued. The action was so ferocious that I didn’t have time to take a photograph! The result was a victory for the opposition. Although they lost one heavy cavalry regiment and two horse artillery guns, the British lost a whole brigade of heavy cavalry and a regiment of light cavalry, leaving the right flank somewhat exposed.
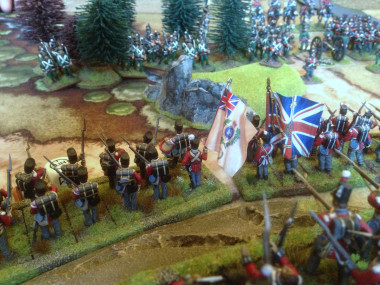
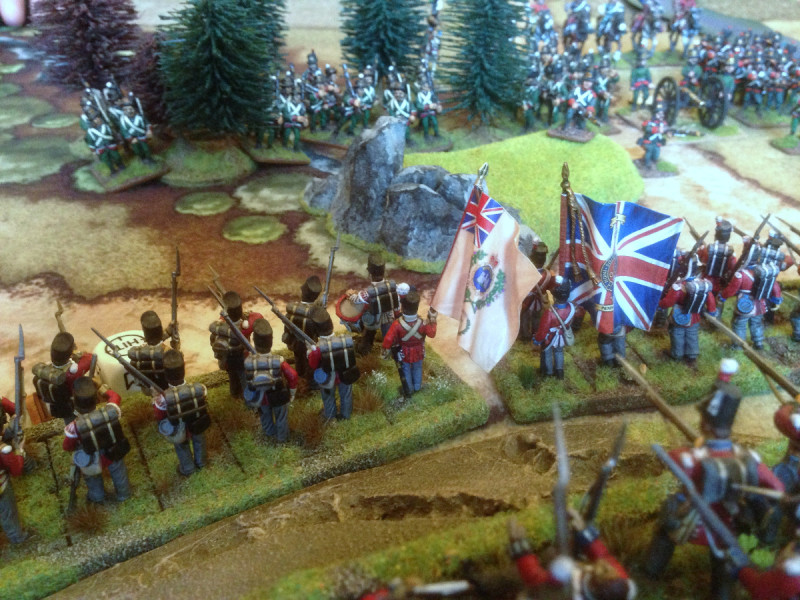
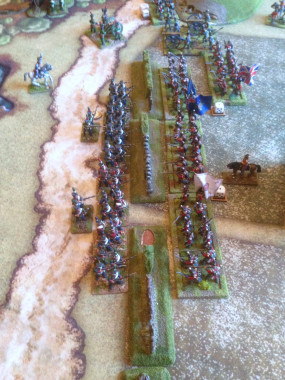
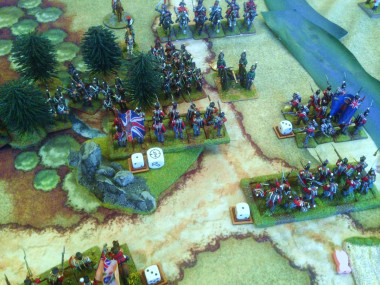
British hold the line!
Despite the set back on the right flank the British infantry held the Italians in the woods, firmly anchoring the left flank. The Polish infantry, encouraged by the success of their cavalry, advanced in the centre to capture the road.
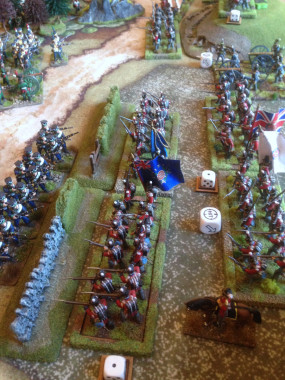
Poles capture the road and take position behind the hedgerow.
This move was in turn, matched by the British infantry who immediately engaged the forward elements of the Polish advance with a superior force of infantry.
British advance to drive the Poles back
The initial British musketry was somewhat ineffective, and despite the overwhelming odds the Poles held on long enough for reinforcements to arrive.
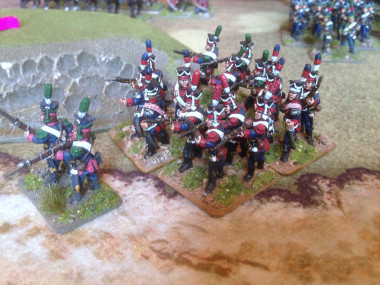
Polish reinforcements arrive.
With a fierce battle raging for control of the centre and the Polish/Italian Cavalry threatening the right flank, held only by a solitary regiment of British Hussars, the Italians consolidated their position in the woods by the bridge on the left flank, threatening to take yet another objective.
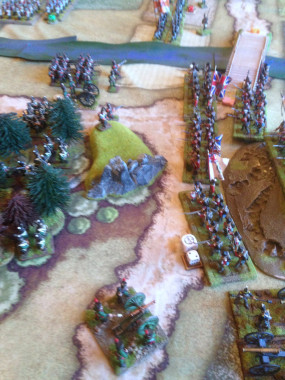
Italians hold their ground in defensive position at the wood
The British response was again to attempt to drive the Italians back with superior musketry. Volley after volley was poured on the Italians but their clever use of the cover and terrain meant that the British were unable to inflict the casualties required.
British Musketry attempts to remove the Italians
As the infantry faced off against each other, the casualties began to mount! Virtual stalemate was the result on the left at the bridge but in the centre the British were able use fresh battalions and it was the Polish that were begining to waver.
Casualties mount!
At last the Polish Battalions broke under the constant volleys of the British and the whole brigade started to retreat. The centre belonged to the British!
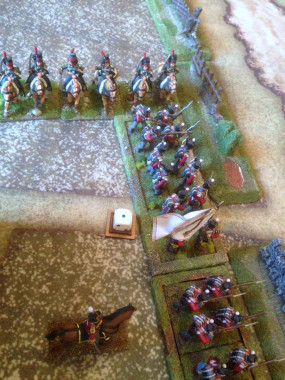
Charged in the flank!
This victory was somewhat short lived. The Italian Cavalry had by now brushed aside the last British Hussar regiment and charged into the flank of the British line! After a brisk engagement, despite the loss of an infantry battalion, the cavalry were driven off and finally the Polish were sent on their way. The centre did now belong to the British.
The Poles repelled!
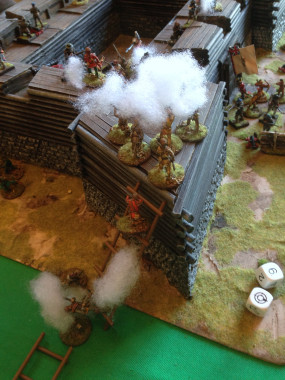
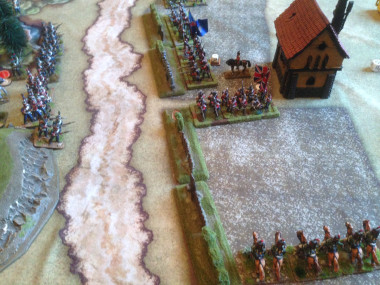
If the British had won the war of attrition in the centre, things were not going so well at the bridge on the left Flank. In an attempt to bring their superior Fire power to bear, the British had advanced to close range of the Italians and their solitary artillery piece. Initially, there was some success as the British destroyed an Italian column. That success was once again double edged, as it made space for yet another Italian Cavalry attack!
The attack reaches a critical point!
With the lead British battalion pushed into square under the guns of the Italians and casualties mounting in the supporting British battalions, the Brigade began to run out of steam – and men! The next round of Italian Musketry and cannon fire inflicted sufficient casualties to shake the brigade! With both of the British Cavalry brigades broken and now the largest infantry brigade in retreat, this meant that the British Army was forced to withdraw. The field was left to the victorious Italians troops and their courageous cavalry!