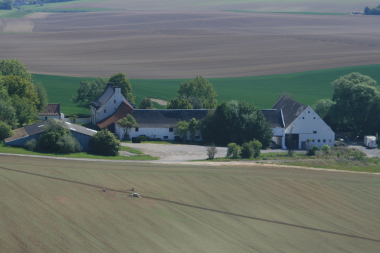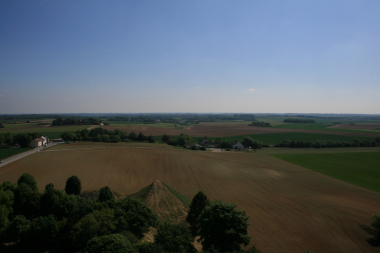
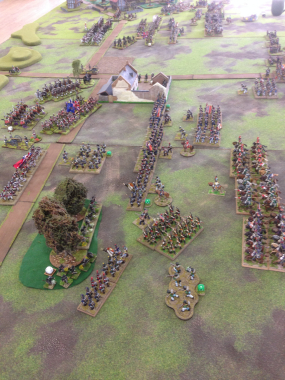
The Allies deployment -Hougoumont in the foreground.
As we were approaching the 199th anniversary of the battle of Waterloo I thought that it would be fun to fight a large battle in the style of Waterloo. The plan was to put as many of our troops on the table and fight a scenario that paid homage to the battle rather than attempt to recreate it exactly. To this end The British and her Allies would be defending a line that ran from a small village ( ‘Papelotte’) on the left, along a road to a walled farm house on the far right (‘Hougoumont’), with another farm house (‘La Haie Sainte’) at a cross roads in the middle of the board. Just behind the road was a line of hills that would allow the British to place defensive artillery – not quite accurate but a nod in the direction of the reverse slopes that gave the British infantry cover during the battle!
The French troops were massed on the opposite side of the table and whilst they outnumbered the Allies significantly to start with, had no cover or defensive position. Their mission was simply to drive the British from the field before the Prussians arrived. The simple mechanic that we used to simulate this was that on turn 3 the Prussians would enter the table form the right on a dice throw of 6, turn 4, a throw of 5 and so on.
The rules that we used were the Black Powder Rules, without too much in the way of ‘extras’ from the recent supplements. I very much like the original rules and find that there are too many extras in the supplements that can both distort and over complicate the original rules set. That said, we do have a few of our own ‘house’ modifications and even with a large 12 foot by 6 foot table, still prefer to use shortened movement & ranges, basing everything on 66% of the original distances.
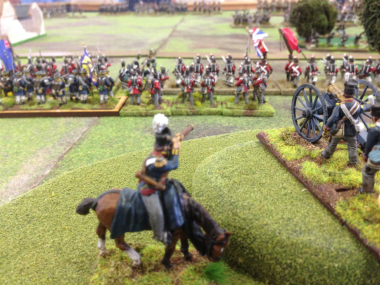
Mercer observes the French advance!
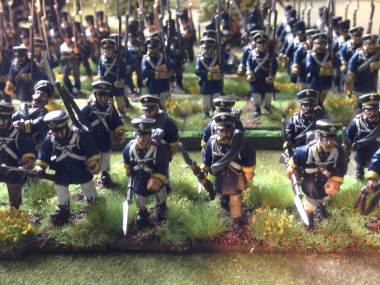
Our troops were a bit of a mixed bag, as we were short on the British side, so close scrutiny of the pictures may revel that the Allies consisted of a few Bavarian & Austrian troops! And so with the troops deployed, the battle got underway with the British advancing in line to take position just in front of the road. The 95th Rifles dashed forwards to garrison La Haie Sainte and form a skirmish line whilst the KGL rifles moved into the woods in front of Hougoumont.
In reply, the French moved to attack the village of Papelotte, set up the Grand Battery, and they advanced towards the British Right Flank. Hougoumont was largely ignored, although there was a sharp exchange of fire between the skirmishers in the Woods in front of the house.
Turns two and three saw the French batter away at the defenders in Papelotte but to little effect. To relieve pressure on this sector, the British advanced past the road to attack the advancing French Columns, stopping them with a fearsome volley! ( or as the French General would say , some dead jammy dice rolling…how many 6’s!) To add to the French woes, the Grand Battery was having trouble deploying effectively – a blunder sending them in the wrong direction. Add to this, the Centre also refused to move and so despite fierce fighting around La Haie Saint, the British right wing was holding it’s own, with the garrison in the farm house stubbornly holding on.
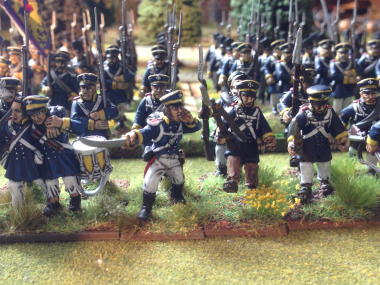
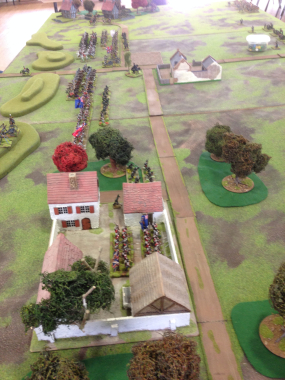
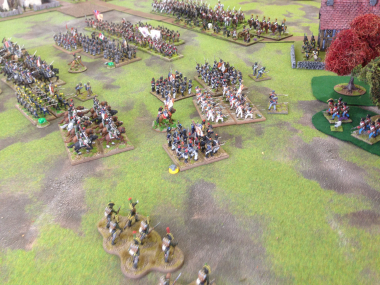
Fighting around La Haie Sainte
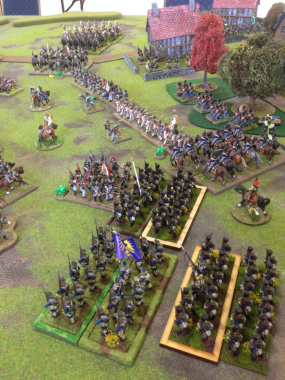
The French right wing attacking Papelotte
Turn 4 saw the British inflicting heavy casualties on the French left flank. The French Guard were soaking up the punishment but finding it difficult to make further progress. Faced with the Cold-stream Guards and taking heavy fire from both the Howitzer and the rocket battery on the hills, the French were beginning to waver. To add to their woes, the skirmish around Hougoumont had been won by the KGL and they were now advancing from the Chateau and threatening to out flank the French. The French centre still stubbornly refused to support the Guard and was becoming entangled with the small garrison at La Haie Saint.
At Papelotte, the Prussians were yet to arrive and the French were gradually making progress. However, the odds were that the Prussians would soon make an appearance and so rather than being able to exploit their stronger position, the French were forced to make provision for the threat to their flank.
The Prussians have arrived!
Sure enough, on turn 5, the Prussians began to filter onto the battlefield putting the French in front of Papelotte in dire trouble. To add to the French worries, the Guard brigade attacking the British Right flank had begun to crack and was falling back…
By Turn 6, the inevitable happened, and the French position became untenable. The Prussians drove into the flank, breaking the French Brigade attacking Papelotte and flanking the next French Brigade that was being held by the British Left.
Around La Haie Sainte, The French Guard Brigade had broken, and despite attempts to support it with the cavalry and troops from the French centre, it was now in retreat. The French had become entangled around the farm house and despite their best attempts could not shake the Rifle Companies defending it.
The ineffectiveness of the Grand Battery was overshadowed by the British Howitzer fire and amazingly, the Rocket battery, which scored 4 direct hits, causing mayhem!
Although the French had largely ignored Hougoumont, this time La Haie Saint had been their undoing, tying up too many troops and causing congestion in their lines. Strangely, the Cavalry on either side had been fairly ineffective. The British Cavalry had managed one charge but although they had caught a French Infantry battalion in the flank, they failed to do any significant damage. The French cavalry had also done very little. When called upon, they had failed their orders and refused to charge, lurking behind the infantry…
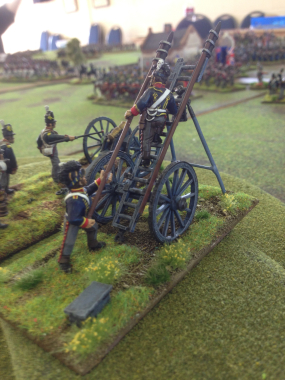
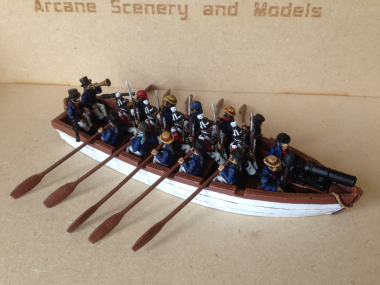
British Rocket Battery!
The star on the British side was the Rocket battery. With 4 direct hits, including a double hit on an advancing French Guard unit they had undoubtedly been the most effective artillery unit on the board! So a most enjoyable game (especially for the British!) – no doubt that the French will be back again!
Many thanks to Pete & Quentin for being such good sports and for doing the hard work in setting it all up!