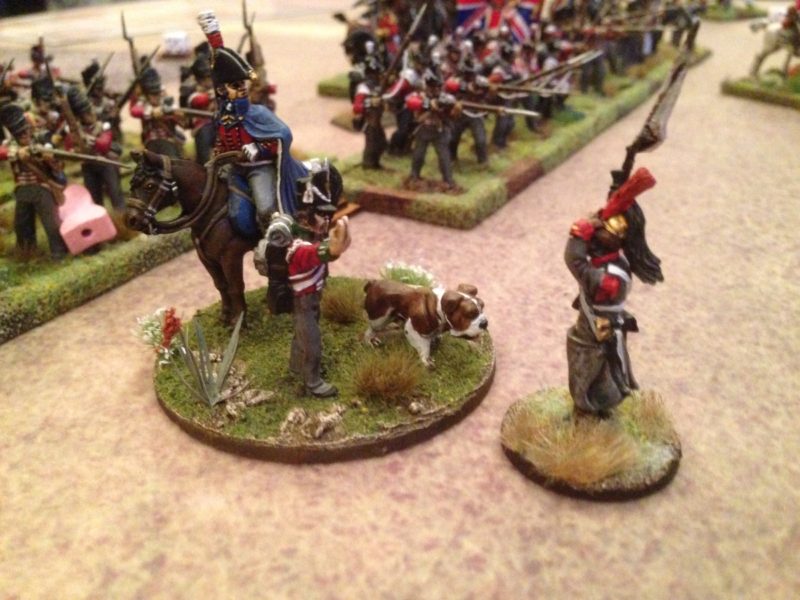
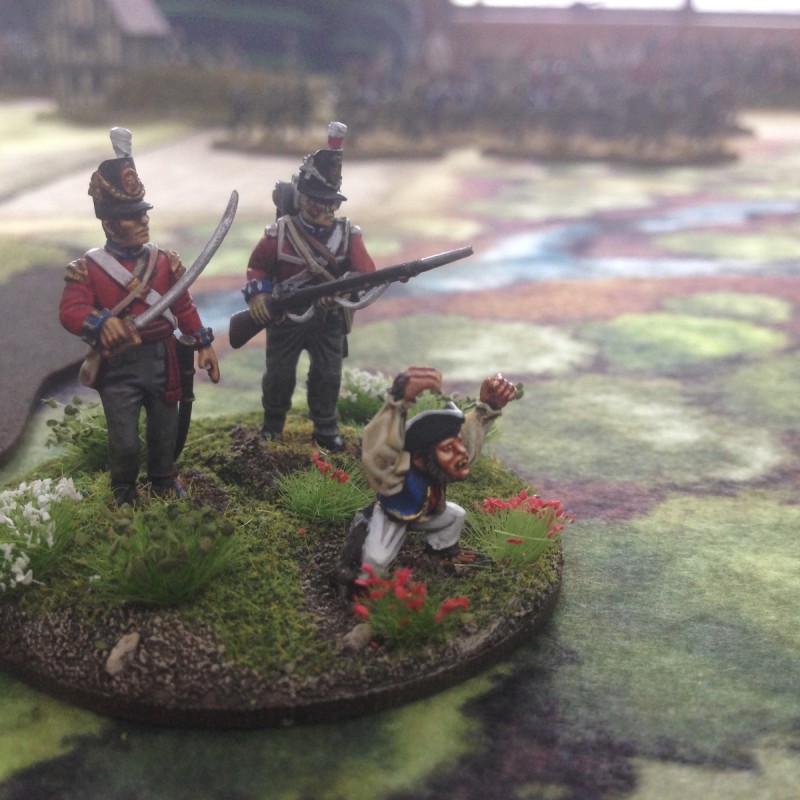
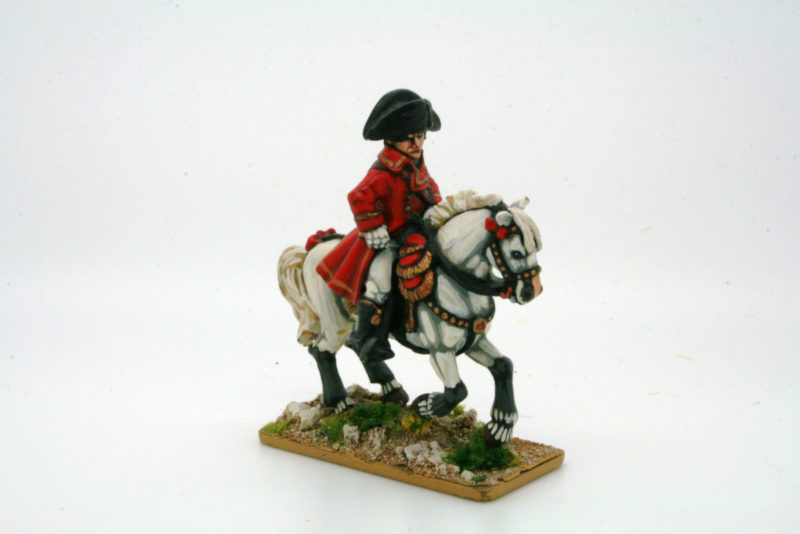
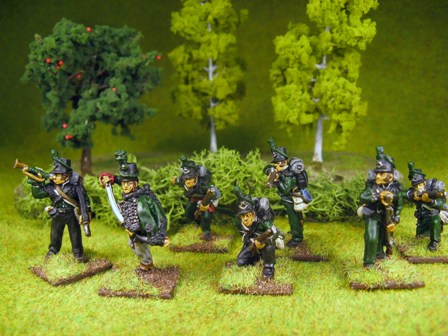
British Napoleonic uniform on display at the show.
I’ve mentioned before that I believe that some of the smaller shows for wargamers can be more enjoyable than some of the traditional war games shows that we all know. The latest example being the Napoleonic Day held in my home town of Bingham in Nottinghamshire. It was organised by the writer, Peter Youlds, and was focused on the Napoleonic period. To be fair, it wasn’t the usual wargames show, packed full of demonstration games and Traders but a small scale celebration of the Napoleonic period by like minded individuals. In fact, the only real pressure to buy anything was from the ‘Corsican Cafe’ that had been set up for the day. The home cooked bacon cobs and homemade cakes were just too tempting to avoid.

Belgic and Stovepipe shakos
The other goodies on offer were a selection of books (most of them signed copies) from the attending authors, Peter Youlds, Andrew Bamford, Carole Divall, and Micheal Kirby and some very nice original prints and paintings from the Napoleonic artist Chris Draper. In addition, a contingent from the 21st Regiment de Ligne re-enactors were on duty, as well as regency dress expert Laura Short. To round things off, Myself, Andy Callan ( of Paper Soldiers fame) and Pete Harris were running a demonstration war game, using Black powder Rules, loosely based on the Battle of Quatre Bras. There was also a series of talks throughout the day, from the various experts and authors, focusing on the Napoleonic era. The cost of entrance to this event – nothing! Yes, the whole day, including attendance of any of the lectures and access to all of that expertise was free.

A fine example of Regency costume
Belgium 1815: The Battle for the Crossroads
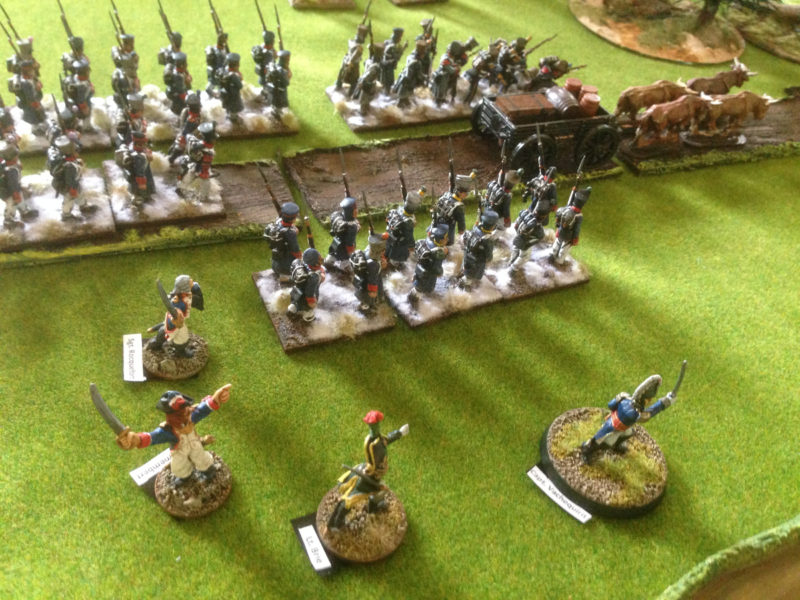
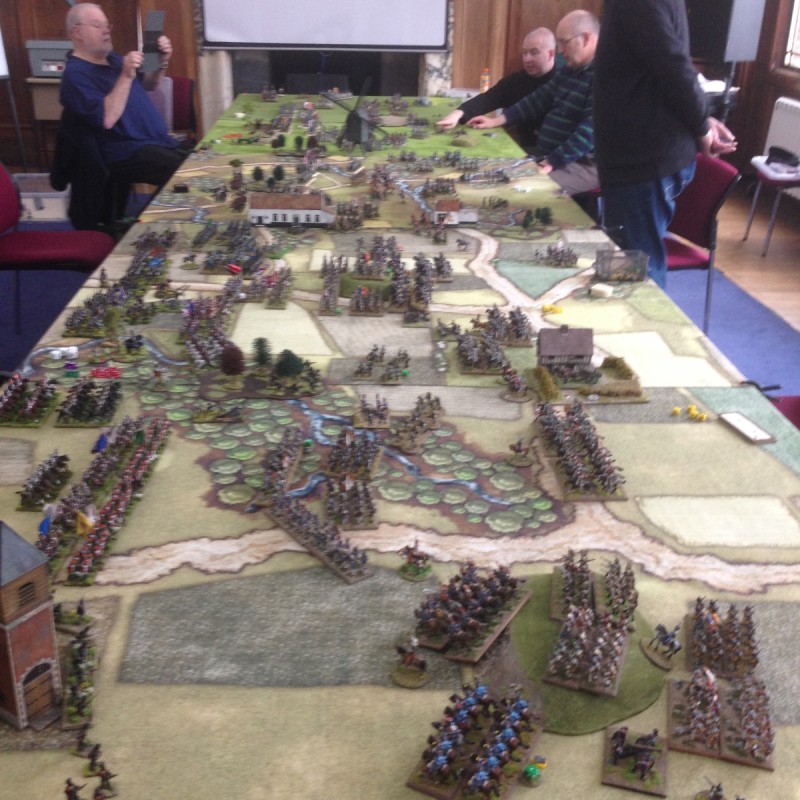
The demonstration game was based loosely on the battle of Quatre Bras. The scenario involved a combined force of Dutch -Belgian and Brunswick troops holding a crossroads against a French advance force. The French and Allied forces would both receive reinforcements as the battle progressed. The game spanned most of the day but the slow pace was mainly due to the number of questions that we were answering from the public, many of whom had never seen a wargame before. I’ll perhaps revisit some of the comments and reflect on the nature of our hobby in another blog, as it was fascinating to hear how the ‘public’ perceived this strange past time of ours. In the meantime, here is a brief account of the battle. The report is somewhat picture heavy. As usual, as I was playing, it was difficult to make notes and take pictures at the key times. You should get a general idea of the battle though.

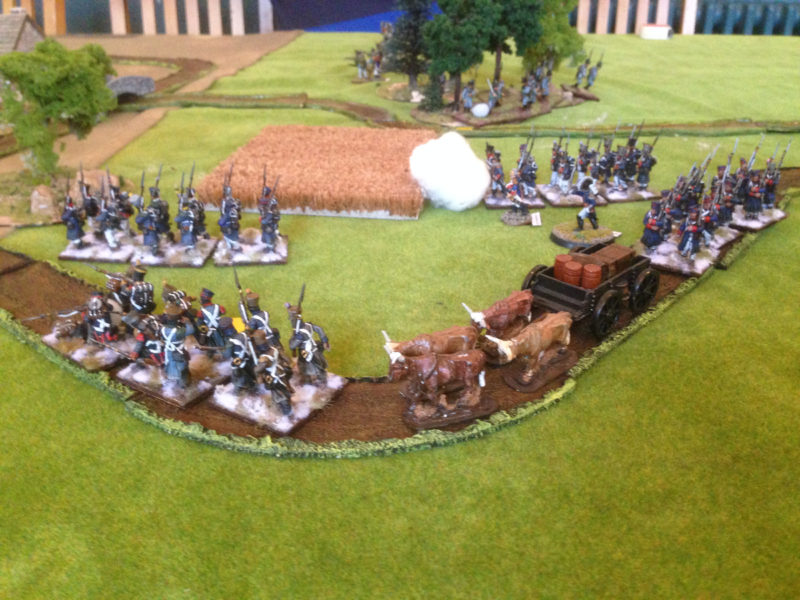
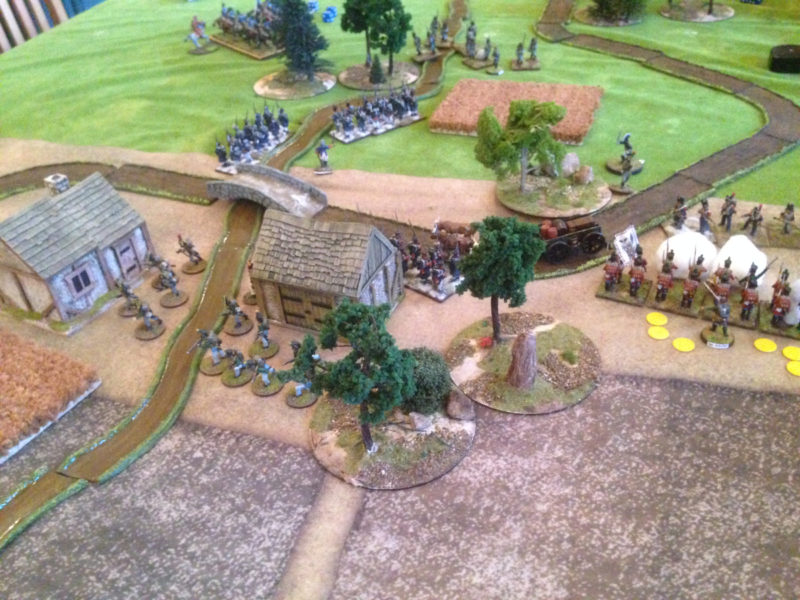
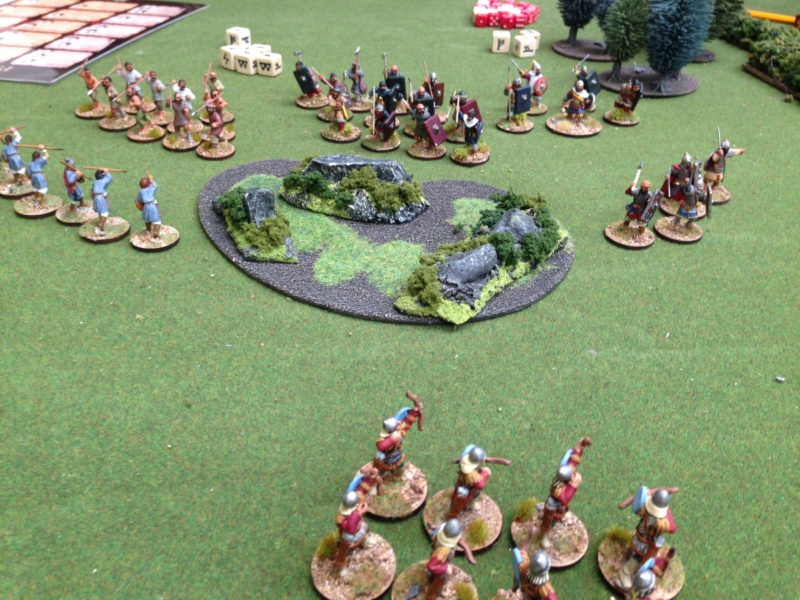
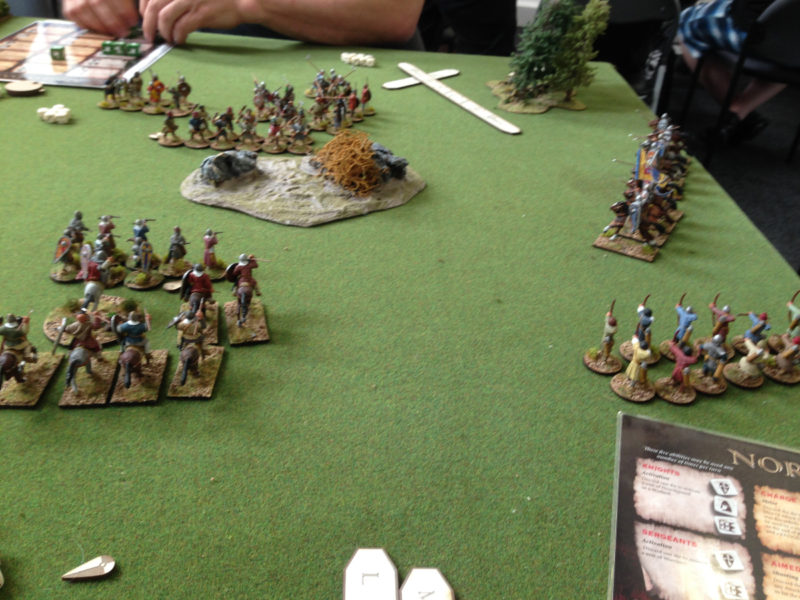
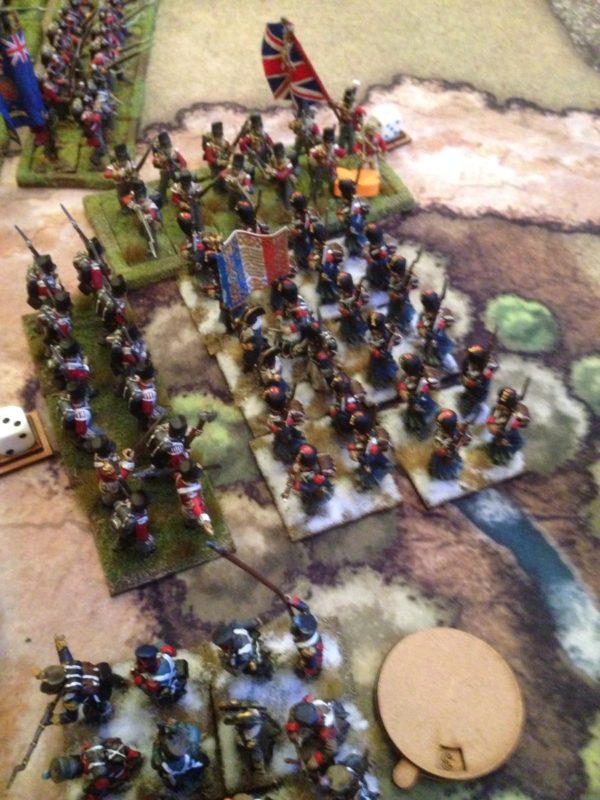
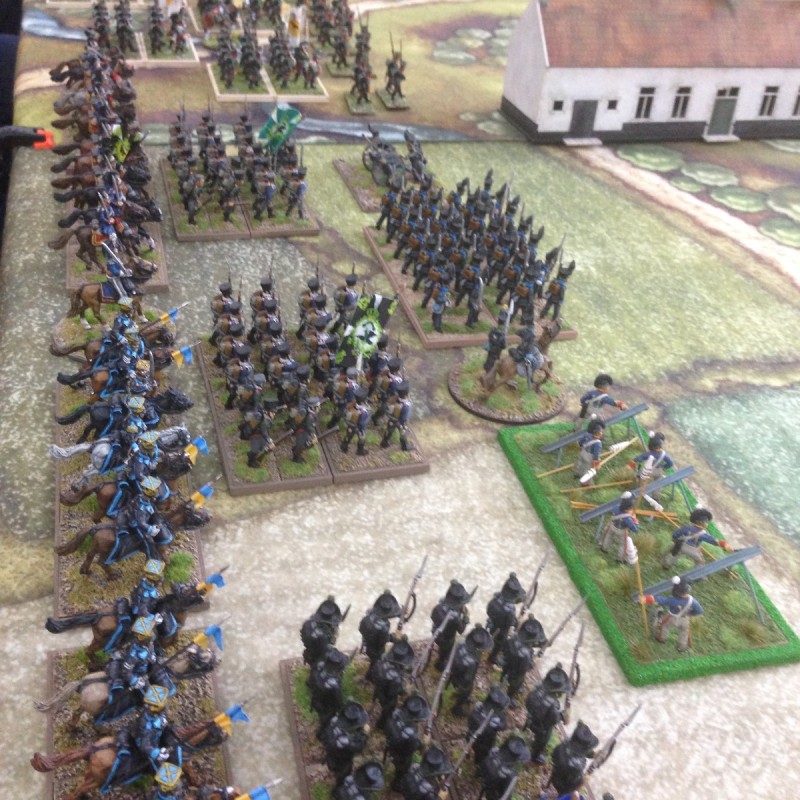
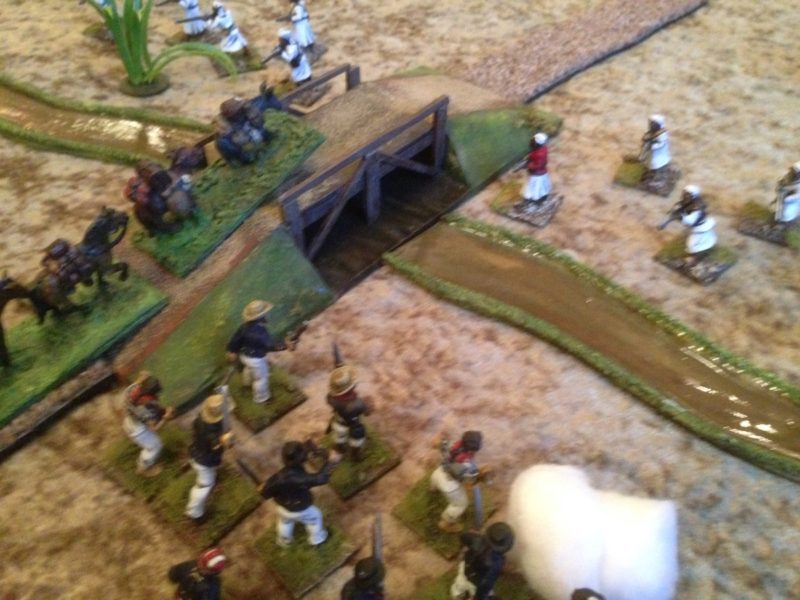
The deployment before the battle
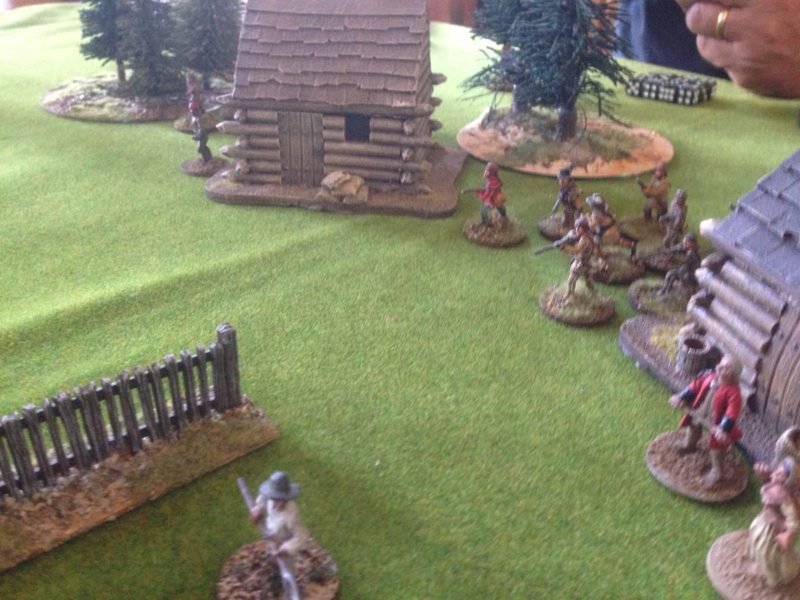
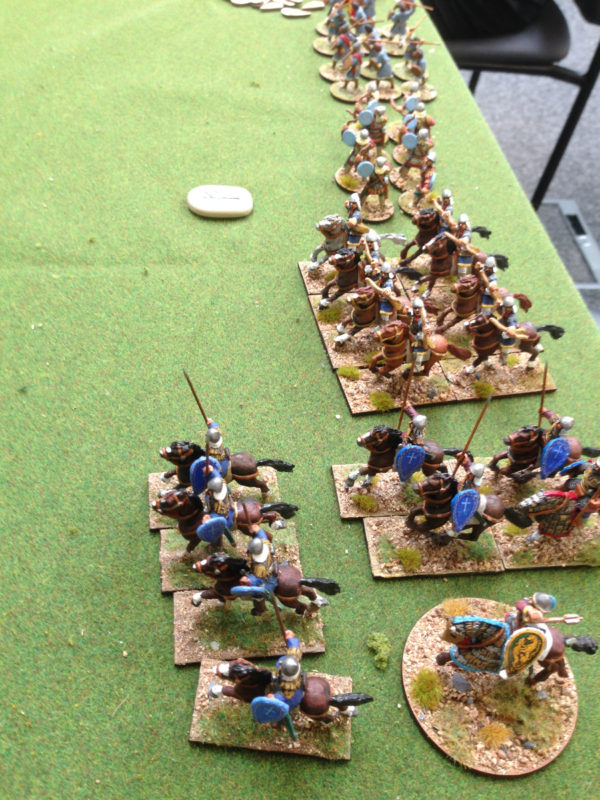
The initial turns saw a French steady advance towards the centre, held by the Brunswickers and Dutch brigades. A French Cavalry probe on the left was easily seen off by the Brunswick Lancers, although in truth, both sides were somewhat mauled. On the right, the French advanced cautiously along the main Brussels – Charleroi road between the farm house and the woods. They were harassed by the fire from a small contingent of Jager who had taken cover in the farm house.

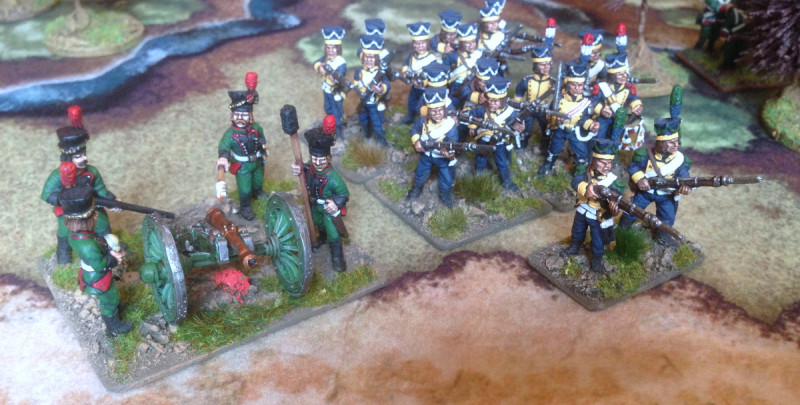
The Brunswick Brigade prepare for battle

The British encampment at the edge of the Bossu wood
Initially, it was the French reinforcements that arrived on the Battlefield, adding to the pressure in the Centre and again threatening the Left with their Calvary. Perhaps somewhat disheartened by the previous skirmish, the French cavalry refused to move and any threat to the Brunswick infantry was averted for the time being. More of a puzzle was the French cavalry’s’ reluctance to cross the stream and try to take the longer route around the pond… They clearly didn’t want to get their boots wet! On the right, The Belgians were more than holding their position and actually saw off a Battalion of French infantry with superior musketry. The Allies were gaining the upper hand.

Belgians Advance!

Brunswickers hold steady, whilst the French Cavalry are waiting to pounce!
French pressure in the centre continued to grow as more reinforcements made their way to the front. Despite this, the Allied line appeared to be holding well and the first British reinforcements were appearing from Brussels along the main road. Even better, the French on the right crumbled under fire and the whole brigade broke, leaving the right wing free for an Allied advance. The battle was going well for the Allies, victory was in sight!

The Belgians clash with the French!

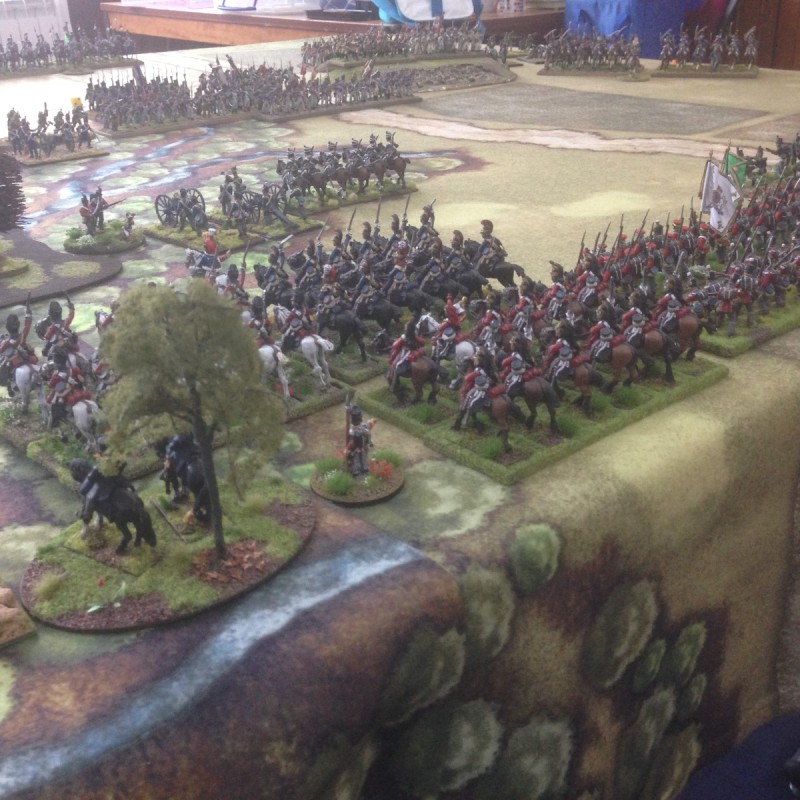
British Reinforcements are arriving from Brussels.

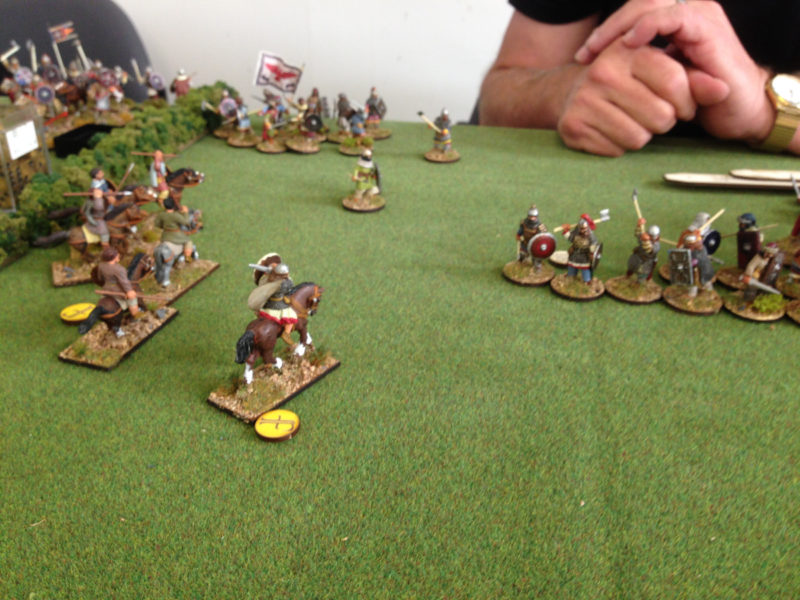
The French are pushed back on the Charloi road but the first hint of trouble – the farm house has fallen!
Now at this point, The Allied General (me) appeared to have lost the plot. Somewhat distracted by questions from the public and the thought of what cake to eat next, I failed to exploit the advantage gained on the right flank and actually helped to shore up the French position by forcing the retreating infantry into square, thereby anchoring them on the battlefield. At the same time, the French Generals’ (Pete Harris) persistence and greater tactical awareness paid off. Spotting a weakness in the Allied line, the French bravely charged a Brunswick Artillery battery, routing it from the table and breaking the Allied line.

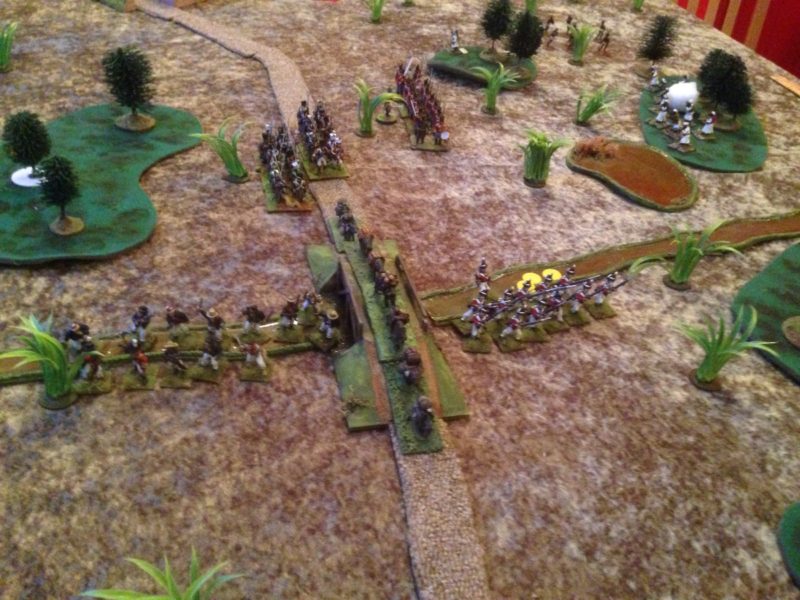
French pressure has forced the Dutch & brunswickers back from the stream.

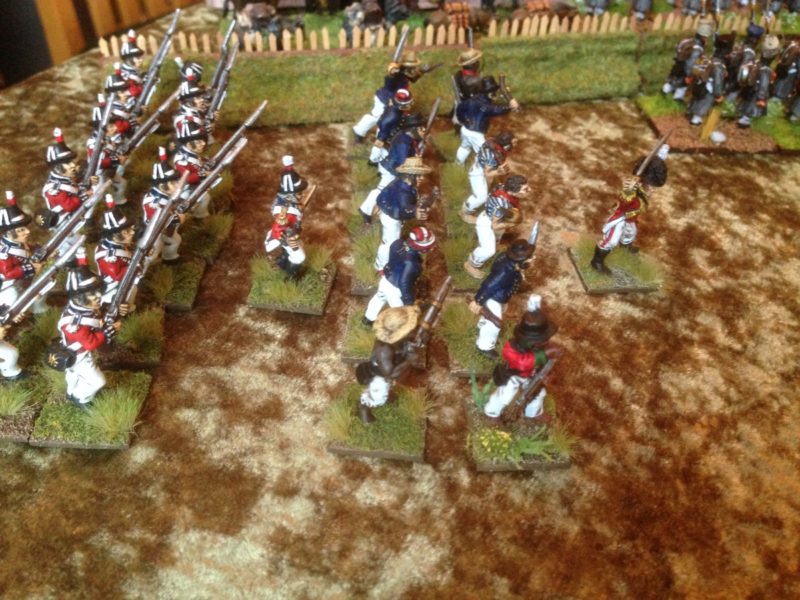
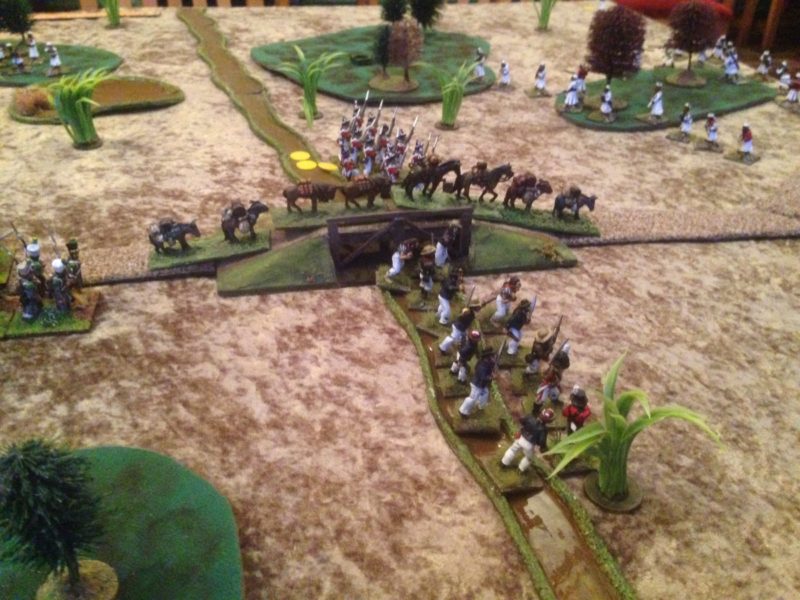
Congestion on the Brussels – Charleroi road as more British reinforcements arrive.

Continued French pressure forces the Allies back.
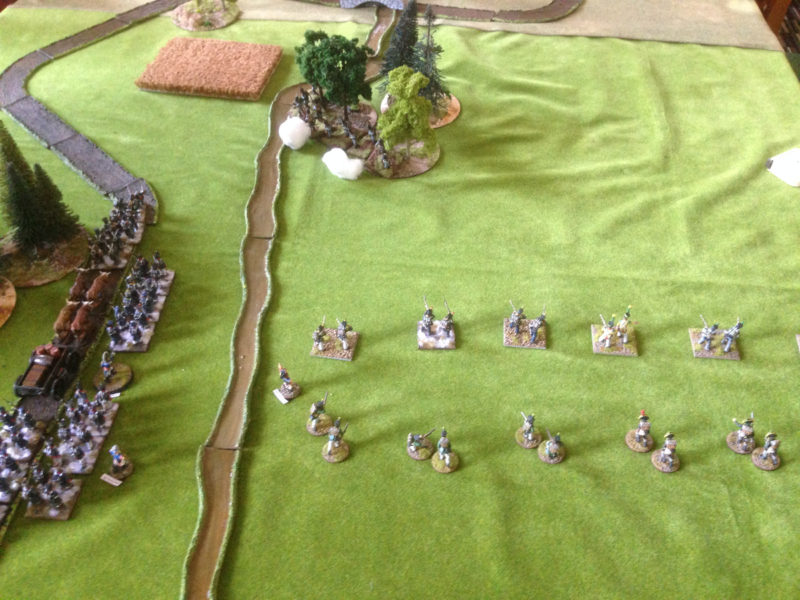
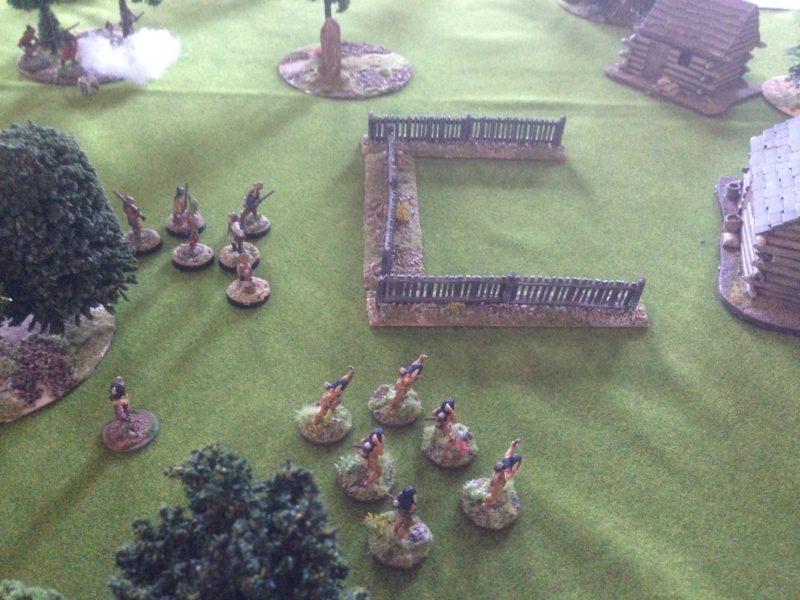
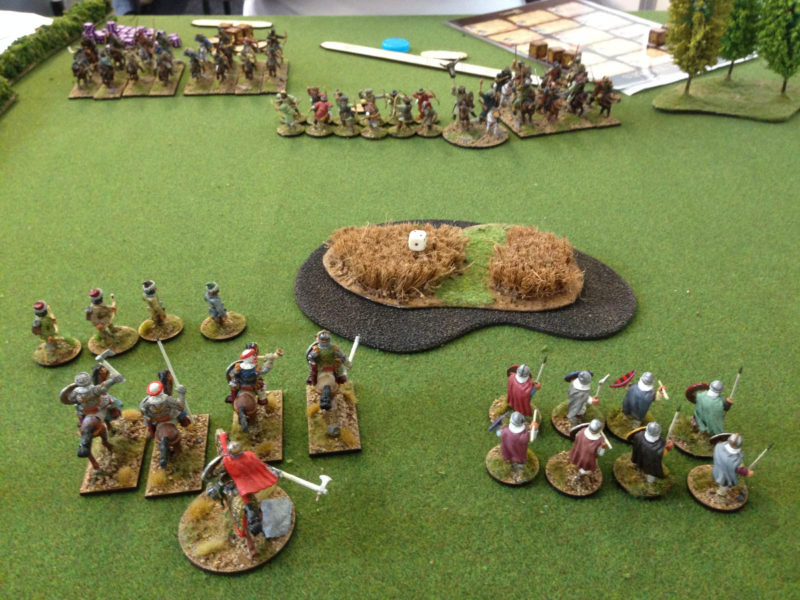
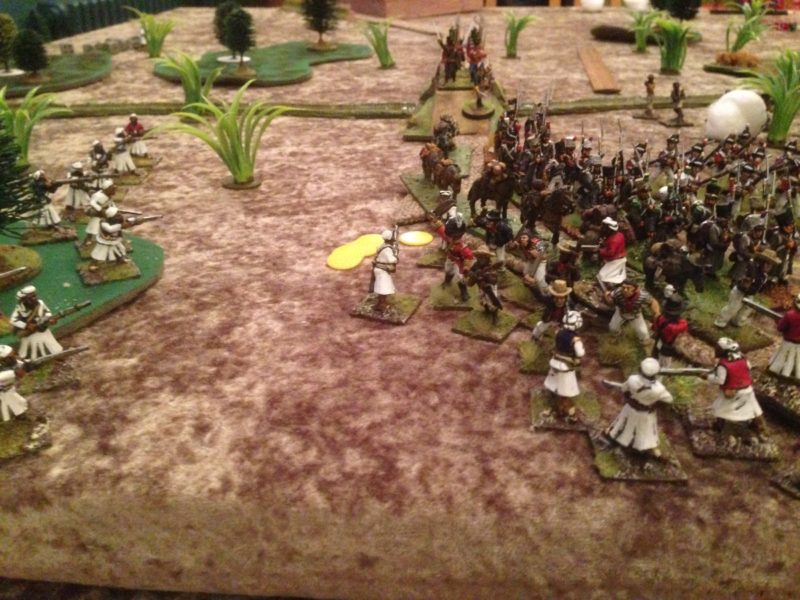
As if this wasn’t enough, The French Cavalry on the left charged en mass, breaking the allied cavalry and pushing them off of the battlefield. The Allied advantage on the right was further diminished as the French had forced the Jagers out of the farm house and had occupied it themselves with a full battalion! Suddenly the Allies were on the back foot. The saving grace was that a steady stream of British reinforcements were now arriving from Brussels. There was now a major traffic jam at the crossroads as the British tried to deploy. Fortunately, the remains of the Brunswick and Dutch contingent, bolstered by a Hanoverian Brigade were able to delay the French long enough for the British Infantry to begin to get into position along the road and form a new defensive line.

The Hanoverians halt the French advance on the crossroads buying time for the Allies.

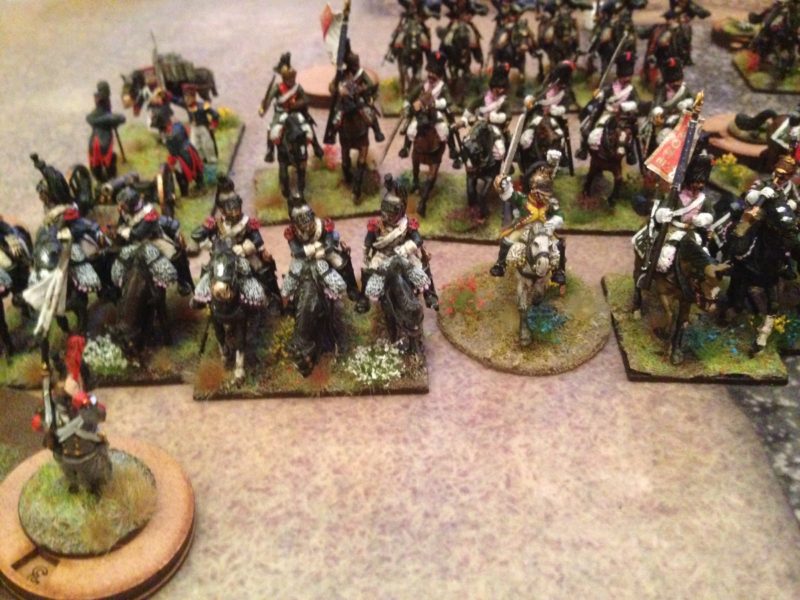
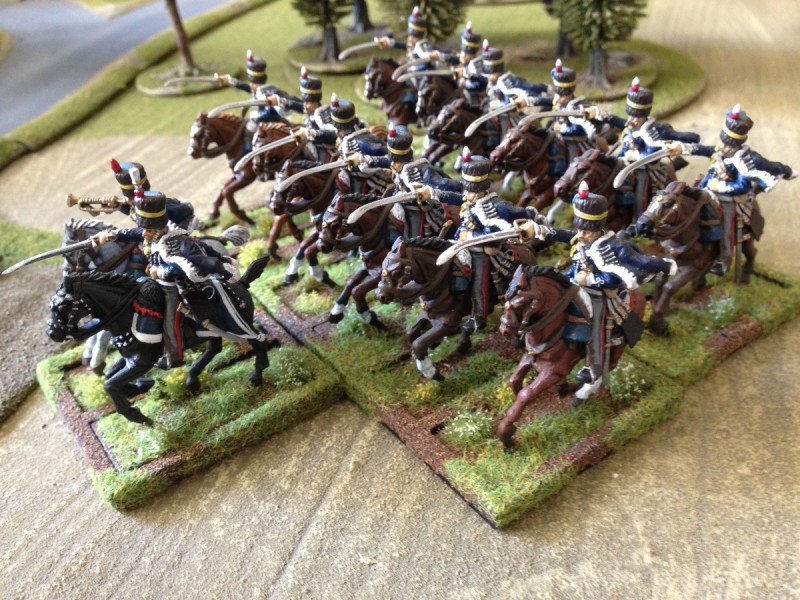
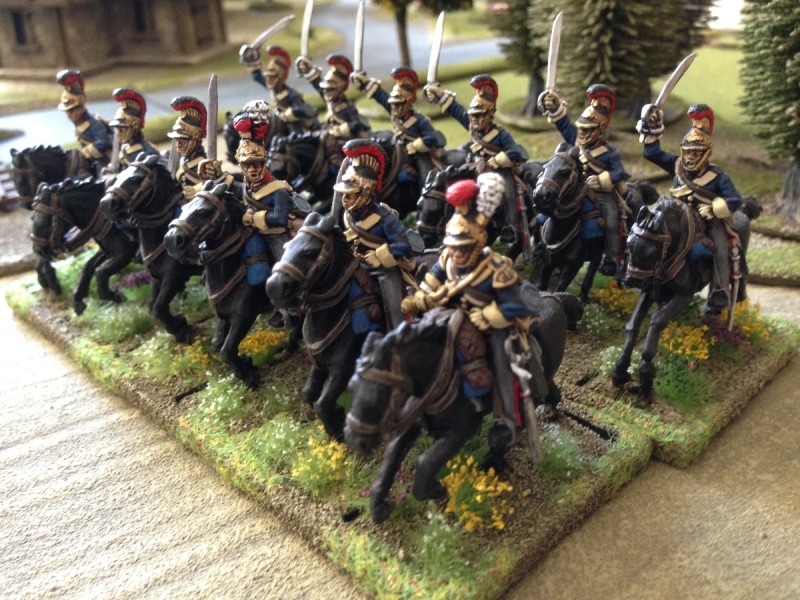
French Cavalry now dominate the left wing!

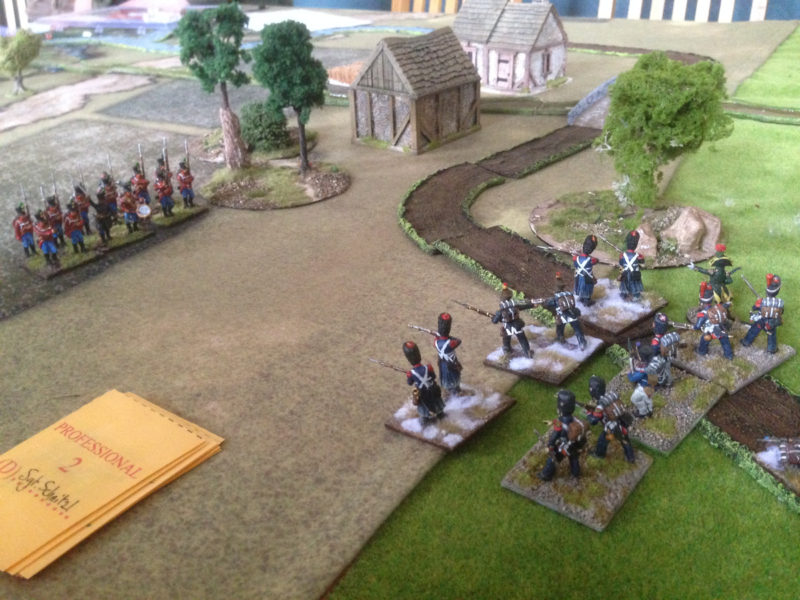
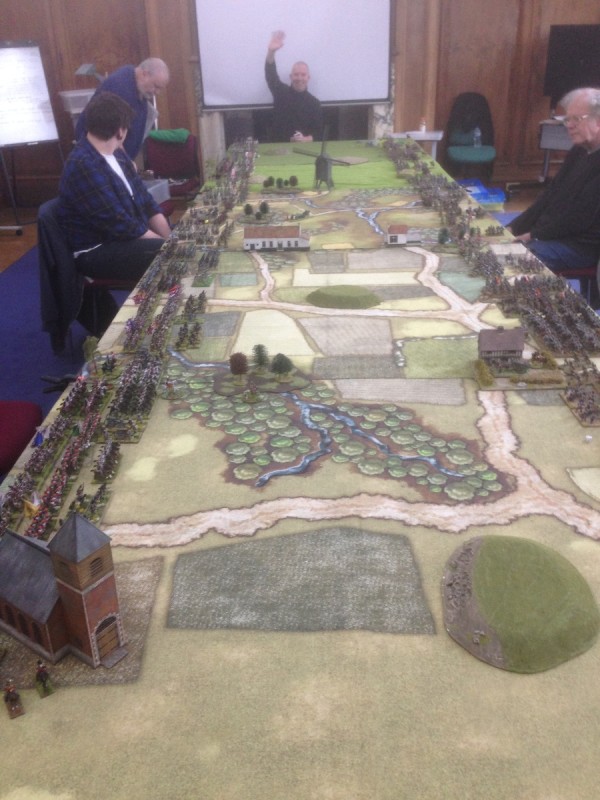
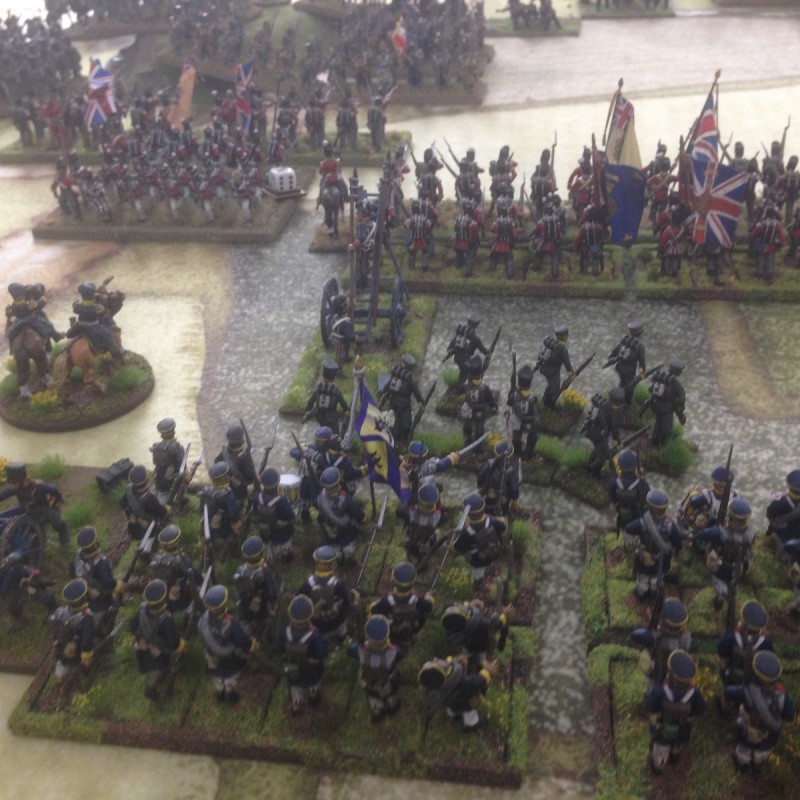
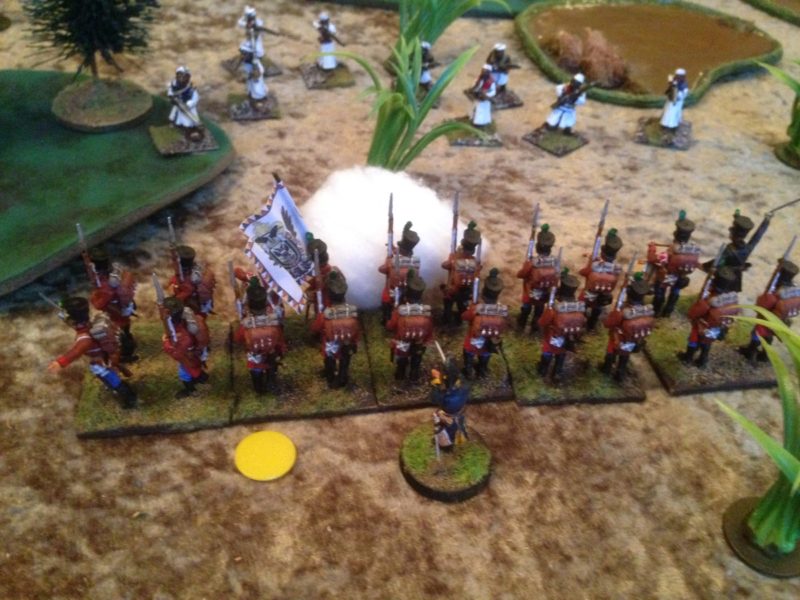
The British form a new defensive line along the Nivelles-Namur Road
As nightfall approached, the British had managed to secure the crossroads and despite being pushed back they had inflicted sufficient casualties on the French to stem their advance. However, it was the French that had had the better day. They had severely mauled the Allied army and pushed them back to the crossroads. They now held the majority of the field and could further harass the Allies withdrawal to Waterloo!

The French hold the battlefield but are exhausted after beating back the Allies.
All in all, thoroughly enjoyable battle where the French gained boasting rights and Pete Harris proved to be a better General than Ney. Unfortunateky, I didn’t quite manage to live up to Wellingtons standards! Of course, the unsung hero of the day was Andy Callan, who put so much into organising and running the battle whilst keeping our visitors so well informed. I hope that the guests had as much fun as we did.
Once again, our thanks to Peter Youlds who organised the day and I look forward to the next one.


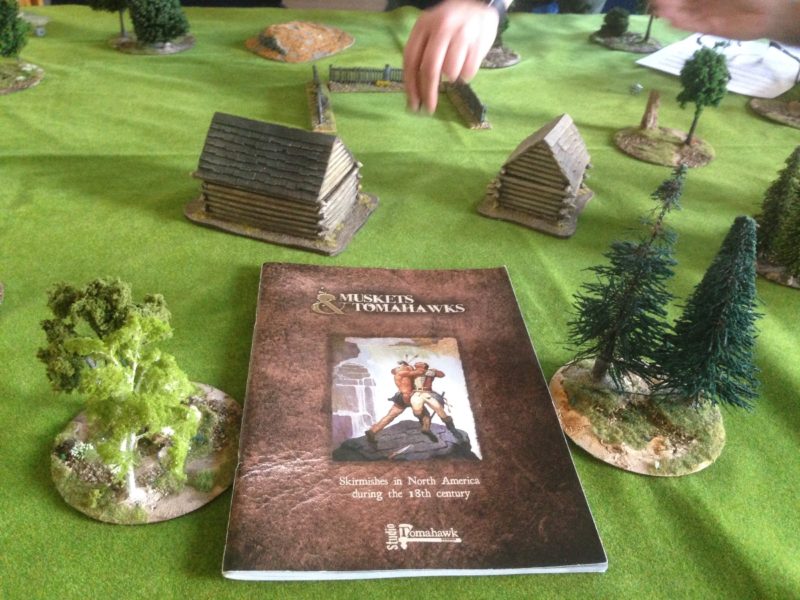
 The group decided that we needed a simple set of rules that would allow us to play a skirmish game on a Thursday evening that would not tax the brain too much and would be something that could be read quickly and absorbed. Step forward, Andy Callan, veteran rules writer, who volunteered to put the two rules sets together and simplify them down to two sides of A4 paper. Andy has been writing rules and war games scenarios for many years. His rules set ‘Loose Files and American Scramble’ appeared in the very first edition of Wargames Illustrated ( why the hell we aren’t using these at the club is another mystery to me…..) and his current joint project with Peter Dennis is the Paper Soldiers rules sets & armies published by Helion Books that I have previewed