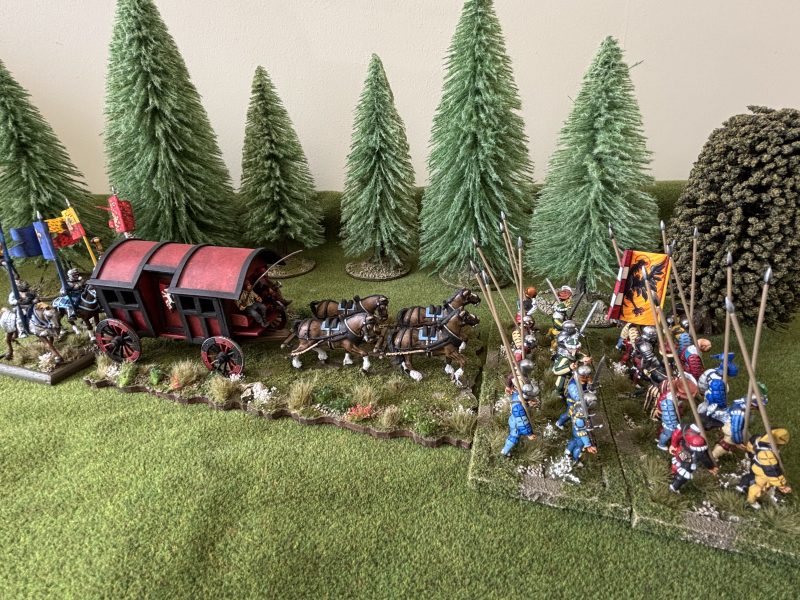
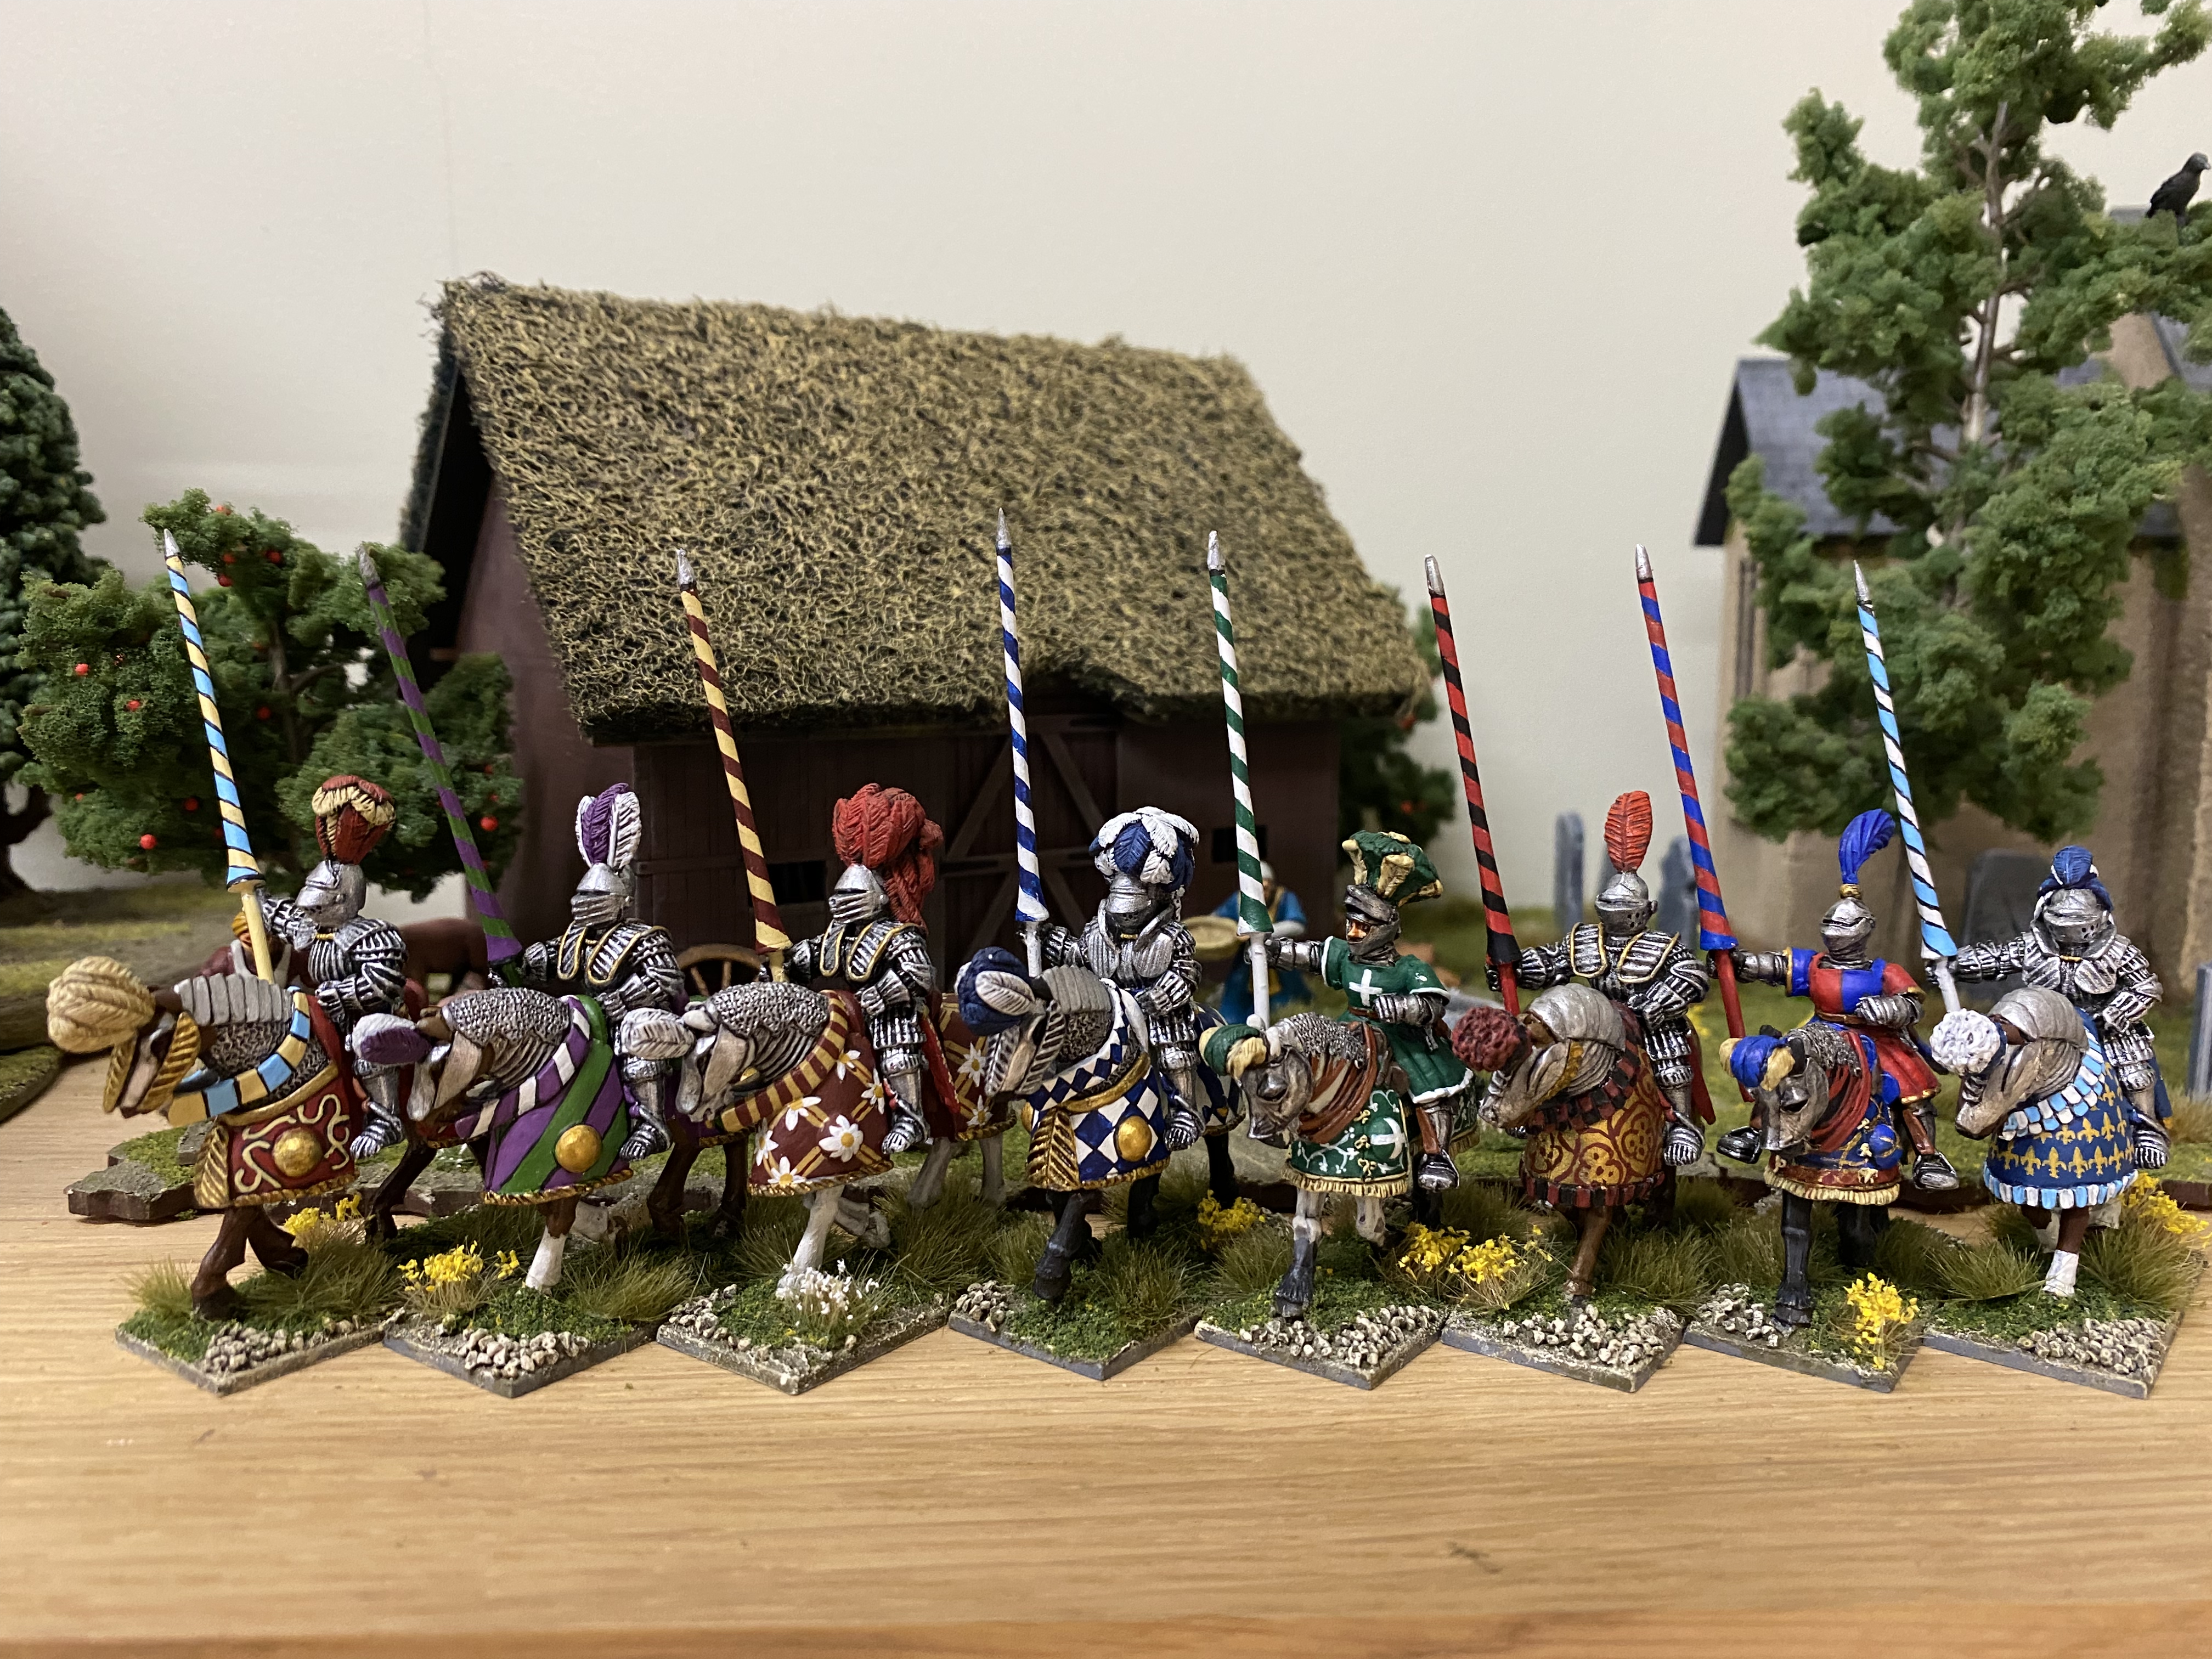
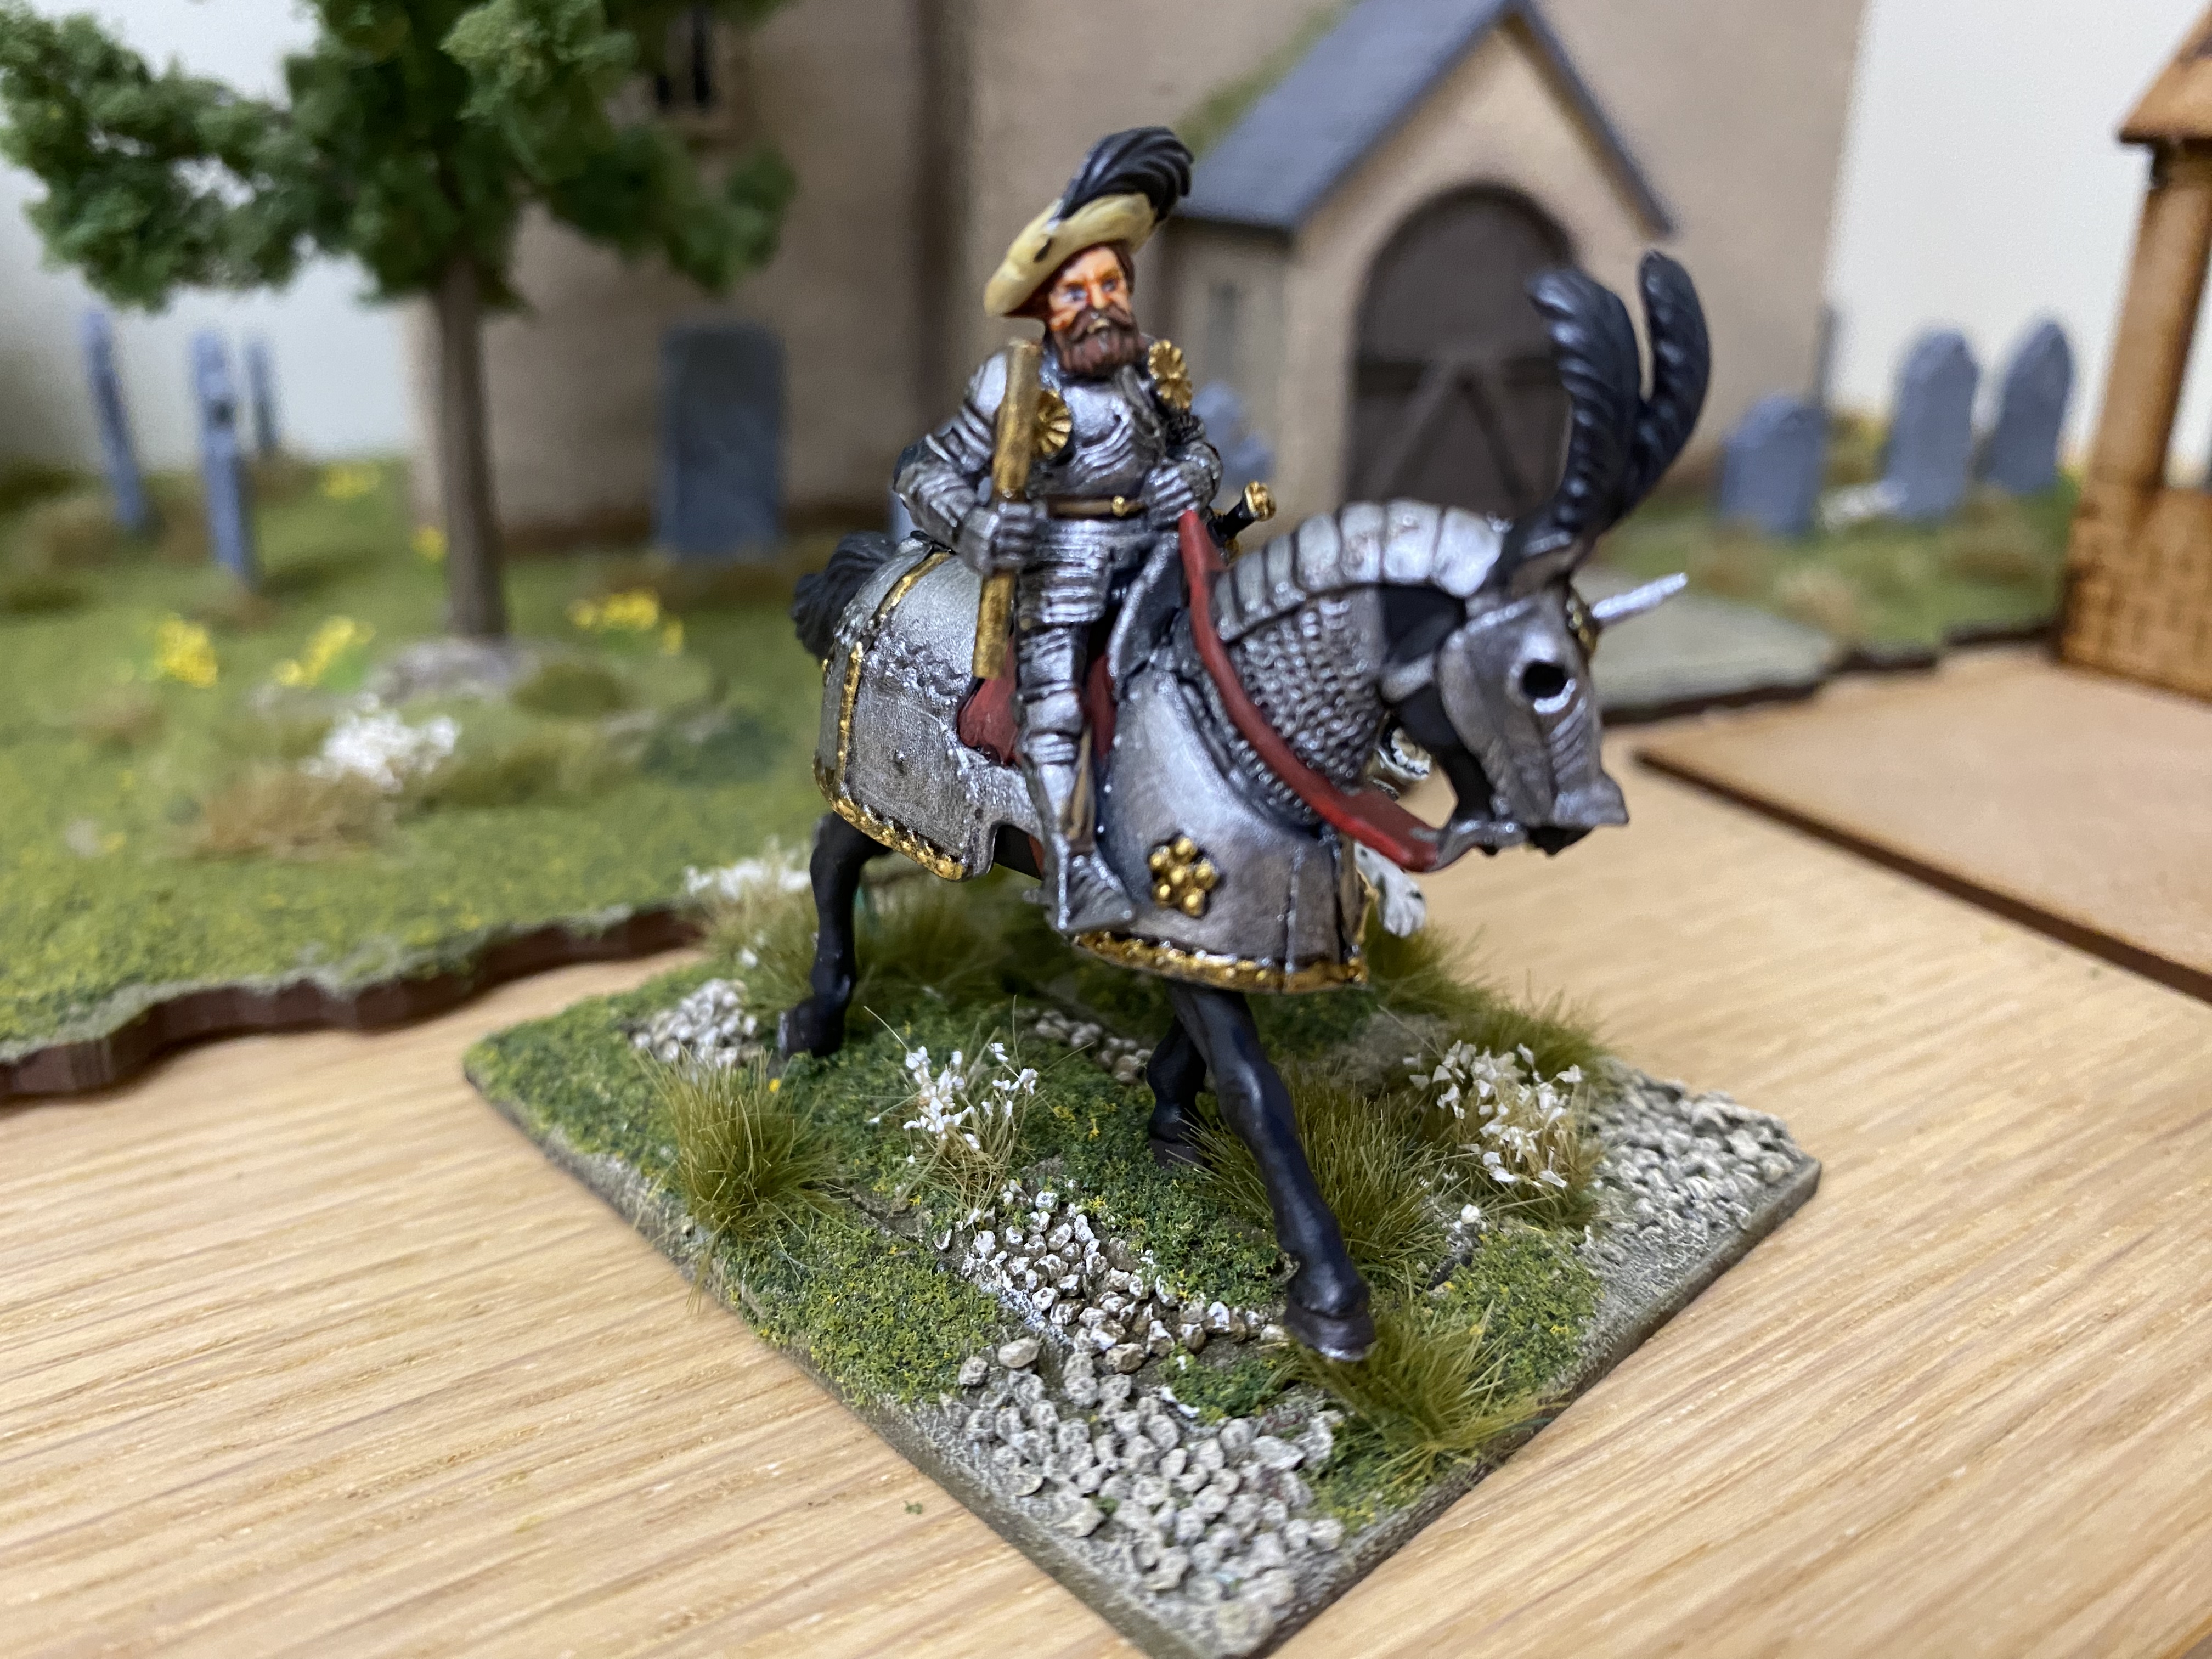
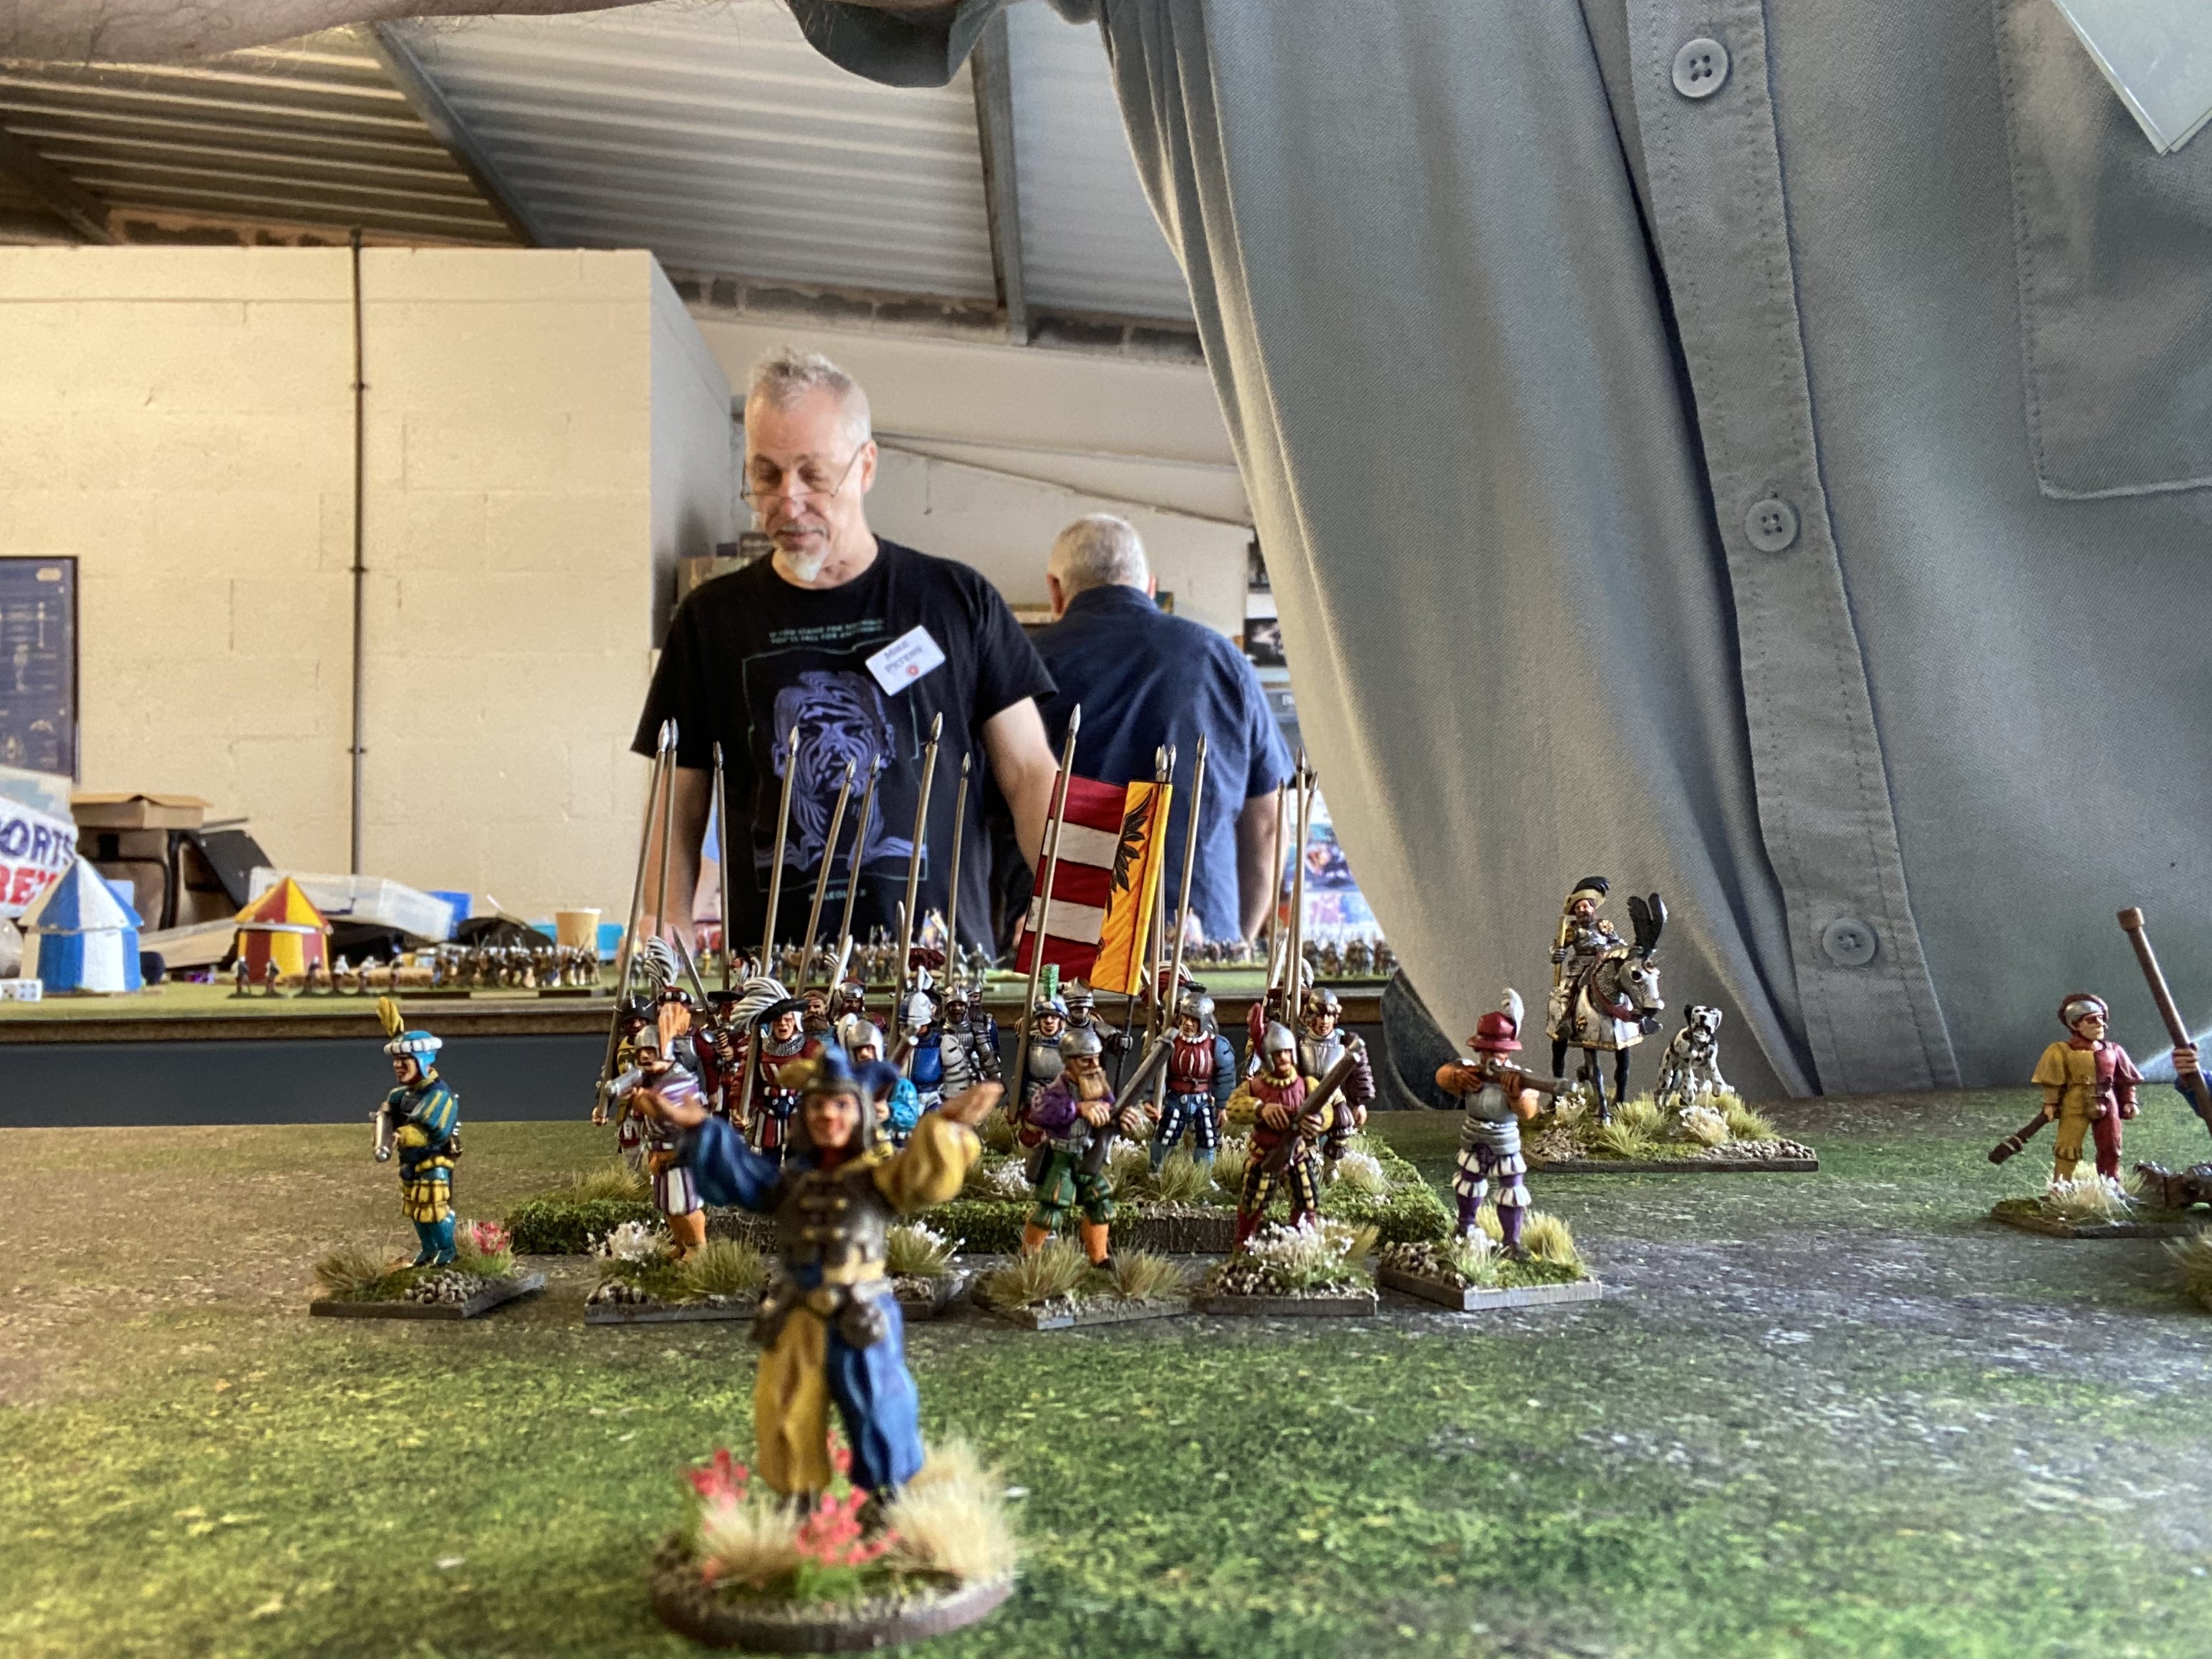
Following my return from the excellent Battleground show at Middlesbrough, I was leafing through a catalogue given out by Tiger Miniatures and noticed that they had a simple scenario for Elizabethan troops in Ireland. That was enough to inspire me to come up with my own similar scenario using the only Elizabethan troops that I had, namely, the superb set from Flags of War, the Queens Envoys. In reality, these models have a remarkable similarity to the cast from Black Adder two! It also meant that I had an excuse to use my scratch built medieval coach. You can read how I built my coach in a previous blog here:
Rather than produce a battle report, I thought that it would be useful to give details of the set up, the OOB, the special rules, special events cards and a brief outline of the Irish troops involved. You will of course need the Never Mind the Bill Hooks Deluxe rules to play the game. There is a brief battle report on the Bill Hooks Facebook group page here;
NEVER MIND THE BILL HOOKS FACEBOOK GROUP
Just note that if you would like to join the group, please say yes to agreeing to following the group rules when answering the joining questions.

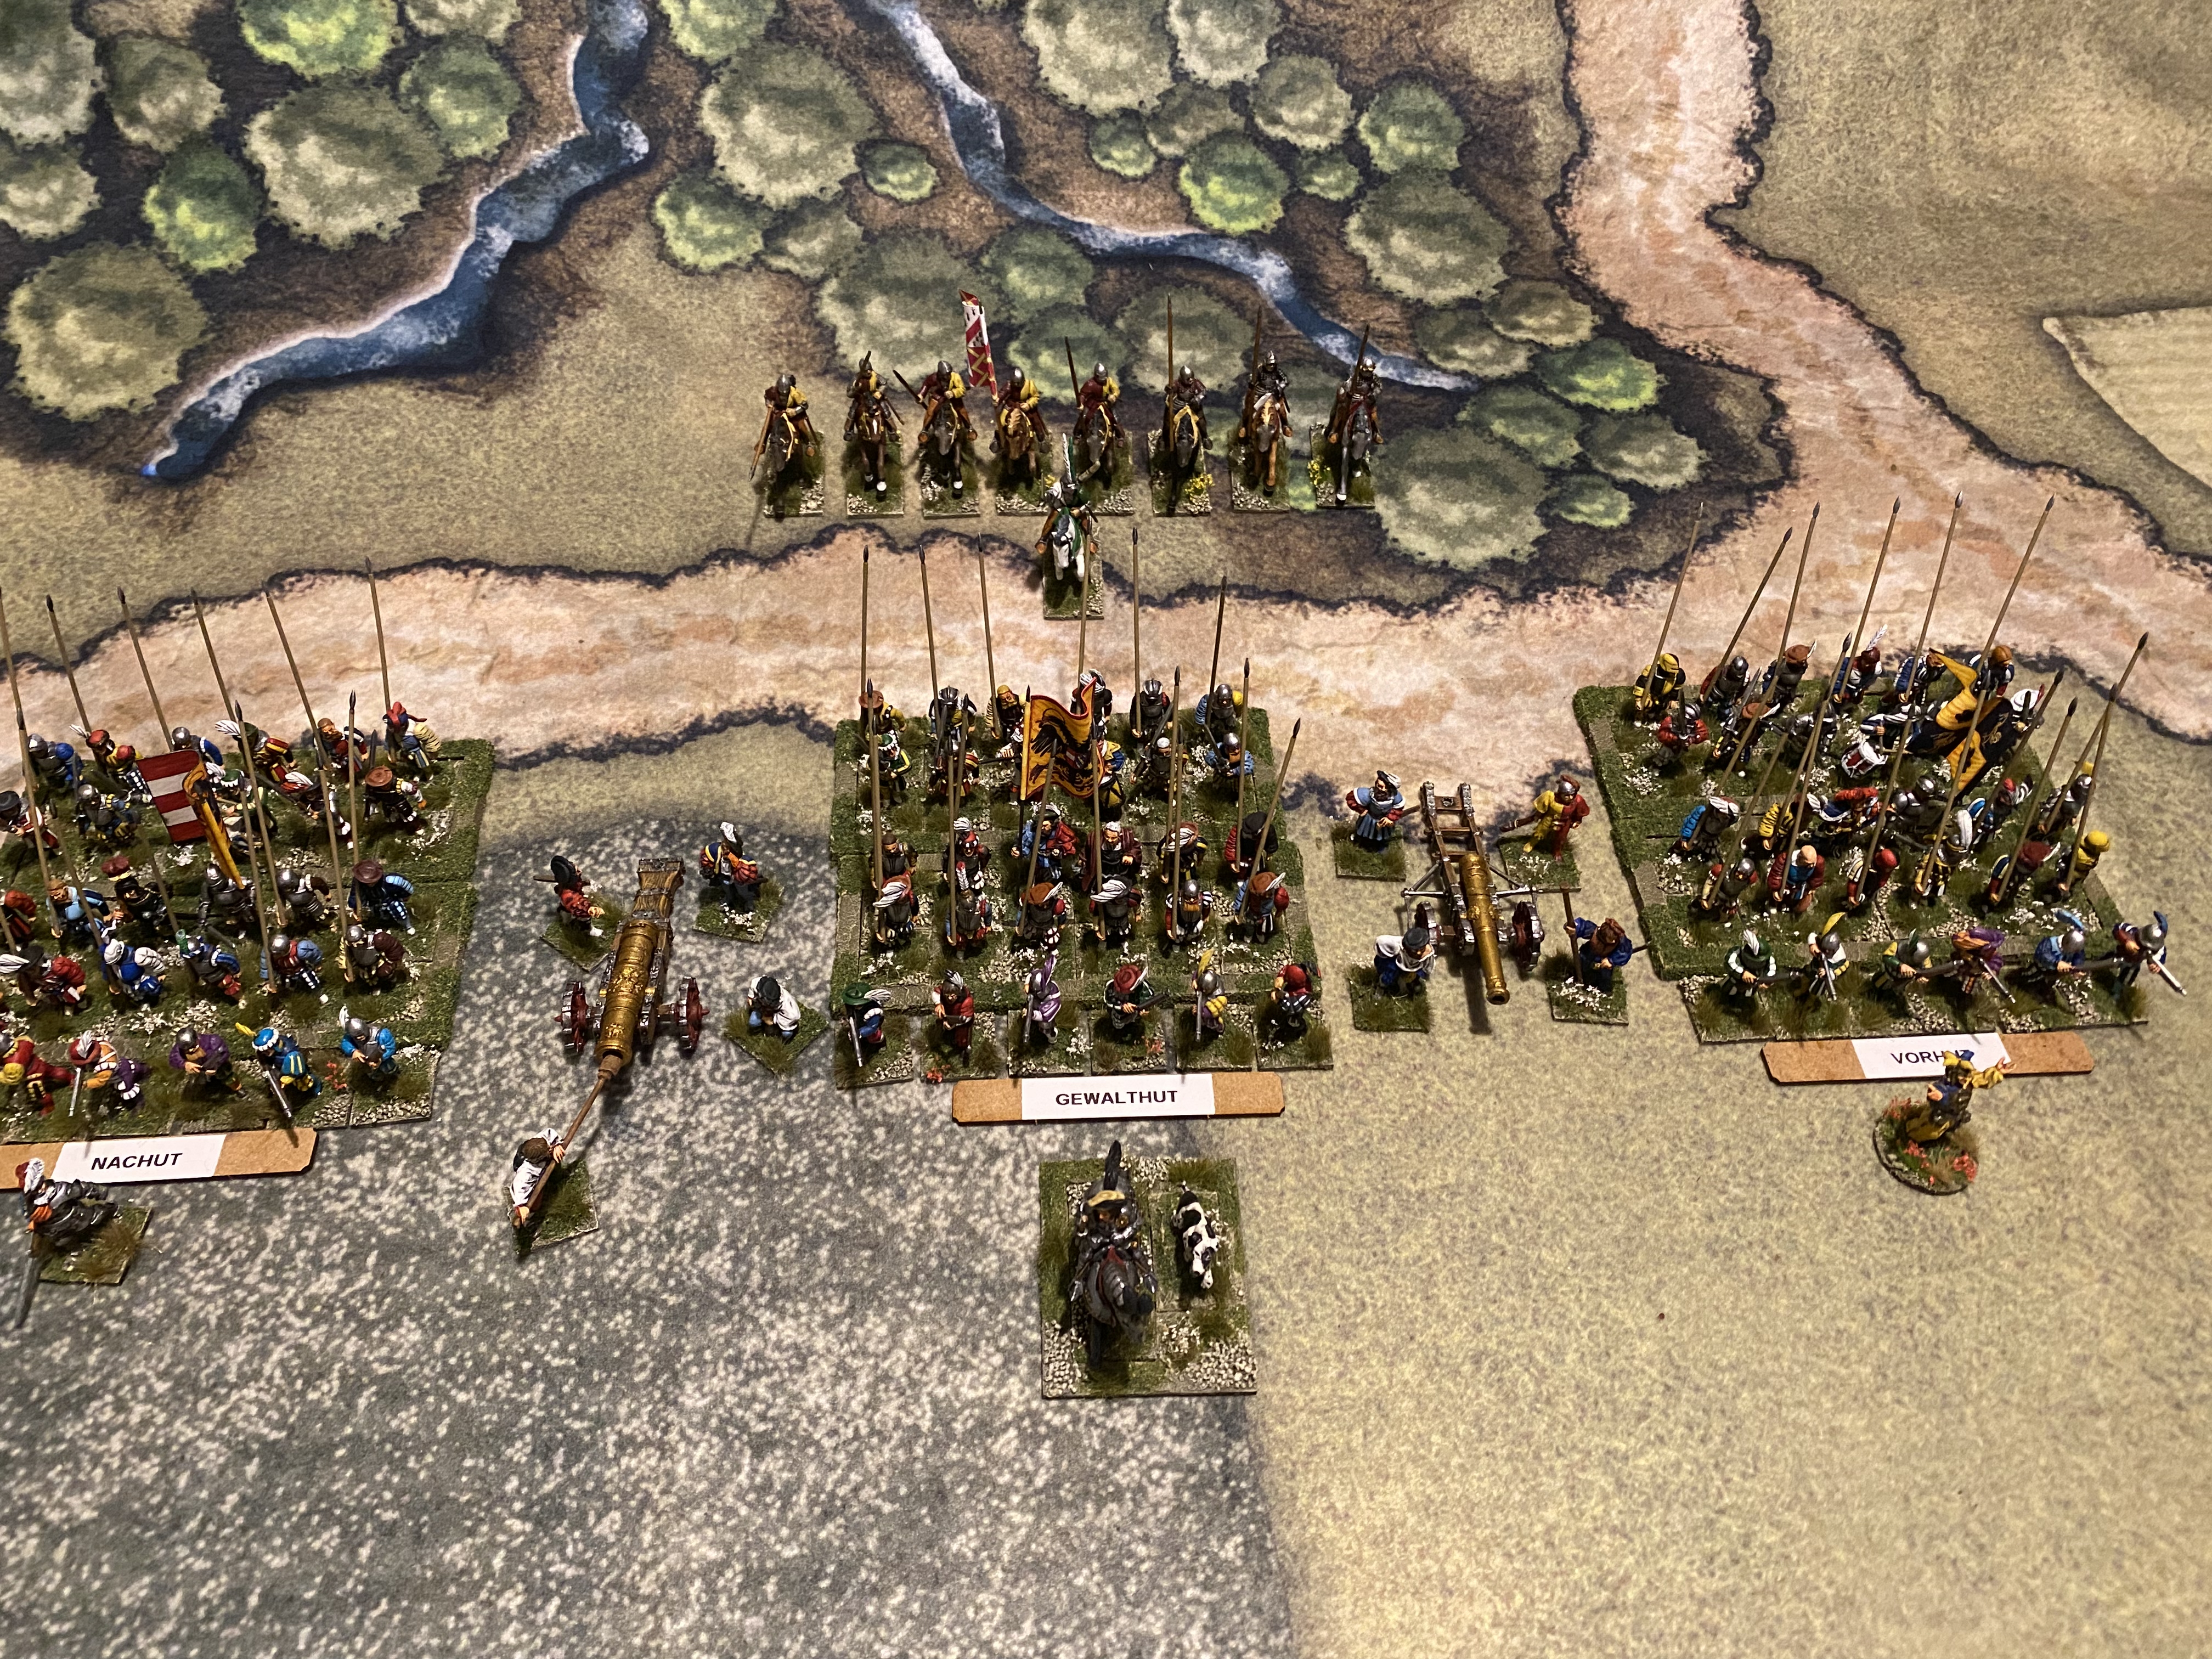
The order of battle for each side was as follows:

Lord Brendan FitzMaurice’s Retinue
WARD 1
Commander Lord Brendan Fitzmaurice 0 points
Troops 1 Unit of formed Kern 12 points
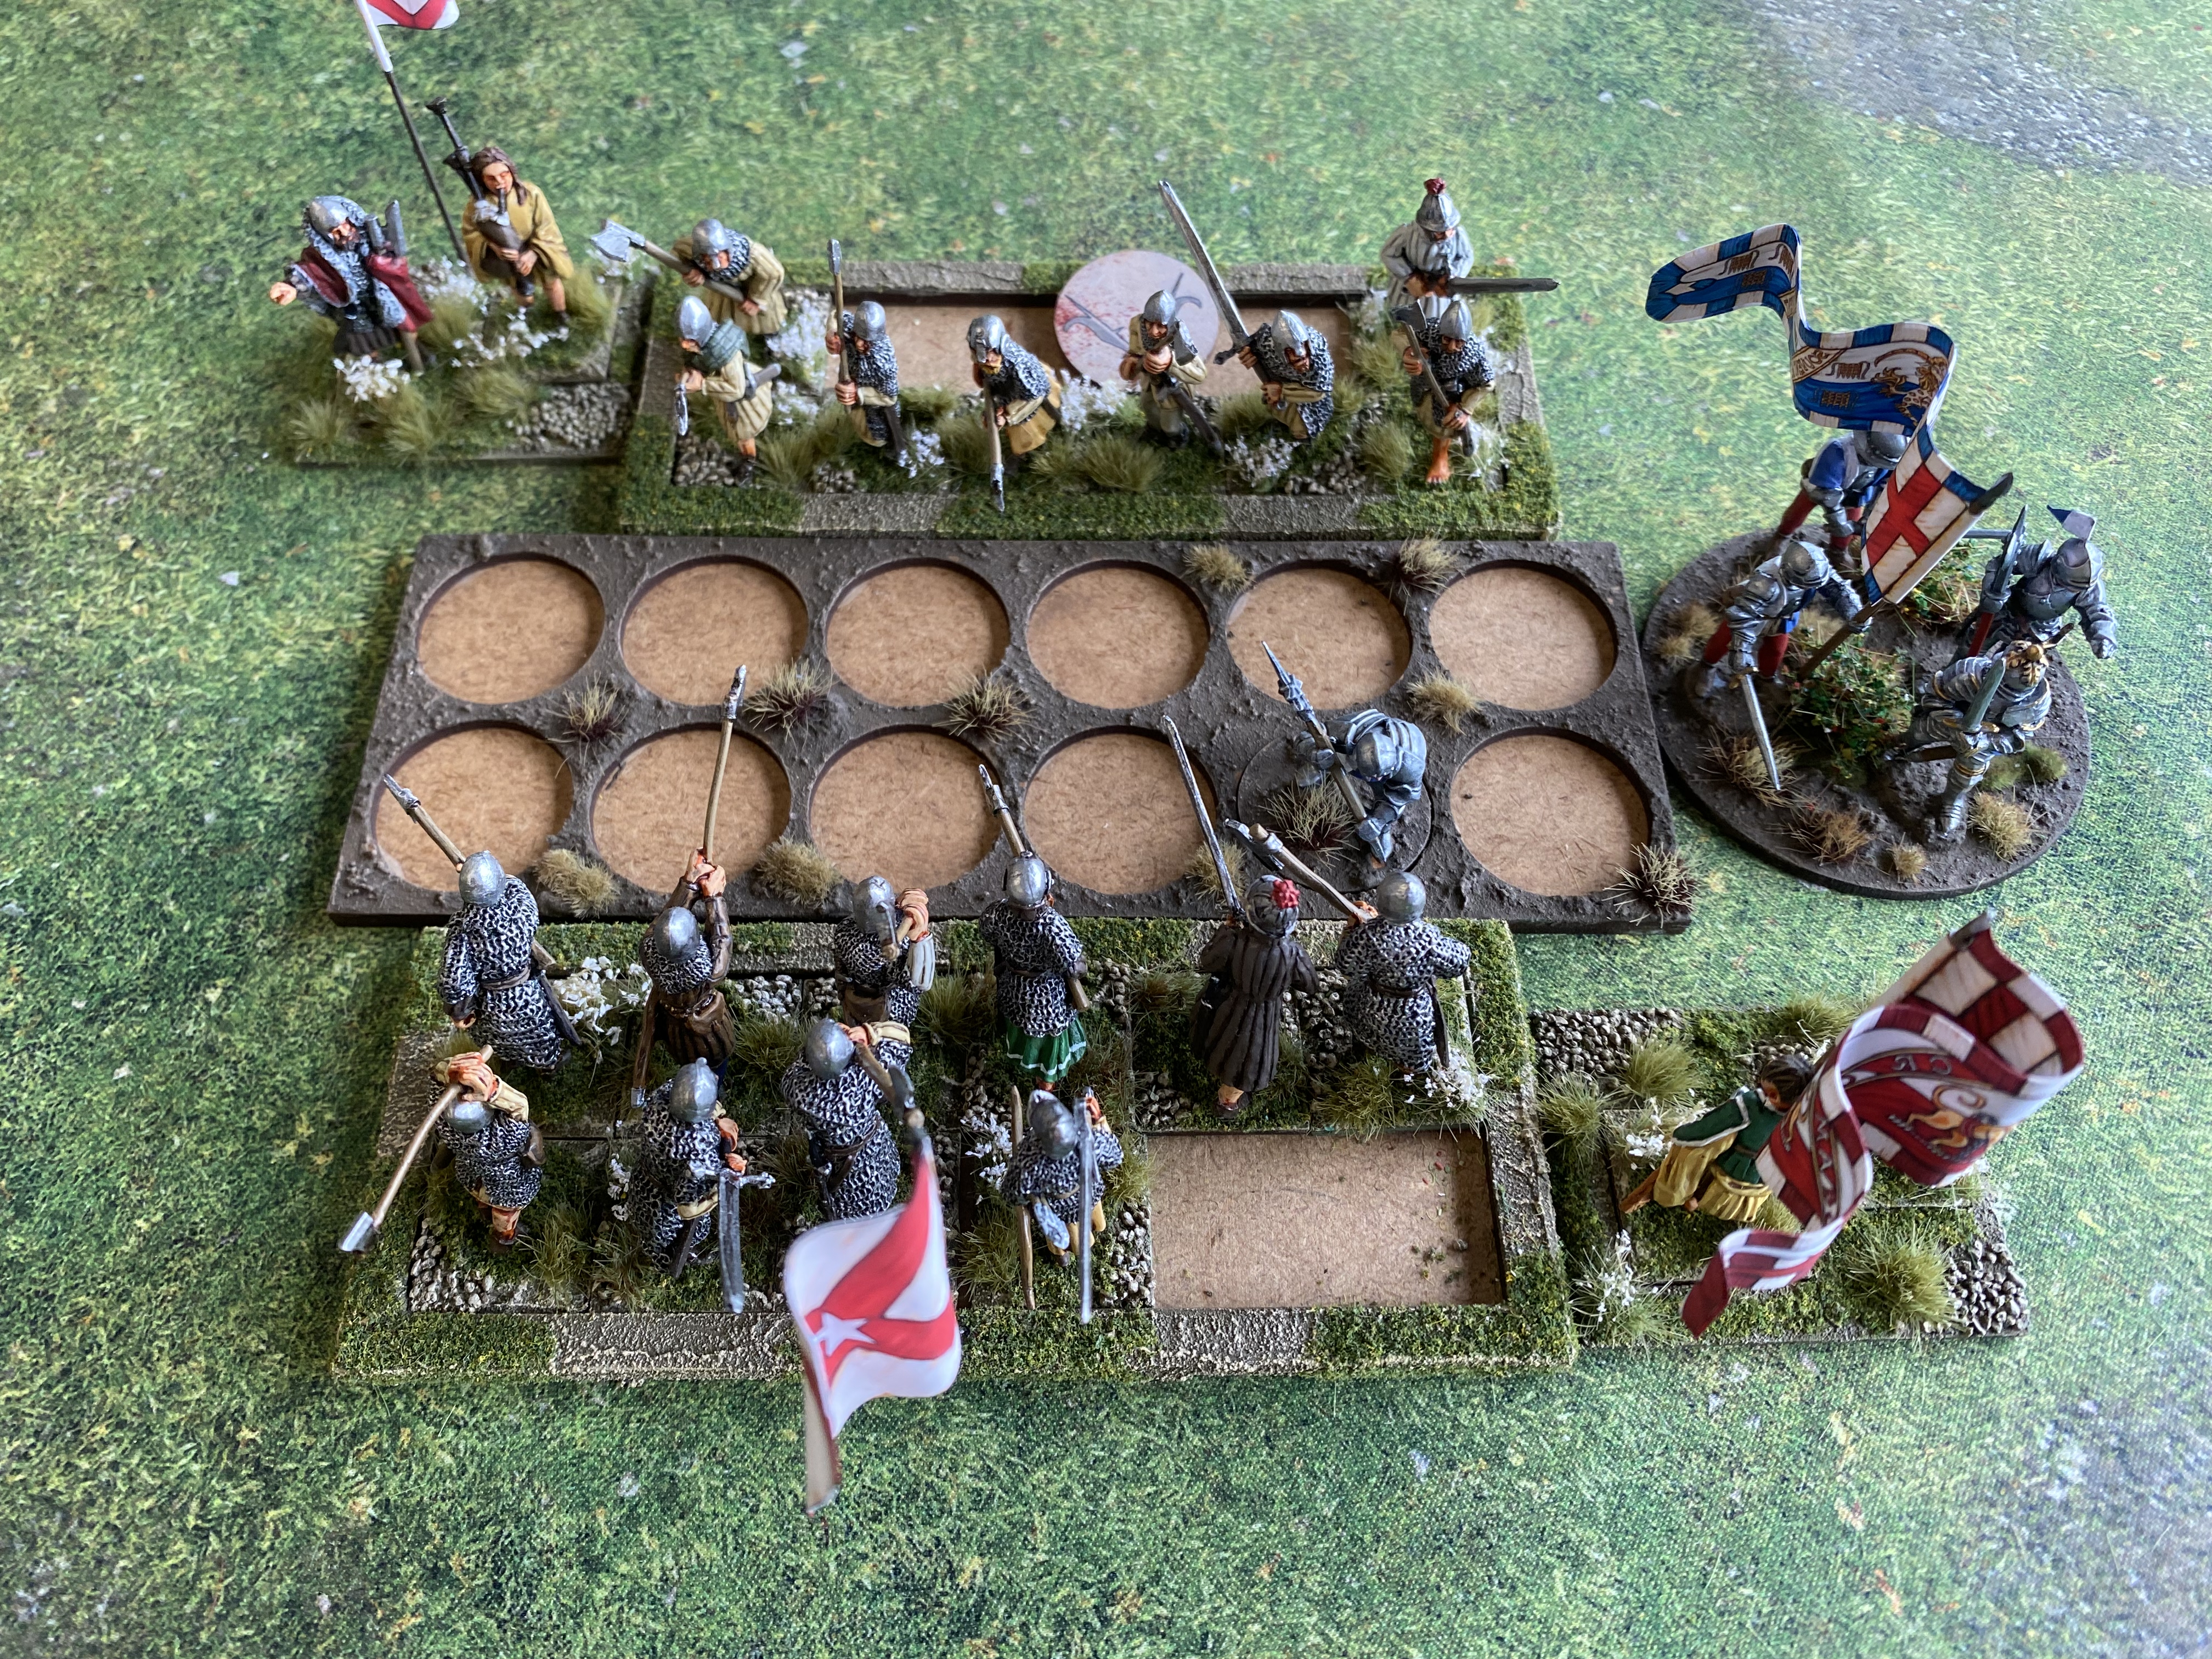
1 Unit of Gallowglass 18 points
Total 30 points
WARD 2
Leader Sir Patrick Fitzgerald 5 points
Troops 1 unit of Formed Kern 12 points
1 unit of Gallowglass 18 points
Total 35 points
WARD 3
Leader The Earl of Kildare 5 points
Troops 2 units of Light Horse 24 points
Total 29 points
SKIRMISHERS AND ARTILLERY
4 Units of Kern 24 points
Total 24 points
ARMY TOTAL 118 points

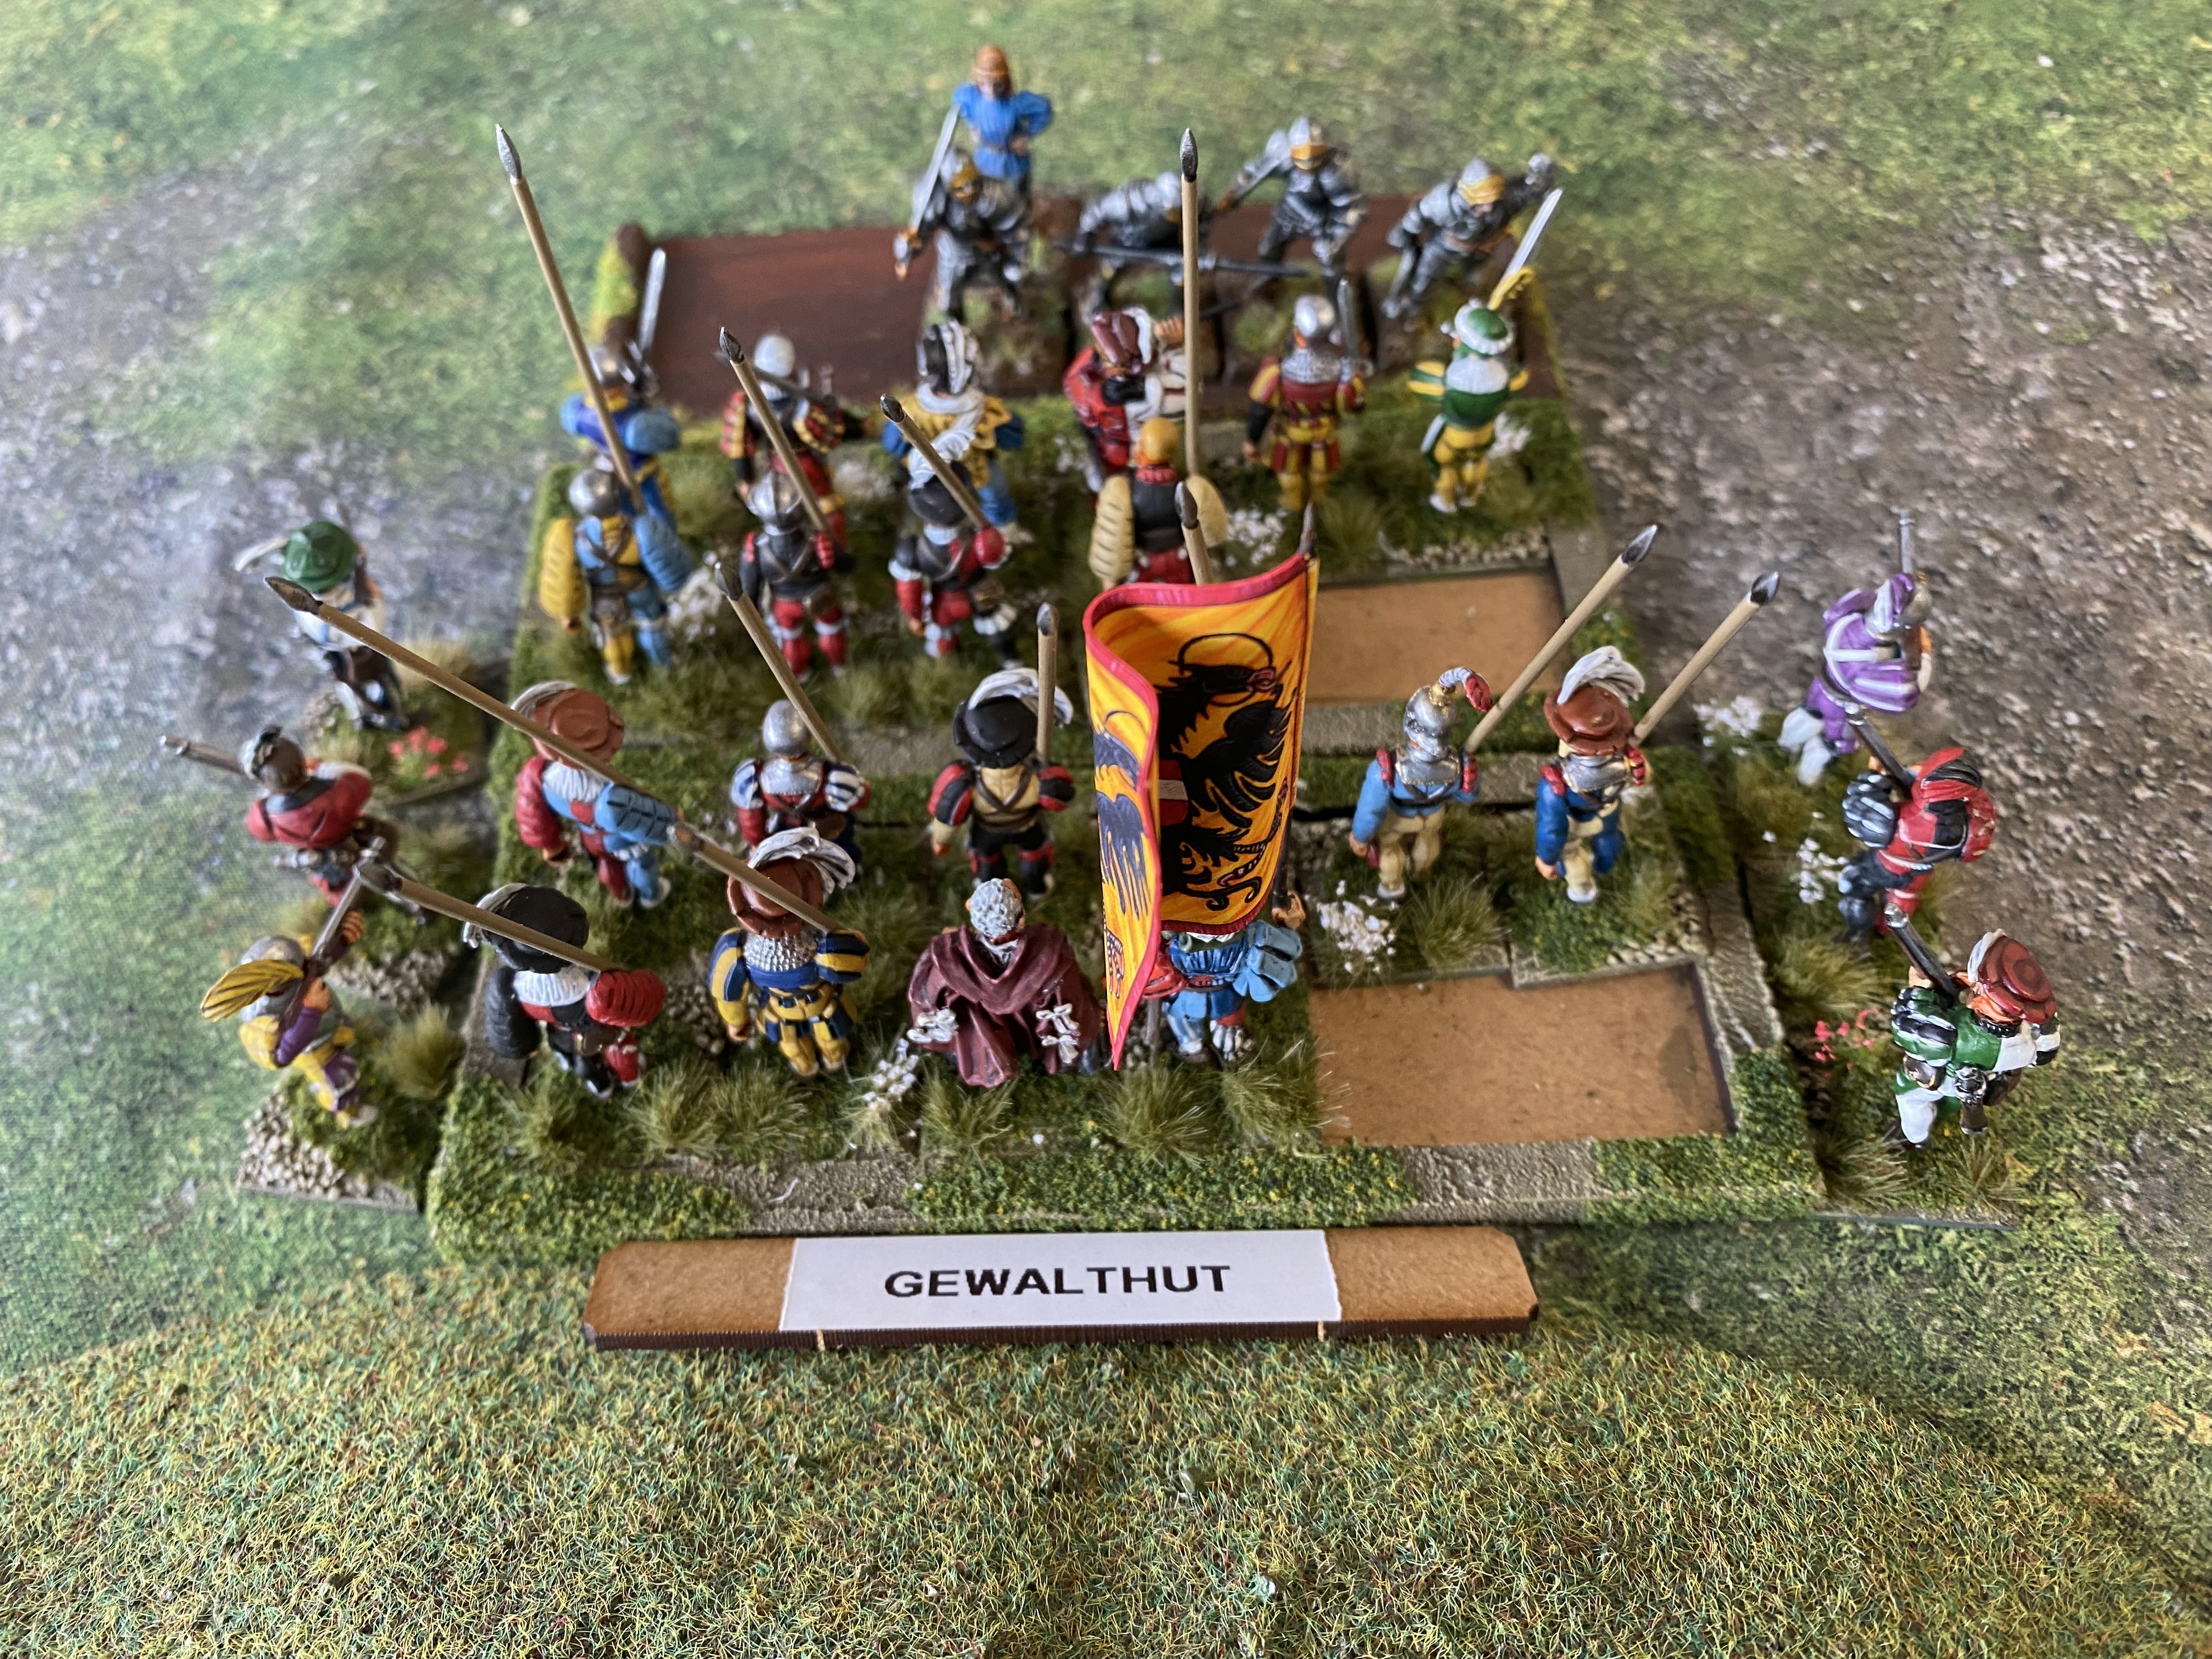
Lord Black Adders Retinue
WARD 1
Commander Lord Black Adder 0 points
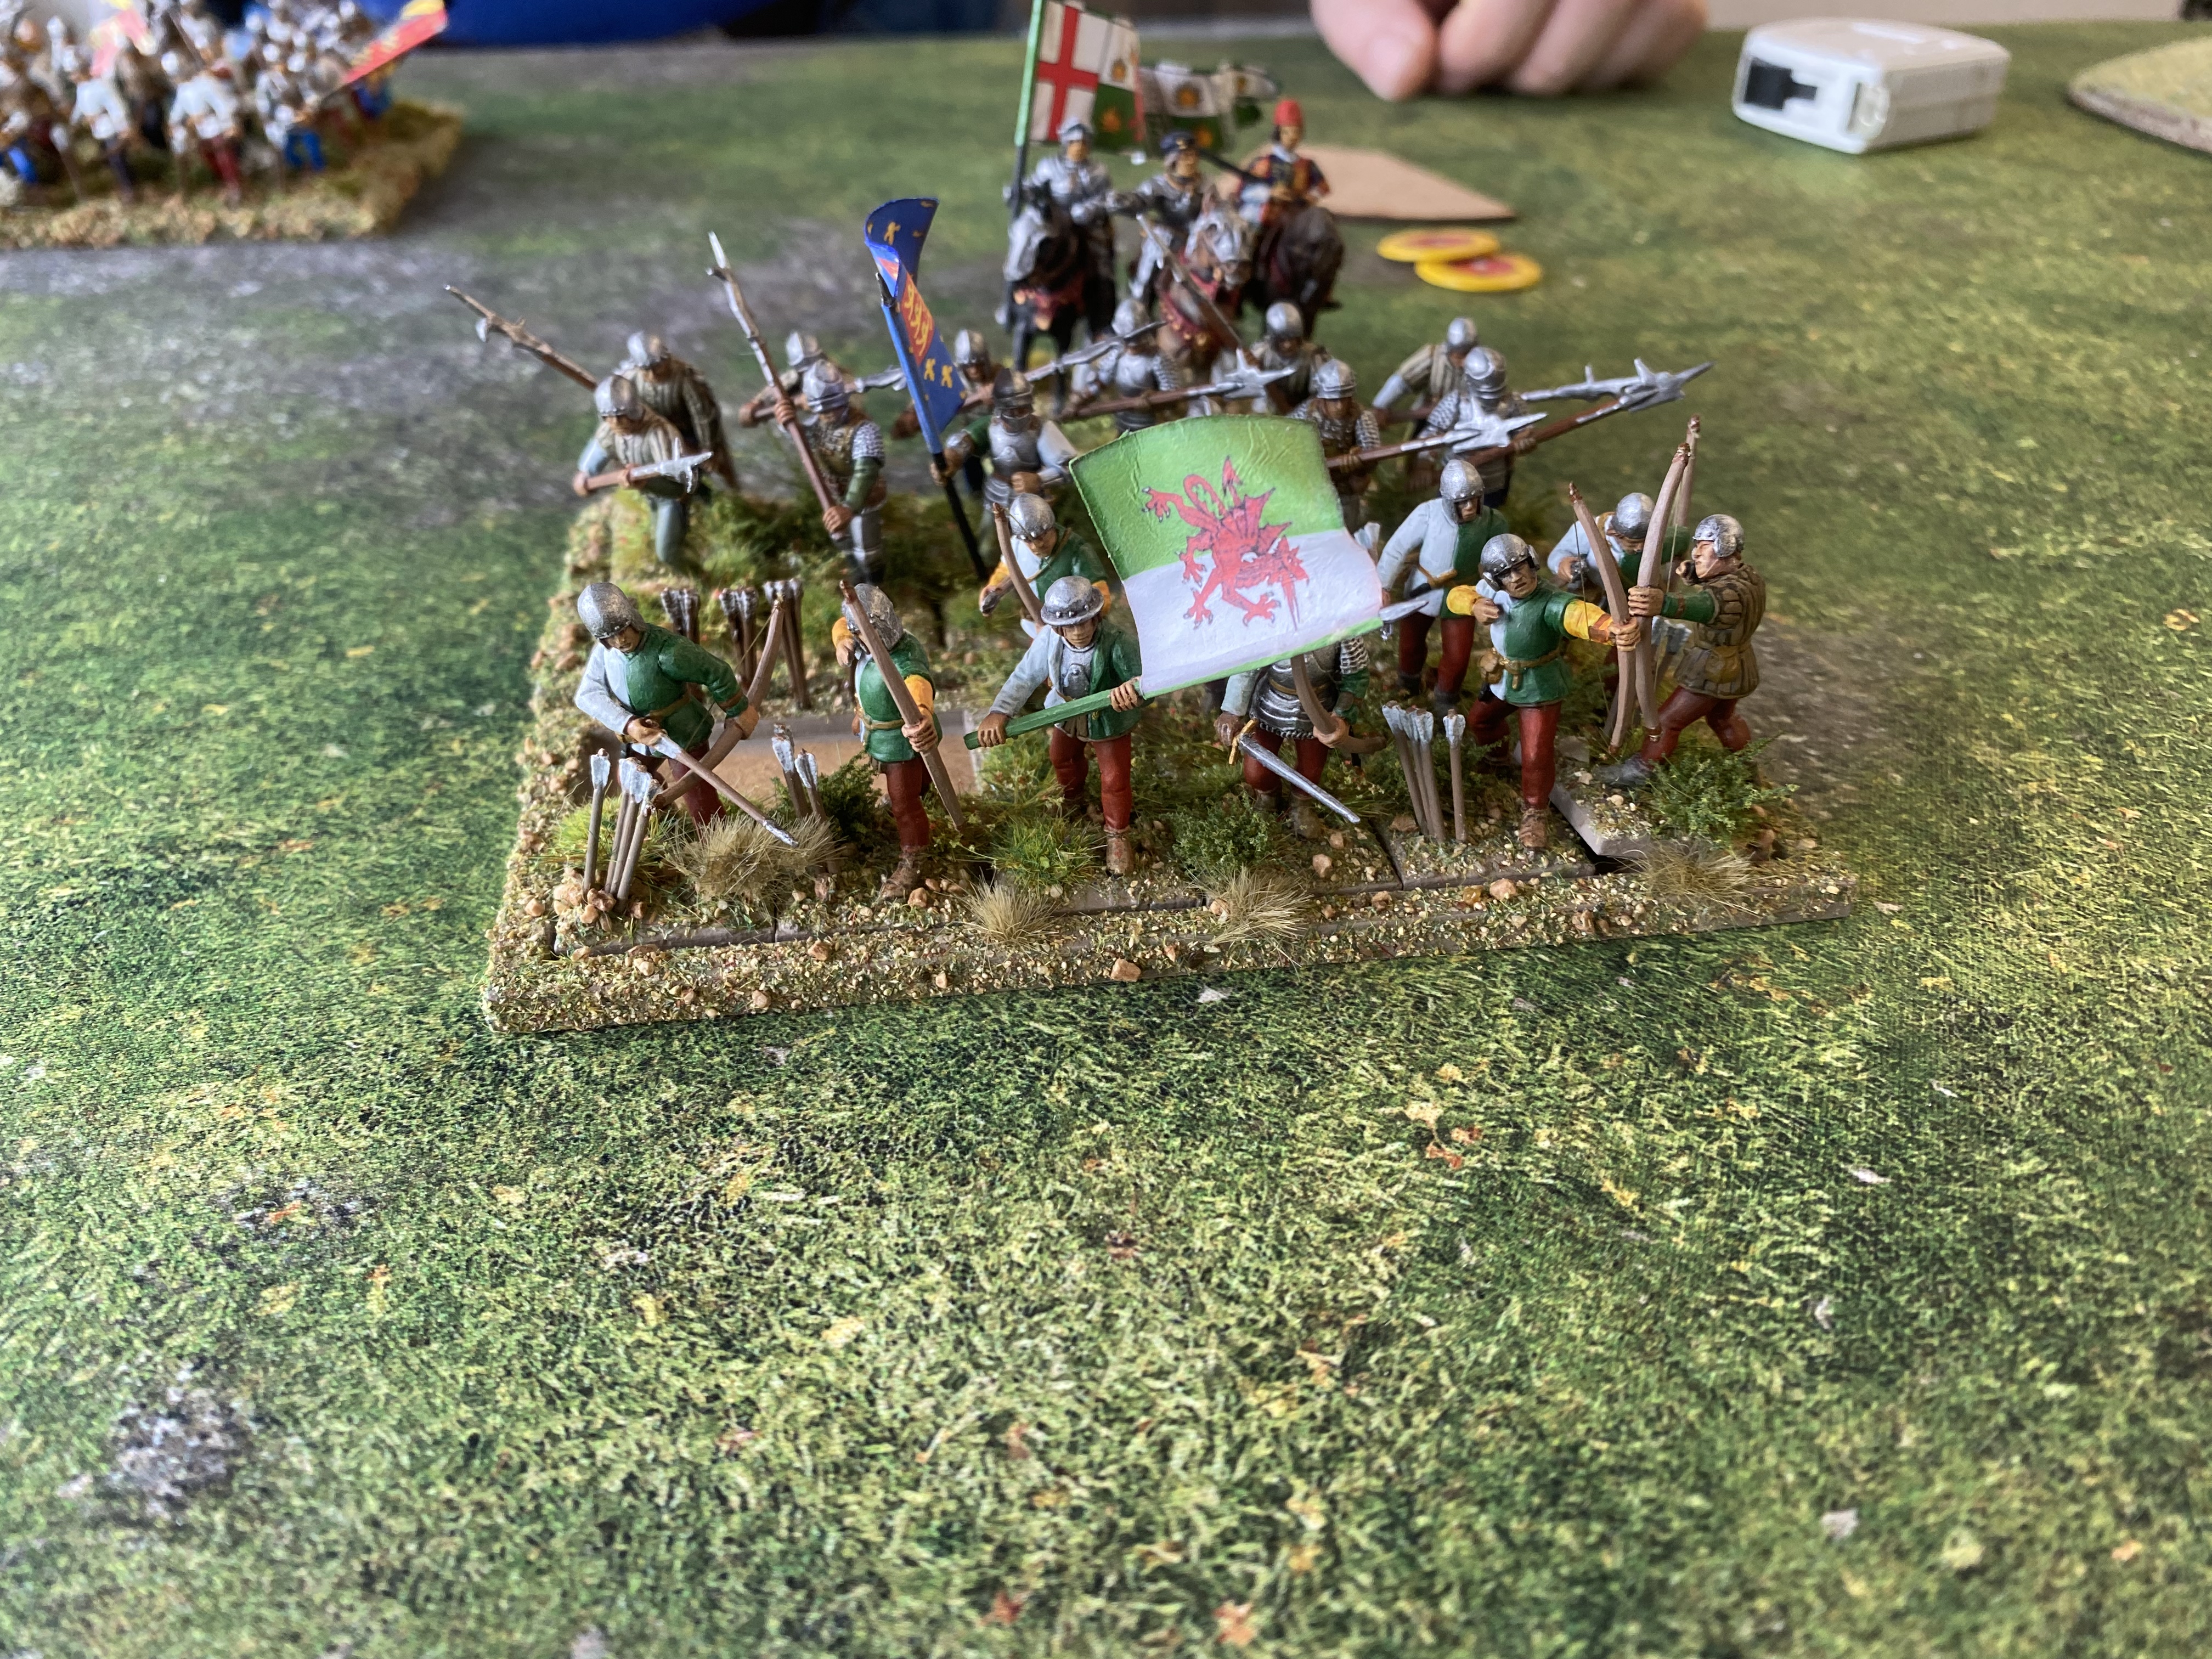
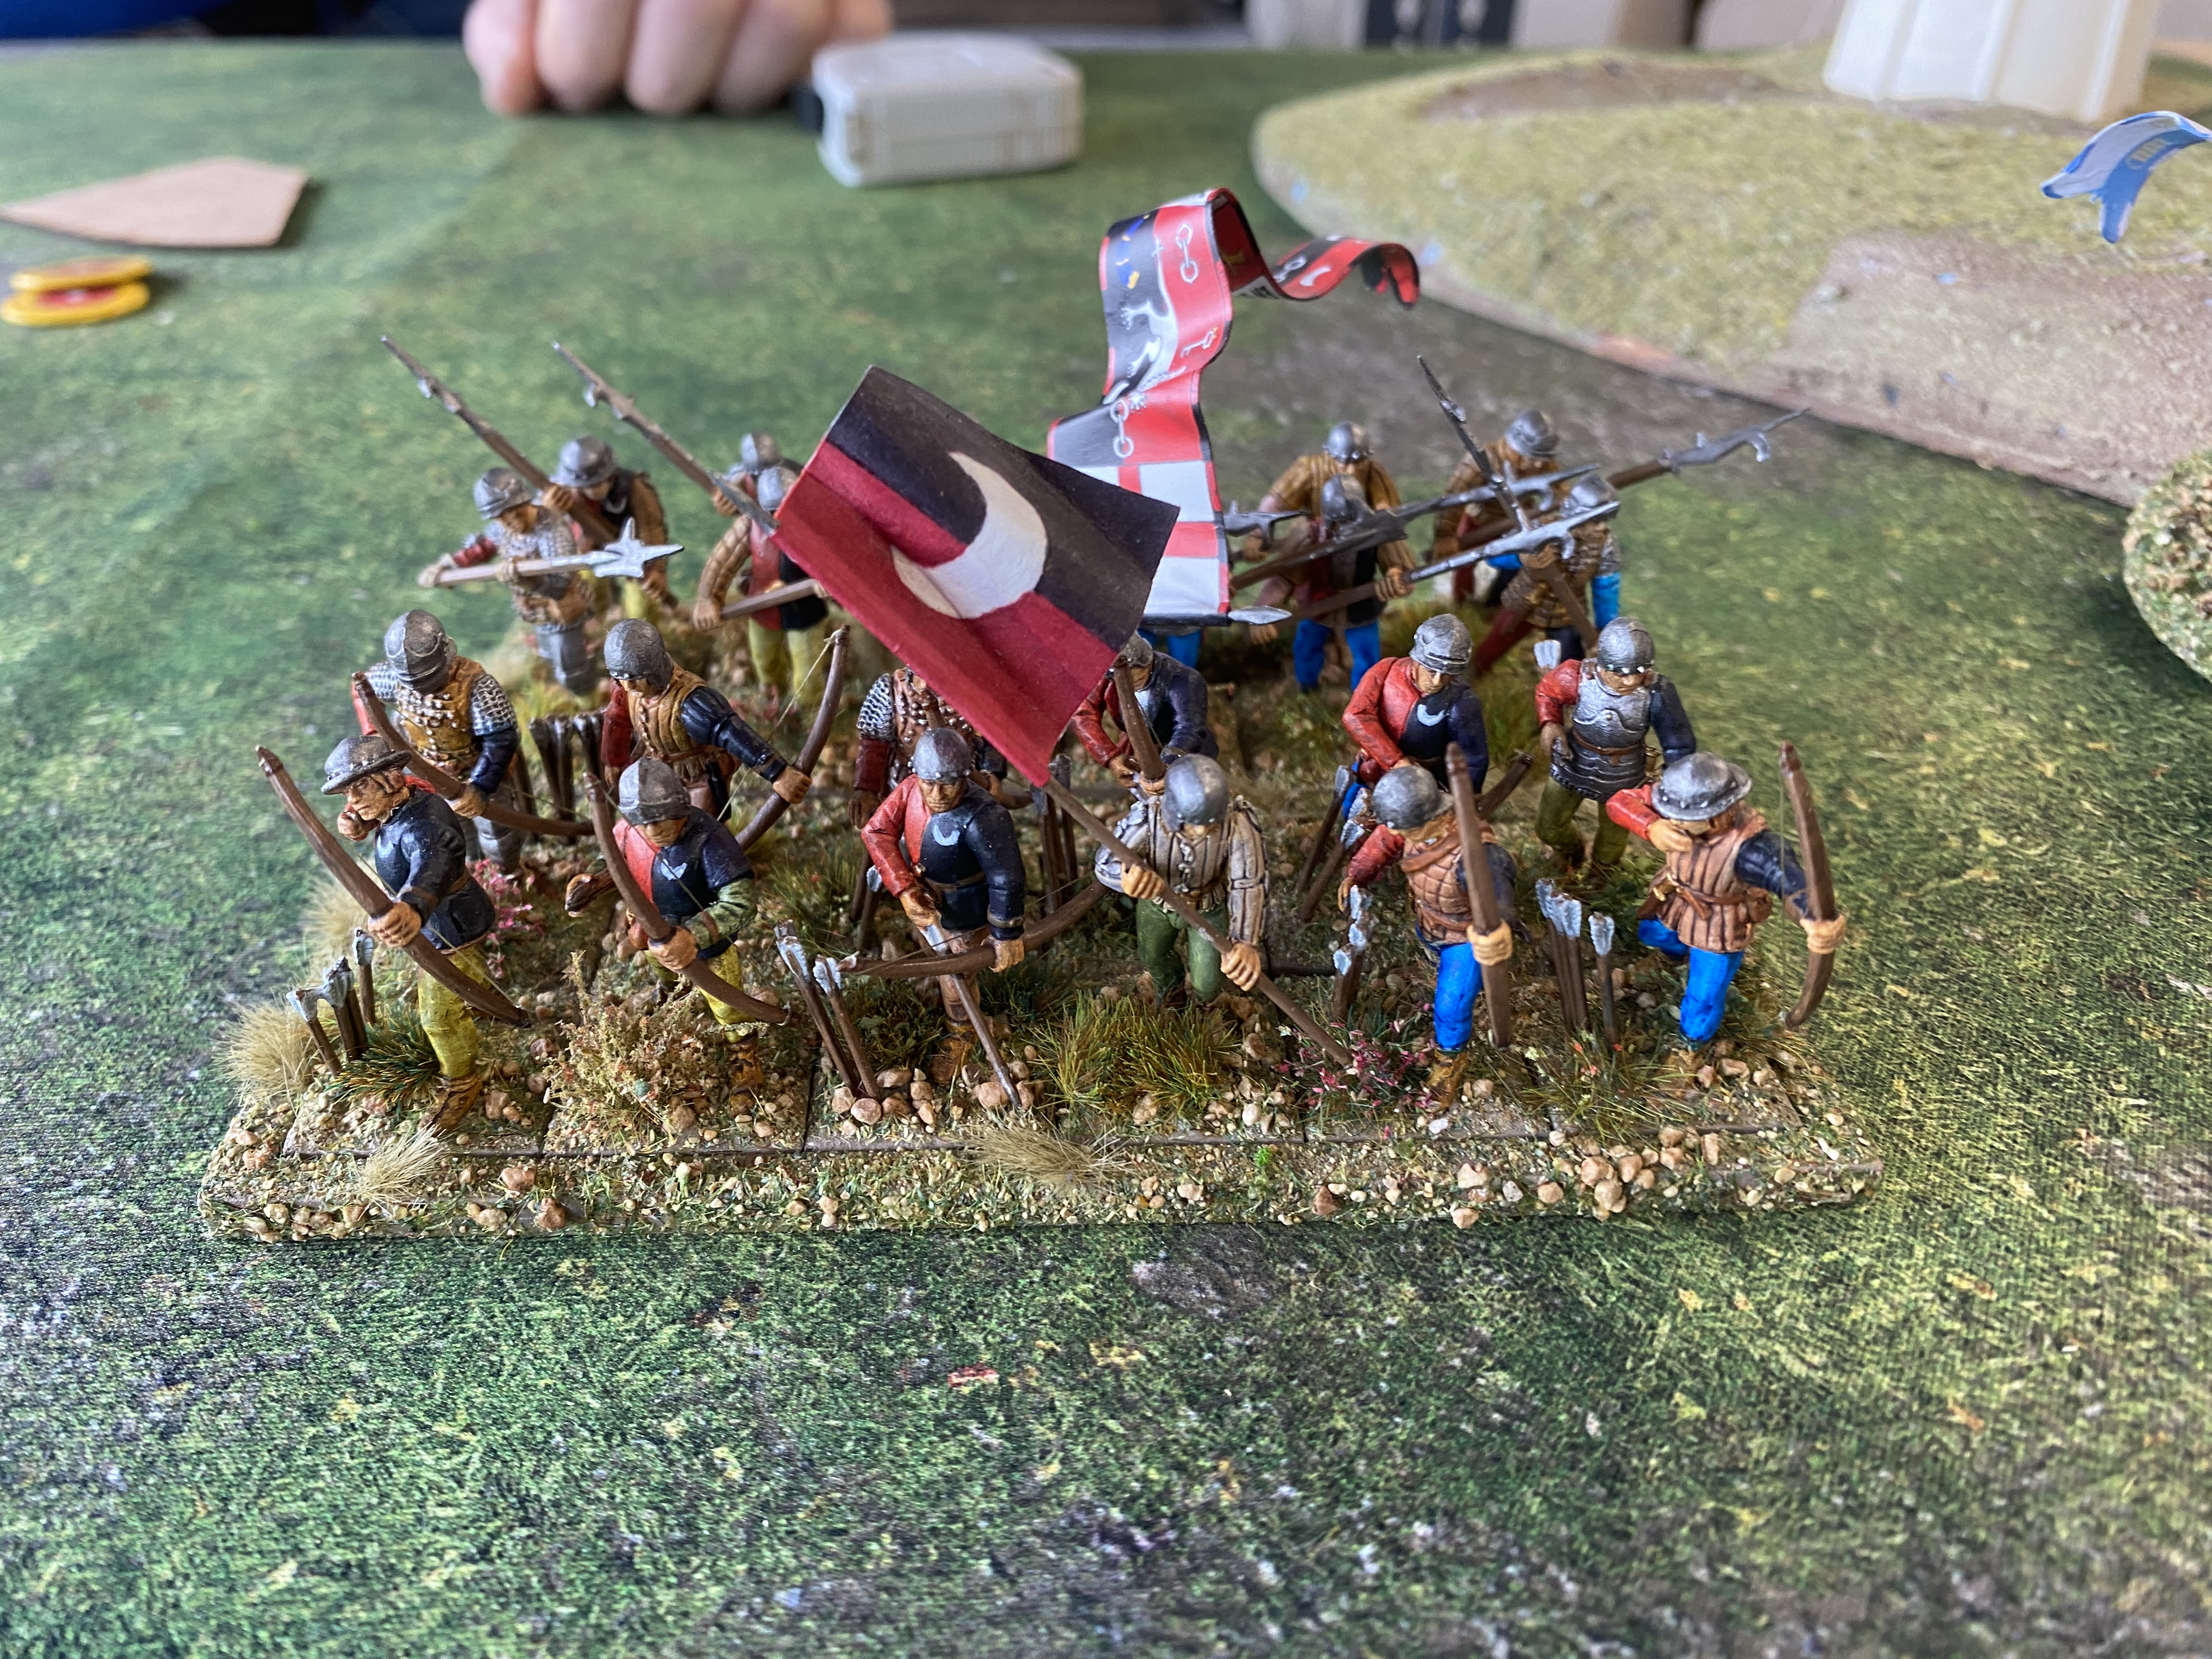
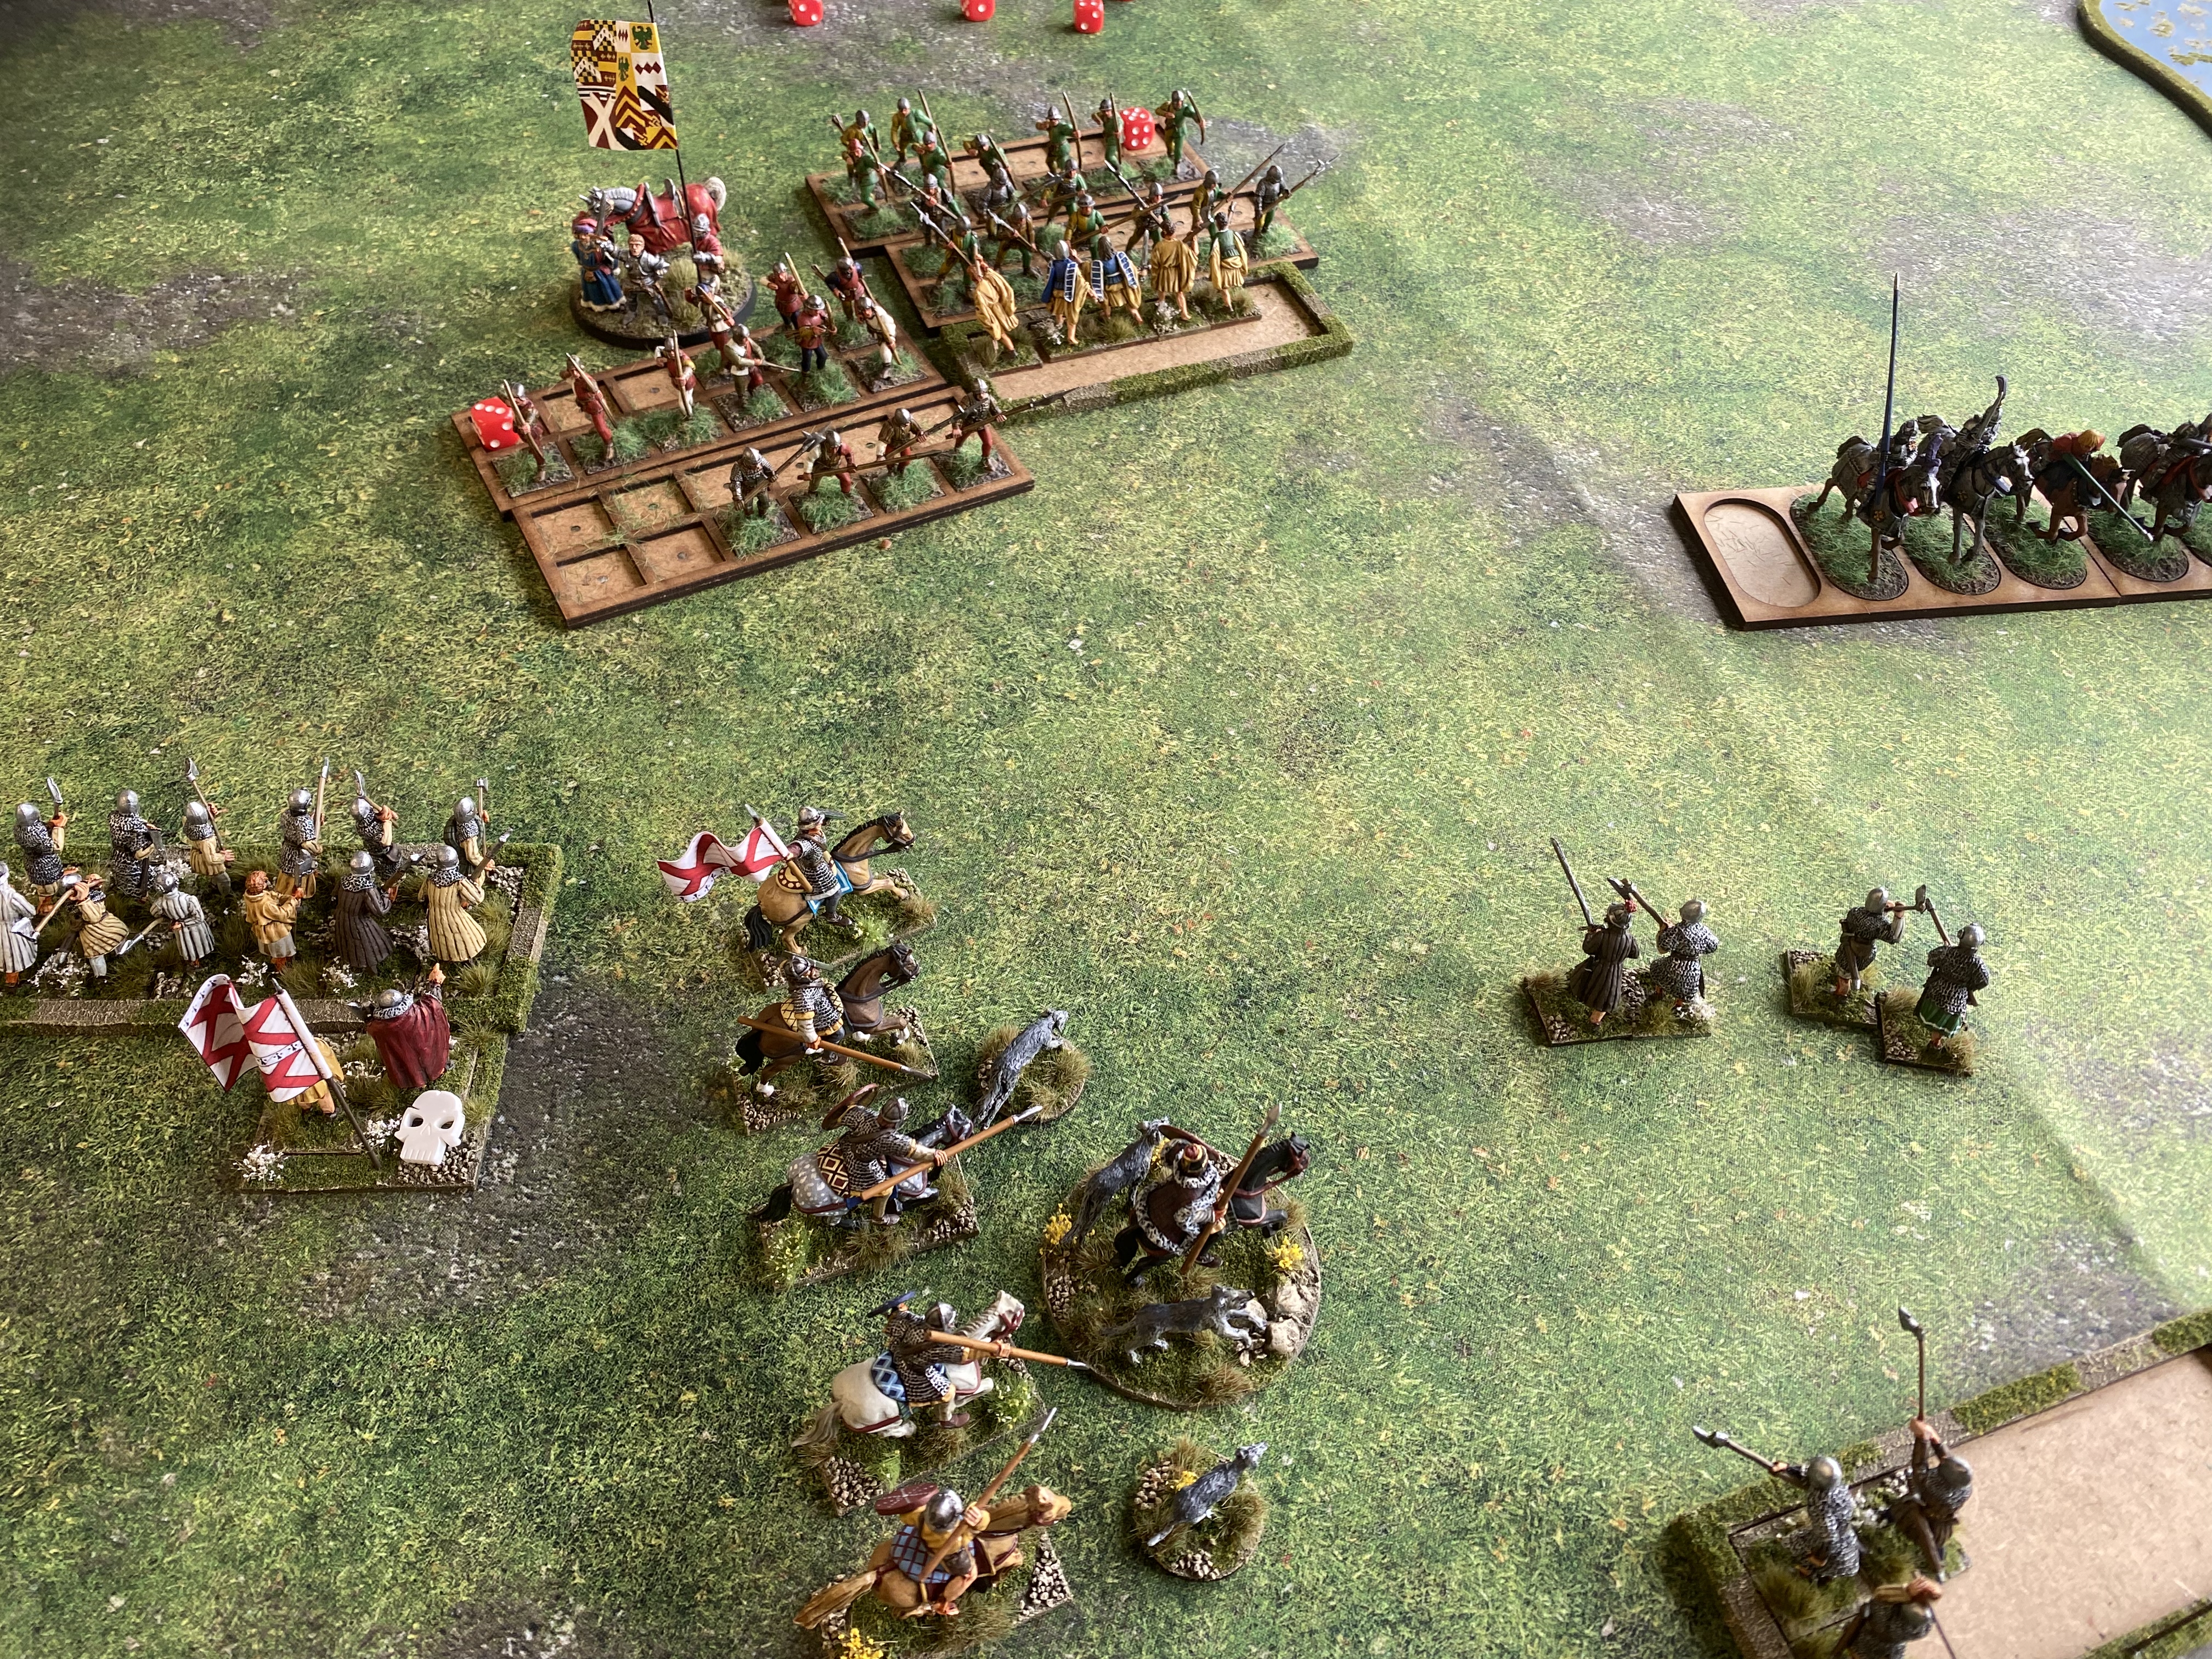
Troops 2 Units of Bowmen 24 points
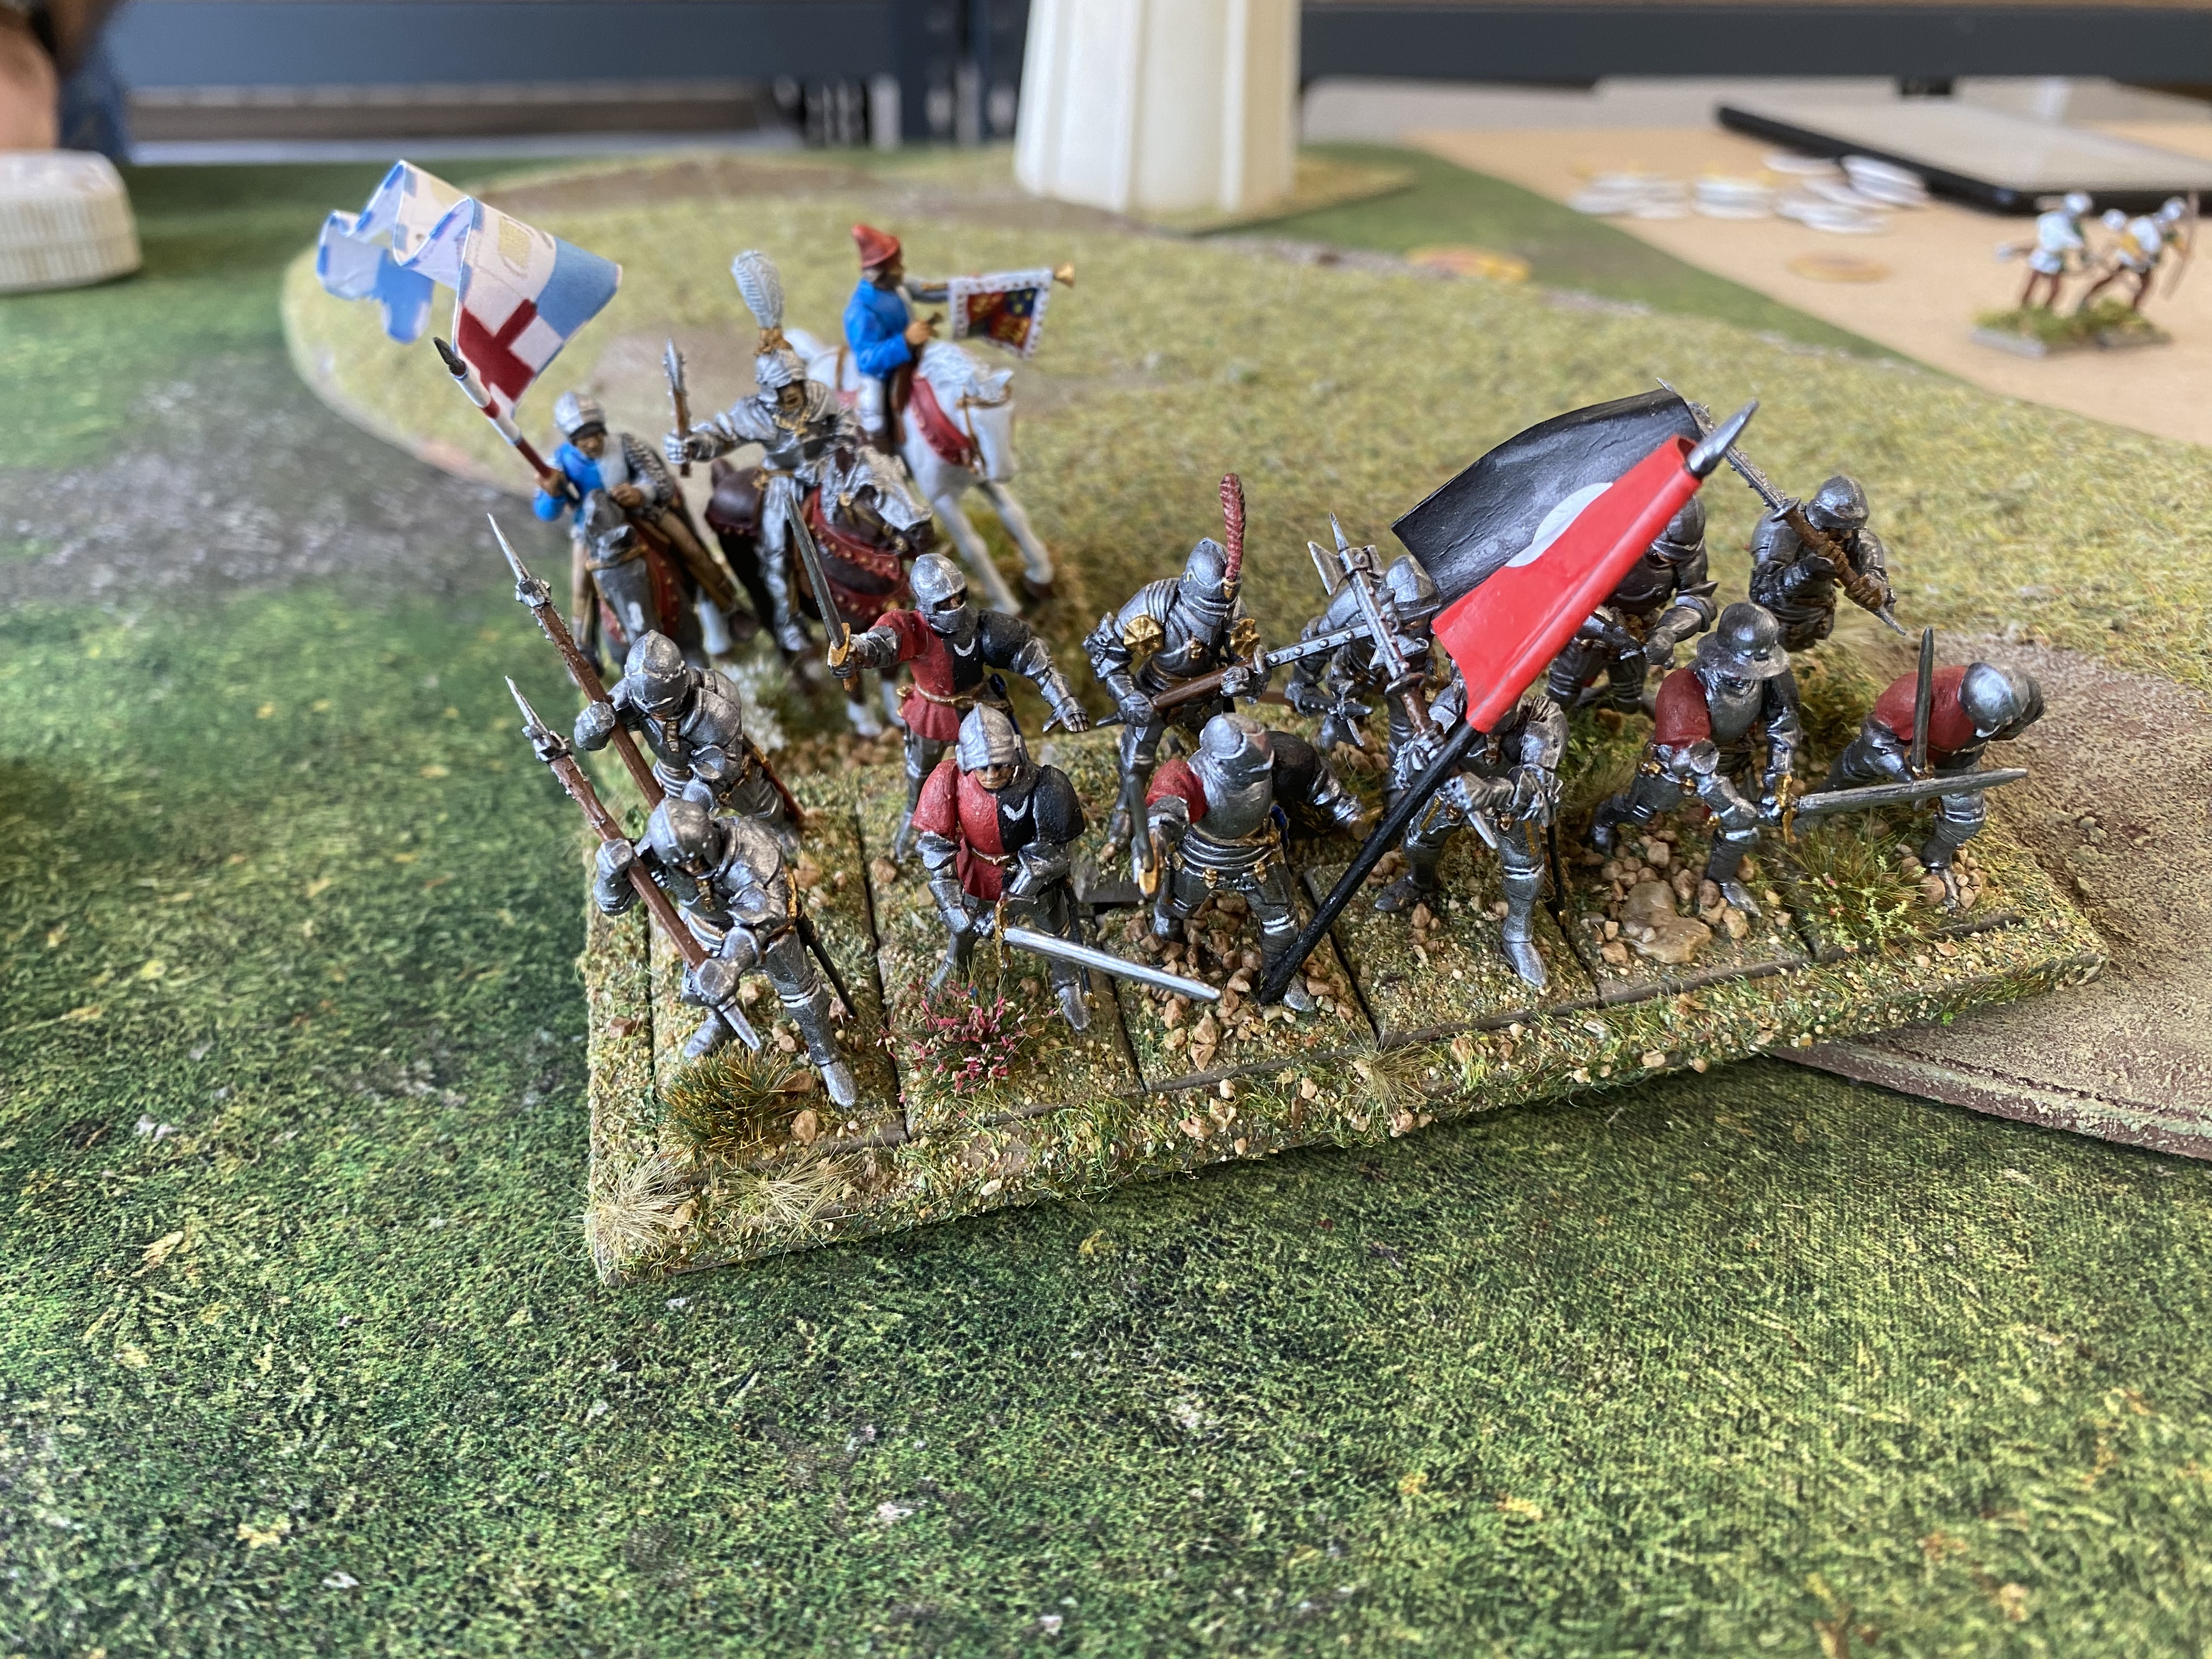
2 Units of Billmen 24 points
Total 48 points
WARD 2
Leader The Bishop of Bath and Wells 5 points
Troops 1 unit of Bowmen 12 points
1 unit of Billmen 12 points
Total 29 points
WARD 3
Leader George the dolt 5 points
Troops 2 unit of Light Horse 24 points
Total 29 points
SKIRMISHERS AND ARTILLERY
Band of Gunsmen 6 points
Crossbowmen 6 points
Total 12 points
ARMY TOTAL 118 points

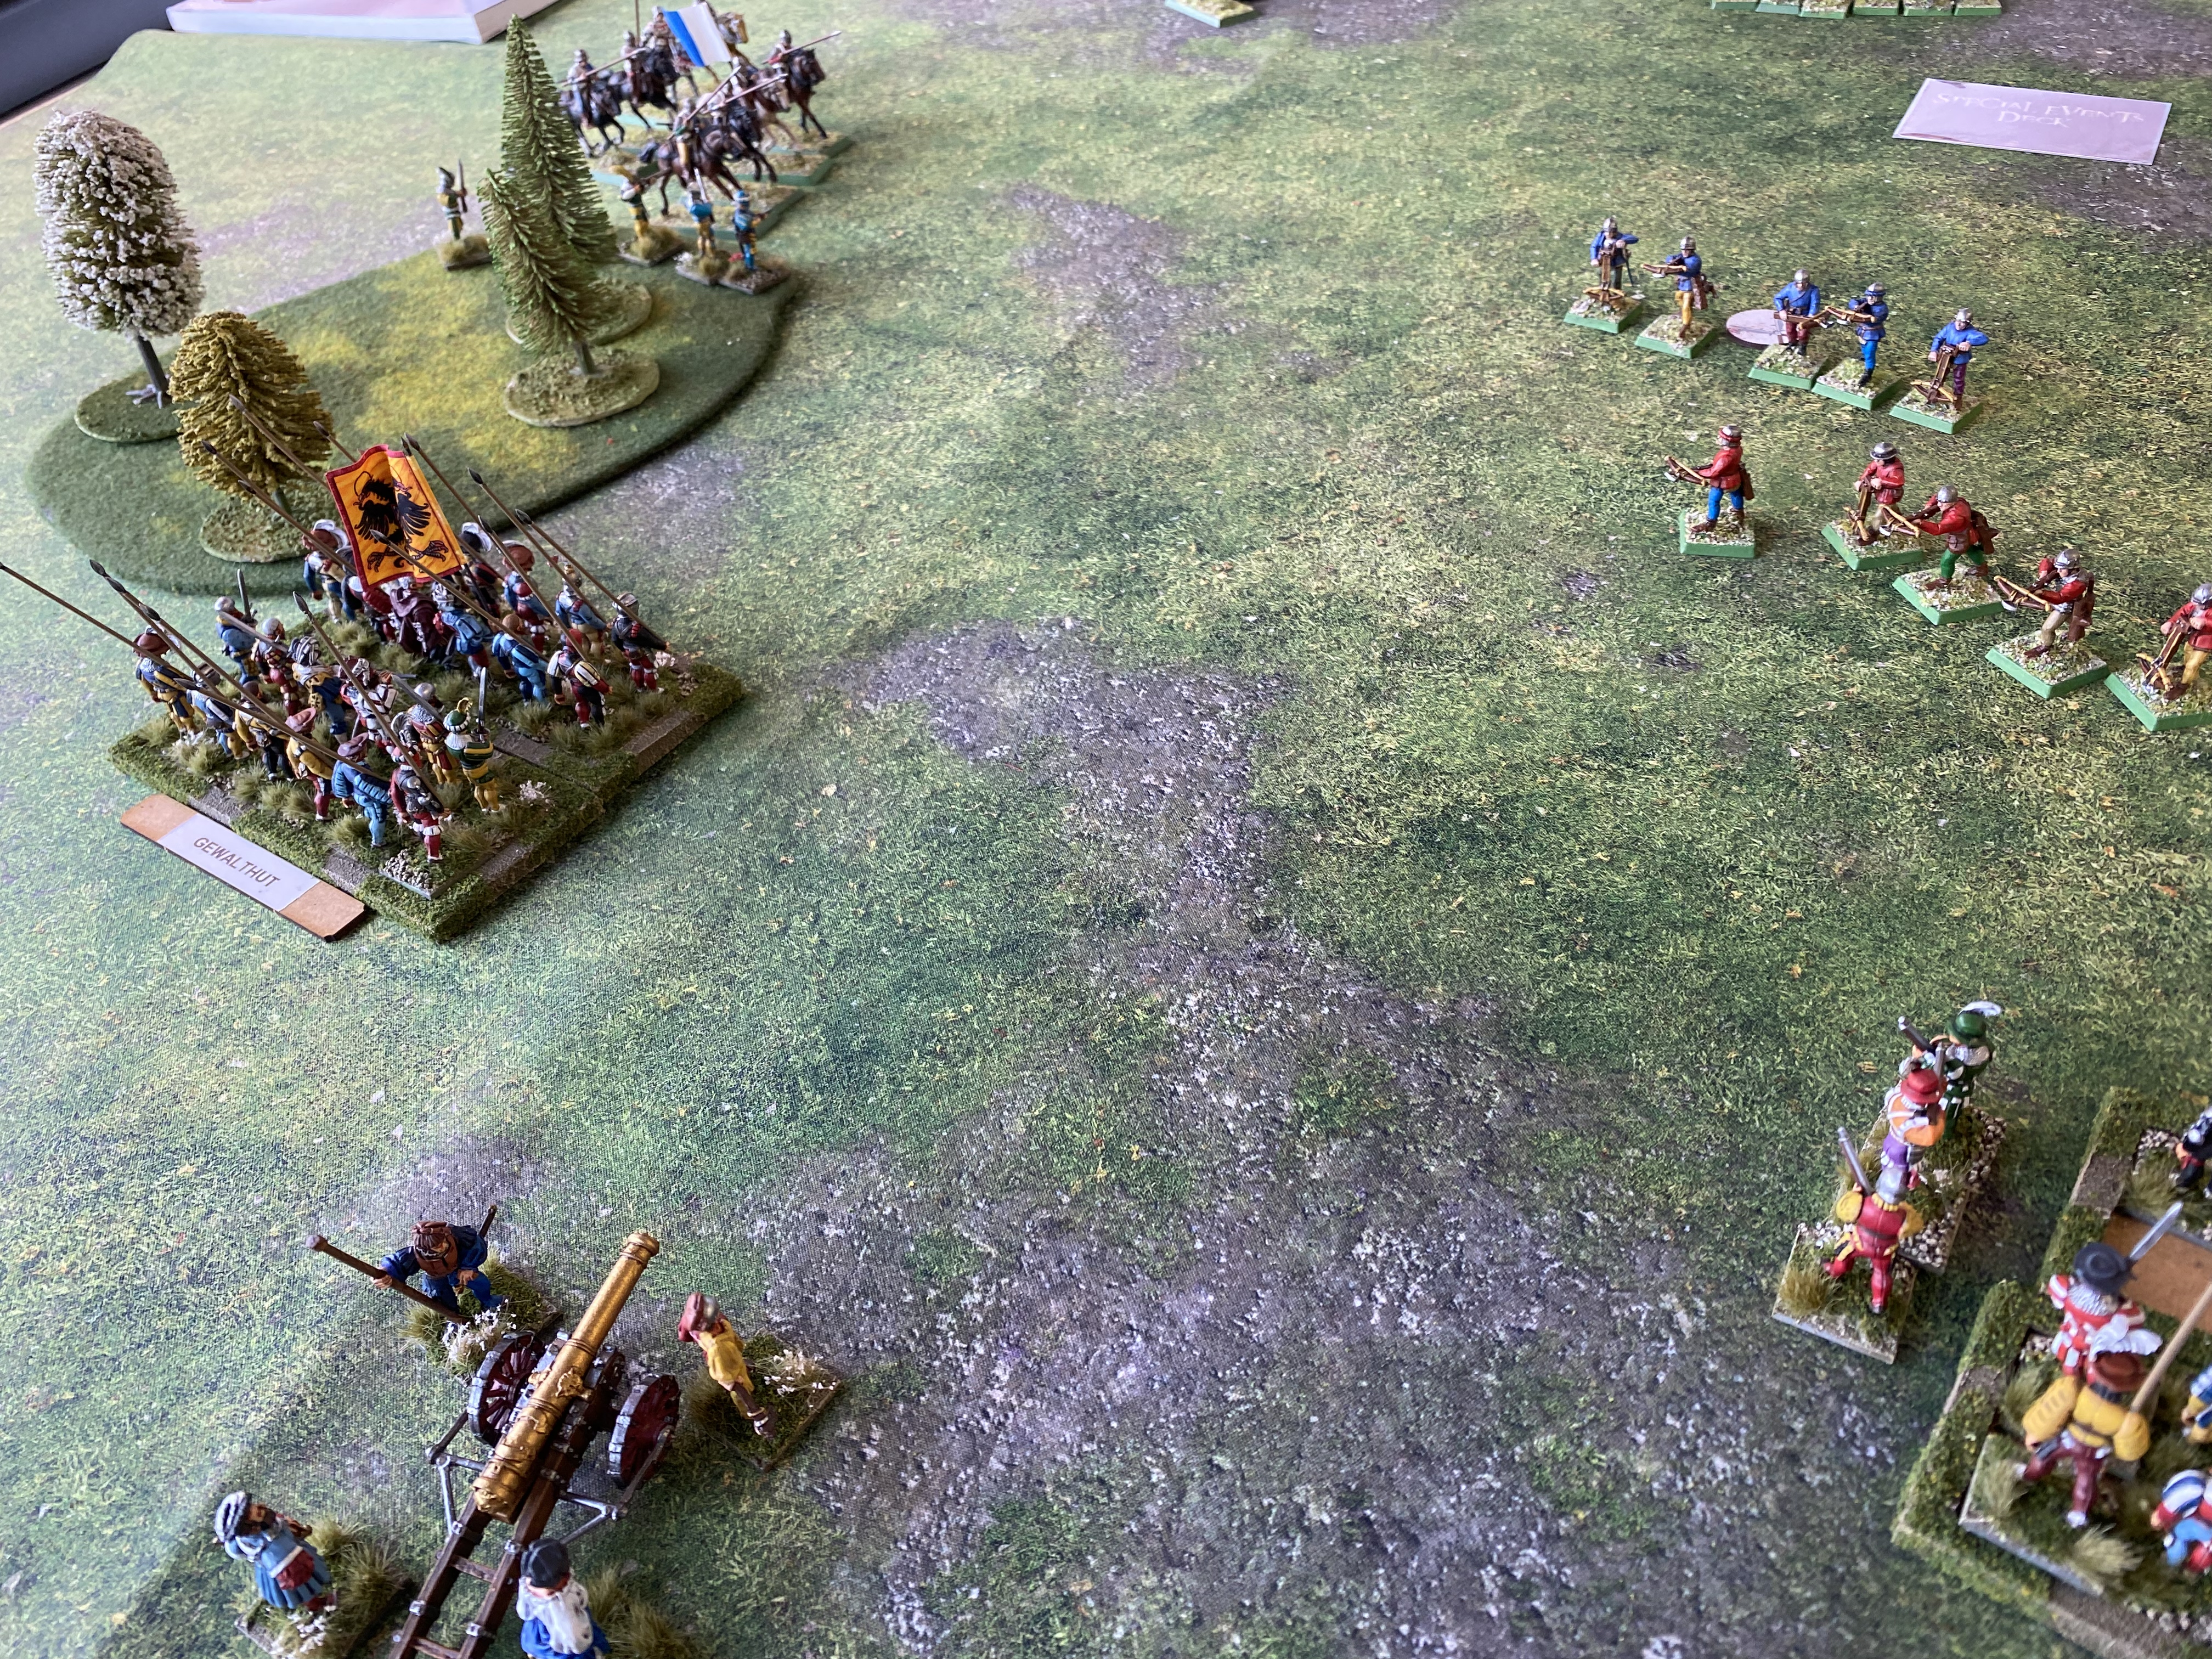
Black Adder Bill Hooks Scenario Briefing Document
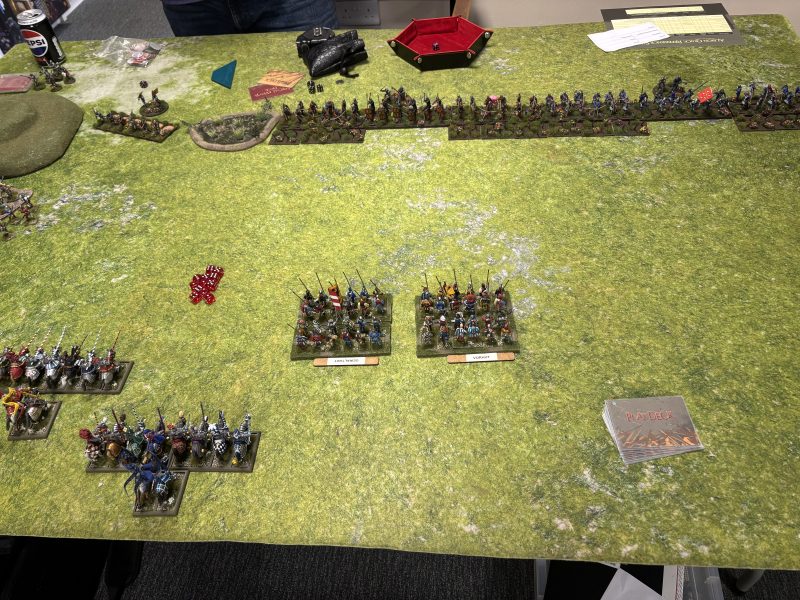
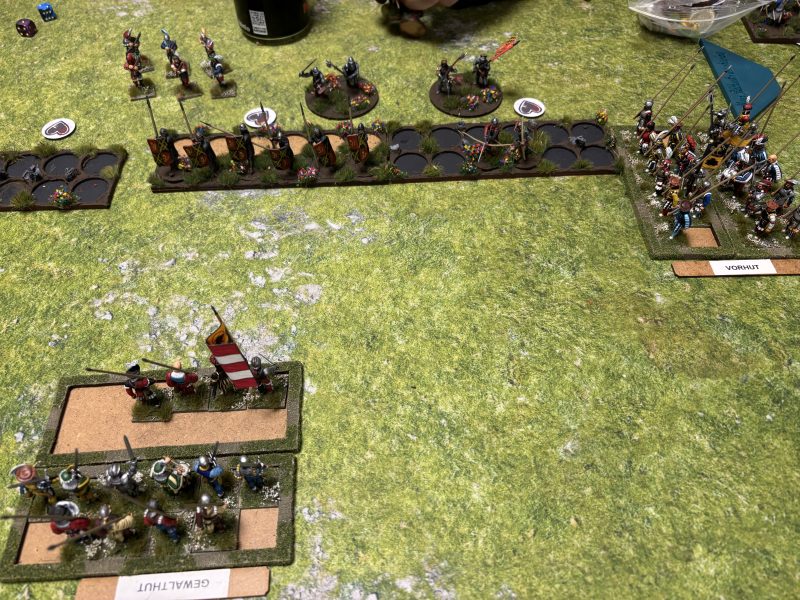
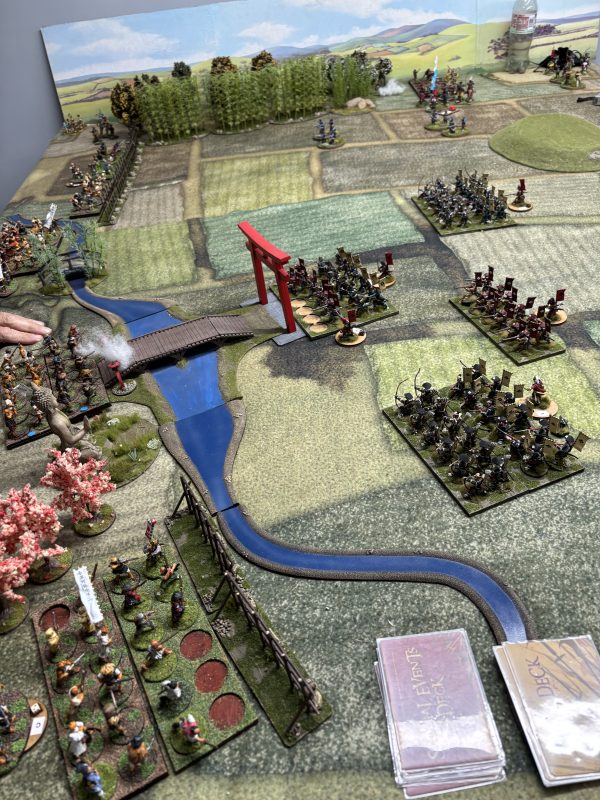
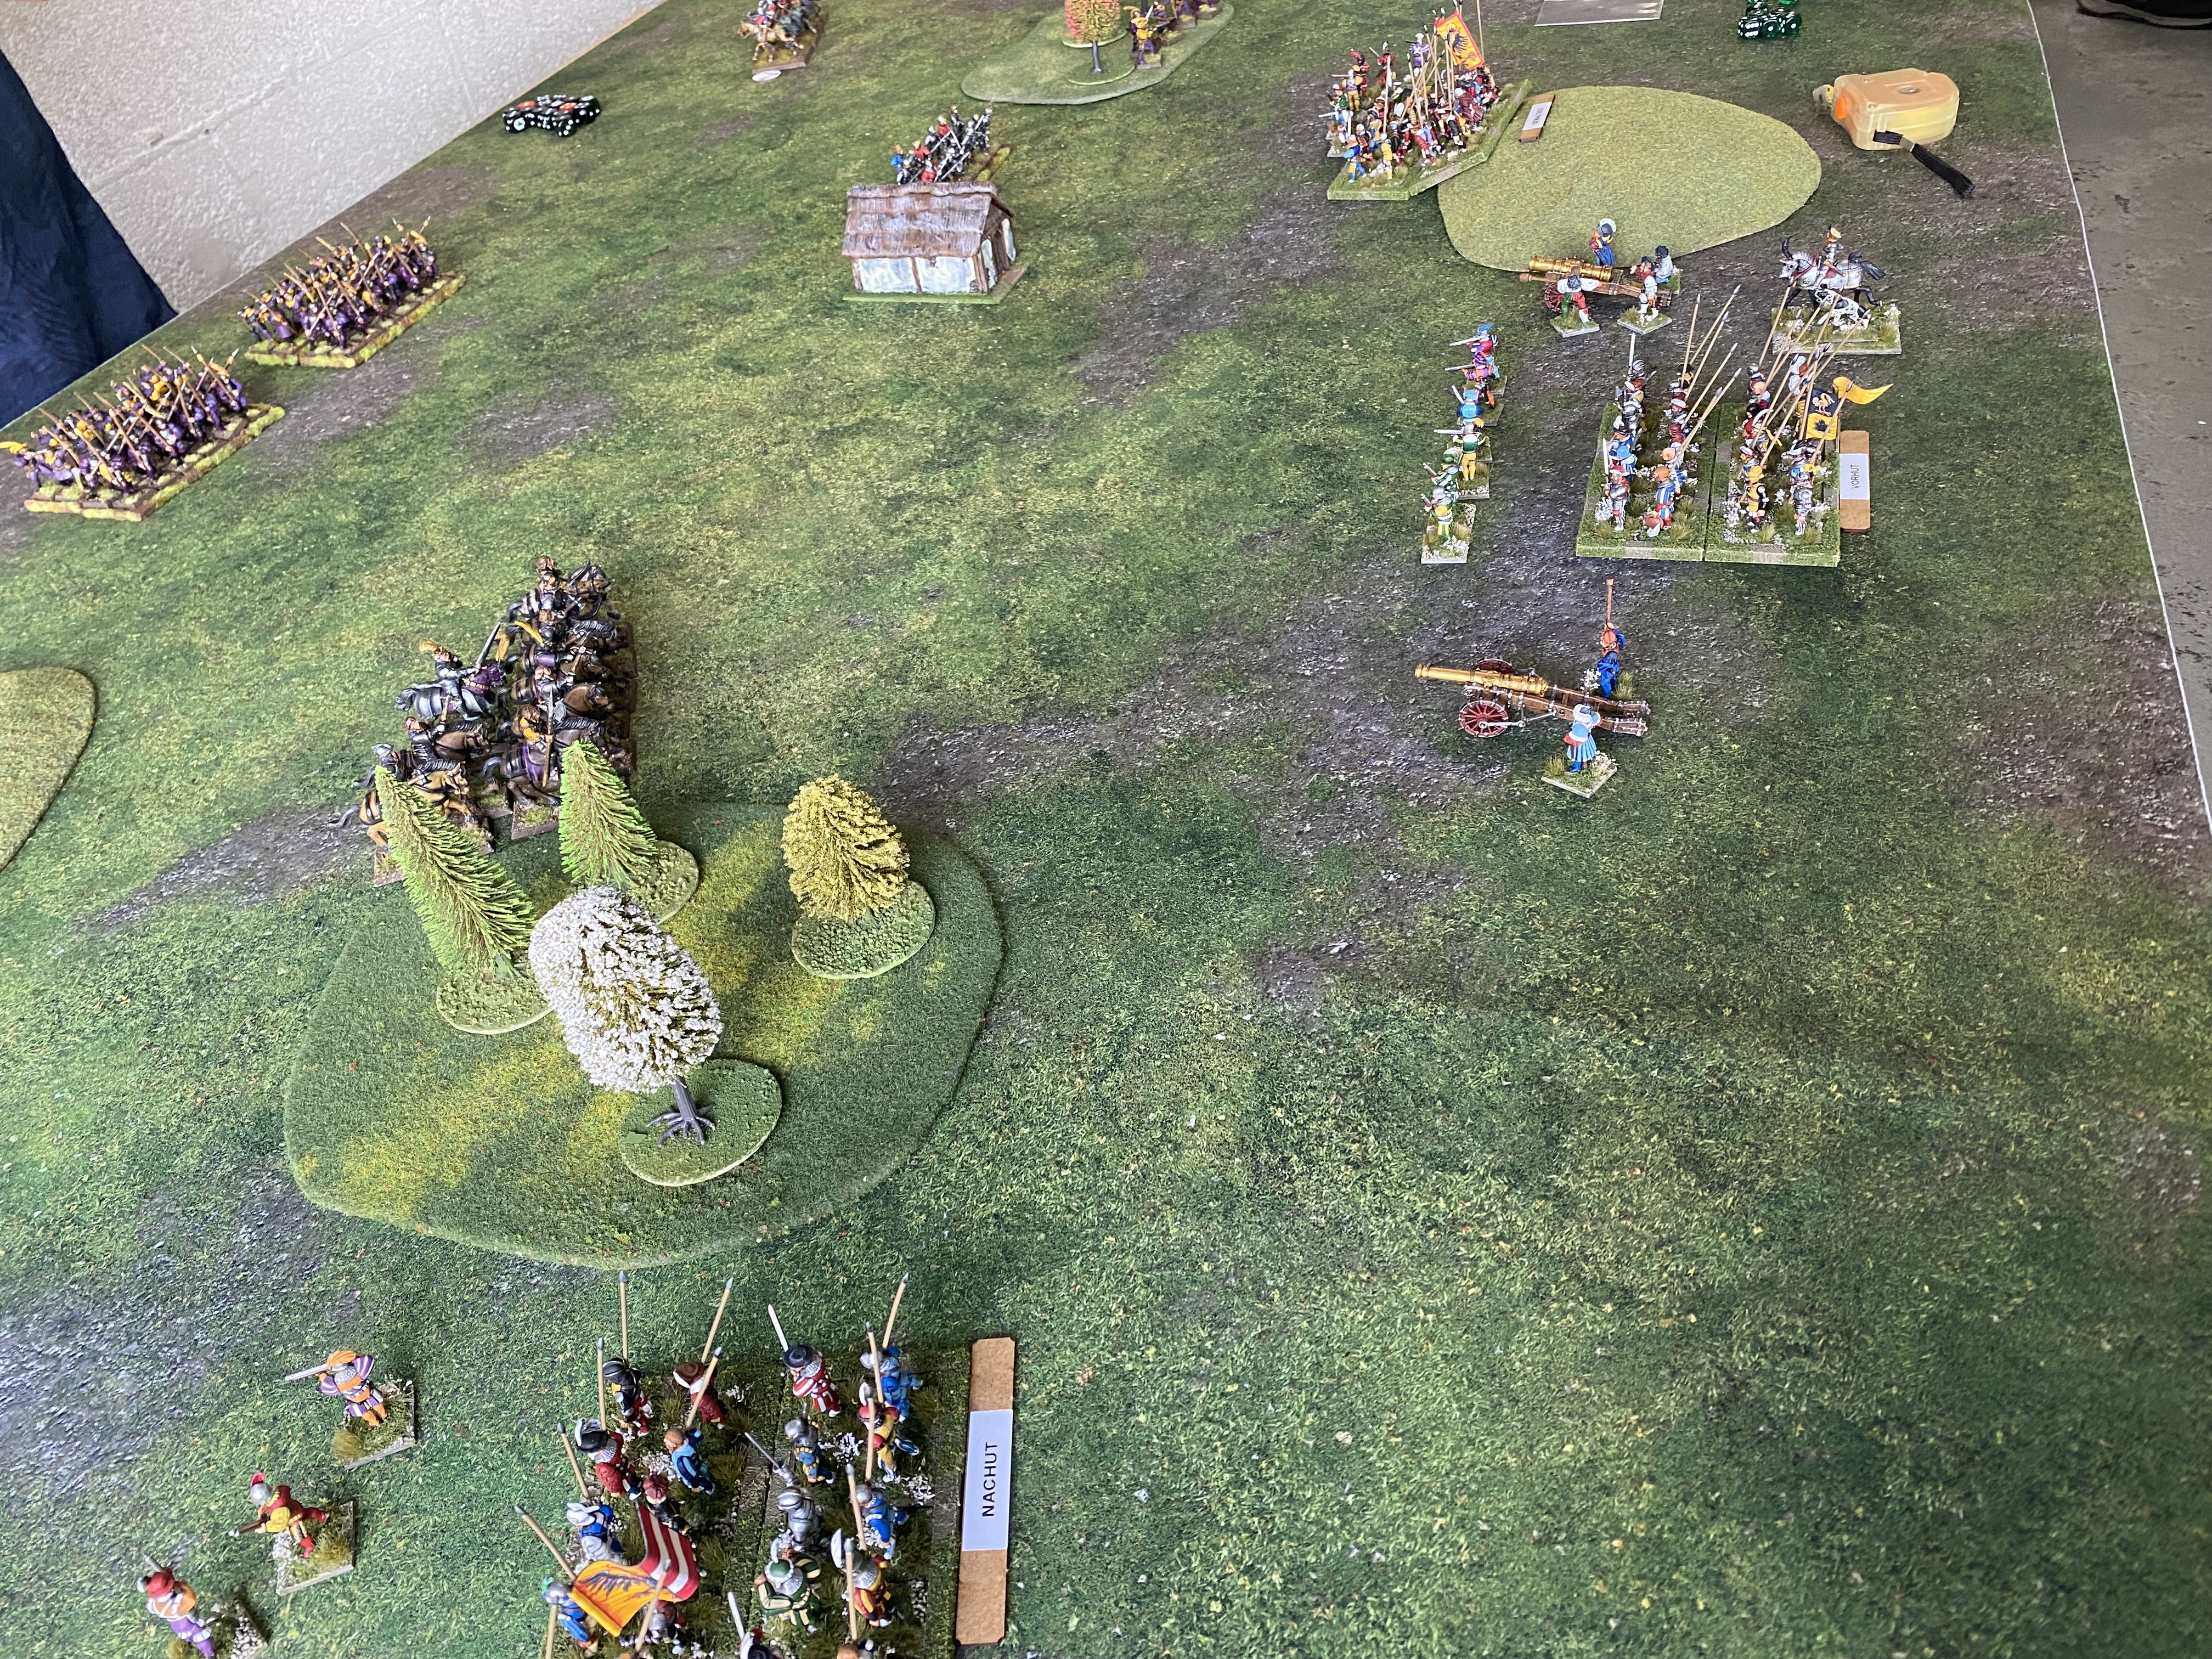
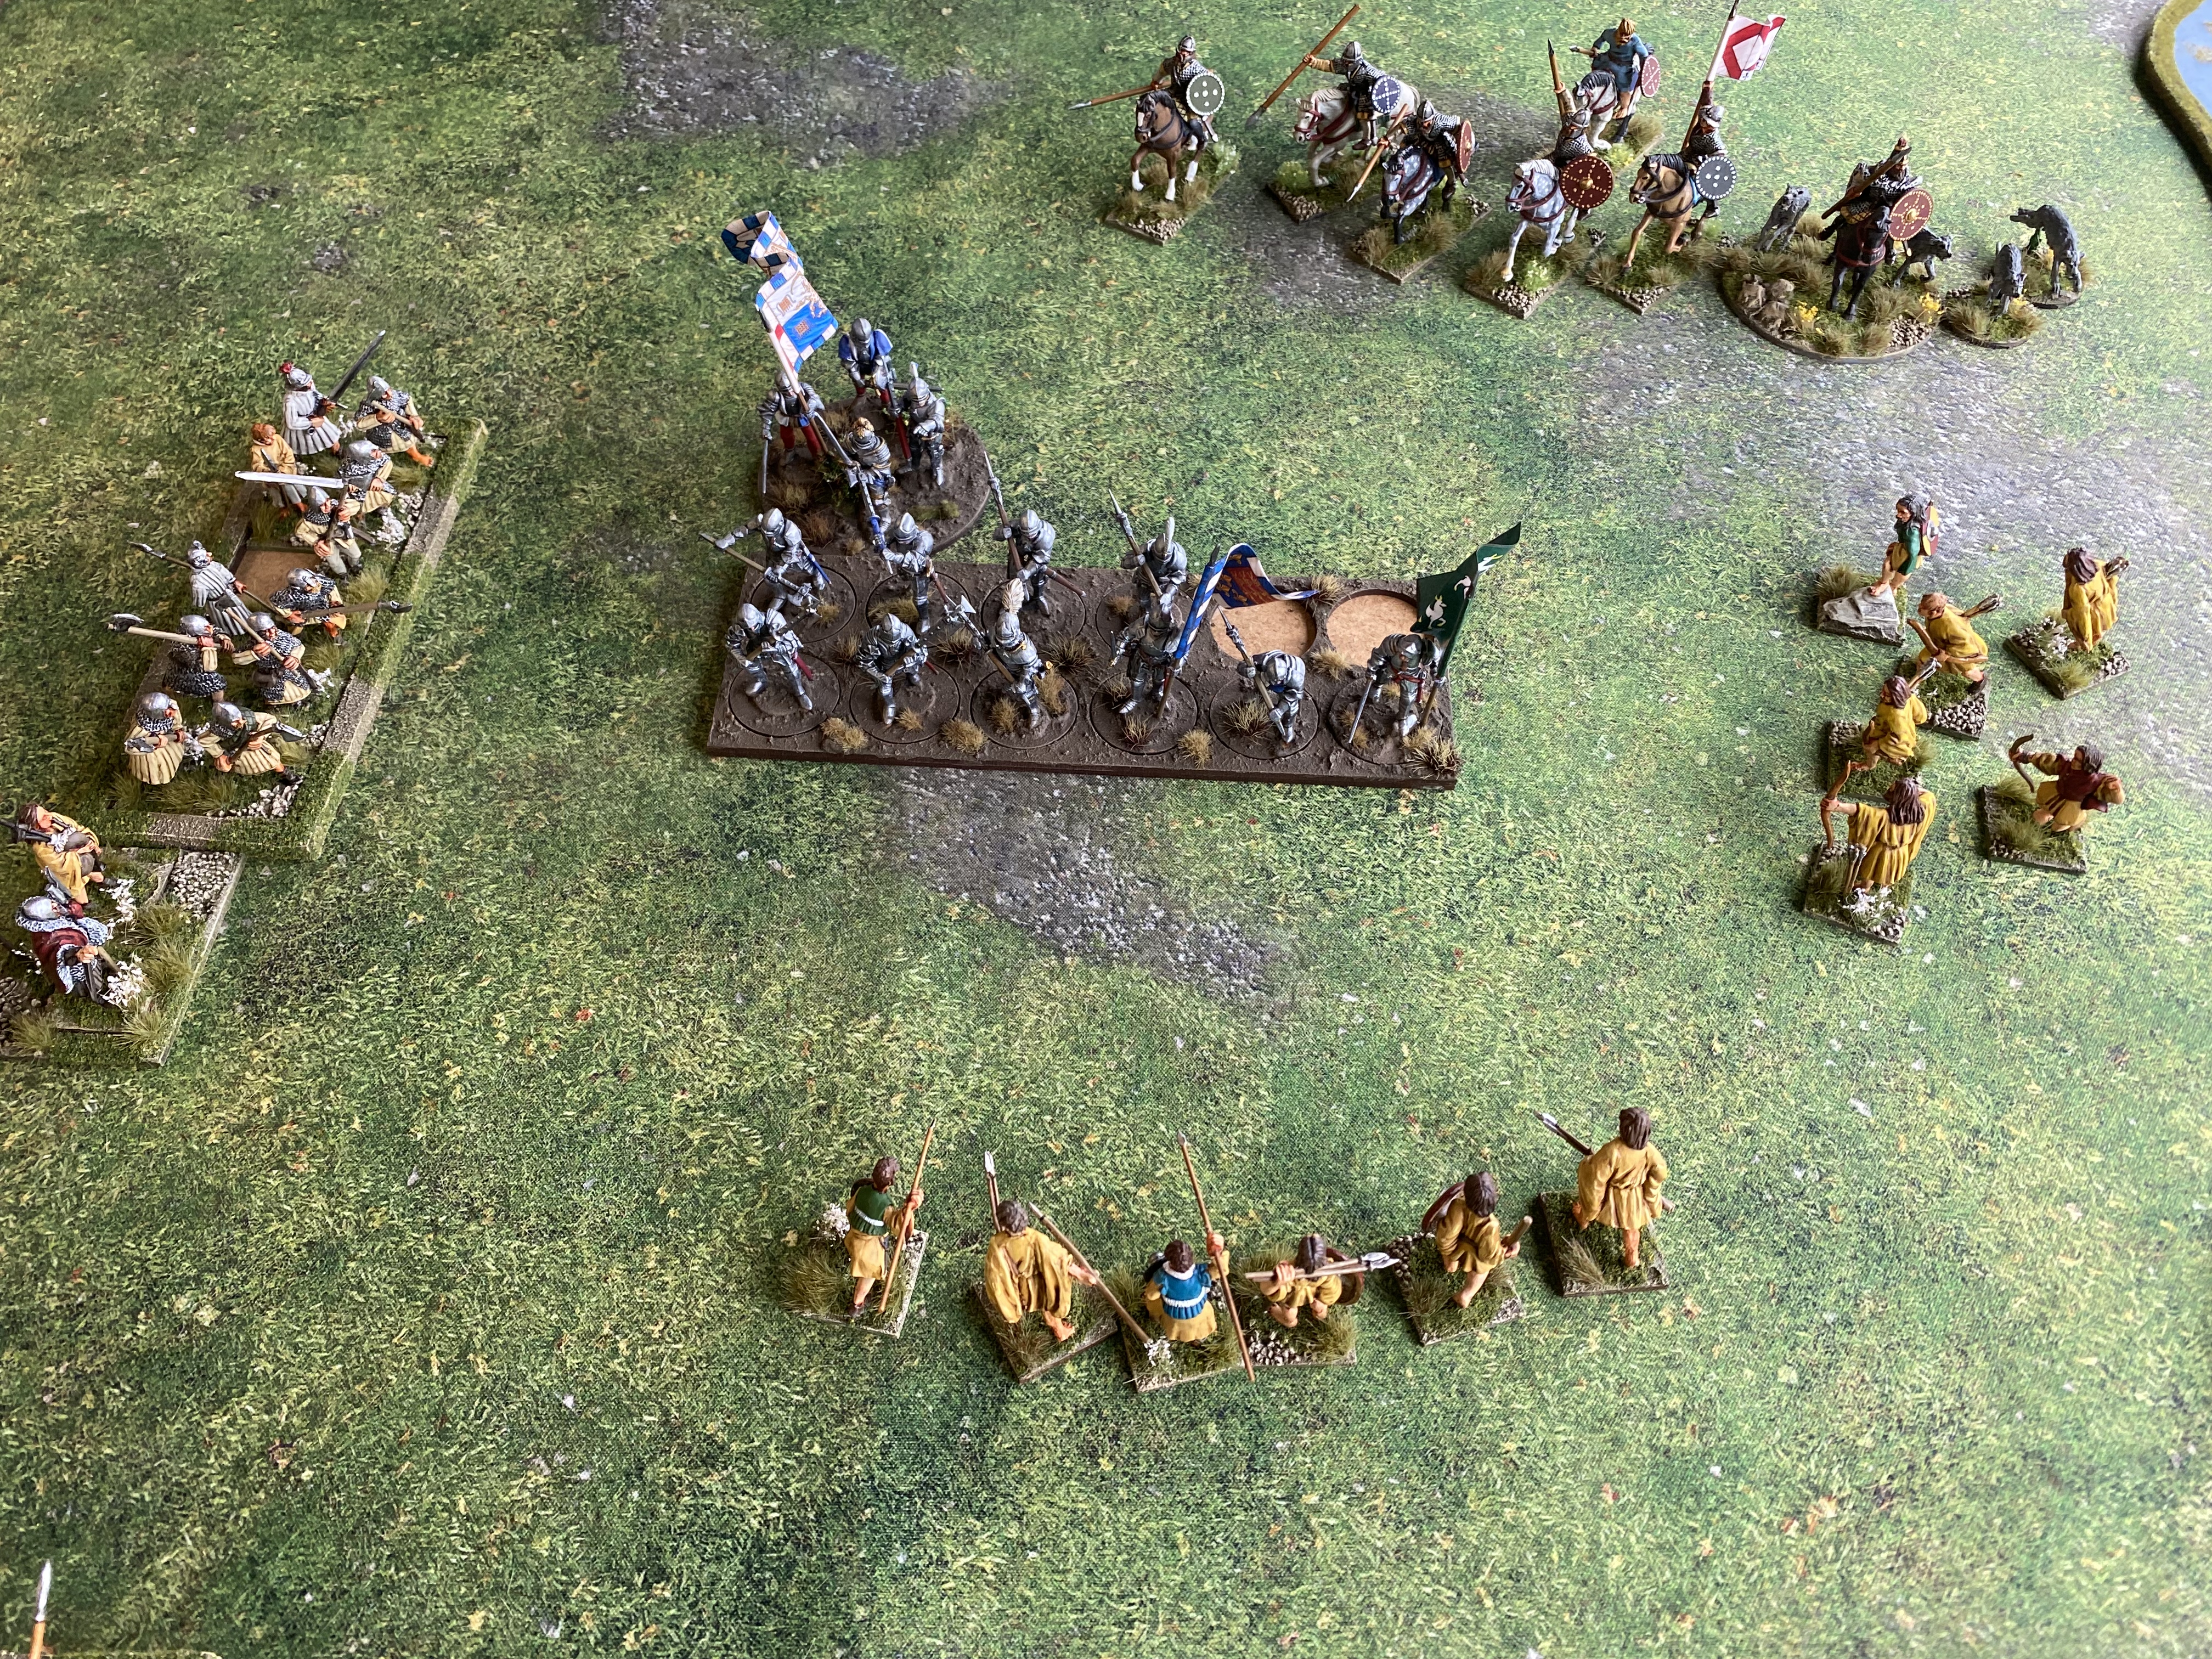
Black Adder is tasked with getting the treasure coach along the road to the village and safety. The Irish are determined to prevent this from happening! Standard Bill Hooks rules are used with the following exceptions or additions.
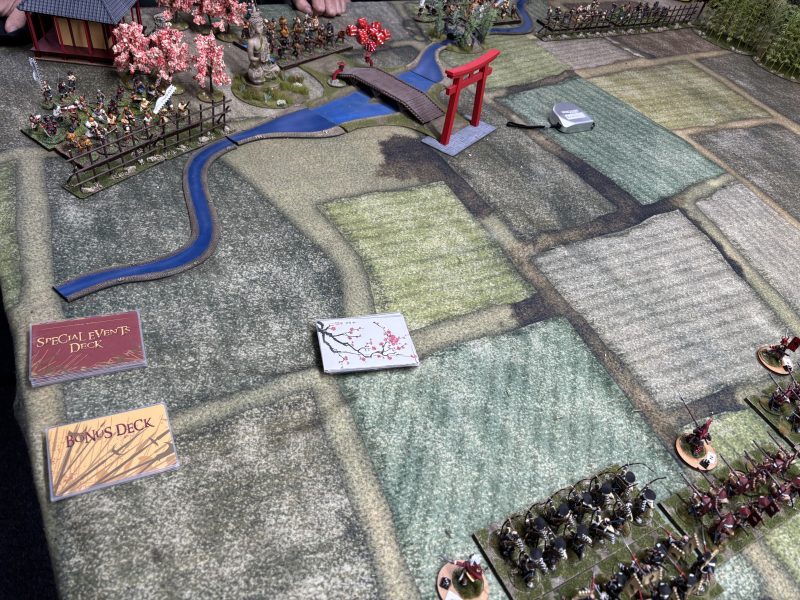
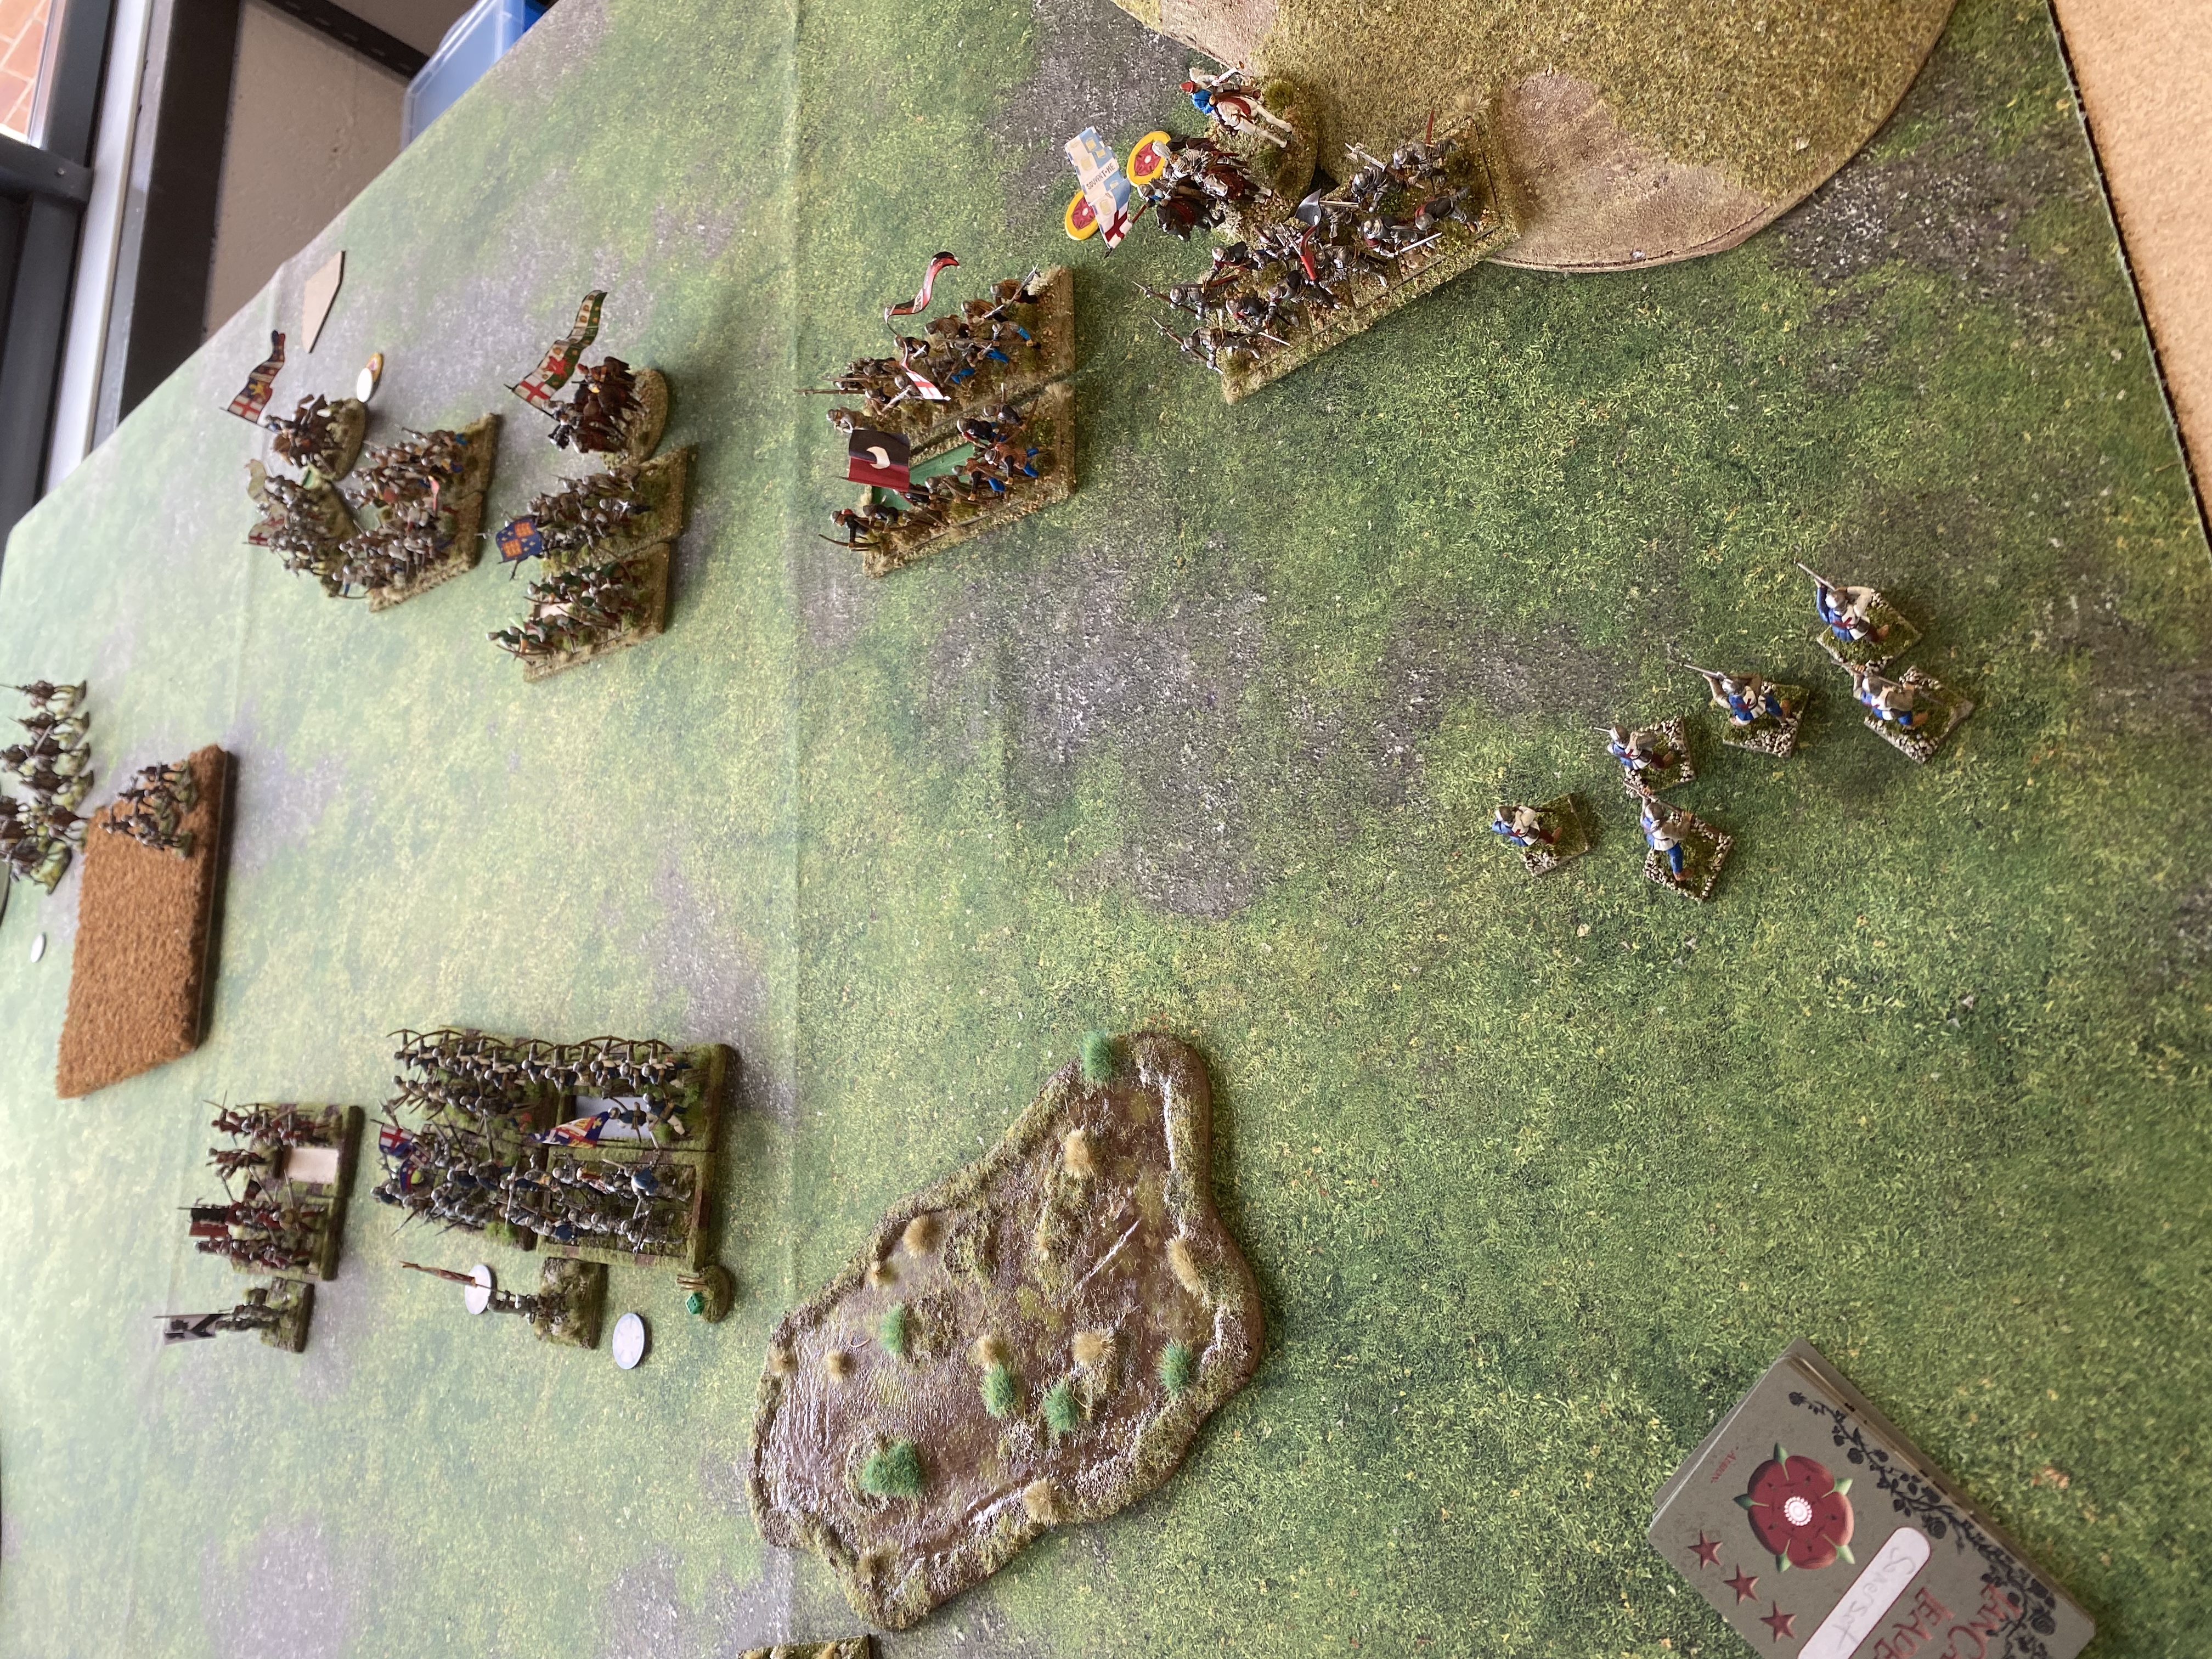
The game starts with Baldric and the coach deployed on the table at the start of the road. You may deploy one unit of skirmishers alongside the coach if you choose.
Shuffle all of the leader cards into the play deck. In terms of quality, George is fixed as a Dolt. Roll for all the other leaders as normal. Note that as the English have a dolt, none of the other commanders can be rated as a dolt, so re roll any ones. The Irish are all rated as normal – there are no hero’s and no dolts on their side!
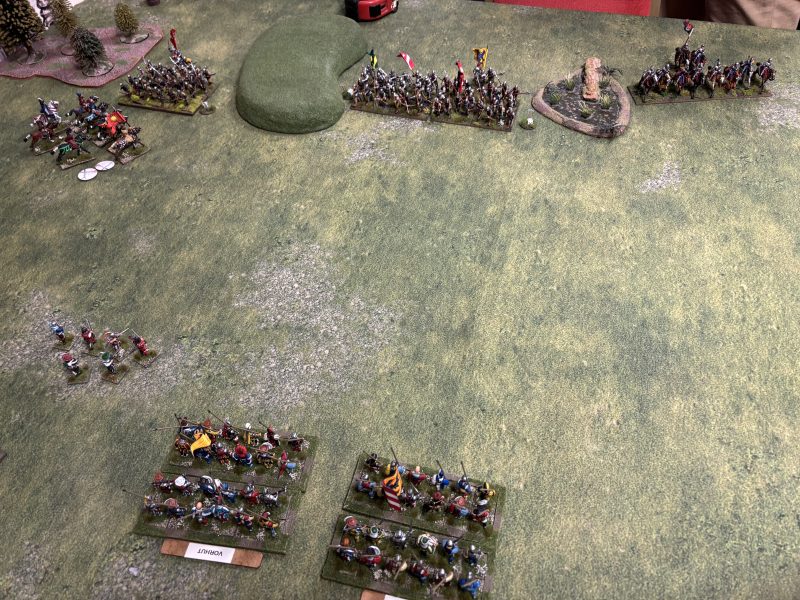
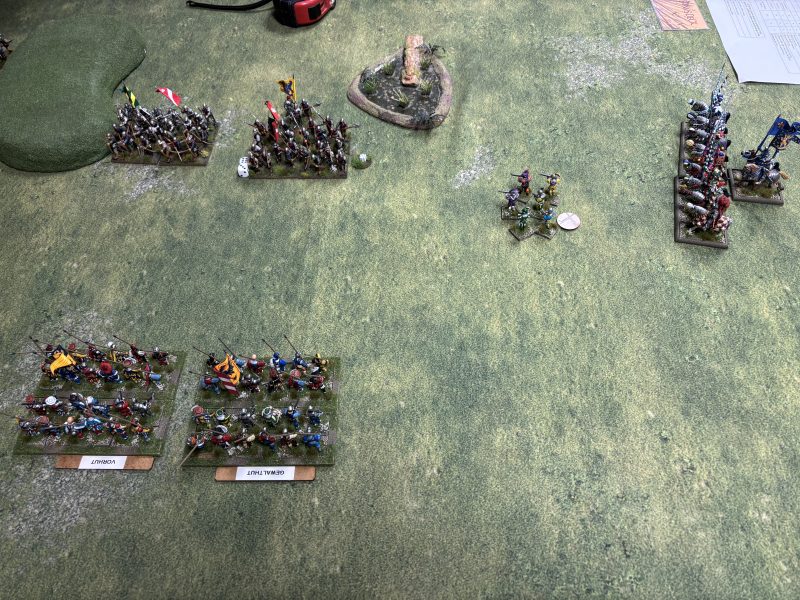
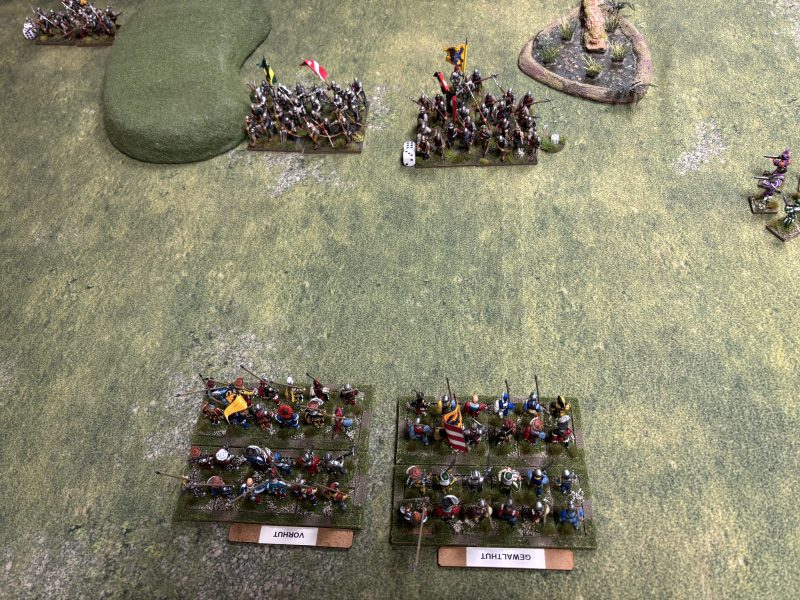
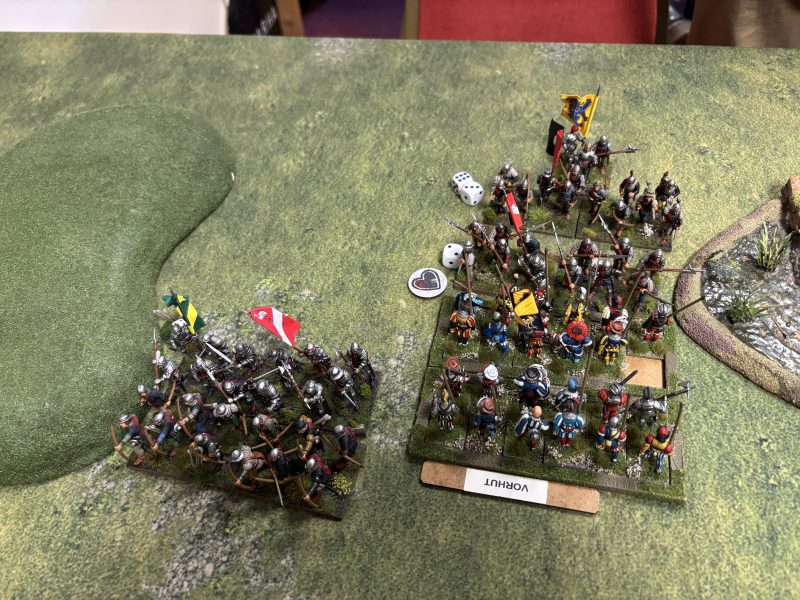
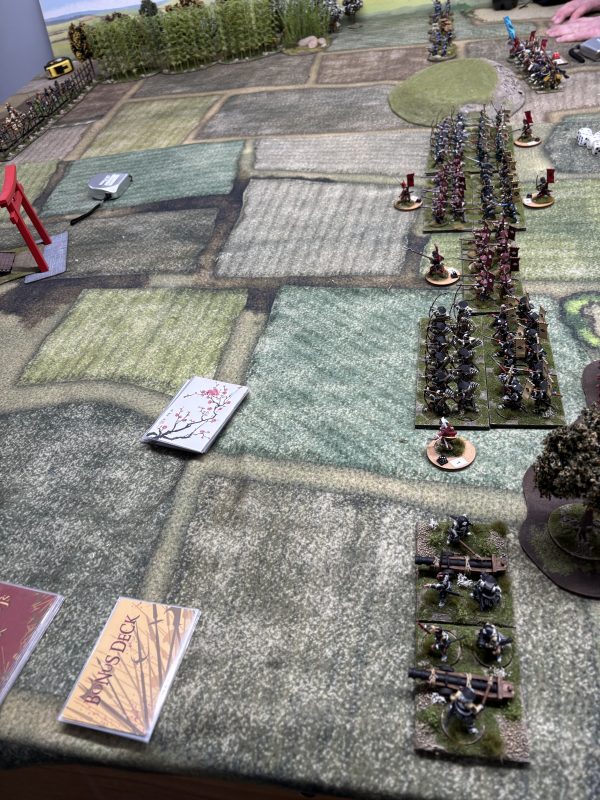
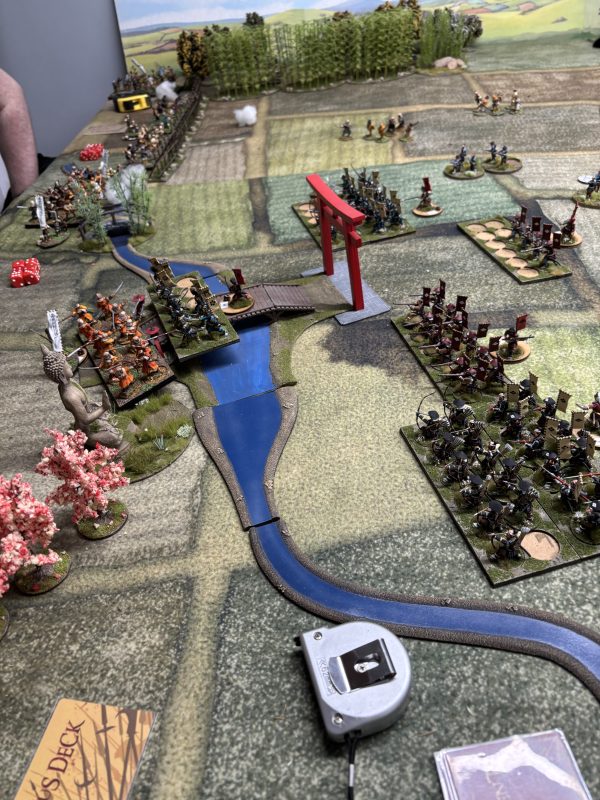
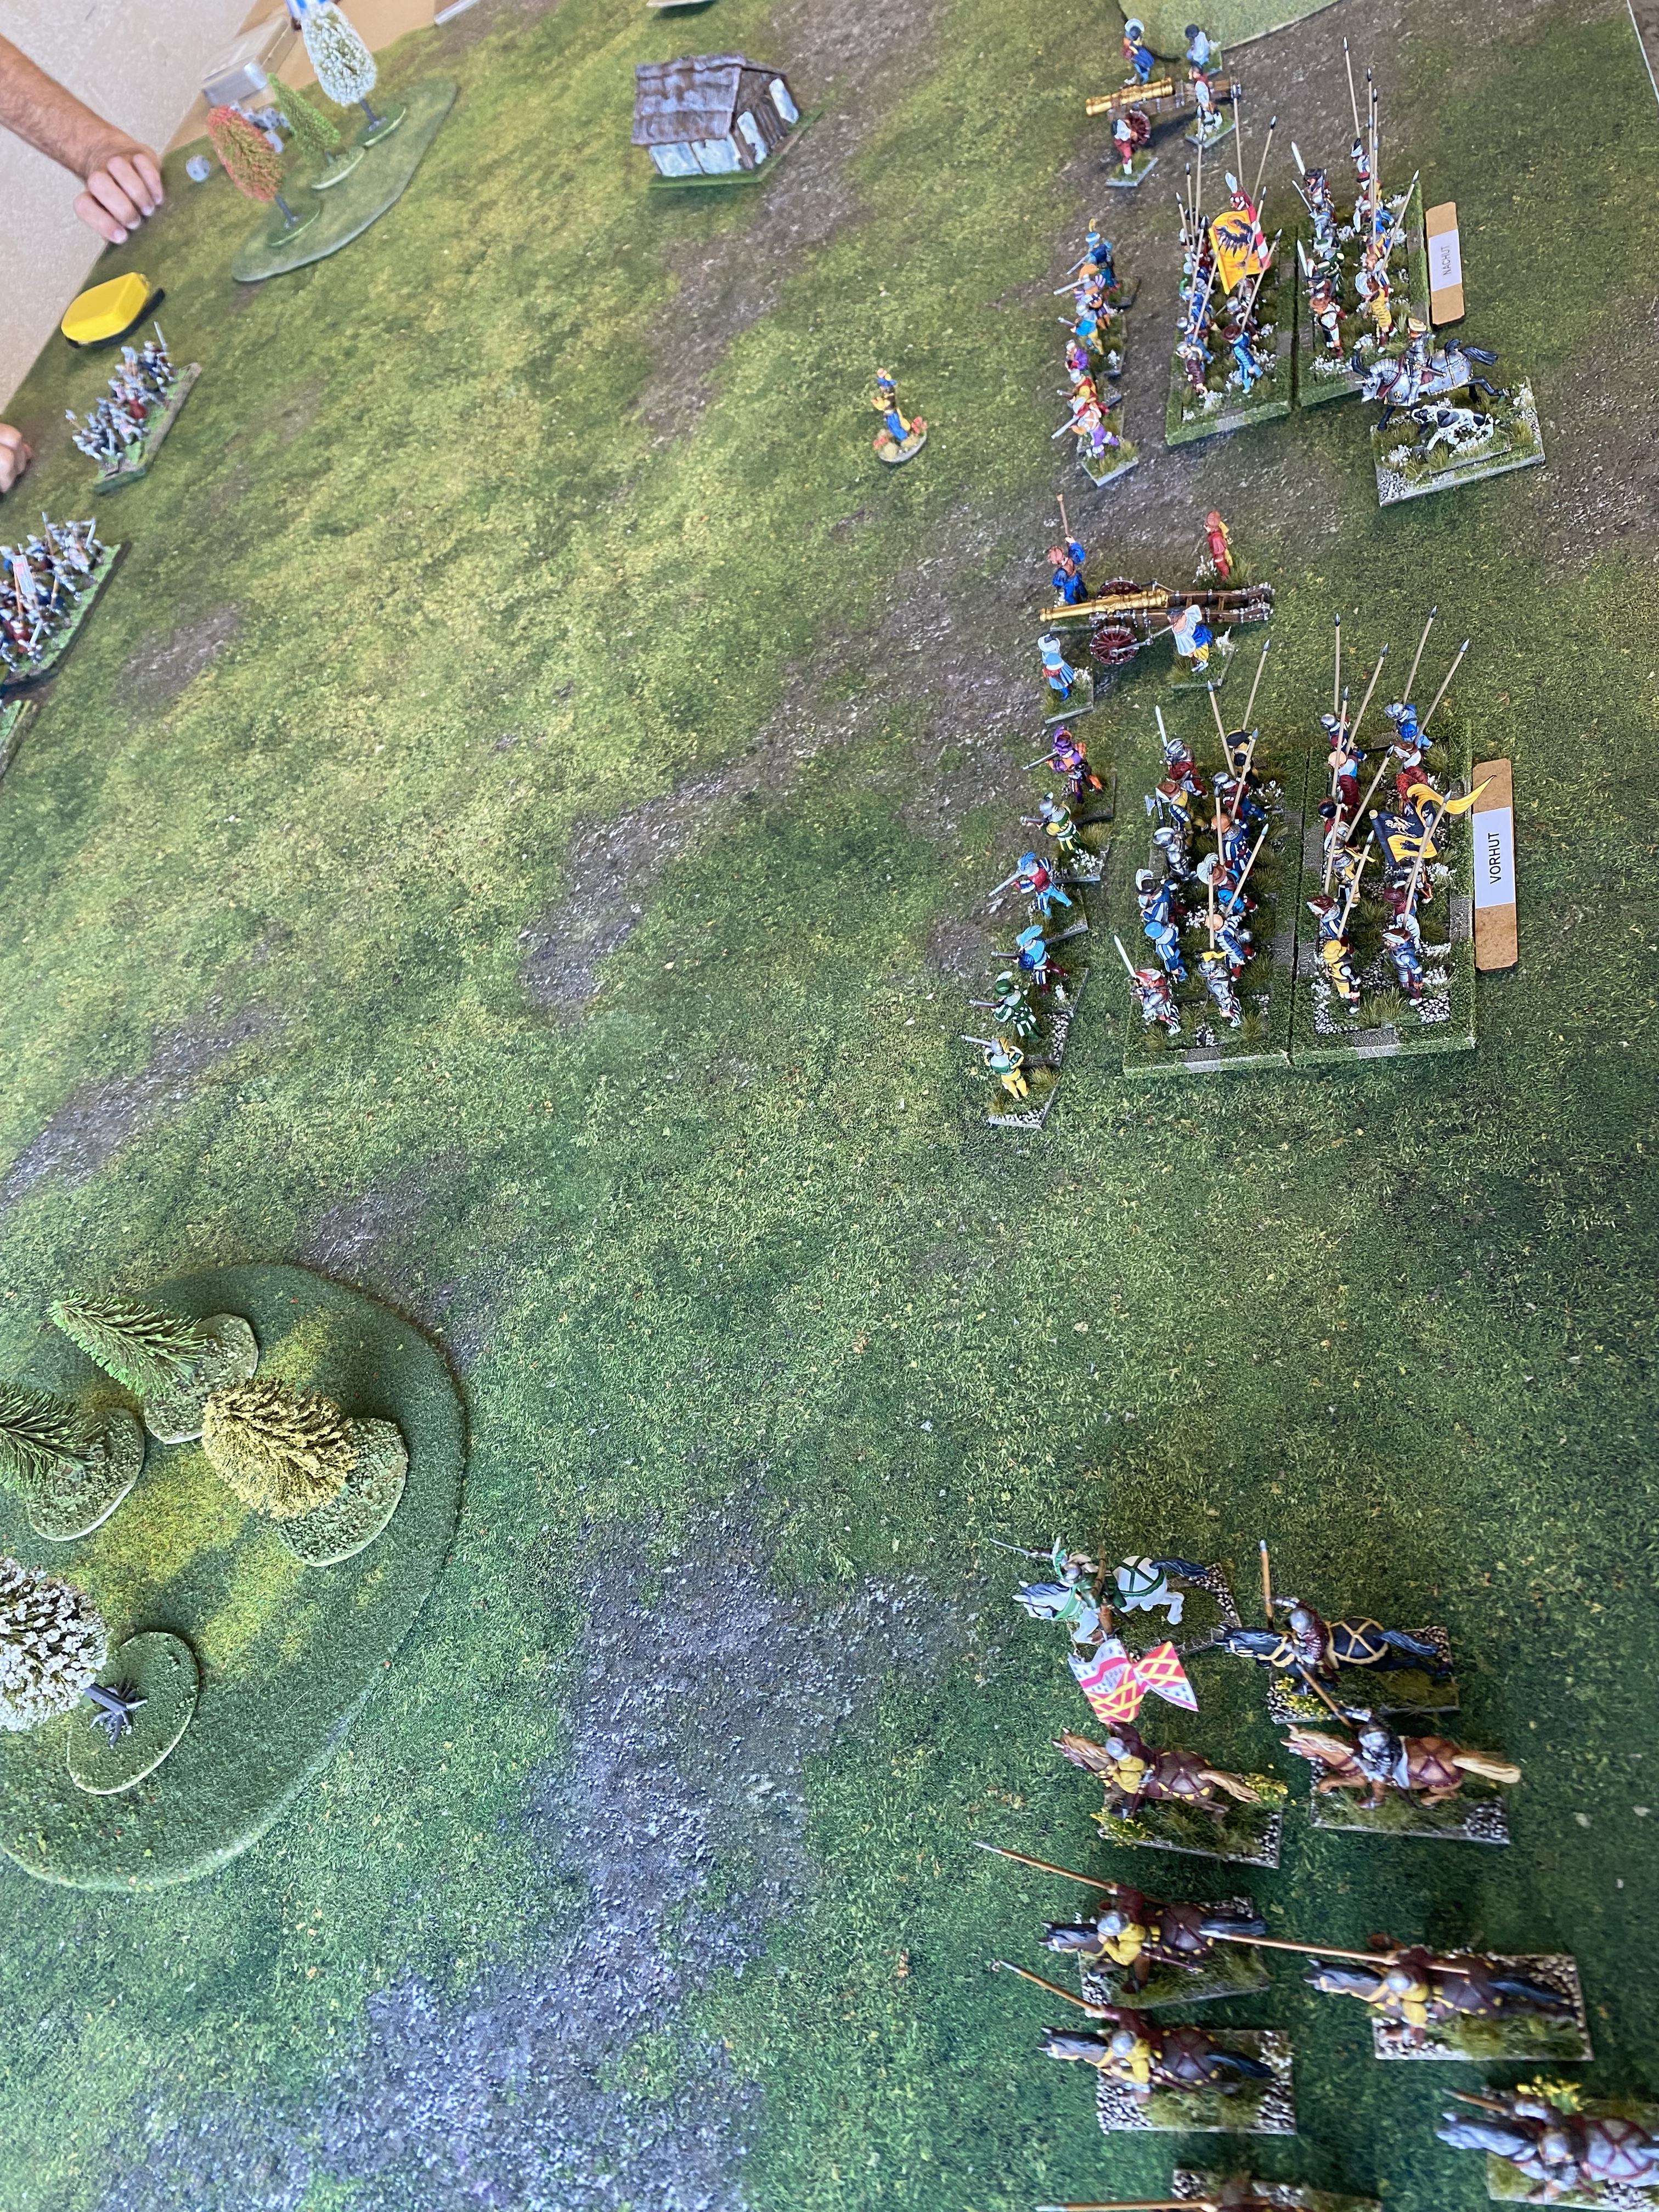
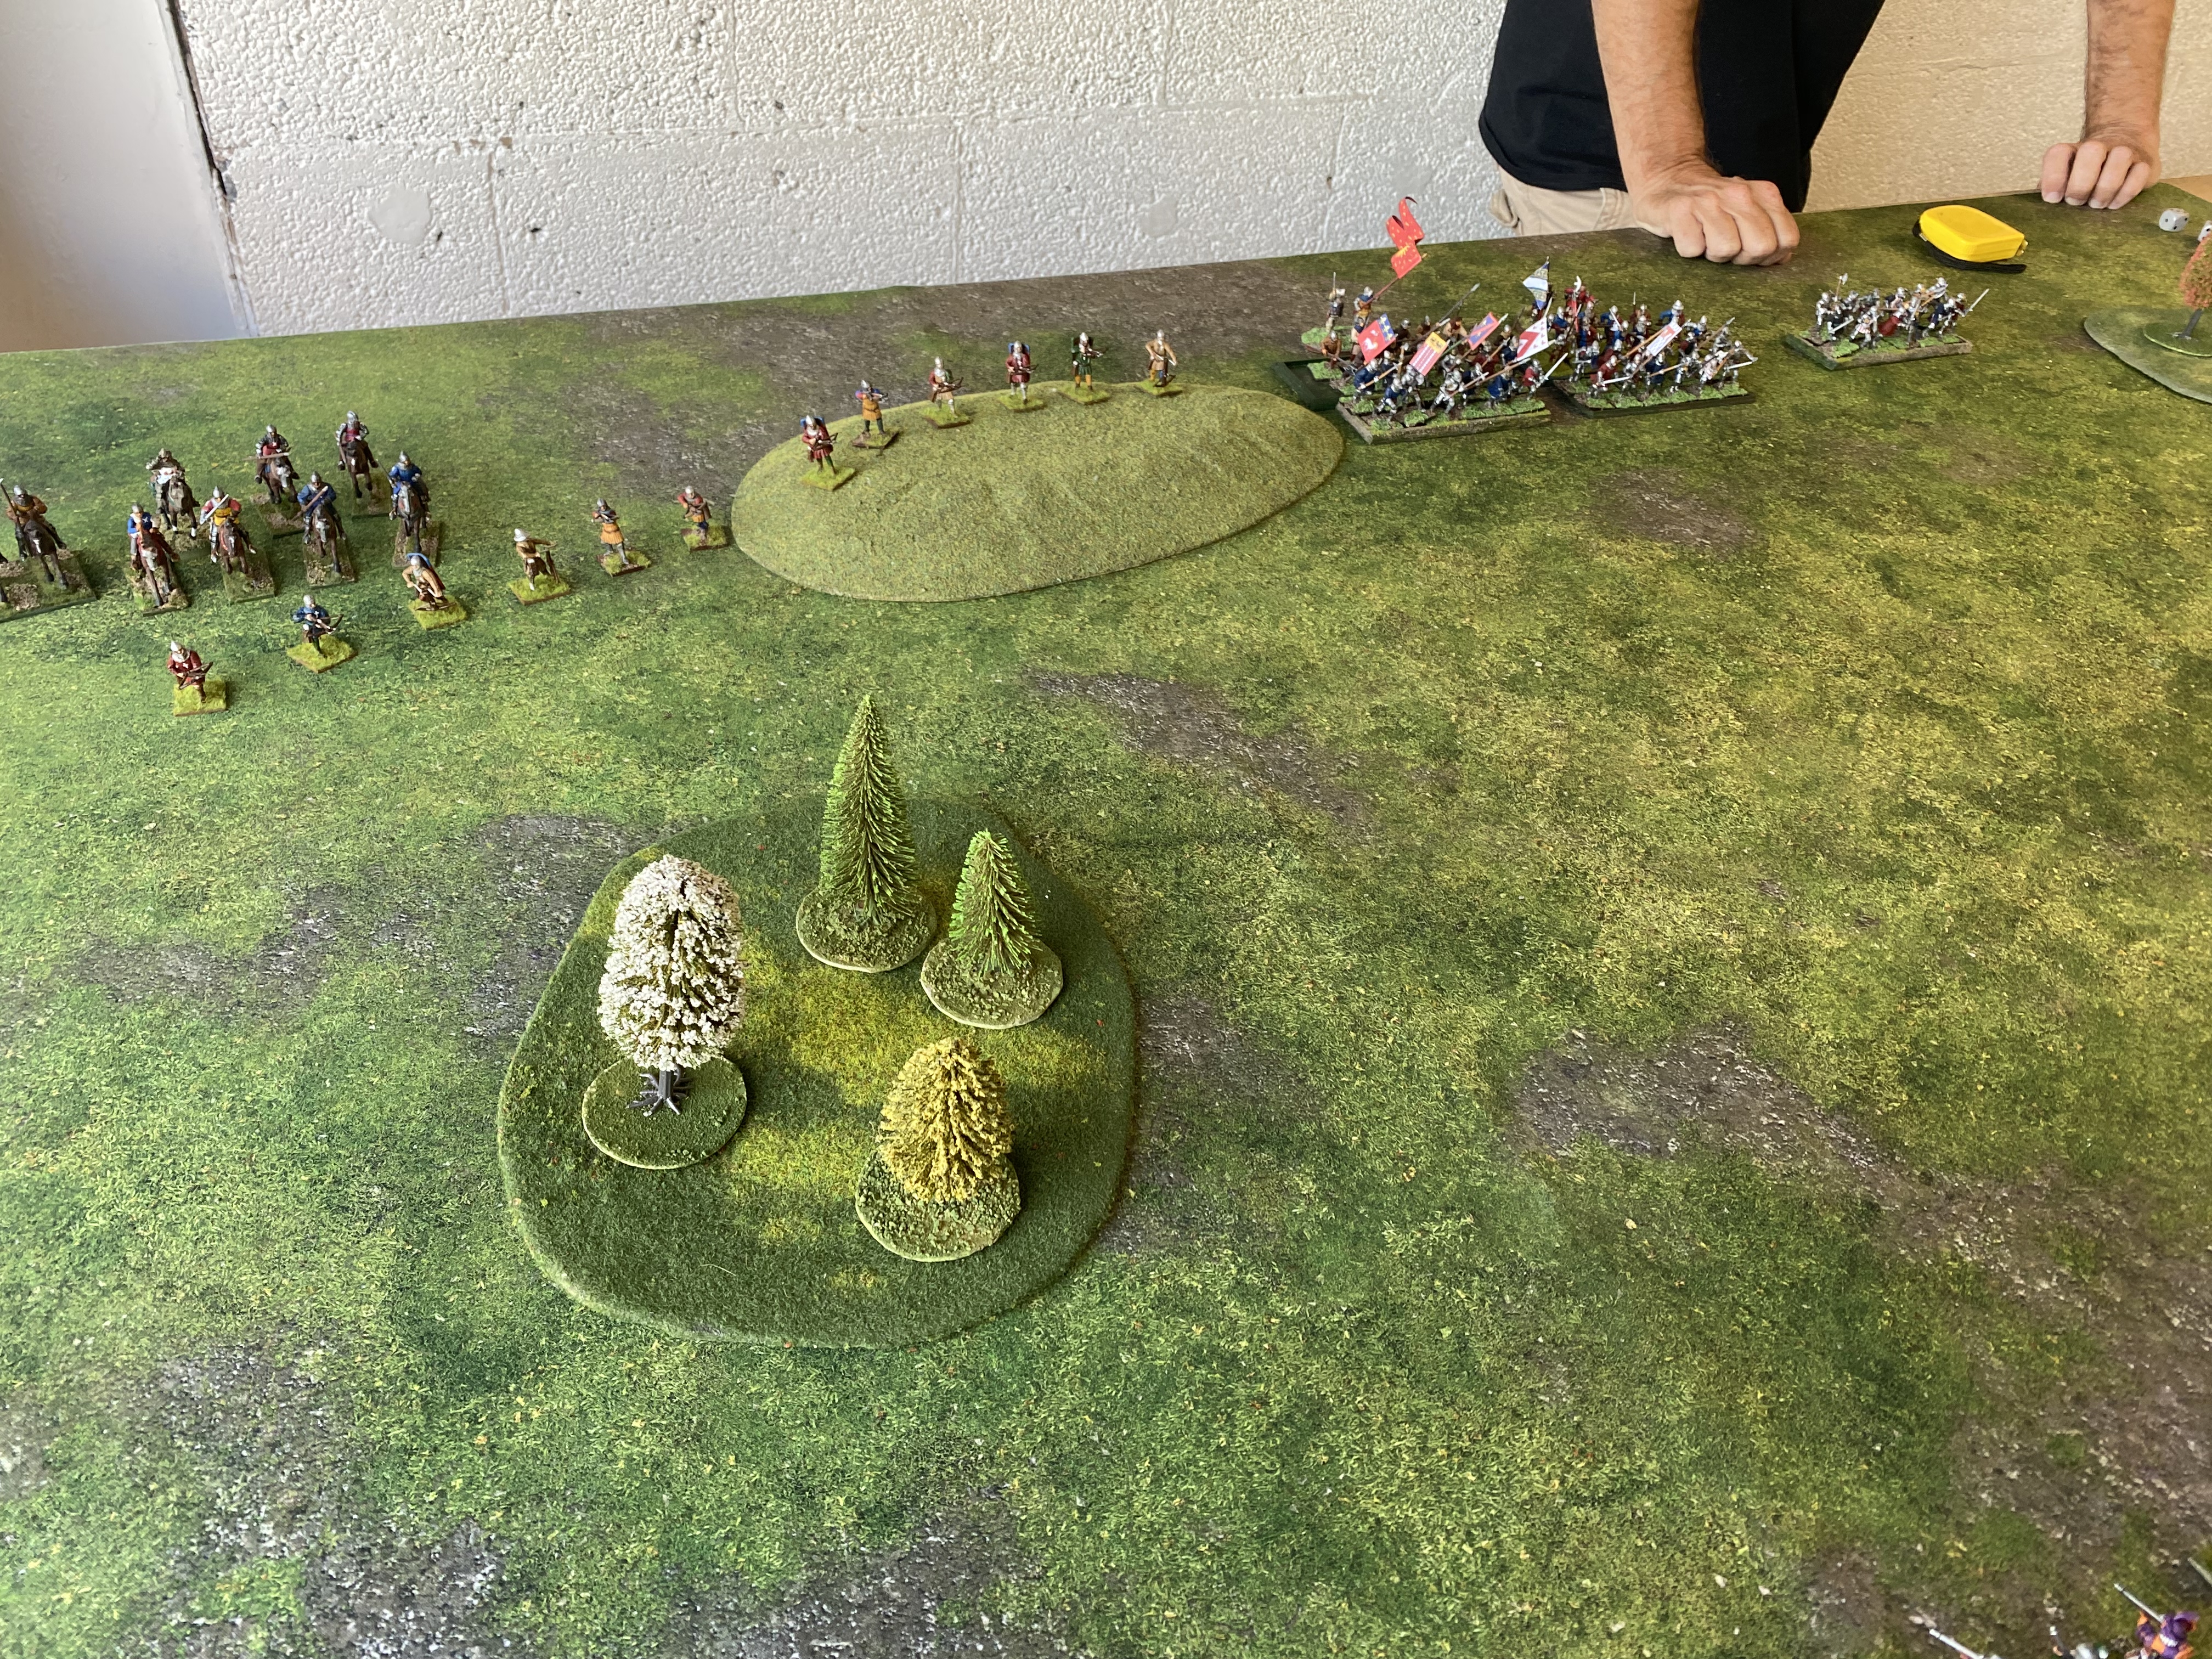
There is no movement phase. All units, except the coach, start off the table. As the leaders cards are drawn you may deploy as follows. The Irish may deploy anywhere on their side of the table up to 9” from the baseline. The English must enter on the road or to one side of it at the base line and may take one move. Remember that infantry may move through other infantry and cavalry may move through cavalry freely but if they are moving through dissimilar troops they will take a disarray marker.
When a bonus card is drawn, move Baldric up to 6” along the road. The coach must move a minimum of 3 inches each time a bonus card is drawn. You may then move the coach up as far as Baldric has moved and no further! Baldric cannot be targeted by the Irish nor can he be killed or captured. He cannot give orders. He is there to mark the coach’s progress. If the road is blocked by either an enemy unit or a friendly unit, he cannot move through it. Note if one of the bonus cards is the last card out you must still move Baldrick and the coach.
The units commanded by Black Adder have been specially drilled by him to guard the coach. As long as they are within 9” of the coach, they will get a free 90 degree turn without incurring a disarray token. In addition, they may turn and face an enemy, or react as they choose, regardless of how many moves that the enemy has taken to engage. This ONLY applies to Black Adders units and ONLY if they are within 9 inches of the coach!
The Irish may not enter the Village.
Killing the Irish Commander or Black Adder does not end the game. The game ends when: the coach arrives at the Village ( this should take 5 turns – the road is 60 inches long). However. if the coach doesn’t reach the village by the end of 6 turns, the Irish win. If one army loses it’s morale tokens, it will lose as in the standard game.
The Irish can also win the game by capturing the coach. If they are able to drive all English units (skirmishers are not included) more than 6” away from the coach and get a unit to touch the coach, they have succeeded in capturing the coach!
If you draw a special event card that applies only to the enemy, you may choose to ignore it and draw another card.

Game Briefing for the Irish Adventure
Just some quick reminders regarding the Irish troops.
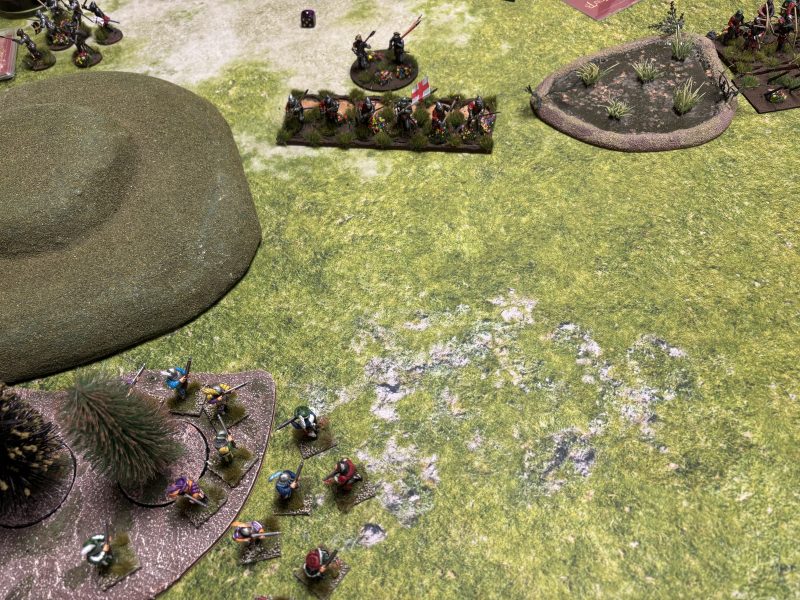
All kern can move 8 inches, even formed Kern! Formed Kern can move through terrain at 6inches per action but receive only 1 disarray regardless of how far they move in terrain.
All kern can shoot Javelins and bows at 6 inch range only. Formed Kern may shoot twice in a game with half their numbers. Bands have unlimited arrows and javelins.
Formed Kern will not ‘bounce’ from melee.
Gallowglass may shoot once per game with half their numbers. Range is 6inches. They move 6 inches and reduce to 4 inches in rough terrain, being disarrayed each move they make.
Irish troops are brittle if shot at. All kern save on 6’s, Gallowglass, 4+, Cavalry 5+. They are tougher in melee! Check the QRS card for details.
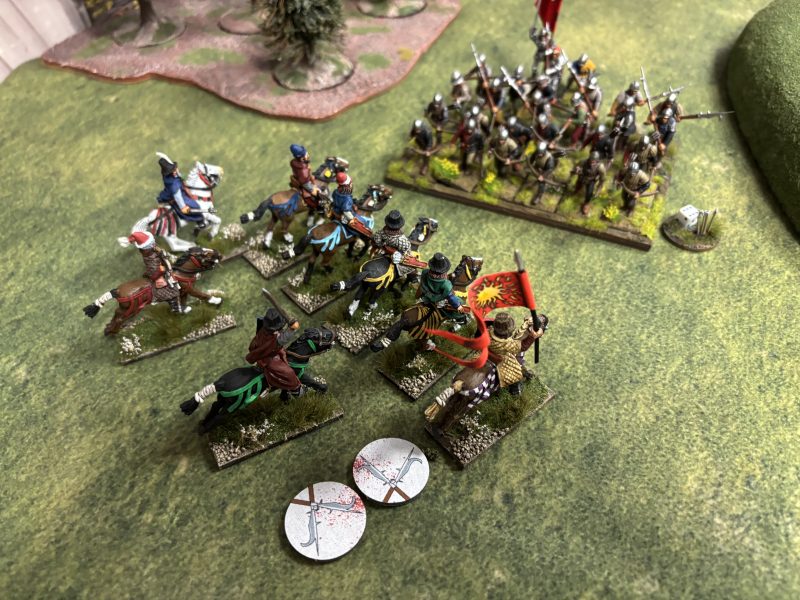
Irish cavalry get no charge bonus! They can throw Javelins 6inches. They can dismount to form a unit of 6 Gallowglass. They can combine two such units to form a full unit of 12. You can activate them on the skirmish card or leader card but not both!
Only Irish skirmish units must pursue broken enemy units for this scenario.

The Special Event cards
I would recommend that you use no more than eight special event cards. Choose four from the core rules deck and add in these four. For even more mayhem, just use the four below!
A CUNNING PLAN!
Baldrick has a cunning plan that delays the convoy by two bonus cards whilst he explains it. Play instantly
LUCK OF THE IRISH
A unit of Irish have their saves upgraded to MAA for shooting and melee for the duration of the game. Play if you are Irish!
LORD FLASH ARRIVES!
Lord Flash arrives to save the day! Deploy him and a unit of veteran bows or bills at the village entrance.
Place his card in the pack for next turn and activate as normal. Play if your are English!
THE BISHOP
The Bishop draws his flaming hot sword! Double his hits in all combats even if he is already engaged. Play instantly.
A few thoughts on the game
The Irish have only six morale tokens to the English contingents eight. The Irish will suffer if targeted by arrow storms but can move fast, even through cover and the Gallowglass are particularly tough in combat. The terrain is deliberately designed to help the Irish and hinder the English. George is deliberately given the cavalry to command as his status as a dolt will make this difficult. The coach will keep moving as long as the road is clear – this can be a help or a hindrance! The Irish kern skirmishers can move fast and can be very effective in combat. However, their morale is brittle – if they see one of their group run, they all might run! They will also ‘bounce’ and become disarrayed if they fail to win their combat. The English are likely to get snarled up – it will take all of Black Adders cunning to keep them moving!
I hope that you enjoy the scenario.
Happy modelling!