
I spent a very enjoyable Saturday at the fourth ‘Bill Hooks BASH’ organised by Peter Harris at the Boards and Swords venue in Derby. I must thank Peter for organising the event – there’s a good deal of work that goes into the admin, from collating all the entries, sorting the tables and scenery and keeping things running on the day. Peter has managed to create an event that as well as being well organised, is played in the spirit that most wargamers would appreciate. It’s great to meet up with like minded people in the hobby and spend a day in such pleasant company. The games are played with a wry sense of humour rather than a competitive edge, with good fortune and bad met with the same amused resignation and acceptance!
I must also add that I am very impressed with the venue ‘ Boards and Swords’. The staff were just great keeping us supplied with endless cups of coffee and making us all feel very welcome. I’ve added a link below to the venue. If you are in the area please drop in and support them.
Finally, before I get to the battles, the roving Umpire on the day was Andy Callan. You cant get better than the author of the rules being available to sort out any queries that come up in the heat of battle!
And so onto my day, where I fought three battles, one with a typical English WOTR army, led by Lord Harry Hotspur, the other two with my new Irish Army led by Brendan Fitzmaurice. As usual with my battle reports, I apologise for the one sided nature of the reports. Like all good (and bad) Chroniclers, only the highlights are included. The other problem that I have is that as I get more involved in the battle, I tend to forget to write down what actually happened, so like most accounts of the WOTR, the accounts are written long after the battles were over, although at least I can claim to have actually been there….
Battle number one vs Colin Bright’s Lancastrian/Tudor Army – The Lancastrian soft Centre
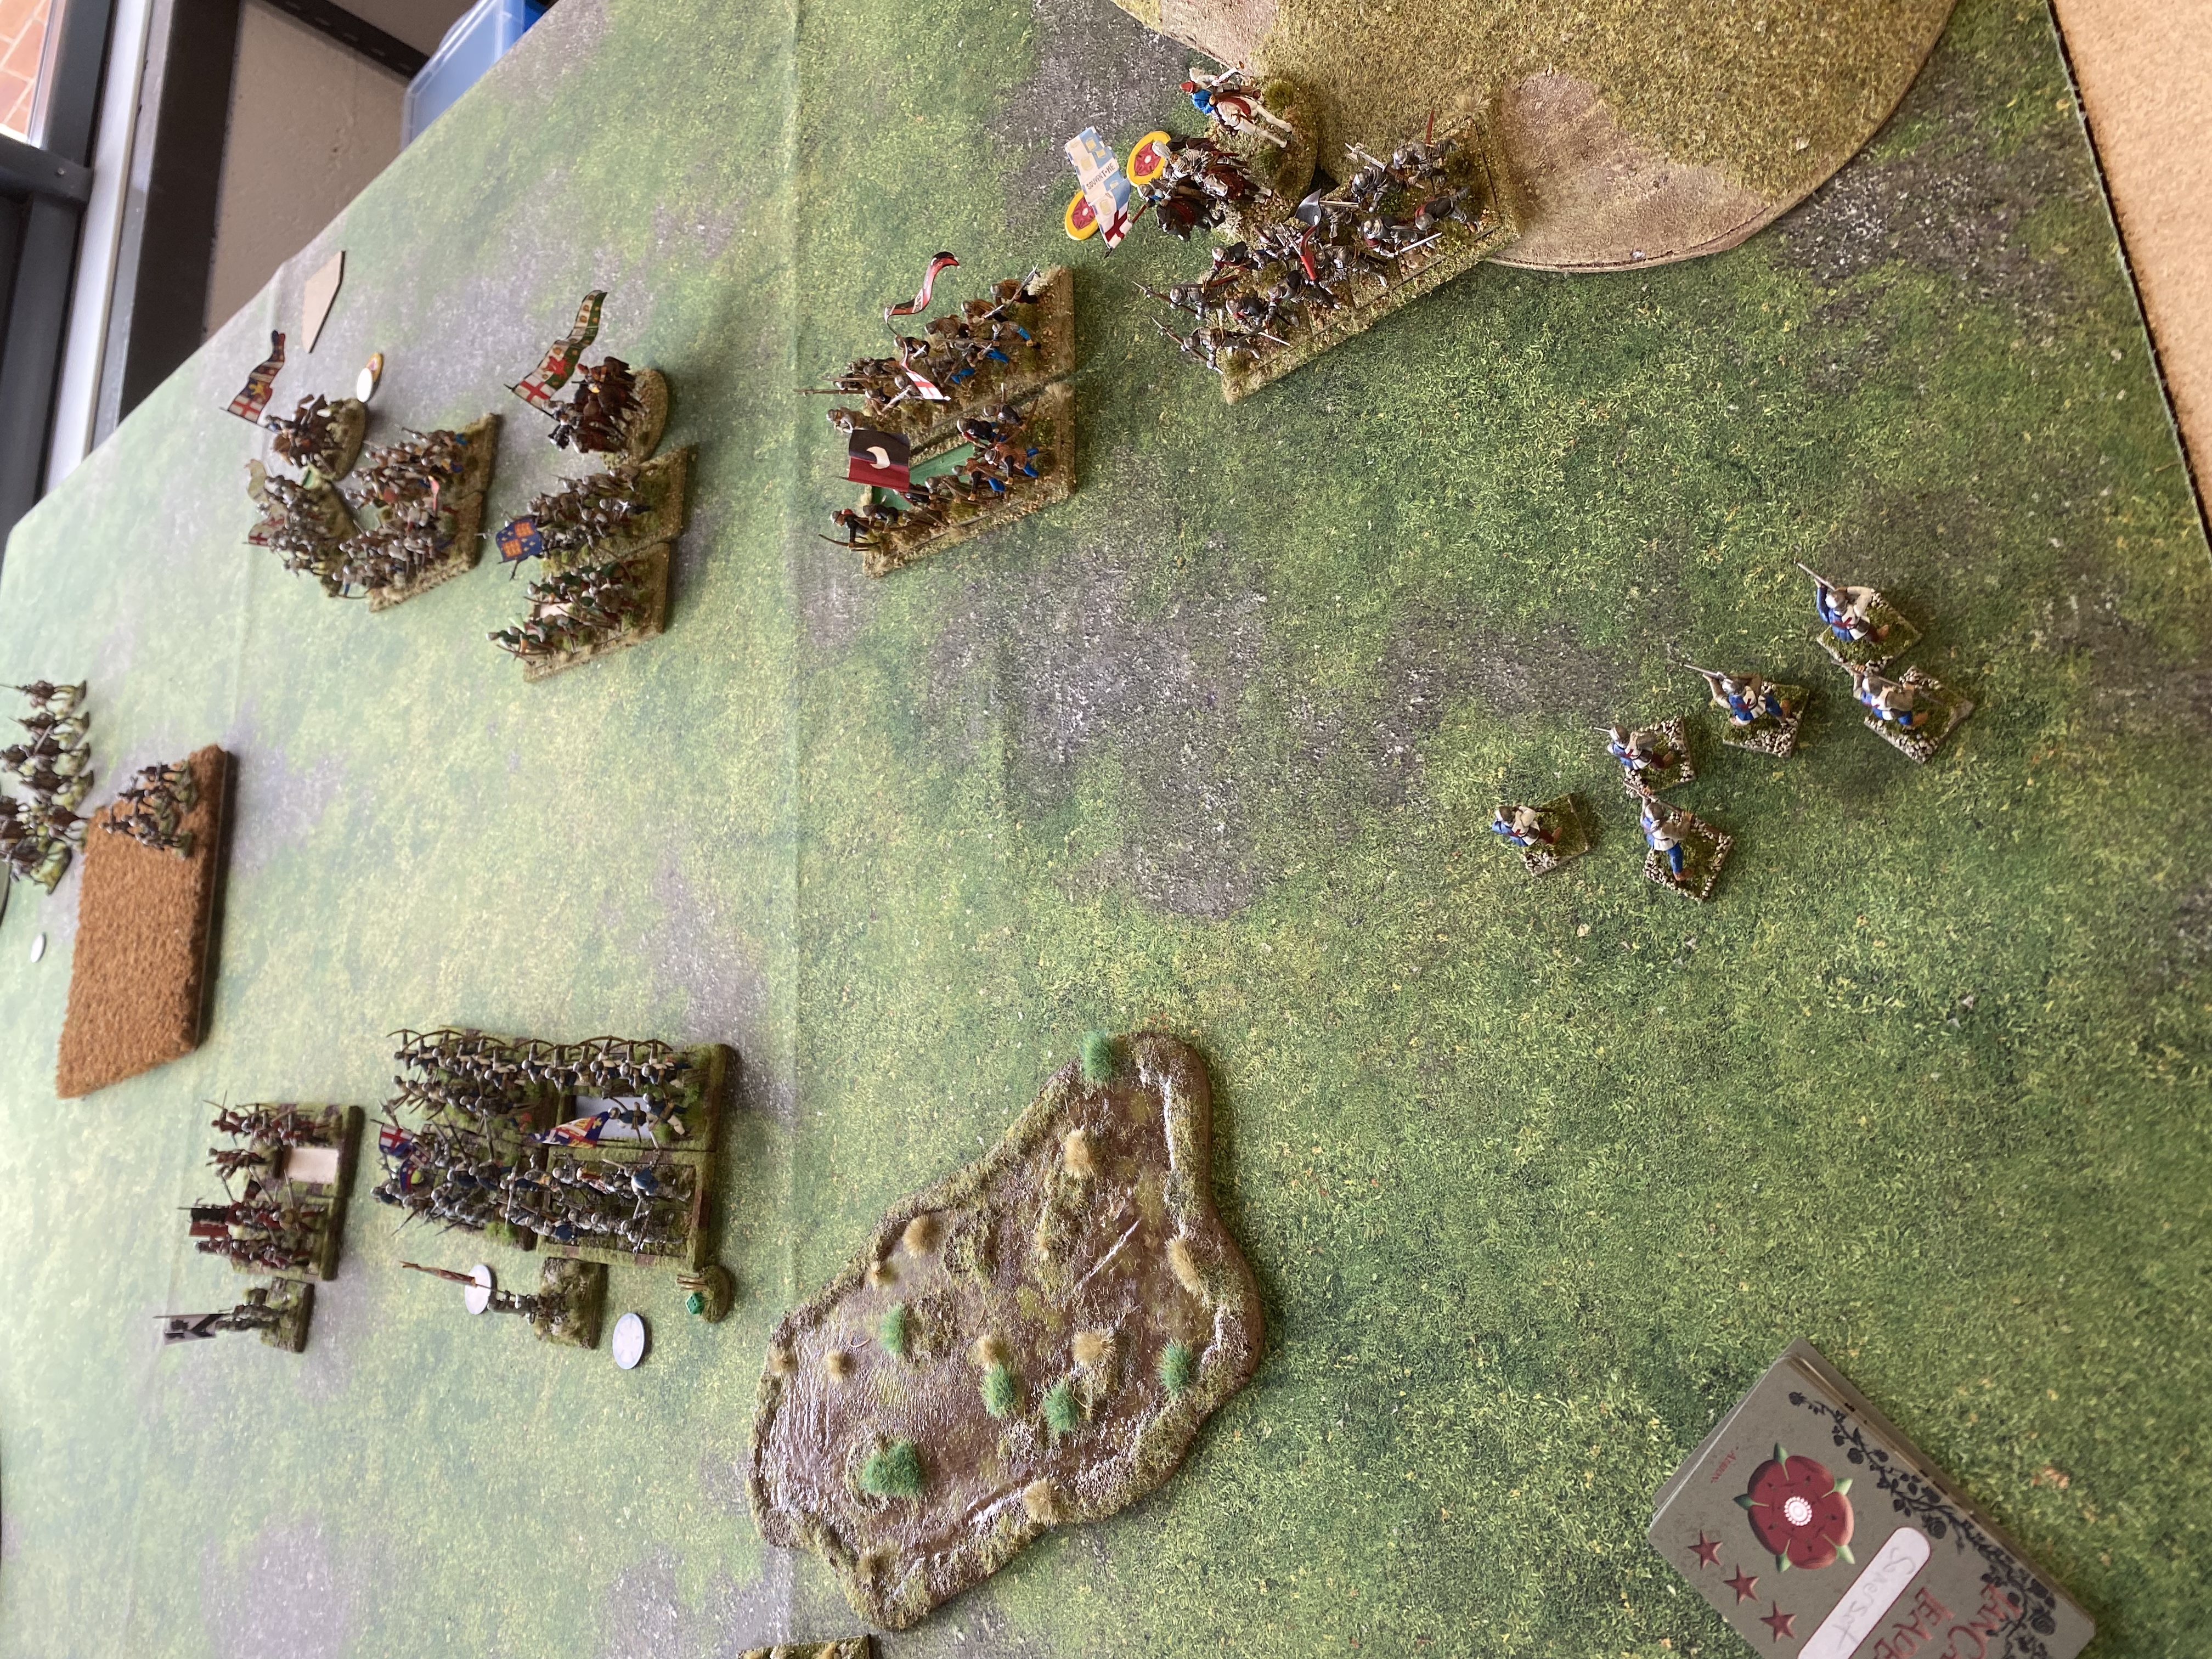
As Colin was relatively new to ‘Bill Hooks’ I was fighting with my standard WOTR Yorkist army commanded by Lord Harry Hotspur. The idea was to give Colin a play through as an introduction to the day and to get used to the flow of the game. In the initial set up, my light cavalry out scouted the Lancastrian force as they had no light cavalry or skirmishers.
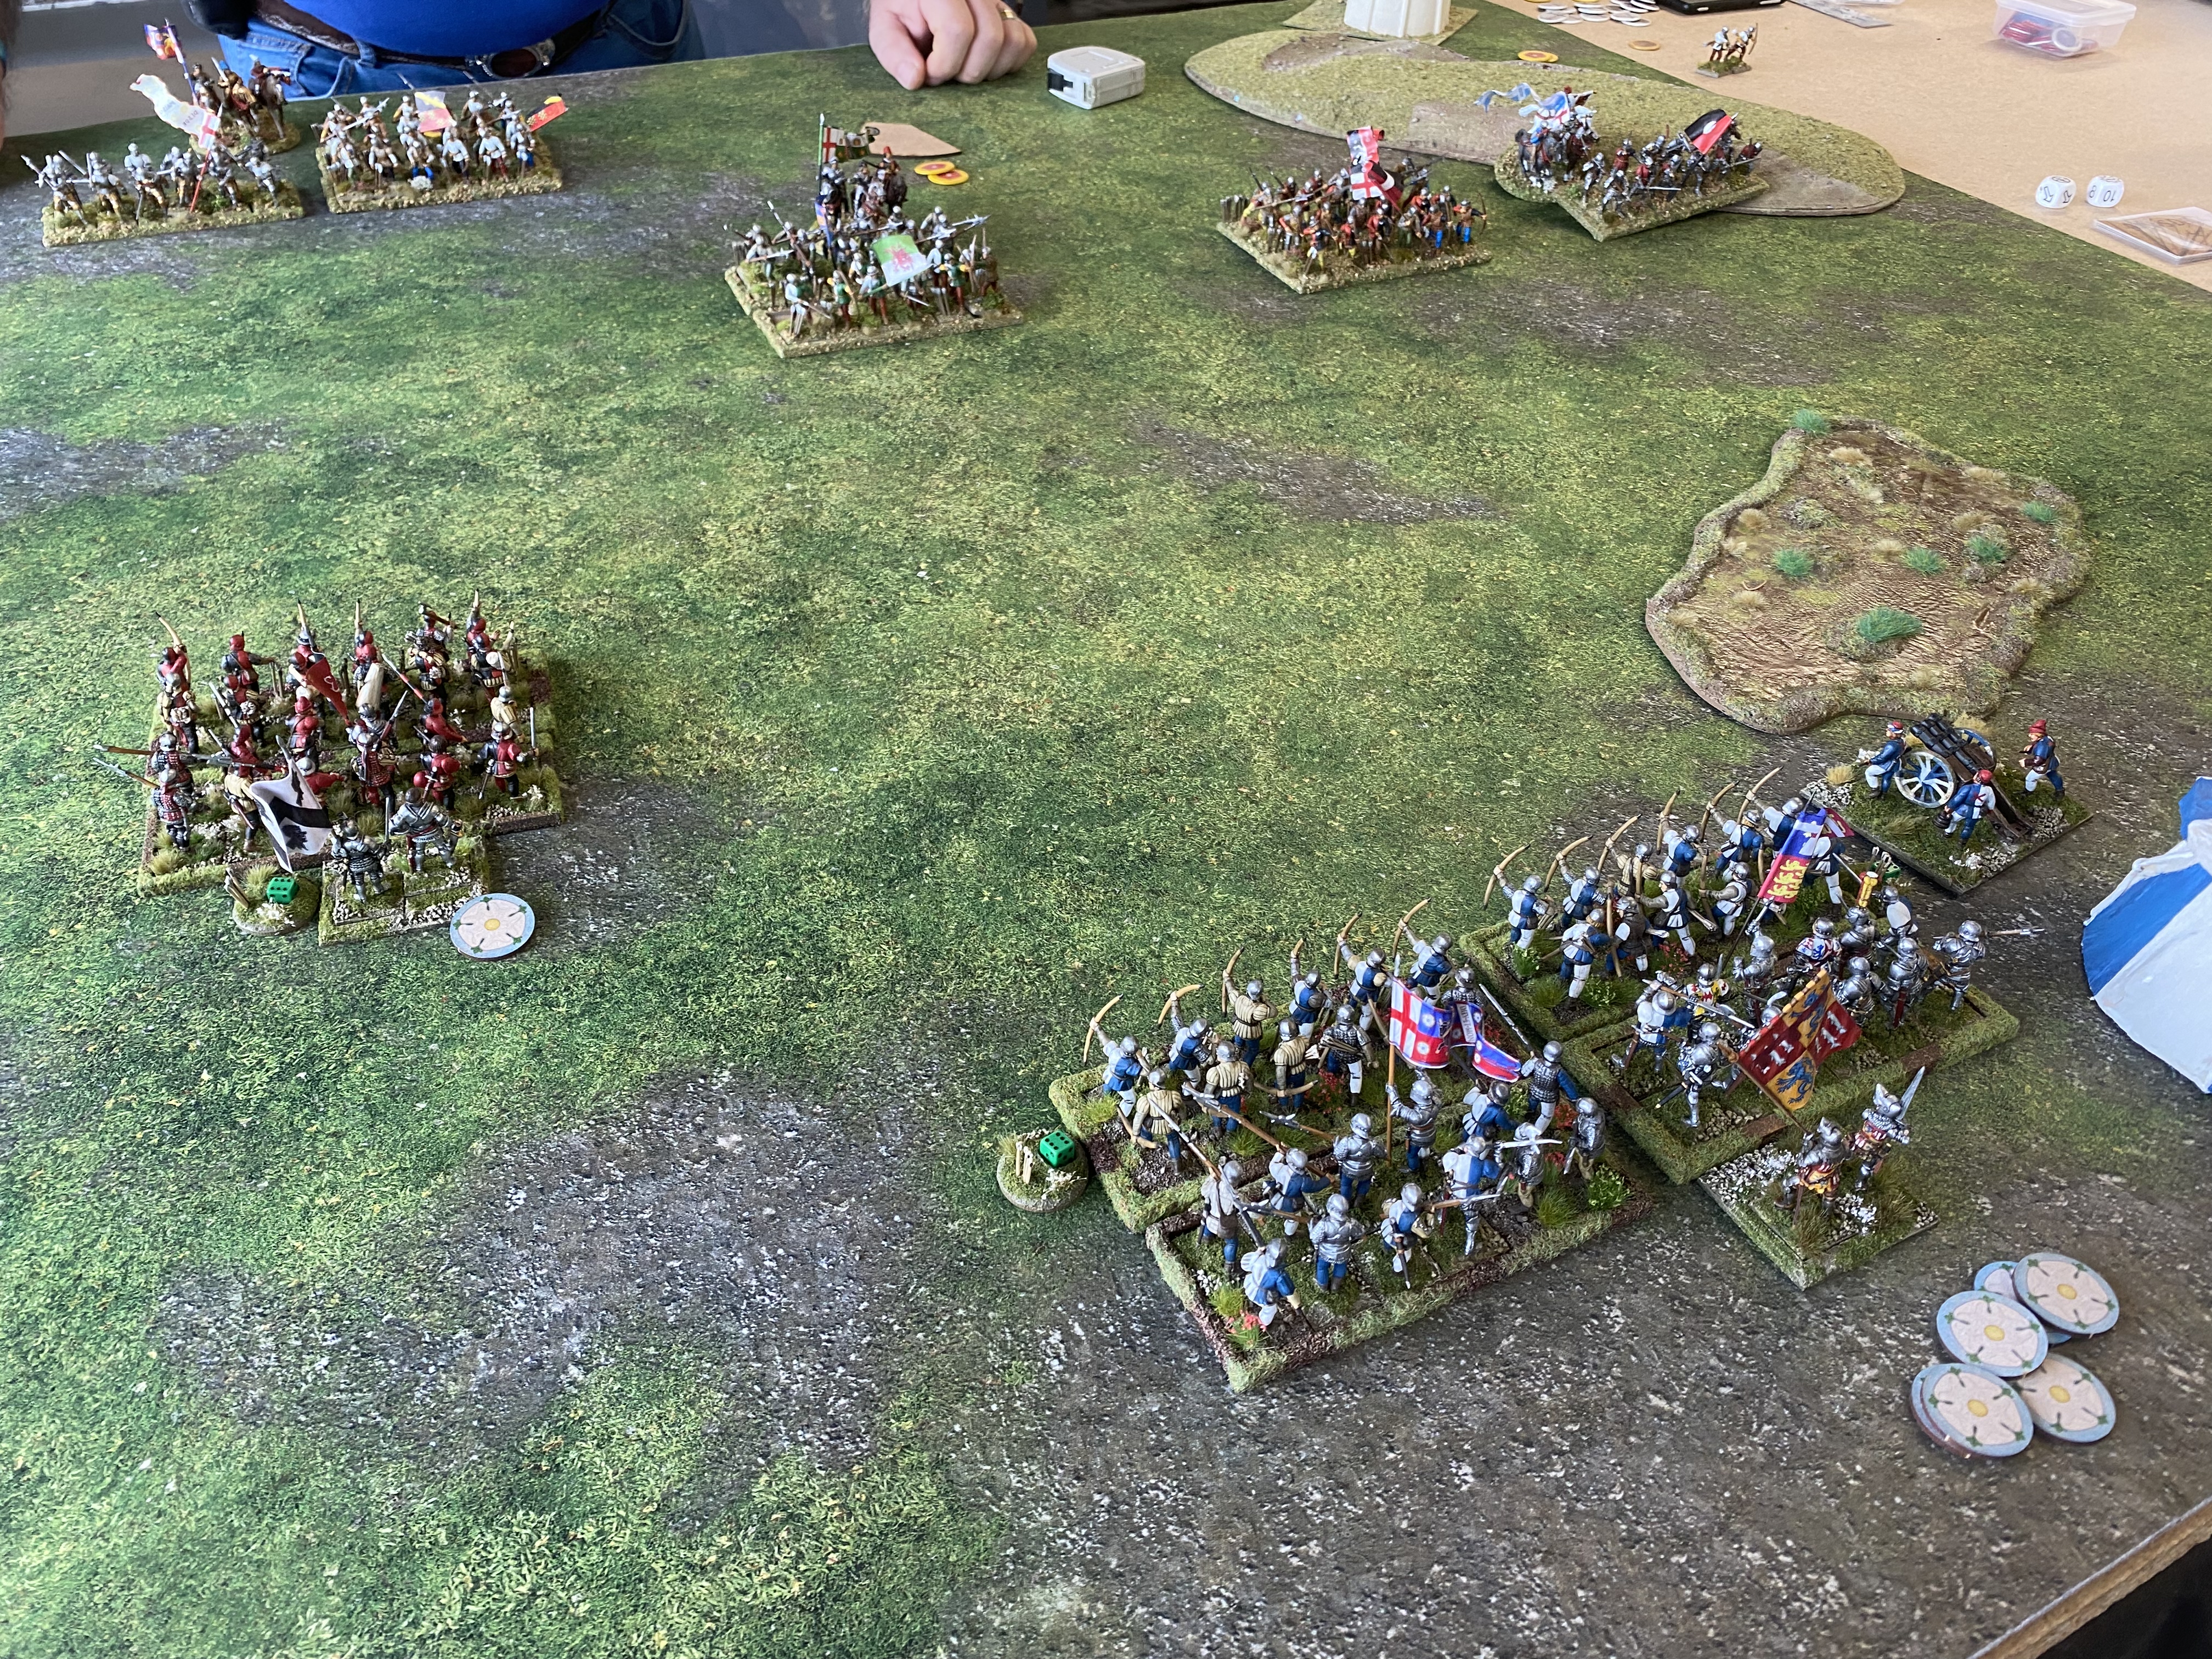
Turn 1 saw the Lancastrian Army advance in a determined effort to bring the fight to the Yorkists and drive them from the table. Colin had deployed his two MAA units on either flank and looked as though he was going for a pincer move on my position. I immediately sent out my Skirmishers and light cavalry to the flanks to slow the advance and my cannon opened fire to good effect, causing attritional casualties amongst the enemy. Hotspur held his ground in the centre. To be precise, his card wasn’t drawn but it sounds better if it seems like some sort of cunning strategy!
Turn 2: With the armies now closing, and both Hotspur and Sir Eric now pushing forward, a fierce archery duel opened up, with the Lancastrian forces having the better of the encounter, remaining relatively unscathed themselves whilst Sir Eric Diehard and Lord Hotspur took heavy casualties. Out on the flanks, the skirmishers and light cavalry were doing an effective job of keeping the MAA at bay whilst continuing to inflict ever growing casualties. The cannon remained effective, and although a few scary double ones occurred, the gun remained intact.
Turn 3: Lord Hotspur had closed with the Lancastrian Centre and although taking further heavy casualties from archery, almost wiping out the Yorkist archers, Hotspur was able to charge home with his MAA on the opposing Bill and bow block. Although the first round of combat did not force the Lancastrian unit to break, Hotspur inflicted 6 casualties on the Bills for the loss of just one MAA.
Turn 4: The flanks were still a problem for the Lancastrian army. Their units were being pinned by the skirmishers and cavalry and they faced the dilemma of trying to come to the aid of the centre without exposing themselves to a flank or rear attack from the cavalry. The cannon was still intact but with a fouled barrel, was becoming less effective. Meanwhile, in the centre Hotspur had won his ongoing melee on the drawing of the first bonus card, causing the Lancastrian bill and bow block to become daunted and fall back with their commander. This put Hotspur in a dominant position in the centre and as his card was drawn, he was able to charge into the next Lancastrian Bill and Bow block. This time, after another short but bloody encounter, the Lancastrians failed their morale test and routed from the battle field. Their route spread panic in the other retreating Lancastrian units and they fell back again to the table edge. At the turn end, the Lancastrian Commander was unable to rally his troops and so failing their morale test once again, they retreated from the field. Victory for Lord Harry!
Battle 2 My Irish Vs David Grummitt’s Lancastrian Army – The luck of the Irish
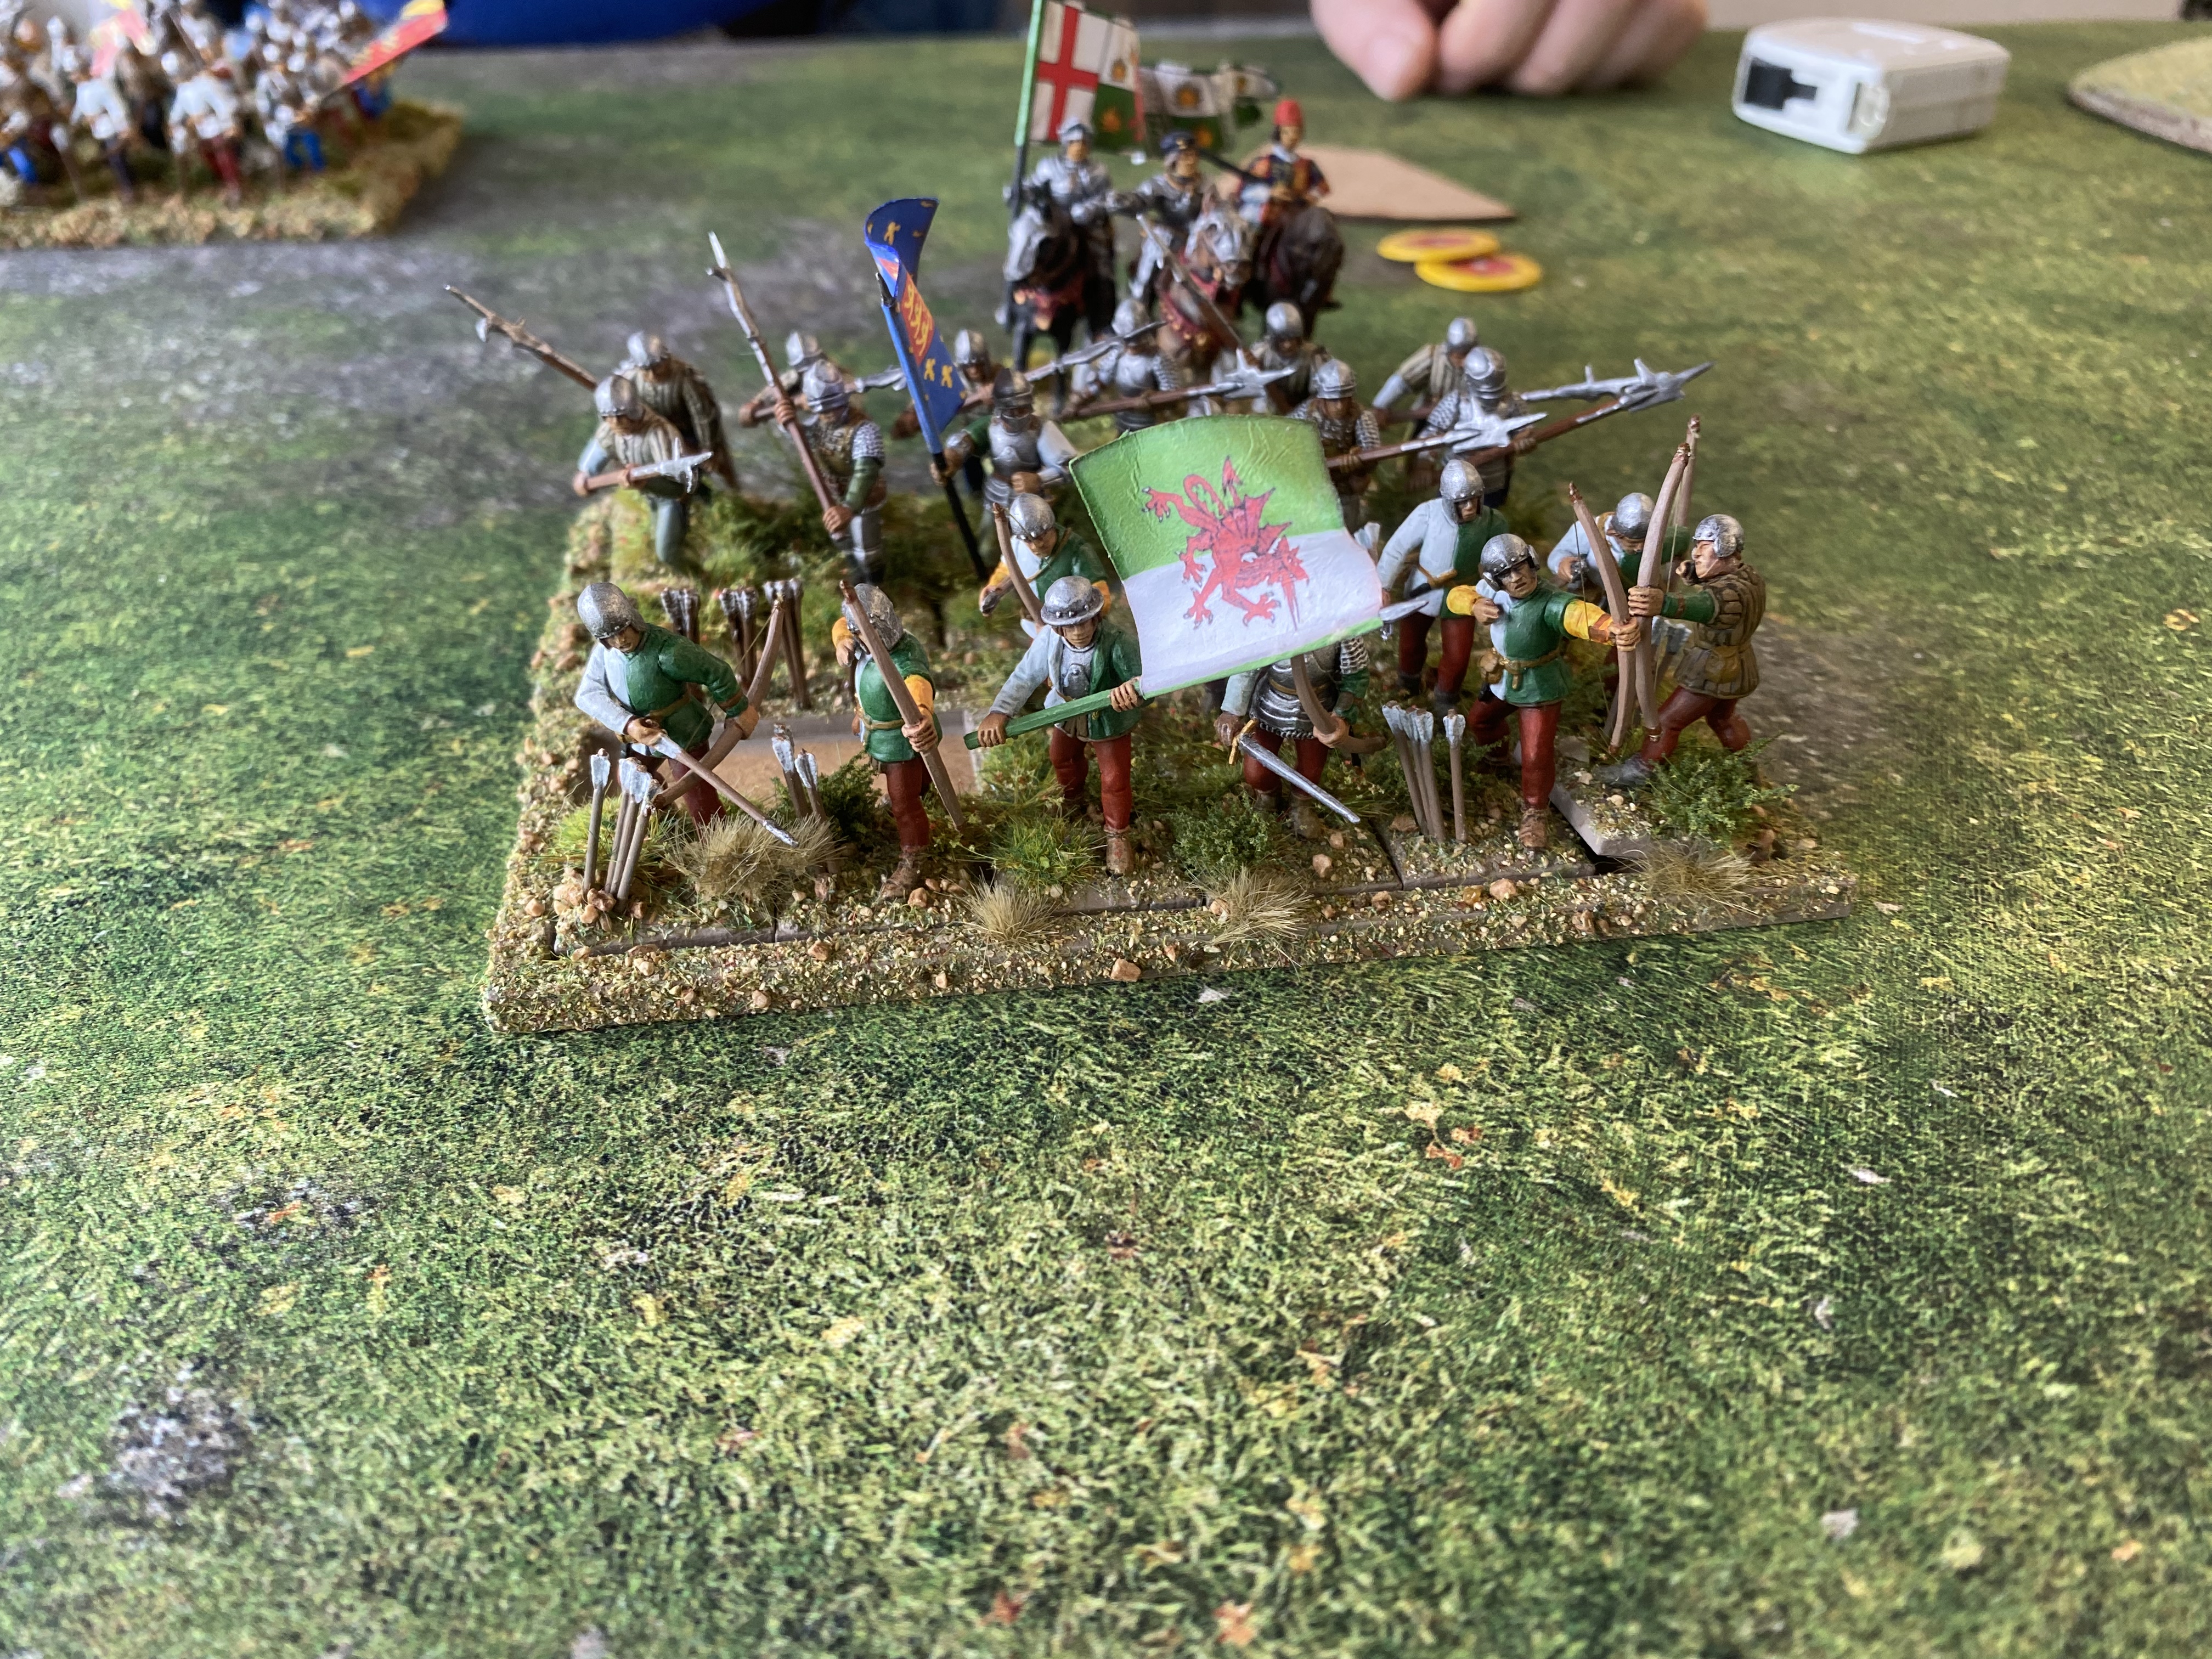
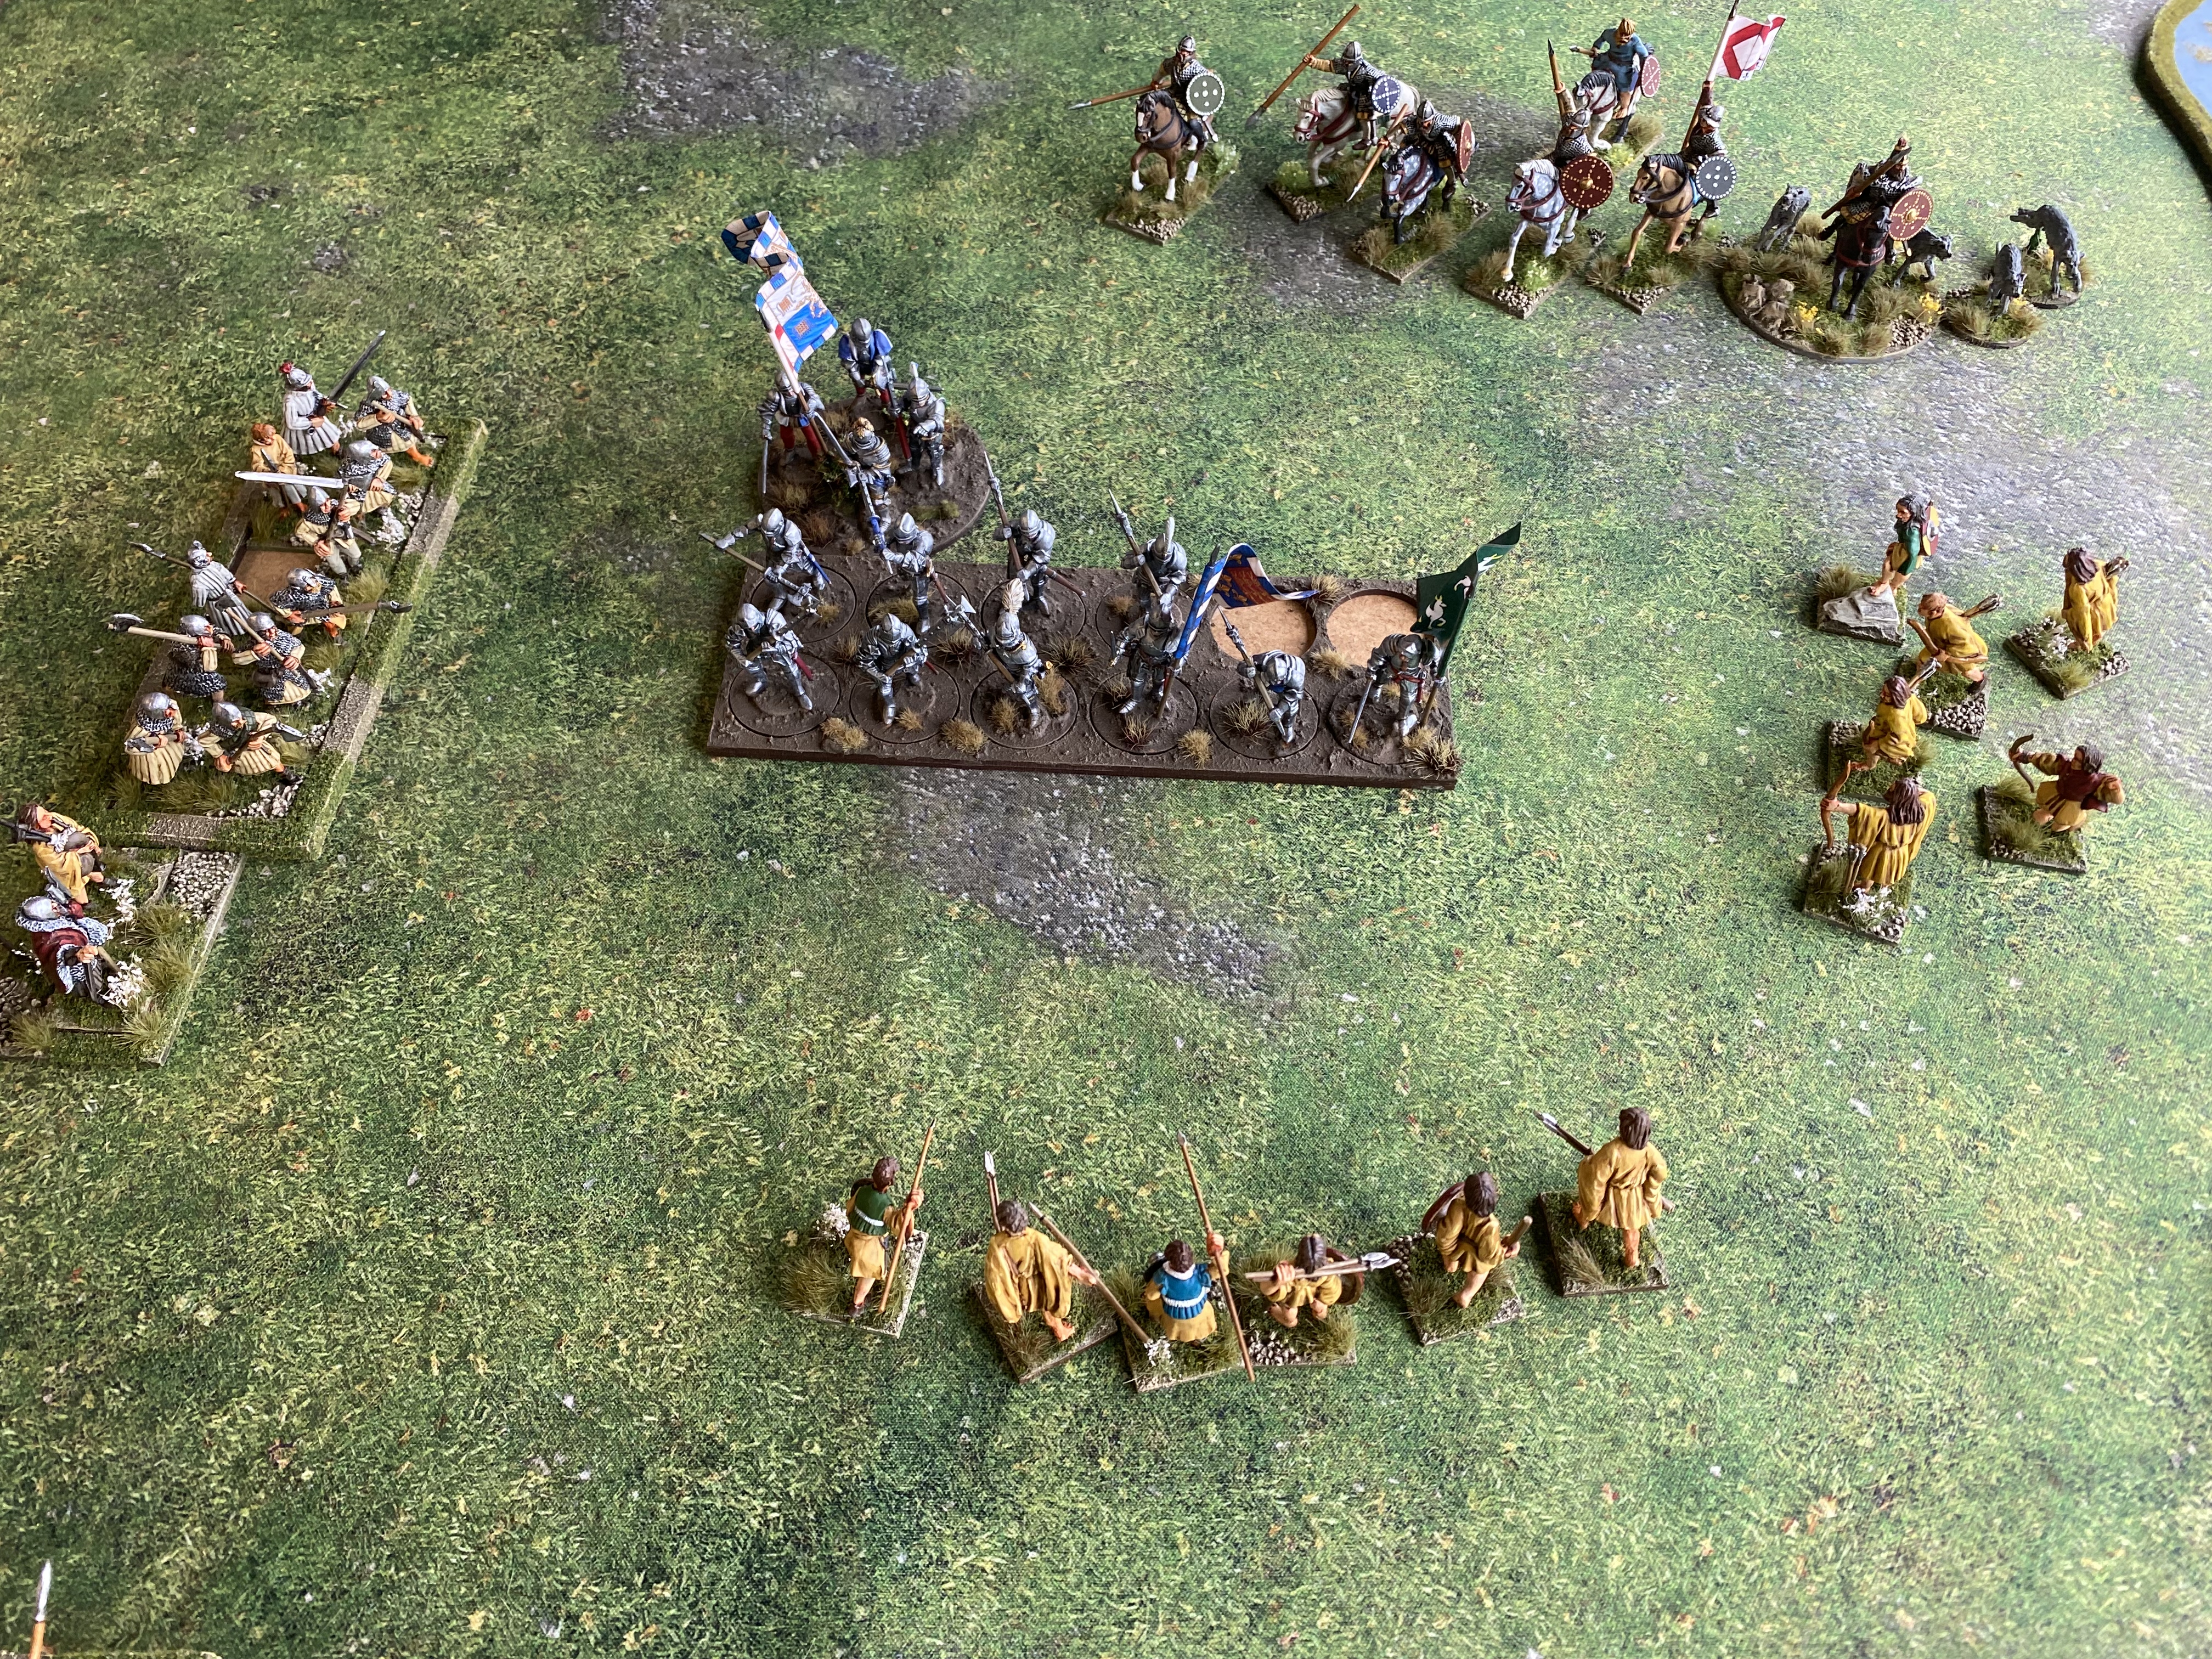
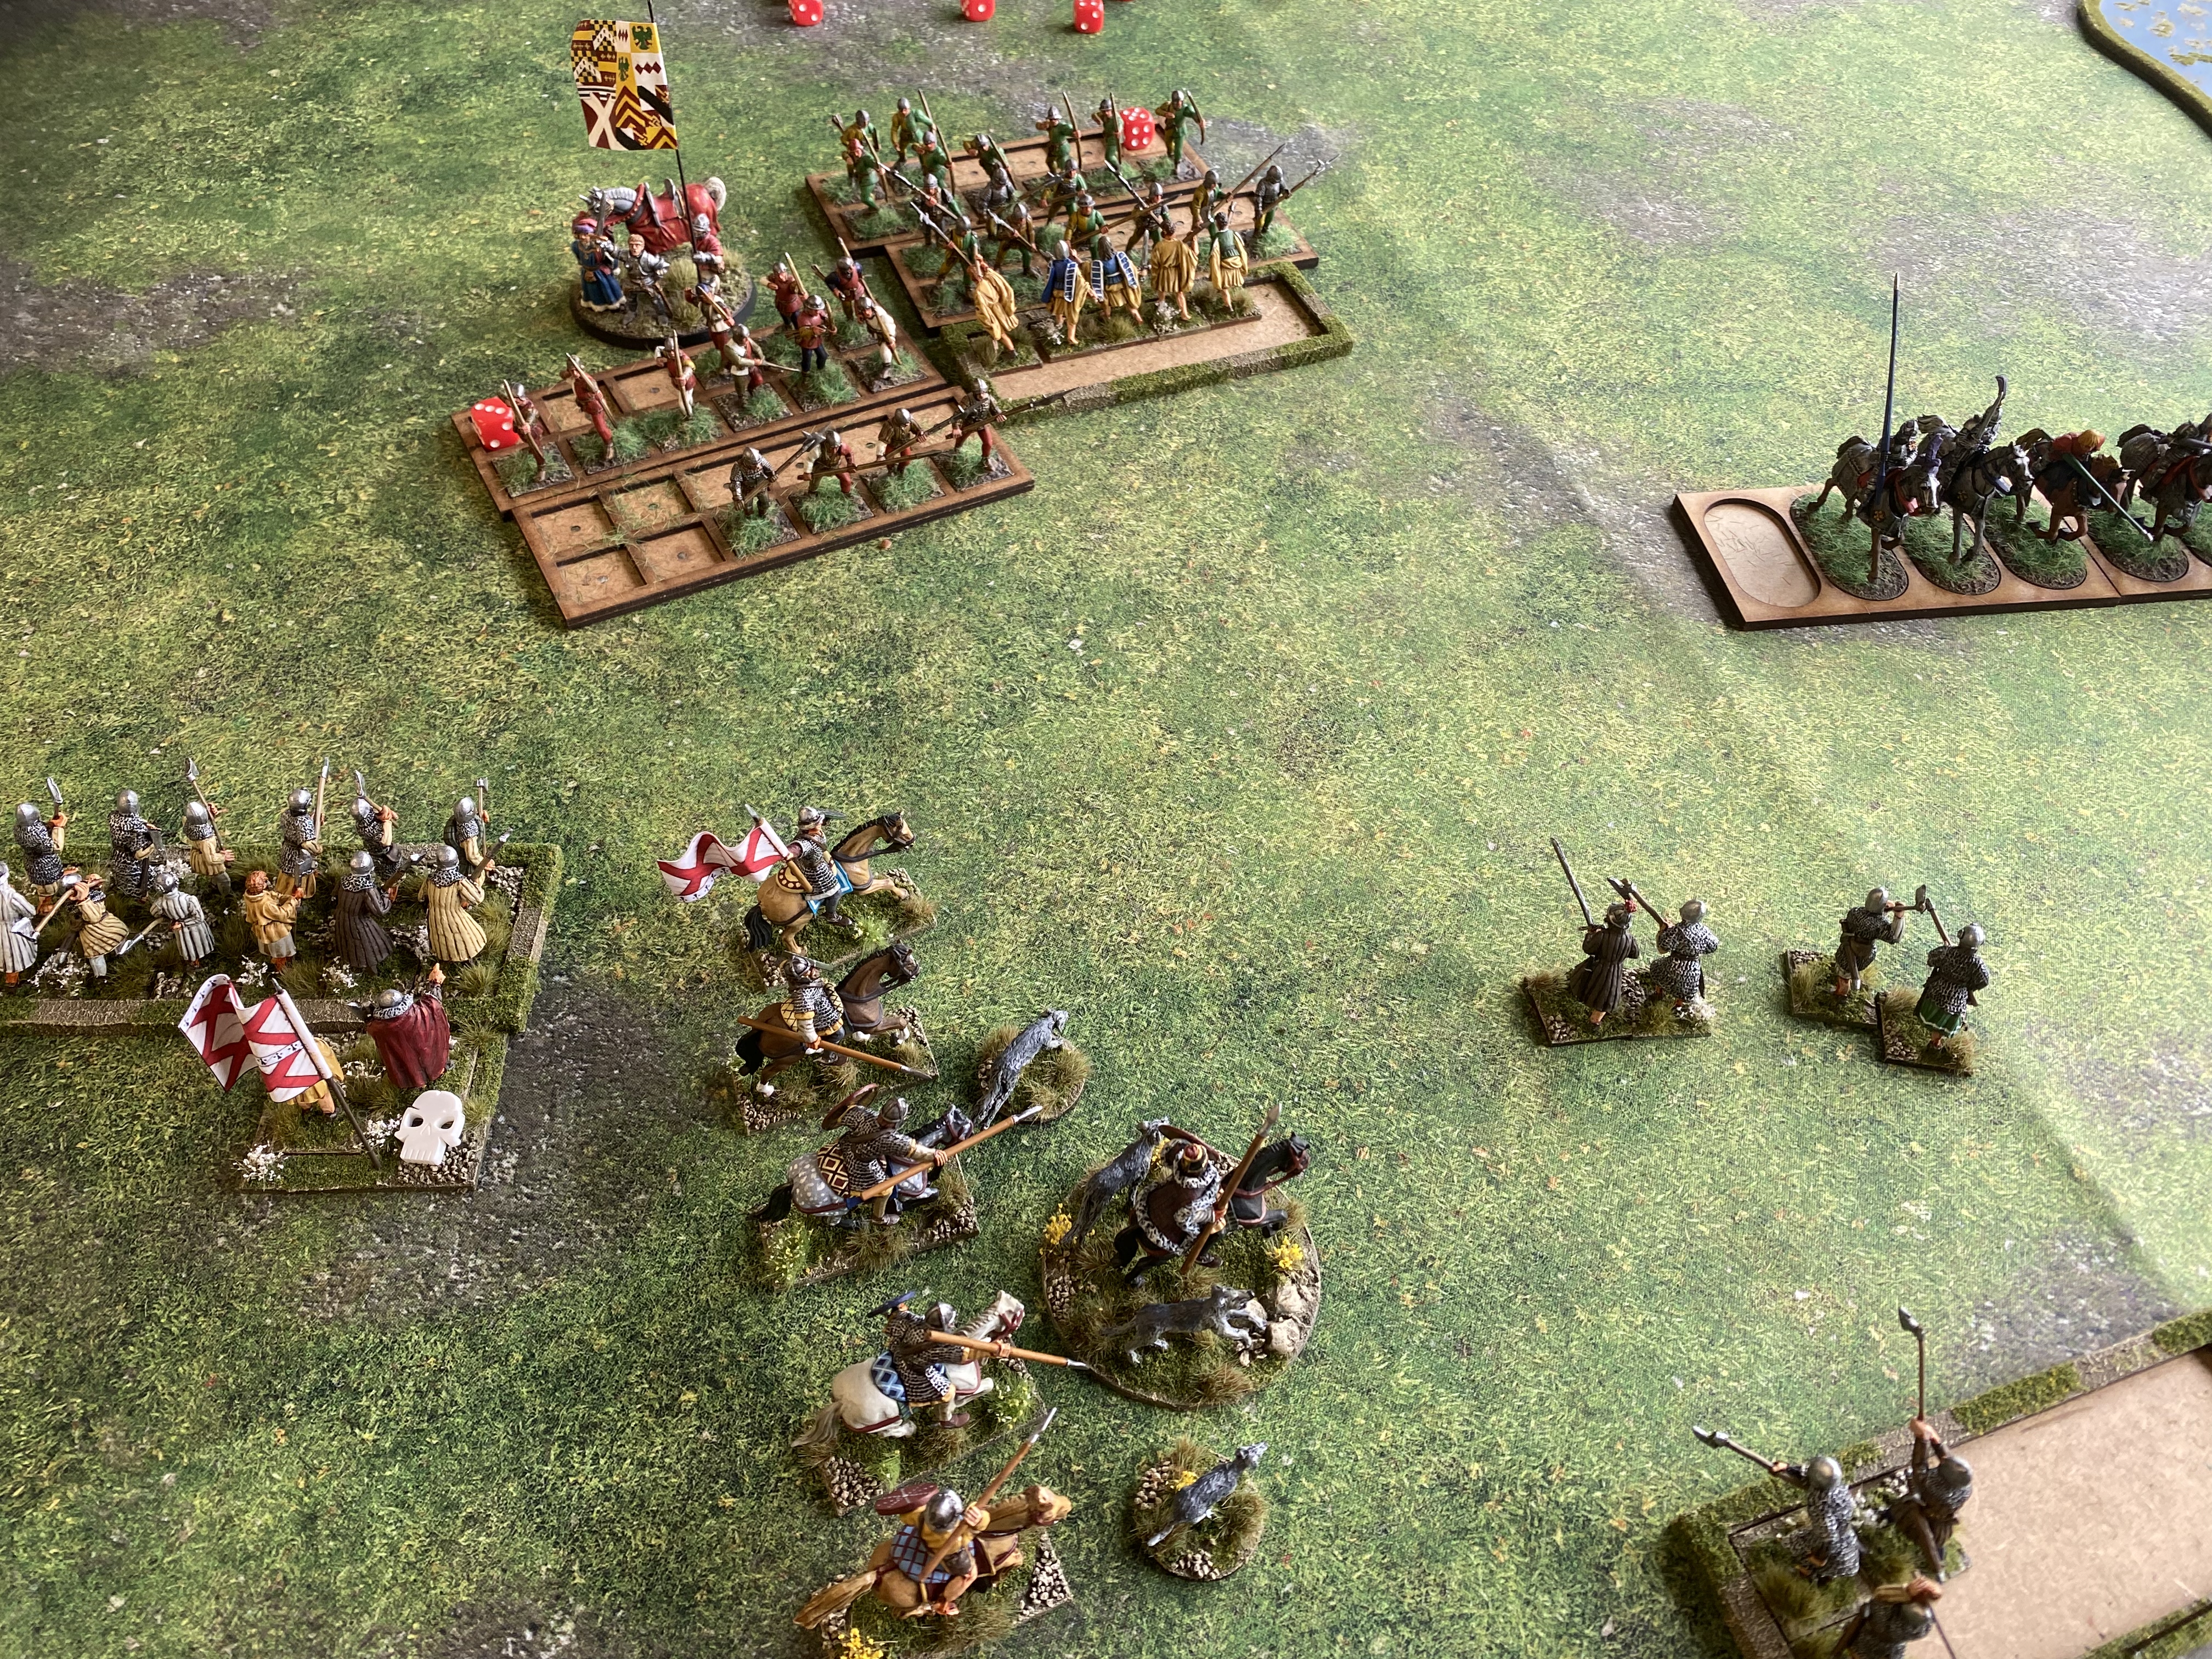
For my second battle, I used my new Irish army. I had only used them once before, against Ian Callan’s Welsh and they had proved to be fast but brittle. I made a couple of changes to my order of battle. I used mixed wards of Gallowglass and formed kern rather than having them in separate wards. I also split my cavalry into separate units, one activating on the skirmish card as skirmishing cavalry, with Lord Kildare in command of the other unit. As usual, my ability to game and record the action turn by turn started to fail as did my picture taking ability!
The Lancastrians started with an aggressive push in the centre which once again was met by the Irish centre holding steady, whilst the skirmishing kern and the cavalry pushed out around the flanks, threatening to get behind the Lancashire lines. This unsettled the Lancastrians, their skirmishers were put to flight and the Kern started to make mischief, distracting the Lancastrian archers and bill blocks. The Lancastrian Commander, Lord Somerset ( I think) was made of sterner stuff and pushed on, smashing the first unit of formed kern and sent them running from the field.
However, The Lancastrian lord found himself isolated and surrounded by the Irish Kern Skirmishers, with Cavalry to his rear and Gallowglass to the flank, things were looking sticky!
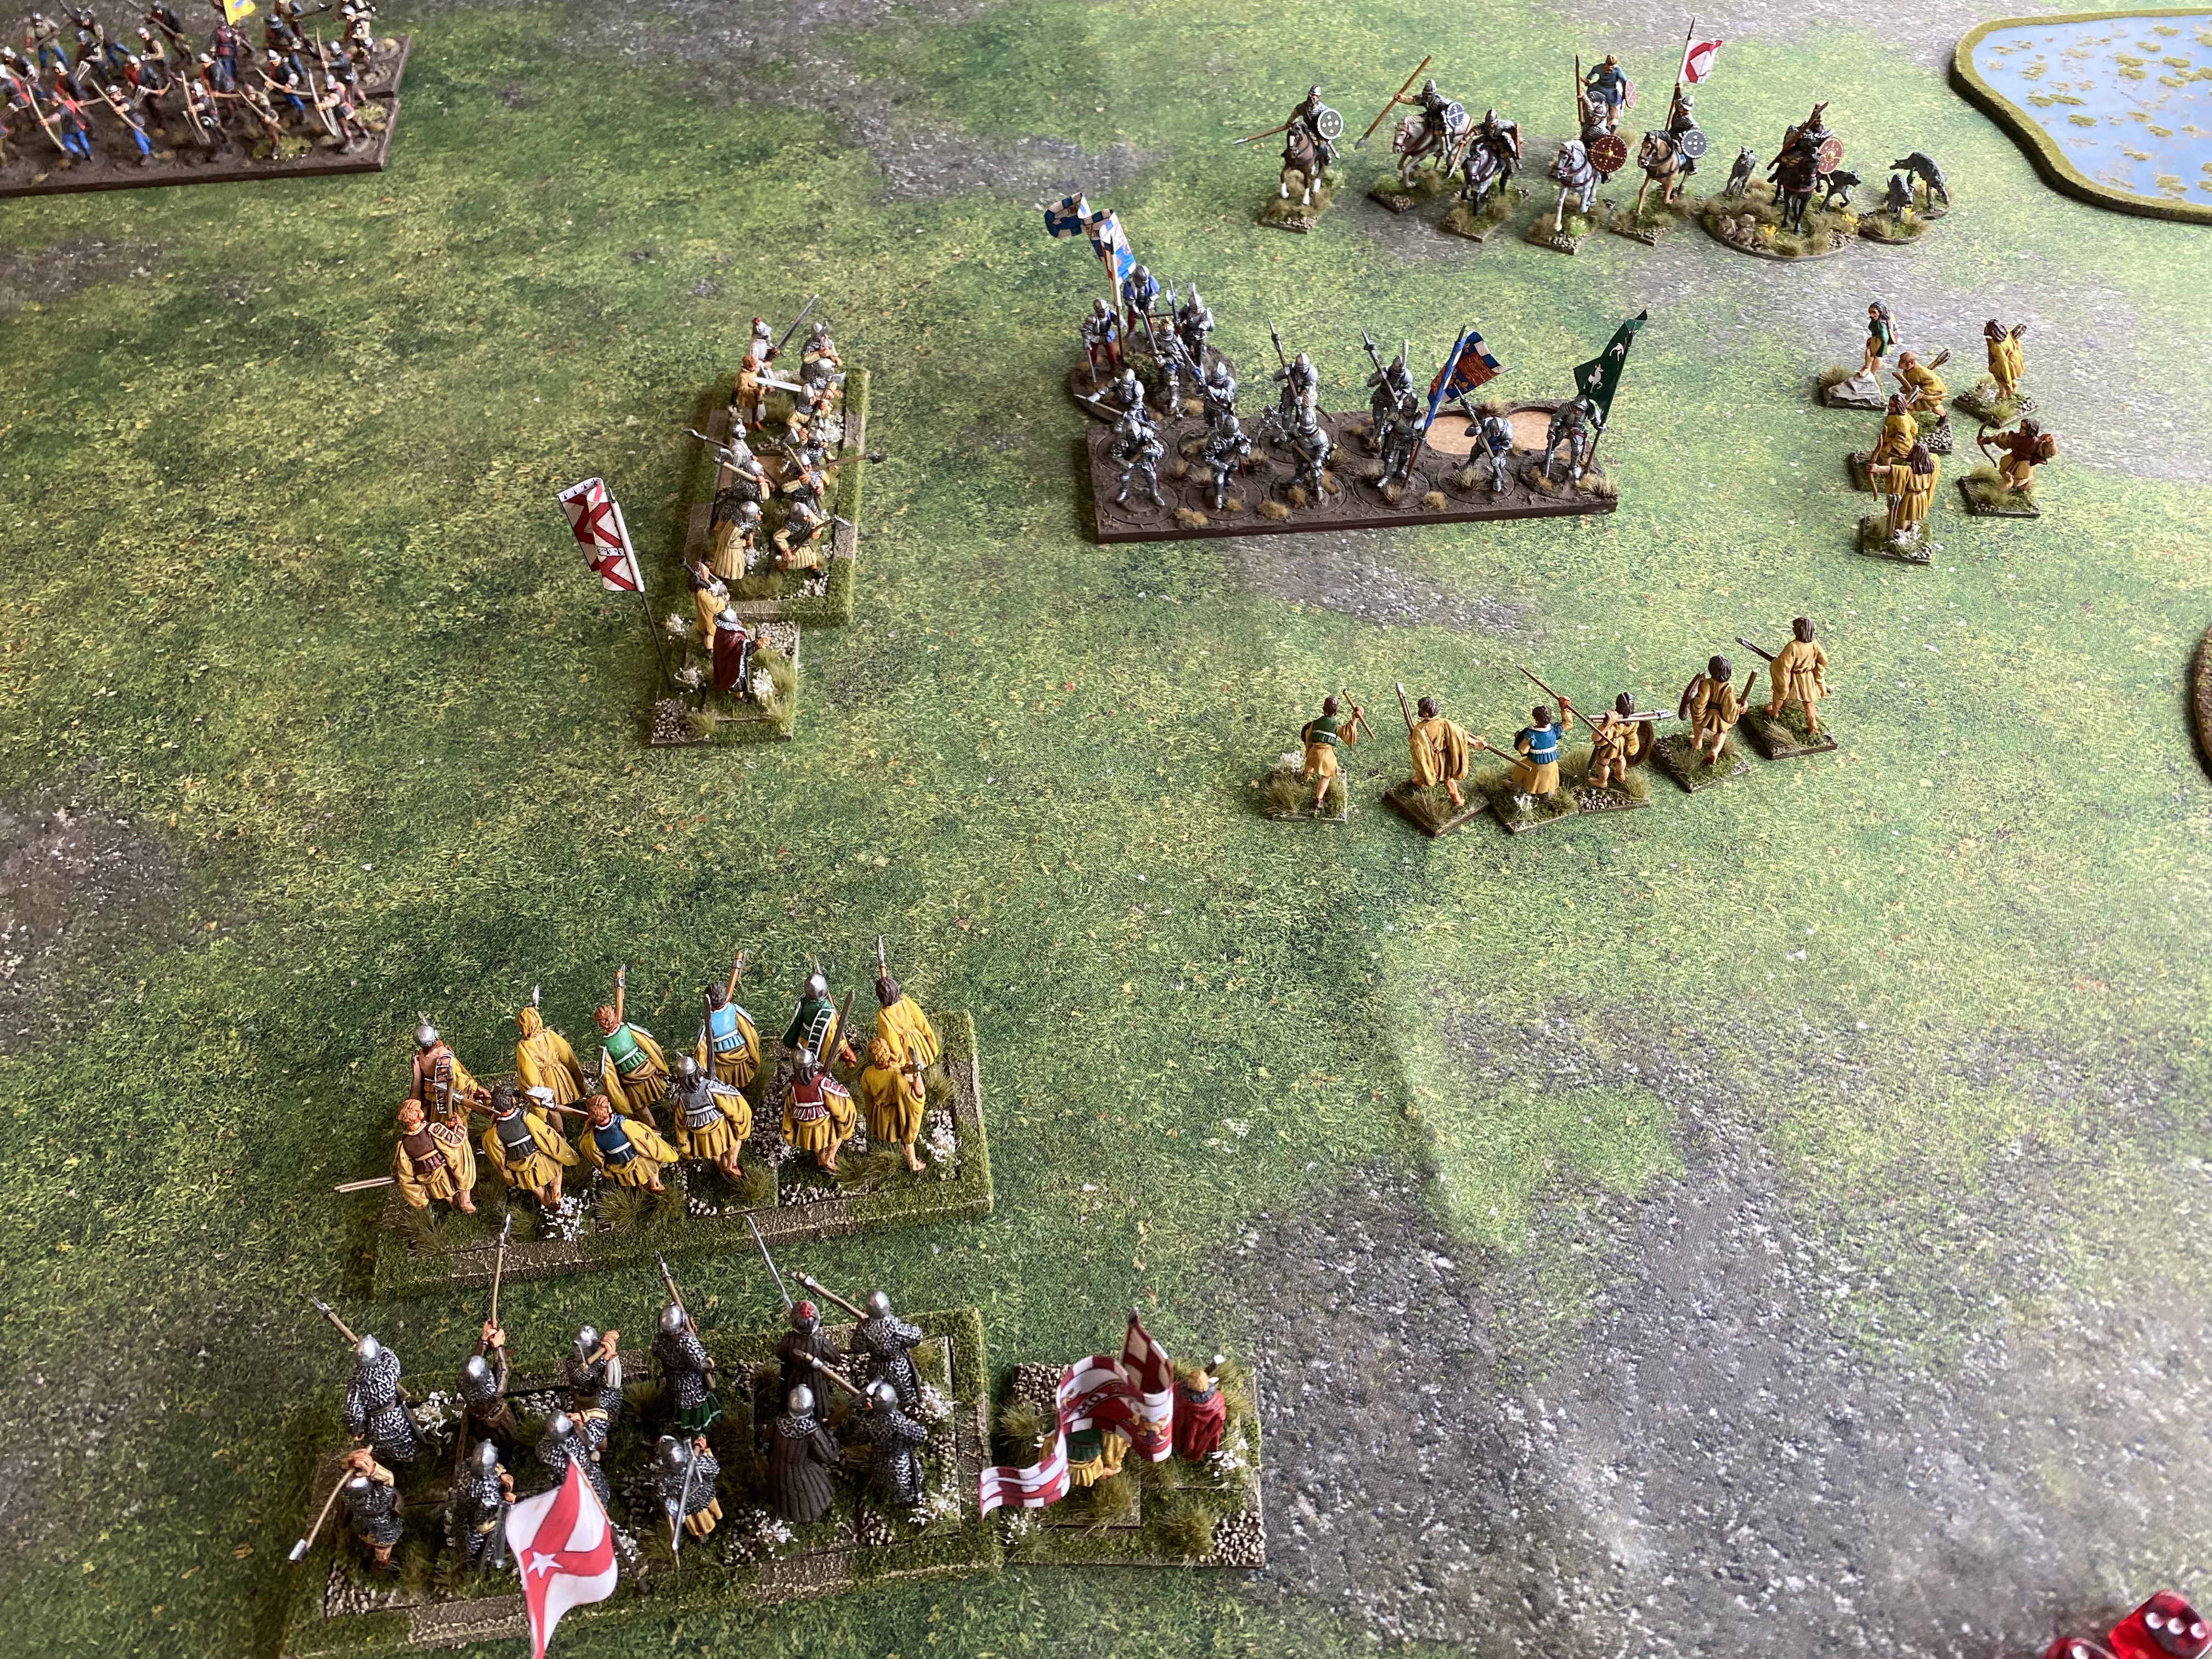
Somerset was in no mood to wait on the Irish and once again charged forwards into the next unit of formed kern. It was a brave strategy that would of worked as the MAA made short work of the kern. However, the Irish Commander had found a four leafed clover and lady luck came to his aid in the form of a special event card allowing a free flank attack! Fitz Maurice led his Gallowglass charging into the flank of Somerset and with 18 dice plus his leadership the Lancastrian casualties began to pile up!
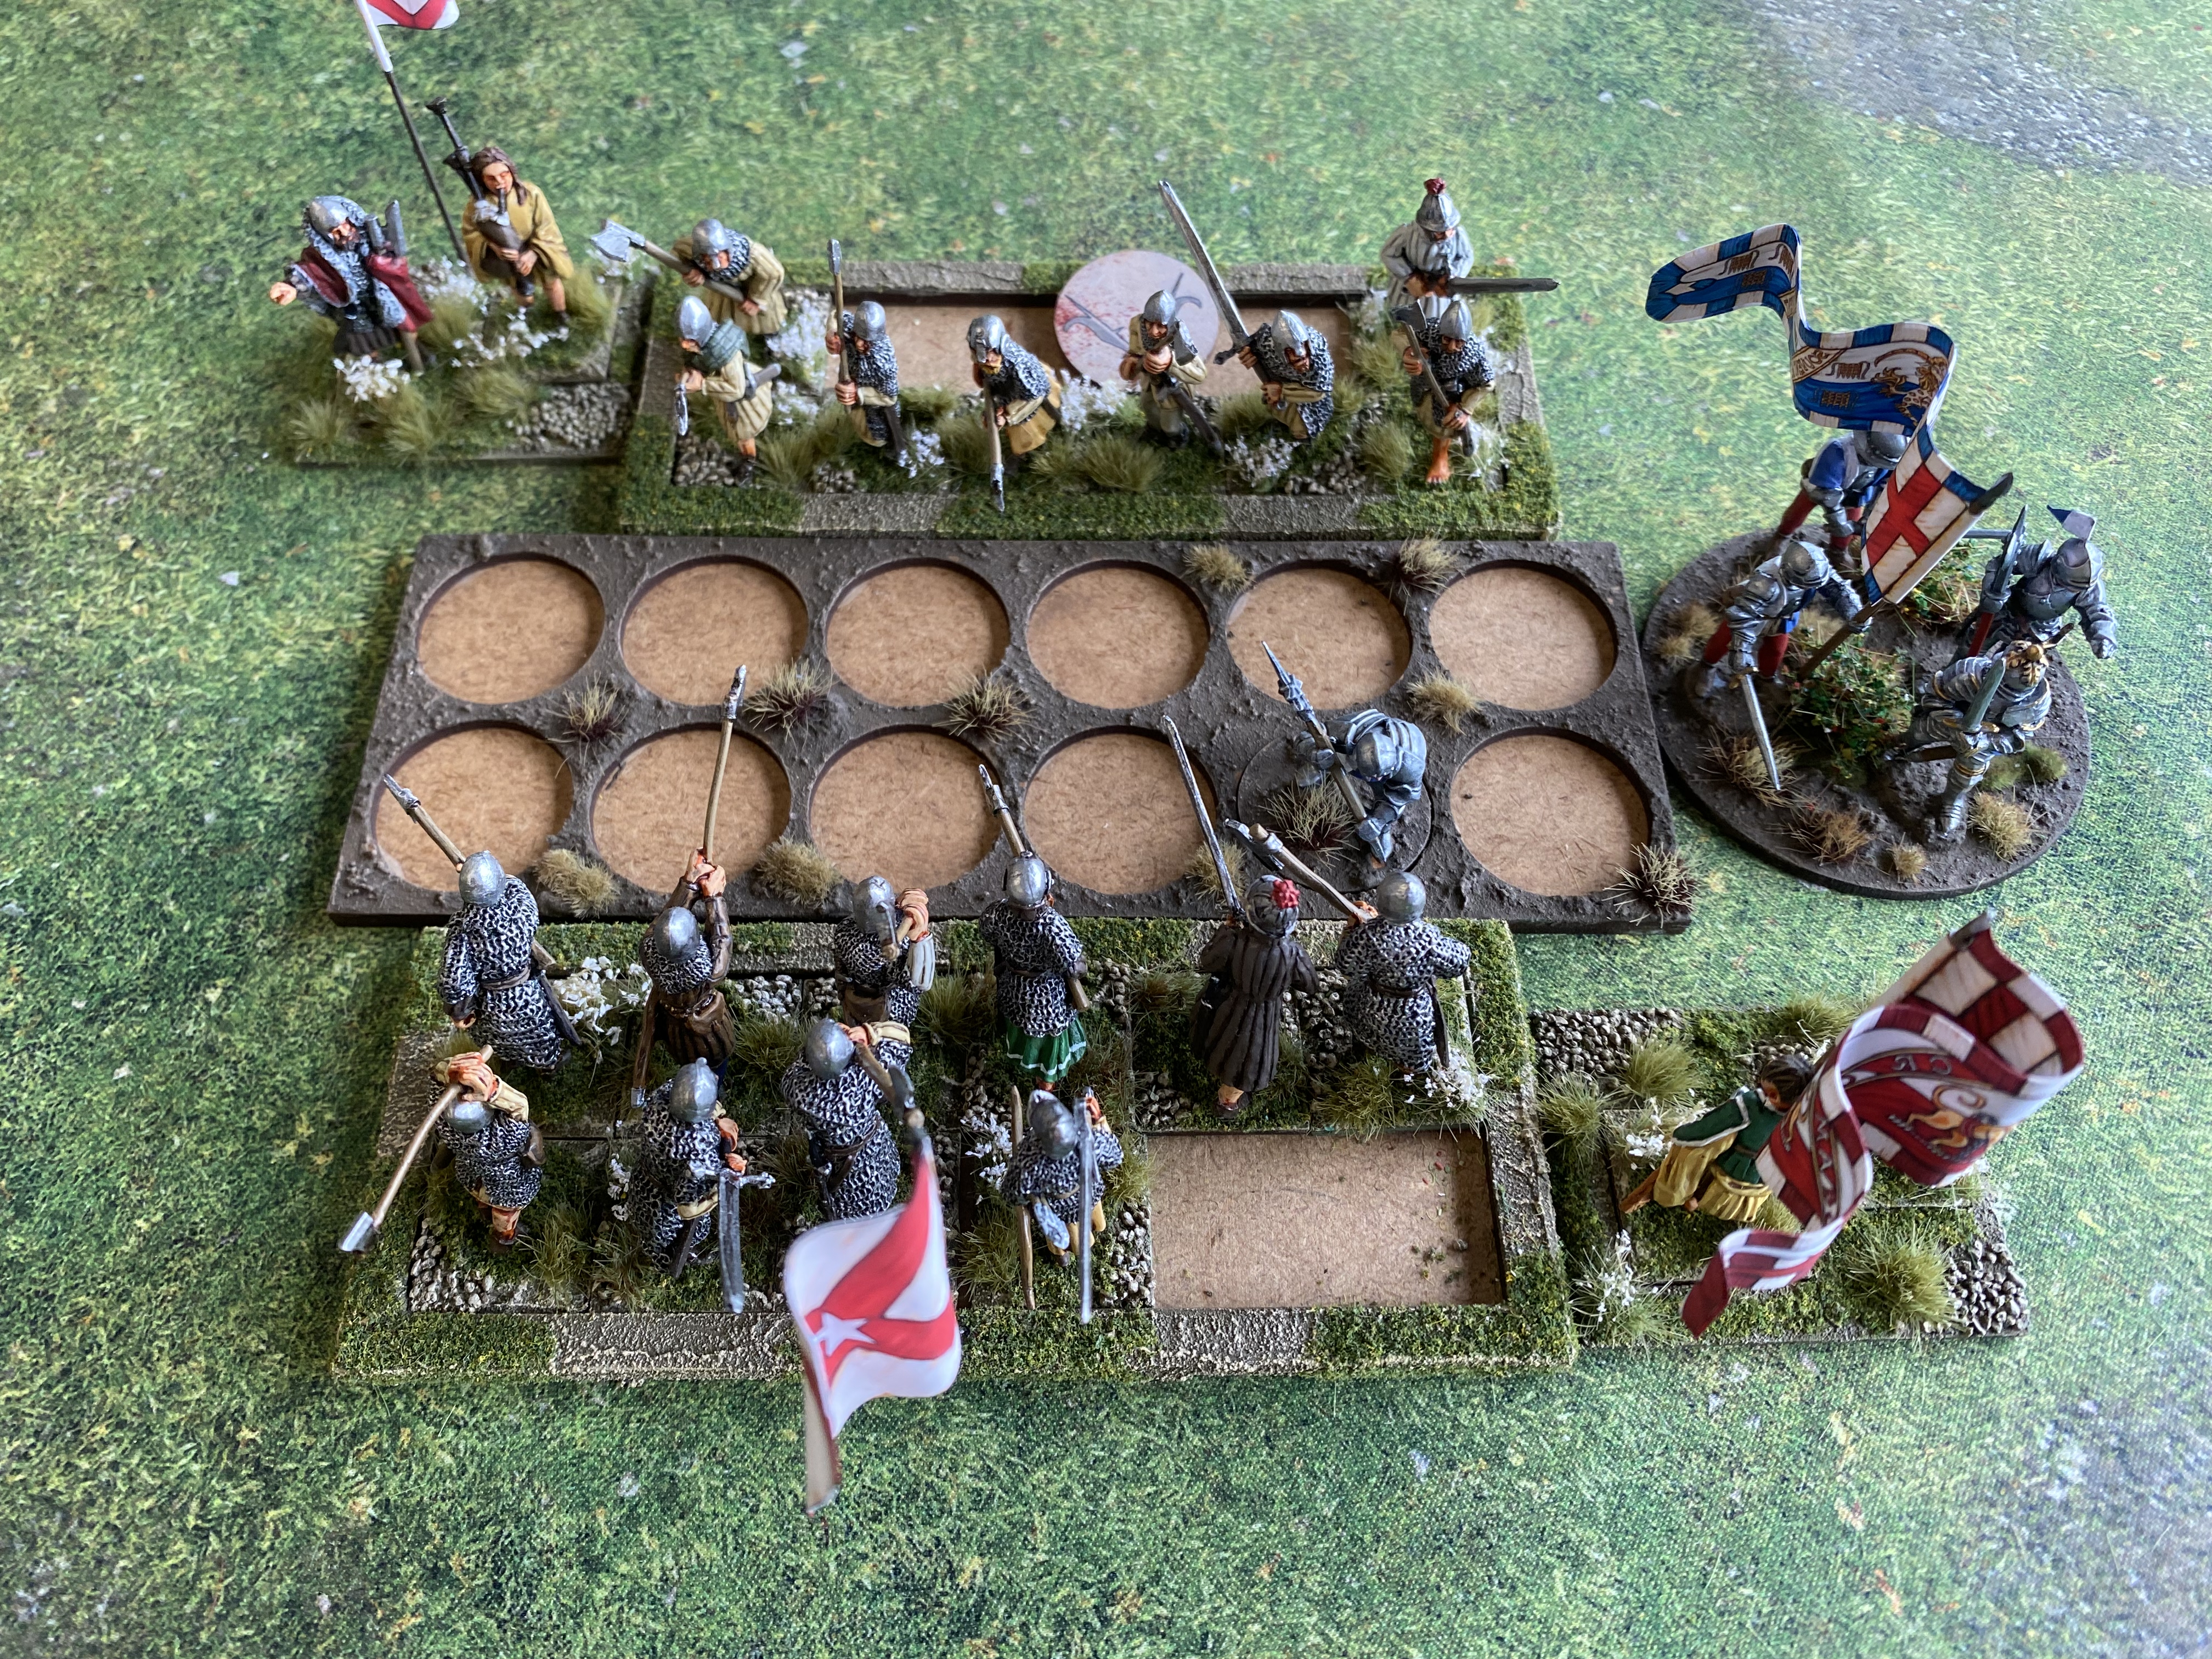
With Somerset bravely urging his men to turn and face this dastardly flank attack, the melee was decided when the other Gallowglass unit turned and charged into the rear of the melee. Although in disarray, the front rank was enough to tip the balance and Somerset was slaughtered along with his men. Victory for Fitzmaurice and the Irish!
Battle Three. Irish vs Richard Marriotts Lancastrians – Stokes Fields revisited!
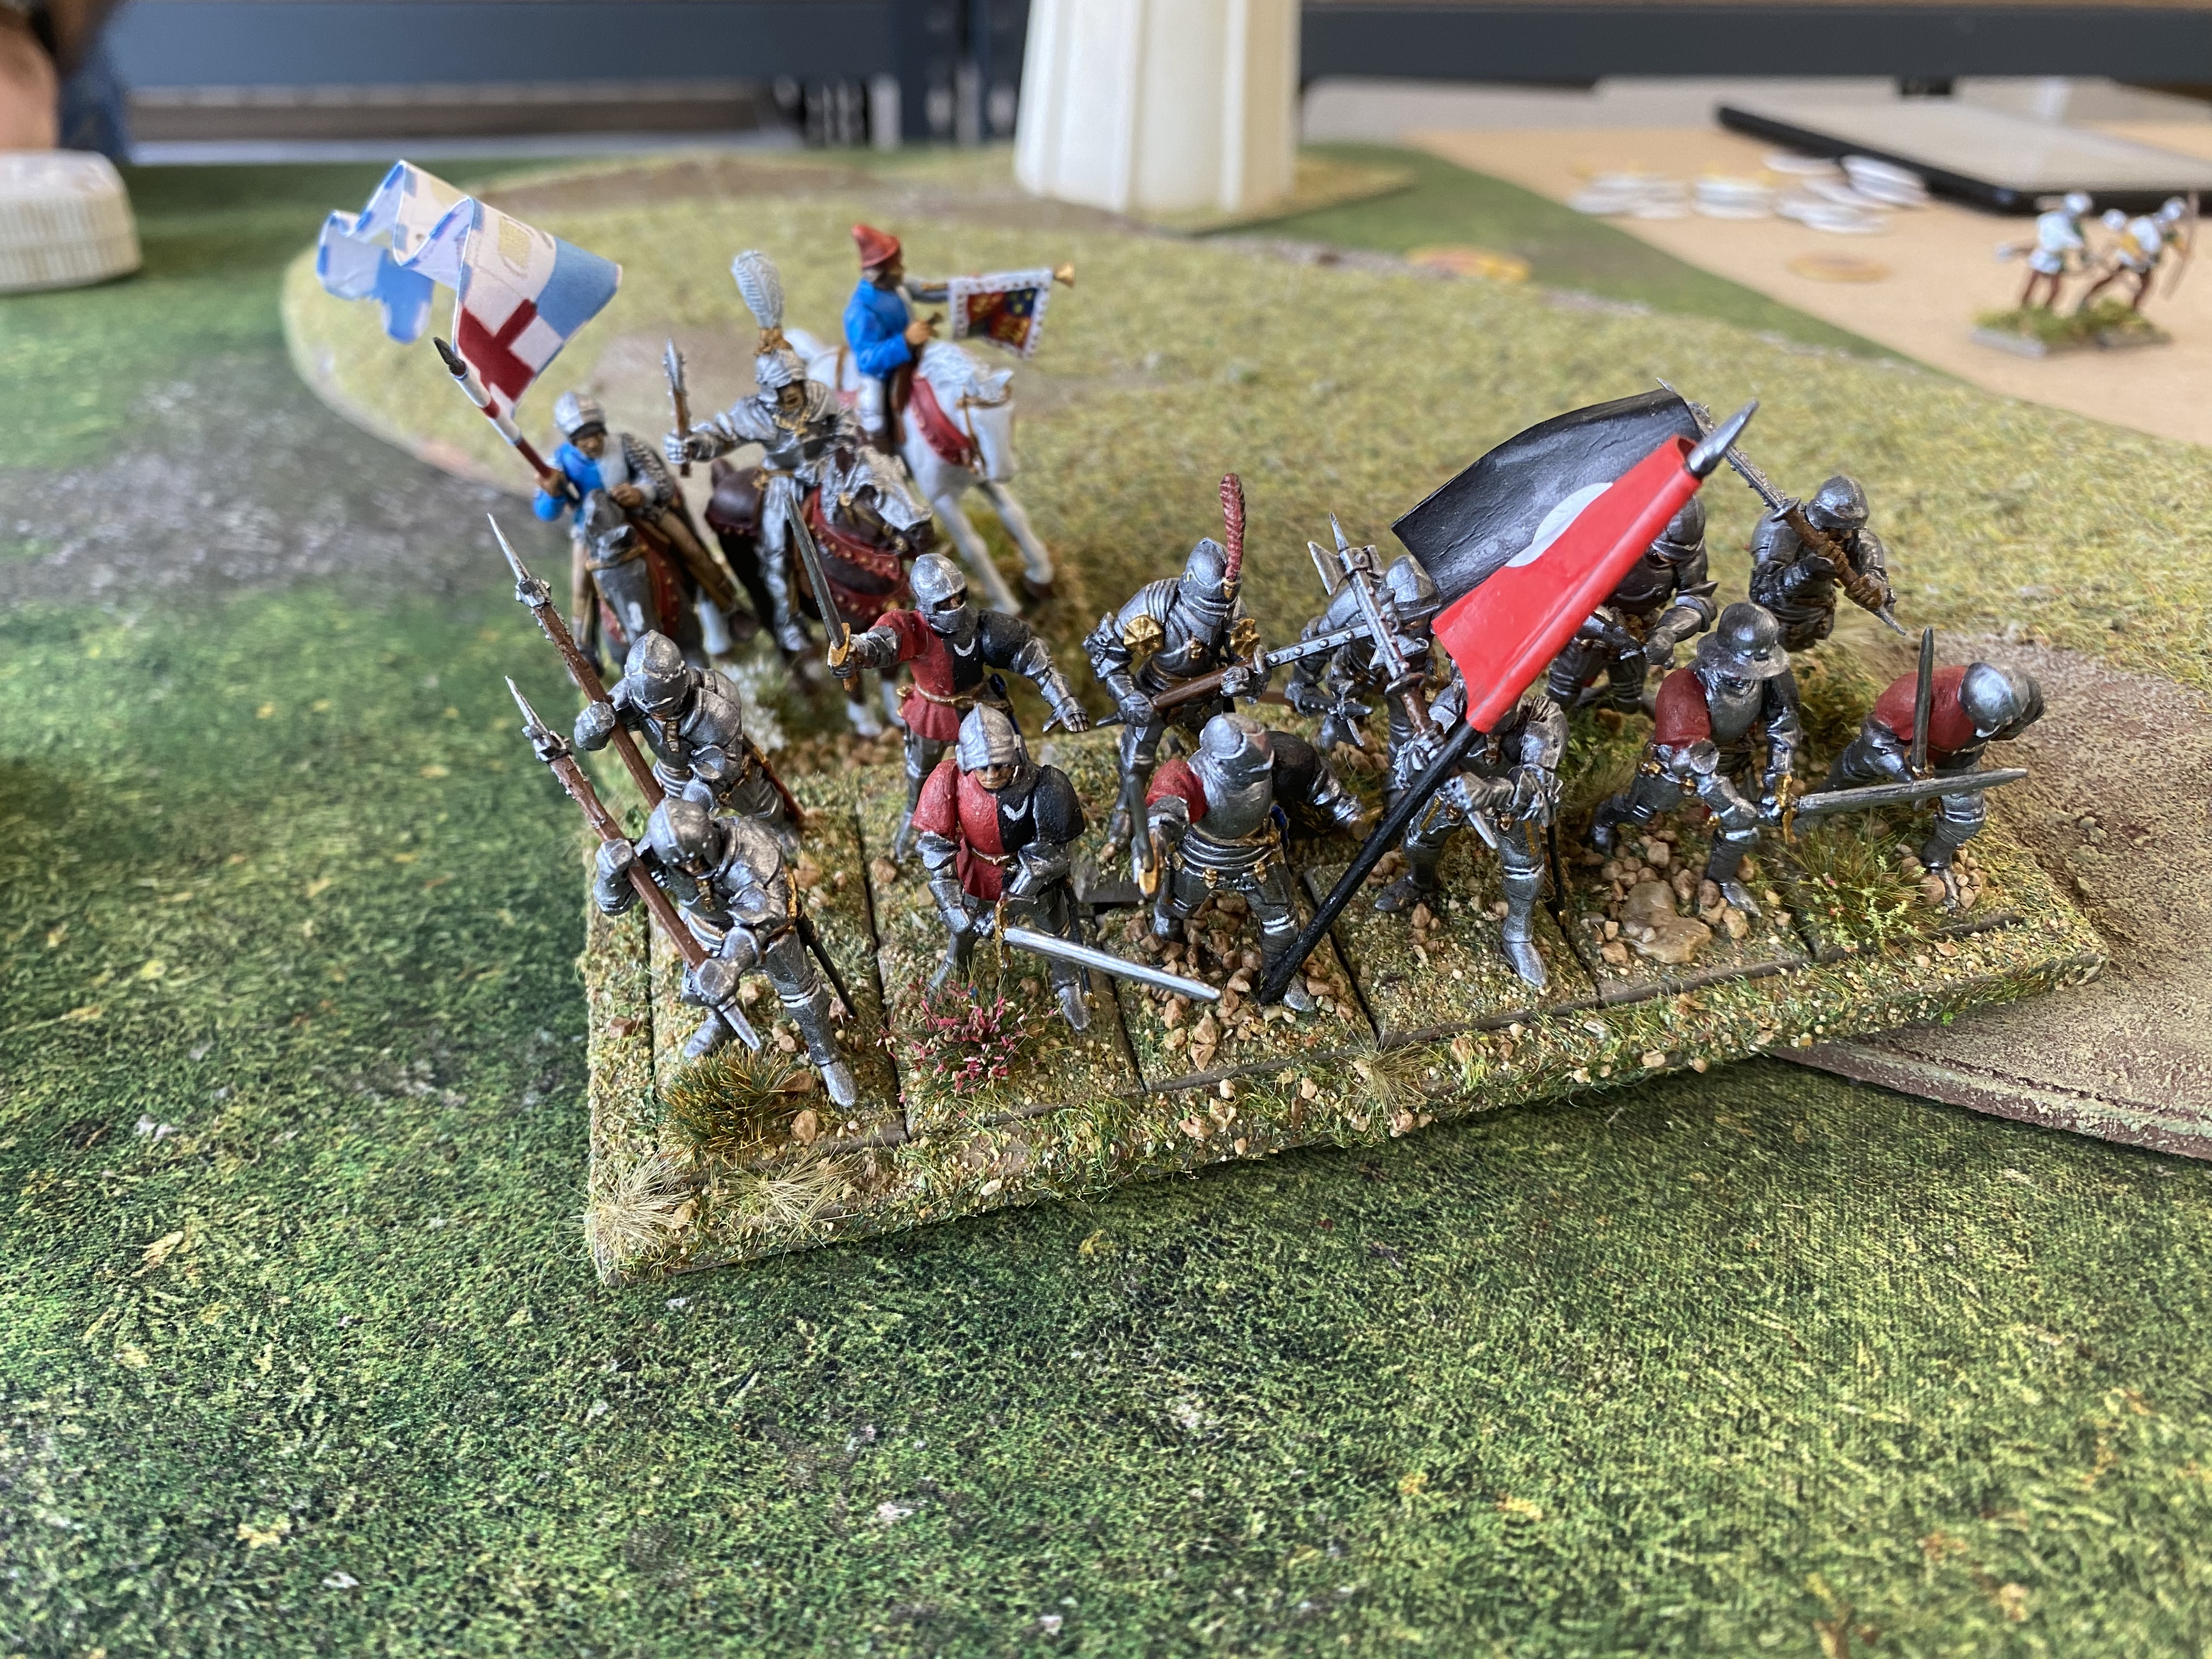
By now my chroniclers energy was exhausted and I am sorry that I did not take more pictures of Richards victory ( Oops! there should have been a spoiler alert there.) Richards army was slightly unusual in that he had taken mounted knights rather than men at arms. I had always considered that although they are dangerous, they are an expensive luxury in a battle of this size. Well after all the games I’ve played it seems I still have plenty to learn!
I used my well worn plan of trying to use my skirmishers and cavalry to dominate the flanks and pull the opposing army out of position. The battle started well for the Irish. Richard opened hostilities by firing his cannon, only to roll three ones and blow it up! Oh how the Irish laughed at this new technology…However, the smile was soon wiped off of their faces as the Lancastrian skirmishers made short work of the Kern on the left and the Knights advanced menacingly on the right holding the Irish back and keeping them out of the way!
I think that Richards commander had been trained by the grizzled Veteran, Oxford, who so competently disposed of the Irish at Stokes Field. The flanks were secured by the skirmishers and a unit of bows and bills on one side and the Knights on the other. One by one, my kern skirmishers and cavalry were destroyed, daunted or just pushed back. Meanwhile in the centre, the archers were causing havoc and the desperate charges of the Irish were met with a resolute defence. My commander, Lord Fitzmaurice was slaughtered in a last charge, his Gallowglass unable to break the Lancastrian Bills
So the day ended with a loss but as with all Bill Hooks games played todaqy, there were enough laughs and ‘if only’s to convince the players that next time, victory will be theirs! I enjoyed using the Irish and have learnt a great deal. They remain a fragile choice but their speed and the way that the skirmishers activate can cause a few problems for the opposition. However, if caught in the open, they don’t stand up to arrow storms very well – they definitely need a bit of luck to succeed!

To round up a fantastic day, I managed second in the painting competition, with Mike Peters winning. Mike is a fantastic painter and modeller, all of his banners are hand painted and he has created some superb vignettes for his command stands. Watch out for an article in a forthcoming Wargames Illustrated mag showing you how to paint banners. Mike is also the official Bill Hooks BASH scribe, so you can read all about the day and see some of the fantastic armies on show in the next WI. As if he isn’t clever enough, Mike is working on a skirmish version of Bill Hooks. This will enable you field a small retinue of your own design to take part in various adventures from pillaging your enemy, hunting down outlaws or fighting off rivals trying to pillage you! There’s even talk of Pirates!
Once again, a big thank you to Peter Harris and Boards and Swords for organising and hosting the event; a very big thanks to my opponents, Colin, David and Richard for being such sporting and good humoured opponents and of course a big thank you to all the attendees for making the day so much fun. Next up, it’s Bill Hooks at B.I.G. down at Bristol – check out the NMTBH facebook page for details if you would like to go!
THE COMMERCIAL BIT
I hope that you all enjoy your hobby as much as I do – remember that our web site will have much of what you need! Click here to see our shop:
We also have a category devoted to Never Mind the Bill Hooks:
To visit Mike Peters blog and see his master class in banner painting, click here:
To visit the Boards and Swords website for directions and details of the venue, click here:
Happy Modelling!