Since lock down has been eased I have been making up for lost time on the gaming front. I was fortunate enough to be invited to my second weekend of gaming this year and joined Andy, Simon and Mark at Mark’s fantastic gaming venue at his house in North Yorkshire. Mark owns Jacklex Miniatures and his obsession is with 20mm classic metal gaming figures, rather than the 28mm armies that I am used to. The gaming group that Mark is part of also prefers umpired ‘old school home brew rules’ for Napoloeonics’, uses figure removal to count casualties and a more rigid command and control system, together with simultaneous orders and movement. All of which is a culture shock to someone who has spent 10 years or more playing the more relaxed ‘Black Powder’
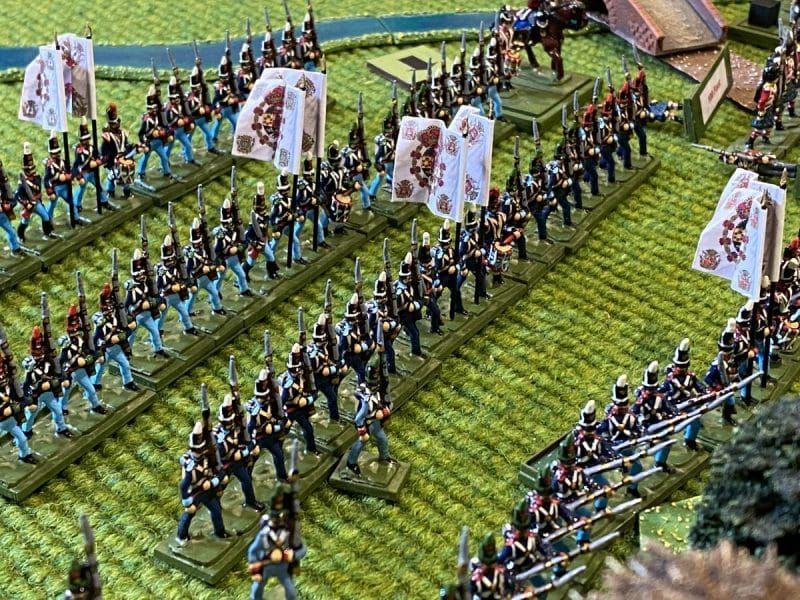
None of the above detracts from the sheer spectacle of the games that we played, nor for that matter, the fun involved. Mind you, I do admit to a certain amount of frustration, particularly when I was unable to detach my rifle companies to subdue a French battery – apparently, that sort of thing might be OK for Bernard Cornwells’ Sharpe but isn’t the done thing in history! Otherwise, I think that I just about managed to keep my toys in the pram in what was a very hard fought battle!
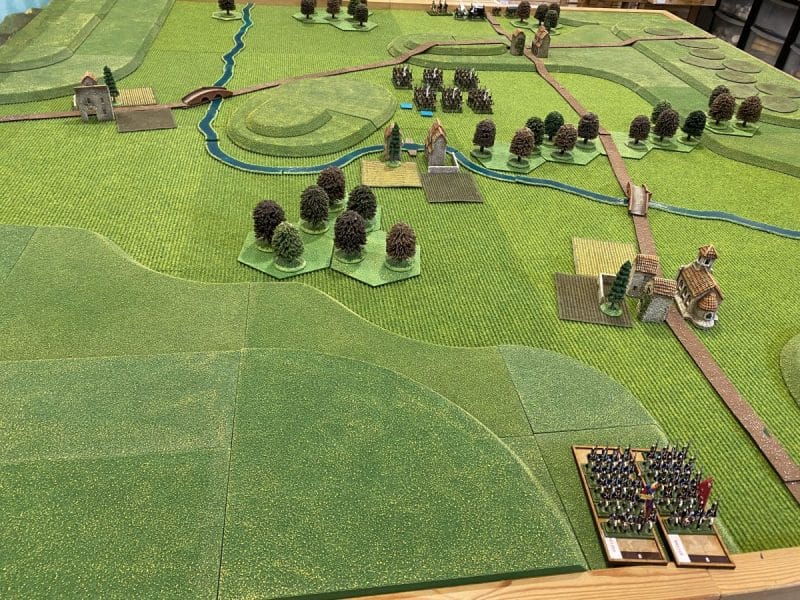
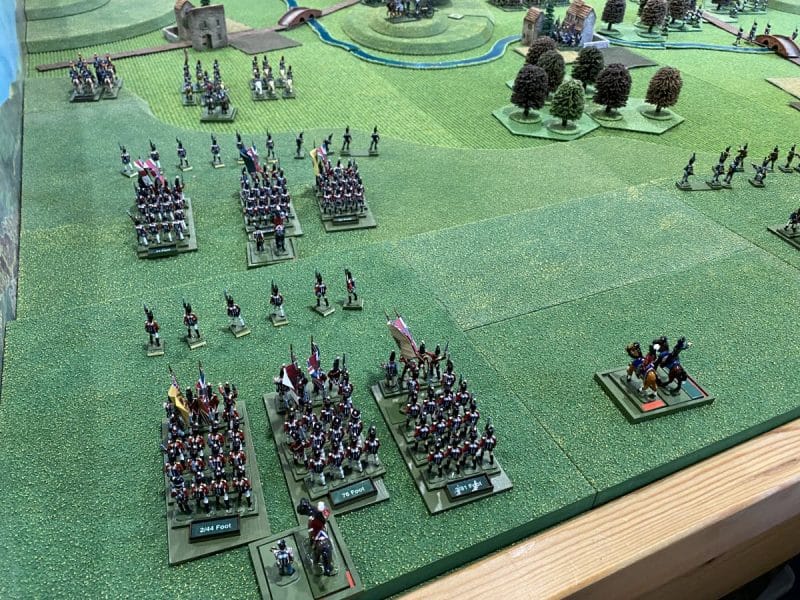
The game was based on the Battle of Vittoria and followed some of the narrative of the original battle although it had been scaled down slightly. The picture above shows the set up. Players were asked to submit their dispositions and order of march to the Umpire prior to the battle starting, along with any general orders to brigades. I neglected to bring the detailed orders of battle away with me, so I can only report that Andy was playing the French, with Simon and I playing the British and Allied armies.
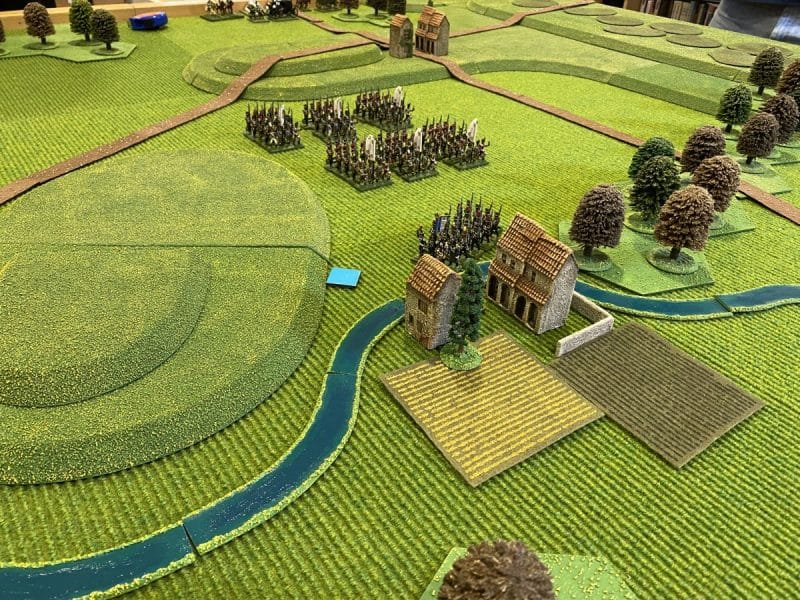
The French had deployed a division of troops in the centre of the battlefield, with a battalion guarding one of the fords through the forward village. It was all that the Allies were able to see at this stage. It was likely that there would be more troops hidden from view!
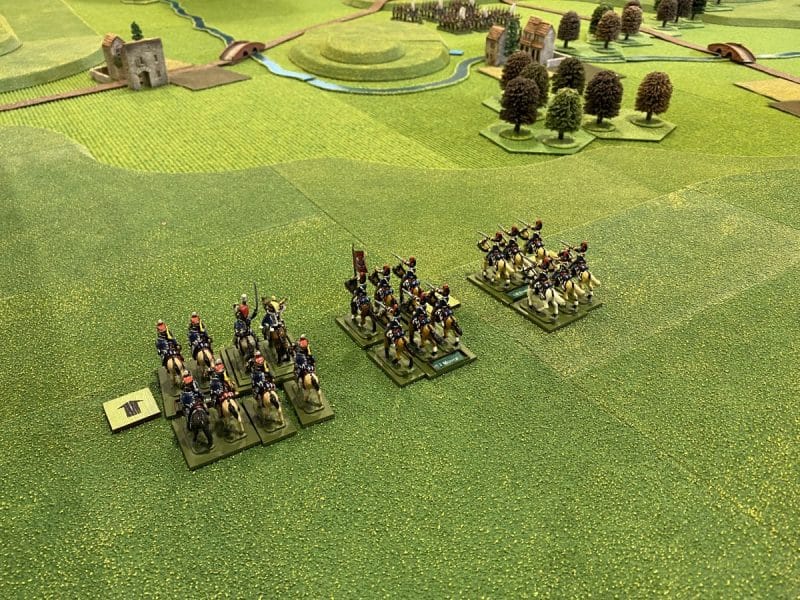
The British plan was to send the mixed brigade of Scots, Portuguese and Spanish Infantry straight through the centre to fix the French and to draw the French into supporting their troops at the various bridges and fords across the river in the centre of the battlefield. Three other infantry brigades and a cavalry brigade would deploy on the left flank and attempt to force a passage over the bridge and fords on this side of the battlefield. The Cavalry brigade had been given orders to scout the entire length of the river. We were interested to find out whether there were more French troops hiding in the village next to the bridge and to see if we could spot any further French deployment. The orders also included a request that once scouting had been completed, a full report should be sent back to HQ….
I’ll attempt to tell the tale of the battle using pictures to illustrate the key points.
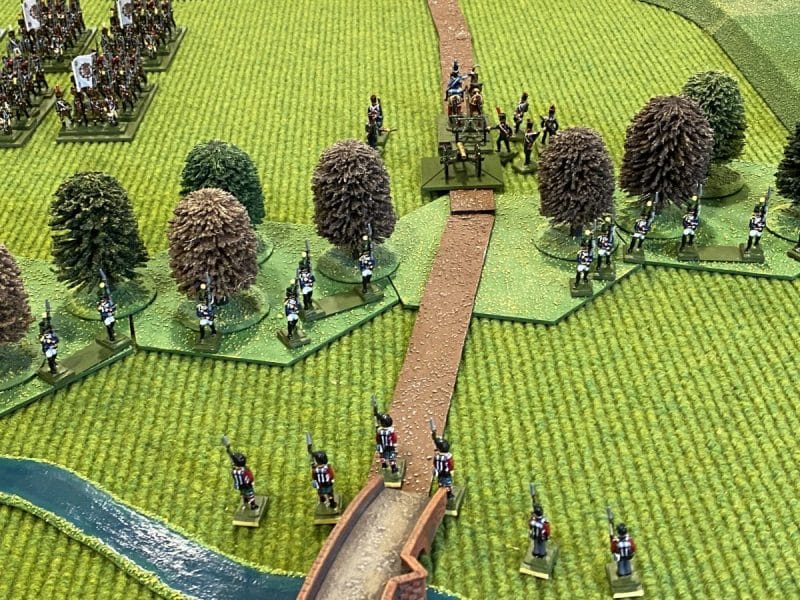
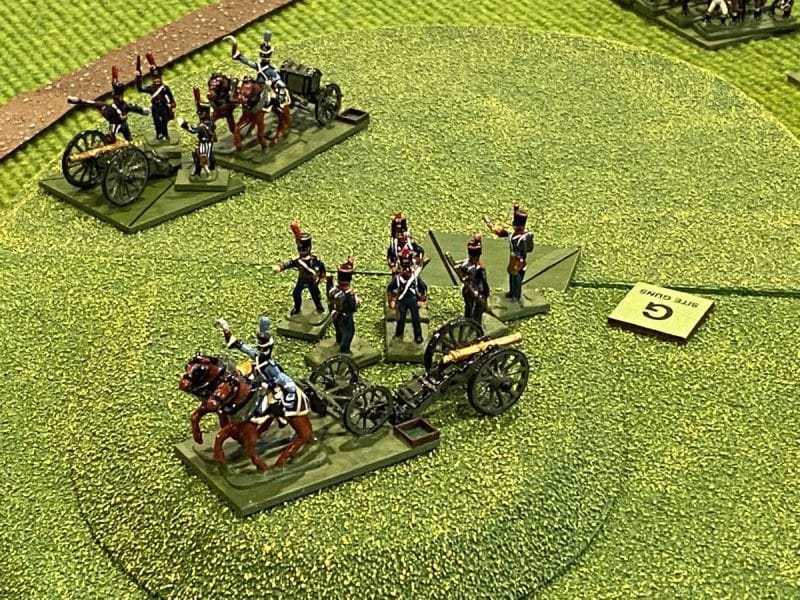
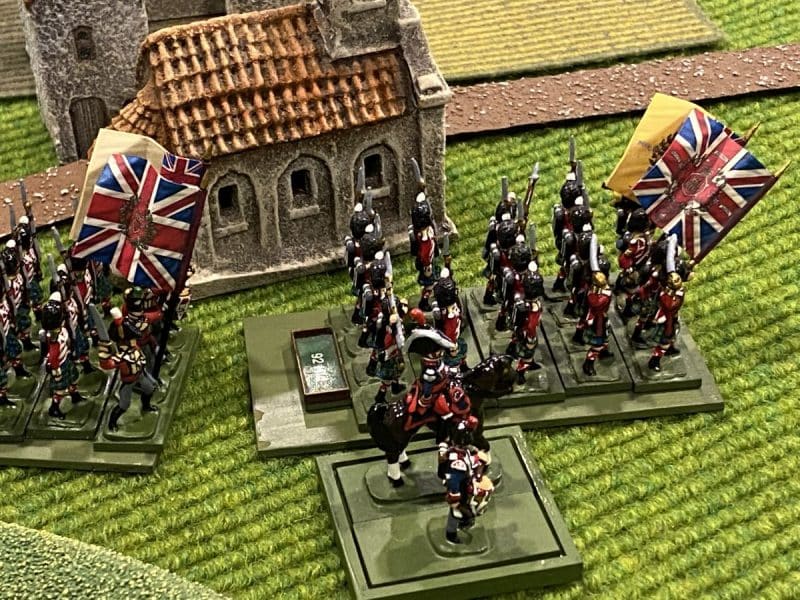
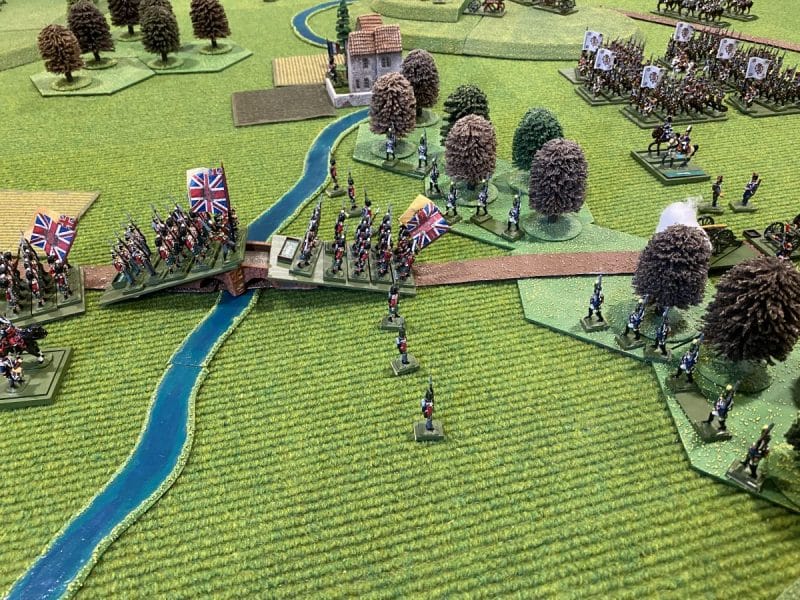
Encouraged by the skirmishers holding the French in check., the Scots attempted to force a passage through the centre by charging the guns. This was not going to end well for somebody…
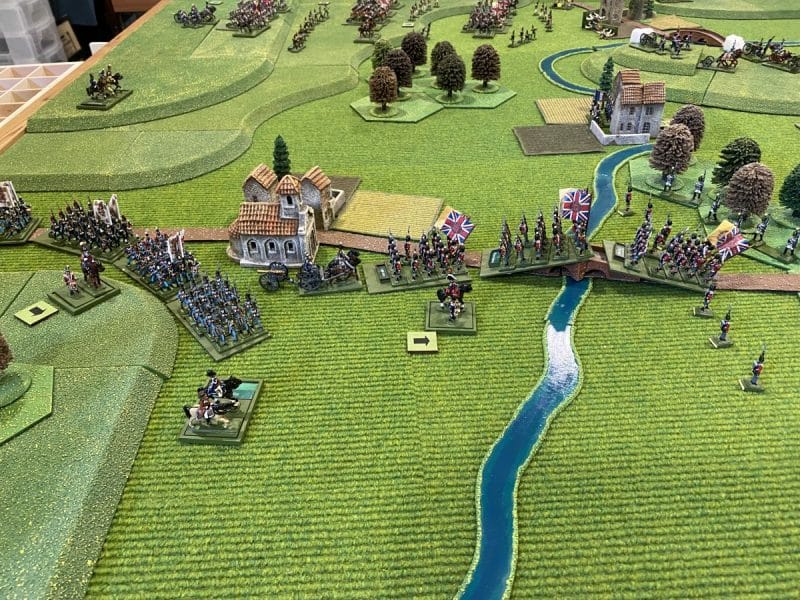
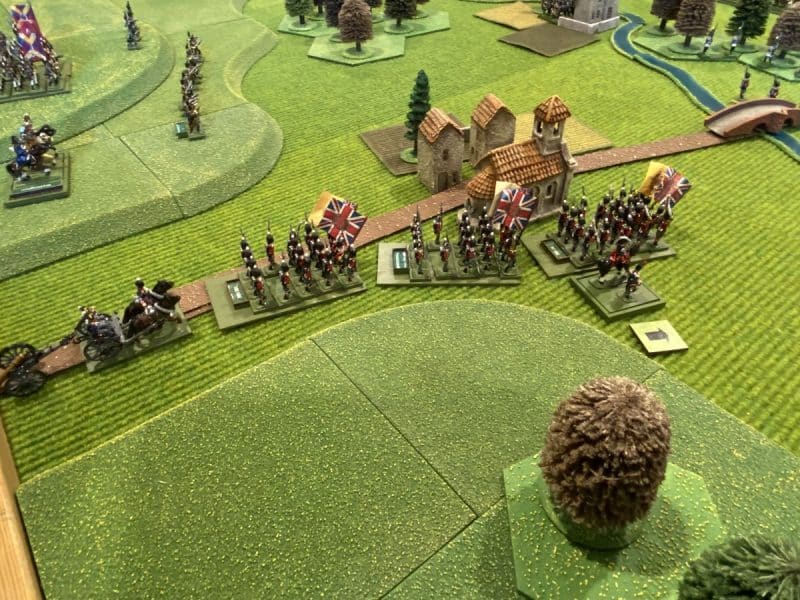
Meanwhile, back on the left flank the French artillery battery engaged the leading cavalry, breaking one regiment and causing disorder in another. Despite this set back, the cavalry were able to press on. With the knowledge that the village and bridge were undefended, the Allied infantry began preparations to force a crossing.
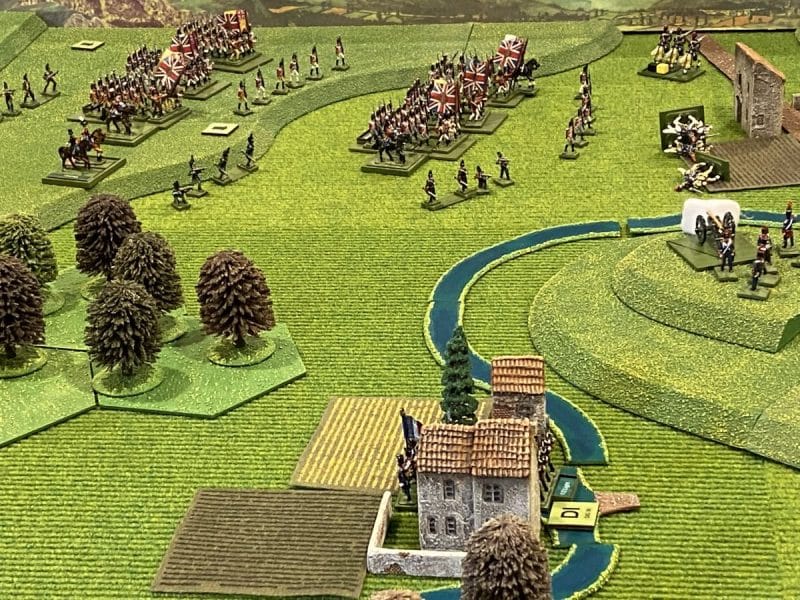
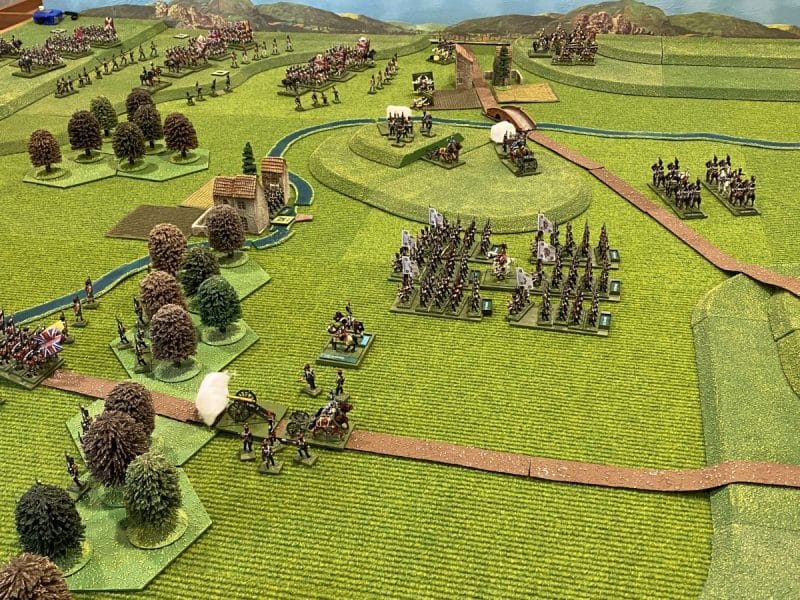
With the bridge on the left flank looking strongly defended, the Allied cavalry pushed on and the infantry attempted to storm the guns on the hill over the ford. The final Infantry Brigade of Pictons Division had arrived and so one brigade was ordered to continue around the village to prevent the French from attacking over the bridge.
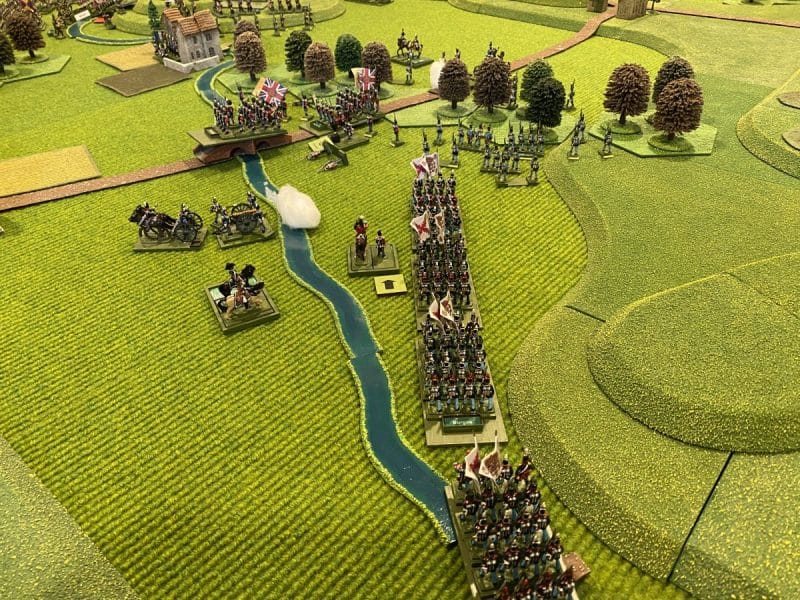
Back in the Centre, the Scots had been terribly mauled by the Artillery and had fled the battlefield! Fortunately, the Brigade morale held and yet another assault was attempted, whilst the Spanish brigade moved to flank the woods.
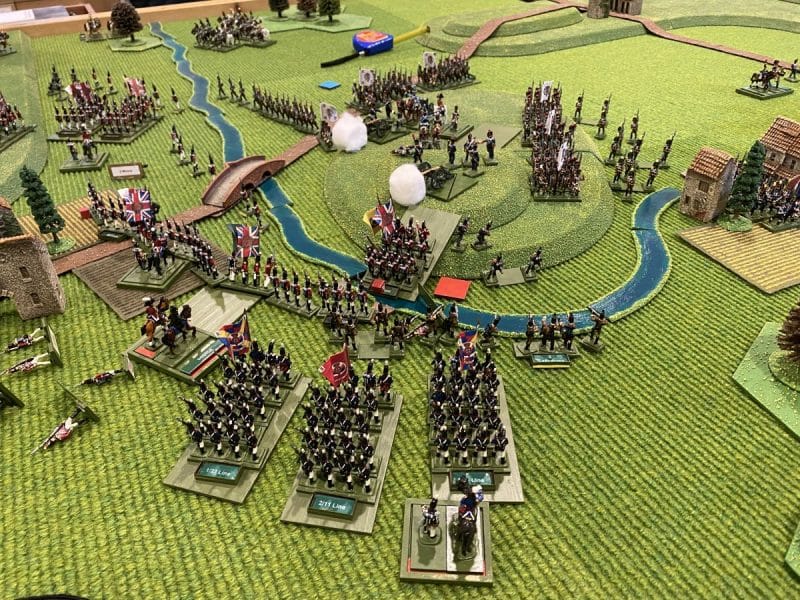
It looked as though things were going badly for the Allies. The French artillery was inflicting tremendous losses on the allies and withstood all attempts to shift them. However, a glimmer of hope appeared for the allies. The cavalry had successfully scouted the length of the river and found two more crossings that appeared to be undefended. The French seemed oblivious to the existence of these fords and seemed only concerned to shadow the allied cavalry and reinforce the heights.
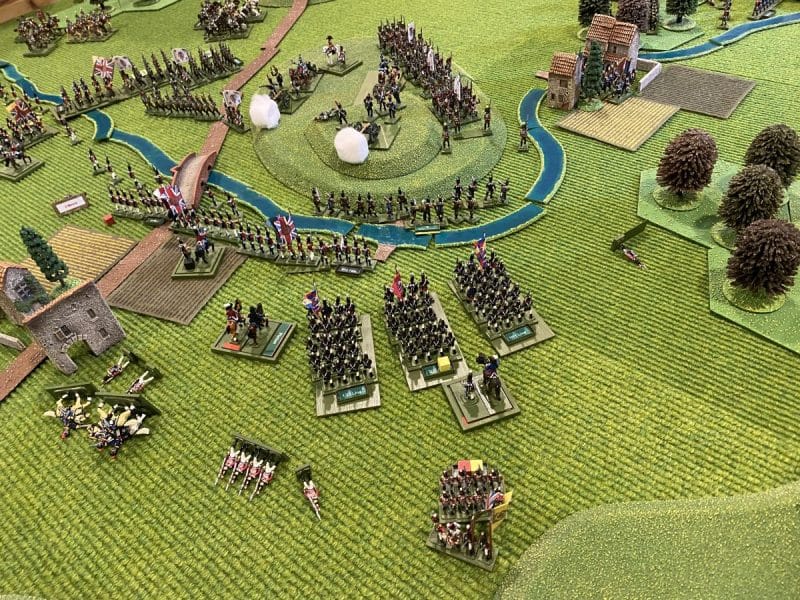
As the French Cavalry pulled back, another trap was sprung as the British Cavalry crossed another hidden ford to catch them in the rear!
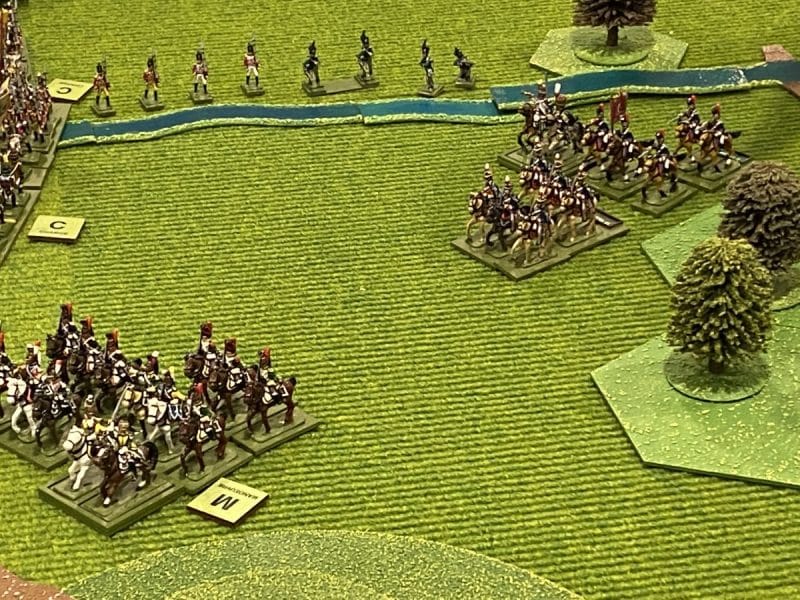
Back in the centre, another assult on the french guns had failed but the Spanish had deployed and were occupying the French, preventing them from re deploying and reinforcing the left flank of the battlefield.
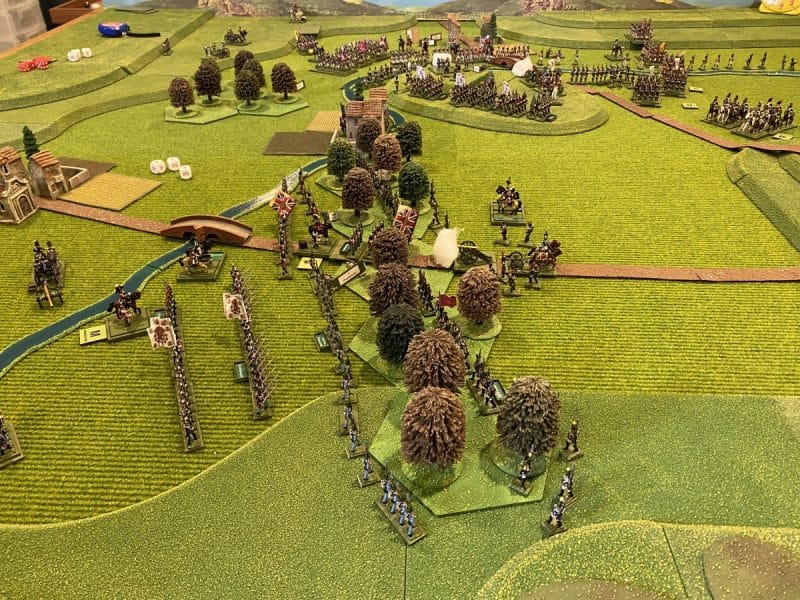
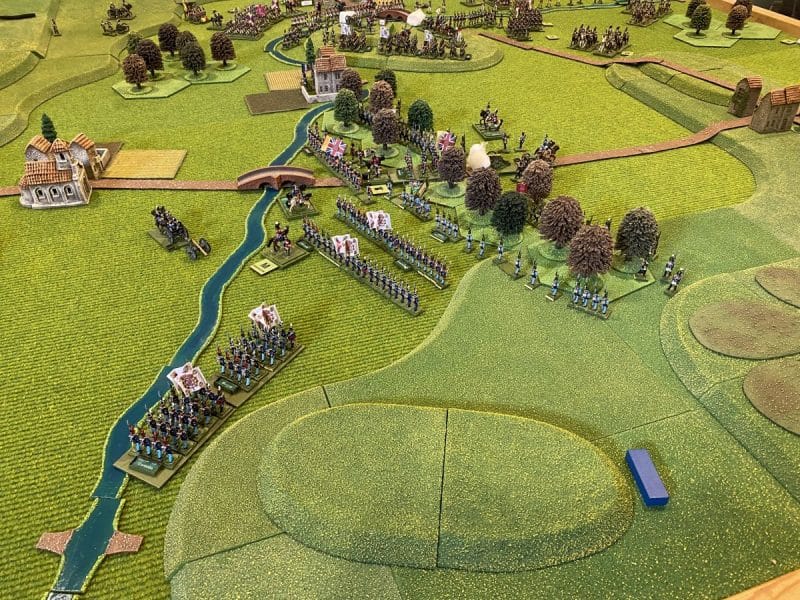
Back on the left, the British cavalry had beaten their French counter parts and the Infantry had broken the French Battalions that had attempted to defend the hidden ford. Picton had aslo ordered his third brigade to ignore the guns and advance around the hill smashing into the flank of another defending French battalion.
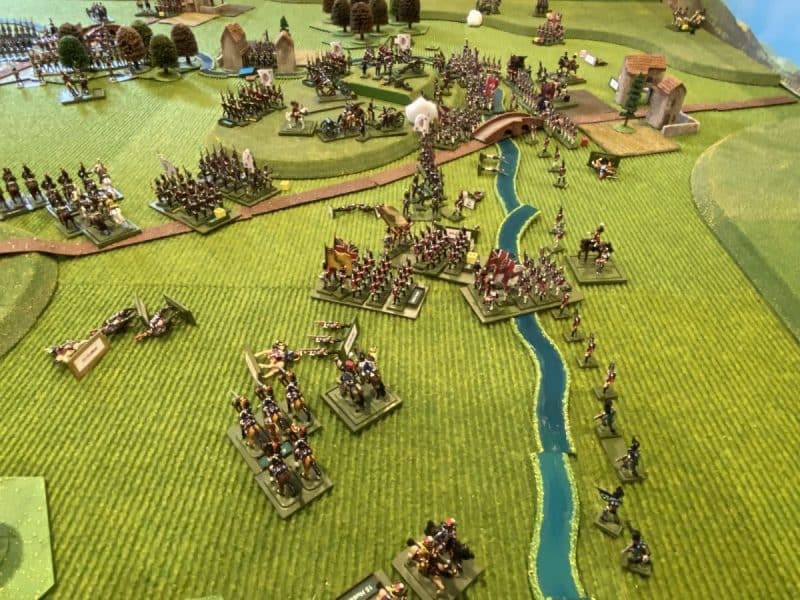
With the collapse of the French on the left, the French were in danger of being encircled. Andy, decided that the battle was lost and began the retreat back towards Vittoria. Victory for the Allies….only just though! Without the successful reconnaissance by the Cavalry, the Allies would never have pushed though the other river crossings. The French defence was just too well planned.
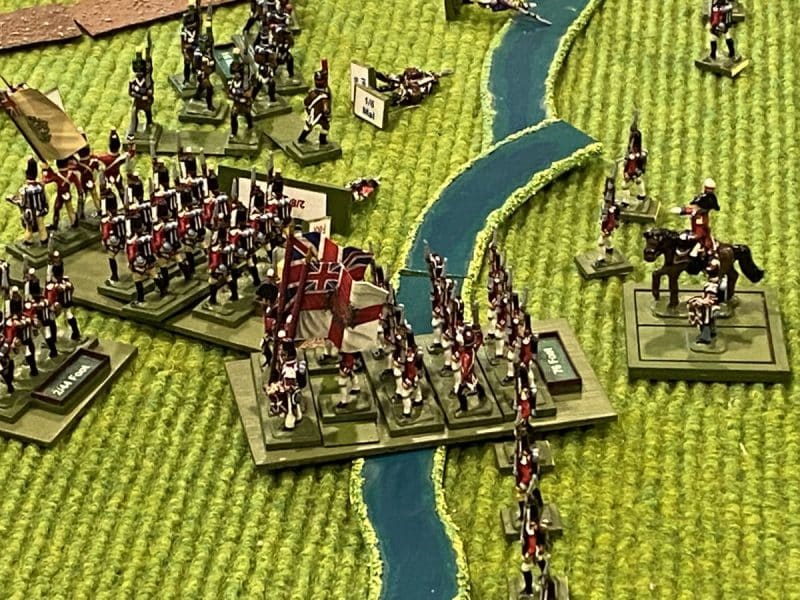
A very enjoyable game, where Mark, our host and umpire had to work very hard to keep some of the players in check (sorry Mark!) The game was made all the more enjoyable by the wonderful set up and beautifully painted and organised armies.
After a very nice late lunch we were ready to re-fight Trafalgar….but that will follow in my next battle report!
THE COMMERCIAL BIT
I hope that you all enjoy your hobby as much as I do – remember that our web site will have much of what you need! Click here to see our shop:
If you would like to see the classic range of Jacklex miniatures, click here:
Happy Modelling!
