Kern Skirmishers

The War of the Roses rules set ‘Never Mind the Bill Hooks’ allows you to take Irish Kern as a skirmisher option. They were included as a nod towards their involvement at a couple of battles, notably the battle of Stokes Field 1497, considered to be the last battle in the War of the Roses. The inclusion of Kern was less of a historical requirement and more of an opportunity to add a bit of colour to players troops choices, as well as giving players a slightly different tactical problem to use/deal with.

On the face of it, a band of 6 Kern skirmishers are hardly likely to change the course of a game. But they can add to the fun and cause a great deal of mischief. Even if you don’t include them in your main list, it’s worth having a band in reserve, just in case the special event card is drawn that lets you deploy an extra band of Skirmishers anywhere on the table hidden in terrain.
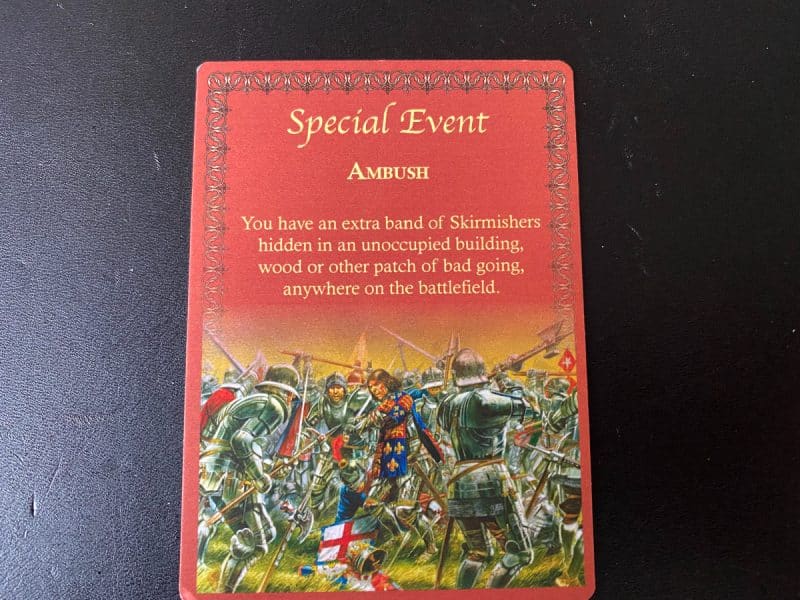
special event card hidden Skirmishers!

Kern are pretty fragile. They only save on a 6 against shooting and they can only shoot ( throw Javelins or darts) a maximum of 6 inches themselves, so why take them? Well, where they come in handy is that they can move into hand to hand combat against other skirmishers. As they have the same movement as skirmishers, it’s unlikely that your opponent will be able to evade, so you will catch his skirmishers and then you will be fighting, rolling one dice for each kern against his 1/2 dice per skirmishers. So they are great at mopping up opposition skirmishers. They are also able to hide in cover, moving 16 inches regardless of the terrain, to attack any exposed flank or rear of a carelessly positioned unit. It’s unlikely that they will beat your average Billmen unit or for that matter, Men at Arms but they will upset your opponents plans and help to disrupt their battle line.

There is another risk to using these fierce warriors. Kern will pursue a beaten enemy, even if that means they go off table. They also ‘bounce’ off a unit if they dont daunt or rout the unit that they are attacking. This can be a mixed blessing as they will not stay locked in combat and can run away from a superior unit having caused their mischief. All in all well worth having a band just for the fun of it!
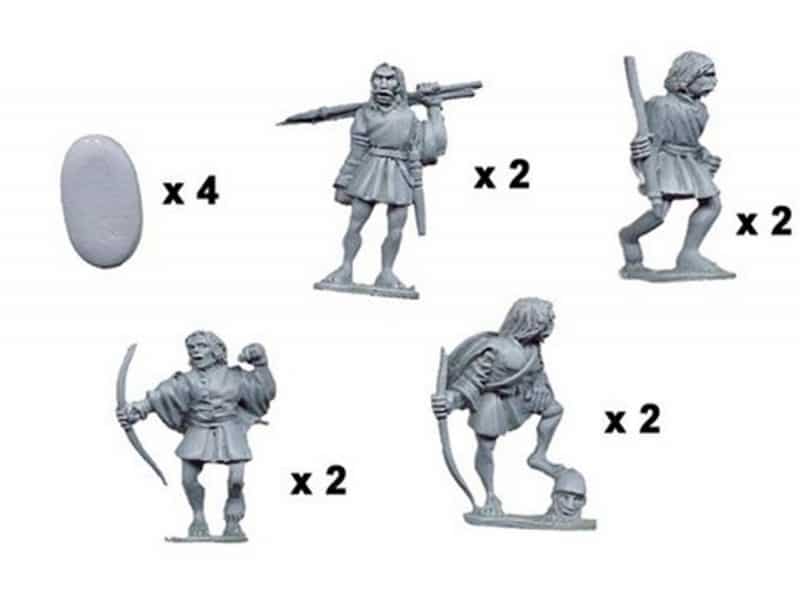
Crusader Miniatures Kern

I used a pack of Crusader miniatures for my Kern. There are 8 in a pack, so although that is two more than needed, the other two figures will come in useful as additional levy or as part of a larger Irish contingient.
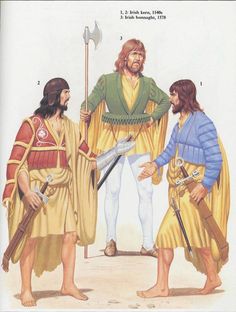
My research seemed to show that Irish Kern often dressed in yellow tunics. Painting yellow can be fraught with difficulties as it is not heavily pigmented as doesn’t cover well. Whilst chatting to a colleague about this problem, he told me that the best colour to paint over was pink. I decided to prime the figures in flesh and to test the theory. Priming the figures with Army Painter Flat Flesh would also save a bit of time as the figures are bare legged.
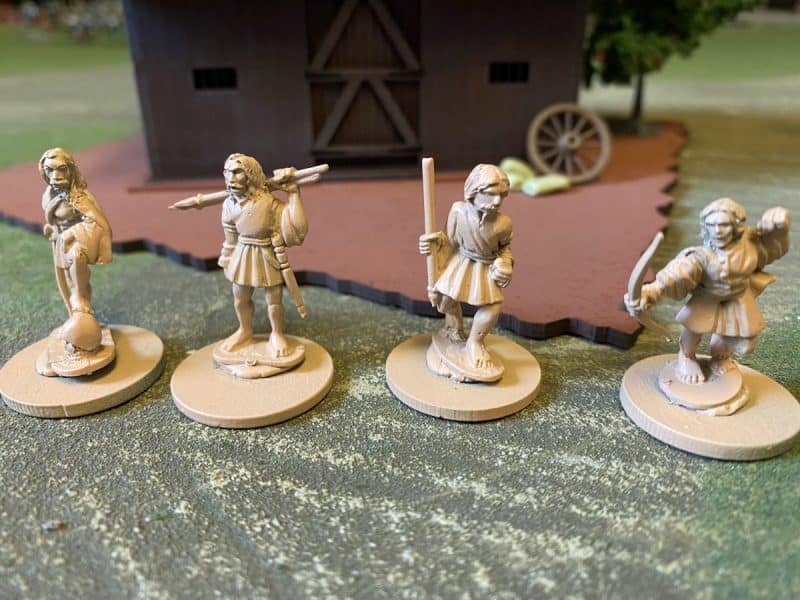
Primed with army Painter flesh.

I then painted the tunics with Yellow ochre. It’s a good yellow to use as it’s not too bright. I didn’t want my Kern to look as though they were wearing High Viz jackets! I then picked out the other featuresl – hair, belts, tunics in a variety of colours – see the picture for detail. The tunics were washed with soft tone and when dry, highlighted with yellow ochre again and then pale sand as the top highlight. The flesh was highlighted with flat flesh and then basic skin tone.
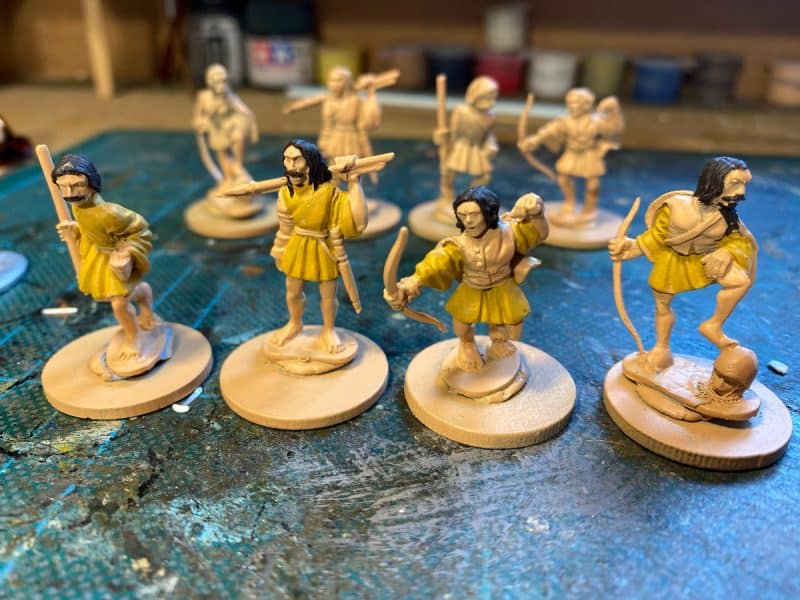
Yellow tunics done.

I used dark tone to wash the leather and other areas, then highlighted with the original colour and then added Iraqi sand to get the top highlights. Bows and weapons were painted with Vallejo old wood.
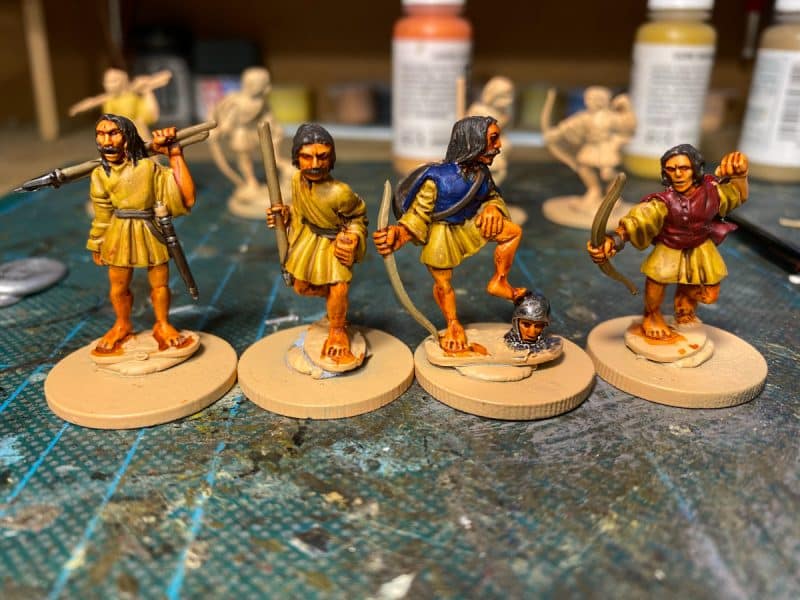
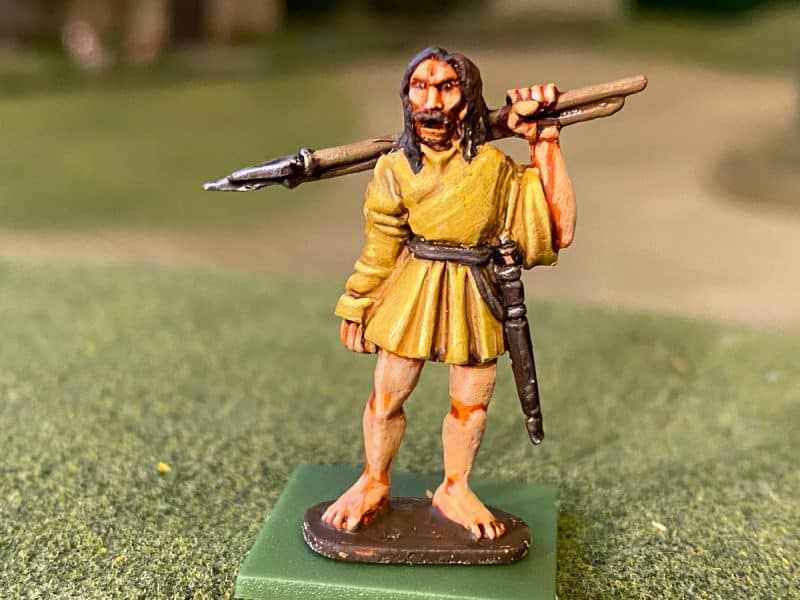
Detail added – tunics painted dark prussian blue and Burnt red to add some colour.
Lone Kern ready for basing

I did some research for the shield designs but decided that they wouldn’t have anything too sophisticated, so I hand painted the basic designs shown. I did consider painting a portrait of Phil Lynott on one of the shields, just so that I could sing ‘The Boys are back in Town’ when ever they charged out of cover into attack but decided my painting skills weren’t up to the job!
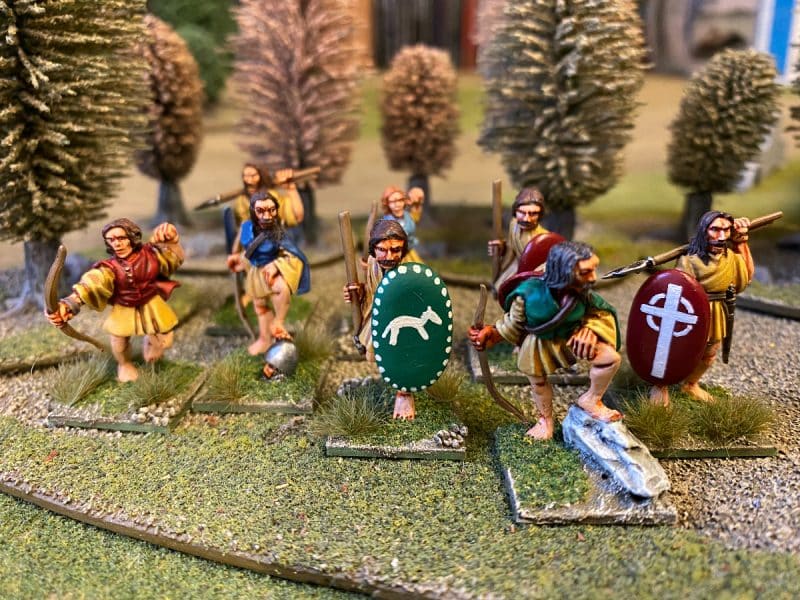
The finished Kern War band

I also made a minor conversion to one of the Kern. I thought that one figure with his foot on an opponents head was enough, so I removed the head on the second figure with a pair of clippers and added in an appropriately sized rock!

So another unit is added to my army. Am I finished now….? Well not quite. The next project will be to paint a couple of ‘rabble’ or levy units. I’m in no rush though, there’s plenty in the painting queue!

Almost all of the paints, miniatures, bases, basing materials and anything that you are likely to need for your hobby are available from my shop here:

ARCANE SCENERY

You can see the range of Crusader miniatures that we think are suitable to for the Wars of the roses, along with the rest of out Never mind The Bill Hooks range here:

NEVER MIND THE BILL HOOKS!

You can find all the Vallejo Model colour paints here. If you don’t want to browse, just enter the paint number into the shop search bar;

VALLEJO PAINTS

Happy Modelling!
Zulus at Balaclava

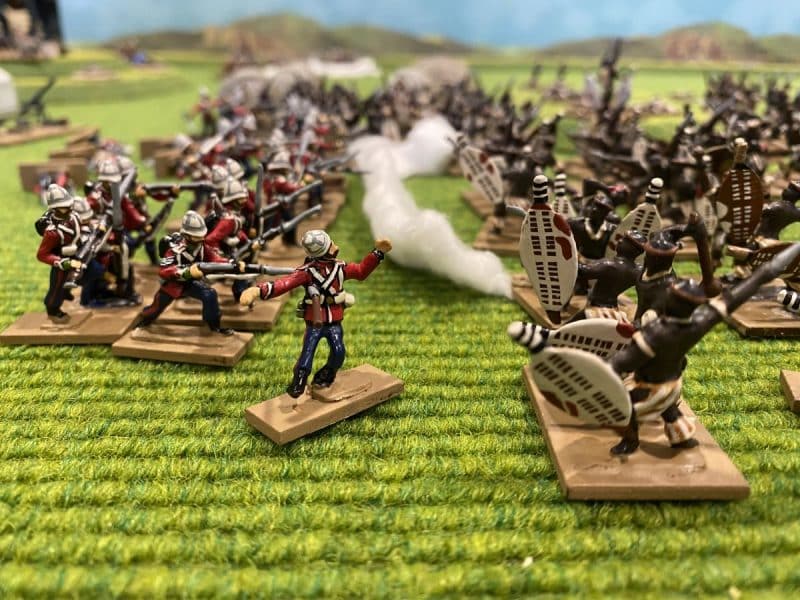
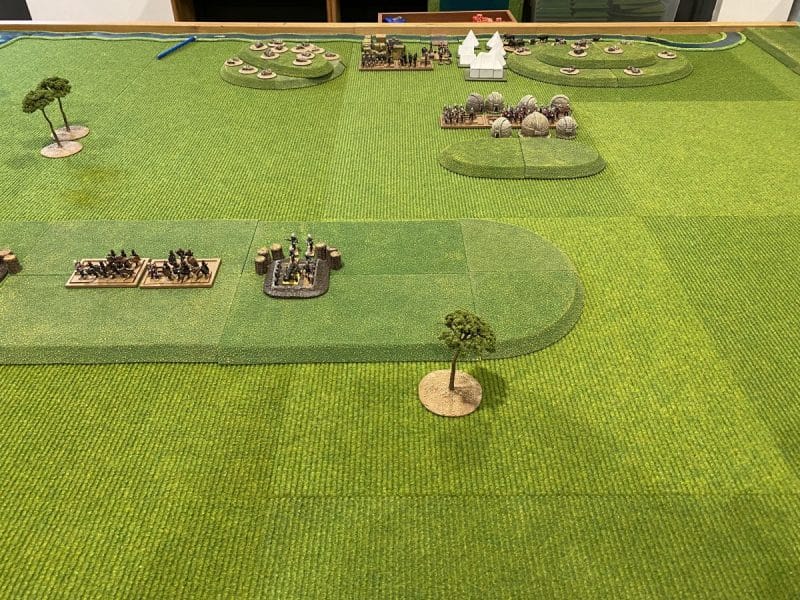
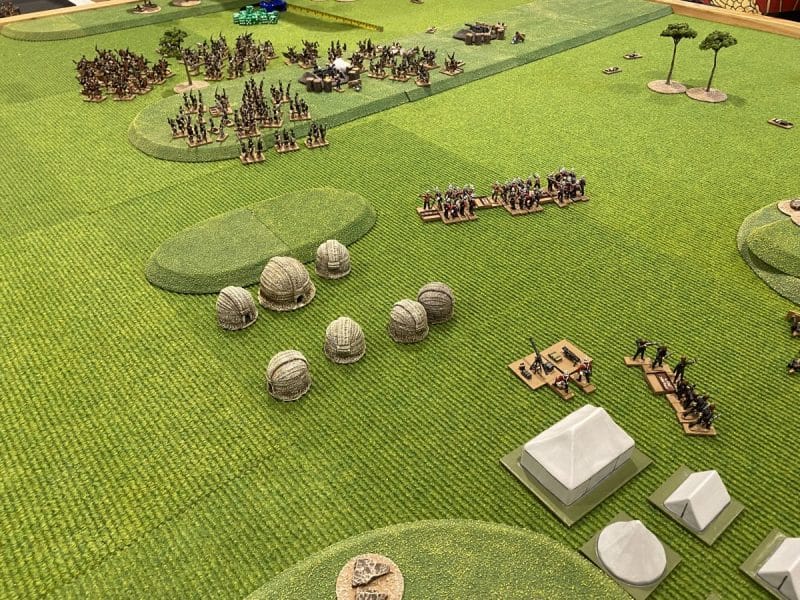
In the final battle of my gaming weekend, we played a Zulu’s vs British battle. The encounter was fictitious, although the battlefield layout was based loosely on the Battle of Balaclava from the Crimean War, with the Zulu’s playing the Russians. We have used this format of taking a battlefield from another period with great succes in our other games. It throws up some interesting problems for both players and of course some good talking points during and after the game!

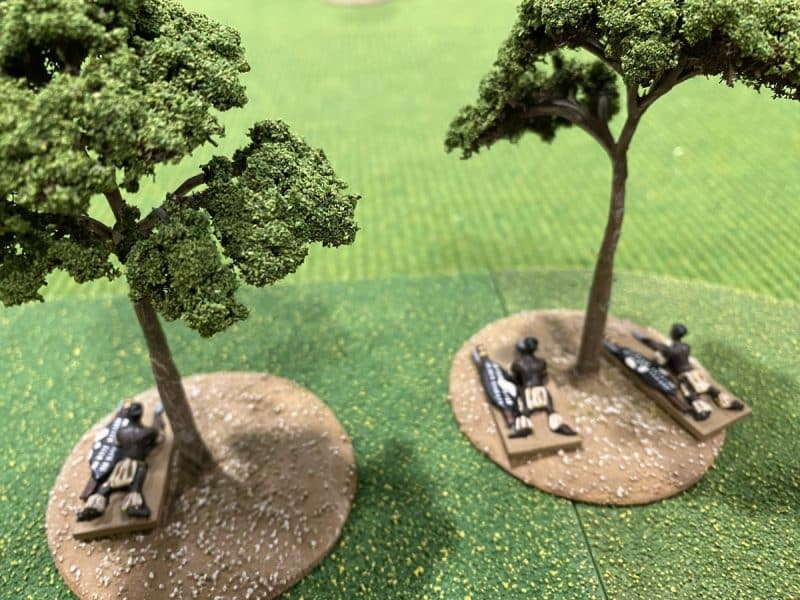
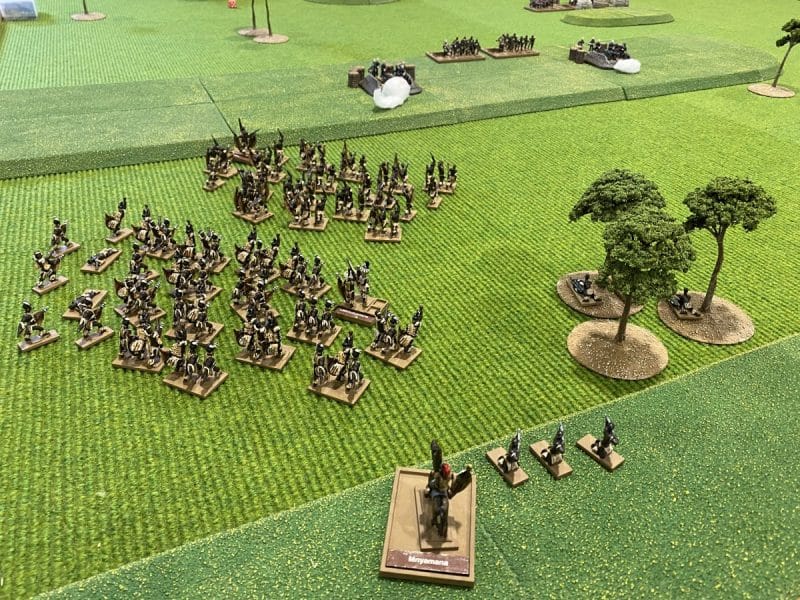
Zulu’s scout the battlefield.

We also used the rules written by Andy Callan for Jacklex Miniatures ( Mark’s Company). They are available as a free download from the Jacklex site here:

“MAGDALA TO MAFEKING”
OLD SCHOOL COLONIAL RULES BY ANDY CALLAN

Once again, Simon drew the short straw and was playing the defending British encampment. He was certainly low on manpower to defend the camp but help was on the way. The question was – would it arrive on time? The Zulu army consisted of 7 large regiments of 50 Zulu’s each. Although the units are huge compared with the British, the simple but clever morale rules help to even things out. The large Zulu units make the game look fantastic though and give some idea of scale as well as intimidating the opposition!

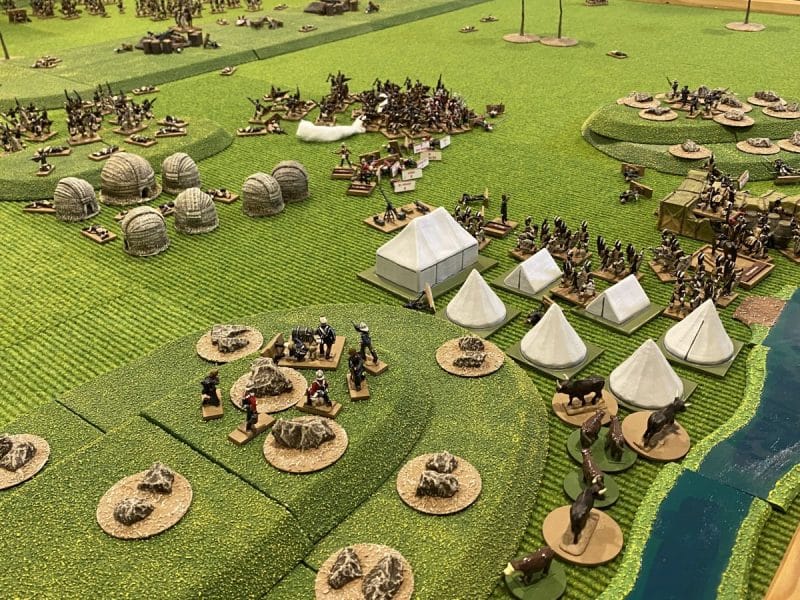
The battlefield set up

Mark had done a superb job in painting and organising all of the figures and of course supplied the scenery for the giant sized gaming table. To add some extra atmosphere, Mark put on the Soundtrack from the film Zulu, and with the two of us providing the Zulu war cries, it was game on!

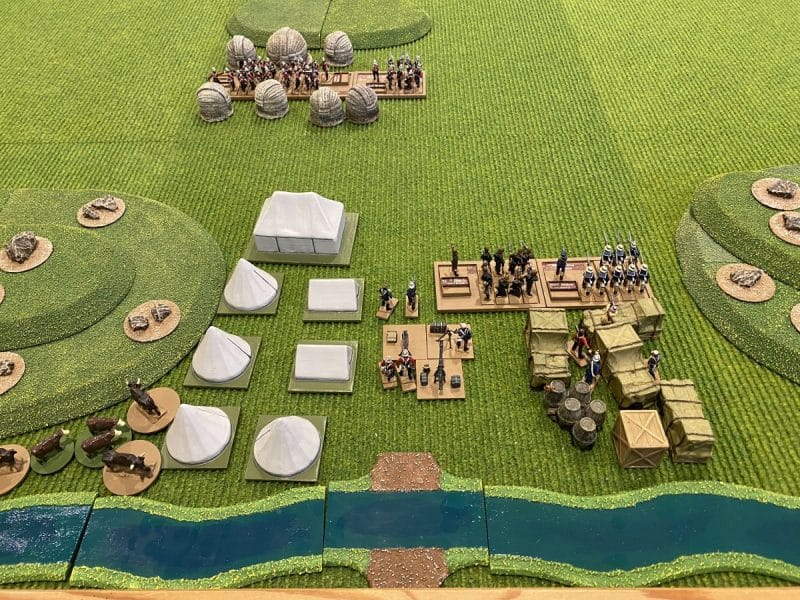
The initial positions – the British defend their camp

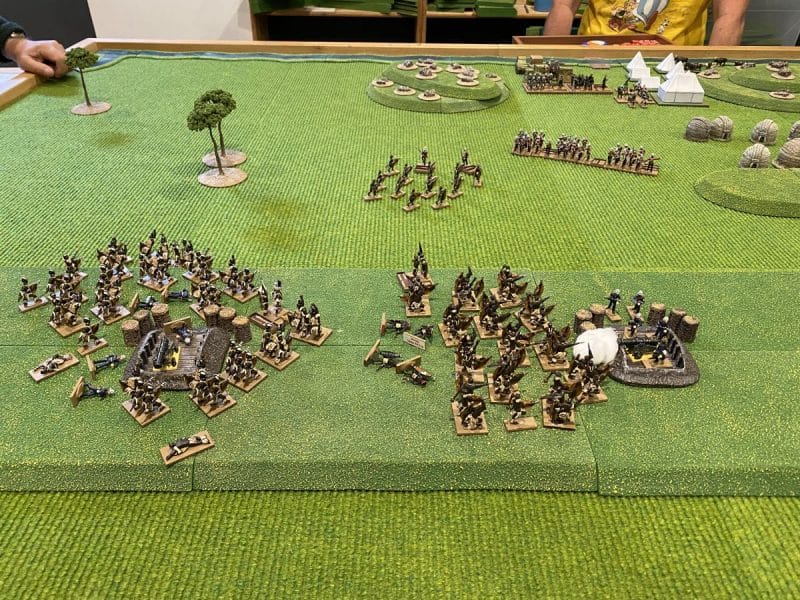
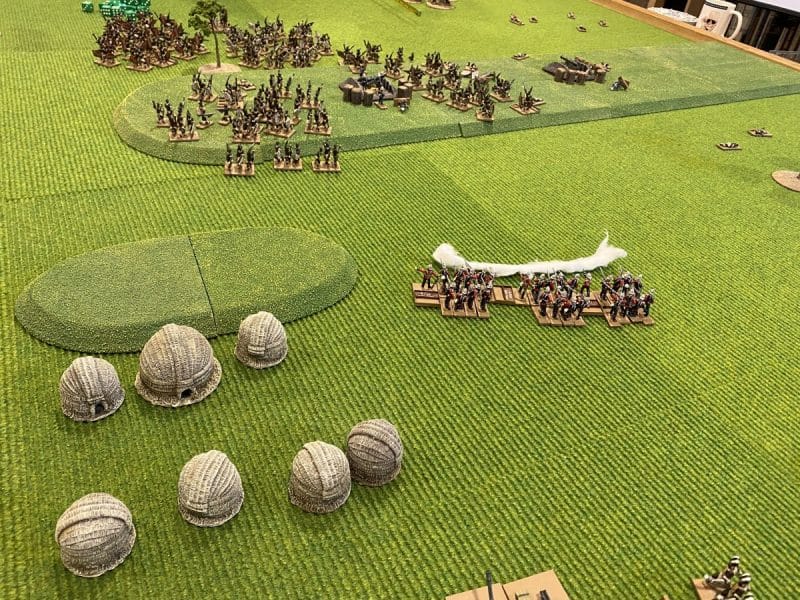
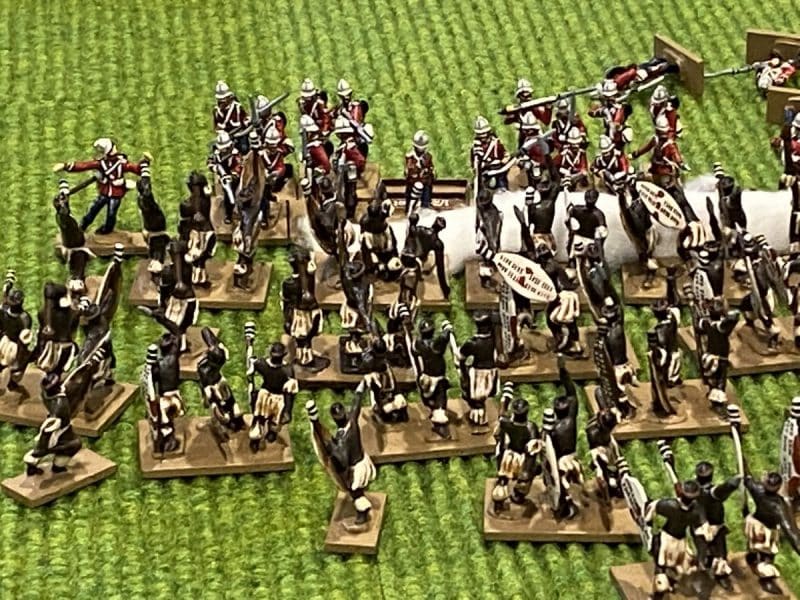
The battle commenced with the Zulu’s left horn of two regiments entering the battlefield to attack the forward gun emplacements. The rest of the Zulus, would only arrive on the throw of a dice, the ‘Head’ of three regiments of Zulu’s being the next in turn. The first two regt’s of Zulus advanced at speed, quickly overwhelming the first gun emplacement, putting the supporting Native Natal contingent to flight and moving on to engage the next gun emplacement.

The Zulu’s charge the guns!
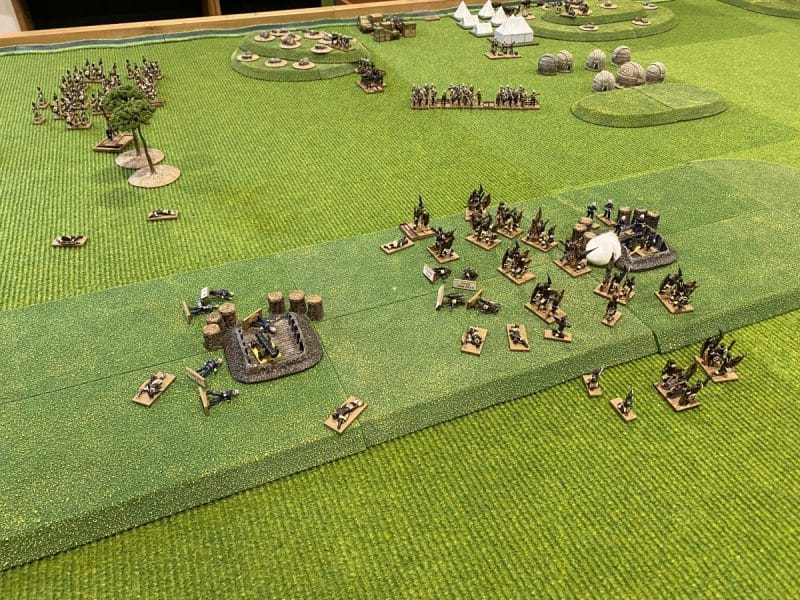
The gun emplacements are quickly overwhelmed
The British firing line advances but the Zulu’s move around the flank!

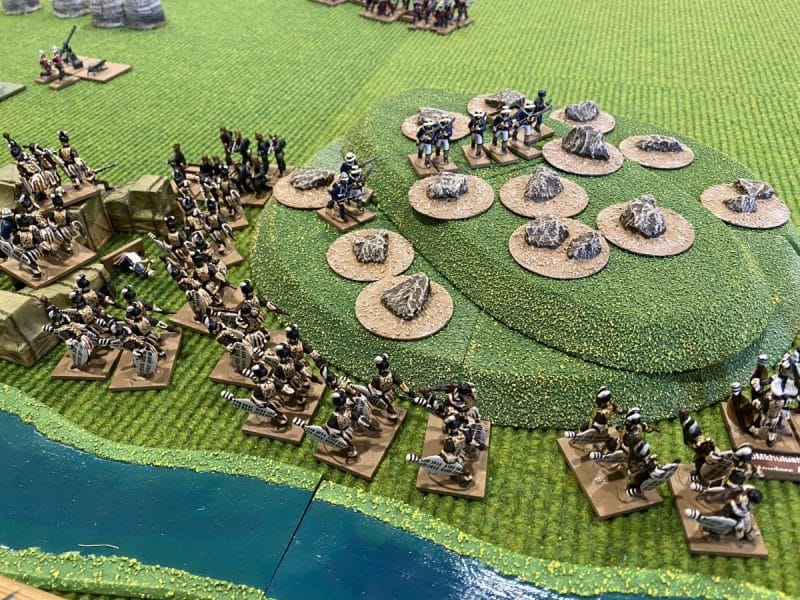
The victorious Zulu’s left one regiment engaging the remaining gun emplacement, whilst the other regiment, rushed down the left flank towards the British encampment. The three companies of British regulars were drawn towards the battle for the surviving gun emplacement. With hindsight, this was a rash move, as the other Zulu regiment scooted around the back of the hill covering the flank of the camp before any determined resistance could be organised. The Zulu’s poured into the camp, over running the limited defence and proceeded to loot . A Royal Navy detachment managed to get away and after some time they began to subdue the Zulu’s but the damage had been done.

The Zulu’s are in the camp!

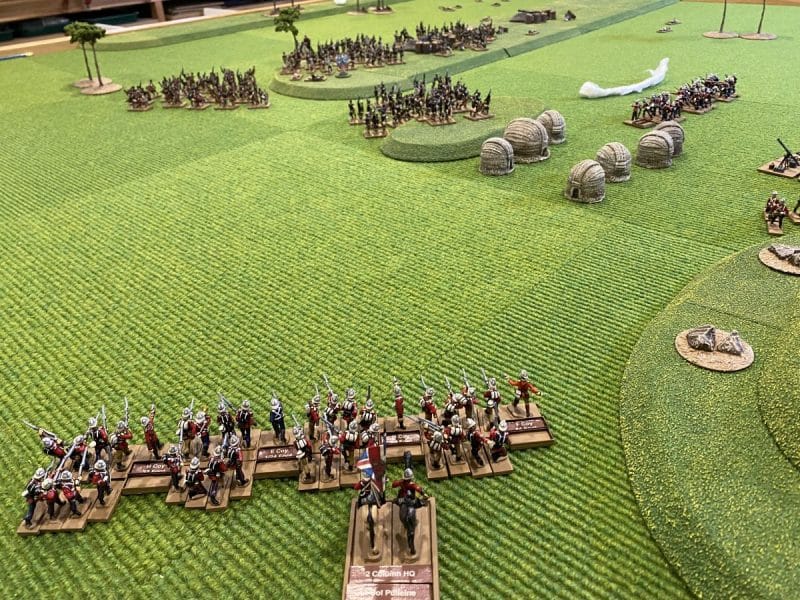
The main bulk of the Zulu force ‘ the head and chest of the buffalo’ in the form of three addition regiments were now attacking over the front ridge and charging the forlorn British firing line. There was a glimmer of hope, The relief column had finally arrived and by a stroke of luck it was four companies of British regular infantry. They immediately formed a firing line and attempted to support their colleagues further out on the battlefield.

More Zulu’s are on the way!
Steady lads – open fire, mind your marks!
Reinforcements have arrived!
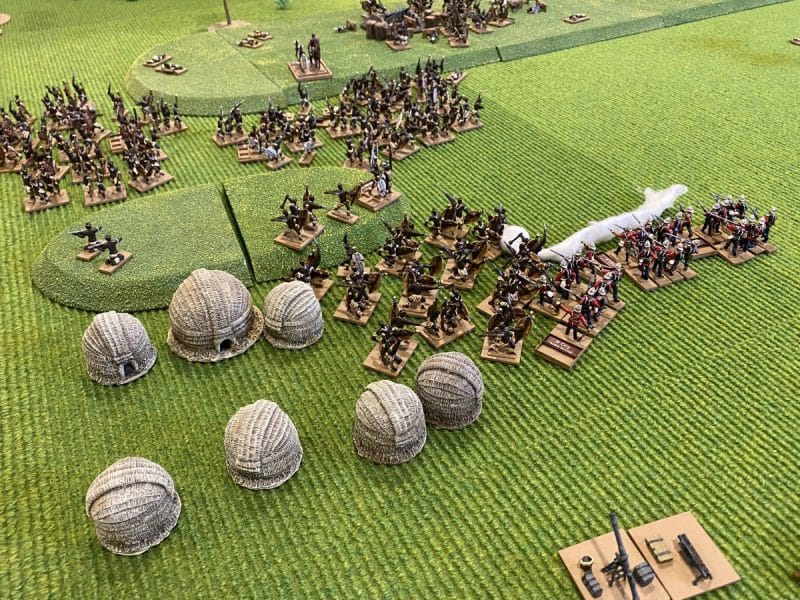
The Zulu’s charge in!

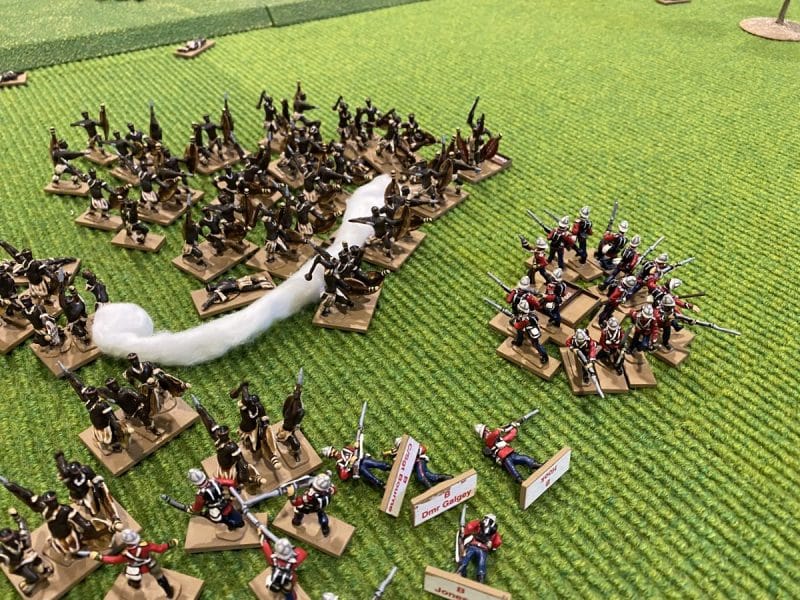
Alas, they were too late. the Zulu’s swarmed into the firing line and after a brutal fight, the line was broken, with the British forced into forming a defensive knot. More British reinforcements now arrived in the shape of the irregular cavalry and an artillery detachment but it was too little, too late. The British centre had been crushed and wiped out to a man. The camp had been looted and the supply base smashed, it was time for the Zulus to withdraw. Even better the Zulu’s had achieved this with just 5 of the 7 regiments available. The right horn of the Zulu army didn’t make it to the battle – perhaps they were diverted by the action at Rorkes drift….

The British crumble under the assault!
The survivors attempt a last stand.
The Zulu’s are victorious!
The British are overwhelmed…

It was also time for us to head for home after a fantastic weekend of gaming. Thanks again to Mark of Jacklex miniatures for not only hosting the games,providing us with superbly painted and organised armies but for his wonderful hospitality.

THE COMMERCIAL BIT

I hope that you all enjoy your hobby as much as I do – remember that our web site will have much of what you need! Click here to see our shop:

ARCANE SCENERY

If you would like to see the classic range of Jacklex miniatures, click here:

JACKLEX MINIATURES

Happy Modelling!
Trafalgar- A wargaming weekend continued

My last blog article told the story of our refight of Vittoria. The game had lasted well into the early afternoon and so rather than start another large battle, we decided that something less serious was required. Andy Callan, is working with Wofun, a company that specializes in laser cutting 28mm gaming figures into acrylic plastic. The Company uses artwork by Peter Dennis. If you have any Osprey books in your collection or have bought a Perry or Warlord boxed set, the chances are that you are familiar with Peter’s excellent work. The combination of Peter Dennis’s artwork and the simple design of the acrylic figures mean that using the Wofun kits, you can produce a table ready army in a matter of an hour or so.

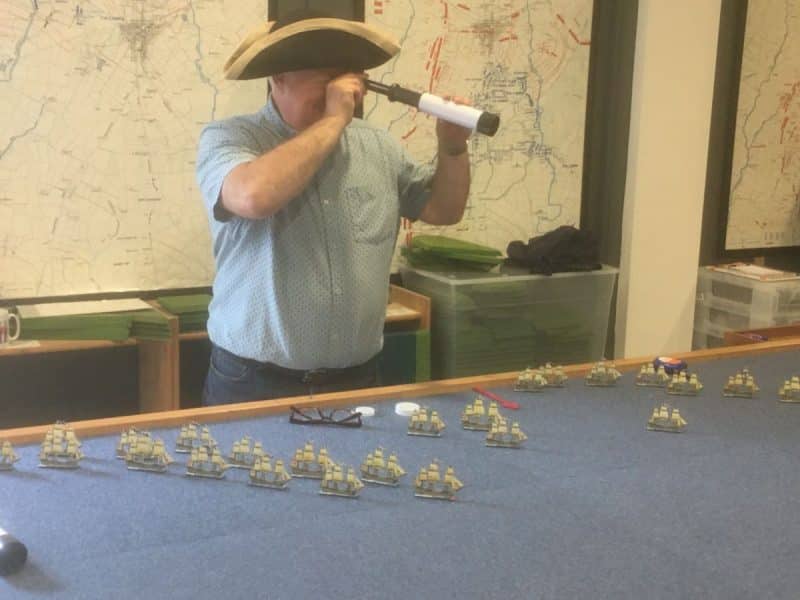
Admiral Collingwood (well, Steve Wood) surveys the enemy fleet!

Andy’s role with Wofun is to produce simple rules to use with the figures and as a result, he often receives samples of the latest Wofun products. He had recently acquired the Trafalgar boxed set, which features every ship from all three fleets present at the Battle of Trafalgar. It took about an hour to assemble the 60+ ships and we were ready to refight the battle. Andy hasn’t actually produced the rules for this set yet but over the course of lunch, he knocked up a set of simple rules that would give us a nice straight forward game.

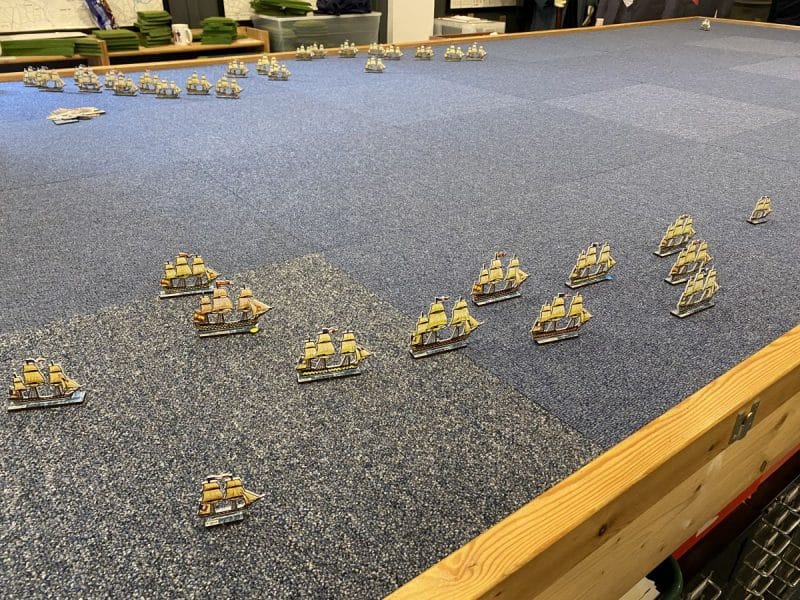
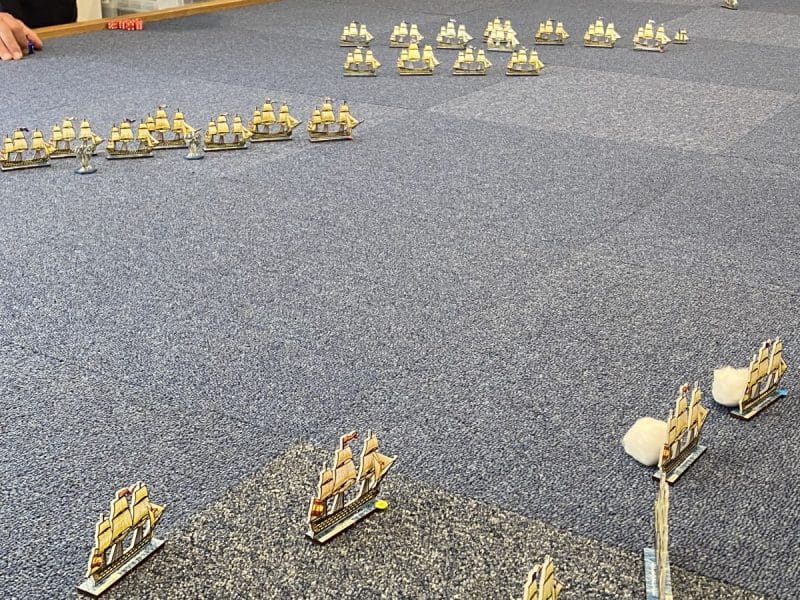
There’ plenty of room on the table! The ship in the background is ‘Africa’

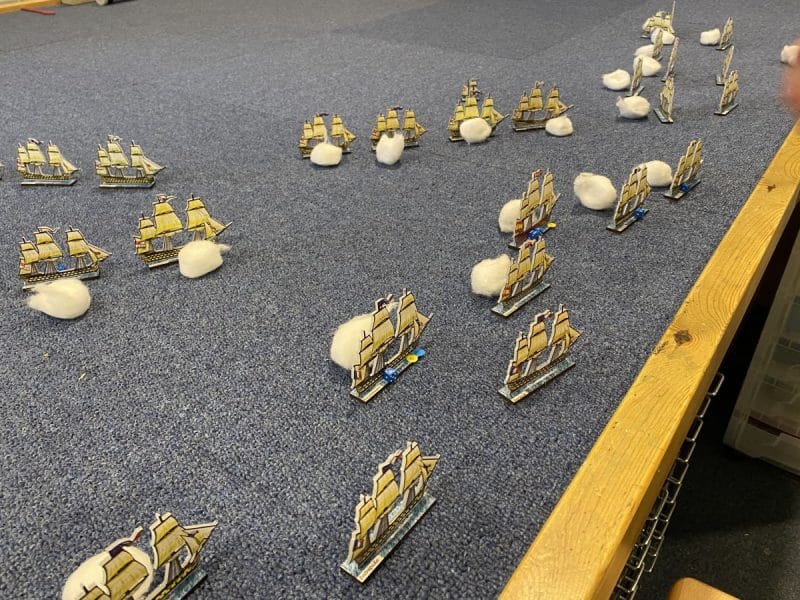
Our host, Mark, has a luxurious wargaming set up, including a massive 17x 8 foot table that uses carpet tiles for the base scenery. It was a simple task to relay the table in Blue carpet tiles and hey presto, we were ready to go!

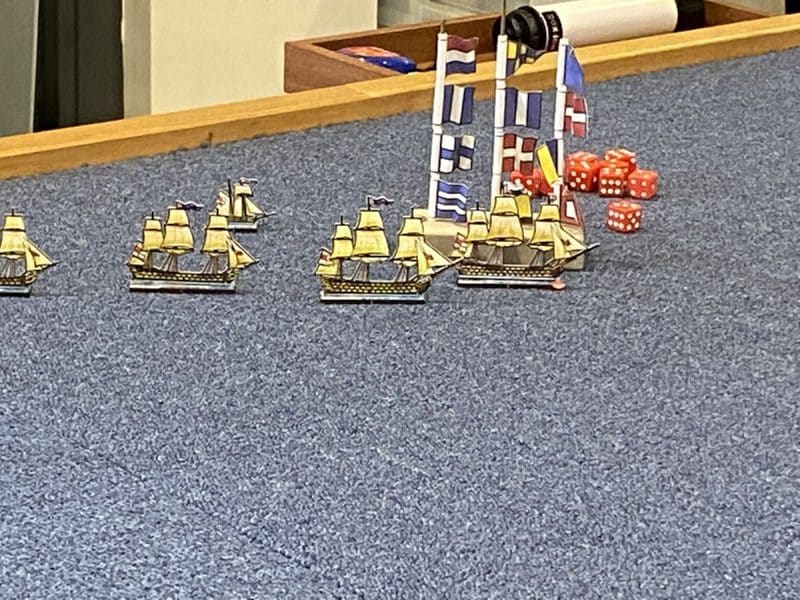
Admiral Mark signals his fleet! ‘Get stuck in boys, last man in, buys the drinks!’

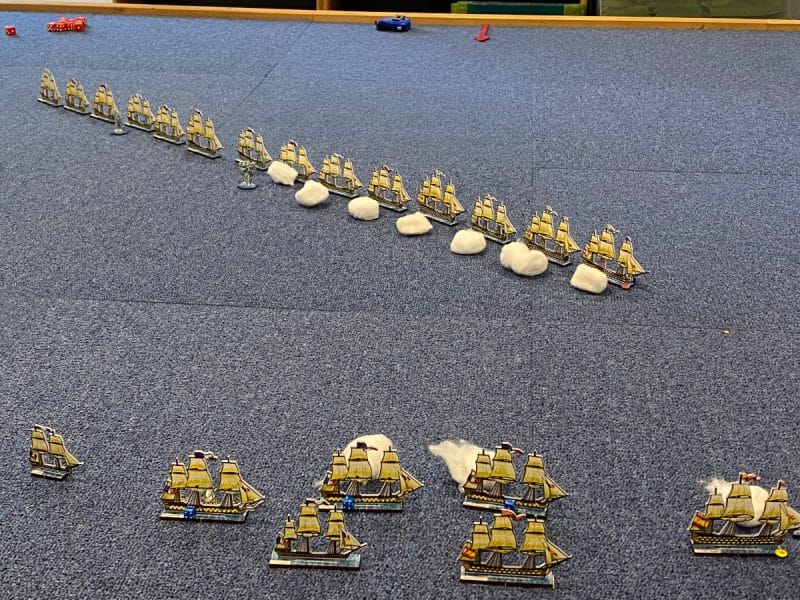
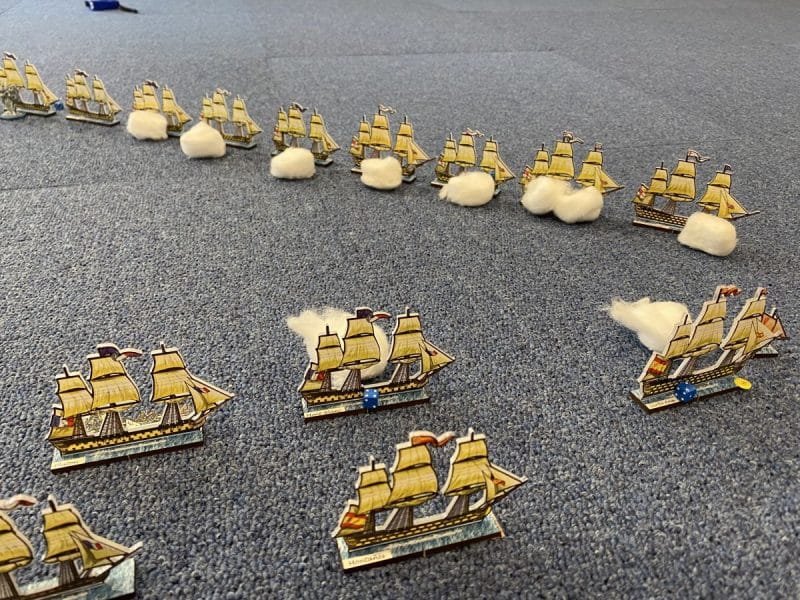
We chose admirals by drawing lots. Unfortunately for Simon, he drew the French and Spanish fleets – he was in for a difficult battle. As regards movement, the French and Spanish ships were given limited scope for maneuvering. We decided that the fleets would stay in the same relative position other than closing with each other, so forward movement was not allowed to any great degree – we didn’t want the ships to disappear off of the table! The French and Spanish were also at a disadvantage with firing, requiring 6’s to hit at anything over medium range, allowing the British fleet to close. The British had the advantage with their first broadside and so were encouraged to wait to open fire.

The French and Spanish open up at long range.

I’ll let the pictures tell the story of the battle. With the odds stacked against Admiral Simon, the Spanish and French were always going to struggle. Simon made things even more difficult by achieving the world record for rolling dice without getting a single 6! At one point, we actually checked to make sure he had 6’s on his dice!

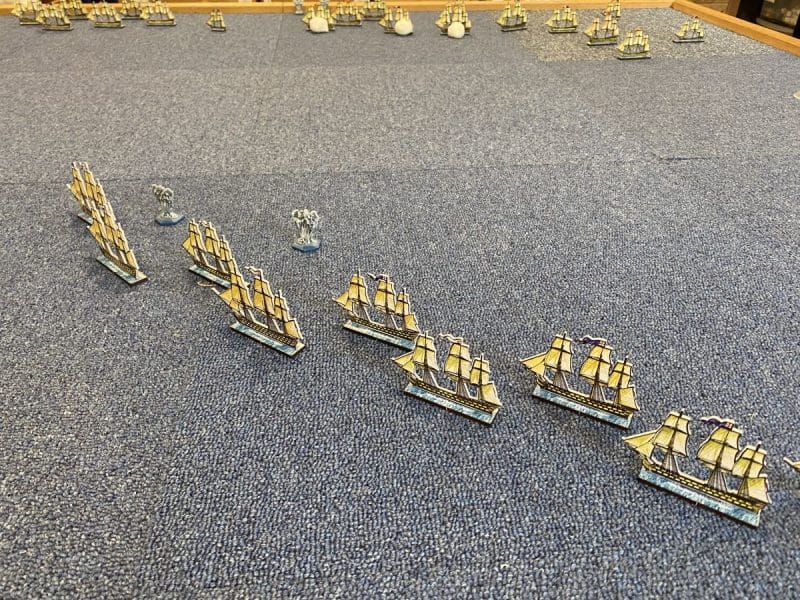
The two British Fleets bear down on the Enemy.
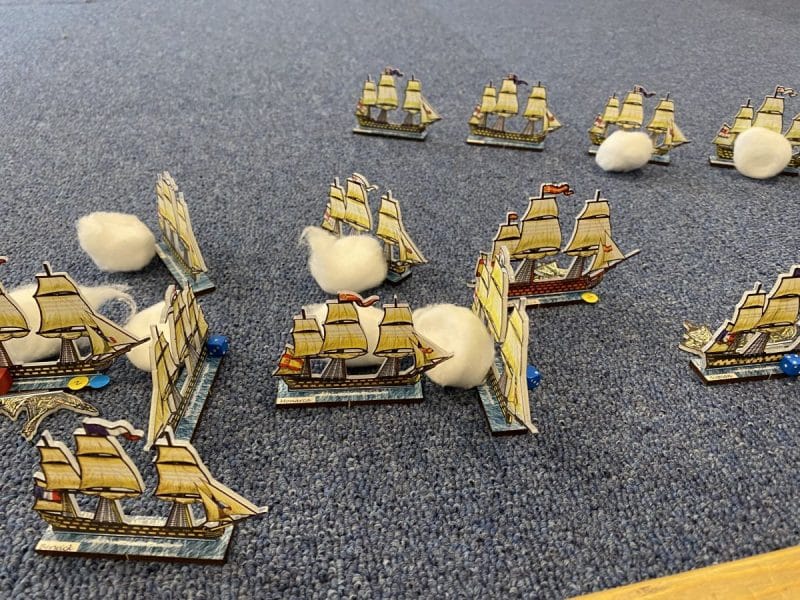
Close action! Nelson gets to grips with the enemy
Collingwood prefers a more stately approach!

So the two British fleets, under Collingwood (me) and Nelson ( Mark) closed on the enemy and when in close range, opened with a devastating Broad side. As the British cut the Spanish and French line, raking the ships as they went, close combat ensued but by then it was very much over with a large number of the enemy ships out of action or smoking hulks! As expected, the fleet led by Nelson was first to contact the Enemy and was rewarded by forcing the French flagship to strike his colours.

The enemy fleet is raked from stem to stern!

Fortunately, Mark, who was playing Nelson did’nt get shot so I didn’t have to kiss him…..

Next up, Zulu’s at Balaclava!

THE COMMERCIAL BIT

I hope that you all enjoy your hobby as much as I do – remember that our web site will have much of what you need! Click here to see our shop:

ARCANE SCENERY

If you would like to see the classic range of Jacklex miniatures, click here:

JACKLEX MINIATURES

If you would like to see the range of Wofun products, Click here

WOFUN GAMES

Happy Modelling!
Prelude to Vittoria

Since lock down has been eased I have been making up for lost time on the gaming front. I was fortunate enough to be invited to my second weekend of gaming this year and joined Andy, Simon and Mark at Mark’s fantastic gaming venue at his house in North Yorkshire. Mark owns Jacklex Miniatures and his obsession is with 20mm classic metal gaming figures, rather than the 28mm armies that I am used to. The gaming group that Mark is part of also prefers umpired ‘old school home brew rules’ for Napoloeonics’, uses figure removal to count casualties and a more rigid command and control system, together with simultaneous orders and movement. All of which is a culture shock to someone who has spent 10 years or more playing the more relaxed ‘Black Powder’

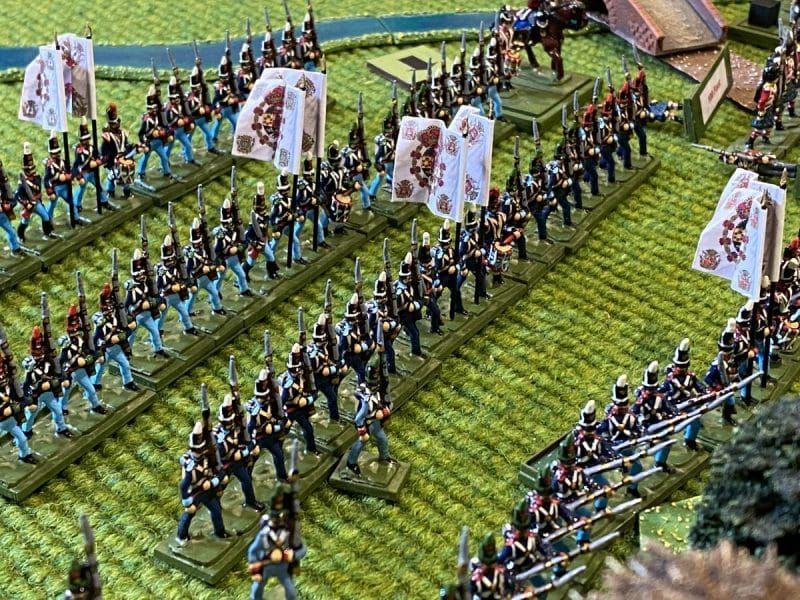
The smaller scale figures still make an impressive sight!

None of the above detracts from the sheer spectacle of the games that we played, nor for that matter, the fun involved. Mind you, I do admit to a certain amount of frustration, particularly when I was unable to detach my rifle companies to subdue a French battery – apparently, that sort of thing might be OK for Bernard Cornwells’ Sharpe but isn’t the done thing in history! Otherwise, I think that I just about managed to keep my toys in the pram in what was a very hard fought battle!

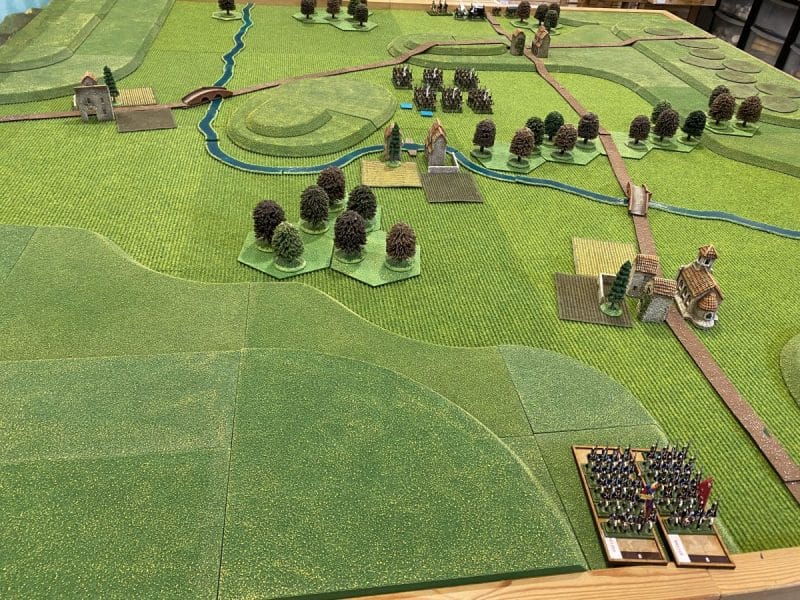
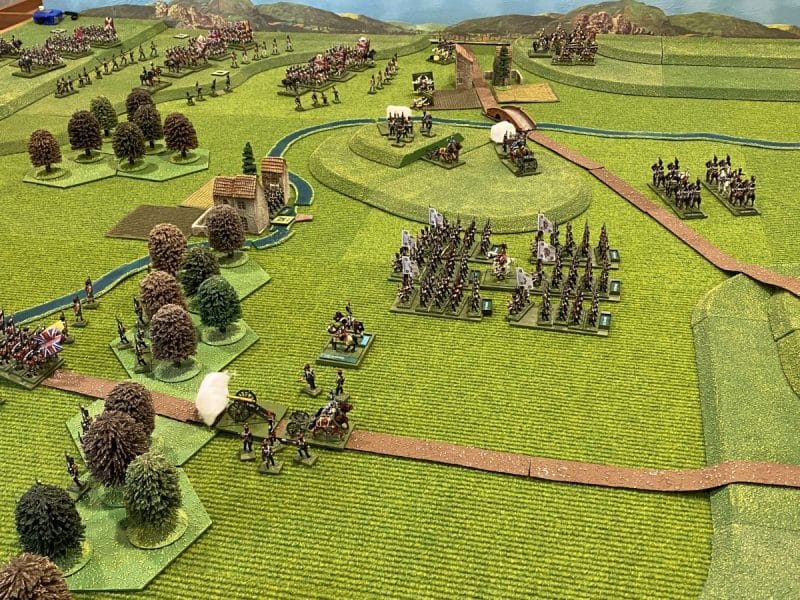
Before the battle – most of the French army is hidden from view.

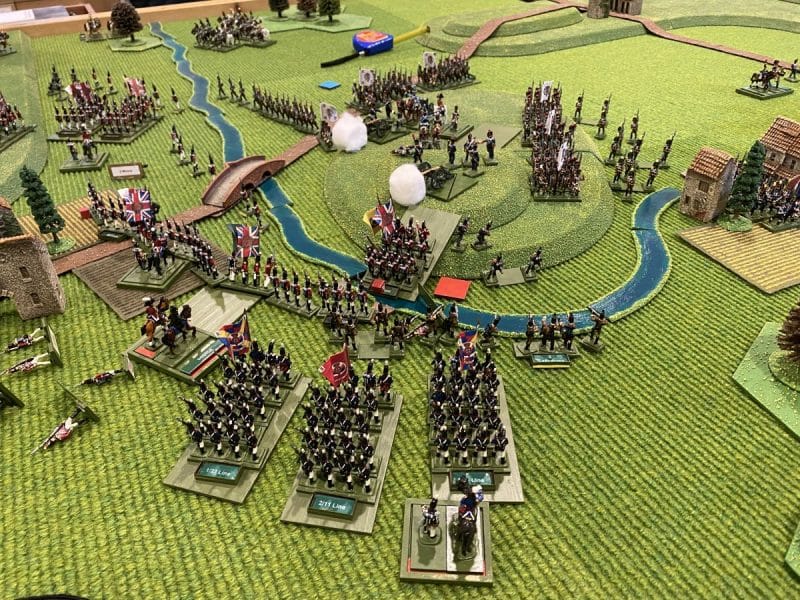
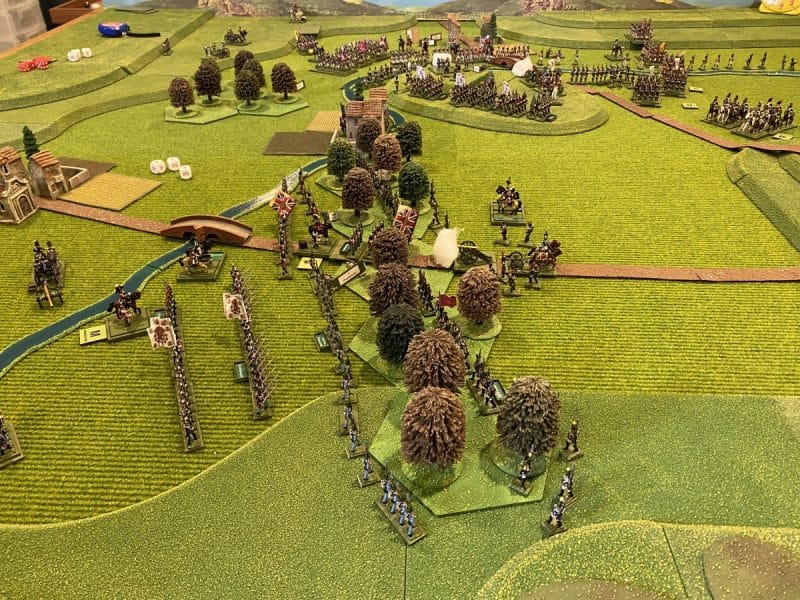
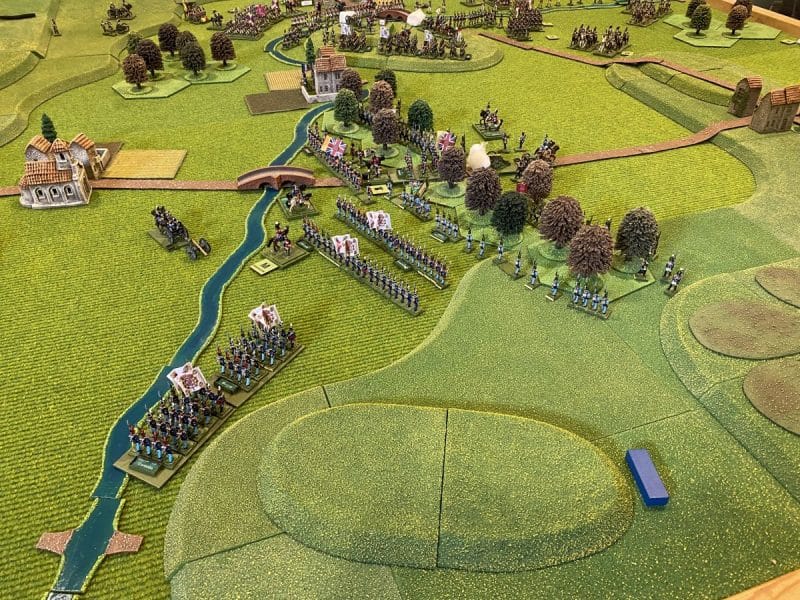
The game was based on the Battle of Vittoria and followed some of the narrative of the original battle although it had been scaled down slightly. The picture above shows the set up. Players were asked to submit their dispositions and order of march to the Umpire prior to the battle starting, along with any general orders to brigades. I neglected to bring the detailed orders of battle away with me, so I can only report that Andy was playing the French, with Simon and I playing the British and Allied armies.

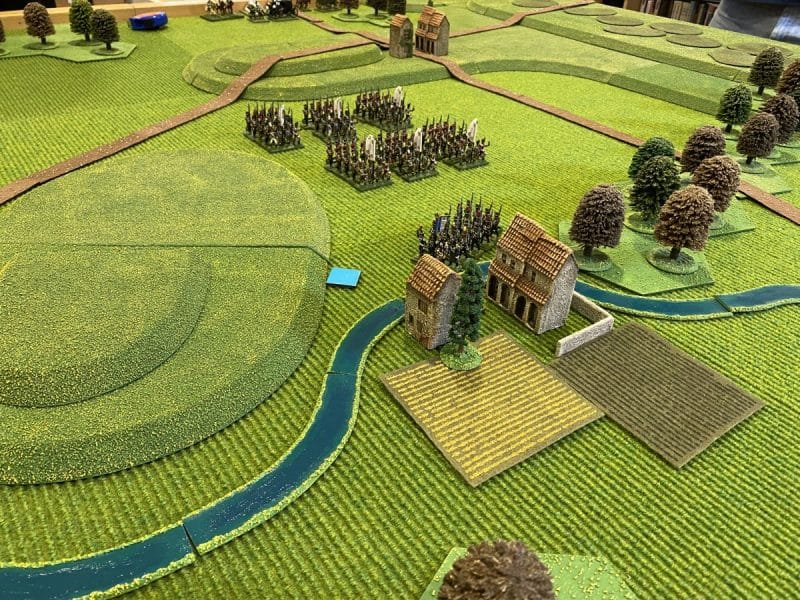
The French had deployed a division of troops in the centre of the battlefield, with a battalion guarding one of the fords through the forward village. It was all that the Allies were able to see at this stage. It was likely that there would be more troops hidden from view!

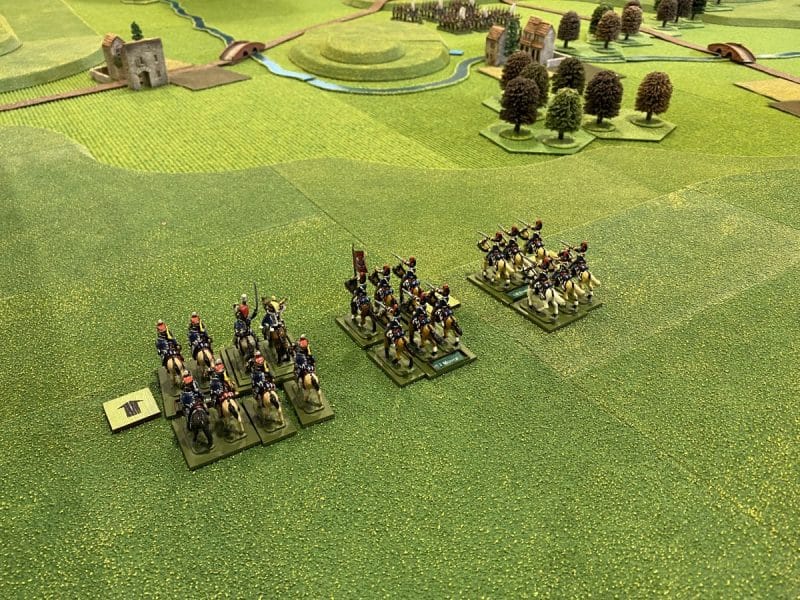
The British Cavalry brigade embark on their scouting mission!

The British plan was to send the mixed brigade of Scots, Portuguese and Spanish Infantry straight through the centre to fix the French and to draw the French into supporting their troops at the various bridges and fords across the river in the centre of the battlefield. Three other infantry brigades and a cavalry brigade would deploy on the left flank and attempt to force a passage over the bridge and fords on this side of the battlefield. The Cavalry brigade had been given orders to scout the entire length of the river. We were interested to find out whether there were more French troops hiding in the village next to the bridge and to see if we could spot any further French deployment. The orders also included a request that once scouting had been completed, a full report should be sent back to HQ….

I’ll attempt to tell the tale of the battle using pictures to illustrate the key points.

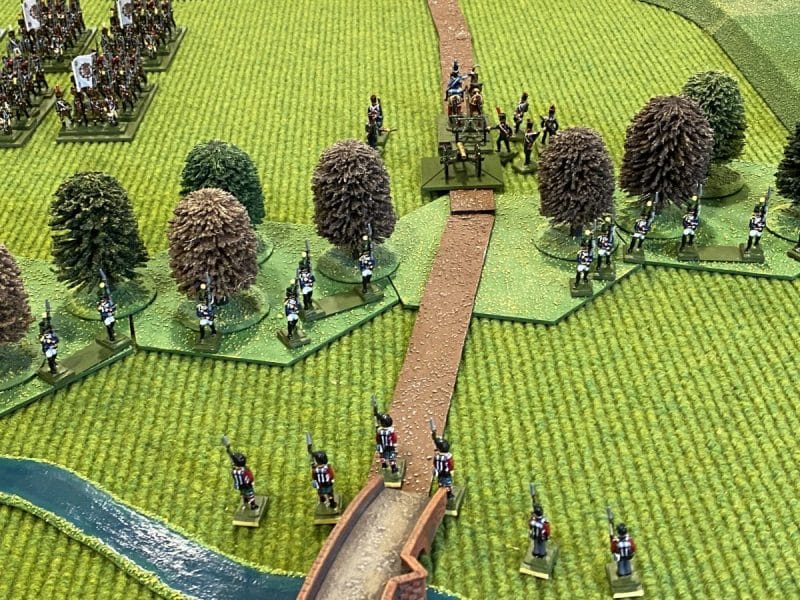
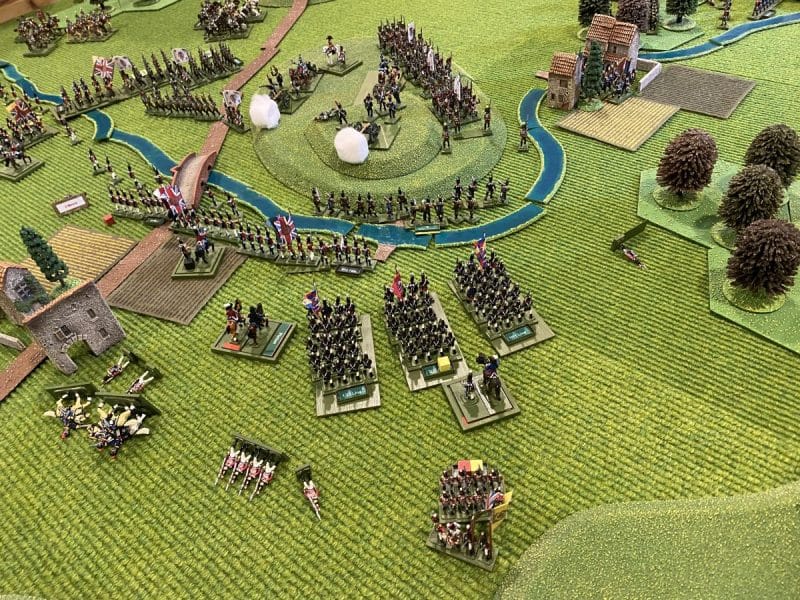
The Allied Centre advances and immediately find their advance blocked by a strong contingent of skirmishers and artillery.
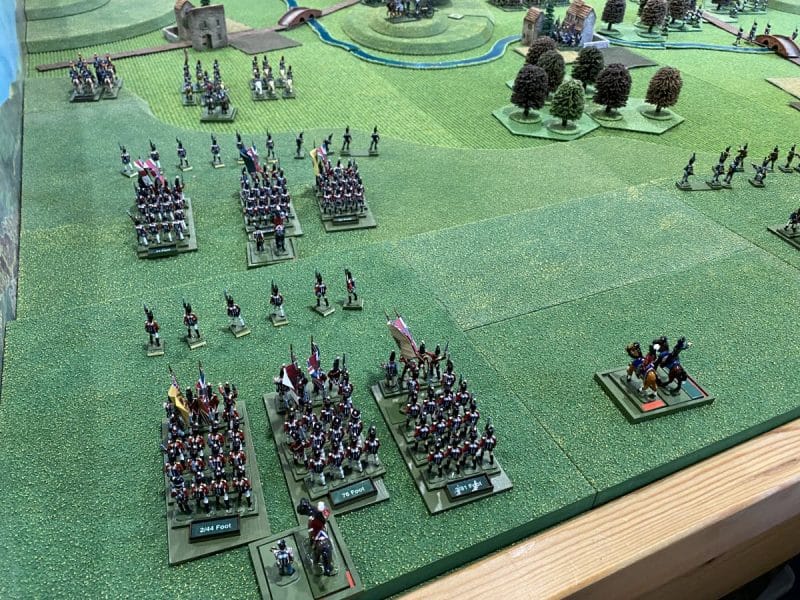
On the left, the Allied cavalry lead the advance, with Pictons infantry division following up.
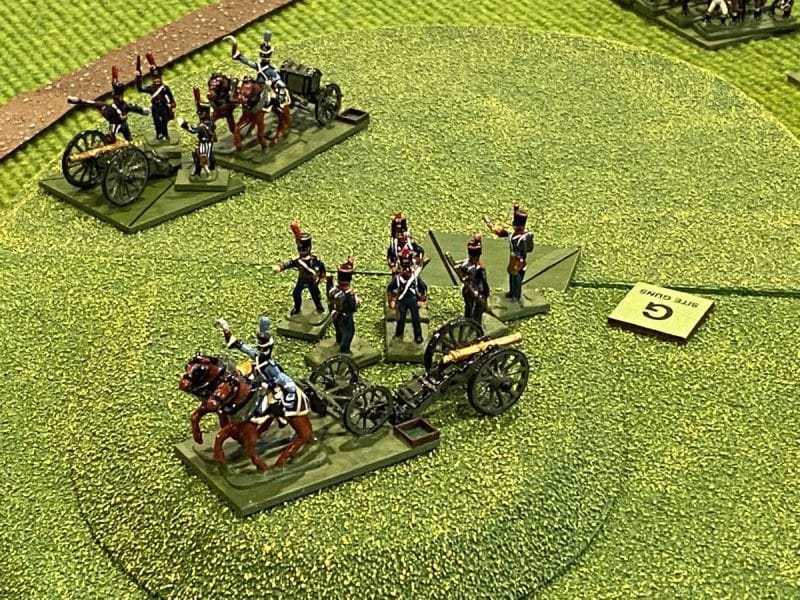
The French deploy their artillery on the heights to defend the bridge on the left flank.
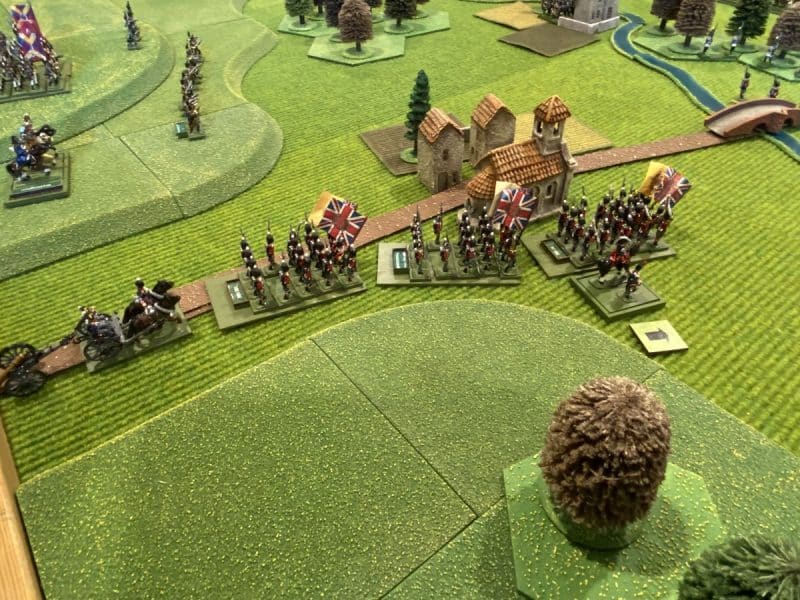
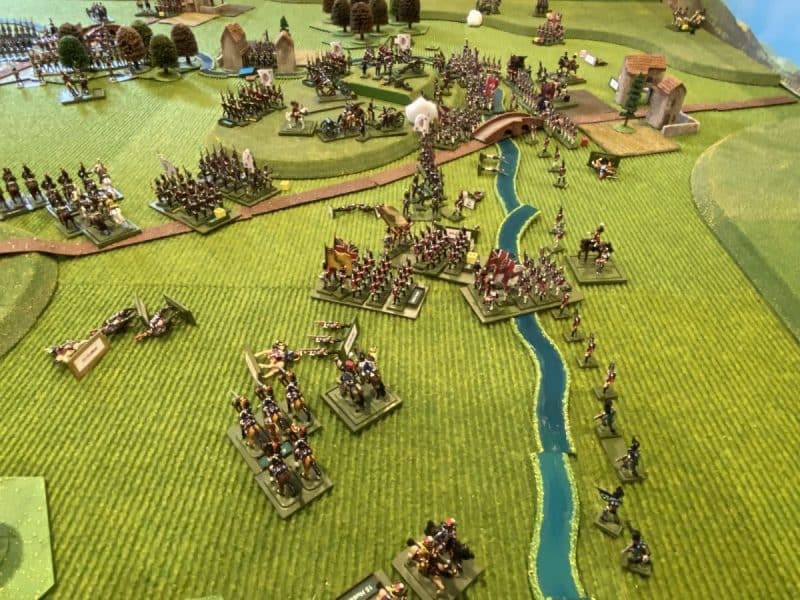
In the centre, the Allies pushed on to the bridge, with the Scots leading the way.
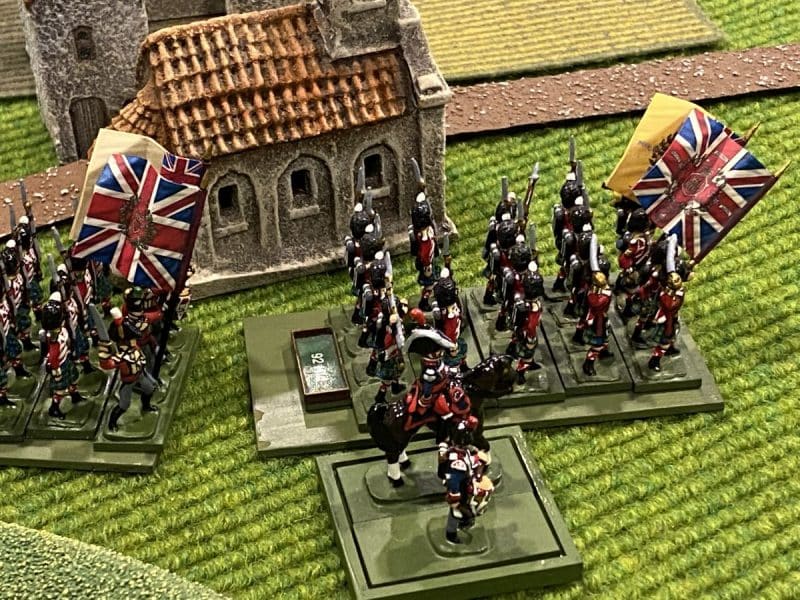
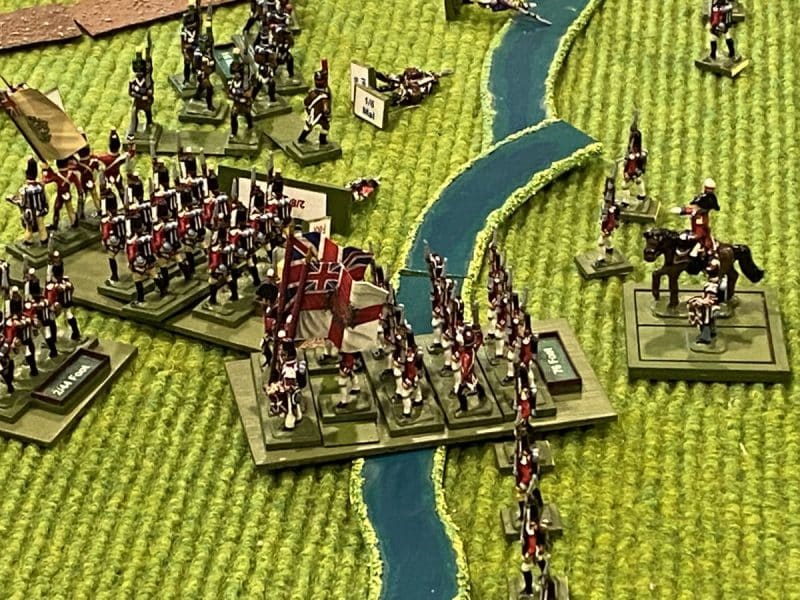
Scotland the brave!
The Scots attempt to push through the centre.

Encouraged by the skirmishers holding the French in check., the Scots attempted to force a passage through the centre by charging the guns. This was not going to end well for somebody…

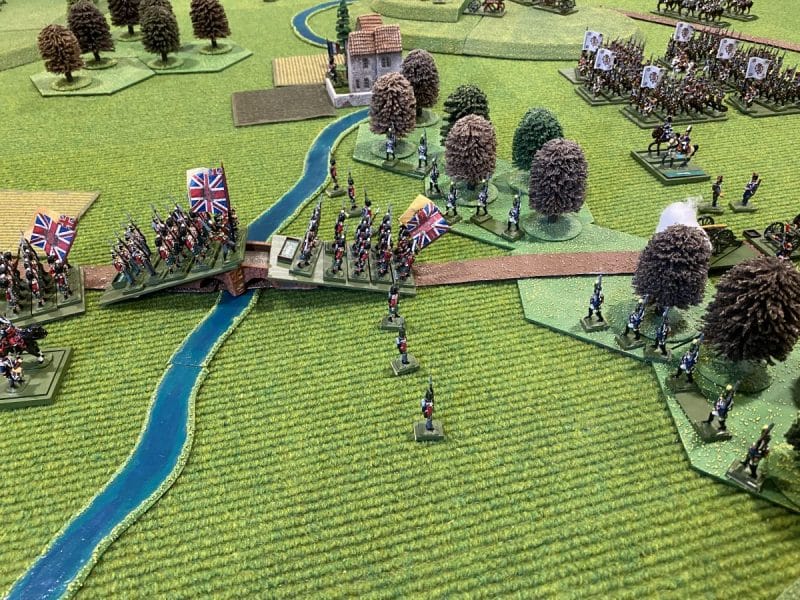
With the British brigade charging the bridge, the Spanish brigade deploys to the right.

Meanwhile, back on the left flank the French artillery battery engaged the leading cavalry, breaking one regiment and causing disorder in another. Despite this set back, the cavalry were able to press on. With the knowledge that the village and bridge were undefended, the Allied infantry began preparations to force a crossing.

The situation on the left flank.
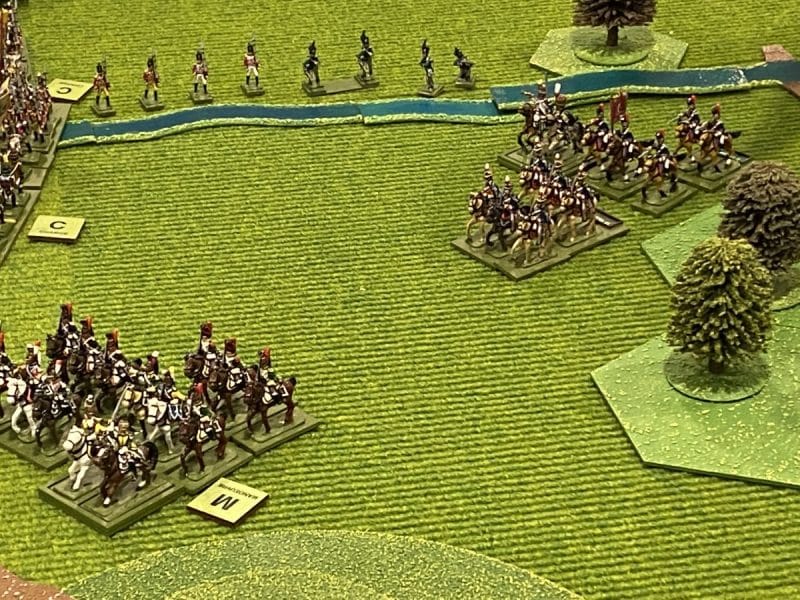
Further scouting by the Allied cavalry revealed a brigade of French Cavalry deployed in defence of the bridge.

With the bridge on the left flank looking strongly defended, the Allied cavalry pushed on and the infantry attempted to storm the guns on the hill over the ford. The final Infantry Brigade of Pictons Division had arrived and so one brigade was ordered to continue around the village to prevent the French from attacking over the bridge.

Keep going! The Allies reinforce the centre after the Scots have been mauled.
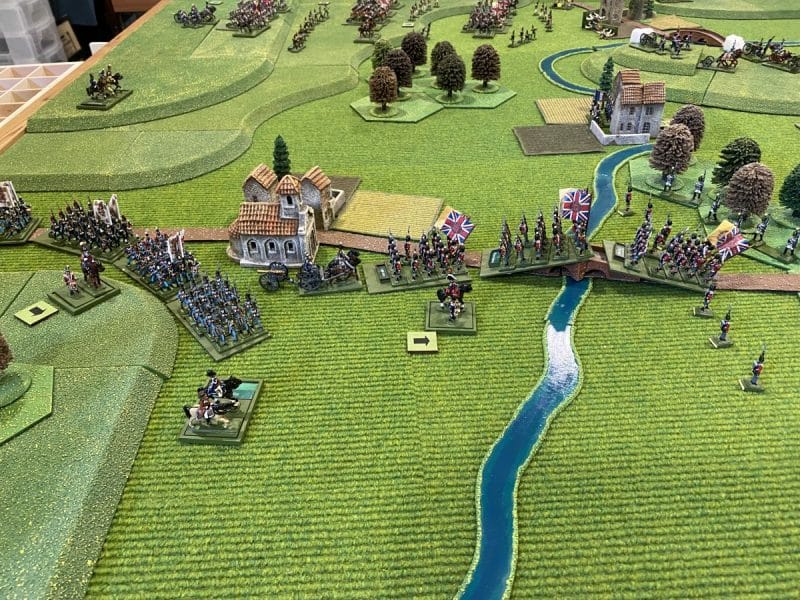
Back in the Centre, the Scots had been terribly mauled by the Artillery and had fled the battlefield! Fortunately, the Brigade morale held and yet another assault was attempted, whilst the Spanish brigade moved to flank the woods.

It’s all getting a bit fraught on the left wing!
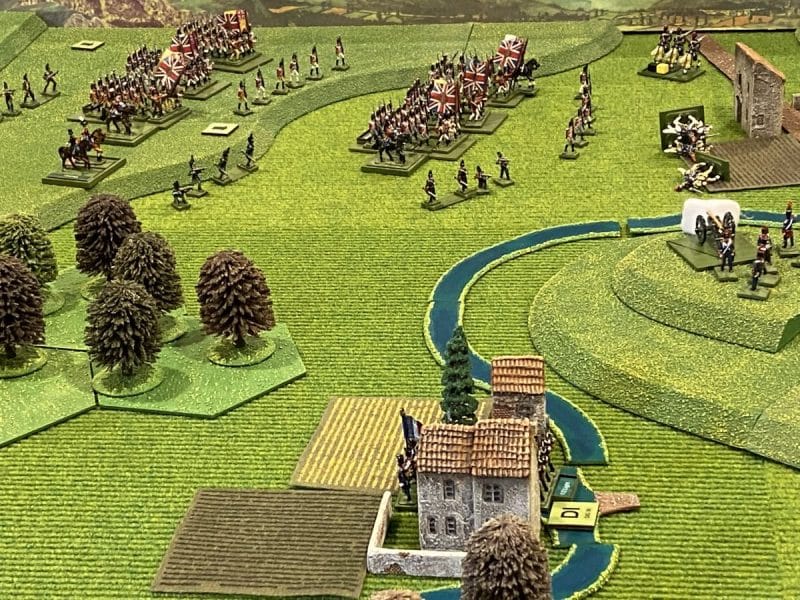
It looked as though things were going badly for the Allies. The French artillery was inflicting tremendous losses on the allies and withstood all attempts to shift them. However, a glimmer of hope appeared for the allies. The cavalry had successfully scouted the length of the river and found two more crossings that appeared to be undefended. The French seemed oblivious to the existence of these fords and seemed only concerned to shadow the allied cavalry and reinforce the heights.

The British cross the ‘hidden’ fords to engage the French – completely surprising them!
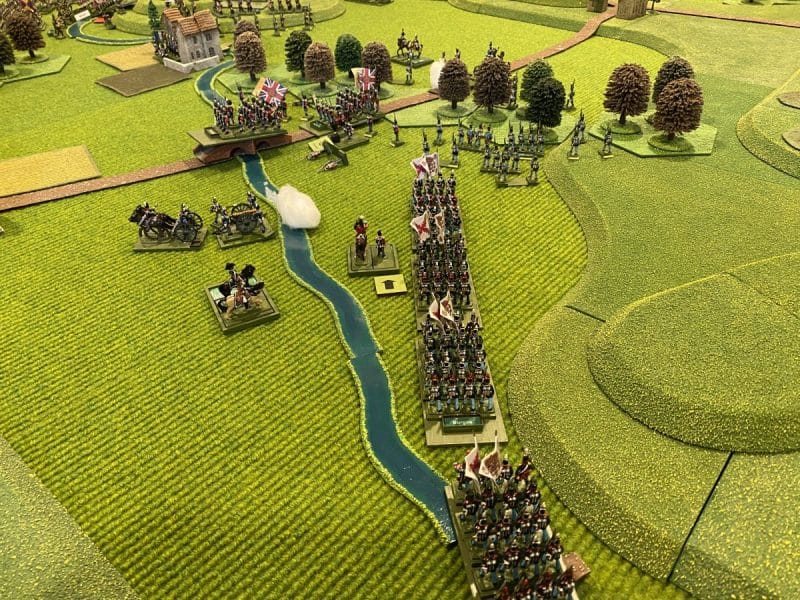
As the French Cavalry pulled back, another trap was sprung as the British Cavalry crossed another hidden ford to catch them in the rear!

Now we have them!

Back in the centre, another assult on the french guns had failed but the Spanish had deployed and were occupying the French, preventing them from re deploying and reinforcing the left flank of the battlefield.

Hold the line!
More Spanish move up and the French skirmishers are pushed back.

Back on the left, the British cavalry had beaten their French counter parts and the Infantry had broken the French Battalions that had attempted to defend the hidden ford. Picton had aslo ordered his third brigade to ignore the guns and advance around the hill smashing into the flank of another defending French battalion.

The French are encircled!

With the collapse of the French on the left, the French were in danger of being encircled. Andy, decided that the battle was lost and began the retreat back towards Vittoria. Victory for the Allies….only just though! Without the successful reconnaissance by the Cavalry, the Allies would never have pushed though the other river crossings. The French defence was just too well planned.

Onwards men! Victory is in sight!

A very enjoyable game, where Mark, our host and umpire had to work very hard to keep some of the players in check (sorry Mark!) The game was made all the more enjoyable by the wonderful set up and beautifully painted and organised armies.

After a very nice late lunch we were ready to re-fight Trafalgar….but that will follow in my next battle report!

THE COMMERCIAL BIT

I hope that you all enjoy your hobby as much as I do – remember that our web site will have much of what you need! Click here to see our shop:

ARCANE SCENERY

If you would like to see the classic range of Jacklex miniatures, click here:

JACKLEX MINIATURES

Happy Modelling!