This blog is an account of the battles that I was involved in at the Bill Hooks BASH held on September 4th at Boards and Swords in Derby. For more details of the actual event, please refer to my earlier blog, Bill Hooks BASH part one.
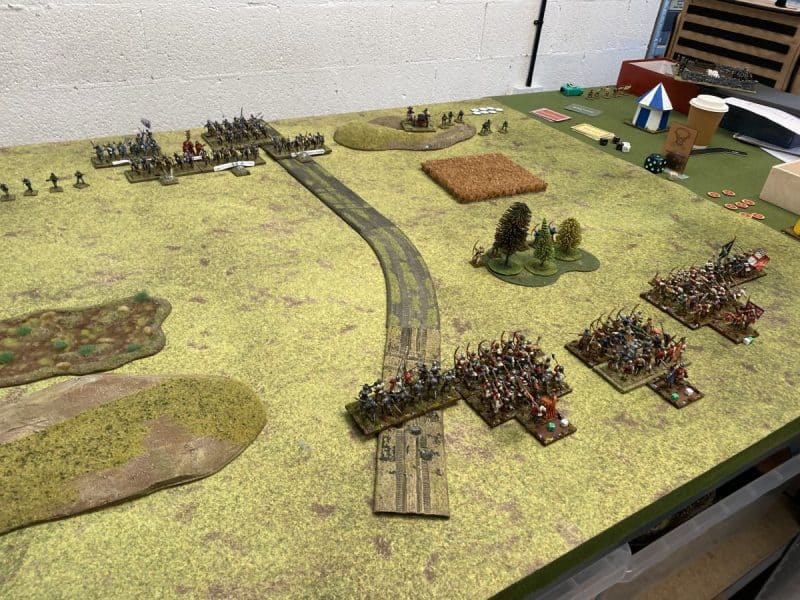
As always, it is difficult to participate in the battles, take photos and record exactly what happened. So the accounts are written after the event, from the brief notes that I made and of course, are totally biased from my perspective. As such, I suspect that makes my reports as reliable as the chroniclers of the time! If you get to talk to my opponents, they may hold a different view of what really happened! I must also apologise for not getting photos of every battle or even every army – there really was too much going on!
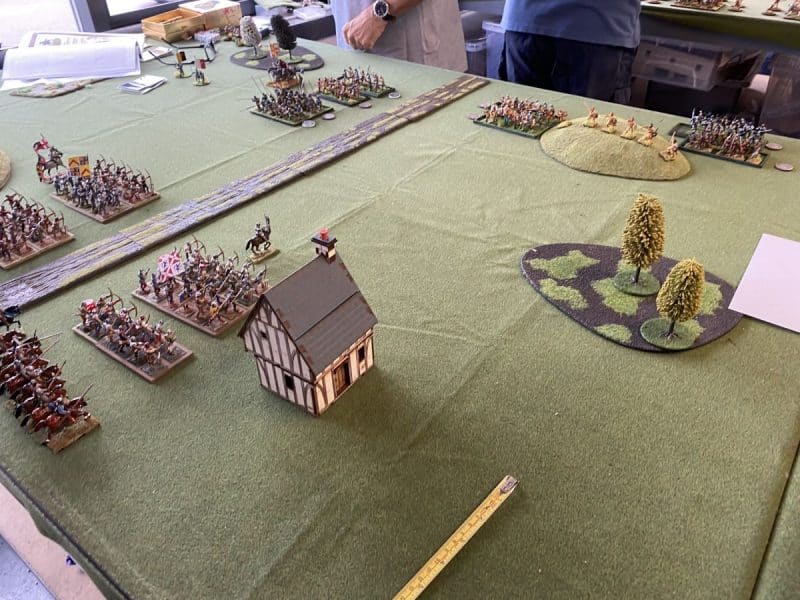
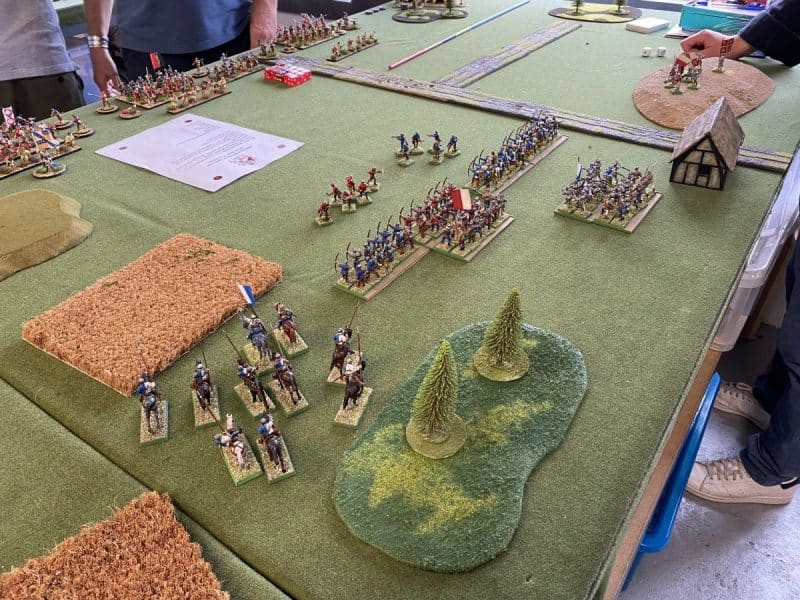
BATTLE ONE vs Sir John Csonka
It’s worth mentioning that John had travelled all the way from Bournemouth on the coach to join us on the day. This was to be his first ever battle using the Bill Hooks rules. He had borrowed an army, very kindly supplied by one of the other players ( Robbie, I think), so as a result, he was limited in the options that he had for his troops. With an army composed of just Bows, Bills and Men At Arms, John adopted a defensive position on the top of a hill at the back of the table and invited me to attack and do my worst – I was happy to oblige!
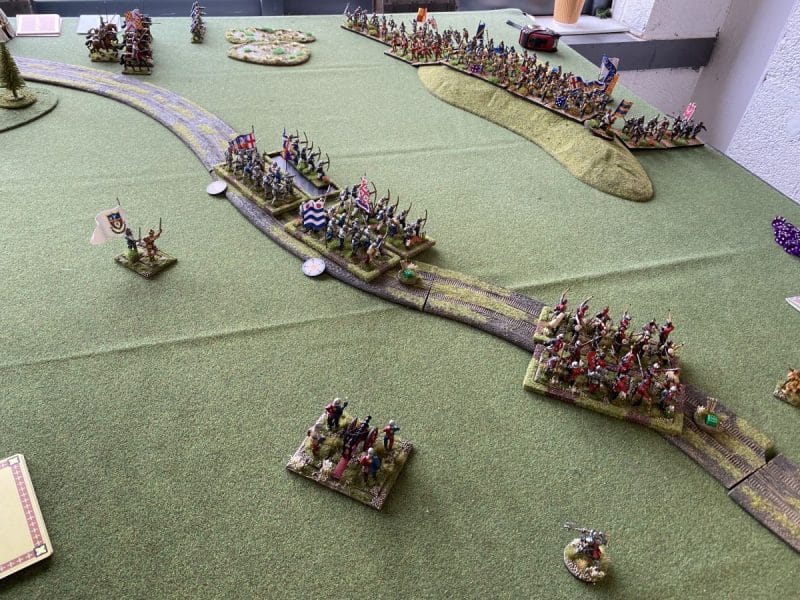
The movement phase was a somewhat one sided affair as I redeployed my artillery and the battle opened with them opening fire without effect on the opposing army. I had moved my main ward within long range bowshot of John’s defensive position. The idea was that we would either tempt John off of the hill or let him use his arrow supplies at long range whilst I moved my MAA into position to charge. My opening bow shots caused a bit of damage to John’s archers. To my surprise, John’s opening shots at long range killed seven of my archers in Lord Harry Hotspurs unit. At the end of the turn they were forced to make a morale check. A roll of 8 + would be good enough, with a 5, 6 or 7 causing the unit to be daunted and to fall back. I rolled a 3 and a 1!
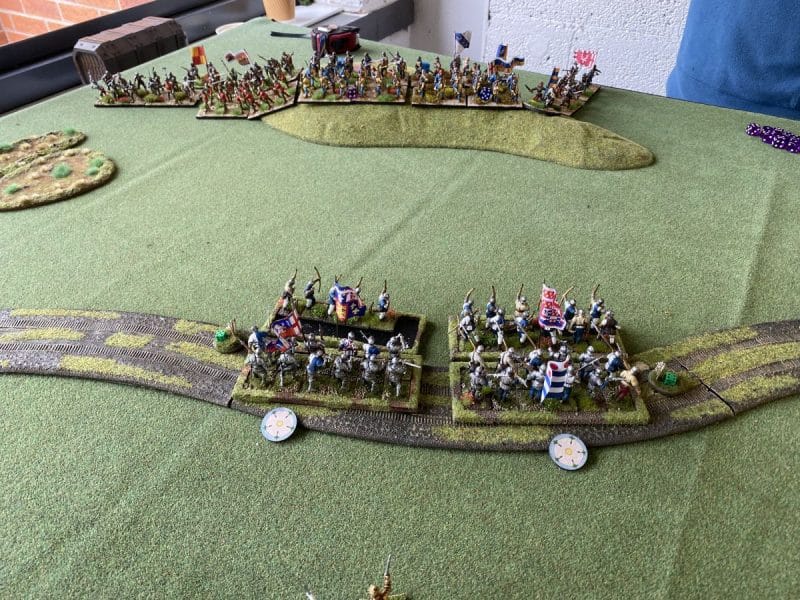
This would cause the unit to rout! I used Harry Hotspur’s command status to reroll the 1. I rolled another one…The whole block, along with Sir Harry ran from the table – game over! With the benefit of hindsight, I only needed to test the archer unit’s morale as the casualties were caused by shooting. Once they failed, they would have routed back through Sir Harry and his MAA but not caused any further morale checks with the MAA as they would ignore the archers plight. However, Once I chose to use Sir Harry’s reroll it seemed only fair that he should abide by the result – served me right!
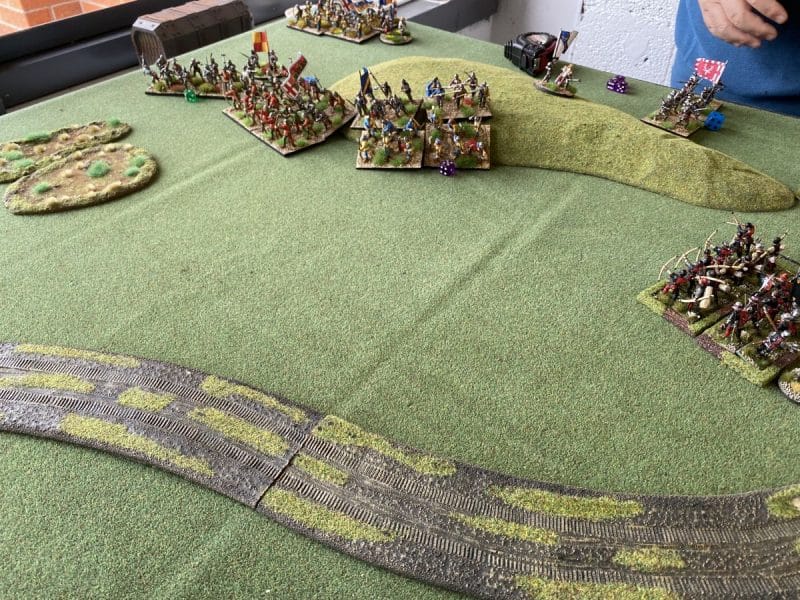
As that battle had ended so quickly, John kindly suggested that I re instate Sir Harry ( less his cowardly troops!) and we carried on with the battle. A desperate struggle ensued, with Lord Harry Hotspur and his remaining ward and Sir Eric Die Hard grinding down Johns position and gradually temptimg them to advance. The Kern nearly won the battle for me. Having ground down a unit of MAA that were holding the flank and forced them to fall back daunted, the Kern nearly killed John’s isolated C in C. He escaped the combat with one wound, somewhat shaken but was able to re-join another unit and find safety.
The battle came to it’s second conclusion when Sir Daniel Rose charged his light cavalry unit at a unit of Billmen that had become exposed. If he could force a morale check, Johns army was in danger of routing. Although Sir Daniel won the combat 5 wounds to 4 he managed to roll another 1 when checking for wounds on the leader. As a dolt, he had only one wound and was killed. We decided that both units should test morale. The result was predictable and whilst John’s men stood, the few remaining light horse routed, giving a second decisive victory to John!
Battle Two vs Sir Ralph Dutton
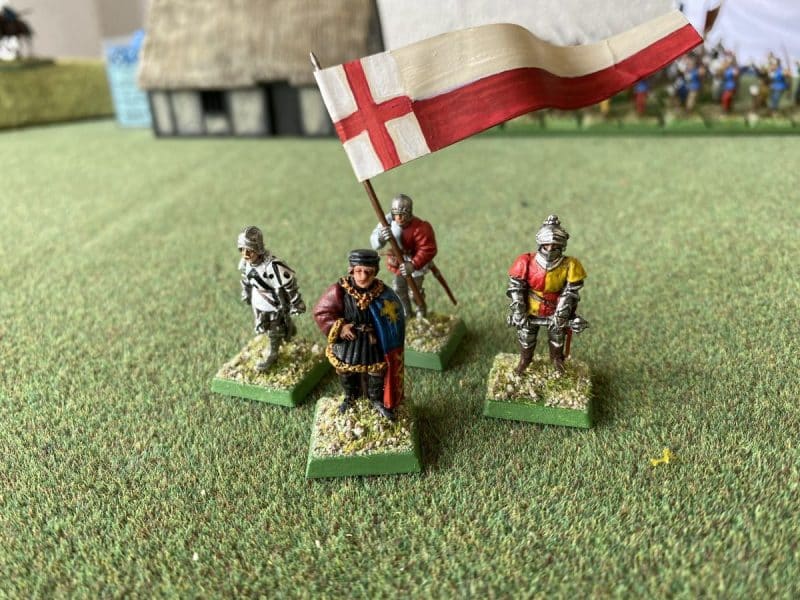
Sir Ralphs army livery was based on his family name and his home location. The army was fairly ‘bow heavy’ and Sir Ralph adopted an aggressive strategy, advancing rapidly to bring his superior firepower into range of his opponents. The opening moves saw two significant events. I drew my first and only special event card of the day and caused a rainstorm preventing any firing in the first turn. Under cover of the rain, my Kern were able to advance quickly down the left flank, threatening the rear of Sir Ralph’s army. I was also move towards Sir Ralphs Bow men line safe in the knowledge that he would be unable to unleash an arrow storm for the time being.
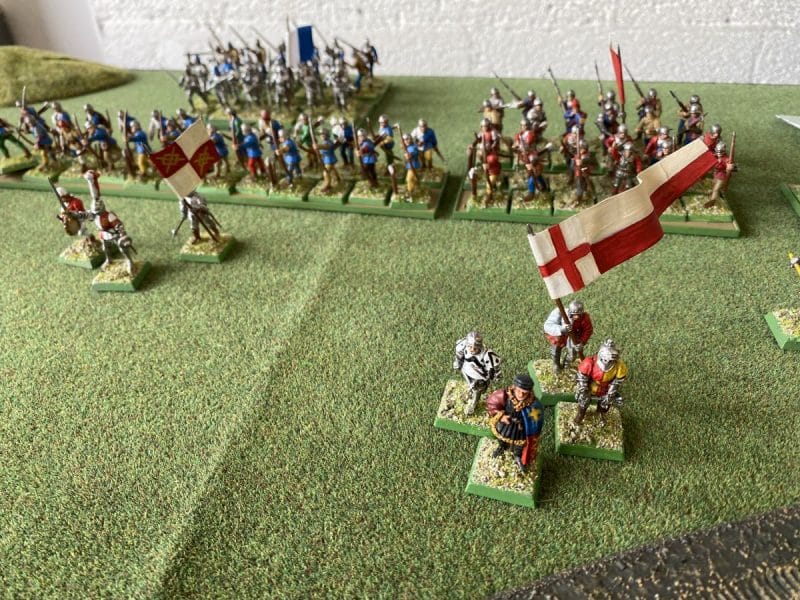
As the rain storm ended, my Skirmishers were again activated. The bad news was that my Artillery piece blew up killing it’s crew. The good news was that the Kern had closed with the opposition skirmishers and put them to flight in combat. They continued to harry the left flank, disposing of another batch of crossbowmen and distracting the units on that side of the table throughout the game.
On the right, the two opposing units of Light horse charged each other. This time, after 2 rounds of combat, Sir Daniel Rose was victorious, routing his opponent. This left the right flank under pressure with my light horse threatening the bow men from this side, turning them away from my centre with a flank attack.
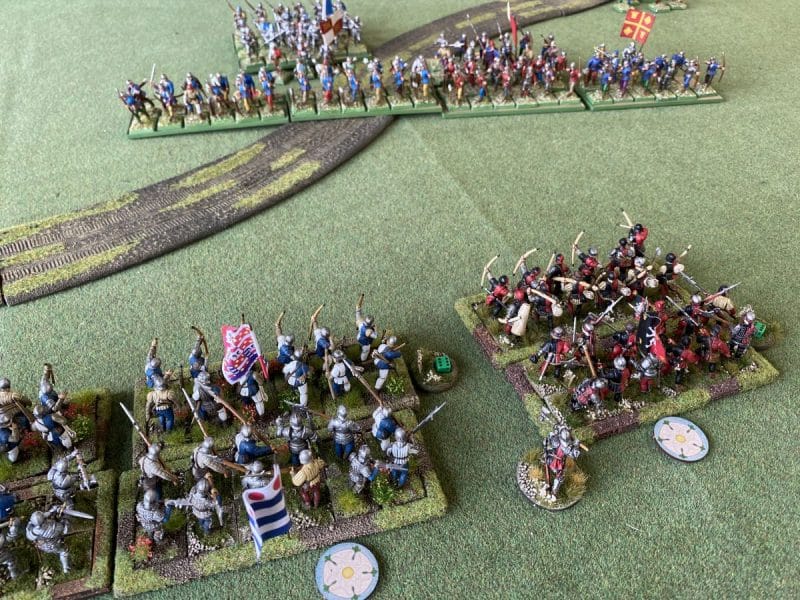
In the centre, Sir Ralph finally unleashed his arrow storm but seemed to be suffering from damp bowstrings as casualties amongst my wards were extremely light. In reply to the arrow storm, Sir Eric Diehard was able to charge home, tying up one of Sir Ralphs ward and preventing its commander from giving orders. This allowed me to concentrate my fire on the formation of bowmen in line. They were out shot and routed.
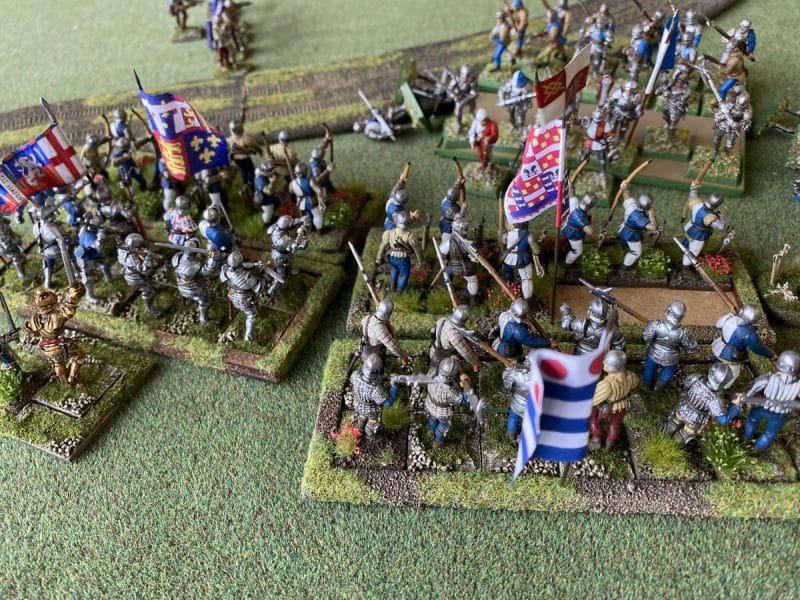
Sir Ralph then attempted to charge my units but fell short. Surrounded by archers , they were almost annihilated and failed their morale bringing the battle to a close. Victory for Lord Harry Hotspur! In this game, apart from the episode with the artillery, my dice throws had been much kinder. I was lucky to take minimal casualties from Sir Ralph’s opening arrow storm, whilst my own troops were far more effective with their dice, with over average numbers of 6’s being thrown at each attempt.
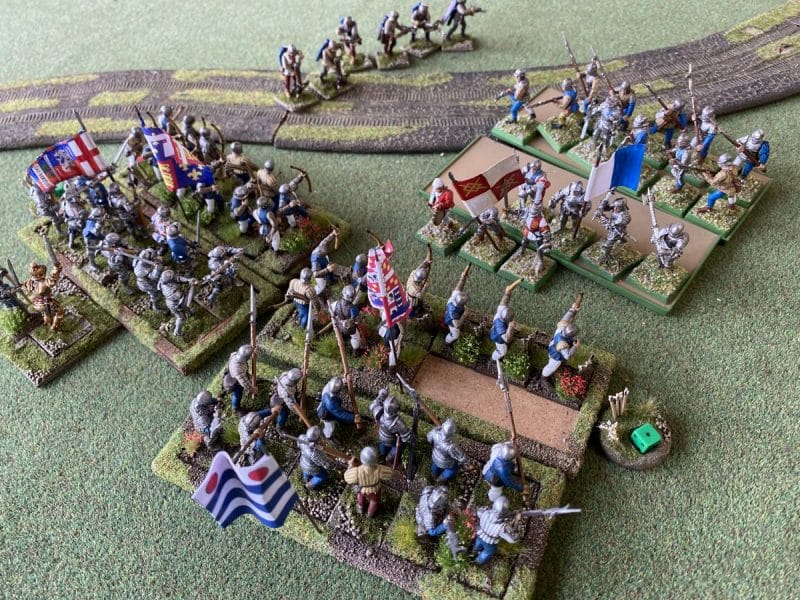
This was the first time that I had faced archers in a line formation in a ‘real battle’. We had play tested the formation and whilst it is devastating if it has the initiative – an arrow storm could be 48 dice! – we found it to be extremely fragile when in melee and of course vulnerable to a cavalry charge. Although light cavalry are vulnerable to arrows, an unsupported bow line is still going to struggle against a head on charge, even with a closing shot. I’ll leave you to do the maths!
Battle Three vs Sir Richard Robinson
Richard is now a veteran of Bill Hooks, being Peter Harris’s regular opponent. His well balanced army would be a formidable test. From the start, Sir Richard adopted a no nonsense ‘up and at ’em’ philosophy, with his army advancing rapidly towards me. Once again, my Kern were able to work their way down the left flank to cause mayhem with Sir Richards skirmishers and threaten to get behind his army. And once again, my artillery blew up in the opening turn!
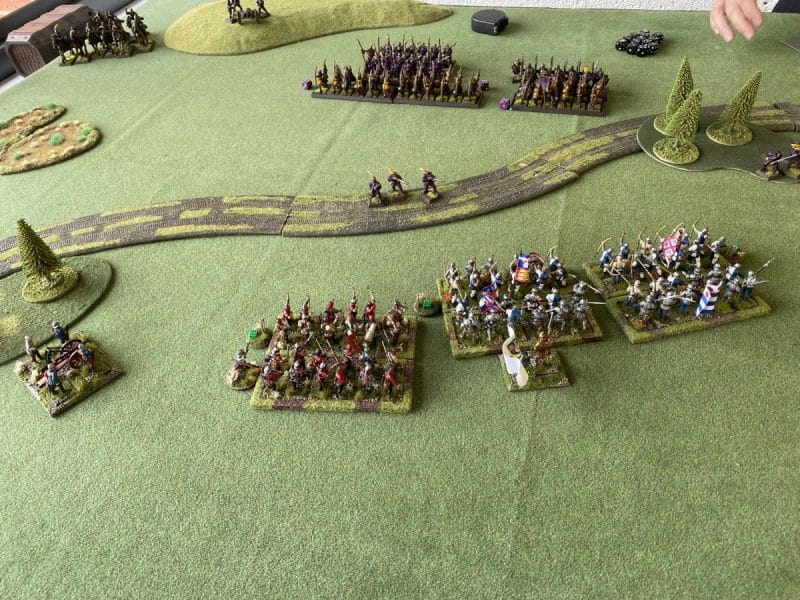
Despite that minor set back I managed to position my light horse to launch a flank attack on Sir Richards two units of archers in line. This caused them to pivot at right angles to my army, exposing his C in C and his ward of MAA. Although my light horse were beaten off and then ridden down by Sir Richards light horse, his battle line was in chaos, pulled to the left by the Kern and to the right by the light horse. After inflicting a couple of casualties on Sir Richards MAA, Lord Harry Hotspur ( rated as a Hero for this game) charged home with his MAA.
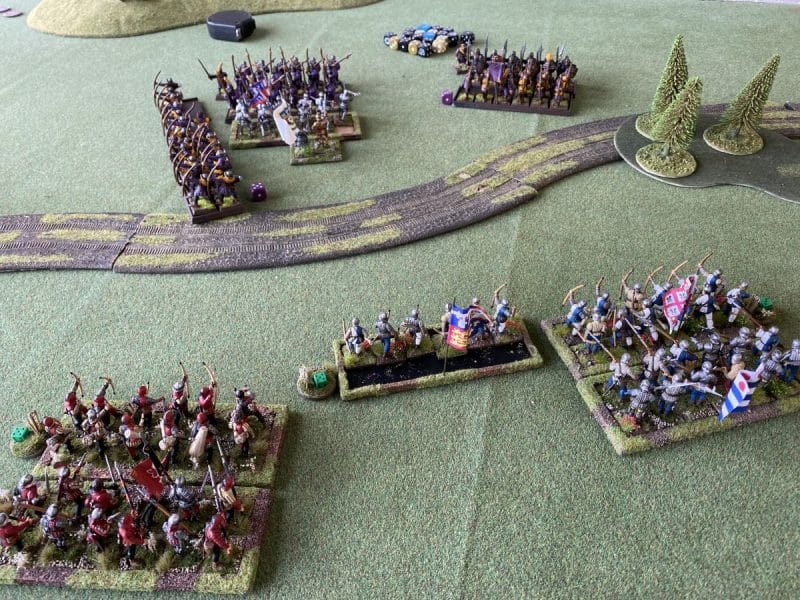
Lord Hotspur comfortably won the ensuing melee and was able to follow up in the next turn, pushing The opposing army commander off of the table. Another victory for Lord Hotspur! Once again, the dice goodess had been exceptionally kind to me. I think that I used my bad throws up in the first game!
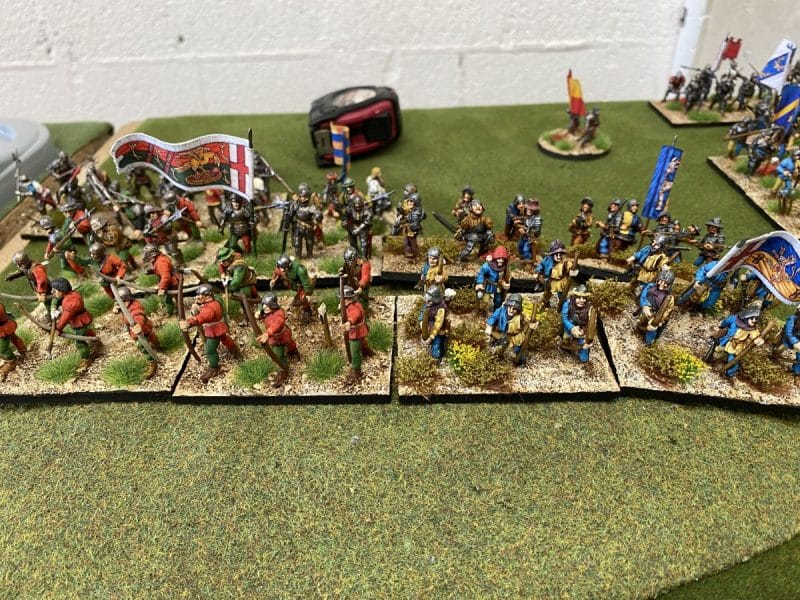
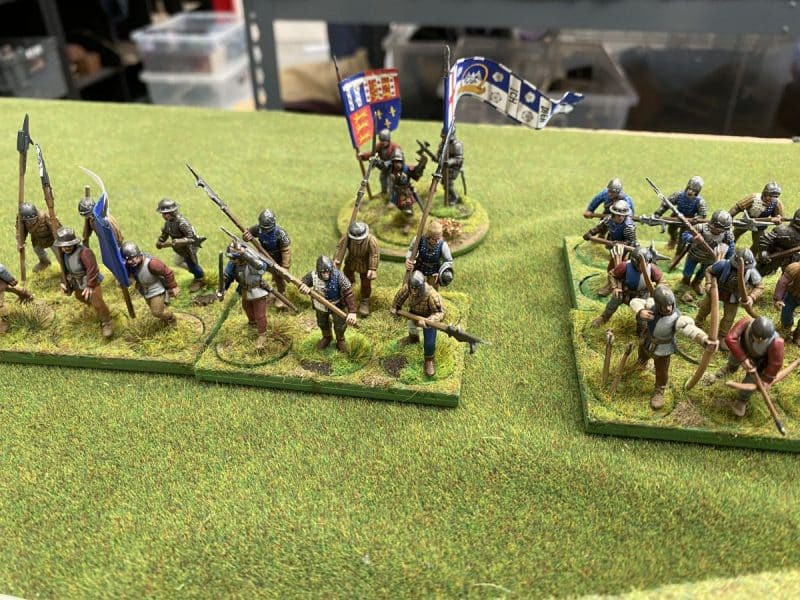
So three great games, all with different highs and lows and three great opponents. All three games could have turned out differently with a change of the order of the cards or better or worse dice. I think that is part of the charm of the rules. No matter how good your initial strategy, lady luck will have her say. Which means that win or lose, you have something to talk about and the urge to fight another battle!
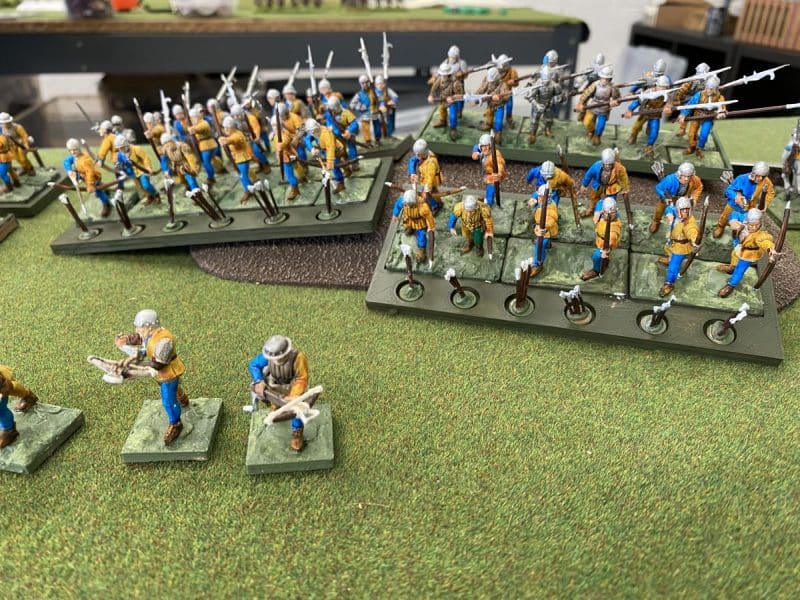
THE COMMERCIAL BIT
I hope that you all enjoy your hobby as much as I do – remember that our web site will have much of what you need! Click here to see our shop:
We also have a category devoted to Never Mind the Bill Hooks:
Happy Modelling!
