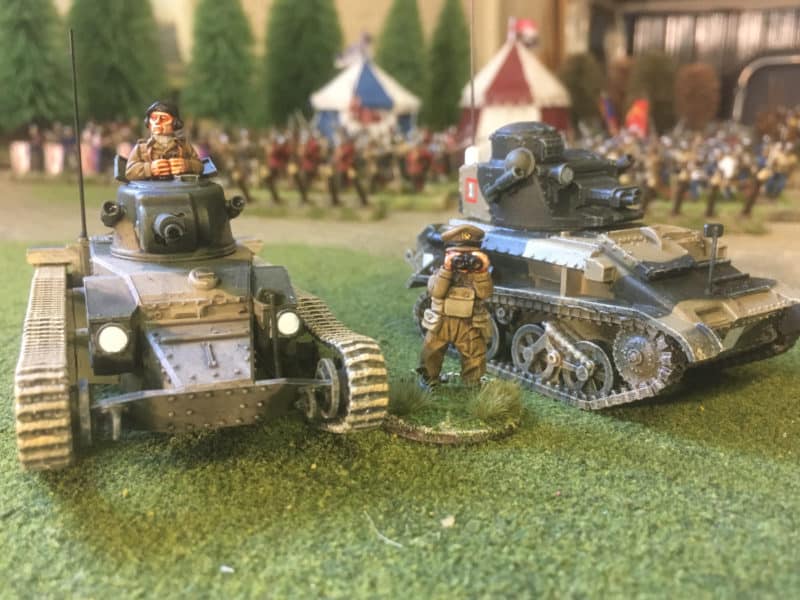
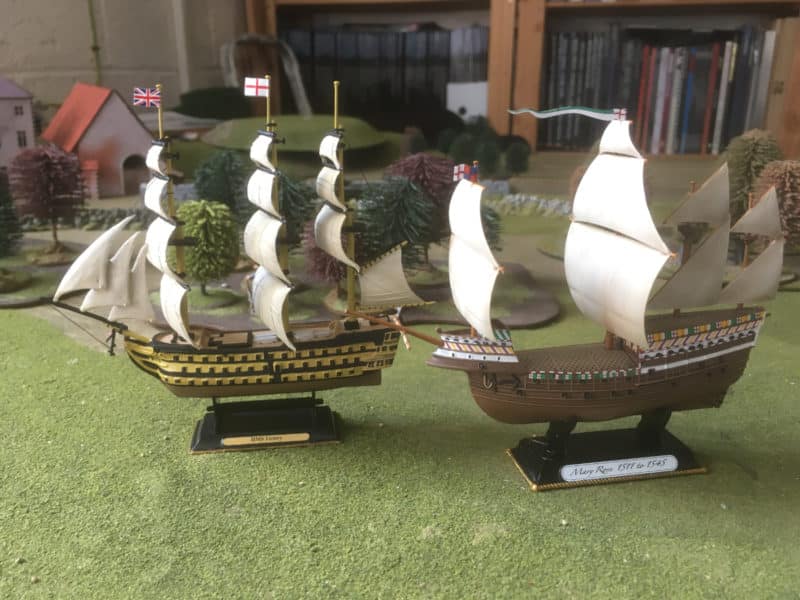
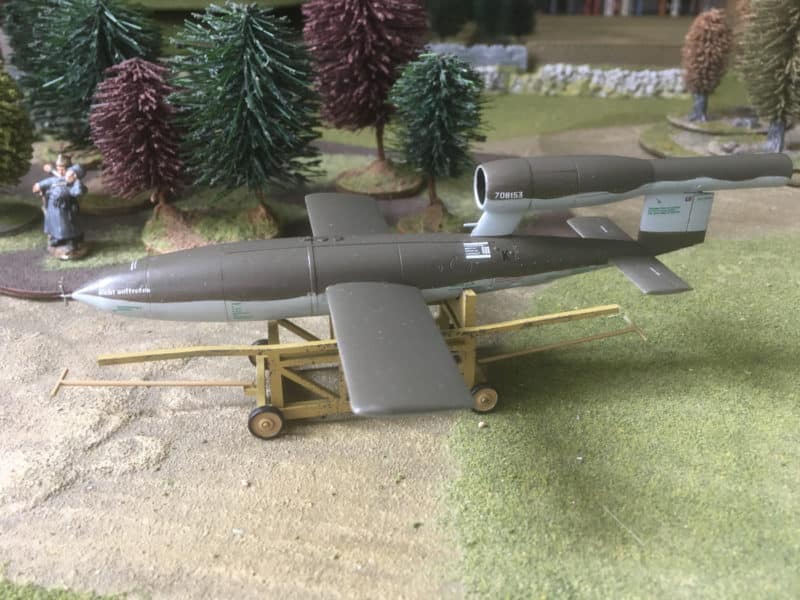
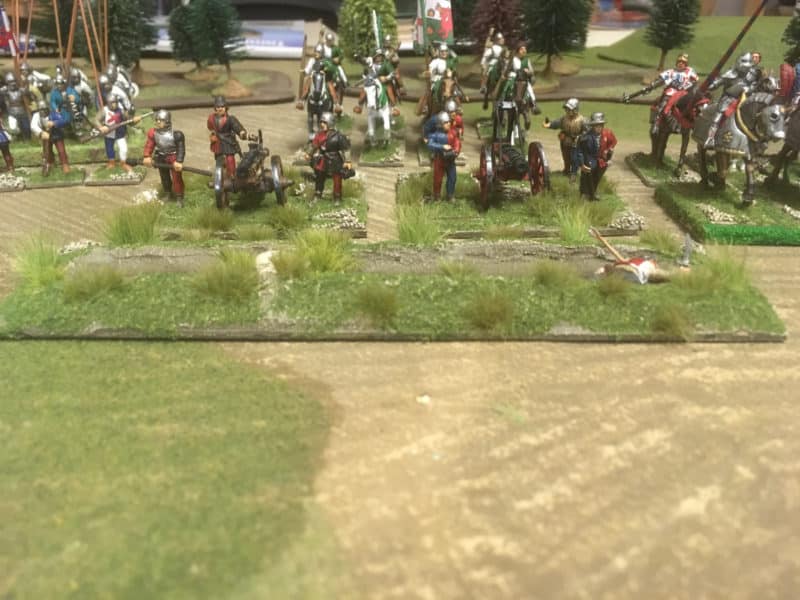
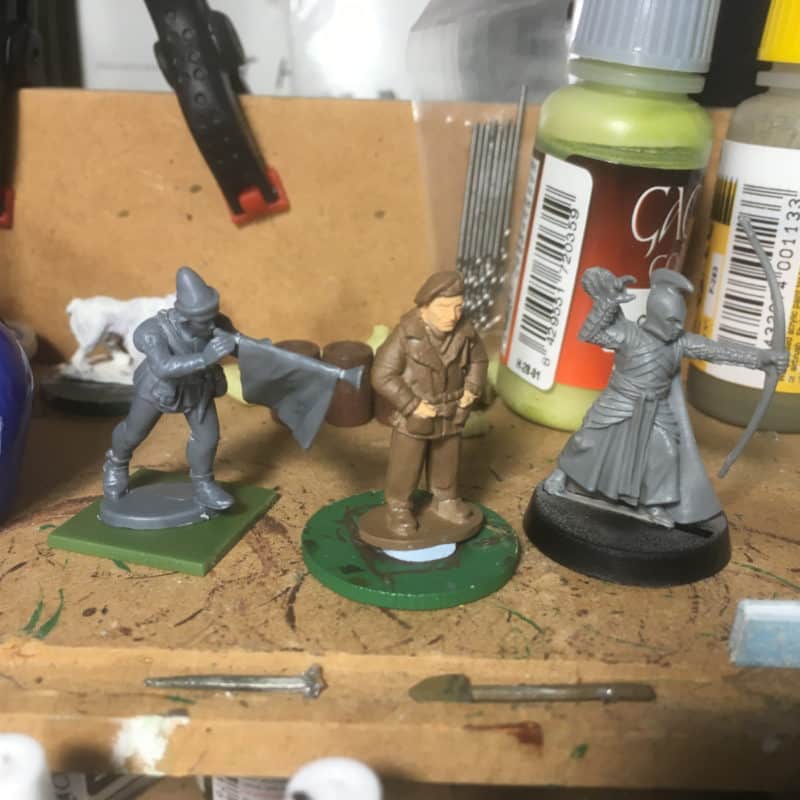
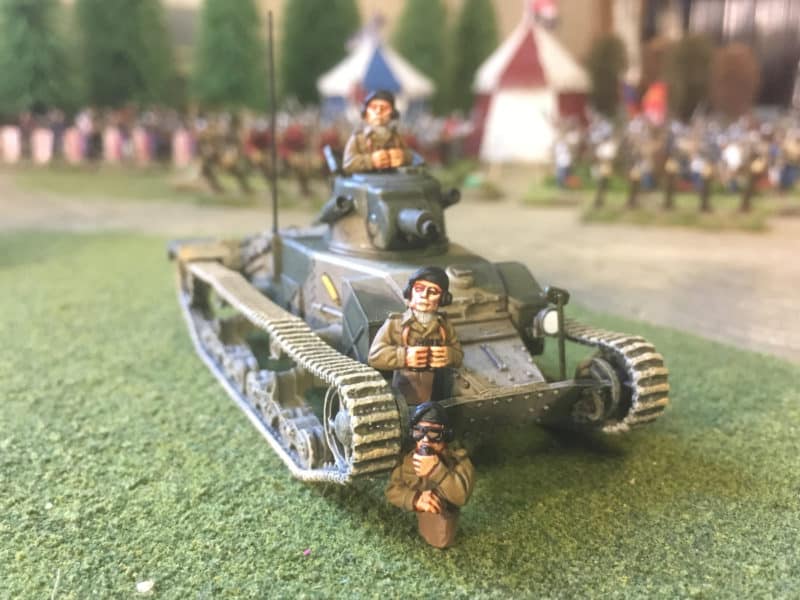
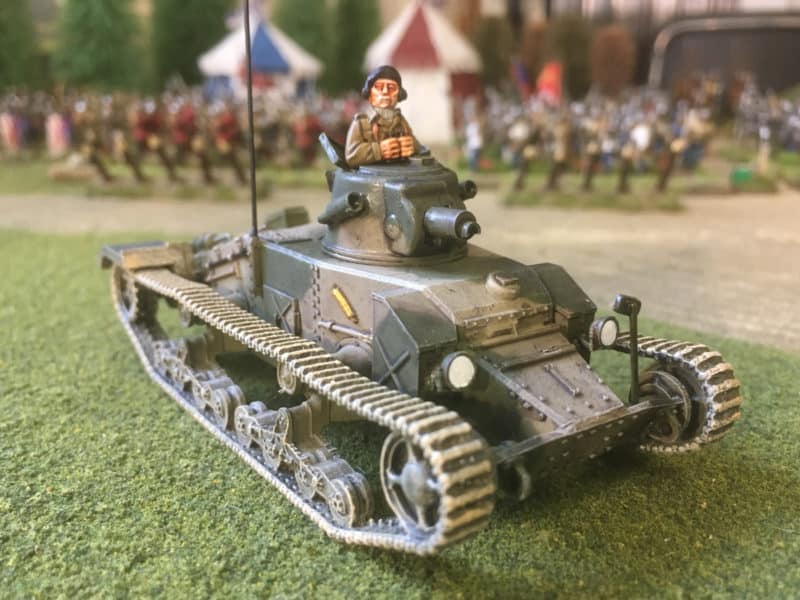
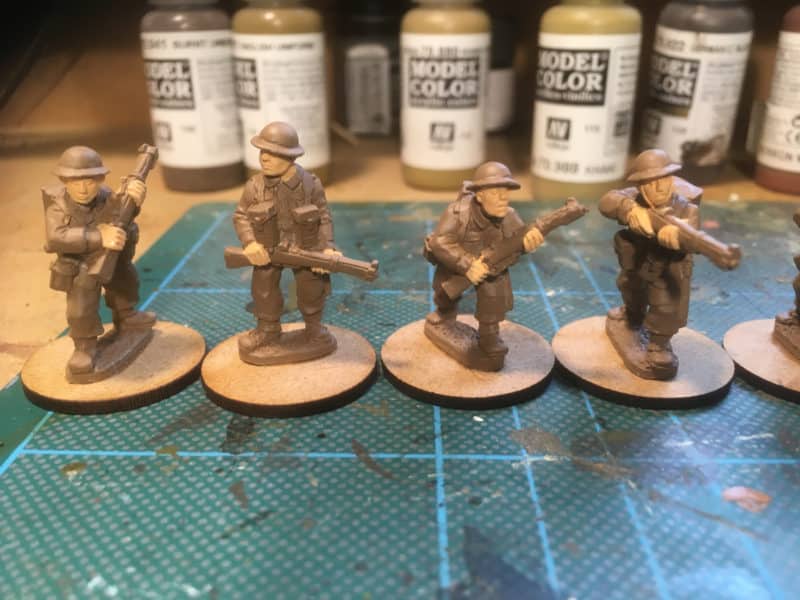
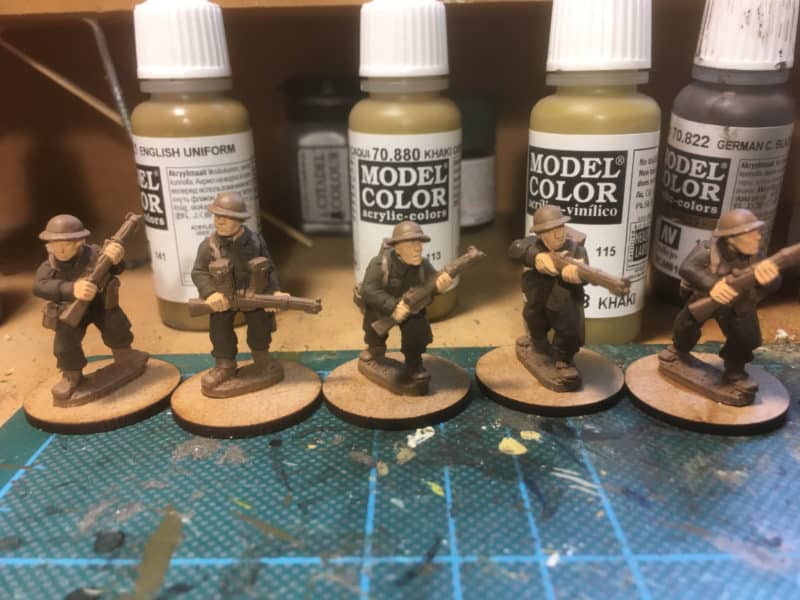
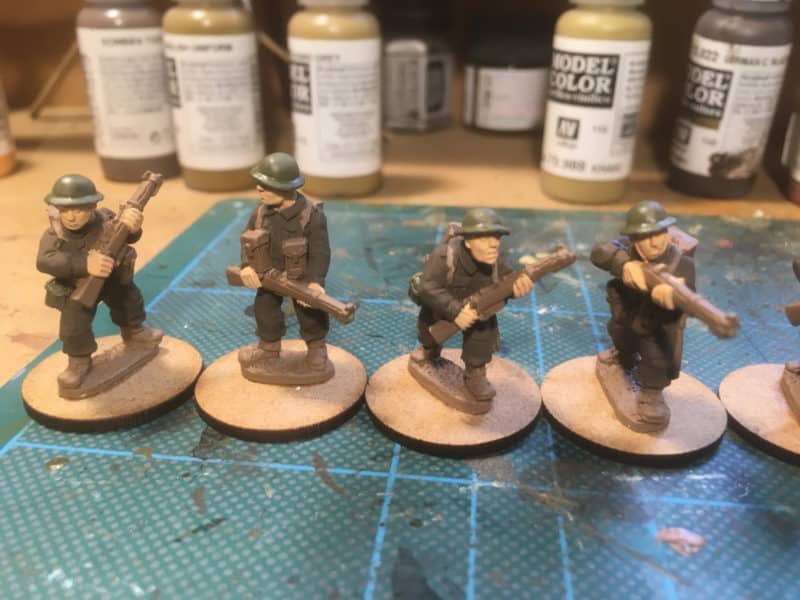
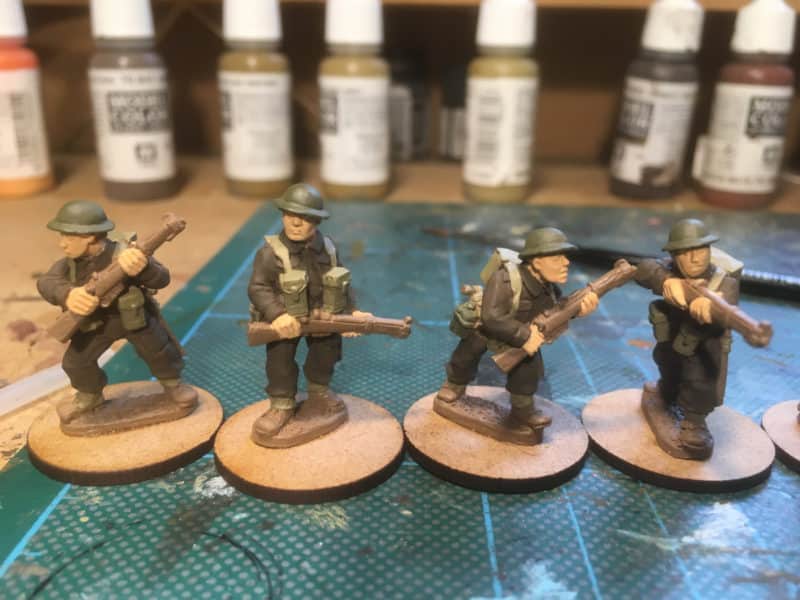
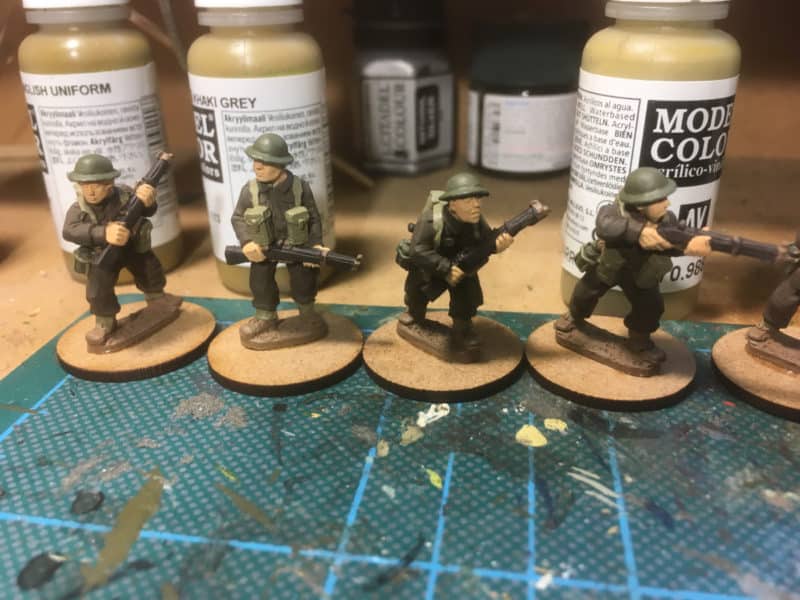
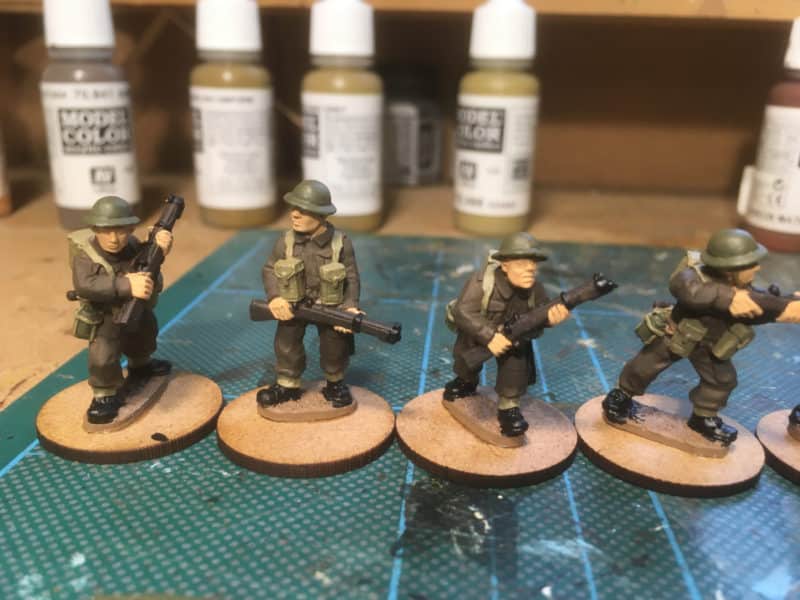
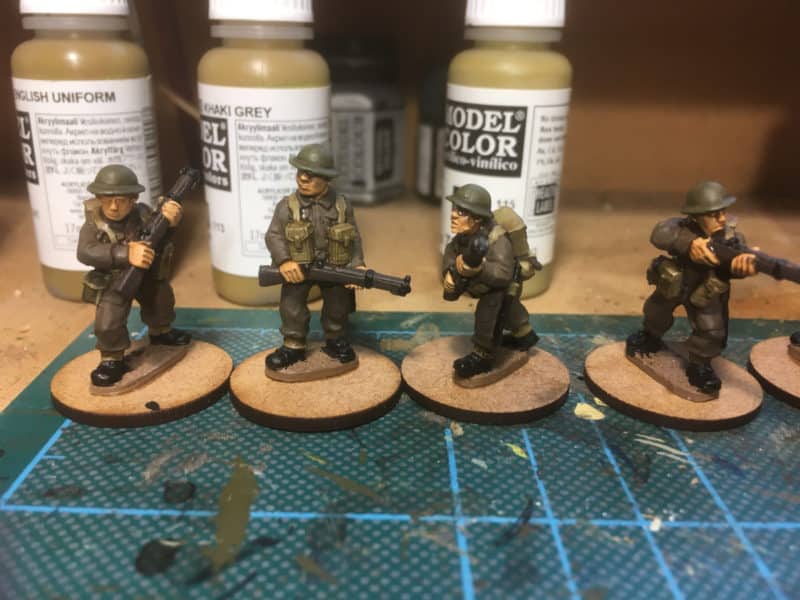
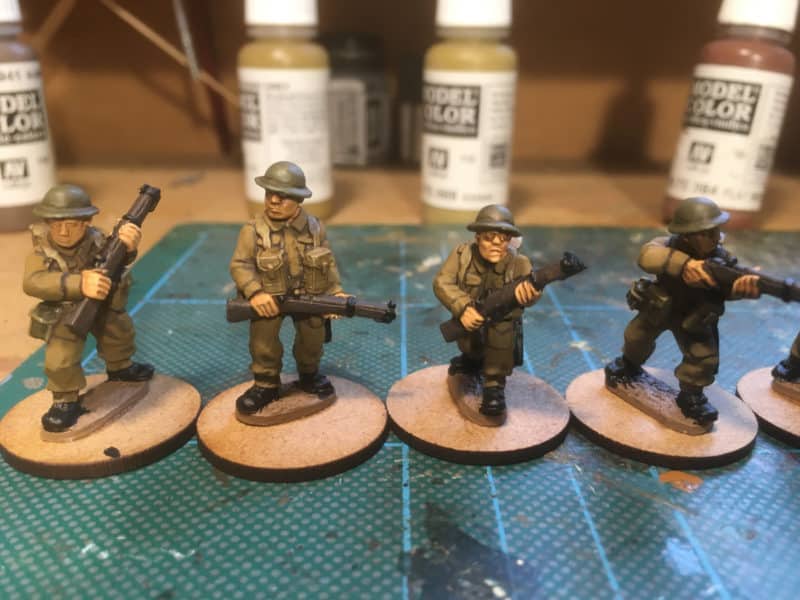
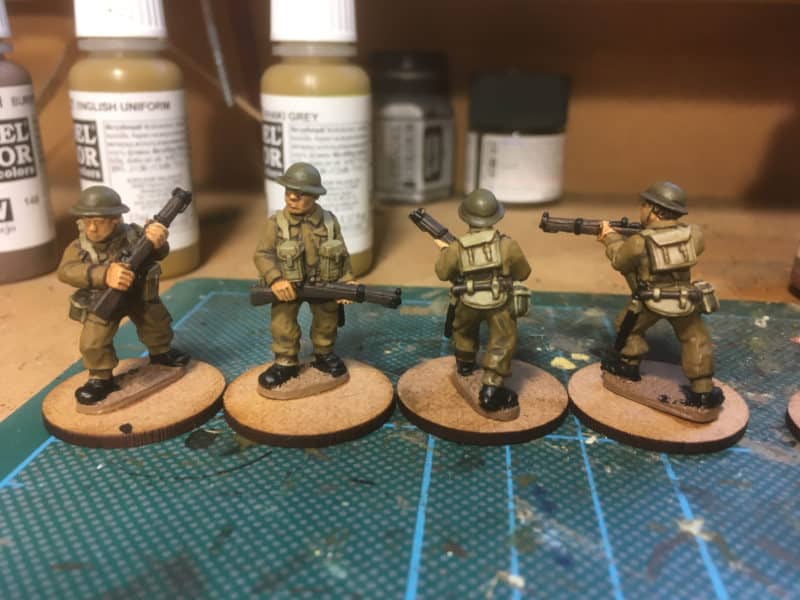
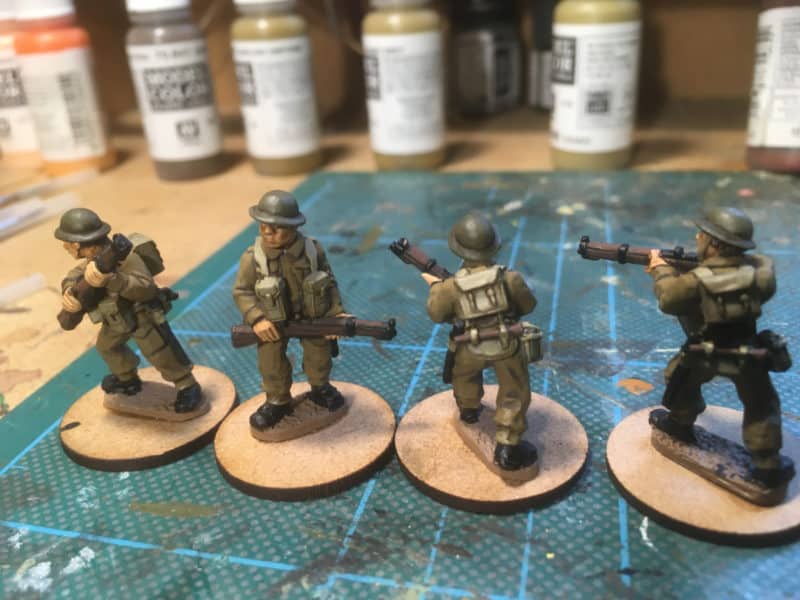
The BEF force is growing.

I am gradually getting to grips with the organisation of the British army in WW2, and more specifically, the BEF in 1940. I would have thought that after being immersed in the button counting world of Napoleonic’s, a more modern period would be easy to grasp. Well I don’t find it so. It doesn’t help that I have been influenced by all of the war films that I have watched over the years. In the films, the Hero – Sergeant, or who ever was in charge, always seemed to be talking to his platoon of ten or so men. I now understand that a Platoon is a much larger body of men, and it is the Section that is the building block for the modern British army.

Lieutenant and Sergeant command the platoon.

Lieutenant and Sergeant command the platoon.

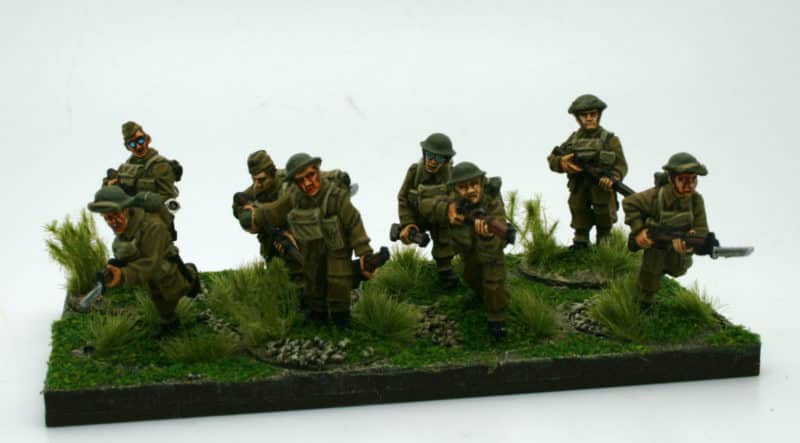
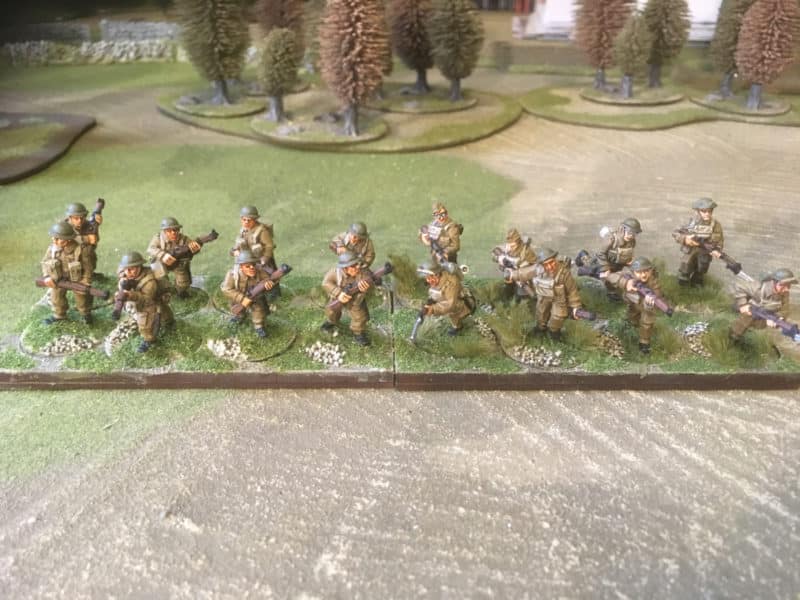
Having read various internet articles on the subject, which to me appear vague – originally eight men to a section, then eleven ( including the corporal), then may be ten later in the war, all depending on casualties, I became confused. I could have saved myself a bit of time if I had just looked at the Perry’s Eighth army plastic boxed set. They explain it all very simply in one diagram! So one full strength section comprises of 8 men with rifles ( probably) and two men that make up the Bren gun team. Ten men to a section. Three sections to a platoon. You then have a small Platoon HQ, which generally comprises of the Platoon Commander – a Lieutenant, the platoon Sergeant, a couple of runners, an anti tank gun team ( Boyes rifle or PIAT) and a 2″ mortar team. So I need to paint around 38 figures to complete a platoon. That will do for me, I cant cope with a load of if’s but’s and maybes!

Boyes Anti Tank gun

The confusion that I was feeling was because a variety of extra weapons teams or transports, organised in additional Platoons at Battalion level, can be attached to or deployed with the basic rifle platoon to give it some extra muscle. So you might have an extra Vickers HMG attached to your platoon or a couple of 3″ Mortars, or even an anti tank gun fighting with the rifle sections. Also Sergeants and Corporals might be carrying a sub machine gun rather than a rifle. Just to make matters worse for me, the battalion or regimental markings are very subdued. No brightly coloured facings or flags on the modern battlefield!

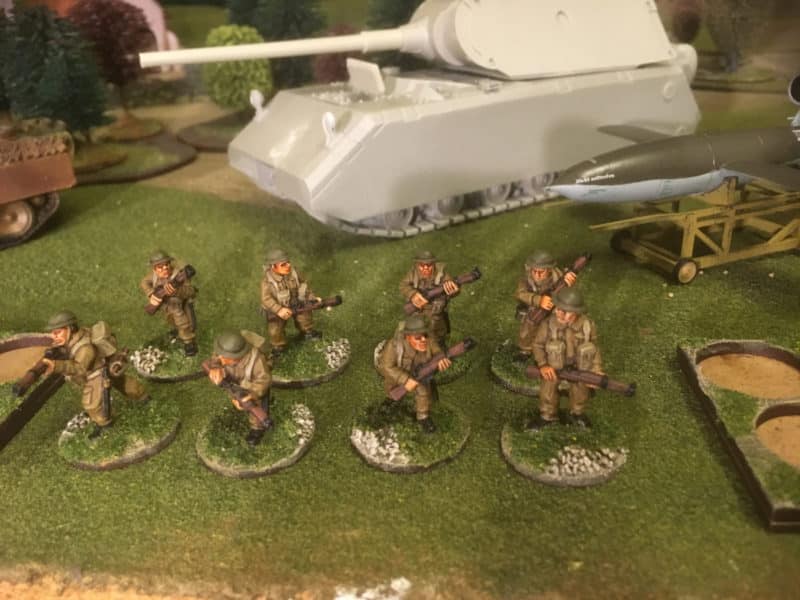
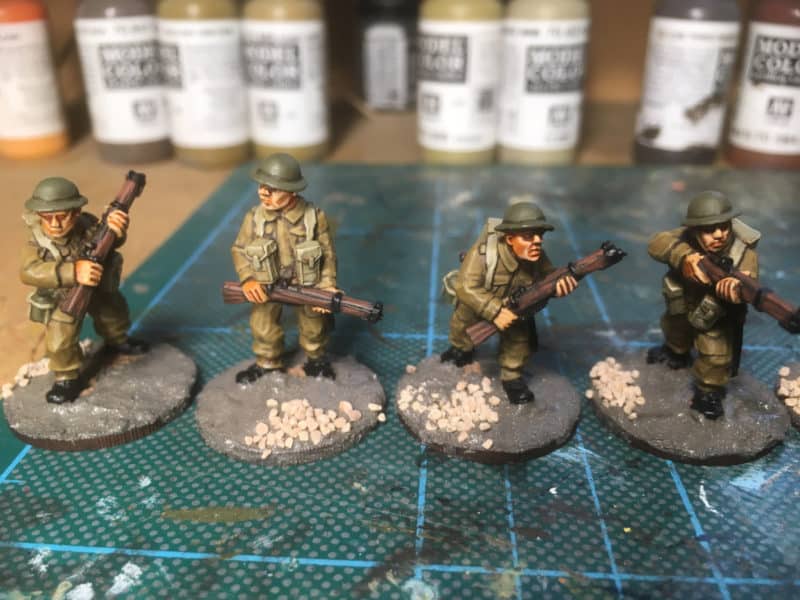
BEF section - some basing still needs finishing!

BEF section – some basing still needs finishing!

The same sort of approach was taken to deploying tanks. It’s not like the cavalry of my Napoleonic army, where you model the basic regiment and line them up all together. I’m sure that there were occasions when that happened, but again, it seems as though tank platoons or companies were attached to infantry or visa versa, as the need arose. I suppose that the commanders took a pragmatic approach and allocated whatever resources they had to acheive their objectives. In the case of the BEF, particularly as the fighting got underway, things became more chaotic and deployment was more fluid. With casualty replacement less likely as the campaign progressed, the ideal section or platoon rarely existed. It’s all very different to building ‘blocks’ of men that will represent a fighting unit.

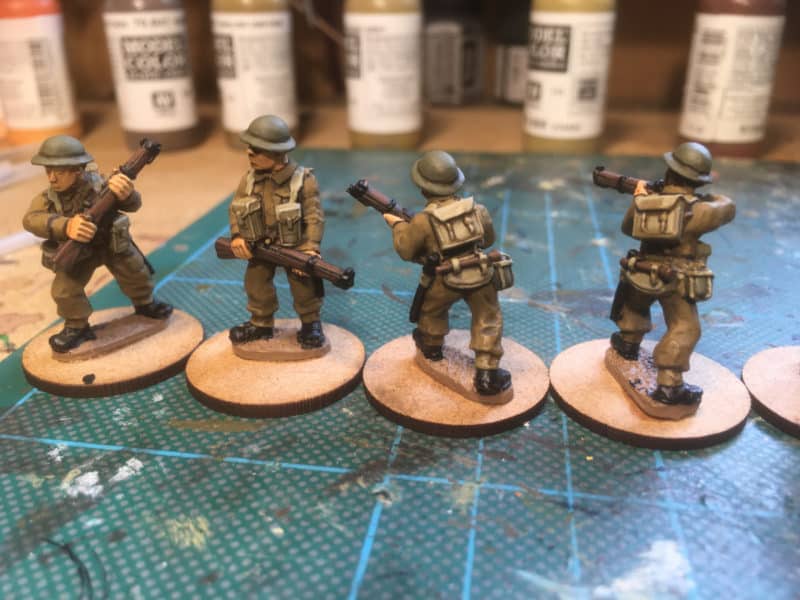
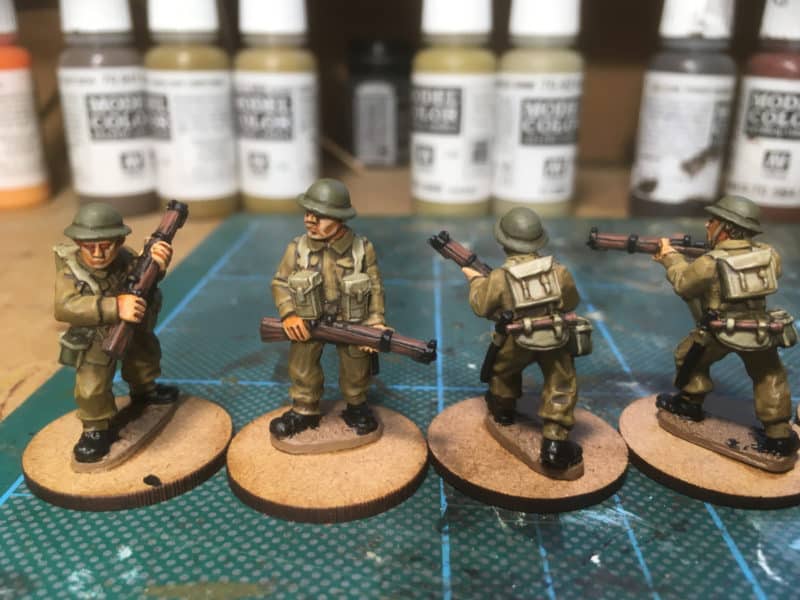
Bren Team - Section LMG

Bren Team – Section LMG

I suspect that once I have decided on a rules set, the size and type of force will become clearer. To be fair, I need to play a bit of catch up in terms of the history. Most of the books that I have read deal with the grand view of the battles rather than the specific units at platoon level. In most WW2 games, the action takes place at platoon level. In effect, one model soldier represents one soldier in history. This is in contrast with earlier historical battles where the action took place in the main at Battalion level. I guess, that wargamers moving from WW2 back to Napoleonic wargaming find it just as confusing as I do moving the other way!

In the meantime, it would be nice to finish my first section!

THE COMMERCIAL BIT

If you are looking for paints, bases or almost anything to help you with your modelling and wargaming, visit my shop below. At the time of writing, we are still offering worldwide free postage!

THE ARCANE SCENERY SHOP

Warlord games ranges are available here:

WARLORD GAMES

The Perry plastic second world war range can be seen here:

PERRY MINIATURES

Happy Modelling!
Whats on the Workbench? 02/07/20

I seem to be affected by lockdown lethargy. Whilst Facebook is filled with people apparently charging through their lead pile and painting army’s, I seem to have slowed my output even more than usual. It’s two weeks since my last blog post and I’ve had to resort to a ‘What’s on the Workbench’ post as in that time, I haven’t actually finished anything!

Warlord Games B.E.F. force - W.I.P.

Warlord Games B.E.F. force – W.I.P.

In fact, my lead pile has got slightly taller as I’ve acquired yet more WW2 British infantry to paint. I think that I have strayed into collecting mode again, picking up items that will look nice when they are completed rather than painting for gaming or working towards a cohesive army. I’ve been helped in this direction by the lack of any opportunity to actually play a game. The closest that our group has got to gaming is to meet up for a socially distanced burger in the back garden one evening and have a chat about life in general. Still, at least we have remained in touch.

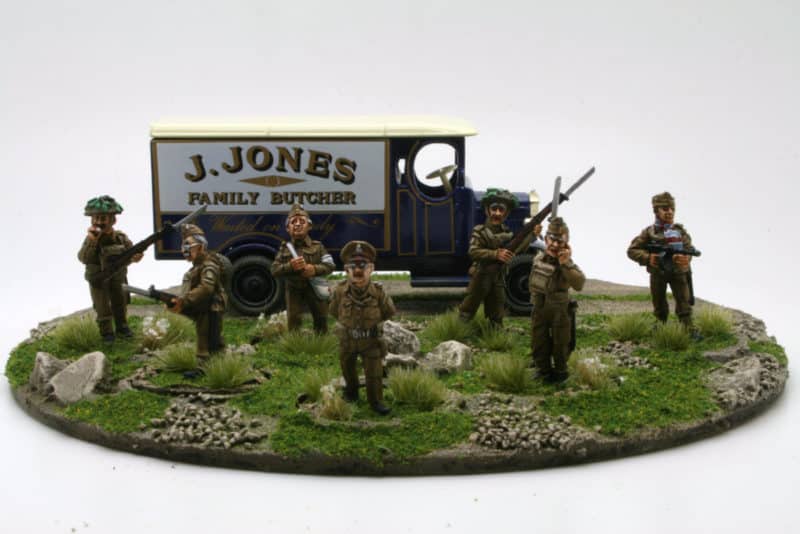
Hodges, the Vicar and the Verger from Dads Army.

Hodges, the Vicar and the Verger from Dads Army, by Warlord Games

So what have I done? The Dads Army contingient has grown with the addition of Hodges, The Vicar and the Verger. I still have the ‘civvy’ versions of the characters to paint. I’m also working on rebasing the other members of the Dads Army Platoon. I’ve decided that I dont like the plastic ‘plinth’ bases and I’ve converted them to MDF ones. Once again, I have yet to finish this but should get them completed tonight, if all goes to plan.

Dads Army at Hougomont!

Dads Army at Hougomont!

As you can see, I’ve also acquired a model of Hougomont. The model is by a Company called WoFun, based in Romania and my good friend Andy Callan is doing some work for them. Like all the models available from WoFun, it is laser cut MDF ( or acrylic for the figures) with a printed finish. Andy passed me the Hougomont model to test build. It’s an early test shot and the sharp eyed reader will spot some errors, which will of course be corrected for the final release. Once again, although I have put the majority of the kit together, the walls and North gate are yet to be completed. I also intend to base the buildings. The buildings are so well cut that at this stage I have simply slotted them together, without the need for glue! I will go back and glue everything but I think that I will keep the set as modular buildings to be used in our games once we get back to the table!

At the moment though, it is the early war British that are on the paint table and I suspect will be for some time. I still have no real plan for them but perhaps once lock down is over, a game of Bolt Action or Chain of Command will prompt me to complete a force for the gaming table.

THE COMMERCIAL BIT

If you are looking for paints, bases or almost anything to help you with your modelling and wargaming, visit my shop below. At the time of writing, we are still offering worldwide free postage!

THE ARCANE SCENERY SHOP

You can purchase the Dads Army Set here:

DAD’S ARMY

Warlord games ranges are available here:

WARLORD GAMES

You can see the WoFun ranges here ( well worth a look!)

WoFun

Happy Modelling!


Dont Panic Mr Mainwaring!

My dive into the lead pile continues! I had some Artizan British World War Two infantry that I had undercoated ages ago as part of a project that just never took off. I was probably diverted by another Napoleonic Battalion or my venture into the Wars of The Roses. As they were sitting looking at me from the top of the heap, I thought that I might as well paint them. The problem was that I had no idea what colours to use or where to start. As usual, the internet was my friend. A quick check on you tube and I found plenty of help and so decided to jump in.

Artizan WW2 British Infantry

Artizan WW2 British Infantry

I wont presume to give a step by step guide as to how I painted these figures. I am still learning and I suspect have a long way to go before I am any near competent or have any expertise in what uniforms the British wore in what part of WW2. I would simply refer you to the you tube video below. I used my usual block paint and Army Painter quick shade for these figures and I was fairly pleased with the result – they’ll do for the wargames table. I must say that the Artizan figures themselves were superb! Beautifully sculpted and cast and a joy to paint.

The finished section of Artizan Infantry

The finished section of Artizan Infantry

Encouraged by my initial results, I decided to have a go at painting the Warlord games Dad’s Army Set. I had bought these ages ago, when they were first released. I love the show and I also have an interest in the Home Guard – I didn’t serve, before any one else says it, but my Step Granddad, Victor Beer, did. He was in ‘H’ Company of the Torquay Home Guard. I have been researching some family history and so it seemed appropriate to carry on and paint the Warlord figures.

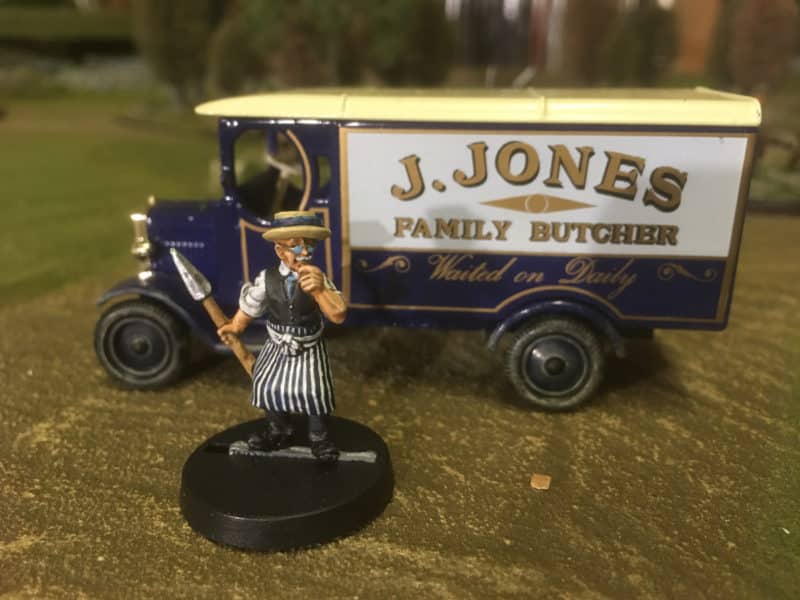
Jack Jones and his Van!

Jack Jones and his Van!

I had also acquired a diecast version of Jack Jones Butchers van that featured in the show. One of my favourite episodes was the one featuring the rifle drill. When it came to painting these figures I followed the guidance in the Art Master Studio you tube video ‘How to paint Artizan WW2 British Infantry’. Having watched the video through once, I actually painted along to it, pausing it if I needed to and pretty much followed the instructions and paint guide exactly.

I very much enjoy these video’s. Toby, the guy doing the painting, is extremely good at explaining exactly what to do and the fact that it is in real time allows you to see how the paint actually goes on and how he uses his brush. I am a great fan of ‘Toby’ – never met him but his painting skills are superb and he reminds me of Bob Ross in his relaxed delivery! As an aside, if you would like to learn how to paint horses, his video is my ‘go to’ guide!

Dads Army!

Dads Army!

Having painted Corporal Jones, I then carried on and painted  Captain Mainwaring, Sergeant Wilson, Private Pike and Private Godfrey. Private Walker and Private Frazer are on the painting bench at the moment. There’s still a bit of work to do – I’ll base them once they are all painted – I think that I might opt for flatter MDF bases rather than the plastic ‘plinth’ style supplied. With the Vicar, Verger and Warden Hodges still to paint and the Dad’s army Characters in Civvies also to do, I think the this project will keep me busy for a week or so!

THE COMMERCIAL BIT

If you are looking for paints, bases or almost anything to help you with your modelling and wargaming, visit my shop below. At the time of writing, we are still offering worldwide free postage!

THE ARCANE SCENERY SHOP

You can purchase the Dads Army Set here:

DAD’S ARMY


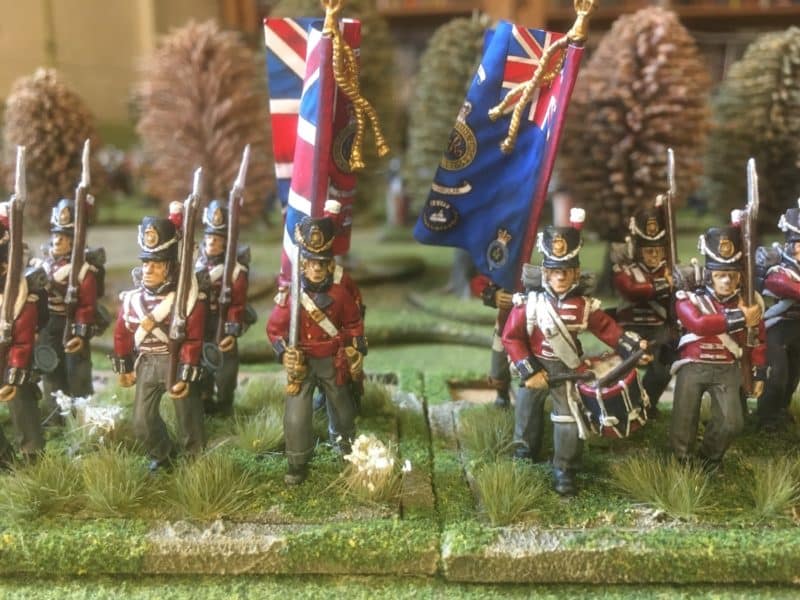
3/1 Royal Scots Battalion Completed

It’s been a month since my last blog article. The social distancing and lockdown rules haven’t really influenced the speed of my output. I am fortunate in that we have been able to continue to run the business, albeit under difficult conditions, so if anything, work has increased. I have maintained my slow and steady out put and over the last month and I have completed another Battalion for my Napoleonic army. This one represents the 3/1 Royal Scots Battalion who were present at Waterloo as part of Pictons 5th Division.

Royal Scots Command

Royal Scots Command

Just a note about how I decide what regiments to paint for my army. The idea is to use the order of battle at Waterloo as a base for my collection. I am not trying to recreate each unit as it appeared on the day. Most of the games that I play with my gaming buddies are ‘generic’ games, rather than being based on a particular battle. I suspect that this is increasingly the case for most wargamers these days. This means that I am happy to use a bit of artistic licence when it comes to my battalions.

2/44th advance!

2/44th advance!

A case in point is one of the battalions, the 2/44 East Essex, that I painted for the 9th Brigade. My battalion has these troops in great coats but I know that it was unlikely that any of the British troops serving at Waterloo were in great coats, despite the bad weather. However, I saw these models as part of a Kickstarter from Michael Percy’s Three Armies range and I liked the look of them, so they were painted and added to my collection.

3/1 Royal Scots Battalion

3/1 Royal Scots Battalion

Along with the great coated troops, I bought two other battalions. As they had been languishing in my lead pile for some time, I thought it was a good idea to get these troops painted and thought that they could be the 3/1 Royal Scots, completing the British 9th Brigade, commanded by Sir Dennis Pack, and in turn, completing the British contingent of the 5th Infantry Division. To finish the division, I really need to paint the four battalions of Hanoverian Landwehr under Colonel Von Vincke. It is unlikely that this will happen anytime soon. There are far more interesting troops that were at Waterloo before I start another 96 red coats!

Batch Paint in progress

Batch Paint in progress

I painted the figures following my usual block paint and dip process. I made the mistake of painting them in one big batch. The problem with this method is that it takes a long time to get to a finished result when painting 24 figures  in one go and I got a bit bogged down in the process. I usually paint in batches of 8 or 12 and I think that in future, I will go back to the smaller quantity. Once the main colours are blocked on, I paint the models with Army Painter Dark Tone quick shade.

Block painting finished

Block painting finished.

When the ‘dip’ has dried thoroughly, I spray the figures with matt varnish and then re paint most of the white strapping, which has become ‘dirtied down’ by the shade. You can leave this extra stage but I like the cross belts to stand out – I think that it helps the look of the figure’s on the table.

Figures after quick shade and matting.

Figures after quick shade and matting.

Then it’s on to basing and mounting in their movement trays. I base four figures on a 40mm by 40mm base, I tend to use Sarissa MDF bases for metals and Renedra plastic bases for plastics. You can use either for both! I also have designed my own movement trays for Black powder, so that I can name my regiments. It’s always good fun in the game when you can give your orders to a specific unit – ‘the 3rd Battalion of the of the Royal Scots Foot will advance’!

Royal Scots in their movement tray

Royal Scots in their movement tray

So another battalion is ready for battle. I now have 17 Battalions of British, KGL and Hanoverian troops in my army – I still haven’t finished with the British Army – I would like to complete a KGL brigade but as I have said before, painting redcoats has become a bit tiresome. I think that some Brunswick troops would look nice…

THE COMMERCIAL BIT

If you are looking for paints, bases or almost anything to help you with your modelling and wargaming, visit my shop below. At the time of writing, we are still offering worldwide free postage!

THE ARCANE SCENERY SHOP

The Black powder movement trays can be found here:

BLACK POWDER MOVEMENT TRAYS

I’m not sure if the Three Armies range is still commercially available – the link that I did have does not now work. The flags are from my favourite flag supplier:

GMB FLAGS

How Many Wellingtons does it take……?

Anyone that knows me, will know that I am a great admirer of the Duke of Wellington. Based on my interpretation of the Queensbury rules, he is clearly the ‘Champion General’ of the Napoloeonic Age, having beaten all comers and retired as the winner from his last and greatest battle. Before anyone gets too excited, this blog isn’t an attempt to start another one of those endless debates about who was the greatest General and ramble on about who won at Waterloo…It’s a tale of my dive into the lead pile and a realisation that perhaps that I have let sentiment rule when it comes to buying miniatures.

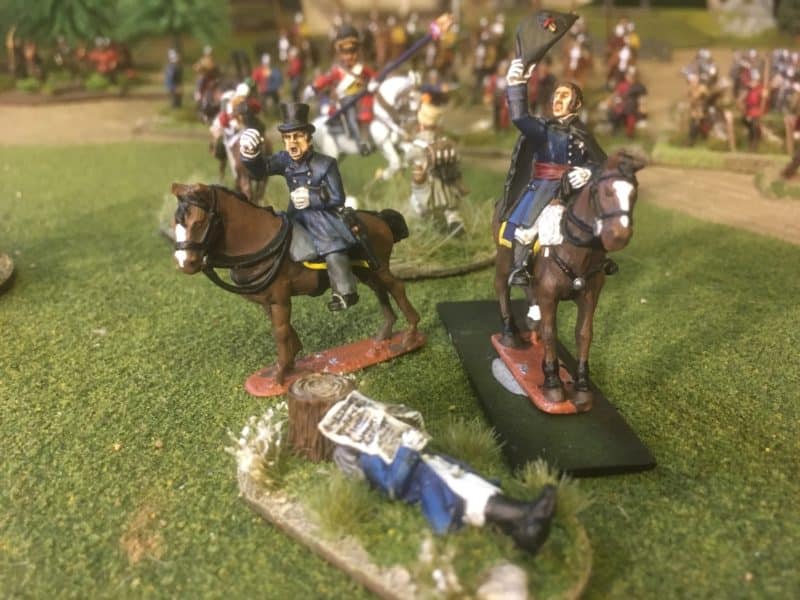
Wellington and Wellington and Picton

Wellington and Wellington and Picton

The models above are from Warlord Games. I decided to paint them as part of my isolation clear down. I particularly liked the Warlord version of Picton, and the Snoozing model of Wellington that comes as a bonus was rather good as well. Picton is going to be based with a Highland officer figure from Trent Miniatures and will become one of my Brigade commanders for my Black Powder games. Having read somewhere recently that Picton carried a white umbrella at Waterloo, I may update my model.

Picton giving orders!

Picton giving orders!

The painted version of Sir John Sinclair. from Trent miniatures

The painted version of Sir John Sinclair. from Trent miniatures

The Picton base will go with my current Army Commander, Sir Sydney Ruff-Diamond (the Front Rank version of General Rowland Hill).

Sir Sydney Ruff- Diamond watches on as Private James Riddles rebukes the French!

Sir Sydney Ruff- Diamond watches on as Private James Riddle rebukes the French!

It was when I went to the figure cabinet to get that model that I realised that I also had the Front rank models of General Sir Robert Craufurd and yet another Wellington! Both were painted but neither based. I got on with basing Sir Robert immediately, painting one of the DeeZee small dogs as a Dalmation and basing them together.

Sir Robert Craufurd (@Black Bob') and his dog.

Sir Robert Craufurd (‘Black Bob’) and his dog.

Wellington - Front Rank Figures

Wellington – Front Rank Figures

I left the Front Rank Wellington un-based as I now had two very similar figures and I thought perhaps one could be used for the Peninsular army that I am very slowly building and one for the Waterloo contingent. I will need to paint some nice figures to accompany these versions of Wellington but I am still thinking of what would be appropriate. Is there a model of Maitland?

Foundry Wellingtom and Picton

Foundry Wellington and Picton

Also tucked at the back of the cabinet was yet another model of Wellington and Piction – these are Foundry figures and I painted them about eight or nine years ago – I no longer use them for my army.

Four Wellingtons!

Four Wellingtons!

Mounted Wellington by Victrix. On foot by Wargames Illustrated.

Mounted Wellington by Victrix. On foot by Wargames Illustrated.

So with four versions of Wellington, you would thing that would be enough. But no, as I was going through the lead pile I found that I had two more! I had bought the Victrix Metal one ages ago – I think these are now OOP in the UK but may be available from Brigade Games in the USA. The other model is from Wargames Illustrated and is from the Giants in Miniature series. So I have six versions of the great man, four painted and two unpainted.

Six Wellingtons!

Six Wellingtons!

Napoleon is definitely out numbered in this house!

Napoleon visits Little Bingham

Napoleon visits Little Bingham

Perhaps I wont be quite so quick to buy any more miniatures of Wellington….

THE COMMERCIAL BIT

Almost all of the paints, miniatures, bases, basing materials and anything that you are likely to need for your hobby are available POST FREE from my shop here:

ARCANE SCENERY

Happy Modelling!
A Hard Contest part 2

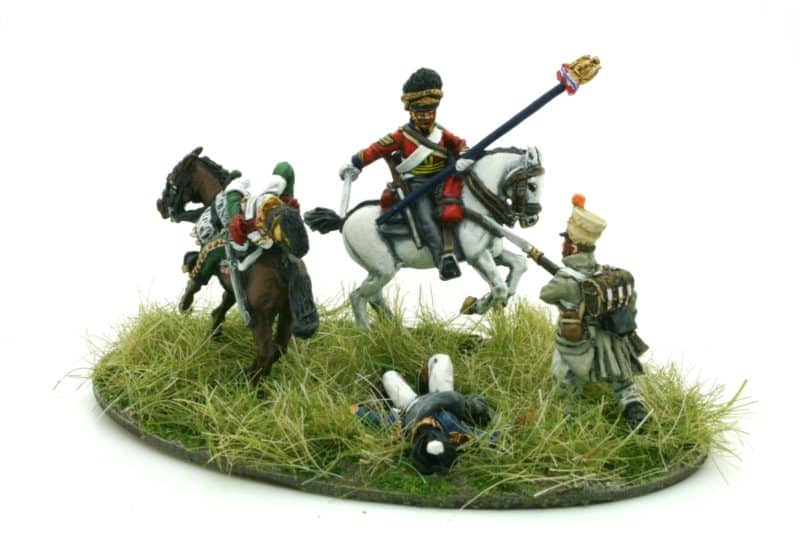
Having more or less finished Sgt Ewart and the wounded (dead?) French Ensign , it was time to move on to paint the other figures in the Vignette. First up was the French infantry man. Now at this point I need to make it clear that my knowledge of French uniforms is about zero. So it was a question of copying other peoples work. As well as the superbly painted models on the Perry’s web page I also found a work of art completed by the painter Sasha Herm. I don’t know Sasha, other than through his work but he is extremely talented and produces the most beautifully painted models. I wont show his work here but if you would like view it, click on the link to my pinterest board here:

BRITISH CAVALRY PINTEREST BOARD

French infantry man

French infantry man

I painted the infantry mans coat in Vallejo Stone grey and his hat with Vallejo Buff. The shading was done with Dark tone ink and then high lighted with the original colours with a spot of white added.

French Line Lancer

French Line Lancer

The final model  to complete was the French line Lancer. I again copied the examples that I could find. So once again, I’ve no idea whether the colours are ‘correct’. I used Vallejo Flat Green with German Extra dark Green for shading and for the facings, Vallejo Beige red. This doesn’t match the colour that I found on the Mont St Jean site for French Line Lancers but It was close to the colour on Sasha’s model and I liked it! Again I used various inks to shade the figure and the base colours + white to highlight.

Positioning the models on the base - all four models completed.

Positioning the models on the base – all four models completed.

With the models all completed, it was time to assemble the vignette. I used a Sarissa Precision Oval MDF base. I do intend to mount this on a nice wooden plinth but for now I just wanted to get the basic model done.

Textured paste on the base.

Textured paste on the base.

I covered the base with Vallejo Textured Dark Earth paste and used a sculpting tool ( a cocktail stick would do) to bring the paste over the bases of the figures. As I don’t glue the figures to the MDF base, there is plenty of working time to allow me to position everything. Once the textured paste dries off it is strong enough to hold the figures in place. I also sprinkled the paste with earth and small stones to add extra texture. You might have noticed that at this point I added the ‘stolen’ Eagle to Sgt Ewart as I could now handle the vignette rather than the individual figure.

Base painted and textured

Base painted and textured

The next stage was top paint the base and add some scatter. I’ve covered my technique for basing elsewhere, so if you would like to know more just check out one of my older blog posts!

Long grass added to the base.

Long grass added to the base.

The last task was to add some long grass to the base. I used Woodlands Scenics 12mm light green field grass and just dipped small clumps into PVA glue and added them to the base. The long grass isn’t strictly accurate – they were fighting in amongst the trampled Rye that was growing across the battlefield and according to some records, originally stood at six foot tall. I think that it gives an idea of the ground though. The vignette is about finished and ready for the cabinet but for a few additions. I need to order in a nice flag from GMB designs ( my favourite flag supplier!) and I have the lance and spare discarded sword to add. But for now, I’m calling it done and moving on to the next project! Below are some pictures that I took in a light box with a slightly better camera than the usual i-phone camera that I use for my blog. I hope that you like them!

A Hard Contest

A Hard Contest A Hard Contest A Hard Contest

THE COMMERCIAL BIT

Almost all of the paints, miniatures, bases, basing materials and anything that you are likely to need for your hobby are available POST FREE from my shop here:

ARCANE SCENERY

Perry metal miniature are only available from the Perry web site but we have the Perry’s plastic range here:

PERRY MINIATURES

You can find all the Vallejo Model colour paints here. If you don’t want to browse, just enter the paint name or number into the shop search bar;

VALLEJO PAINTS

You can see the Woodlands Scenics Field Grass system here:

WOODLAND SCENICS

Happy Modelling!
A Hard Contest

No, not a comment on life at the moment but my latest project. Despite having more time, my painting rate has dropped. I have come to a halt with my War Of The Roses project, having run out of subjects to paint, so I turned my attention to the ‘lead pile’. Rather than churning through yet more units, I decided to have a go at some of the more challenging models in my collection. I also deliberately slowed down. There was no need to rush. I am not under any time pressure in terms of getting a unit ready for the next game. So I have deliberately slowed up and decided not to put any artificial pressure on myself to clear my painting backlog or to build a new army.

The Perry Miniature version of 'a Hard Contest'.

The Perry Miniature version of ‘a Hard Contest’.

I thought that I would have a go at painting a Perry miniatures vignette, ‘A Hard Contest’. Inspired by Sgt Ewarts capture of the 45 Regts. eagle at Waterloo. The set comprises of Sgt Ewart himself and three French defenders. Rather than my usual functional ‘Block Paint and Quick shade’ style, I would try and paint these models using ‘proper’ shading and highlighting. Inspired by the picture above, the first model that I attempted was the Sgt Ewart figure.

Sgt. Ewart in progress - primed and blocking started

Sgt. Ewart in progress – primed and blocking started

I started with the ‘grey’ horse but I wanted my figures to be on a white Horse as I thought that it would stand out when the whole Vignette was completed. I painted the horse with Vallejo London Grey and then worked through Light grey, silver grey and then Off white for the highlights.

Sgt Ewart - main colours blocked on.

Sgt Ewart – main colours blocked on.

I couldn’t break away completely from my usual style of painting and found myself blocking in most of the colours before going back to shade and highlight them. I also used a variety of inks to get the shading done. So red ink on the tunic, Flesh wash on the face, Strong tone on the browns and Dark tone on the black and metals. I think that the Army Painter inks are superb for shading and lining.

Sgt Ewart - a bit more detailing

Sgt Ewart – a bit more detailing and highlighting

I find this style of painting less of a straight forward process and therefore difficult to describe. I paint a bit here, retouch a bit there, use some colours straight from the bottle, mix some up. If all that sounds a bit like Bob Ross ( My current obsession on TV. If you are not familiar with him, look him up!) then that is sort of how it is. I’ve got an idea as to how I would like things to look and I just fiddle around until I get close! I also use the photographs to help look for where I need to improve things. It’s a bit of an excuse but I am slightly red/green colour blind, so when it comes to highlighting these colours I’m really not sure how well they blend.

Sgt Ewart, nearly complete - I dont like the stripe on his trousers!

Sgt Ewart, nearly complete – I dont like the stripe on his trousers!

When it came to choosing the correct colours for the uniform, I relied on previous research that I did when painting my Scots Greys Cavalry Regiment. That said, I couldn’t work out whether a sergeant had Yellow facings and trim to his Jacket or Gold like the officers. In the end I went half and half as it looked nice…

Sgt Ewart Complete?

Sgt Ewart Complete? Whoops! Is that a paint chip on his toe?

After much fiddling and retouching I got to the point where I had had enough of painting the Sgt. There’s always more to be done and even in the last picture I noticed a paint chip that needs repairing, and some lining need around the yellow on the jacket, but it was time to move on to the next figure.

A bad day at the office for this French soldier.

A bad day at the office for this French soldier.

I chose the wounded French ensign to paint next. Again, I confess to doing limited research on his uniform. I copied the models on the Perry’s web site. He was painted in more or less one session, which surprised me but I guess I must be getting used to this new fangled approach to painting…. Once again, I’ll use the photos to revisit the figure and retouch any areas that I’m not happy with. I now have a French lancer and a French Infantry man in a great coat to paint. It’s then just a case of putting them all on a scenic base. It may take a bit of time but now that I’ve taken the pressure off myself to finish the model in a set time, I’m quite enjoying myself!

THE COMMERCIAL BIT

Almost all of the paints, miniatures, bases, basing materials and anything that you are likely to need for your hobby are available POST FREE from my shop here:

ARCANE SCENERY

Perry metal miniature are only available from the Perry web site but we have the Perry’s plastic range are here:

PERRY MINIATURES

You can find all the Vallejo Model colour paints here. If you don’t want to browse, just enter the paint nam or number into the shop search bar;

VALLEJO PAINTS

Happy Modelling!
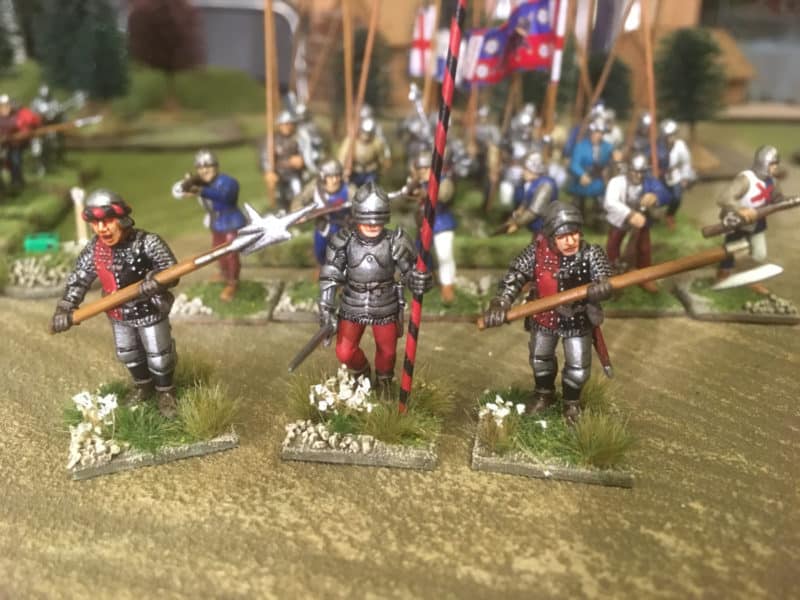


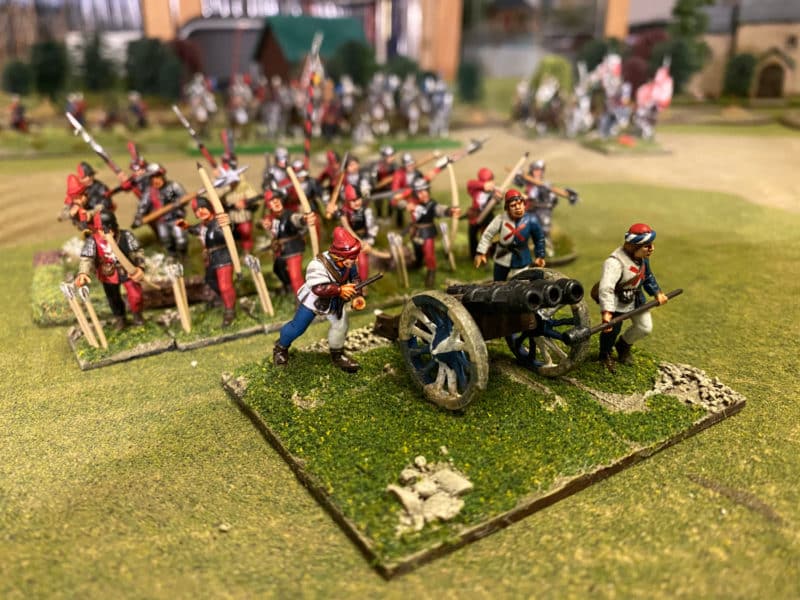
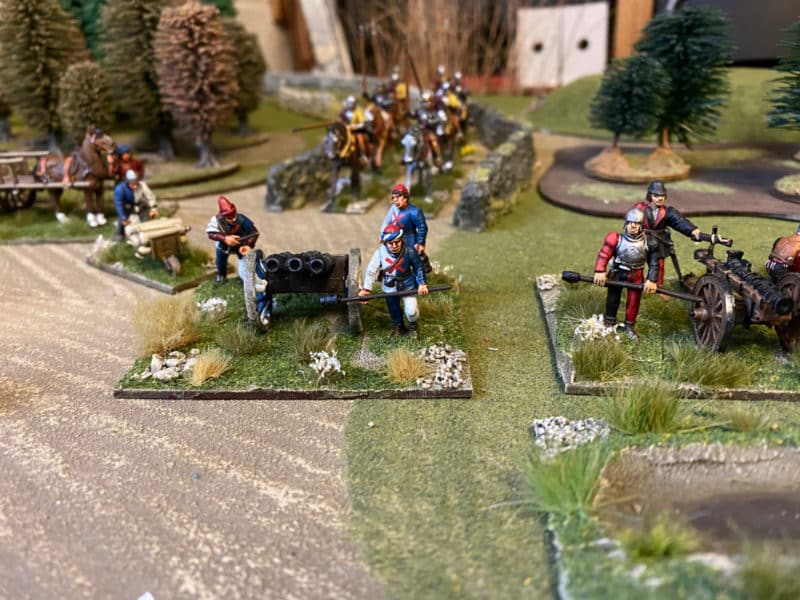
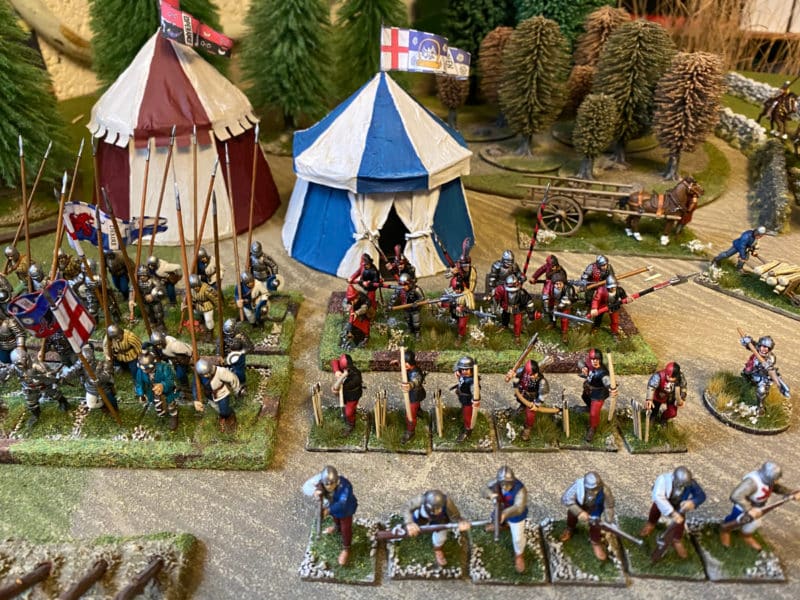
War Of the Roses Army Progress

Following on from last weeks blog, I seem to have made some progress with my painting but as we are still working (thank goodness) and busy posting and packing other peoples modelling supplies, I haven’t quite finished as much as I would like. The strange thing about the ‘lock down’ is that it seems to have sapped my energy and whilst I have more spare time at the weekends and evenings, I seem to have done less.

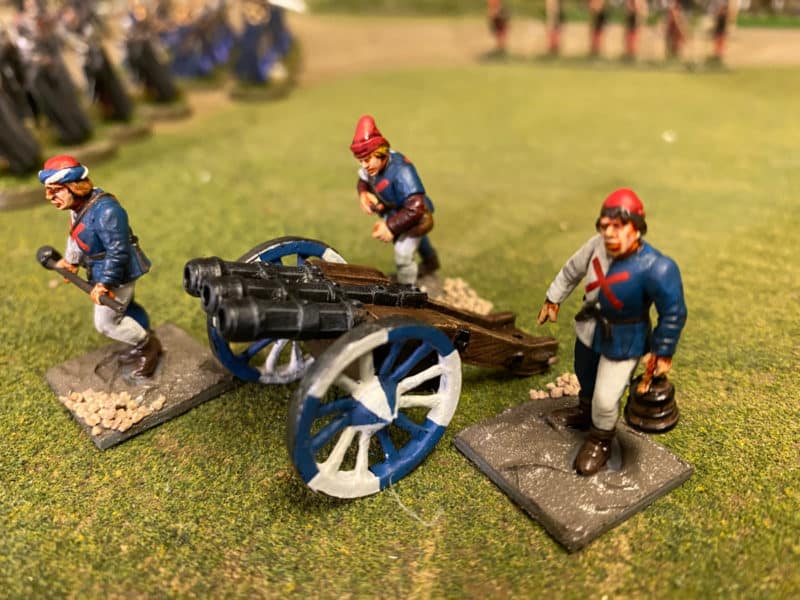
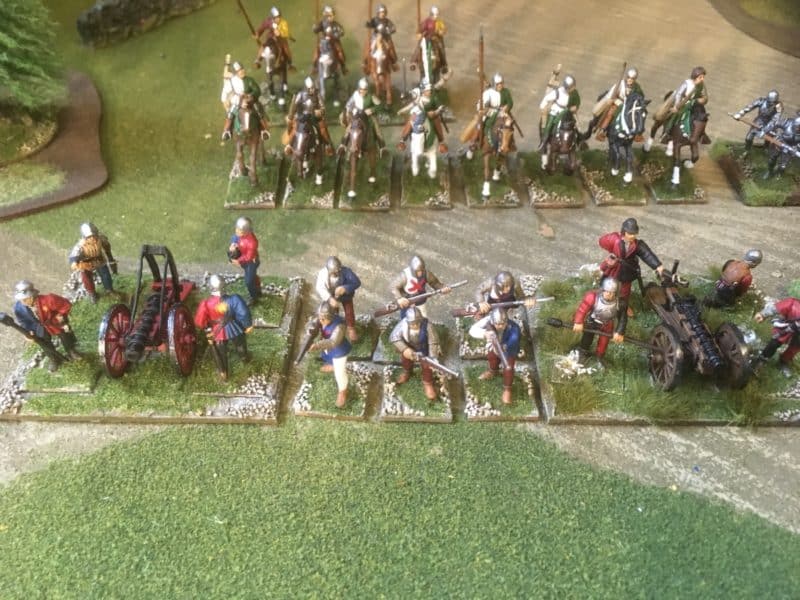
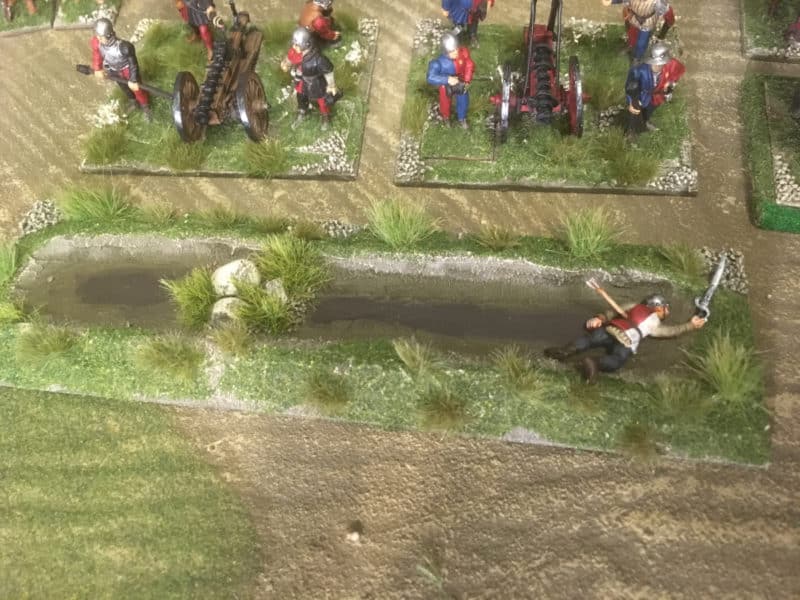
The second gun in the army - a nice field piece from Perry's

The second gun in the army – a nice field piece from Perry’s

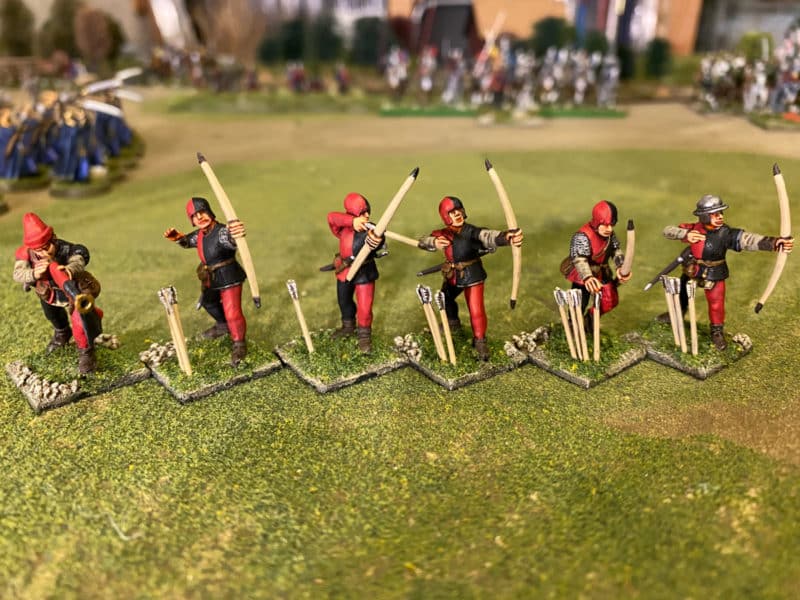
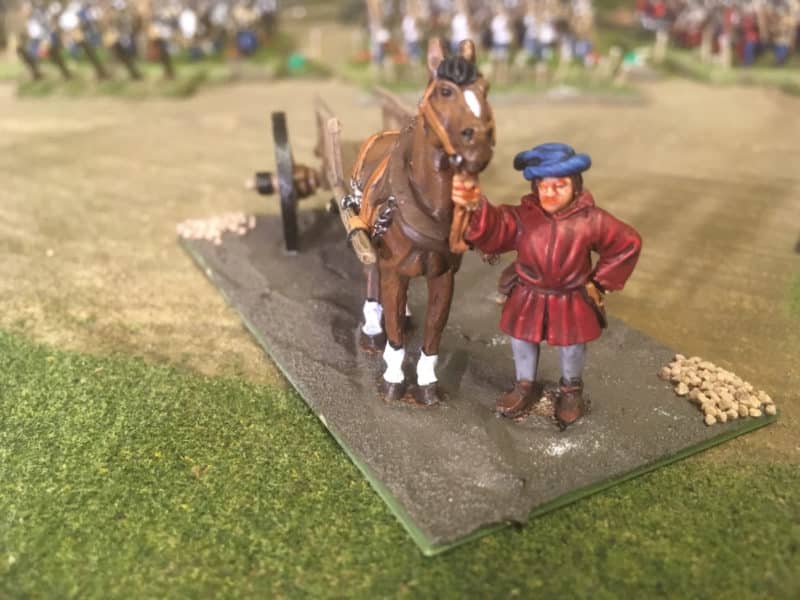
So here is a quick round up of progress. I have now finished the second artillery piece for my army, completing the gunpowder section! I will add some tufts – I tend to do this as a session on it’s own and ‘tuft up’ a number of bases in one go. I have no plans to add any more artillery – I now have more than enough for the average game of ‘Never mind the Bill Hooks’. That said, at some point in the future I may add the heavy Bombard that Perry’s make, just for fun and because it will make a nice centre piece.

The Artillery section of my army.

The Artillery section of my army.

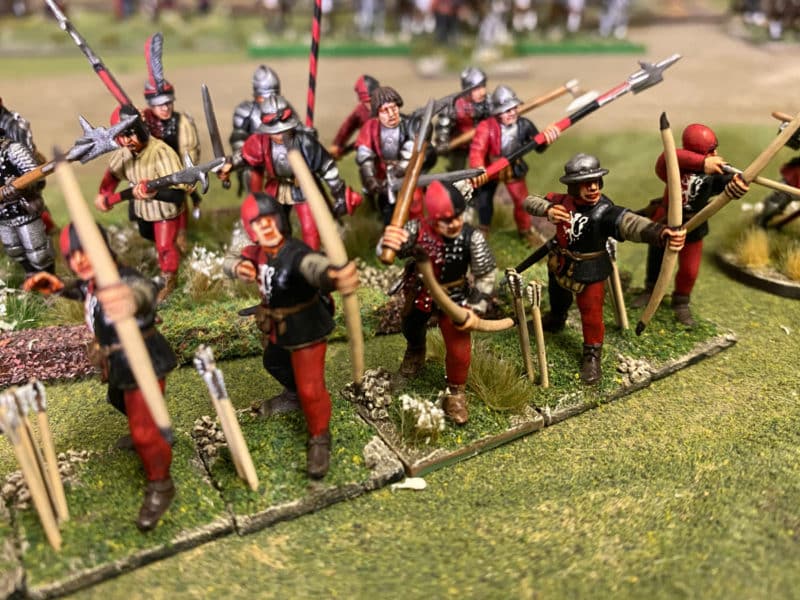
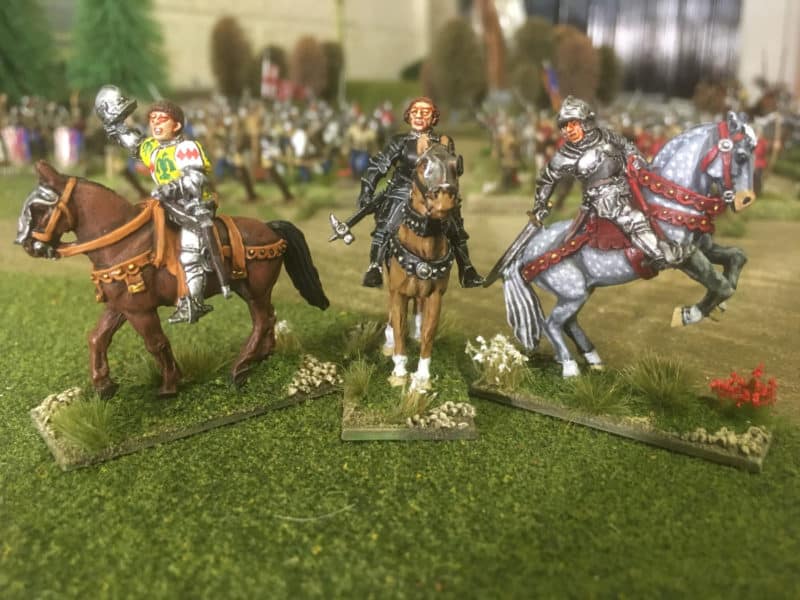
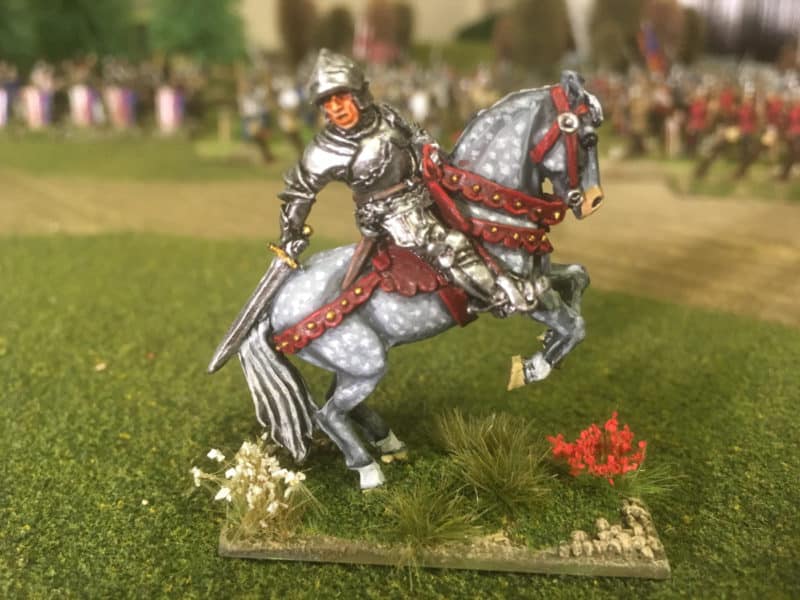
You can see from the picture above that I am missing four light cavalry from the rear rank of my Light horse. These are currently under construction and will complete the two units that I have planned. As regards, heavy horse, I’ve completed three metal Yorkist Command of  Edward IV, Lord Faulconberg and Lord Hastings.

Yorkist command

Yorkist command

This gives me 15 heavy horse but the plan is to buy the other Yorkist command pack with Warwick, Gloucester and Salisbury. I will then have 18 heavy horse. Two units of 8 and two commanders, again ideal for Billhooks!

Heavy Horse ready for battle.

Heavy Horse ready for battle.

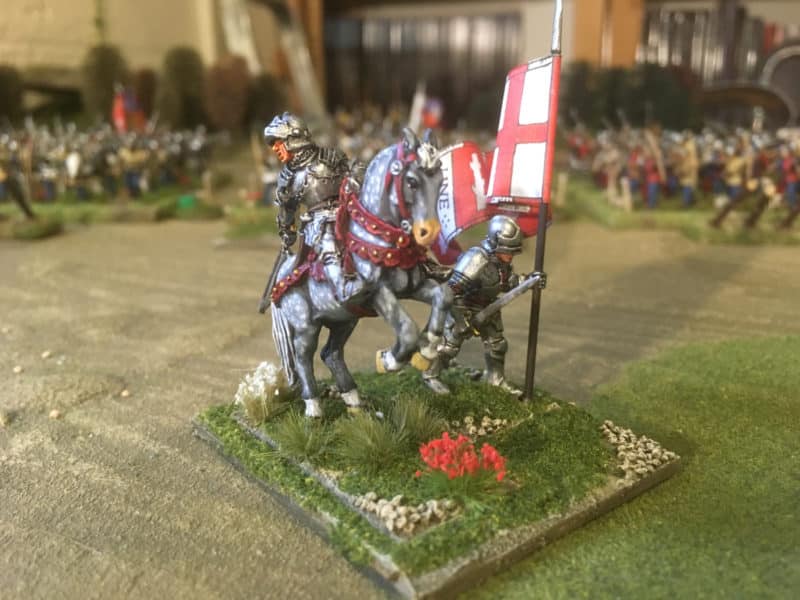
The other sub project has been to finish the standard bearers. I intend to do a mini tutorial on Standards and how I apply them but I still have plans to add more. Here’s the couple that I have done using Little Big Man studio decals.

Banner men!

Banner men!

I have gone back and painted over the edges of the banners to hide the white edges but I notice that in the pictures of them in their units, I’ve managed to miss a few bits!

Warwicks Men at arms!

Warwicks Men at arms!

Norfolks Colours, I think but Faulconbergs men...

Norfolks Colours, I think but Faulconbergs men…

So My army is approaching completion. Just 4 light horse, 3 heavy horse and 12 more billmen and that will be it. Project completed. I wonder what I will do next?

THE COMMERCIAL BIT

We are still able to work safely and in a safe environment, following all Government advise to do so. If you need anything from our shop, please order as normal. The post is leaving us on time and as normal and we will do our best to turn all orders around in a working day or two as usual.

Almost all of the paints, miniatures, bases, basing materials and anything that you are likely to need for your hobby are available POST FREE from my shop here:

ARCANE SCENERY

Perry’s WOTR plastic range are here:

PERRY MINIATURES

You can find all the Vallejo Model colour paints here. If you don’t want to browse, just enter the paint number into the shop search bar;

VALLEJO PAINTS

Happy Modelling!
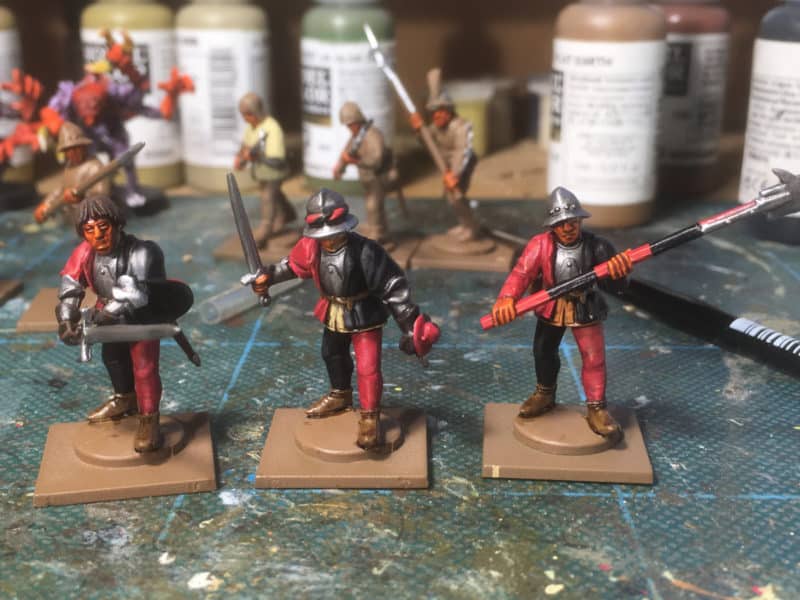
Social Isolation and all that

I just could not avoid mentioning Covid -19 or the Corona virus crisis in writing my blog. In such strange times it would have seemed somewhat perverse to ignore what is probably the most momentous event to affect the country, if not the world, in my lifetime. However, I’m not going to record all of my thoughts on the subject here. There are enough comments, opinions and people minding other peoples business on social media and the mainstream media without me adding to the torrent.

I also have no idea how to pitch any comment. Anything that I write in a serious vain could be considered too preachy. A joke, and I’m not taking things seriously enough. That said, I cant help but try to find some humour in a very dark time. To put things in some sort of perspective, rather than my modelling output increasing, my painting hours have actually decreased over the last week, due in some part to lack of sleep and my mind being elsewhere as I firefight the next stage in trying to keep the business going through these difficult days.

Salisbury, Gloucester and Faulconberg in the process of being based

Salisbury, Gloucester and Faulconberg in the process of being based

At least I still have a business – at the moment. Thanks to the incredible support of my small, loyal team, my suppliers, the fantastic postie ( I must get his name!) and of course, my very loyal and supportive friends and customers (often one and the same), we are still trading and sending out modelling supplies across the world. We will continue to do so as long as we are permitted to do so.

Everyday, for the last couple of weeks, we have been having a Grass Snake meeting at Arcane ( A grass snake meeting is a bit like a COBRA meeting, only shorter and less toxic) to work out with Julie, Hayley and Kevin how we will operate. Each day the plan has lasted until about 5.00pm when the latest announcement changes everything. For the moment, our latest plan is holding. Julie and I are working three days together, Hayley (AKA the Packaging Princess) is taking the two ‘quieter days’ and working on her own.  Kevin is supporting from home and in reserve should one of us fall ill.

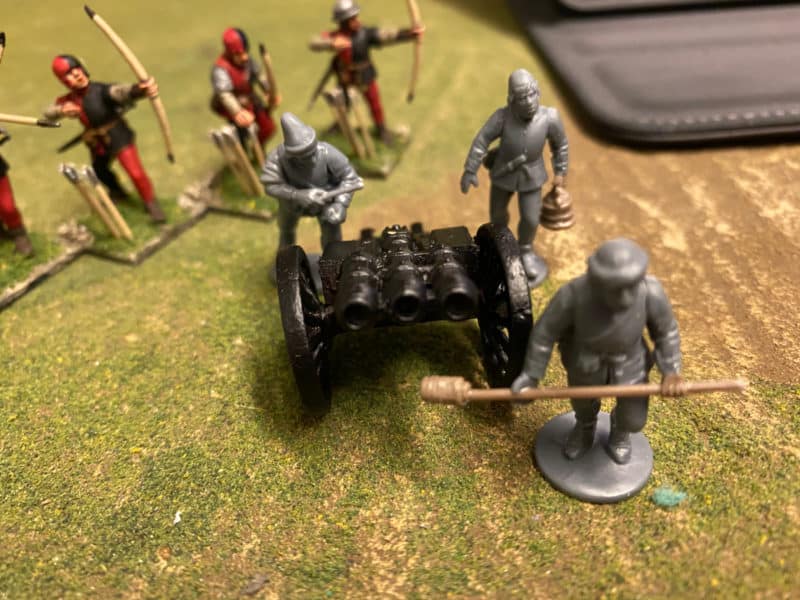
Another gun crew nearly finished, ready to join the York army.

Another gun crew nearly finished, ready to join the York army.

As I have been married to Julie for 40 years, we have practiced social isolation on a number of occasions and staying 2 meters apart at times has certainly kept one or both of us alive…There, I couldn’t resist a joke!

Gun crew ready for basing

Gun crew ready for basing

So Arcane Scenery is still trading, along with other online retailers and if we can help you with your hobby, we are here to do so. Despite everything, I have found some time for painting. I’ve said before that I find it very helpful and allows me to tune out of the world and for a short time forget whatever is causing me stress. As you can see from the pictures, my War of The Roses army is still growing. I may even get it finished over the next few weeks!

The next batch of figures primed and ready to paint.

The next batch of figures primed and ready to paint.

THE COMMERCIAL BIT

Almost all of the paints, miniatures, bases, basing materials and anything that you are likely to need for your hobby are available POST FREE from my shop here:

ARCANE SCENERY

Perry’s WOTR plastic range are here:

PERRY MINIATURES

You can find all the Vallejo Model colour paints here. If you don’t want to browse, just enter the paint number into the shop search bar;

VALLEJO PAINTS

Happy Modelling!
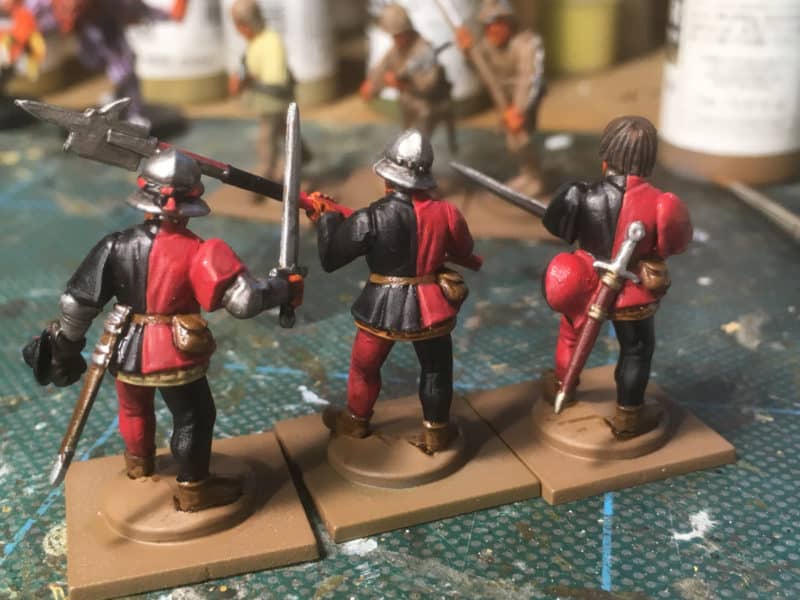


War of The Roses Light Cavalry – part two

I thought that in this weeks blog that I would show the progress on my War of the Roses light cavalry and show the method that I used to paint them. Once I had assembled the riders, I mounted them on painting sticks by drilling a hole in them and mounting them onto a wire. The picture shows them primed with a grey primer and the first two colours, Vallejo flesh and Army Painter plate mail applied.

Riders primed and ready.

Riders primed and ready.

The next stage was to block in the main colours, in this case Off white and Flat green. As I mentioned in my previous blog, I have no intention of creating a specific unit or retinue from a battle in the WOTR. The idea is to create a generic army to fight club battles. So although these colours are more appropriate for Tudor bowmen, these troops may well be fighting for a Yorkist retinue!

Block painting the livery

Block painting the livery

The next picture is a bit of a jump in the painting process! I finished the block painting by using a Buff/white mix on the bow covers and arrow bags; Vallejo old wood was used for the bows and the riding boots were painted with Vallejo Orange brown or light brown to mix things up a bit! The belts and accessories were painted with either leather brown or burnt red. I then brushed on Army painter Dark Tone quick shade. Once dry, the figures were sprayed with a matt varnish and then the white, flesh and metals re highlighted to give a crisp finish.

Finished figures on their horses.

Finished figures on their horses.

Close up of Light cavalry

Close up of Light cavalry

Once I was happy with the riders, I finished the basing using my usual technique that I have covered many times before in my blogs.

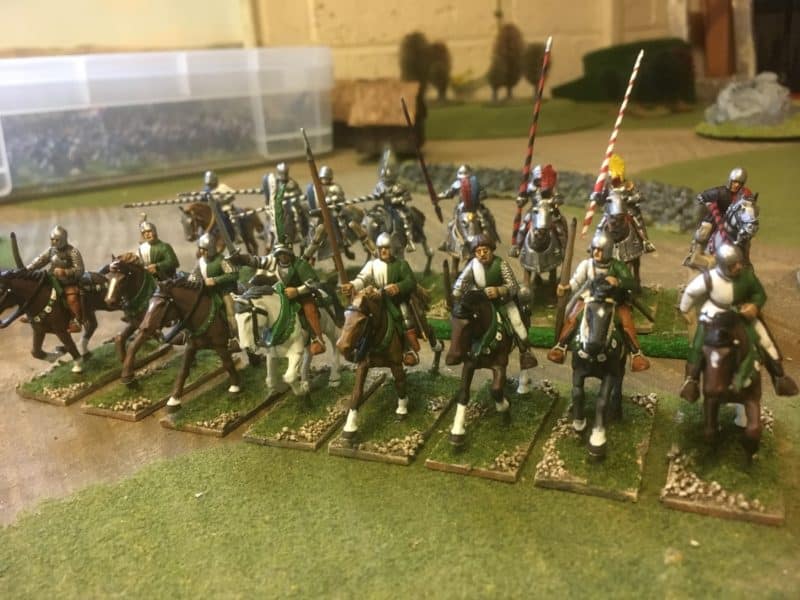
The completed unit of light Cavalry

The completed unit of light Cavalry

Close up of the unit - I have since been back and added some detail to the Commanders face.

Close up of the unit – I have since been back and added some detail to the Commanders face.

With eight mounted bowmen finished, it was on to the remaining four cavalry in the box! I have painted these as Scurrers or Prickers and again, I have chosen the livery colours at random, using burnt red and yellow. Here they are still mounted in their painting sticks!

Scurrers!

Scurrers!

Here’s the completed models on their horses. With these now finished I just need another four to make up the unit. I’m not sure whether to get some metals or see if I can just get an extra sprue. In the meantime, I’ve taken a break from the cavalry and I’m now working on some more Footknights and Characters.

Light Cavalry on the prowl!

Light Cavalry on the prowl!

I do need to add some flags and Standards to the unit – I’ve just received some very nice standards from Citadel six flags but have yet to try them. My army is approaching completion, with some 200+ figures now painted and based. It is lacking flags though – watch this space!

War of the Roses Army

War of the Roses Army

THE COMMERCIAL BIT

Almost all of the paints, miniatures, bases, basing materials and anything that you are likely to need for your hobby are available POST FREE from my shop here:

ARCANE SCENERY

Perry’s WOTR plastic range are here:

PERRY MINIATURES

You can find all the Vallejo Model colour paints here. If you don’t want to browse, just enter the paint number into the shop search bar;

VALLEJO PAINTS

You can find the Vallejo texture paste here:

VALLEJO DARK EARTH TEXTURE

‘Never mind the Bill Hooks’ will be available as a full colour supplement with the June edition of Wargames Illustrated. If you would like the current issue, click here:

WARGAMES ILLUSTRATED

Happy Modelling!
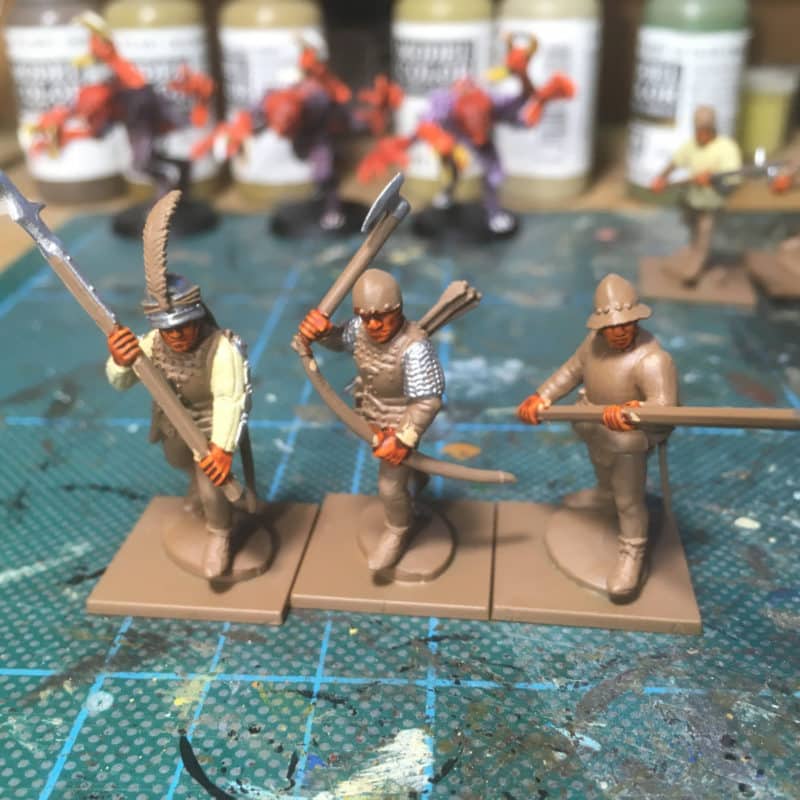
 

Lecourbes Defence of France June 1815

This past Saturday I attended the ‘Bingham Napoleonic Days’ event with the NG13 Wargamers. We were putting on a demo game and for this year, Andy Callan had found a nice set of scenarios that had been published in the ‘Wargames, Soldiers and Strategy’ Magazine. The articles, written by Rob Harper, detailed how General Lecourbe was able to conduct a rearguard defence of Eastern France against the invading Austrian Army. As well as giving a nice overview to the campaign, Harper also provided a series of linked scenarios that gamers could use to re-fight the campaign. We chose our favourite rules set ‘Black Powder’ for the battles and for the skirmish scenarios, used ‘Rules for old wargamers with short memories’, a home brew mash up written by Andy.

First Scenario. French defend the Tile factory

First Scenario. French defend the Tile factory

As a group, we are happy to use what ever troops that we have available in our collections to fight scenarios. We dont get too hung up on getting exactly the right regiments on the table. Indeed, as I had no Austrians to field, I took a brigade of Prussians to fight alongside their Austrian allies. It added a bit of colour to the Demo game and we were happy to point out the discrepancy to our visitors both verbally and in our briefing handout. We were playing Second Edition Black powder and the only minor rules amendments that we made were to take away the ‘Follow me’ rule from the Austians and to remove the order bonus for Columns. The Austrians had shown a remarkable lack of ambition in the actual campaign and we felt that these amendments would be enough to reflect this Austrian caution in our games.

The Prussians push onto the French Right.

The Prussians push onto the French Right.

Andy and I took the Austrian/Prussian Alliance and Pete Harris, fought as General Lecourbe, leading the French. As usual, I was playing and trying to take pictures, so although I had plenty of pictures, they weren’t necessarily of the key moments – I was too engrossed in the game!

The French reinforcements arrive and move to the front.

The French reinforcements arrive and move to the front.

The first battle of the series had The Austrians struggling to deploy their forces against a French force in a good defensive position in a tile factory on a hill in front of the village of Dannemarie. Both sides had reinforcements that they could bring on, the Austrians being hampered initially by the ‘traffic jam’ on the main road. The French had no such problem but they were out numbered – if the Austrians could bring their army onto the table.

General Le Courbe oversees the defence of France!

General Le Courbe oversees the defence of France!

The initial part of the battle saw the French comfortably holding the Austrians in front of the Tile Factory. The Prussian detachment was able to flank the building and move to threaten the French right. Lecourbe was able to deploy his cavalry and push the Prussians into square whilst moving reinforcements to counter the threat. As the pressure built on the Tile factory the Austrians were presented with a relatively weak French right flank. All they had to do was to deploy their Cavalry brigade and bring on the extra Infantry brigade that was dawdling off the table…

Prussians attempt to by-pass the tile factory, only to be met and contained by the French reinforcements

Prussians attempt to by-pass the tile factory, only to be met and contained by the French reinforcements.

The Austrian Cavalry failed in six turns to throw a command roll of 8 or less!!! Clearly, the Austrians thought that they were going to a dance, but didn’t even send the three and four pence!!! With no reinforcements to exploit the weakened flank. The French tied all of the Prussian infantry into squares and began to out-shoot them, bringing them close to breaking point. Although the Austrians did eventually manage both to deploy their cavalry and break the French Brigade defending the Tile factory, the game had reached it’s end in the allotted twelve turns. It was a tactical victory for the French who were then able to fall back in good order ready for the next battle.

Battle Two The defence of

Battle Two The defence of Chavvanes-sur-L’etang. The Prussians push on!

After a bit of scenery shifting by Andy, we were ready to fight the next scenario, the defence of Chavannes-sur-L’etang. The Austrians were again partially deployed off table but this time, there was a bit more space for them to deploy and the main bulk of the army was soon threatening the French, who were deployed in and to the rear of the Village. Once again the Prussians moved aggressively forwards onto the right flank of the French. This time they by passed the village, leaving their Artillery and Austrians to deal with this threat. The initial stages of the game were dominated by 5, yes, 5 blunders during the orders phase with 4 for the Austrian/Prussian alliance and one for the French. Although not fatal for either side, the result was that the Austrians were once again slow to deploy and support the Prussian advance. The Austrian cavalry were doing their version of the Hokey Cokey – In Out- In Out of the game!

The Austrians attempt to pound the Village into submission!

The Austrians attempt to pound the Village into submission!

Despite these tribulations and the difficulties in encountered in crossing the various streams, some progress was made by the Alliance, with a French battalion being destroyed in the village and the Prussians driving off an artillery battery on the right. Lecourbe kept his cool and was able to steady the  line. He sent a replacement batallion into the village, reinforced the right flank with an infantry battalion and sent his cavalry to hold the Austrians to the left.

An aggressive move by the French cavalry holds the Austrians

An aggressive move by the French cavalry holds the Austrians

The Prussians charged home, threatening to break yet another French battalion, but the French were able to pass their morale test, hold on and lock the Prussians in a vicious hand to hand combat that continued over the next couple of turns. Although eventually beaten back, the French had inflicted sufficient casualties on both of the Prussian battalions to shake them causing the brigade to fall back. The supporting Austrians were too late to help out and unable to exploit the weakening French right flank. Meanwhile, on the left, the Austrians tried to push through the French cavalry, only to be counter charged and were soundly beaten! The Austrian cavalry then managed, to not only fail their morale throw, but the supporting units also broke as well. The Allied advance was in tatters and the French were victorious!

The Prussians fail to break the French in combat and are periously close to losing the brigade.

The Prussians fail to break the French in combat and are periously close to losing the brigade.

We then moved onto the third scenario which was a skirmish game. Unfortunately, I did not take pictures and so will not include it in the report. In view of the superb French performance, it was clear that Pete had done Lecourbe and France proud and won the day! In real life, Lecourbes campaign was described as a “master class in defence” which Davout thought worthy of a Marshal’s baton. Sadly, worn out by his exertions, Lecourbe died in October 1815. His name is inscribed on the Arc de Triomphe – a well deserved recognition of his achievements.

The French Cavalry charge home and are victorious! Both Austrian Cavalry regiments break as well as the supporting Austrian Infantry!

The French Cavalry charge home and are victorious! Both Austrian Cavalry regiments break as well as the supporting Austrian Infantry!

The event itself was, as always, a very pleasant and enjoyable day. My only regret was that I was so engrossed in the games that I did not attend any of the Lectures or have a chance to browse the books on sale! We had a good number of people through to watch us and to join in with the games. Wargaming isn’t really a spectator activity but I hope that those that did get a chance to roll dice and make some of the command decisions enjoyed themselves. As always, it was great to meet up with friends and like minded hobbyists.

Bingham Napoleonic days

Bingham Napoleonic days Look out for the 2021 event!

We are very much looking forwards to next years event. If you are available in early March, put a note in your diary. Entry to the event is free and I know that the programme of speakers will be of the usual top quality.

THE COMMERCIAL BIT

To get full details of the Bingham Napoleonic days, including a list of speakers, click here:

BINGHAM NAPOLEONIC DAYS

Almost all of the paints, miniatures, bases, basing materials and anything that you are likely to need for your hobby are available POST FREE from my shop here:

ARCANE SCENERY

Our range of Warlord Napoleonics can be seen here:

WARLORD NAPOLEONOIC RANGE

Trent Miniatures make a lovely model of General Lecourbe ( as well as a few other revolutionary Generals!). I you would like a Le Courbe to lead your army you can get him here:

GENERAL LE COURBE

Happy modelling!
War of the Roses Light Cavalry Part one

My War of the Roses army is approaching completion, although the project is suffering from a bit of ‘creep’ with my habit of finding that just one more unit would be a good idea! The light cavalry were supposed to be the final unit that I would add. The challenge to my OCD/collectors habit was that the Perry Miniatures plastic box set gives you 12 light cavalry and I only needed 8 to make a unit. My solution to this dilemma was to decide to build 8 of the cavalry as mounted bowmen and then make another unit of 8 Scurrers by adding some metals to the four remaining plastic figures.
Perry Light Cavalry assembled

Perry Light Cavalry assembled

But first of all, I needed to get the plastics completed. I assembled all of the figures in the box first and then decided to paint them, six at a time, starting with the horses.

Primed horses

Primed horses

As you can see, I primed four of the horses in brown, one in black and the last one in grey. The different base coats giving an indication of the different colours that I would paint the horses! By the way, I use army painter rattle can sprays to prime my models.  When it came to the colours for the unit, I had decided that I would paint them in green and white for no other reason than I fancied this combination. History purists might find this cavalier approach ( Ooh! Good pun!) somewhat unacceptable, particularly as the colours are close to Henry Tudors’, who was a Lancastrian and the rest of my army is based on Yorkist commanders. However, I am painting units for the rules set that we are using’ Never Mind the Billhooks’, rather than creating a specific WOTR army and I feel comfortable in mixing and matching as I see fit. Lets just say that these troops are Cheshire journeymen happy to draw a bow for who ever pays them – in this case, Lord Harry Hotspur!
The four brown horses.

The four brown horses.

I painted the four brown horses more or less as Bays, using a mixture of browns and washes layered on using my dry/wet brush technique. The horse with the light mane was painted using Green Ochre – I would never have chosen this colour based on it’s name but it does work well! It was then a case of painting the livery in green or green and white.

The black horse

The black horse

The Black horse was highlighted with black/grey and then very lightly with light grey. I used Buff to pick out some of the livery, again not because of any historical accuracy but because I liked the effect!

The white horse was painted in exactly the same way as I painted Richard III’s horse (see last weeks blog) and so I had my first six horses ready for basing.

Six Light Cavalry Horses ready for basing.

Six Light Cavalry Horses ready for basing.

In next weeks blog. I’ll detail how I painted the riders and completed the unit, but for now here’s a picture of the first six figures that I have completed – The basing is still to be finished.

Mounted Bowmen

Mounted Bowmen

The sharp eyed amongst you will see that a Prussian Jaeger has sneaked into the picture! So with the six mounted bowmen completed it is onto the commander and standard bearer to give me my eight mounted bowmen.

THE COMMERCIAL BIT

Almost all of the paints, miniatures, bases, basing materials and anything that you are likely to need for your hobby are available POST FREE from my shop here:

ARCANE SCENERY

Perry’s WOTR plastic range are here:

PERRY MINIATURES

You can find all the Vallejo Model colour paints here. If you don’t want to browse, just enter the paint number into the shop search bar;

VALLEJO PAINTS

You can find the Vallejo texture paste here:

VALLEJO DARK EARTH TEXTURE

‘Never mind the Bill Hooks’ will be available as a full colour supplement with the June edition of Wargames Illustrated. If you would like the current issue, click here:

WARGAMES ILLUSTRATED

Happy Modelling!