The next piece of scenery that I have made for my NMTB’s project is the ‘Hidden Ditch’ piece to represent the special event card ‘Terrain Advantage’. First I took a base – actually, it was a spare base to a movement tray and at 180mm long and 60mm wide, overlaps the length of the average unit. I wanted the ditch to look hidden, so I built up the front of the base with a piece of scrap balsa. I then added the rest of the ‘landscaping’ using standard milliput.
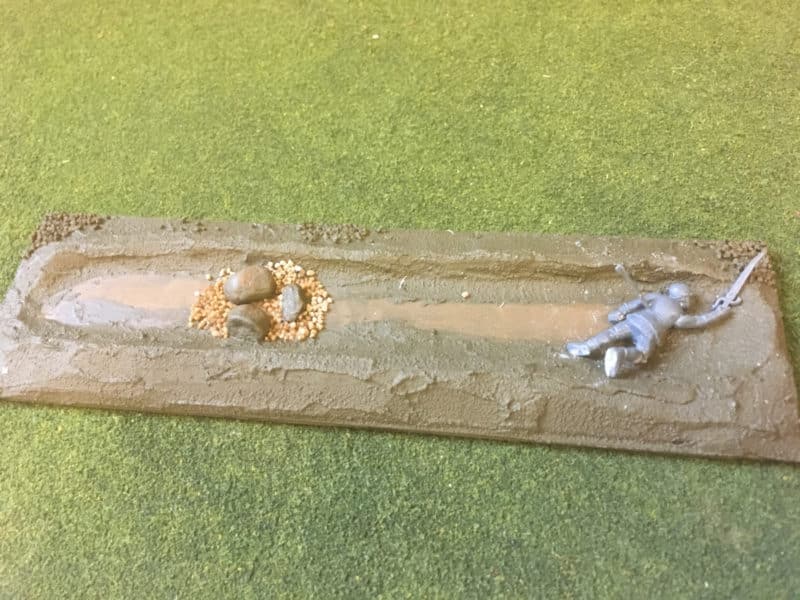
Ditch, covered with texture & rocks added.
I neglected to take a picture of the base under construction but you can see the base above with the milliput and balsa now coated with a thick coat of Vallejo Dark earth texture paste to blend everything together. I’ve also added some ‘rocks’ – pebbles from my garden and some ballast for additional detail and texture. I then painted everything with my usual basing emulsion colour and dry brushed it all to bring out the different textures. The base of the ditch was left smooth and I also painted this with a darker colour to give the illusion of depth.
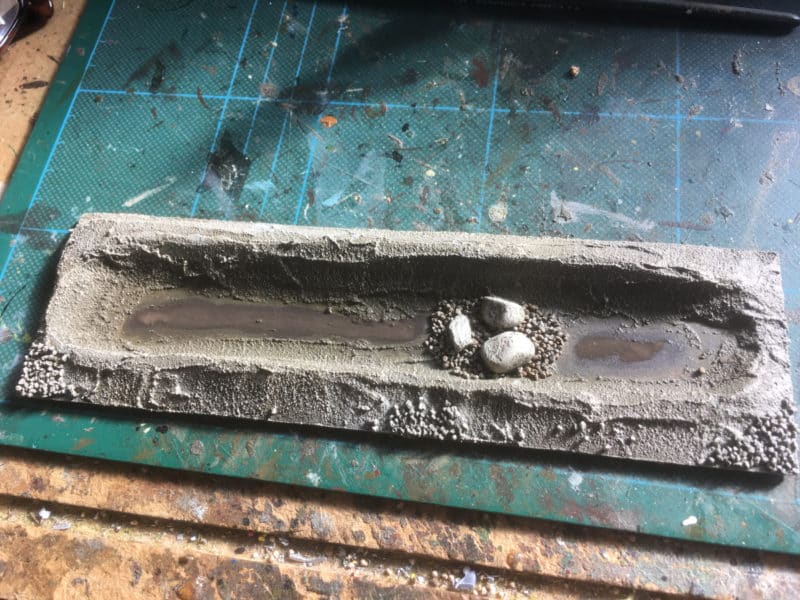
Hidden Ditch under construction
As you can see from the picture above, I wanted to add a ‘casualty’ to the scenery, so I converted a Perry’s Bill man by sanding down the front of the figure to make him lie flat in the ditch. I then cut and repositioned (with pliers! – it’s suprising how much you can bend plastic figures!) the arms and legs to make him look as though he had fallen. The arrow was carefully snipped from the arrows on the command frame and the body drilled to take the arrow.
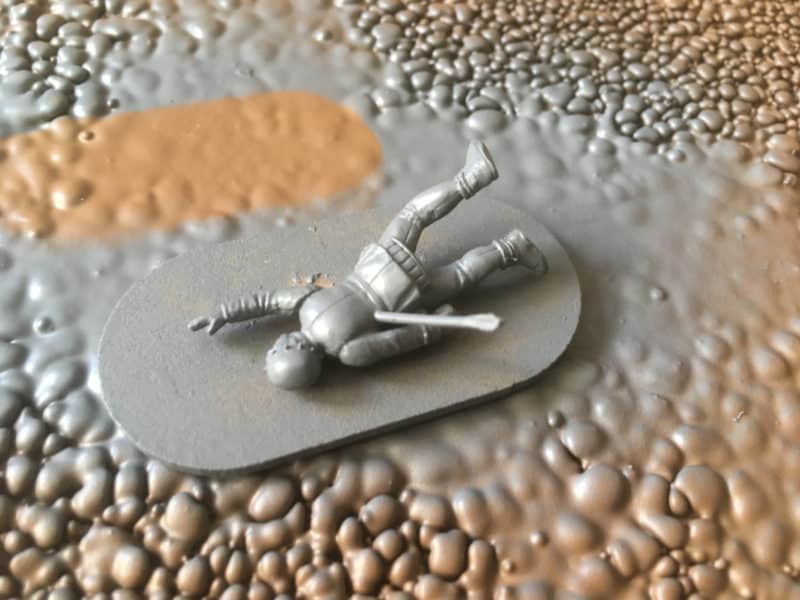
casualty for the ditch
Once the casualty was dry, I just retested the fit into the ditch and filled any large gaps with Vallejo plastic putty.
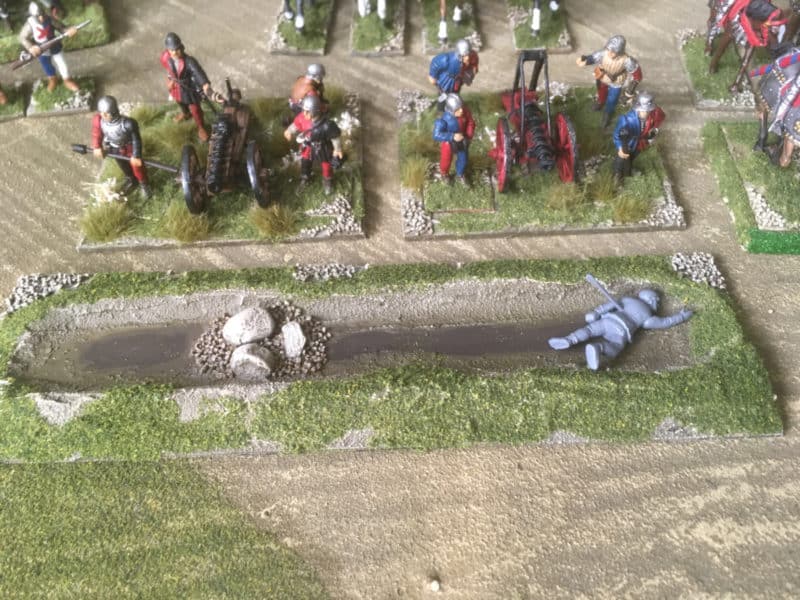
Casualty in ditch – scatter added to the banks
As well as the scatter, I also added a variety of Gamers grass tufts. I used a mixture of the 12mm long jungle, light green and dry green tufts as well as the shorter 6mm dry green tufts. The casualty was painted to my standard method, covered in my previous blogs. I used a red and white livery as I don’t have any of my troops in these colours!
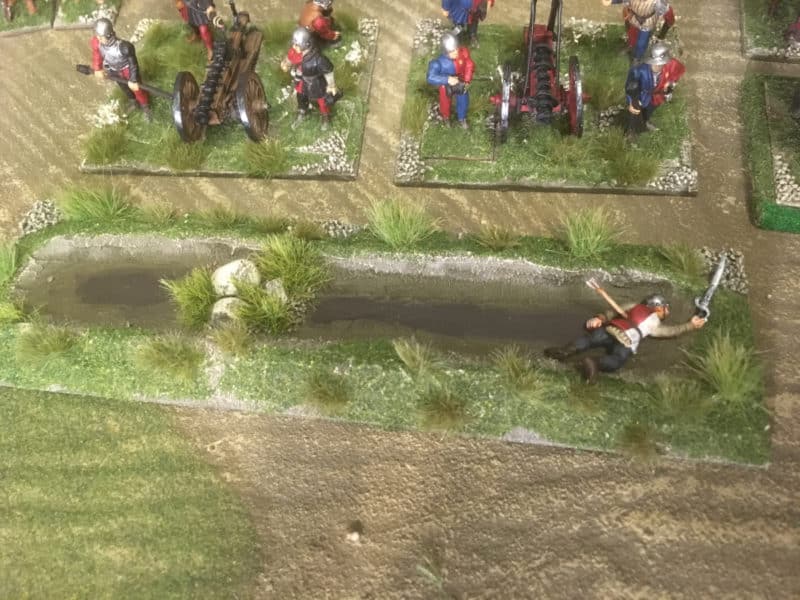
Tufts added to the ditch
I think that the effect is better when seen at table top level – you can see that there is a barrier of some sorts but not actually see the ditch. I was quite pleased with the way that this has worked out but it is not quite finished. I am going to add some acrylic ‘deep pour water’ to the ditch to make it look even more realistic. However, this product is quite expensive, so rather than purchase it just for the ditch, I intend to make a bit more scenery for my table. I am planning to make at least a couple of ponds and once these are completed, I will add the water. With another lockdown about to start, I cant see me gaming for a while, so there is no rush. Meanwhile, My next project – Medieval Tents is well underway – more on those in the next blog!
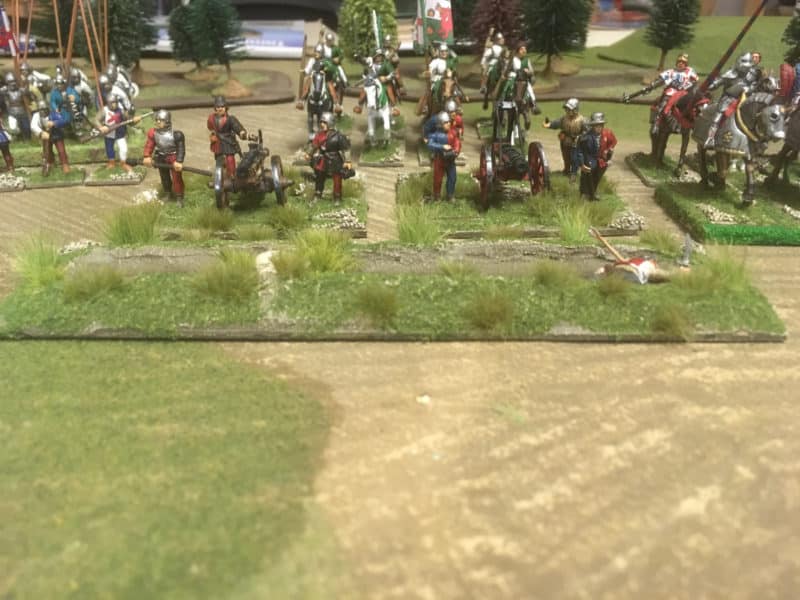
Hidden Ditch!
THE COMMERCIAL BIT
Almost all of the paints, miniatures, bases, basing materials and anything that you are likely to need for your hobby are available POST FREE from my shop here:
Perry’s WOTR plastic range are here, including some nice army deals!
You can see our Woodlands scenics range, including water effects, here:
Gamers grass tufts can be found here:
Vallejo plastic filler and Milliput is available here:
MDF bases can be found here:
You can find all the Vallejo Model colour paints here. If you don’t want to browse, just enter the paint number into the shop search bar;
Happy Modelling!
