Now that I have started my BEF force, it seemed sensible to add a tank as a support. One of the most numerous tanks supplied to the BEF at the start of the war was the Vickers VI mark B. Armed with a 0.303 machine gun and a 0.5 inch Vickers heavy machine gun and with a maximum speed of 35 mph, it was a useful recon vehicle but somewhat under gunned and under armoured compared to the contemporary German tanks that it would be facing. That aside, it is a lovely little tank, full of character and a nice subject for my collection. My first decision was to decide on what scale I would use.
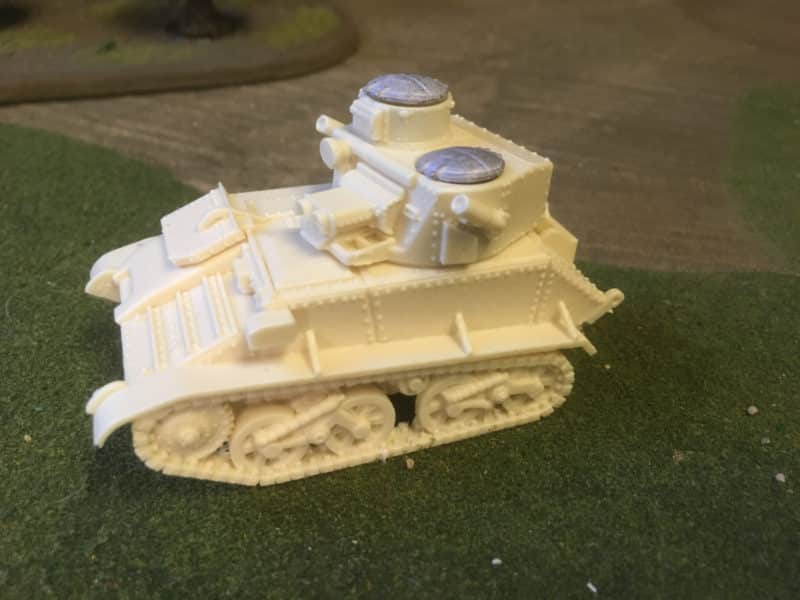
The 1/48th scale Blitzkrieg Vickers VIB as supplied.
The common scale used by Warlord and Rubicon, and as a result, by many war gamers, is 1/56th scale. In theory, this should match the ‘scale’ of 28mm figures. However, I find that most war gaming figures are closer to 30mm in size and due to the manufacturing process, tend to be more ‘chunky’ than a true 1/56th scale figure would be. By the time that you mount figures on a base, I think that they look on the large size compared to the vehicles. I also have grand ideas of building a collection of 1/48th aircraft, so with all this in mind, I went for a 1/48th scale Vickers produced by Blitzkrieg Miniatures. You can see more on my thoughts as to what scale is best for your figures in a previous blog here:
Blitzkrieg tanks – what scale should I choose?
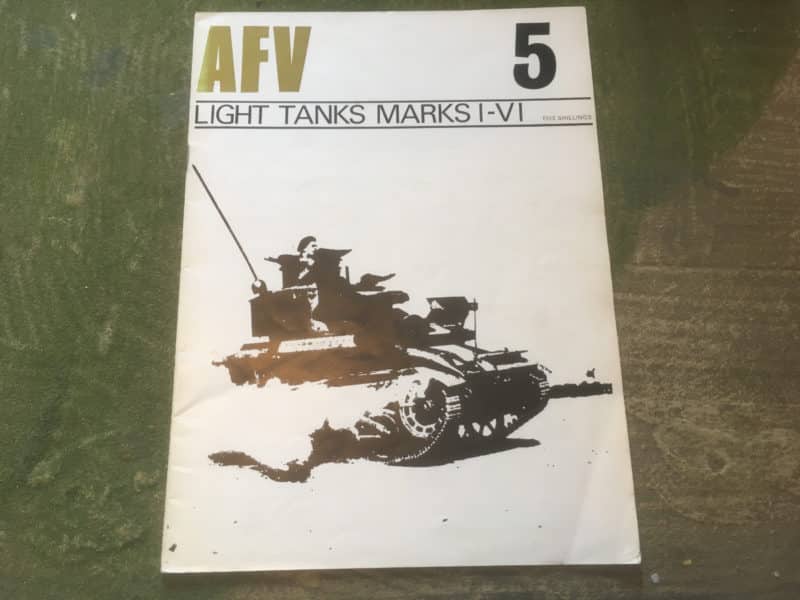
Vickers tank – Profile publications
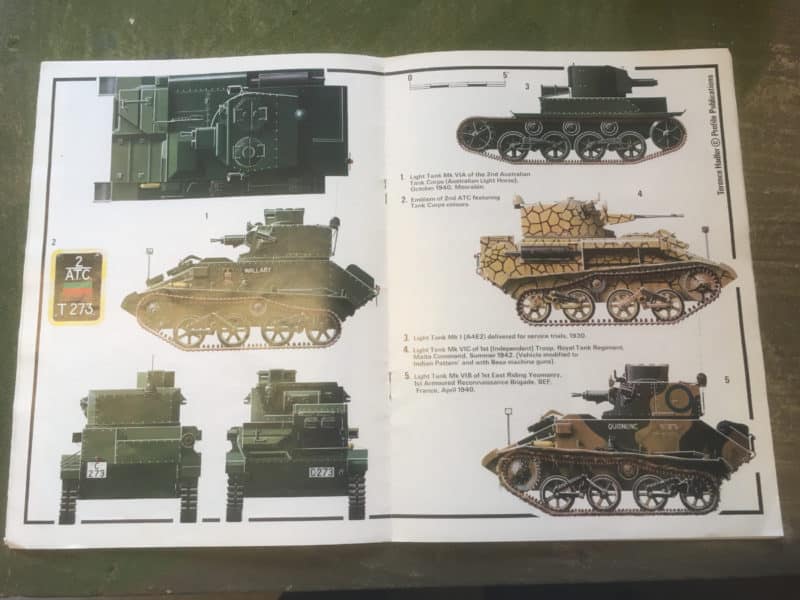
Colour Schemes for Vickers in Profile magazine
As usual, the next task was to do some research on the tank and it’s colour scheme. I have quite a few old Military Modelling magazines in my collection and I was pleased to find that I had a couple of really good articles describing the tank and modelling the tank in 1/35th scale. I also had an old tank profile publication devoted to the Vickers. It is an old publication, now long OOP, I suspect. My copy still has the price of five shillings on the cover! I also did some research on the internet and there is no shortage of reference, both in terms of pictures and videos. The challenge for me was to convert this knowledge into a wargaming model rather than a massively detailed scale modelling project. The Blitzkrieg model is good enough to paint and use straight on the wargames table but I wanted to add some detail so that it looked good in the display cabinet.
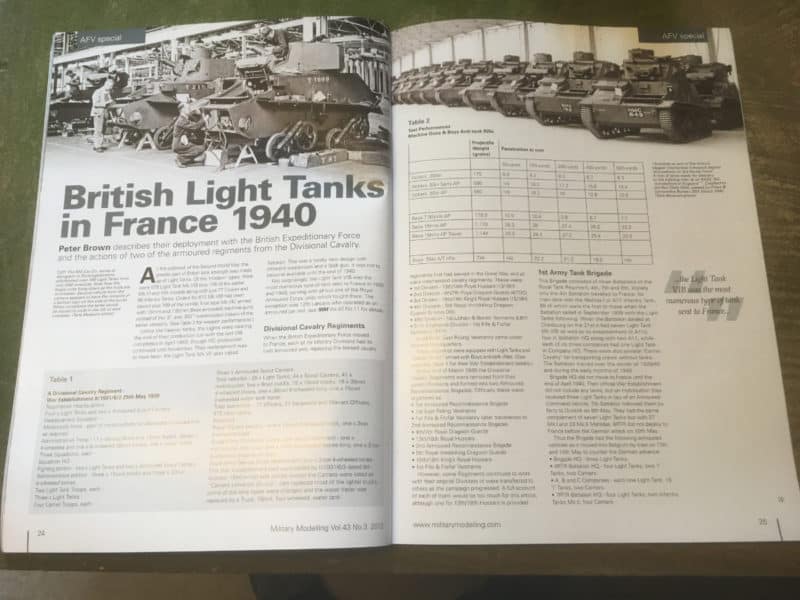
Article from Military Modelling collectors edition #16
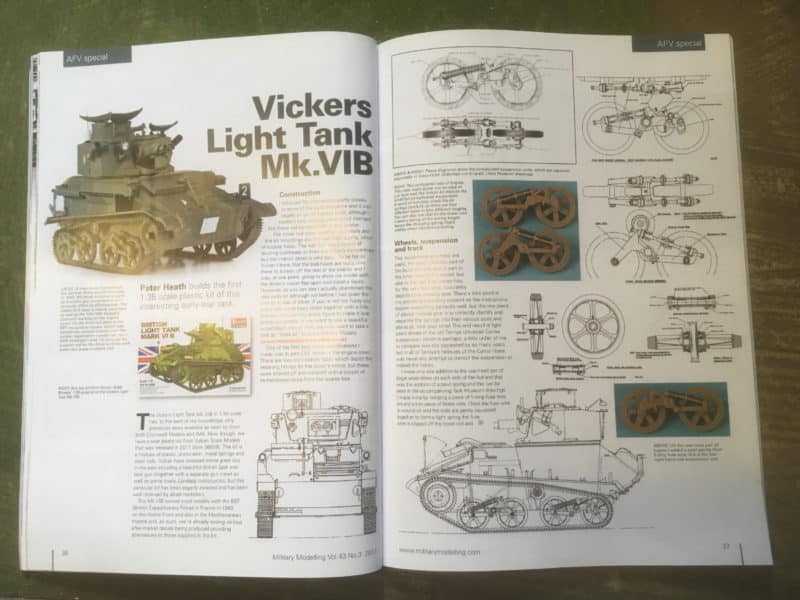
Modelling the Vickers VI in 1/35th scale from the same magazine
There were four areas where I thought a bit of detail would enhance the model. The drivers mirror is an obvious feature that is impossible to mould onto a resin cast kit. The Aerial platform at the rear of the turret is also missing. The muzzle of the 0.5inch machine gun is also not moulded onto the kit. The final ‘missing’ detail is the lack of tools or stowage – to be fair, from the pictures that I have seen, the Vickers did not seem to be carrying much in the way of stowage. Certainly not the amount that you see on tanks later on in the war.
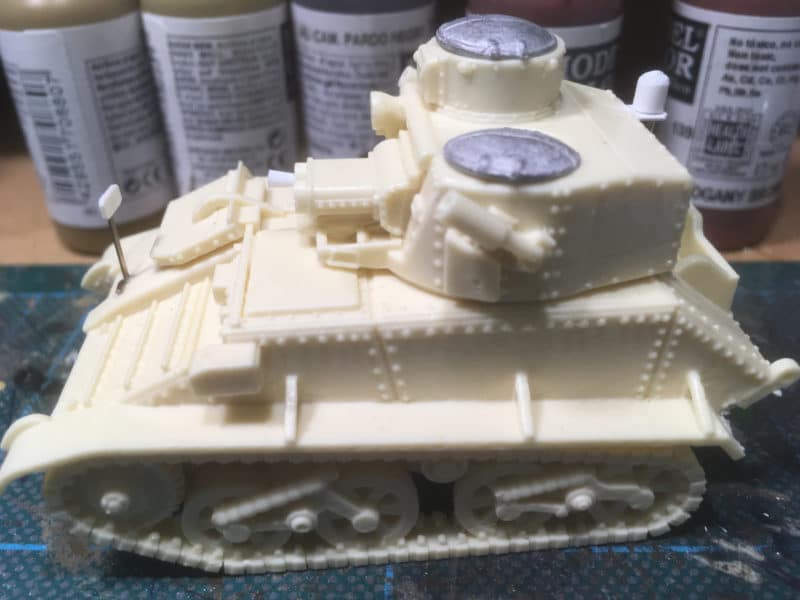
Drivers mirror, Muzzle and aerial added to model.
My approach to modelling these details was to represent them rather than attempt to make scale replicas. So for the drivers mirror, I used a 50mm metal spear! It looked about the right thickness and is rigid enough to withstand a bit of wear and tear on the war games table. I just cut it to about the right length using the pictures as a reference. I then cut out a small bit of 20/000 thou plastic card of about the right size for the mirror, using a file to gently round the edges. I drilled the hull in about the right place and using Expo thick super glue with accelerator, glued the assembly into position.
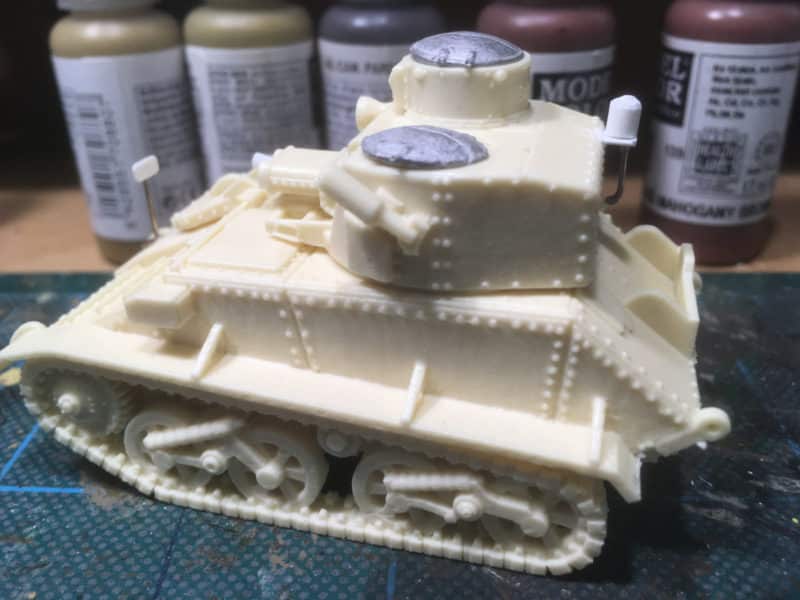
The aerial platform – some sanding and shaping needed!
I took the same ‘cavalier’ attitude to making the aerial platform. I used a piece of 20/000 plasticard cut to about the right size and glued it to the back of the turret in about the right place. I then used another piece of the 50mm spear to make the support and again used super glue to fix it in position. To make the aerial holder/cover I cut a piece of plastic tube to about the right size, sanded the top to a curve and then filled it with Vallejo putty. Once dry, I again sanded it to the curved shape. I will add the whip aerial, using thin brass rod or stretched sprue, once I have finished the painting.
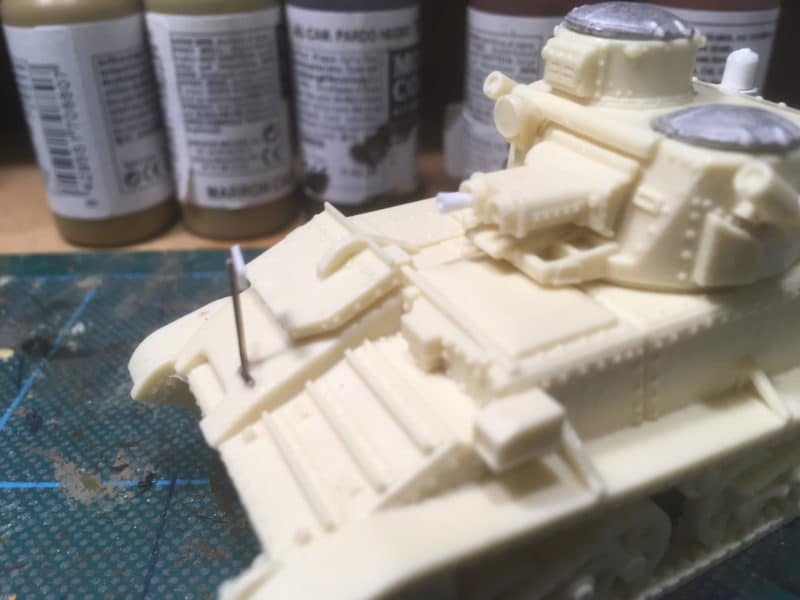
Close up of the 0.5 inch machine gun muzzle.
I then made the muzzle of the 0.50 Vickers gun using a piece of plastic rod. To get the cone shape, I put the rod into my trusty hand drill and spinning it around, used some sand paper to produce a cone shape at the end. I then cut this off and stuck it into the gun mount. This extra work took around an hour or so and would have been even quicker if I had not had to make at least two copies of the bits as I kept dropping them on the floor and losing them. I’m convinced that there’s a spider under my work bench that shares my hobby and is collecting the bits that I drop!
I’m leaving the stowage until after I have finished the painting. I’m trying to decide whether to buy some ready made stowage or just make some out of milliput and spares. I’ll probably go for the latter option but feel happy adding this to the finished model.
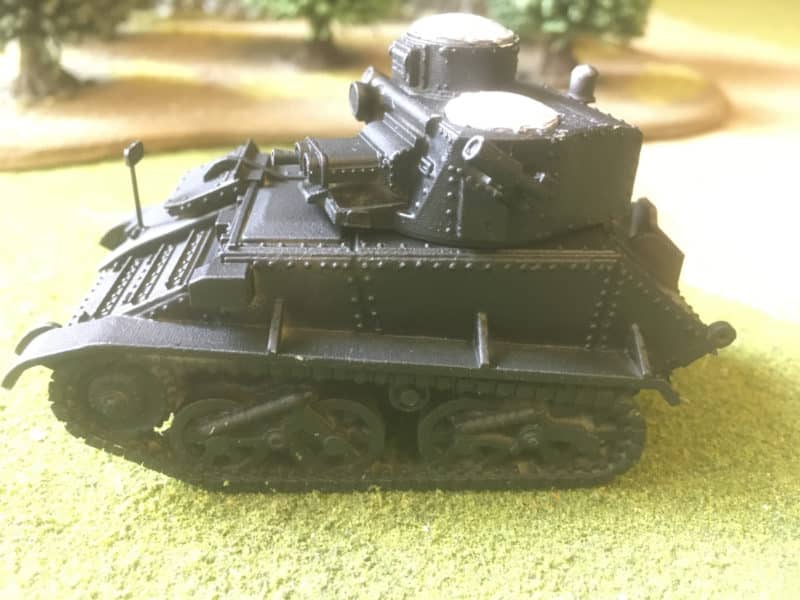
Model primed in Vallejo Black primer.
Onto painting. I should mention that the first job that I did was to wash the model in warm soapy water using an old tooth brush to give it a good scrub down before I started any modelling. With resin tanks, this is vital, as the silicon mold release agent will cause your paint to flake if you don’t get rid of it. For some reason, it is always a problem with resin. I never bother with plastic kits or metals and have never had an issue but resin is problematic – if you miss a spot, it will flake your paint! I then primed the model with Vallejo black primer using an airbrush.
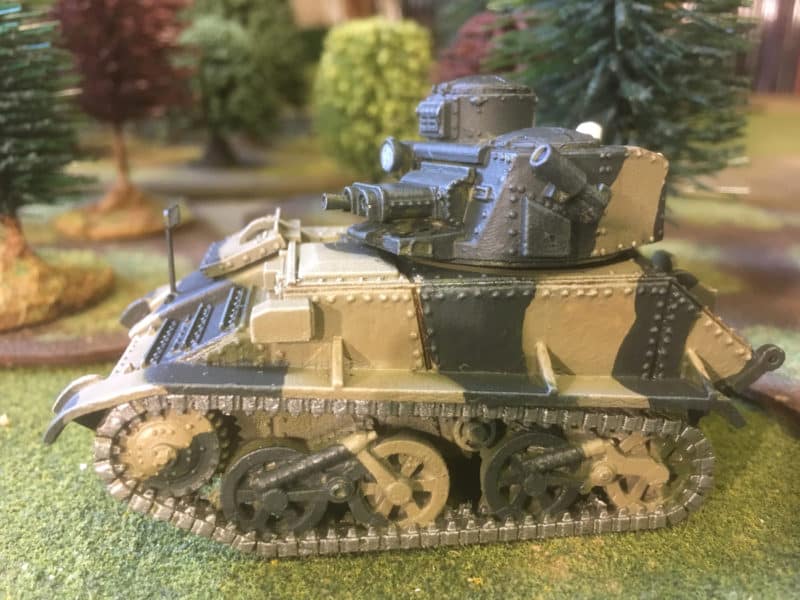
Painting in progress. – You can see the original Olive drab that I thought was too light on the front of the tank- I’ve missed a bit when repainting!
As far as the colours go, you could write a book on the subject! Mike Starmer has written quite a few and is evidently the foremost expert in this area. Google him for more information. I took my usual pragmatic approach and used MIG Ammo colour Kahki Green MIG113, which has been designed specifically for painting British armour 1939 – 1942 with Mr Starmers input. Once again, I used an airbush to apply this coat. When it came to the camouflage pattern, I used blutack to mask off the pattern, approximating to the picture in the Profile publication. I initially airbrushed on Mig Ammo 0112 Olive Drab. This looked dark enough in the bottle but when on the model it looked too light to me. I decided to repaint this using Vallejo German Black Green 70979. I also added a couple of drops of black to make it even darker. Rather than re mask the model, I simply brush painted it over the Mig Olive drab.
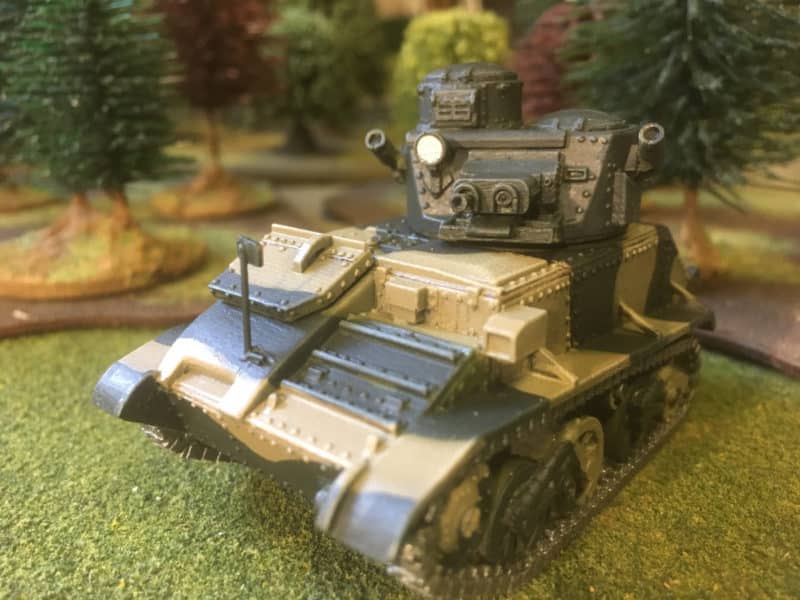
Front view of the Vickers VIb
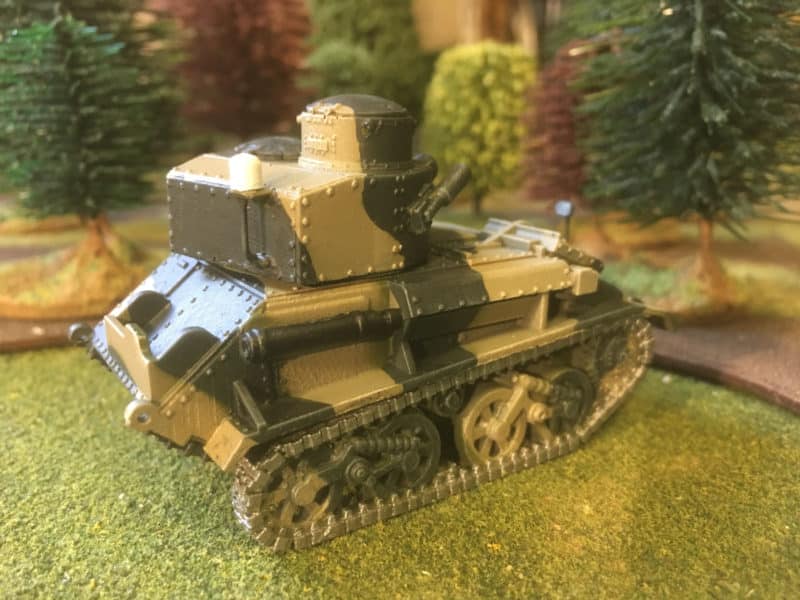
Rear view showing exhaust and aerial platform.
I then picked out some details – mirror and lights were painted silver, exhaust system Matt black, tracks, steel, aerial cover white. I have just started the weathering. A quick dry brush with the khaki green and dark green lightened with Iraqi sand just to pick up the edges of the armour and the rivets. I used army painter strong tone to run into the panel lines. And that is about as far as I have gone. I’ve now put the tank to one side whilst I order some markings and add the stowage before final weathering and ‘dirtying down’. I’ll re visit this process in another blog. For now, the Vickers VI is serviceable for the wargames table – if we get the chance to play!
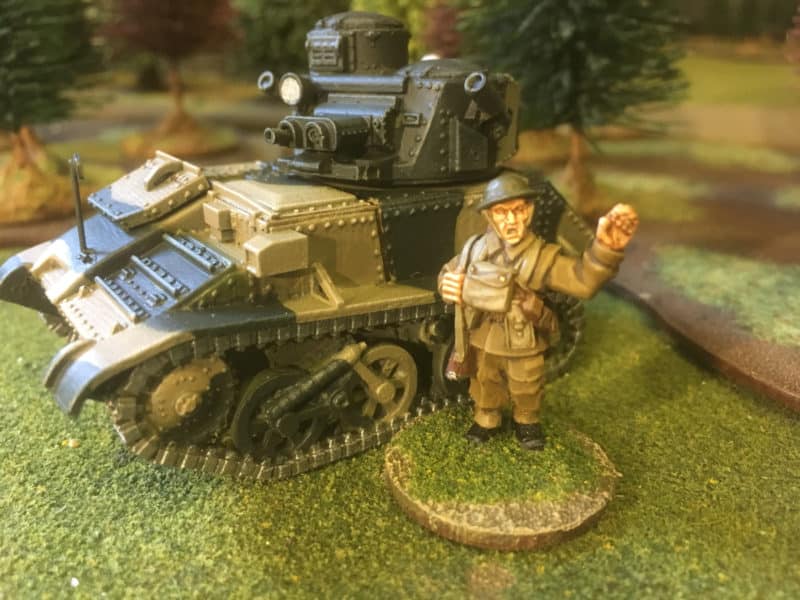
Vickers VIB (almost) ready for battle!
THE COMMERCIAL BIT
Almost all of the paints, miniatures, bases, basing materials and anything that you are likely to need for your hobby are available POST FREE at the time of writing, from my shop here:
You can see the Blitzkrieg range of both 1/48th and 1/56th scale tanks here:
You can see our range of MIG ammo paints and accessories here:
we carry a huge range of Vallejo paint and accessories here:
We carry a full range of Evergreen Plastic – ideal for modelling and converting:
If you haven’t got a piece of wire….the 50mm spears are here!
If you prefer proper brass rod or tube, we carry a huge range of Albion Alloy metals here:
Happy Modelling!
