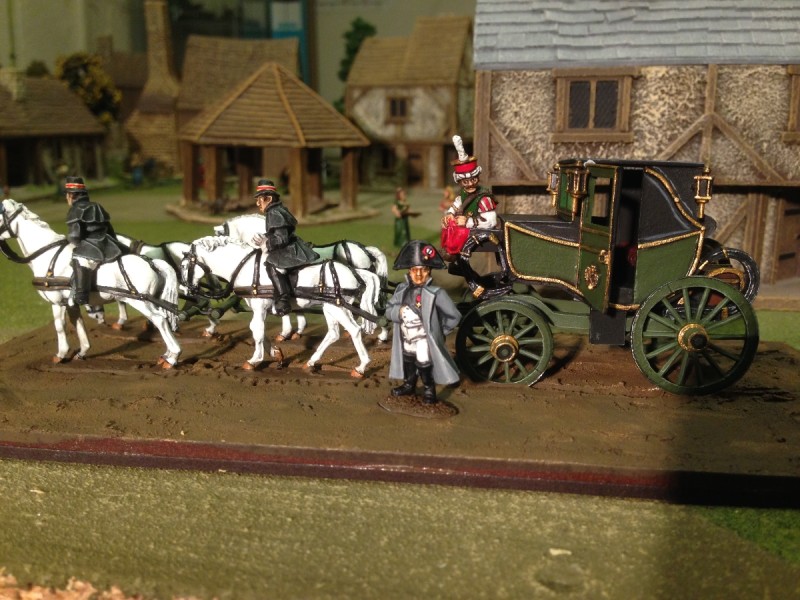
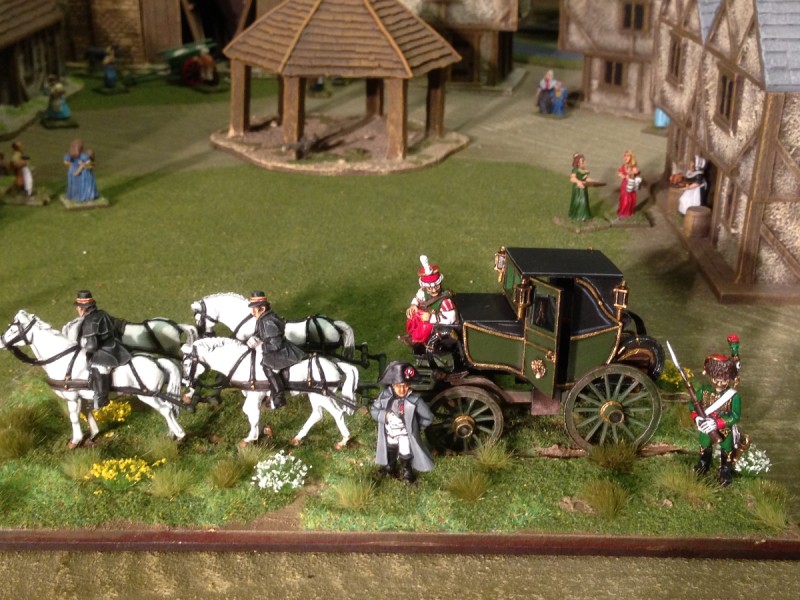
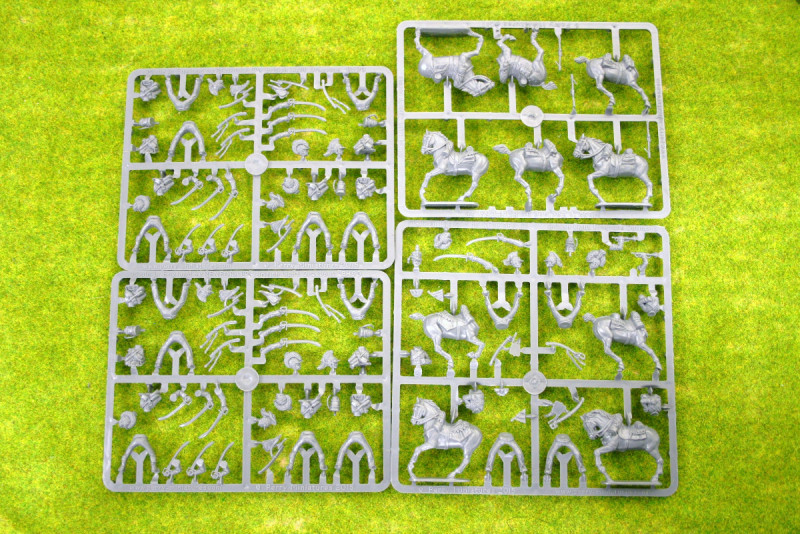
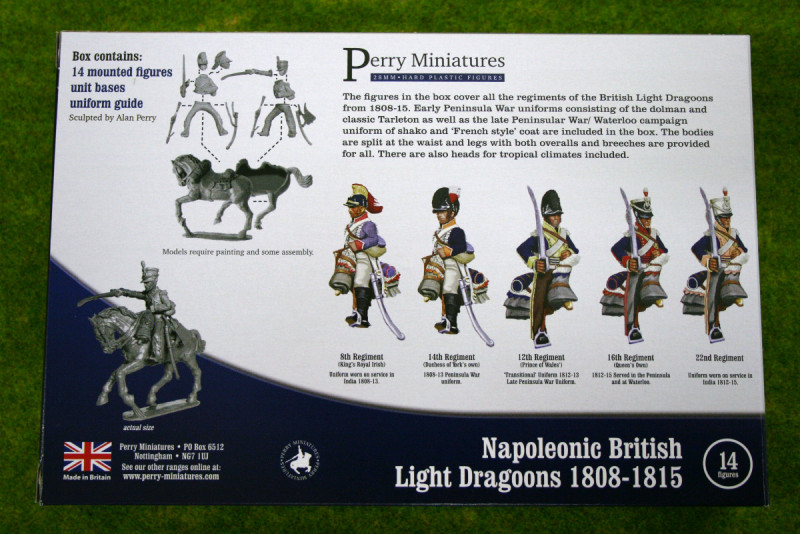
The next project on my work bench is the fairly new set of British Light Dragoons, produced in plastic by the Perry Brothers. Those familiar with this blog will know that I am a bit of a fan boy when it comes to Perry products. I think that they produce some of the best figures available, and the breadth of their ranges are huge. Their plastics are routinely of a high standard and in this set they have surpassed themselves. It is not just the quality of the sculpts that I am impressed with. The value for money is unbeatable. The box says that you get 14 figures, which is technically correct. What it doesn’t tell you is that there are actually 28 figures, 14 horses and an additional 14 spare heads – all for just £20!
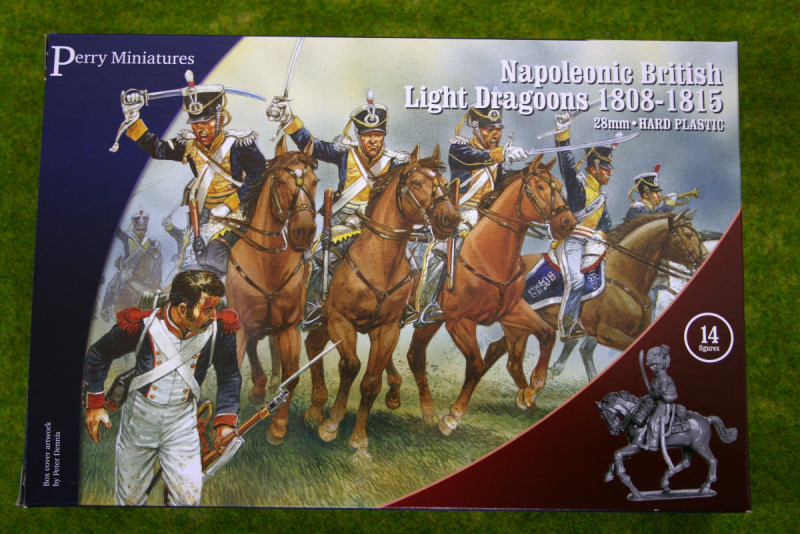
The reason for the extras is that the set allows you to build either the early version of the Light dragoons in Dolman and Tarleton helmet, covering the period 1808 – 1813 or you can choose to build the later version of the uniform, with the ‘French style’ coat and Shako used in the Waterloo campaign. The extra heads are to allow you to produce a third option of the type of uniform used in the tropics, where a light tin helmet was worn. So which ever version you choose to build, you will be left with plenty of spares for future projects. Of course, you could buy some extra horses and build all 28 riders, creating two regiments of Dragoons, albeit from slightly different periods.
As my army is based around the Waterloo period, I have gone for the later uniforms with the shakos. As I build my regiments of cavalry in 12’s I will have two spare models for the next regiment – the plan is to start with the 11th Dragoons but I will eventually build the full 4th British Cavalry Brigade as it was at Waterloo. The Brigade consisted of 3 regiments of Light Dragoons, the 11th, 12th and 16th Regiments and was commanded by Sir John Vandeleur, who went on to take command of all of the British cavalry at Waterloo after Uxbridge was wounded in the evening. The Brigade saw quite a bit of action during the battle and was used to cover the withdrawal of the remnants of the Union Brigade after their famous charge, and then later in the battle was busy against the French rearguard as they retreated. The brigade suffered 319 casualties through the day, some 23% of their strength.
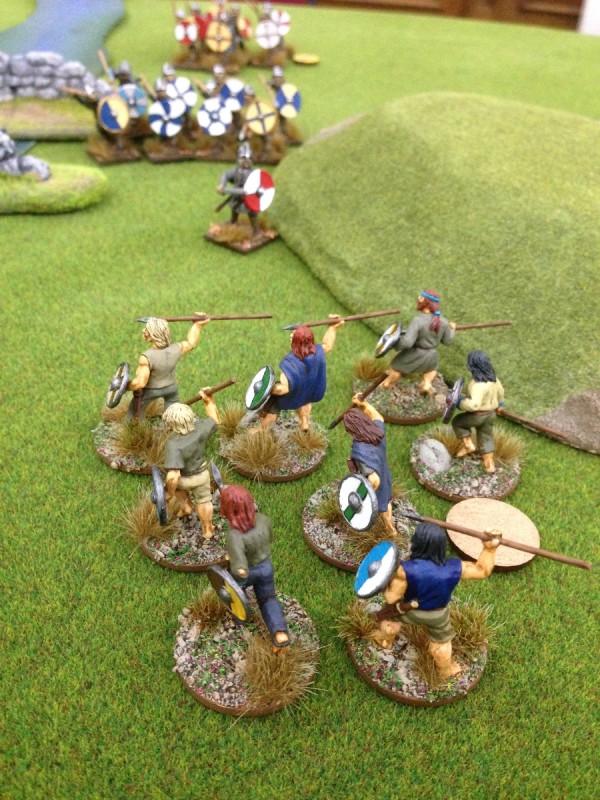
Just a word on how I build my regiments and battalions for our Black powder games. I know that the question of unit size can be a vexing issue for many Napoleonic gamers and the subject can get quite heated, if comments on forums and facebook are anything to go by! My preferred method is to build Cavalry in regiments of 12 and infantry in battalions of 24. This allows me to split them easily for the more frequent club night battles that we fight, which invariably are on smaller tables. The smaller units of 6 Cavalry and 12 Infantry allow you to deploy more ‘brigades’ on the smaller table, making the battle more interesting. Purists will point out that a unit of 12 cavalry in a regiment doesn’t really do justice to the fact that the Regiment consisted of 3 squadrons and that 18 figures would be a better representation, as would 36 infantry figures give a 1:20 representation of the average battalion strength. It really is a matter of taste, practicality and of course dependant on the rule set that you choose to play and finally, of course, who you choose to play against.
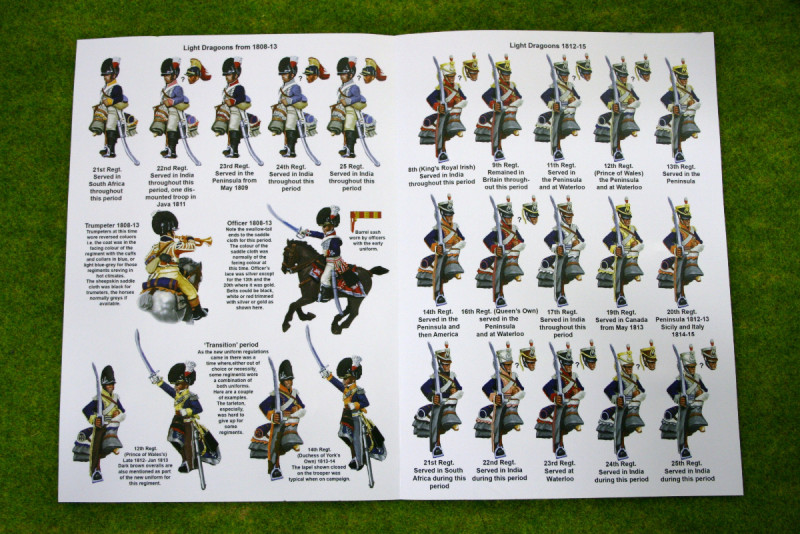
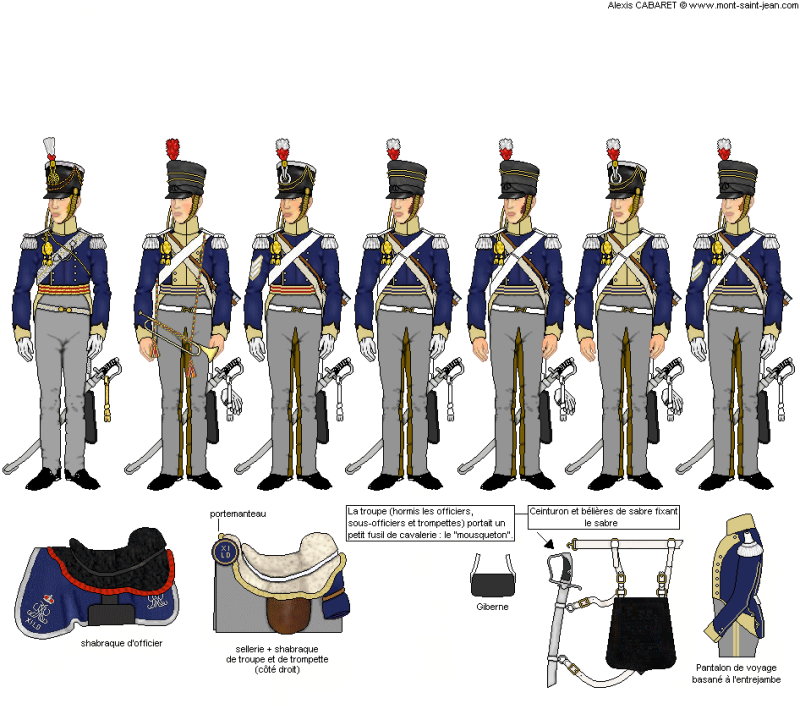
So having decided which regiment I would start with I then did my usual research to check on uniforms. With the Perry Boxed set, you don’t have to look too far. There is a beautifully illustrated painting guide included in the set and this together with the box art is really all that you need. That said I always like to consult my favourite web site Mont St Jean and the book by Carl Franklin ‘ British Uniforms of the Napoleonic wars’. This allows me to absorb the colours of the uniform and equipment and plan my painting routine whilst dreaming of how they will look when finished!
Research completed, it was time to assemble the figures and horses. The parts all went together very nicely with the minimum of flash and moulding lines to clean up. Just two minor problems – the Shako’s had a bit of a sink hole in the tops – easily filled with a dab of Vallejo plastic putty. The horses seemed to go together better if you cut off one of the ‘retaining lugs’. I always use polystyrene glue when assembling plastics, the bonding process helps to fill any joints. I know that some modellers use super glue – heresy, as far as I am concerned! Don’t do it!
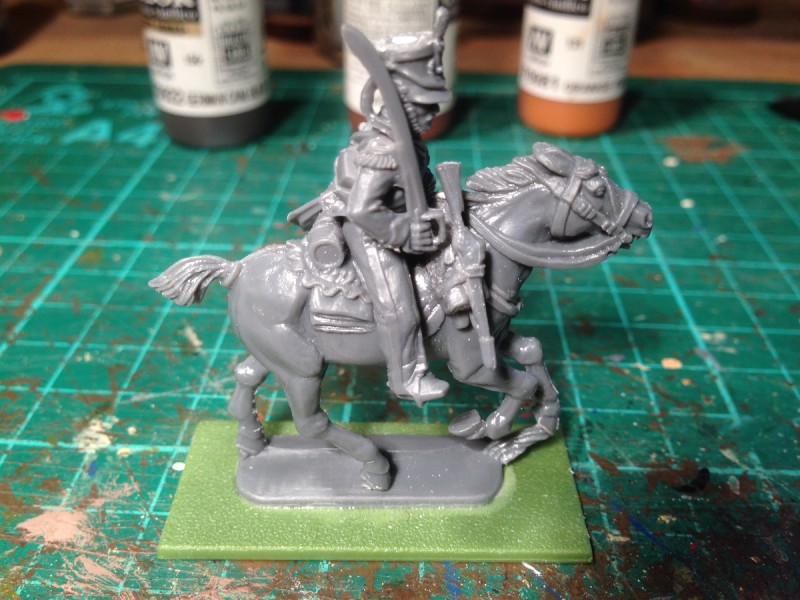
Light Dragoon assembled, ready for priming.
Models assembled, I primed the horse with Black primer and then painted them using a dry brush technique. This isn’t quite so effective as painting them carefully and highlighting them but it is quicker! I used three dry brush coats for the first six horses. The base was Vallejo Camouflage Black Brown, next a coat of flat brown and then a final highlight. I don’t worry too much about washing my brush out between coats, it allows the paints to blend and means that there is a bit of colour variation between the batch of horses that I am painting.
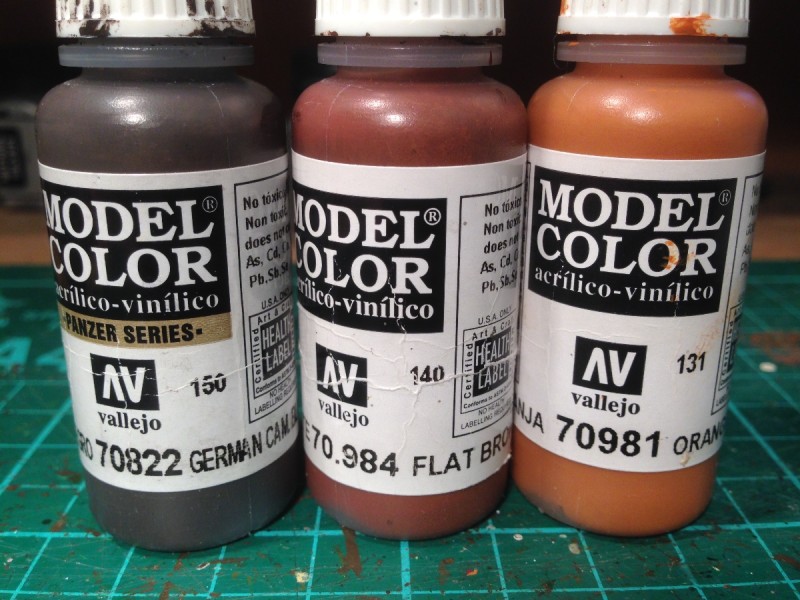
Colour palette for first batch of horses
The first horse in the batch will tend to be darker than the last one! This process also means that the paint will go over some of the straps and other parts of the horse but this is all corrected once the detail is painted. Once the basic colour is on the horses , I then add some white or black ‘socks’ to the horses legs, repaint the manes & tails in black where necessary and finish off by painting the equipment. So, Six horses finished so far!
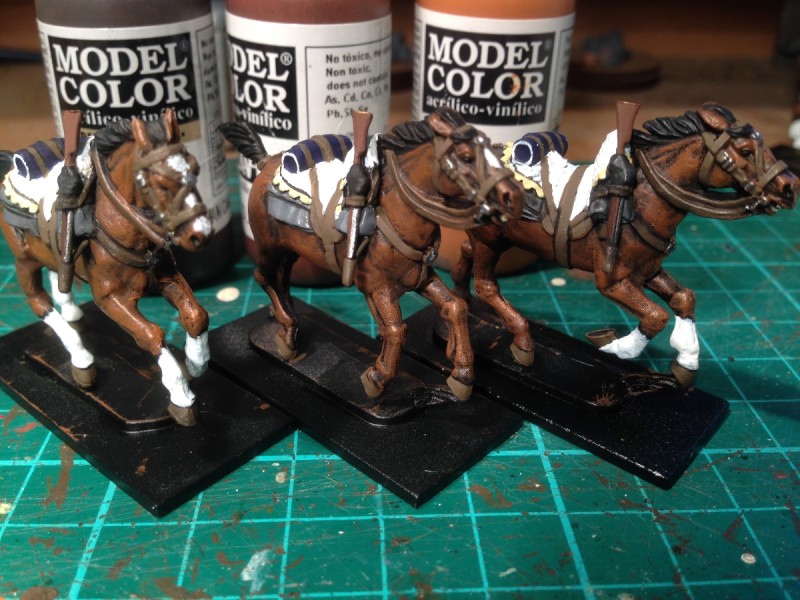
Three of the first six horses done!
As always, I will revisit the models and add any further highlights that I feel will add to the finish. The process of photographing the models for the blog is a big help in this respect as it enables me to look again at the model with a different perspective. I think that a coat of ink on the leather strapping and the hooves, and a slight light grey highlight on the blankets will help to give these rather flat areas of paint a bit of life.