Trouble with Cavalry

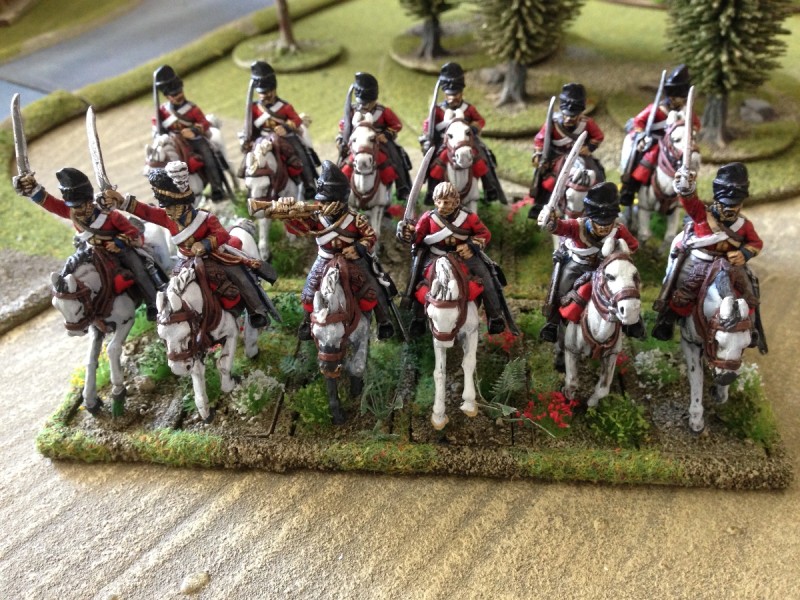
The Charge of the Scots greys... or not!

The Charge of the Scots greys… or not!

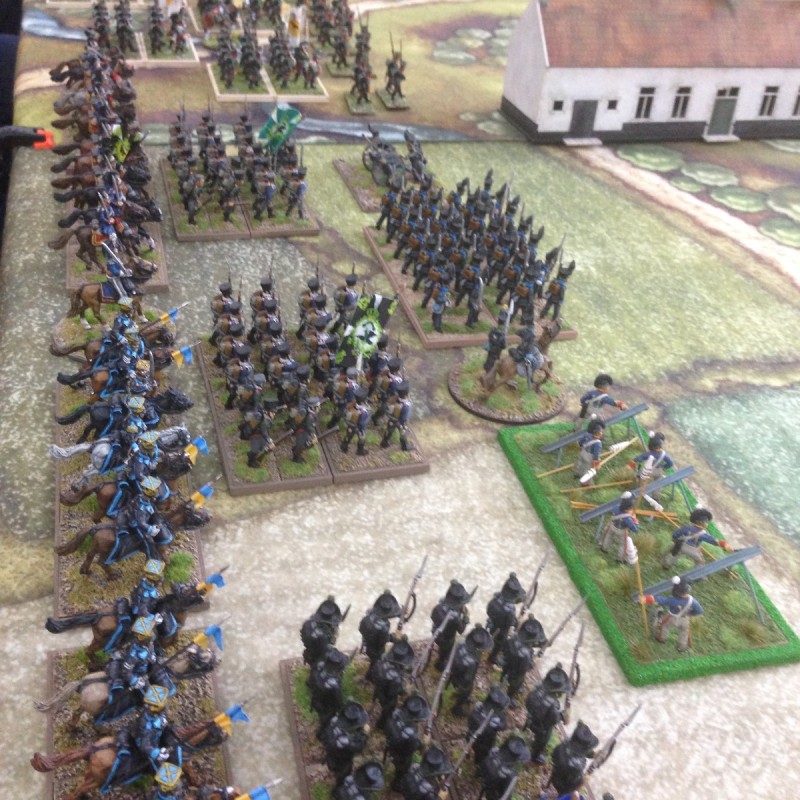
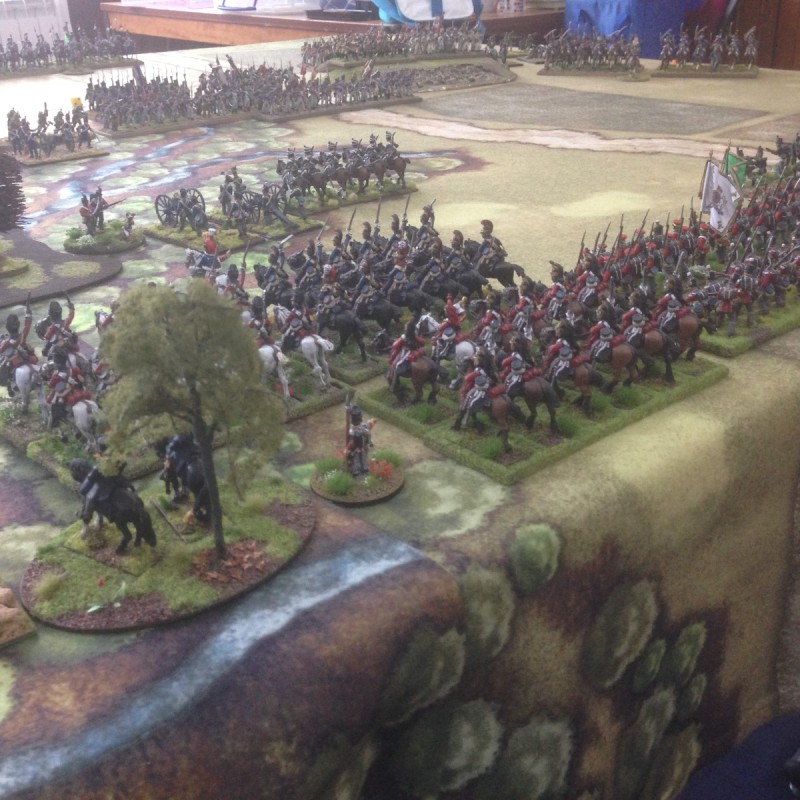
It’s strange how a narrative can develop over a series of otherwise unconnected games. I play Black powder regularly with a group of friends on a Thursday night and one of the themes that has developed has been the poor performance of my Cavalry regiments. Now they are subject to the same whims of fate inflicted on my dice throws for as for all my other units but time and again, it is the Cavalry that refuse to do as they are told!
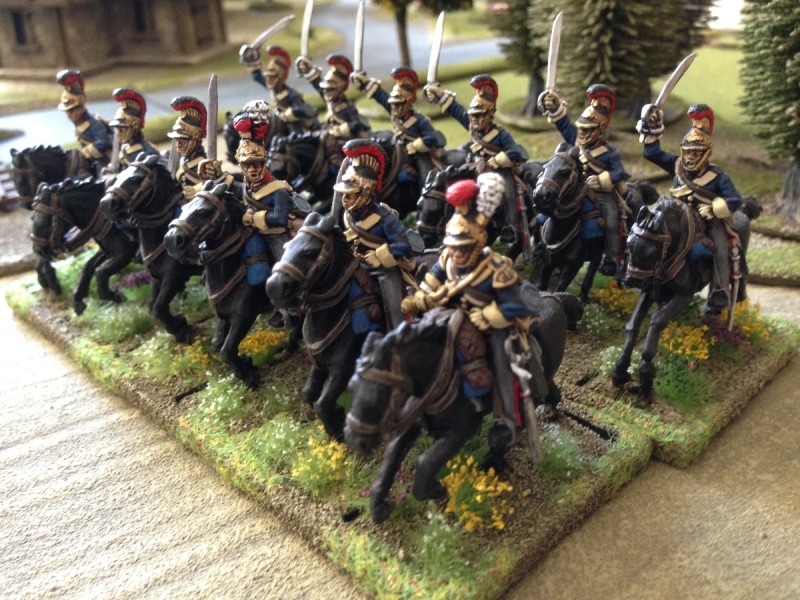
The Blues are not for moving.

The Blues are not for moving.

We tend to use a rather generous fixed leadership value of 8 and so you would expect the orders for these units to be passed more times than they are failed. Not with my beauties! I have lost count of the number of times that my nicely painted regiments of Scots Greys and ‘Blues’ have sat at the back of the table refusing to budge or even worse, blundering and withdrawing from the action, playing little or no part in the battle.
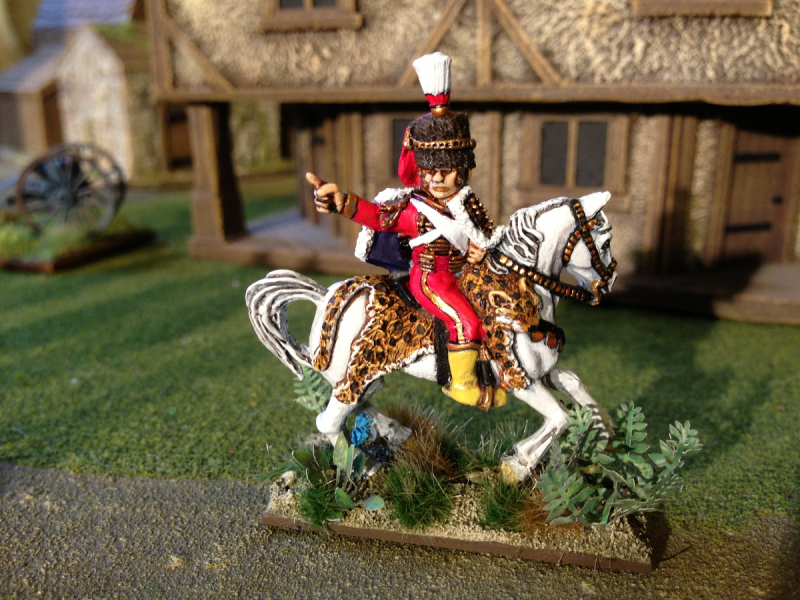
Charge to the rear Boys!

Charge to the rear Boys!

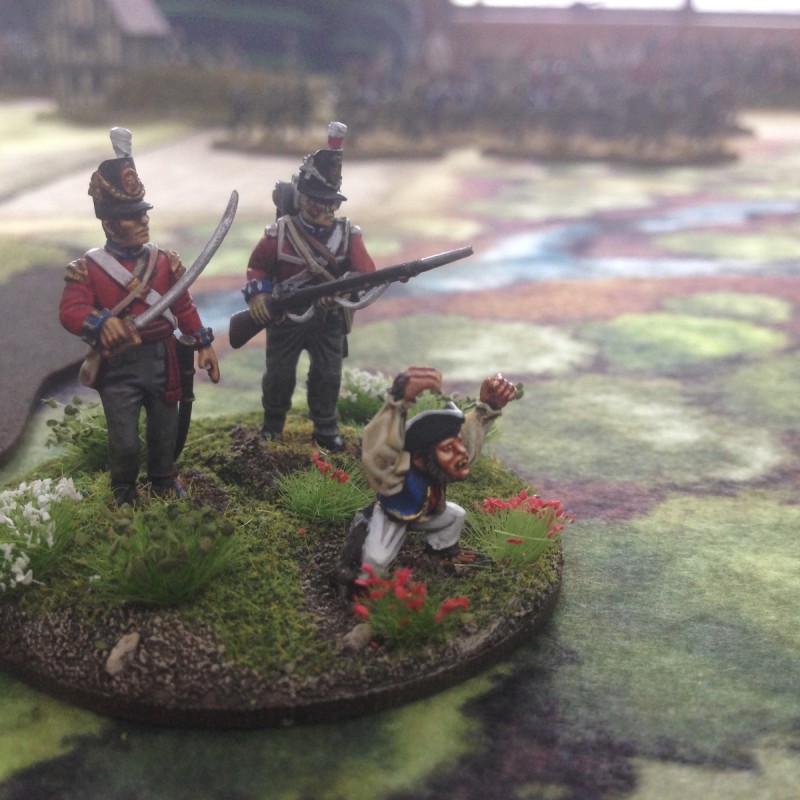
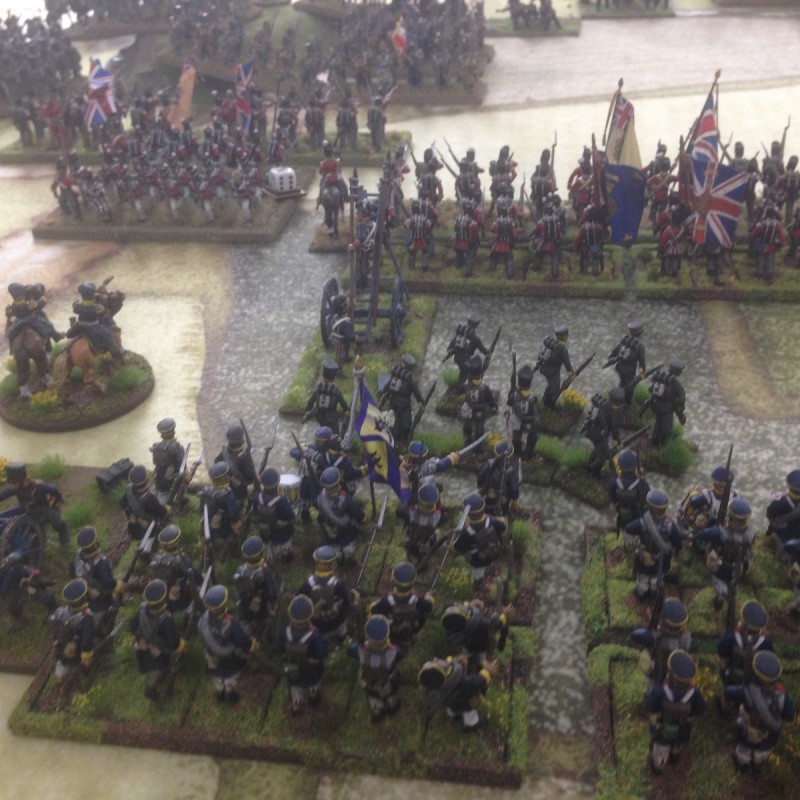
Things came to a head at last weeks club battle. To be fair, because we were a bit short of participants the mix of opponents was rather strange. A combined Austrian and British force was facing a combined British and French force – the French force being made up of a number of units of Lombardy Legion and Polish battalions. I suspect the purists out there will be reaching for their caps lock on the keyboard just at the thought… Anyway, I digress, back to the battle. My opponent, Pete, had rather misjudged his advance and had left his guns limbered within charge distance of my cavalry. I was about to order the charge when Wayne, who was spectating said “are you going to do a ‘follow me’ order?” Well, Pete wasn’t too impressed by this coaching from the side-lines but it was sound advice. By passing this order I would get three moves and the charge would be pressed home. And to my surprise, it was! A glorious victory for the British Cavalry right at the start of the game and the opposition Artillery routed and off the table, Huzzah!
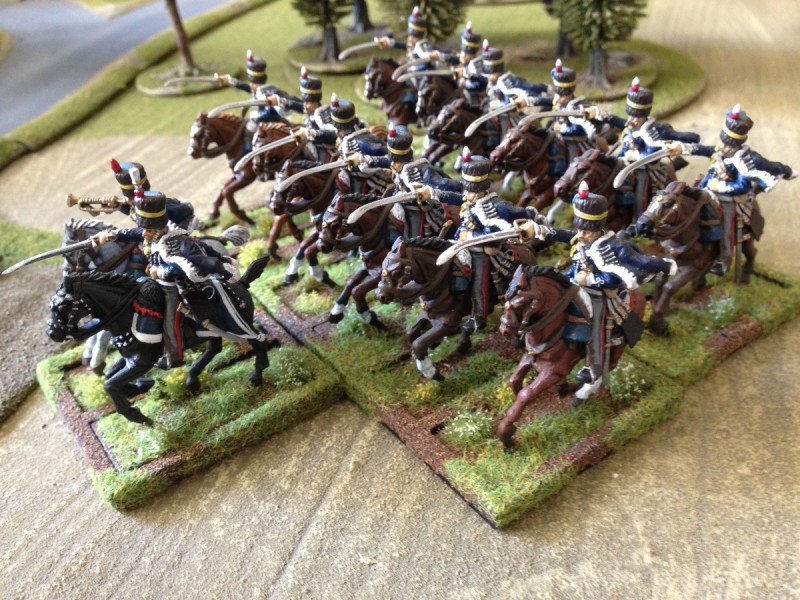
Follow me boys!

Follow me boys!

So far, so good. Except that was the end of my good fortune. I proceeded to throw six blunders during the course of the game, constantly throwing away any advantage that had developed. On top of this, at one point in the game, my light Cavalry were presented with a flank to charge by a rather enthusiastic enemy infantry unit. Hah! I thought, I’ve got him now, I’ll do another follow me order and rip the centre out of his army. I rolled eleven… order failed. Despite this, my luck held. Even though Pete was now aware of the danger, his units failed their orders and were still vulnerable to a flank charge. Brilliant! ‘Follow me boys’ charge! Again, the dice roll was eleven. Good grief, my infantry units looked on in disbelief as the Cavalry just sat there and the game was gradually lost in the continuing blunderfest! Ah well, there’s always next week…
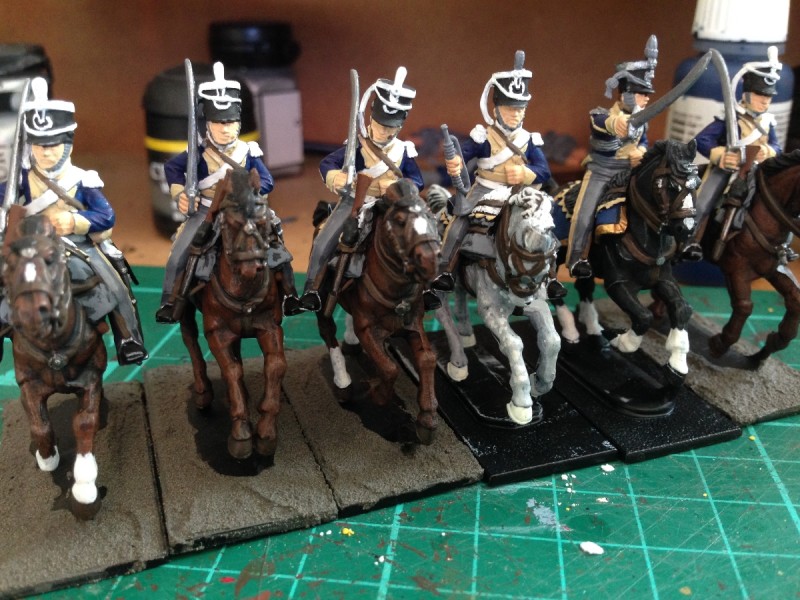
11th Light Dragoons on the workbench

11th Light Dragoons on the workbench

Mind you, this poor performance on the Battlefield isn’t exactly inspiring me to get on and finish my 11th Light Dragoons. To be fair, I have been somewhat distracted in other ways, the arrival of a new Granddaughter, Eleanor, and a spot of decorating in the house have curtailed my painting time. Progress has been made though. The Horses are finished, with a grey for the trumpeter and the officer will have a nice Black mount. The main colours are now on the troopers with just the detail to do. It’s surprising how much difference a coat of Quick shade will make to how they look and of course once the basing is finished they will be ready for the table. Perhaps this Regiment will move when ordered to!
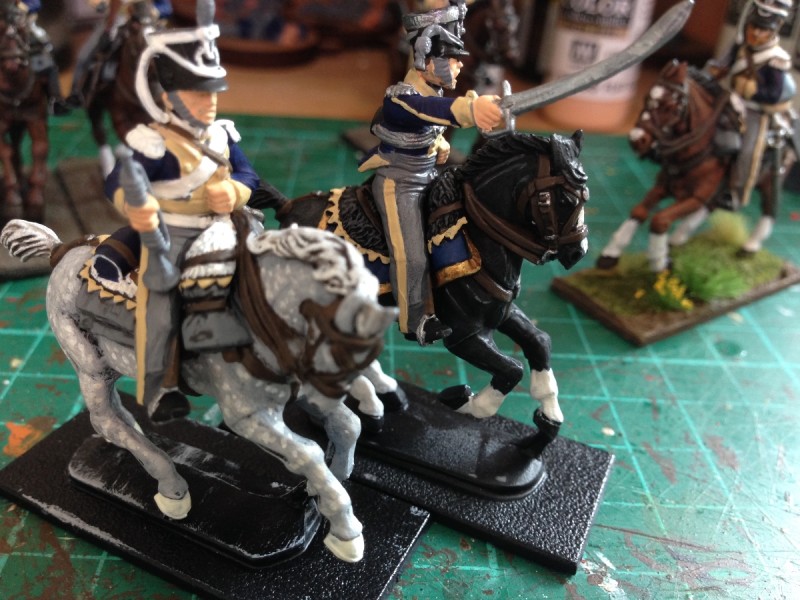
Trumpeter & officer of the 11th dragoons await the final details to be painted.

Trumpeter & officer of the 11th dragoons await the final details to be painted.
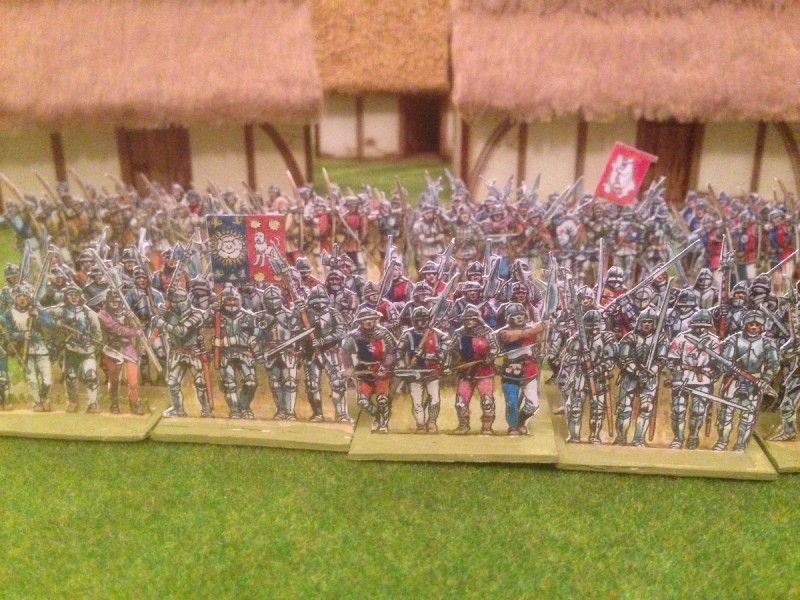


Paper Soldiers!

Paper Soldiers

Paper Soldiers

I’m fortunate enough to work in the war games industry and as a result sometimes get the chance to see a product as it is developed and launched. I am particularly excited about a new series of books that will be launched later in the year at Salute. They are designed to be an introduction to war games and are illustrated by Peter Dennis with rules by Andy Callan. Most of the war gaming world will be familiar with Peter Dennis’s work. Even if you don’t know his name, you will probably have some of his work either in your book case – he has done many of the colour plates for Osprey Books, or in your collection, Peter does the Box Art for the Perry’s plastic boxed sets.

We’re lucky to have Andy as a member of the White Hart Wargames club. Andy has been writing articles and rules since the first issues of Miniature Wargames Magazine hit the shelves in 1983 and is still regularly published with his recent articles appearing in Wargames Illustrated. So with the superb artistic talents of Peter Dennis and the wargames experience of Andy Callan, you know that you are going to get a great product.

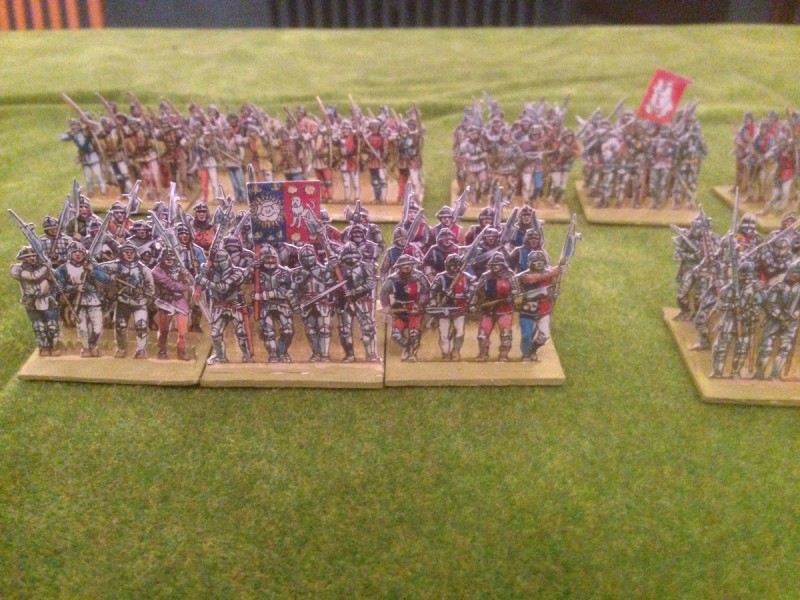
The idea is to produce a wargame in a book, including all of the figures, scenery and rules. The only other thing that you will need to play is a dice and of course, some scissors and glue to make your armies! The first books, published by Helion and company will cover the English Civil War, Wars of the Roses, The Battle of Hastings and the Romans in Britain. So, as you can see from the picture above, you assemble your army by cutting out the high quality artwork supplied to build an army of your choosing within the given period. You are free to copy the templates supplied, so how big the army you build is up to you!

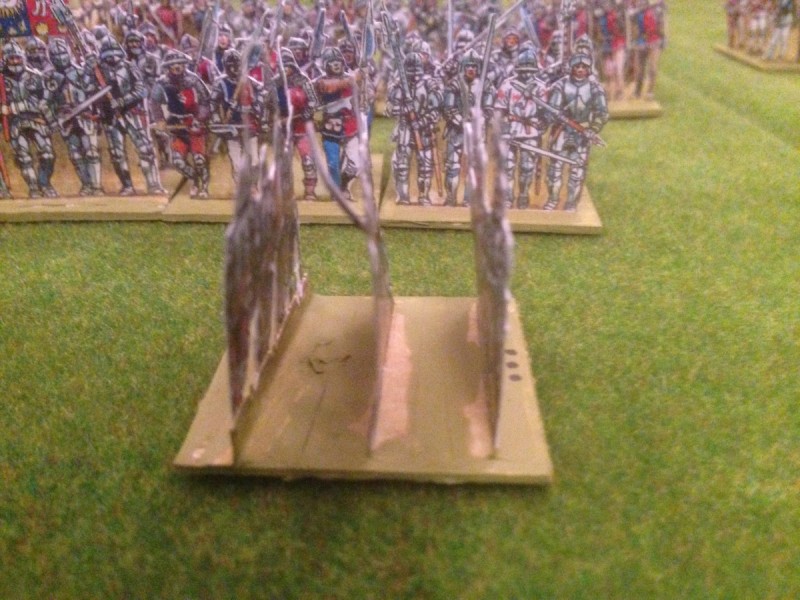
Side view of the figures.

Side view of the figures.

What a great way to introduce someone to the world of wargaming! Of course it is also an opportunity for you to try a period that perhaps you wouldn’t attempt because you don’t have the time to paint yet another army. Once the figures are assembled they are quite robust. Thanks to the standard of art work they also look great when on the table. For all you parents and Grandparent’s out there, I cant think of a better way to introduce the hobby to the next generation. You can be sure that my Granddaughter will be playing once she is old enough!

Our Paper soldiers defend the Village!

Our Paper soldiers defend the Village!

We’ll be testing out Andy’s rules at one of our club nights in the near future and I will produce a full battle report as well as a few more pictures. On first reading, the rules are simple and well thought out and are designed to give a ‘feel’ for the period. A single play sheet distils the key rules down to facilitate easy reference during the game itself.

As a final thought, we talked at the club about using these bases to ‘pad’ out our fledgling skirmish armies to enable us to fight larger battles. So my Lion Rampant Wars of the Roses retinue could form the core of a much bigger paper army whilst I tested some of the rules sets out. All in all, I think it’s a great idea and I cant wait for the books to be available. For under £15.00, I am sure that these books will find their way into most wargamers collection!

The Retreat from Bitteburg 1816

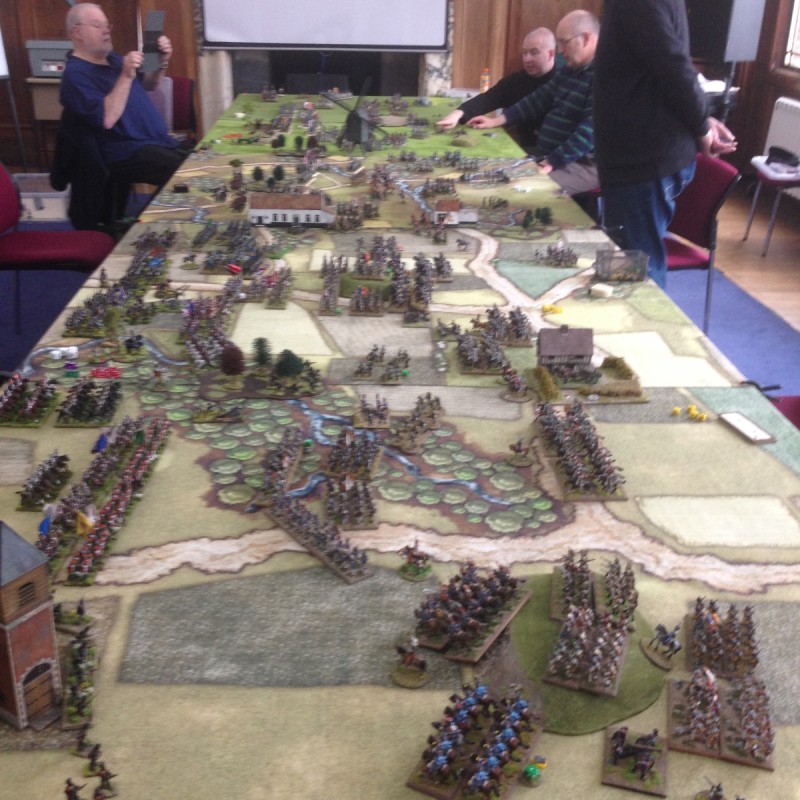
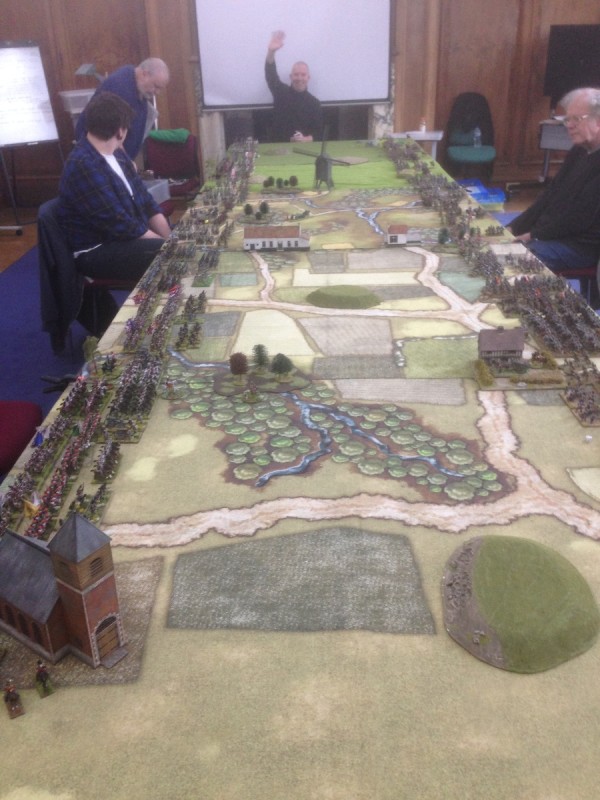
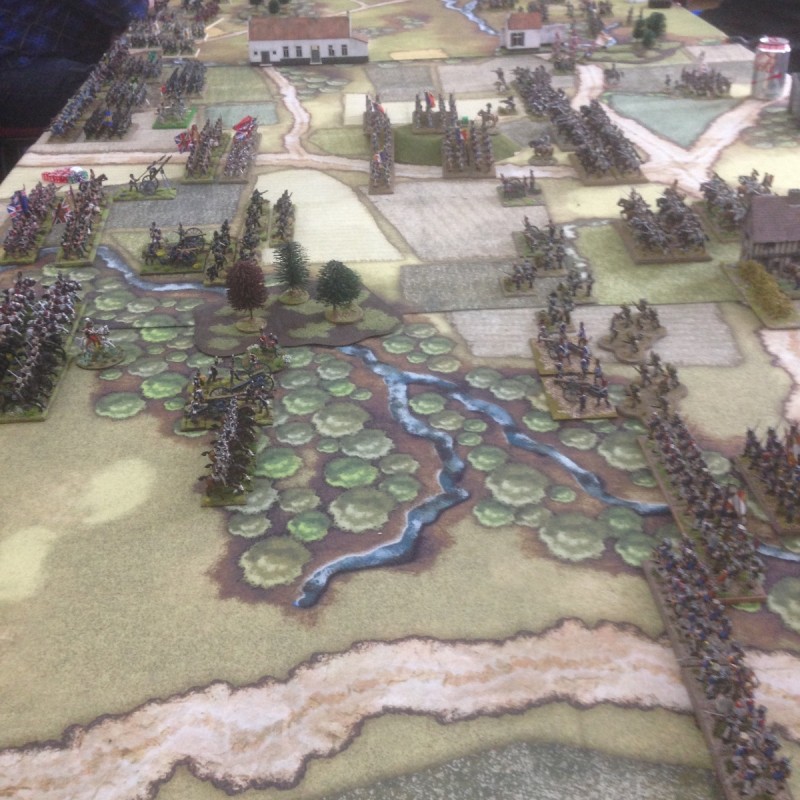
As I mentioned in my last blog, our gaming group, the White Hart Gamers, played another of our mega games two weeks ago. Once again the battle was based around the fictious town of Bitteburg and following the Allies defeat in the first battle of Bitteburg, we had decided that this would be the last in the series! The scenario was that the French, having driven the Allies from the field of battle at Bitteburg had caught them and would attempt to destroy the last allied army in a final set piece battle.  The set up was very straight forward. There were three players per side, each player having his own Corps Commander as per normal Black Powder rules. In addition, the player in the centre was the overall army commander, who could give three additional orders with no distance penalty. The idea being that, the overall commander could use his influence to link the three ‘Corps’ together.

Set up and ready to go!

Set up and ready to go!

We held back at least two brigades each in the initial deployment. They could be deployed, a brigade at a time, on the Corps Commanders orders, but only within D6 of the centre of the players deployment zone.

Set up complete, the battle commenced. For the French, it was simply a matter of pushing the Allies from the table to win. The Allies were tasked with breaking the French Army. As with all of our previous games, once we were started, the game effectively broke into three separate ‘mini games’ with very little overlap. As the French forces in front of me quickly advanced, I became engrossed in the battle in my sector, paying little attention to what was happening elsewhere!

Joint Anglo Prussian Forces await the French onslaught

Joint Anglo Prussian Forces await the French onslaught

My immediate plans to form a defensive line between the woods and church was thwarted by the refusal of my infantry brigades to move! In fact, the light infantry and Artillery had moved into position only to find they had no support at all from the rest of the army. Even the capture of a French Spy was of no comfort.

A French spy is apprehended!

A French spy is apprehended!

To make matters worse, two of my Artillery batteries blundered, limbering their guns and advancing straight into the waiting enemy!

Under Pressure from the French.

Under Pressure from the French.

As the two Armies closed to engage, a relentless fire fight ensued but on this occasion the British were out fought. The forward British units were picked off and the rest of the army refused to move! Perhaps the previous battles were beginning to undermine morale! Fortunately, I had reinforcements to bolster the Allies and the Prussians deployed in an attempt to relieve the pressure.

Here come the Prussians

Here come the Prussians

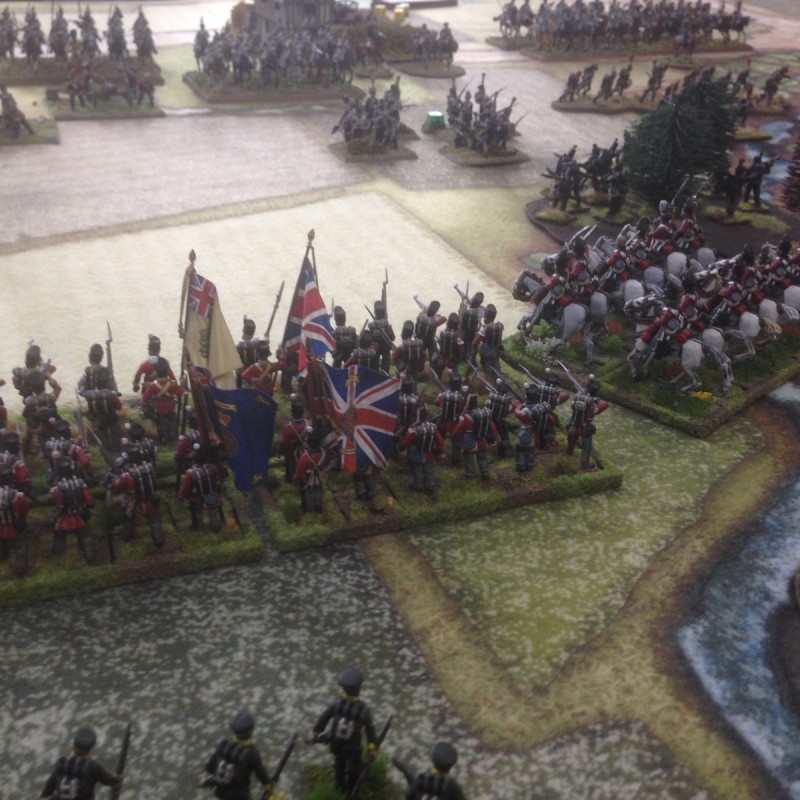
The French Brigades began to waver under the Allies numerical superiority and at last their central brigade broke, retreating in disorder. Well, almost… Despite this small success, the Allies were unable to capitalise on the break in the French line and through blunder and failure to move, found themselves again in trouble. Unable to rally the troops, it was now Allied brigades that began to break and create panic in the Army. Matters were brought to a head when a French Battalion blundered and charged the British defensive line. It should have been a bloodbath for the British but the French carried home the charge destroying the Battalion of Hanoverians facing them and causing the supporting battalions to rout as well. Even a late charge by the Scots Greys could not halt the French.

The Scots Greys prepare to charge

The Scots Greys prepare to charge

The British line was stabilised by the introduction of yet another reserve brigade. The French were pushed back but this temporary success was short lived as the French brought up their own reinforcements. As the battle came to a close, it was the French that remained in the ascendancy – the British had decided the day was not theirs and withdrew from battle.

Time to survey the battlefield and plan the final assault!

Time to survey the battlefield and plan the final assault!

The French had edged a victory. If my battle on the left had not gone so well, things were even worse on the right where after some initial success, our Austrian allies had also been pushed back and badly mauled. The battle in the centre was not quite so decisive but overall it was clear that the French had won the day.

As I mentioned at the beginning of this article, this was the last battle in this series and a 3 -0 score overall for the French was a pretty emphatic victory. The next big day will be slightly different. Having experience of running these mega battles has given us food for thought as to whether we can run a campaign in a day with several smaller engagements taking place on different tables. Watch this space to see how this works out.

To Battle with the 11th Light Dragoons.

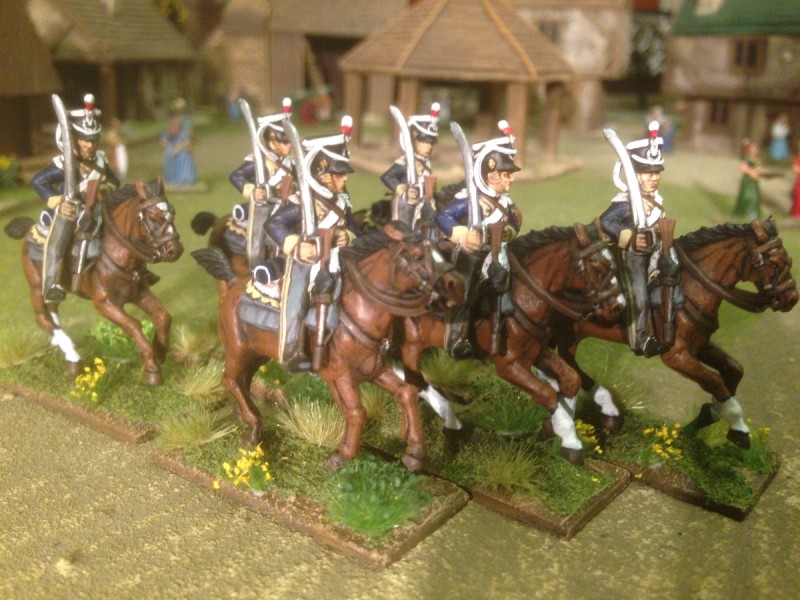
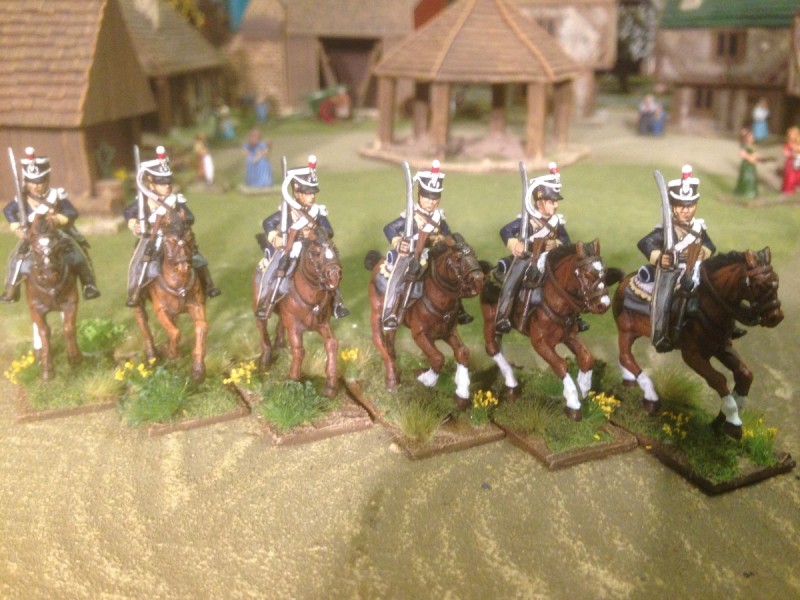
Perry Light Dragoons - the first 6 troopers are finished.

Perry Light Dragoons – the first 6 troopers are finished.

To be honest, the blog post title is a bit of a tease. As you can see, I have finished the first 6 troopers in the regiment and they did indeed see service on the wargames table this weekend. However, time constraints this week prevent me from writing up either a full battle report or a comprehensive guide to painting the troopers. Just to say that I followed my usual process for troops, of block painting the main colours onto the figures, painting them with Army Painter Strong tone ( the black) quick shade, and then once they were dry, spraying them with antishine matt varnish. The final stage is the most important though, I give all of the lighter colours and metallics, a highlight, particularly the white as this makes these areas really stand out. I also used a new trick to help me to get the lines on the troopers overalls. The main buff stripe was first painted and then I painted a grey line down the middle to separate the two stripes. However, rather than thin the paint with water, I used Vallejo thinning Medium, 70524 to thin the paint. It gives a slower drying time but more importantly, allows the paint to flow from the brush, making it easier to paint a long line. You still need a fairly steady hand ( No Jack Daniels for me when painting!) but there’s no doubt it makes a real difference when using a fine brush.

A detachment of the 11th Light Dragoons

A detachment of the 11th Light Dragoons

The basing was done to my usual process, although I treated myself to a pot of Vallejo Dark Earth textured paste to speed things up. So with the first six troopers done, they were deployed in the latest of our war gaming groups’ mega Battles, the retreat from Bitteberg. As is often the case with new units, they attracted quite a lot of attention. In this case, most of it of the wrong sort. Their first task was to defend the flank of an errant foot battery that had advanced without support, the rest of the brigade refusing it’s orders. My opponent, Pete couldn’t believe his luck and proceeded to shoot the unit to bits! Fortunately, it was able to rally but played very little part in the rest of the battle.

The Light Dragoons are a bit exposed!

The Light Dragoons are a bit exposed!

I’ll perhaps add a few more pictures to my next blog, along with an outline of the battle. That’s all for now though – time has run out!