Despite being busy painting, nothing is really finished! I seem to have too many ideas and not enough time, although that isn’t really unusual. So this weeks blog is as much an attempt to re focus as to show what is on my work bench. I guess that I am steadily working my way through the lead pile, although I visited the ROBIN show at the weekend and managed to add to it…more on that later.

The Forlon Hope gathers strength!
My Forlorn Hope gathers strength, with another eight figures completed. The facings are yellow, as they are supposed to represent the 29th Worcestershire’s in the Peninsular. They are all individually based as my intention is that they are for a skirmish game rather than a ‘big battalion’ game.

Ensign completed
The limited edition Warlord Games Ensign is also completed but needs basing. I’m dithering as to whether to put him onto a standard 20mm square base or to use him as a ‘big man’ and base him on a 60mm round base along with the limited addition Rifleman from Warlord. It’s the second option that appeals at the moment as I think they will make a nice contrasting pair.

Riflemen and drummer boy.
As you can see, I actually have two of the Riflemen, so basing one up separately and one with the Ensign will work nicely. I’m going to try a quick paint job on the riflemen as an experiment. I have undercoated them with Army Painter Dark Angel Green and will leave this as the base colour for the uniform, just painting the rest of the detail. Out of focus is the drummer boy for the 29th – yellow is not an easy colour to paint and there are constant queries on social media as to what the best method is. In this case, I have first painted with Vallejo Yellow Ochre and then recoated with Vallejo Deep Yellow. In reality, this is perhaps a bit bright but should show nicely on the wargames table.

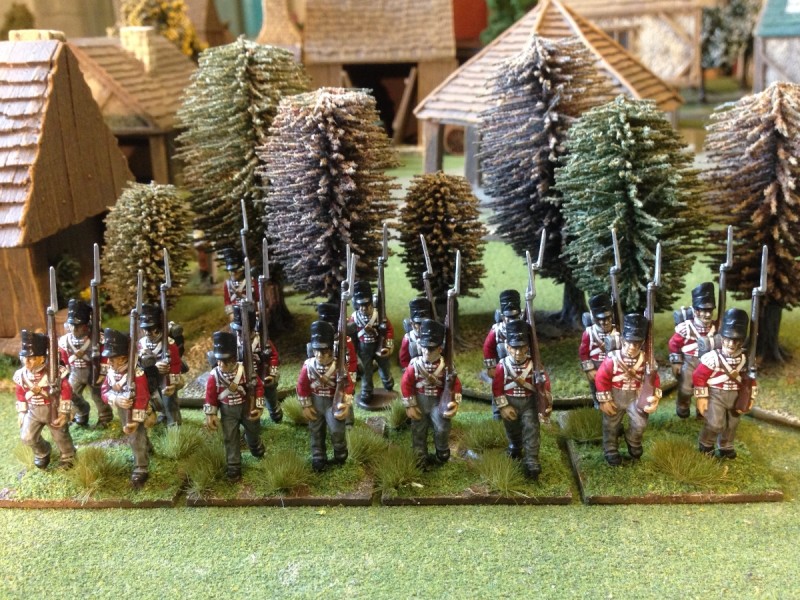
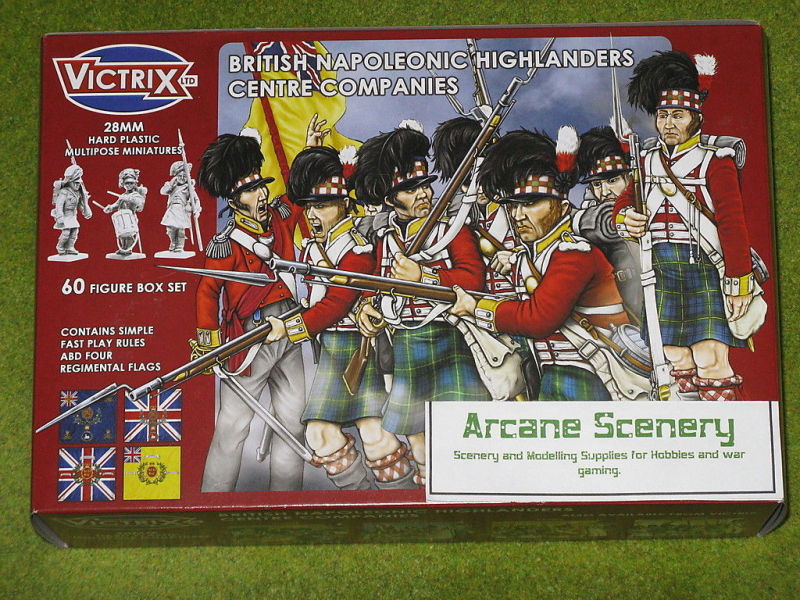
Highlanders!
I’ve 48 Highlanders assembled, 24 of which are undercoated and 12 of those have made it to the back of the workbench to have their hands, knees and faces painted in flesh. At the moment, I’m distracted by other projects so these are getting a sort of deferred batch paint job! When ever I have some spare time or paint, I’ll put the next colour on – black hats next!

Napoleonic Trebuchet!
I mentioned above that I had been to the excellent ROBIN show in Nottingham. Being determined only to buy if it would help me complete an existing project, I had kept my wallet firmly in my pocket until I came across the IronGateScenery stand. Well it was loaded with goodies, all produced using 3D printers and top quality too. My will to hold onto my money was broken by the Mortars and siege ladders but then, having succumbed, I bought the rather lovely Trebuchet, the village well and some Aztec scenery – don’t ask, it all just looks fantastic…

Aztec Scenery – the finished product on the Irongatescenery stand.
To be honest, I could have spent a great deal more as the range is superb. There’s a link to their web site at the bottom of the page so go see for yourself.

DeeZee White Rhino
As if I haven’t got enough to do, plans are afoot to expand the DeeZee range. I would like to produce a painting guide to each one of the 37 packs ( with more to come….). I also don’t have my own painted version of this model so I’m starting with him. It’s going to be a busy year!
THE COMMERCIAL BIT
Although the figures in this weeks blog are not available from Arcane Scenery ( I think some of them may be OOP) all of the finishing and painting products are, even better, we send post free!
You can see the full range of rather lovely scenery from IronGateScenery here:
You can see the full range of DeeZee Models here:
Happy Modelling!