Rocket Man – Part Two

Well, in the song, Elton sings that ‘I think it’s going to be a long, long time’. As it turns out, I have managed to finish the diorama featuring the Warlord Rocketeer within a couple of weekends. The idea of just getting on with the model rather than spending ages researching has paid dividends. I have cut some corners, made some assumptions and used a bit of artistic licence but I am pleased with the result. Here’s how I went about the final stages of finishing and basing the figures.
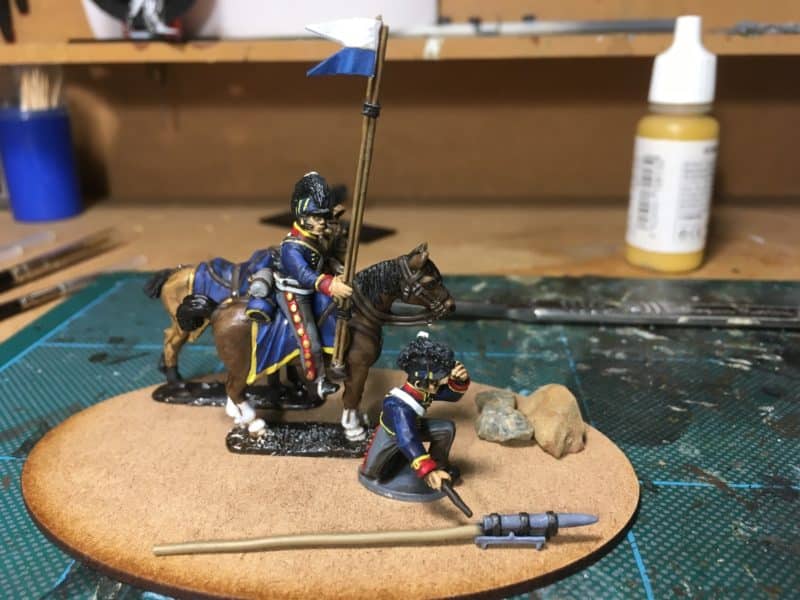
Rocket troop basing plan

Rocket troop basing plan

I replaced the original lances that I made from spears with some thinner 0.8mm brass rod from Albion alloys. I may have cut them a bit too long but went for an unsophisticated approach in keeping with the rest of the model  and simply guessed the ‘right length’ based on the reference pictures. The ‘string’ holding the two sticks together is some thin Florists wire wound around the rod and super glued into place. The Pennant on the sticks was simply cut from paper and painted. I used a darker blue than two of the reference pictures show, preferring this over the light blue.
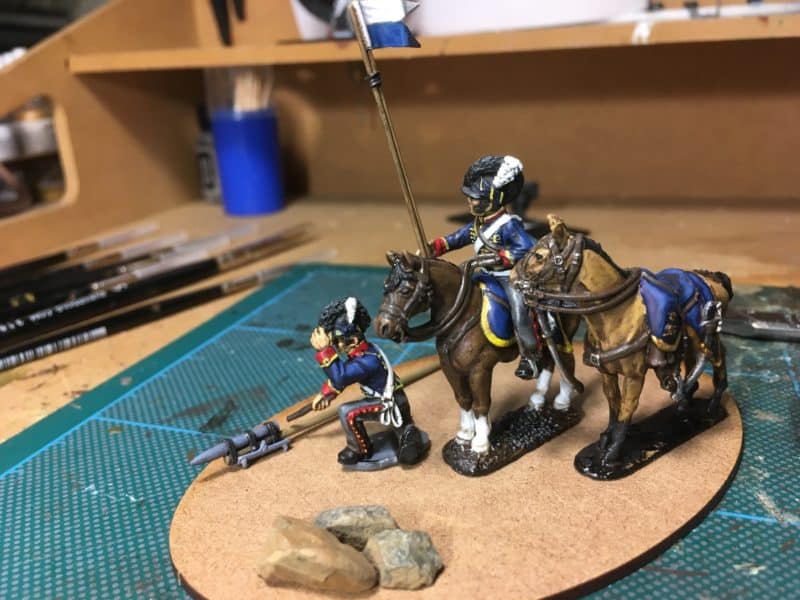
View from the other side.

View from the other side.

Once the painting was finished, I positioned the figures on the base that I had chosen. I prefered a smaller MDF Oval base rather than a Rectangular artillery type base. I doubt that the model will get regular use on the wargames table and the oval base looked nicer. I also wanted to keep things close together – I suspect in reality, the horses would have been a bit further away from a rocket that was being launched!

The ‘rocks’ at the front of the base are there to fill a space although they are extremely accurate, having been picked up from a certain area in Belgium!
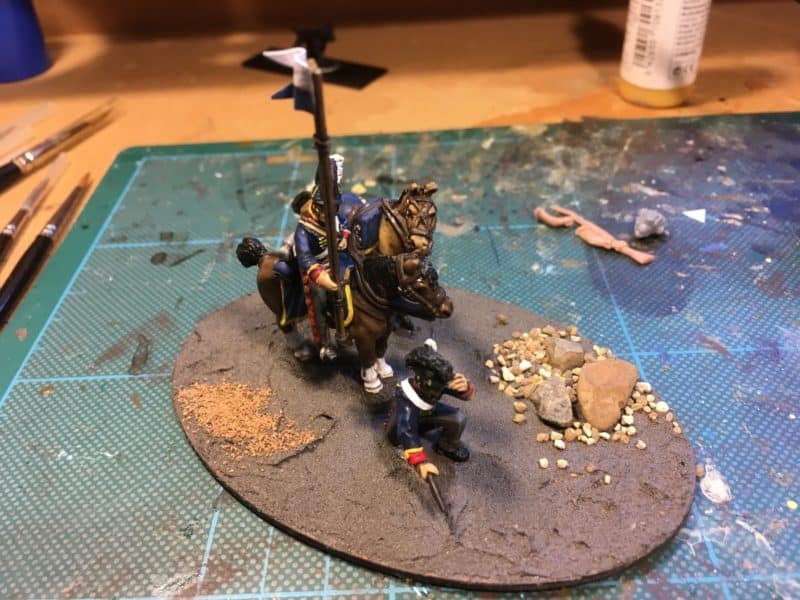
Basing in Progress

Basing in Progress

Once I was happy with the layout, I covered the base with Vallejo Dark Earth Texture paste and placed the figures into the paste. There is no need for glue, the paste will hold them securely but in the unlikely event that I decide to re base the figures, it is a simple matter to cut them free. I also sprinkled some coarse grit around the stones and some finer grit at the rear of the base to give some additional texture.
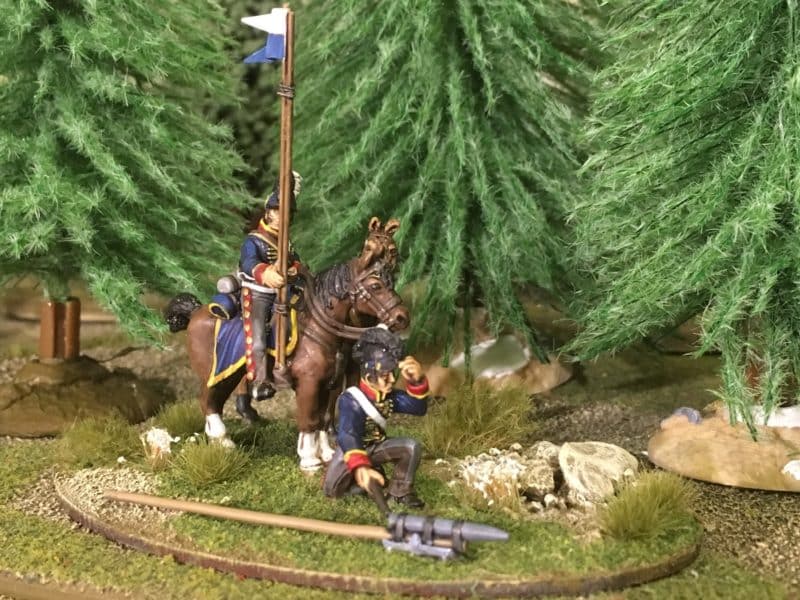
Rocket troop ready!

Rocket troop ready!

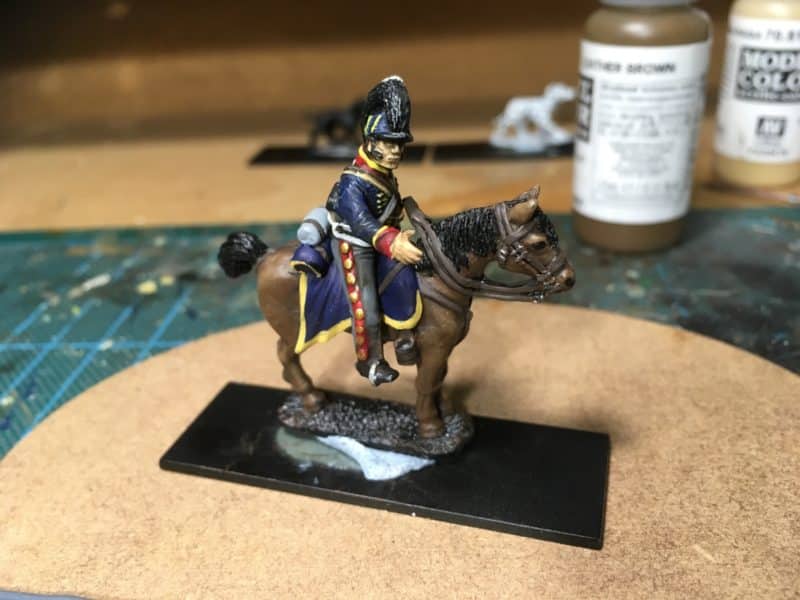
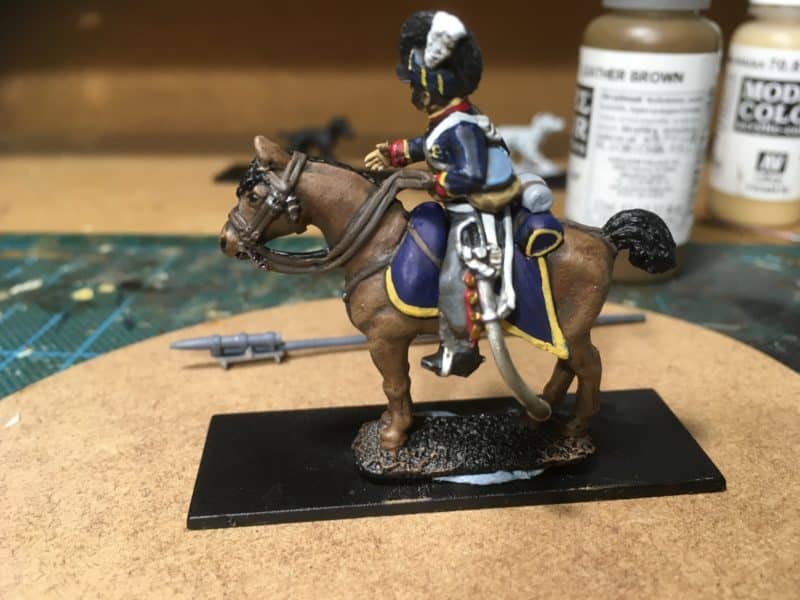
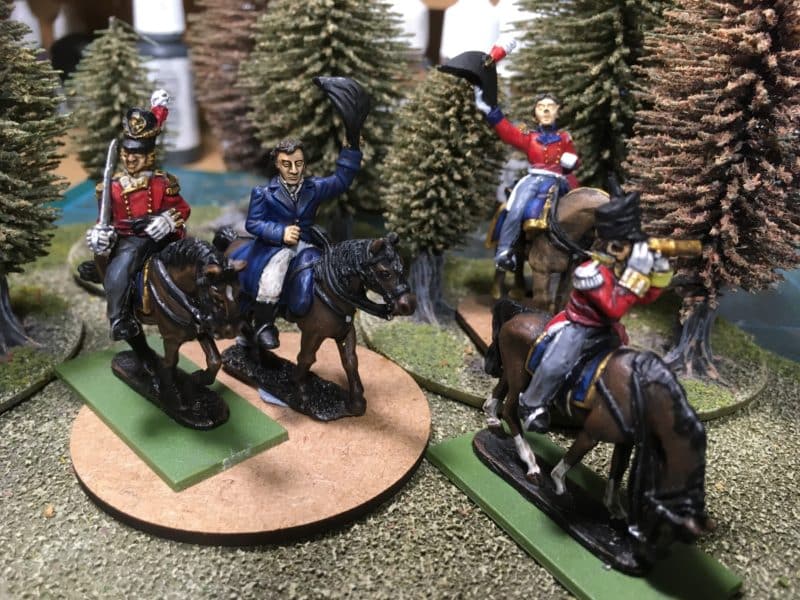
The next stage was to paint the base. I use a earth coloured emulsion called ‘Delhi Bazaar’ that I picked up from a DIY store as the first coat. I then dry brushed it with the same colour mixed with increasing amounts of Vallejo Iraqi Sand. The rocks and grit were also highlighted with a final coat mixed with white. I then added some scatter (Woodlands Scenics Green Blended Turf) and once this was dry, pressed the rocket launcher tray into place & glued the rocket in.  It was then a question of adding some nice tufts and flowers and my Diorama was completed! Incidentally, the officer in the pictures is nothing to do with the Rocketeer. He’s another Warlord figure that I finished basing at the same time.
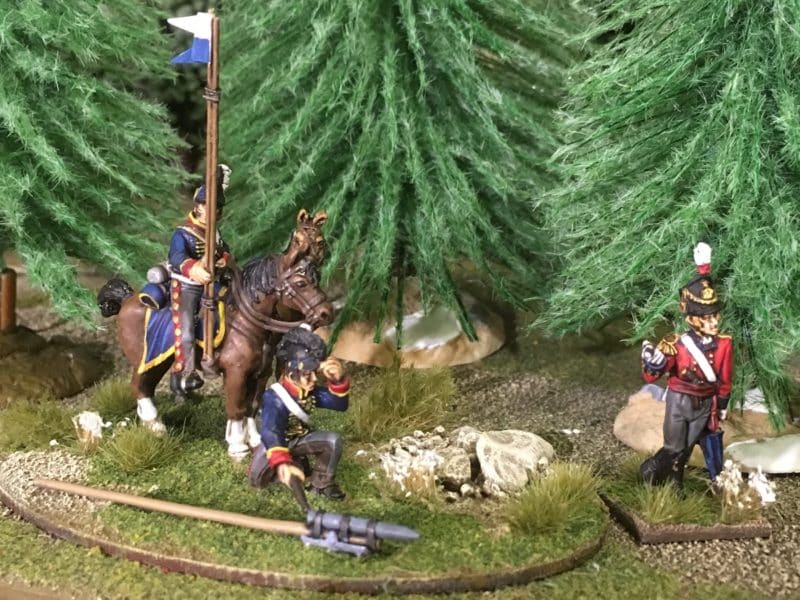
An Officer observes the launch!
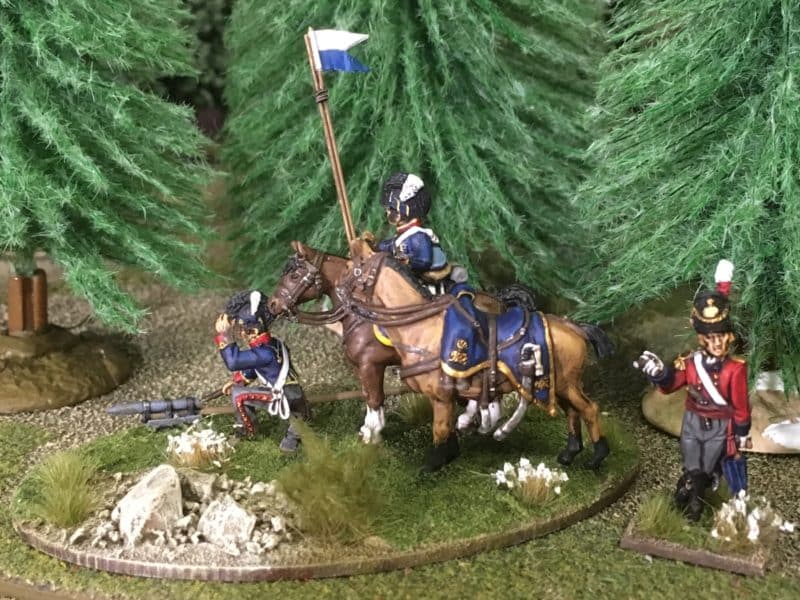
An Officer observes the launch!

View from the other side.

View from the other side.

So another project from the lead pile is complete, Next up some Peninsular War Light infantry for a forth coming Napoleonic day in Bingham – More details to follow!

THE COMMERCIAL BIT

Nearly all of the materials that I used are from my shop, Arcane Scenery:

ARCANE SCENERY

To make life easy, we post out free to most worldwide locations! You can see our range of Woodlands Scenics here:

WOODLANDS SCENICS

Vallejo Textures & pastes can be found here:

VALLEJO TEXTURES

Albion Brass rod can be found here:

ALBION ALLOYS

If you would like to get hold of a Warlord Rocketeer, you can go to their web site or contact me here:

CONTACT ME

Our web store shows live stocks, so if something that you want isn’t there, just email me and I will let you know whether we can get it and how approximately long it will take.

Happy Modelling!

Rocket Man!

I had been taking my hobby a bit too seriously at the back end of last year and getting overly concerned with ‘what is right’. Fortunately, I have my mates to sort me out and inject some common sense into the debate. When it comes to Napoleonics, detail is both a blessing and a curse. It is the details and minutiae of the uniforms that make the period so fascinating whilst at the same time providing a ‘barrier to entry’ to many in the wargaming hobby, who decide that having fun is more important than arguing about buttons and facings and so move into Fantasy or Science fiction for their hobby fix.

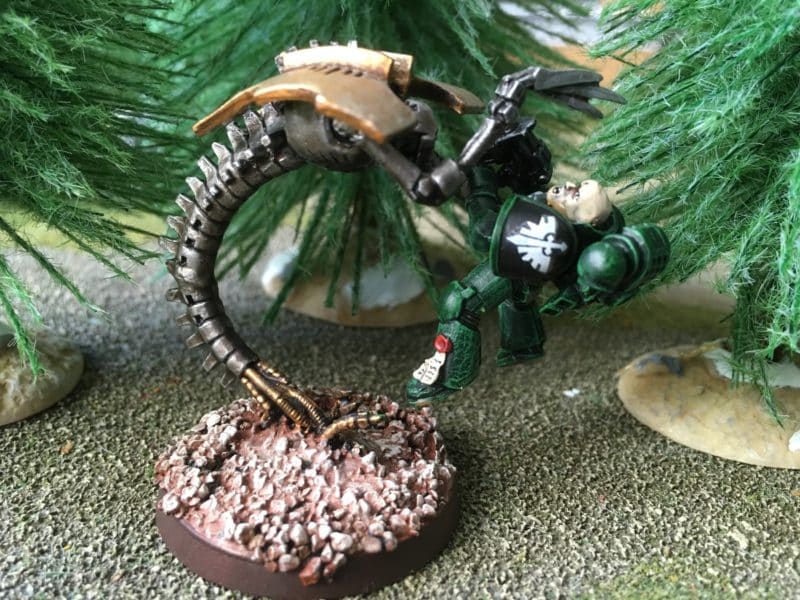
That Space marine has got the wrong colour facings!

That Space marine has got the wrong colour facings!

I had fallen into the ‘too much analysis causes paralysis’ mode and as a result some of the projects that I had consigned to the lead pile were being buried ever deeper because I was worried that I wouldn’t make a decent enough job of them. I’m not sure what happened over the Christmas Holiday period but something triggered my JFDI switch and I decided to just get on with what ever I fancied to the best of my ability and knowledge.

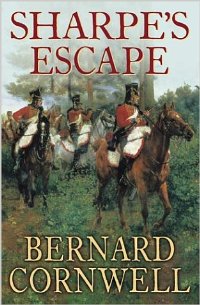
I'm not sure if this is the book but I have enjoyed all of them!

I’m not sure if this is the book but I have enjoyed all of them!

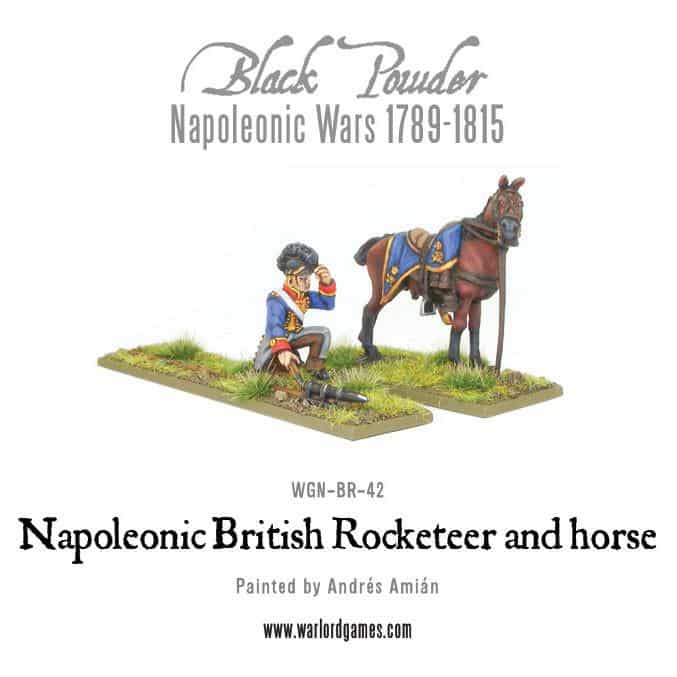
So I started on a little project that had been on my mind for a while. I actually first got the idea years ago from reading a Bernard Cornwell Sharpe novel. I can’t remember which one it was but it involved some troopers from a Rocket detachment pretending to be Lancers.  I then saw the Warlord model of a Rocketeer launching his rocket from the ground and thought that he really needed a mate to hold his horse. Put the two ideas together and you have one guy with the rocket sticks looking like a Lancer with his pennant on the rocket sticks and the Officer firing off the rocket on the ground.

Warlord Rocketeer.

Warlord Rocketeer.

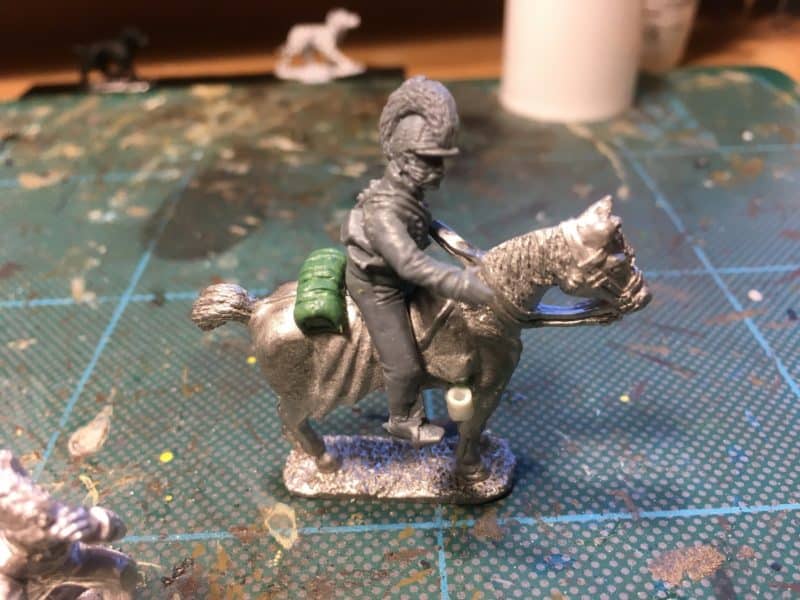
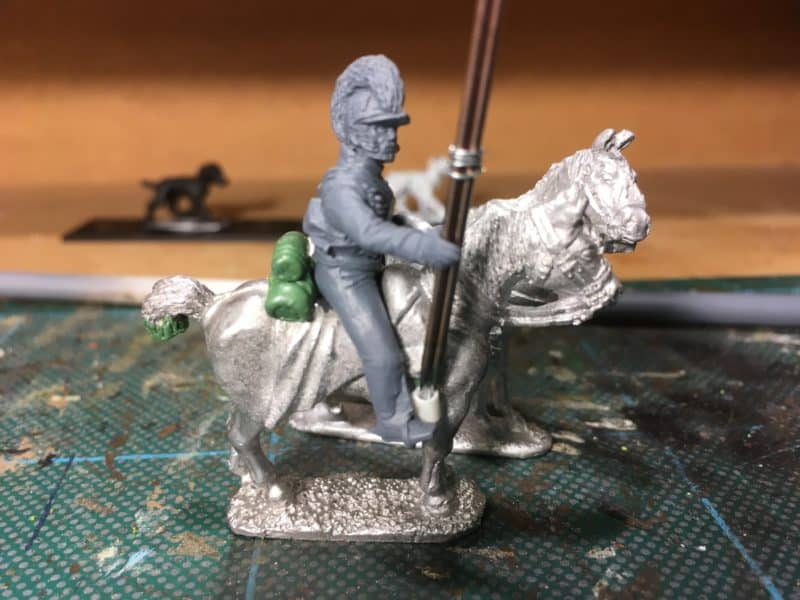
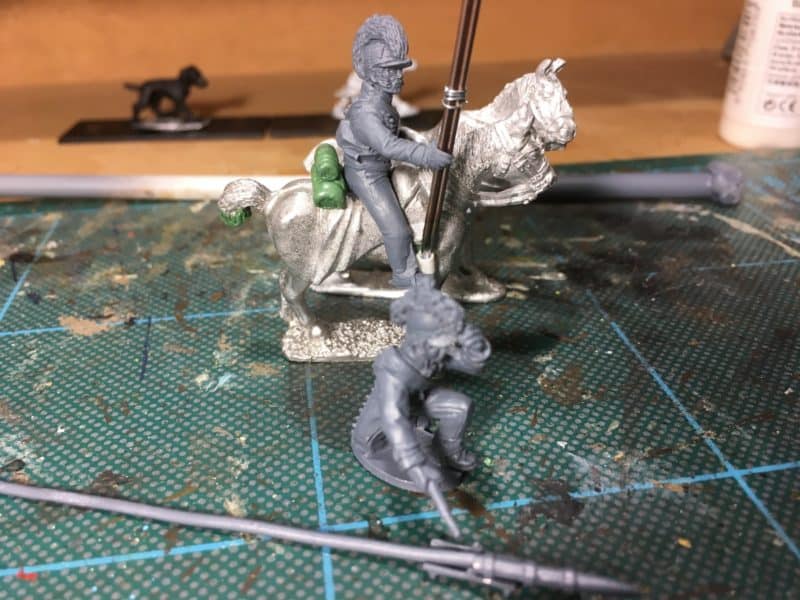
As far as I know there is no model of a Rocket detachment trooper riding with the rocket sticks so I would have to convert one myself. So in the spirit of JFDI, rather than wait to find the exact figure or horse, I went through my bits box and this is what I came up with:

Rocket trooper WIP

Rocket trooper WIP

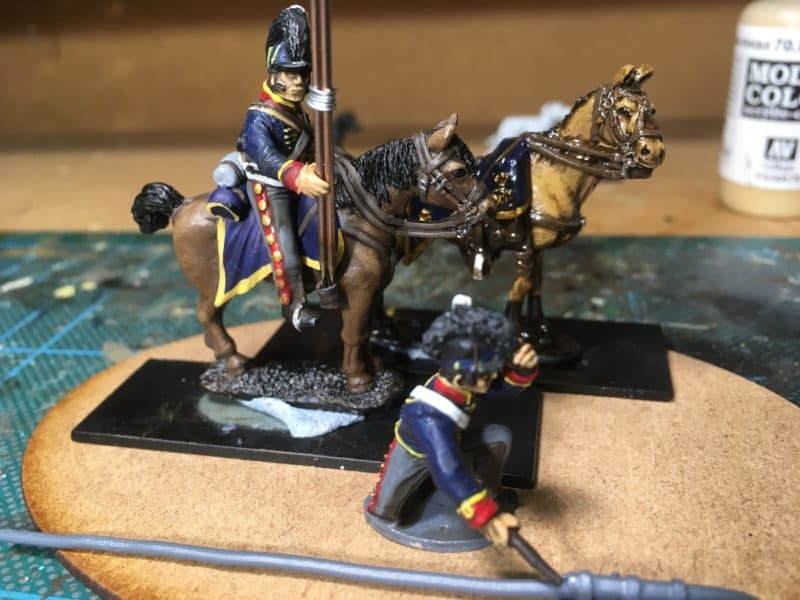
I’ve no idea where the horse is from – it just looked about right. I did have to ‘dock’ his tail though and remodel his hind quarters. I also added a saddle roll from green stuff and a cup for the rocket sticks from a piece of evergreen tube. The rider is a ‘spare’ from the Perry’s British Light Dragoons set. I have shaved off his boots, cut off his sword hand and added an open hand from a spare Victrix arm.

Rocketeer Diorama WIP

Rocketeer Diorama WIP

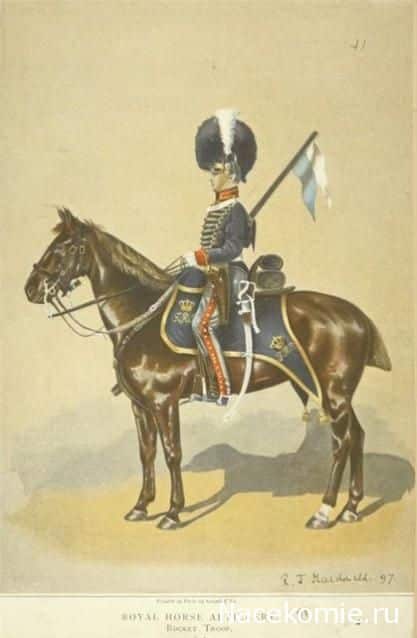
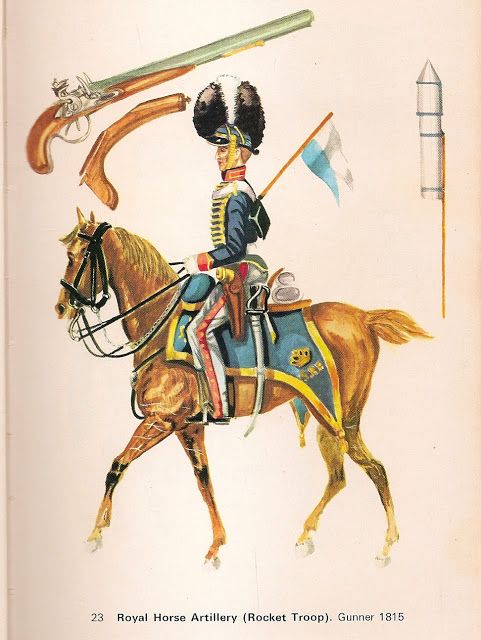
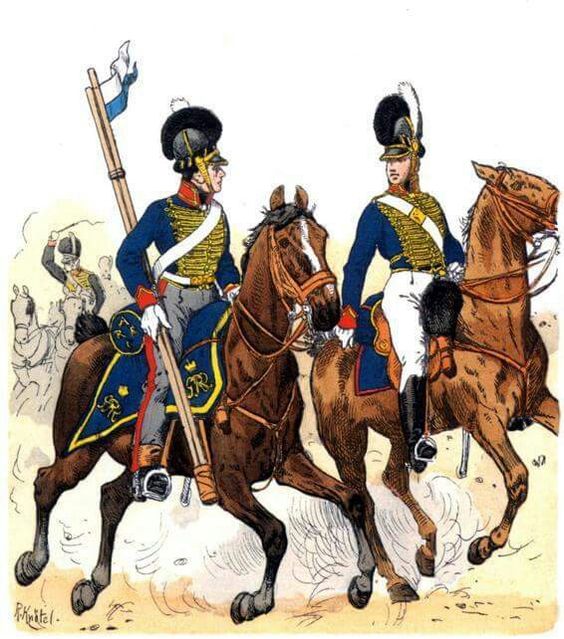
This is how the Diorama was shaping up but at this point I thought it might be worth doing some research. I found these three pictures on Pinterest and added them to my reference board.

Rocketeer Ref 1

Rocketeer Ref 2

Rocketeer Ref 2

Rocketeer Ref 3 Rocketeer reference 3.

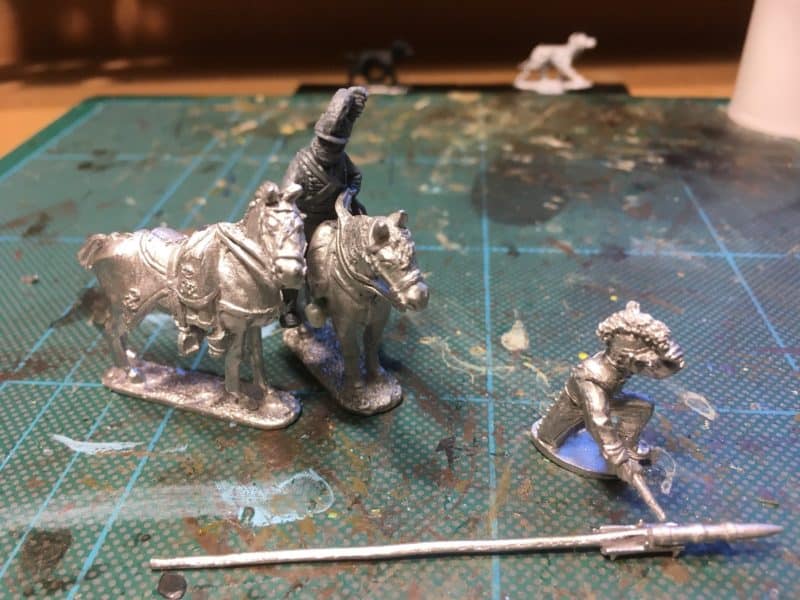
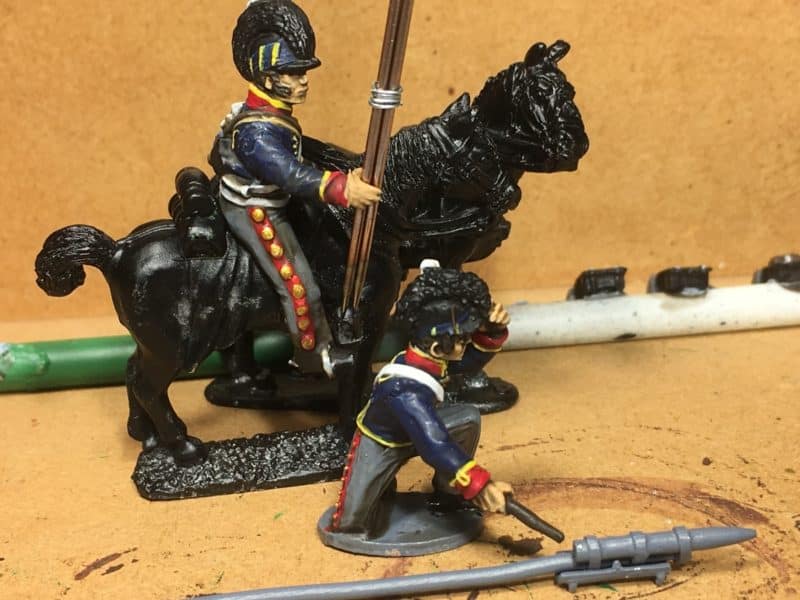
As a result, I changed the saddle roll to two saddle rolls or valises, I also extended the docked tail with green stuff as I thought that it looked a bit short. I also made the rocket sticks from some spears and changed the pose so that the rider was now holding the spare rocket sticks.

Rocket trooper WIP 2

Rocket trooper WIP 2

Having slept on the changes, I decide that I needed to add a stripe and buttons to the troopers’ overall. Again, a dive into the bits box and I found some Evergreen 10/000 plastic strip which I used to make the stripe and some 40/000 rod that I sliced to make the buttons. Evergreen strip is an excellent material to use and reacts well to liquid polystyrene glue, so a few coats of glue and it was relatively simple to mold the stripe to the legs of the trooper. 40/000 is the equivalent of 1mm and slicing this sized rod is a challenge for my eyes but once glued in place, a quick sanding down meant that they too blended in with the trousers. With hindsight, the buttons are a bit on the large side, as is the stripe but the job was done and if I convert another dragoon, I’ll get a smaller sized evergreen rod to slice!  I had intended to photograph the conversion in progress but stupidly undercoated the conversion in my rush to get the project moving. Below is a picture of the trooper, now painted.

Painted Troopers

Painted Troopers

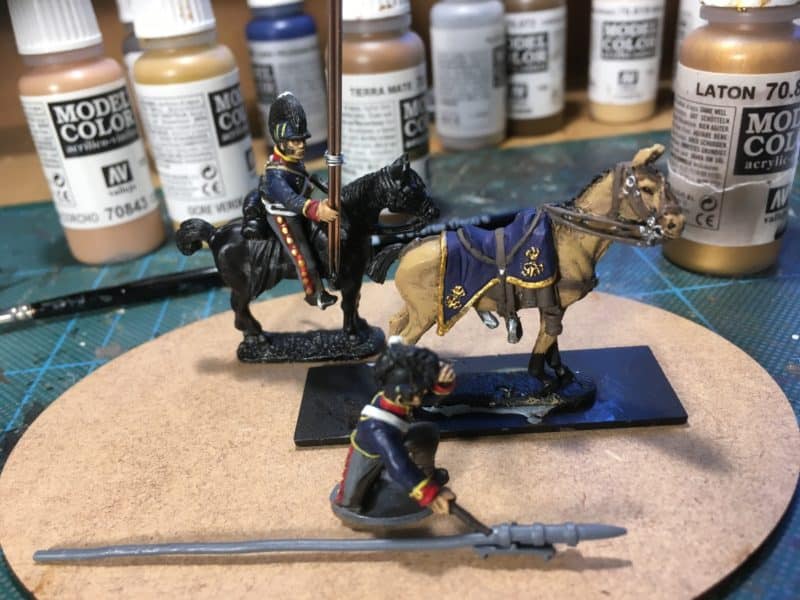
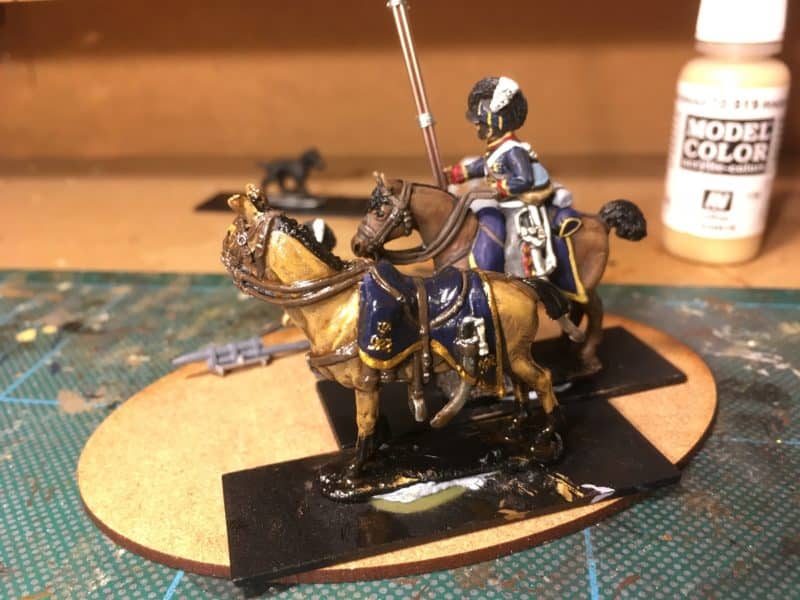
The next job was to paint the horses. I decided to change from my usual ‘recipe’ for brown horses and try a much paler brown. So the base coat was Vallejo Flat Earth, followed by Cork brown with a Green Ochre top coat/highlight. The Horse furniture was painted with leather brown, blanket dark Prussian Blue and I used Brass for the blanket detail. With the colours blocked in, I will either use a quick shade or ink to bring out the details.

Officers horse colour blocked, awaiting ink wash.

Officers horse colour blocked, awaiting ink wash.

The next task was to get the troopers horse painted. I decided on my usual triad of Chocolate brown, Flat brown and Flat earth for the horse. The rest of the model was painted as above.

Troopers horse, block painted

Troopers horse, block painted

Troopers horse, reverse view.

Troopers horse, reverse view.

As you can see, I don’t have a fixed plan of how things should look and use the photographs to modify or correct as I go along! The diorama is coming together though and in the next picture you might notice that I have decided to use a smaller oval base for the diorama and I have decided to ‘quick shade the Officers horse. I will do the same with the troopers horse using the strong tone or dark brown quick shade.

The diorama is coming together!

The diorama is coming together!

A different view - The quick shade will matt down nicely.

A different view – The quick shade will matt down nicely.

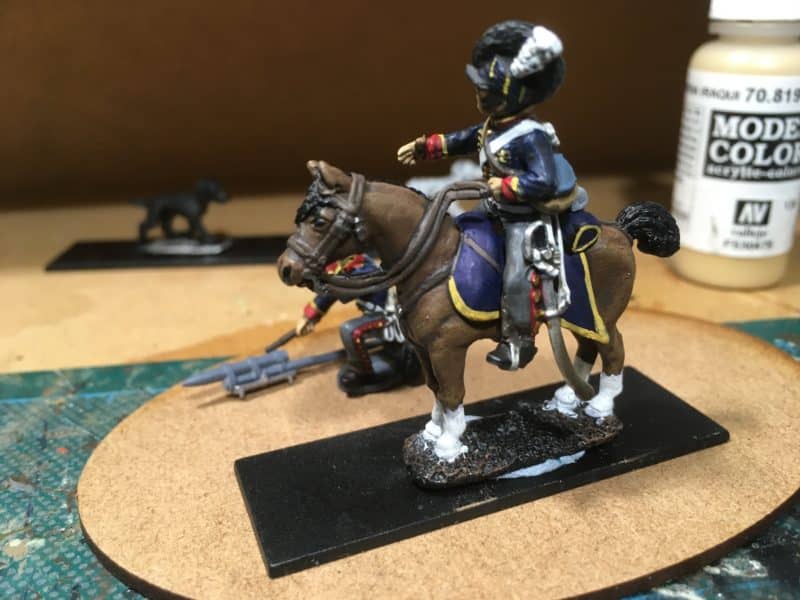
Having had a look at the pictures, I decided to add some socks to the troopers horse.

Pull your socks up!

Pull your socks up!

And that is as far as I have progressed with the project this week. I’ll quick shade the troopers horse and then Matt Varnish both horses. I’ll need to highlight some areas on the horse, specifically the blanket and possibily the leatherwork. I’ve also decide to replace the rocket sticks with some Albion Alloys Brass rod that is a bit thinner than the spears that I am currently using. The rocket also needs painting but I am nearly at the basing stage. I think that I will also add some definition to the troopers overalls just above his boots as it doesn’t show up very well.

It is a bit nippy out in my Garage at the moment and even with a heater on, when sitting still, painting, it is easy to get a chill, so my painting sessions are a bit shorter than in the Spring! However, this coming weekend should see a bit more progress – perhaps even basing!

THE COMMERCIAL BIT

Regular readers of my blog will know that most of the materials and models that I use are available post free from my shop here:

ARCANE SCENERY

It’s worth pointing you to the Evergreen plastics range this week – I find this stuff invaluable when converting.

EVERGREEN PLASTICS

The bases are from the Sarissa MDF range here:

MDF BASES

and if you would like to have a look at my references on the Pinterest site just click here:

STEVE’S PINTEREST BOARDS

Incidentally, joining Pinterest is free. If you haven’t got an account, I very much recommend it as a way of collecting reference pictures.

Happy modelling!


Mining The Lead Pile and Finding Fun!

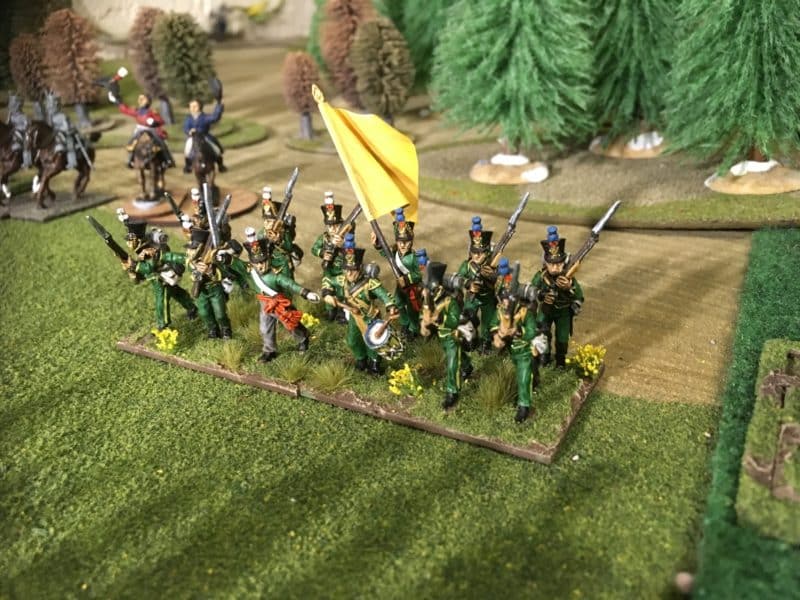
I started the New Year with a post entitled ‘Bitting and Bobbing’ which is a fair assessment of how my modelling has continued so far this month. In the last fortnight I have gradually been working through some unfinished units and figures that have been at the side of the work bench for some time. A good example being my battalion of Nassau Infantry that were finished last February but were languishing without a flag. Well the flag is now added and I think I’ve got it the right way up….

Nassau Infantry at last have their flag!

Nassau Infantry at last have their flag!

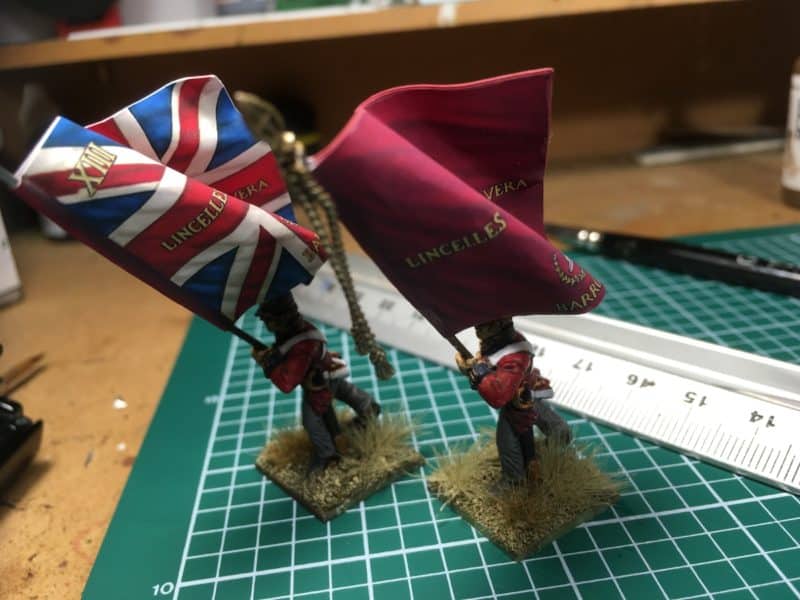
Talking of flags, I decided to ‘reflag’ my Battalion of Coldstream Guards. They actually did have flags but I was unhappy with the quality. I had bought the original flags at a show but with hind sight they were oversized and badly printed on glossy paper and nowhere near as good as the GMB flags that I normally use. So they have now been replaced with GMB printed flags which are a much better size and a much better colour and quality.

New Flags for the Guards!

New Flags for the Guards!

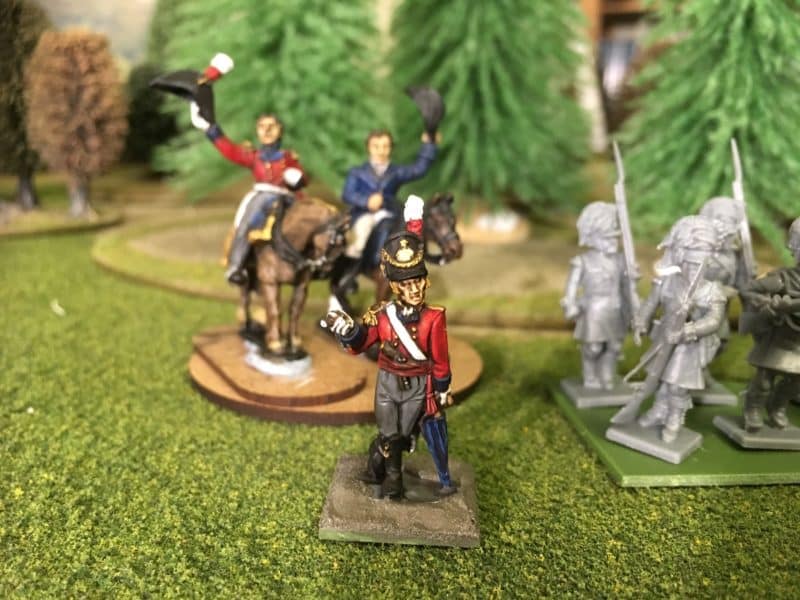
I have also been working my way through some officer figures. This fellow was a limited edition from Warlord, I think, so although not quite finished ( the basing needs to be completed) he is almost ready to join his Regiment.

New Officer - just the basing to complete and a bit of a tidy up.

New Officer – just the basing to complete and a bit of a tidy up.

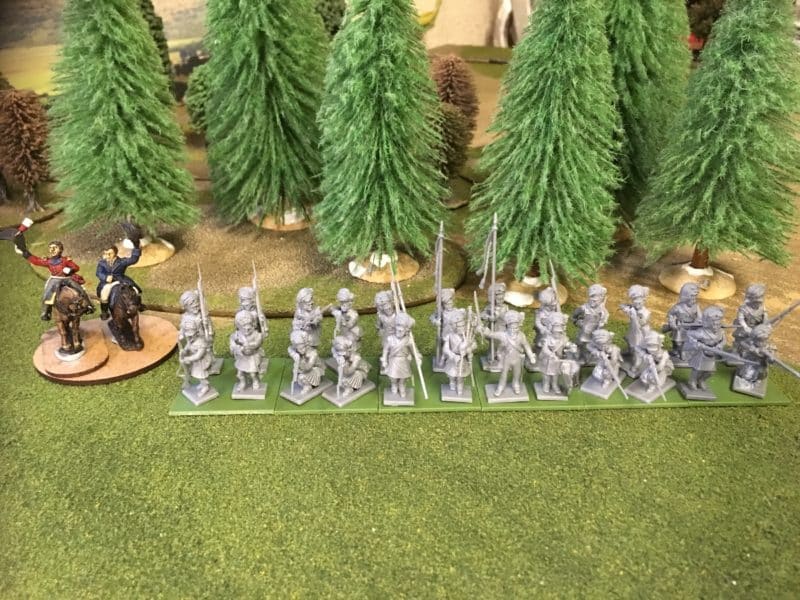
I am gradually assembling the two Battalions of Highlanders, the 42nd and 92nd Battalions. I have one Battalion of 24 assembled and have started on the next battalion. Once I have them all assembled, I’ll start the challenging task of painting them but I am in no rush to start! Incidentally, the trees behind the figures are from a Garden Centre – it may be too late now but I recommend checking out the sale section in your local Garden Centre, there are bargains to be had for wargamers!

Next Battalion of Highlanders assembled

Next Battalion of Highlanders assembled

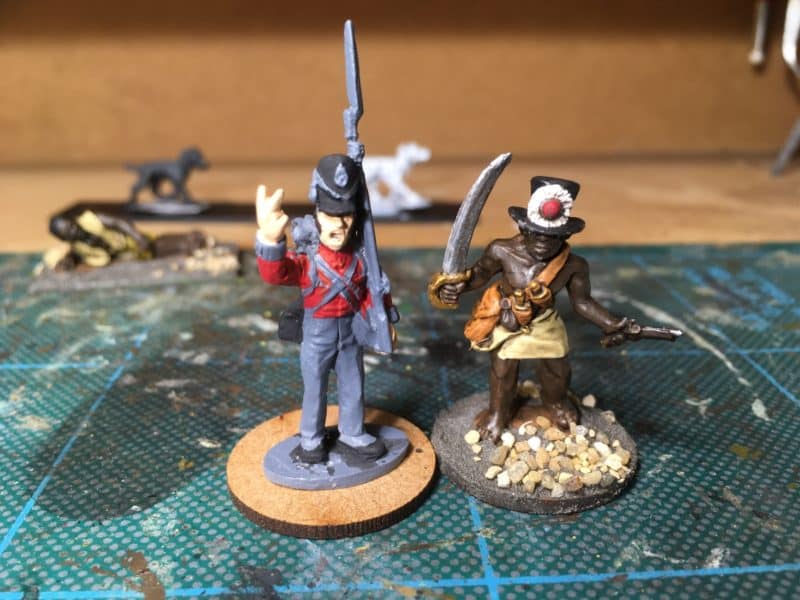
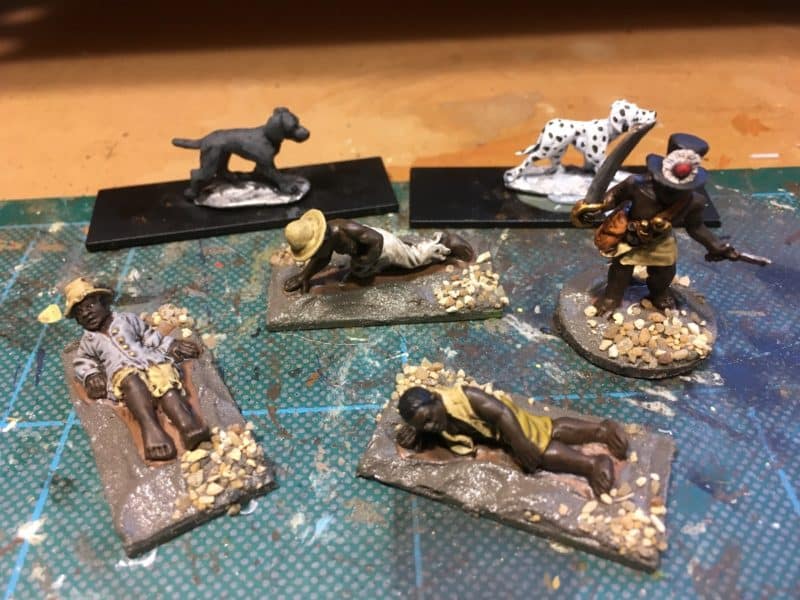
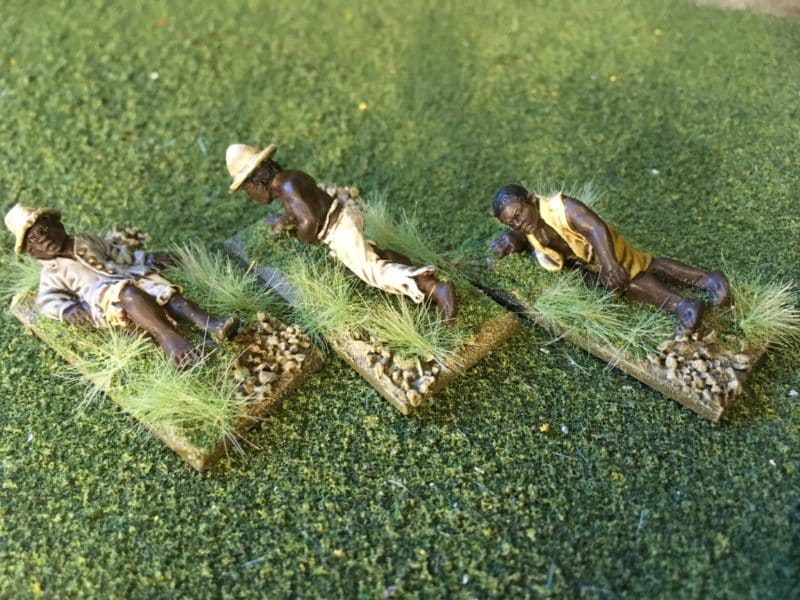
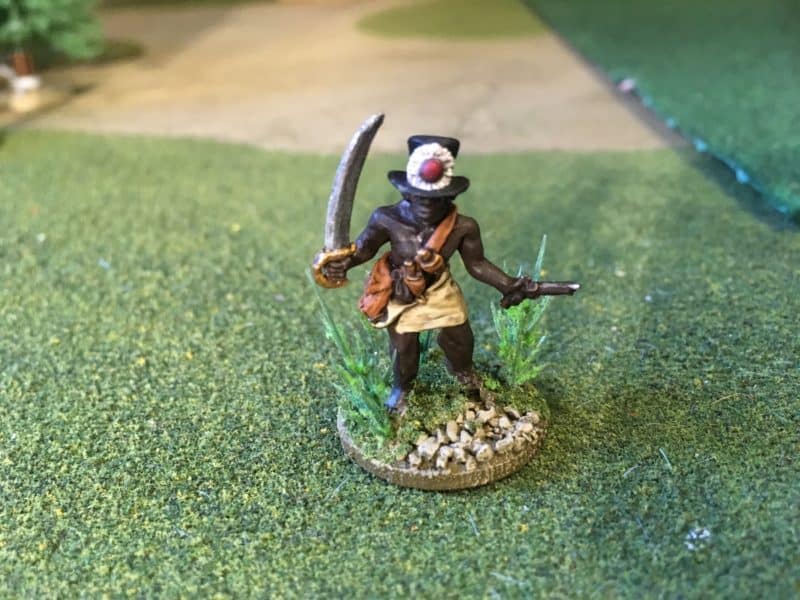
In my previous blog, you may have noticed a random Caribbean Maroon figure on the work bench. I have actually painted him before but somehow he has gone AWOL from my cabinet, so I decided to replace to re- complete my set of Trent Miniatures Caribbean rebels and Maroons. Out of the blue, Duncan, of Trent Miniatures, announced that he had released new pack of Caribbean casualties so I grabbed a pack and finished them all in one batch. My Caribbean collection is now complete for the time being!

Caribbean casualties in progress - basing about finished.

Caribbean casualties in progress – basing about finished.

Completed Caribbean Casualties

Completed Caribbean Casualties

Maroon leader - replacement complete!

Maroon leader – replacement complete!

I have long admired the Warlord British Napoleonic Rocketeer and had added it to my unpainted figure ‘collection’. It was one of those figures that I intended to do something with but I wasn’t quite sure what. Well with my new found carefree approach to my painting projects, I decided to get on and paint him as well as converting a horse holder to go with him. I’ll detail how I made the companion in a future blog but here is a picture of the work in progress.

Rocketeer! WIP.

Rocketeer! WIP.

I have a version of this cheeky figure already. As you can see, he’s still a W.I.P. although since writing this blog he is nearly ready to join his officer. I’m not sure whether to make another small vignette with him, an officer and a DeeZee dog (you can see I have two versions of DeeZee dogs that are being worked on in some of the other pictures) or whether to put together a battalion of odds and ends and spare figures just for fun. It’s the latter option that appeals to me at the moment. I seem to accumulate random figures from friends, so it might be fun to have a battalion of characters and misfits.

Cheeky Chappie!

Cheeky Chappie!

And there’s more…well actually, there isn’t but I have just re-read ‘Sharpes Tiger’ by Bernard Cornwell. Once again, I am reminded that history doesn’t have to be a dry subject and with a bit of imagination it can be exciting and fun. I know that some find the ‘facts’ and detail the most important part of the hobby but if you are not careful, the pursuit of absolute accuracy can result in nothing ever being finished. The more I read, the more I am convinced that we really dont know half of what went on, so why get too hung up on micro details? A thought that I will return to in my next blog.

However you choose to make and paint your models, I hope that you have fun and enjoy yourself and if we can help at Arcane Scenery, please drop me a note.

THE COMMERCIAL BIT

If you are interested in the revolutionary wars in the Caribbean, then Trent Miniatures have a superb range of miniatures. You can see them here:

WARS IN THE CARIBBEAN

We have a range of animals, including dogs and tigers in the DeeZee Miniatures range. You can see them here:

DEE ZEE

Bitting and Bobbing!

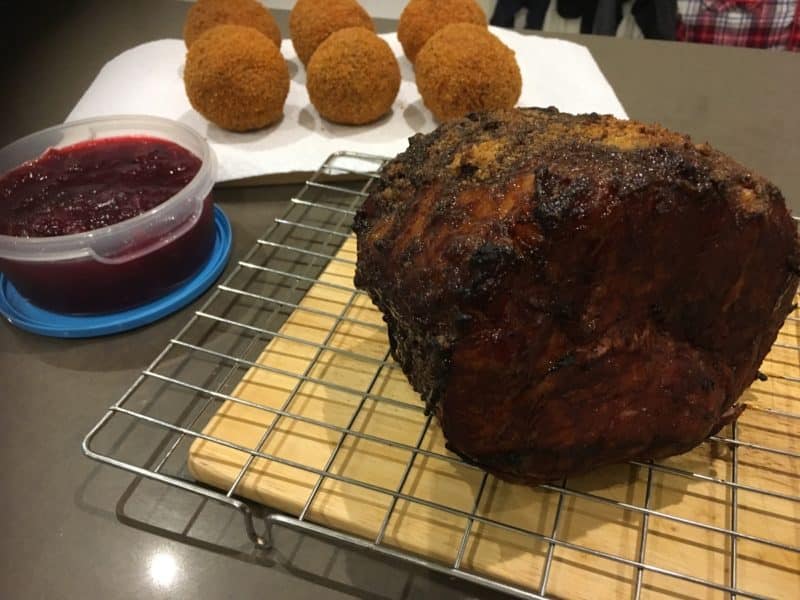
The Christmas holiday break can be a good time to get plenty of modelling done but for me the opposite is true. We were actually working through the break, as long as the post office was collecting, we were packing. Although there was time off on Christmas Day, Boxing Day and New Years Day, hobby time was at a premium. After all, it’s a social time of year and sneaking off to the garage for any length of time to paint models is somewhat anti social when you have invited the family over for Christmas. Besides, there was alcohol to drink and food to eat – always a distraction for me!

It's not just models that I like making! Scotch eggs, Cranberry sauce and a home cooked ham - Lovely!

It’s not just models that I like making! Scotch eggs, Cranberry sauce and a home cooked ham – Lovely!

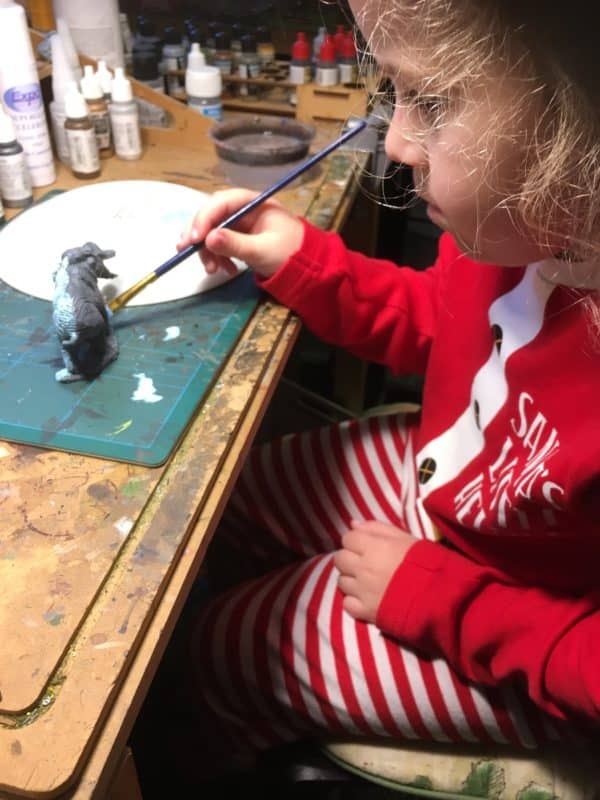
Mind you, nobody complained when my Granddaughter, Emily, came out with me to paint a DeeZee Platybelodon. She decided that a nice light blue shade would be best for her version of the beast! We actually managed to get the model based and she was very proud to take her new model home. At five years old, she did a pretty good job! Kids love painting and modelling, they just need some help at an early age and if they get the bug, they will be producing better models than us old ‘uns!

Emily and her Platybelodon!

Emily and her Platybelodon!

So, apart from the Platybelodon, I actually haven’t finished anything over the break but progress has been made. As a change from painting battalions, I decided to paint four Officer figures that I had in the lead pile to bolster my command structure!

New officers!

New officers!

Three of the figures are about finished but all need basing. The two staff officers are Warlord figures and will just be added to the appropriate battalions. Wellington and Crawford (in the Background) are from Front Rank and I will probably mount these on 60mm round bases as part of a vignette and use them as Brigade commanders but I have yet to finalise details in my mind.

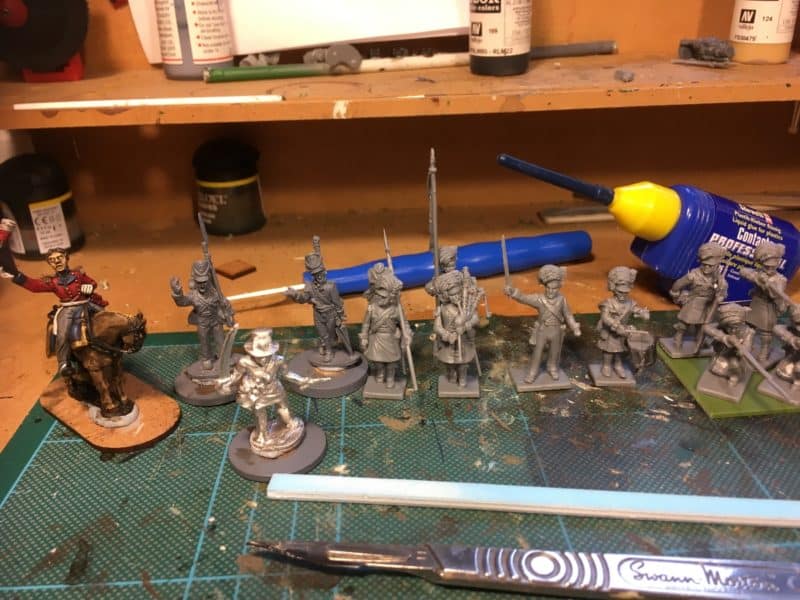
I also cleaned up and undercoated a couple of other random figures as well as starting to assemble some more Victrix Highlanders.

A mixed bag on the workbench

A mixed bag on the workbench

The other task that I completed was to go through my ‘lead pile’ and list down just what I had squirreled away. I wont be making any rash promises about how I will finish everything this year but the exercise was worthwhile and reminded me that I had bought some of the items for a reason and it was time to get them painted! So rather than starting the year with a firm plan and a promise that I wont keep, for the tiome being, I am going to go where ever the modelling muse takes me.

At the moment, that means that I will be making 48 highlanders to complete the 42nd and 92nd Battalions but if I take a break to complete a Samurai or piece of  Caribbean scenery, then I wont get to uptight about it. Having lists, challenges and goals can be very effective in achieving results or kick starting you after a lull.. However there is a danger that they can turn your hobby into a chore. Everything in moderation, is a good motto, and long as I am modelling, I will be happy!

Once again, Happy New Year and I hope that you enjoy your modelling.

THE COMMERCIAL BIT

The Arcane Scenery web store has a huge range of products that will help you to complete your modelling projects and we dispatch post free to most worldwide locations. Just click here to see our ranges.

ARCANE SCENERY

I would like to point you towards the Albion Alloys Abrasive ranges. You can see that I am using the sanding sticks to help assemble the Victrix Highlanders – The sanding sticks are excellent for use with plastics – I wouldn’t be without them and a pack will last for ages;

ALBION ABRASIVES

We also carry the Victrix plastics range – they are without doubt amongst the best plastics around. The highlanders are simply lovely figures.

VICTRIX RANGE