My War of the Roses army is approaching completion, although the project is suffering from a bit of ‘creep’ with my habit of finding that just one more unit would be a good idea! The light cavalry were supposed to be the final unit that I would add. The challenge to my OCD/collectors habit was that the Perry Miniatures plastic box set gives you 12 light cavalry and I only needed 8 to make a unit. My solution to this dilemma was to decide to build 8 of the cavalry as mounted bowmen and then make another unit of 8 Scurrers by adding some metals to the four remaining plastic figures.

Perry Light Cavalry assembled
But first of all, I needed to get the plastics completed. I assembled all of the figures in the box first and then decided to paint them, six at a time, starting with the horses.

Primed horses
As you can see, I primed four of the horses in brown, one in black and the last one in grey. The different base coats giving an indication of the different colours that I would paint the horses! By the way, I use army painter rattle can sprays to prime my models. When it came to the colours for the unit, I had decided that I would paint them in green and white for no other reason than I fancied this combination. History purists might find this cavalier approach ( Ooh! Good pun!) somewhat unacceptable, particularly as the colours are close to Henry Tudors’, who was a Lancastrian and the rest of my army is based on Yorkist commanders. However, I am painting units for the rules set that we are using’ Never Mind the Billhooks’, rather than creating a specific WOTR army and I feel comfortable in mixing and matching as I see fit. Lets just say that these troops are Cheshire journeymen happy to draw a bow for who ever pays them – in this case, Lord Harry Hotspur!

The four brown horses.
I painted the four brown horses more or less as Bays, using a mixture of browns and washes layered on using my dry/wet brush technique. The horse with the light mane was painted using Green Ochre – I would never have chosen this colour based on it’s name but it does work well! It was then a case of painting the livery in green or green and white.

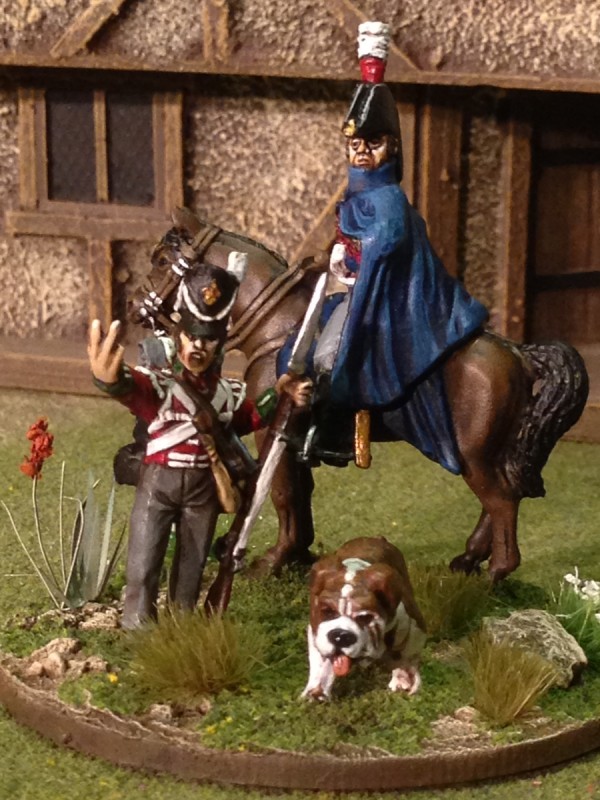
The black horse
The Black horse was highlighted with black/grey and then very lightly with light grey. I used Buff to pick out some of the livery, again not because of any historical accuracy but because I liked the effect!
The white horse was painted in exactly the same way as I painted Richard III’s horse (see last weeks blog) and so I had my first six horses ready for basing.

Six Light Cavalry Horses ready for basing.
In next weeks blog. I’ll detail how I painted the riders and completed the unit, but for now here’s a picture of the first six figures that I have completed – The basing is still to be finished.

Mounted Bowmen
The sharp eyed amongst you will see that a Prussian Jaeger has sneaked into the picture! So with the six mounted bowmen completed it is onto the commander and standard bearer to give me my eight mounted bowmen.
THE COMMERCIAL BIT
Almost all of the paints, miniatures, bases, basing materials and anything that you are likely to need for your hobby are available POST FREE from my shop here:
Perry’s WOTR plastic range are here:
You can find all the Vallejo Model colour paints here. If you don’t want to browse, just enter the paint number into the shop search bar;
You can find the Vallejo texture paste here:
‘Never mind the Bill Hooks’ will be available as a full colour supplement with the June edition of Wargames Illustrated. If you would like the current issue, click here:
Happy Modelling!