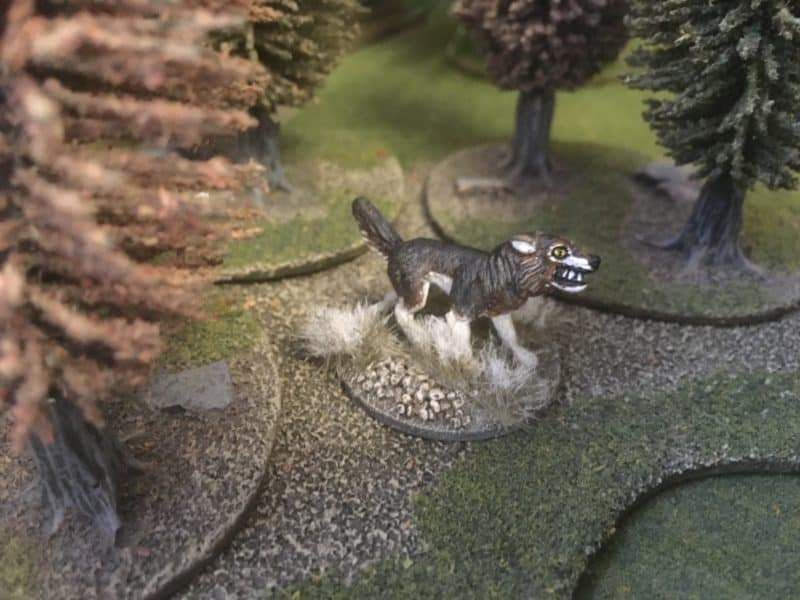
Deezee wolf – test shot.
It’s been two weeks since my last blog but I have been busy – it’s just that I haven’t actually finished anything for myself! I was somewhat diverted by a request from my Granddaughter, Emily. We were tickled pink when she phoned up ( she’s not quite seven yet!) to ask me for some help with her school project. She was learning about wolves and had to make a wolf enclosure – did I have a model of a wolf and could I help? Well, Arcane scenery has the DeeZee range of animals and we have a pack of Dire Wolves that would do nicely. As I had not painted one myself, I thought that I better do a test piece before Emily came over to paint her own version. So above is my first attempt at painting a wolf. I also prepared and primed the other 5 in the pack and then based two of them so that Emily could finish them off.
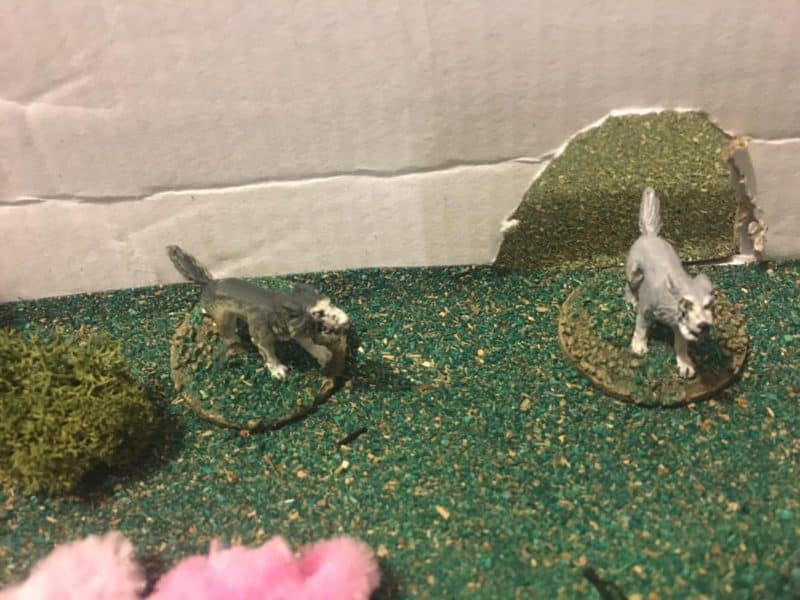
Emily’s wolves in their new enclosure.
It’s worth pointing out that DeeZee model are not toys and made of metal and not designed for children. However, even at 7, Emily is sensible enough to understand the difference between a model and a toy and will use them as such. When it came to painting the wolves I gave Emily my best brushes and we used ‘proper’ paint. My advise would be that if you would like children to take up the hobby, let them loose with the correct tools for the job and just take the time to explain how to use the tools safely. When it comes to painting, that means how to hold the brush, how to thin the paint and how to clean the brushes in between coats and so on. Mind you, I was told off for licking the brush! It’s a bad habit but the most effective way I know of keeping the point on the brush….
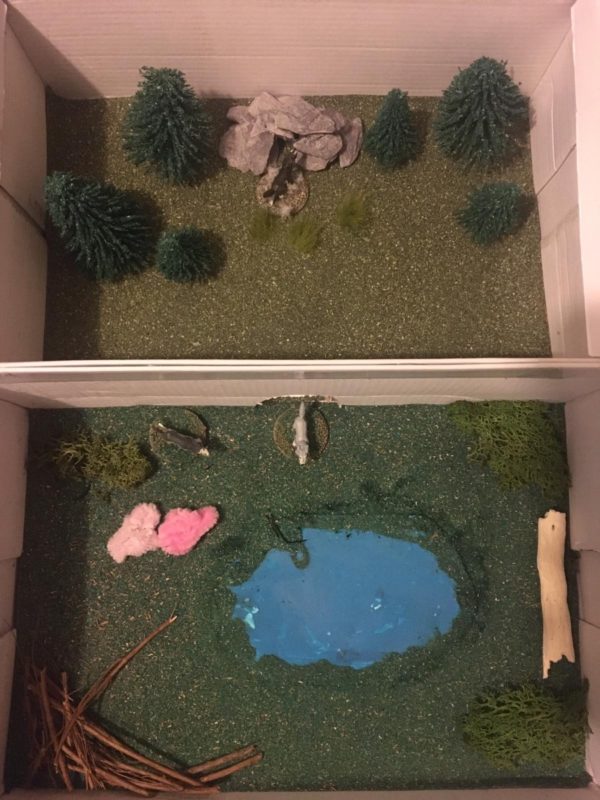
The completed wolf enclosure – the pink pipe cleaners are their food!
Once Emily had painted her two wolves, we made a start on the enclosure itself. It was made to Emily’s specifications using two shoe boxes. My job was to wield the hot glue gun and stick stuff together where directed- I would have let her have a go with the glue gun but Nanny said no! Emily did slap on the PVA glue where needed though! Of course, having access to my stash of scenery made the job a bit easier. We were able to line her two shoe boxes with some off cuts of scenic mats that I had and add some Arcane Scenery trees. We built a ‘den’ using some slate and the pond was just a painted piece of foam board. We used arcane scenery scatter to blend it all in. Emily helped herself to some of my Gamers grass tufts and some twigs and lichen and we had more or less finished. The project took most of Sunday but as ‘Storm Ciara’ was beginning to blow outside, it was a Sunday well spent.
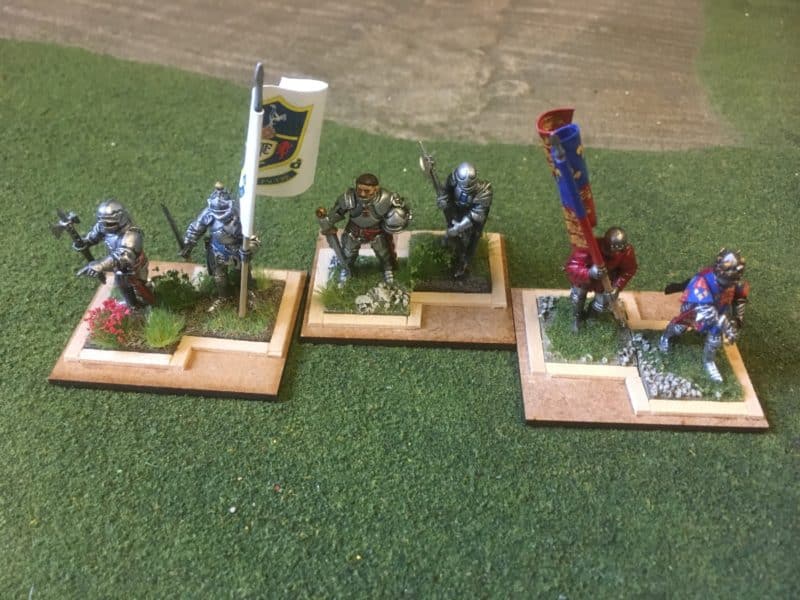
Sabot bases under construction
As for my own projects, well, as I have said, I’ve been busy preparing stuff but have finished very little. I have completed some sabot bases for my War of the Roses command figures. I used the same techniques outlined in in my blog article ‘Painting War of The Roses Artillery’.
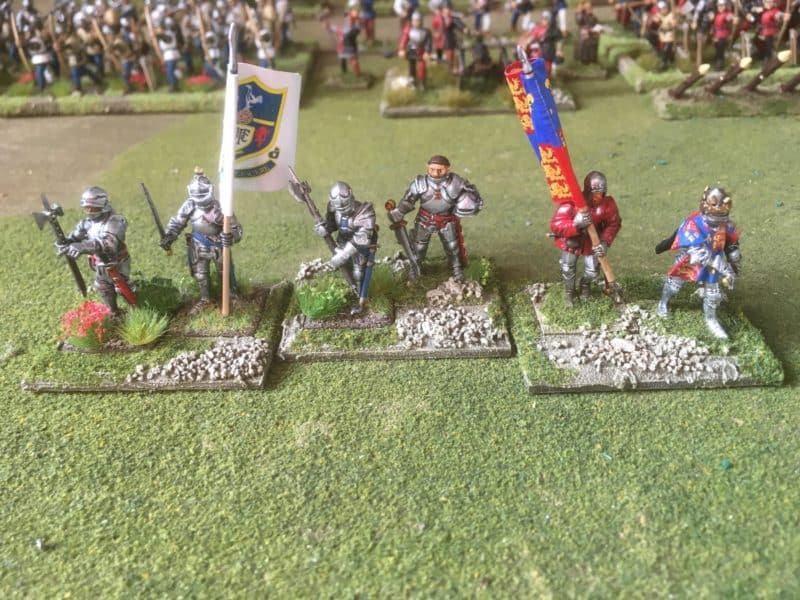
The completed command bases
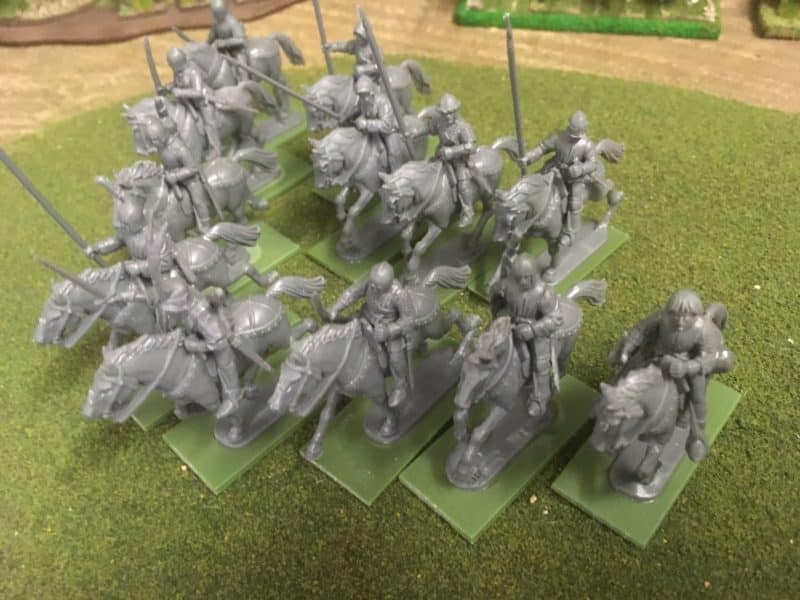
Perrys Light Cavalry
I’ve also assembled and prepared 12 War of the Roses light cavalry. I assembled eight as mounted bowmen (to use as mounted Skirmishers) and the other four as ‘scurrers’ – I could combine these with four of my other heavy horse to make another unit. I’ve got as far as priming six of these light cavalry, but I’ll probably show these in a later blog.
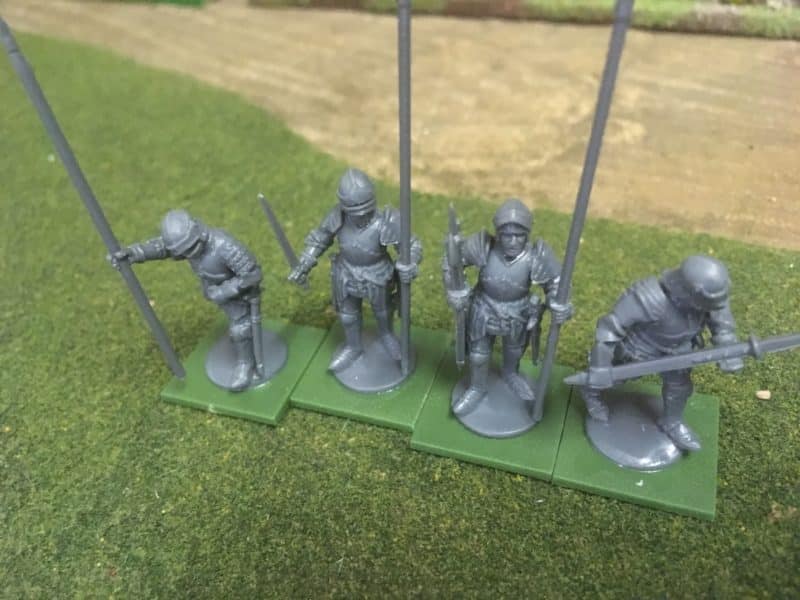
Additional command figures
I’ve also assembled four more command figures – three of which will have standards. I don’t need any more commanders for my army; the extras will allow me to divide my force into two, to allow an extra player to play, if needs be.
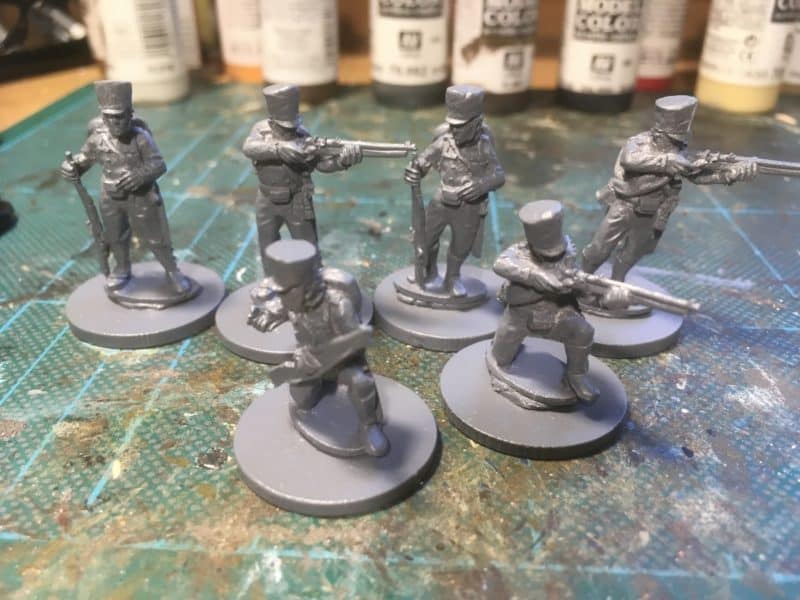
Prussian Jaegers primed and ready for painting.
I have a Demo game to prepare for in March. It’s the Bingham Napoleonic days and as usual the NG13 gamers are putting on a display. I actually have enough troops for the demo but decided to add another six Jaeger to my Prussian force. I got as far as priming these before being distracted yet again.
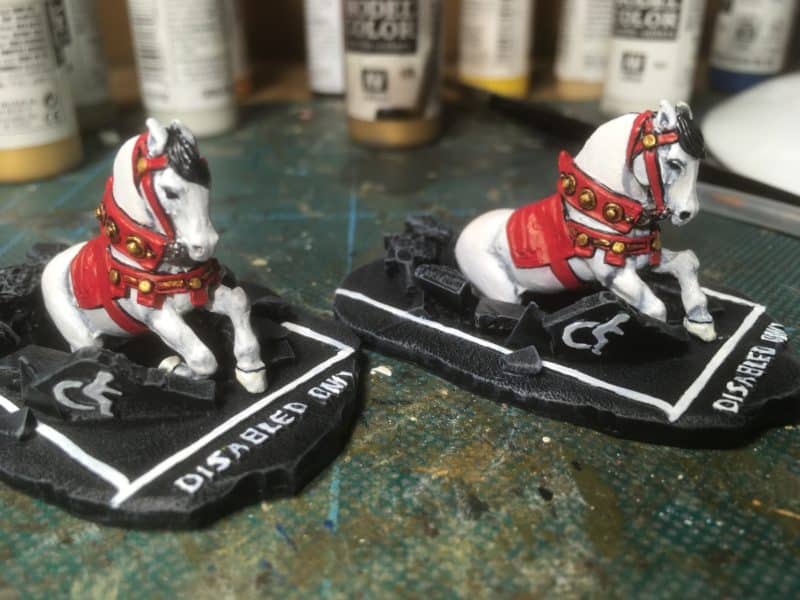
Special project on the go!
It was my birthday last Thursday and I had asked for some additional Perry Miniatures to bulk out my War of The Roses force. I had also asked for the special ‘Richard III Commemorative figure’ that they make. Actually, I asked for two as I have an idea for converting one of them as a standard bearer for the new rules set ‘Never Mind the Billhooks’. So these models have found their way to the top of the painting list. Again, I’ll show the finished models with a bit more detail in a future blog, but as you can see, the horses are about done for now. So lots of modelling but nothing quite finished. That’s the way it seems to go in my hobby!
THE COMMERCIAL BIT
Almost all of the paints, miniatures, bases, basing materials and anything that you are likely to need for your hobby are available POST FREE from my shop here:
To have a look at the full DeeZee range of Ice Age animals and cavemen, click here:
Perry’s WOTR plastic range are here:
Our range of Warlord Napoleonics can be seen here:
You can find all the Vallejo Model colour paints here. If you don’t want to browse, just enter the paint number or name into the shop search bar;
Happy modelling!
