Painting War Of the Roses Artillery

My War of the Roses army is approaching completion. I now have most of the infantry that I am likely to need whilst playing our rules set ‘Never mind the Bill Hooks’. In fact I can actually muster two small opposing retinues if necessary. There are two gaps in the roster though; Light Cavalry and Artillery. I went for the easy option and started to paint an artillery piece. As usual, my manufacturer of choice is Perry Miniatures and as the rest of my army is made up of Perry Plastics it made sense to continue to use the same source. Of course, other manufacturers figures are available!
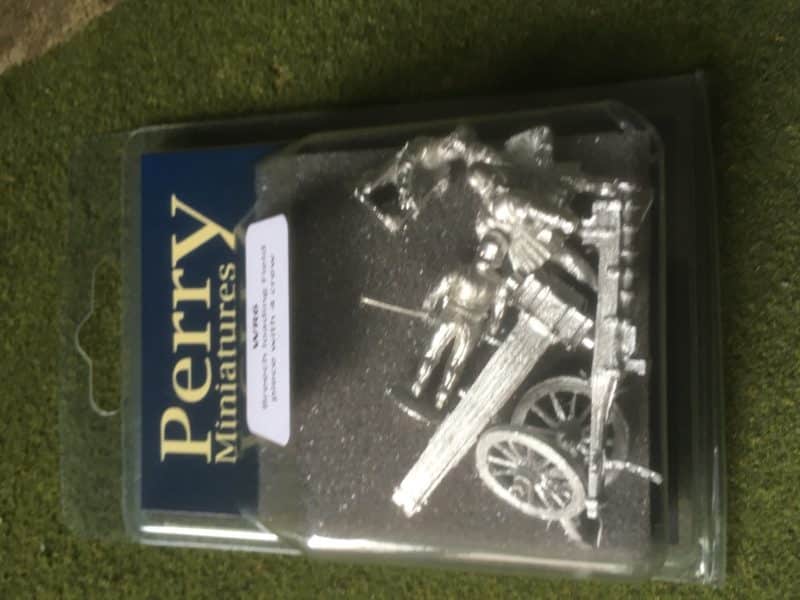
Artillery!

Artillery!

It was a straight forward task to file down the flash and casting lines on the pieces. Some of the Metal Perry castings can be troublesome in terms of mold lines and excess metal but this pack was well cast and not a problem. I then undercoated the gun in black primer and the crew in grey primer. To paint the wooden carriage of the gun, I followed the article for painting wood contained in the last issue of ‘Painting War #9 – Holy War’. On the face of it, it seems like a bit of a long winded way of producing a wooden effect but I think that it is well worth the effort and time and I am very pleased with the effect.
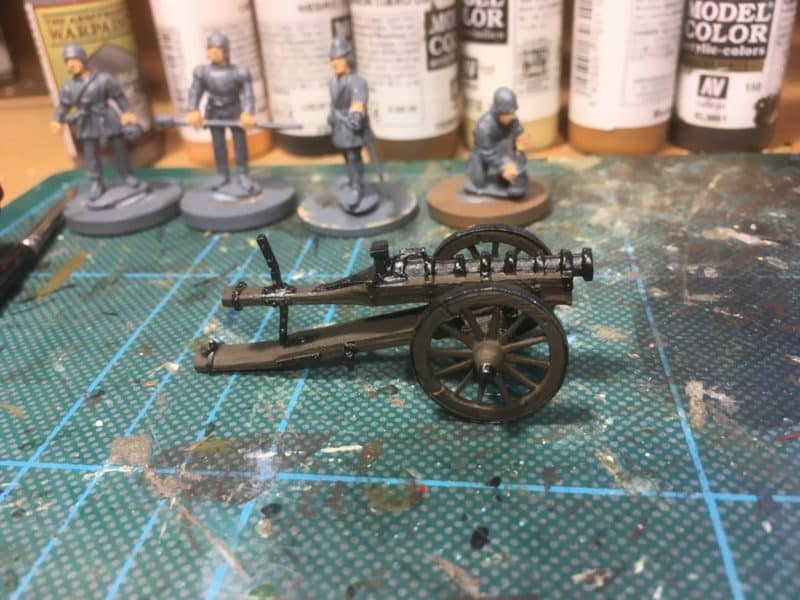
WOTR Artillery

WOTR Artillery – first coat of Vallejo Chocolate brown 70872

You start by painting the wooden parts of the carriage in Vallejo Chocolate Brown using the normal painting technique and cover as much of the black undercoat as you can but where possible, leave the black metal barrel of the gun and other metal parts. Next you start to dry brush the carriage using Flat brown. This stage can be done with a fairly heavy dry brush and you will cover most of the Chocolate Brown.
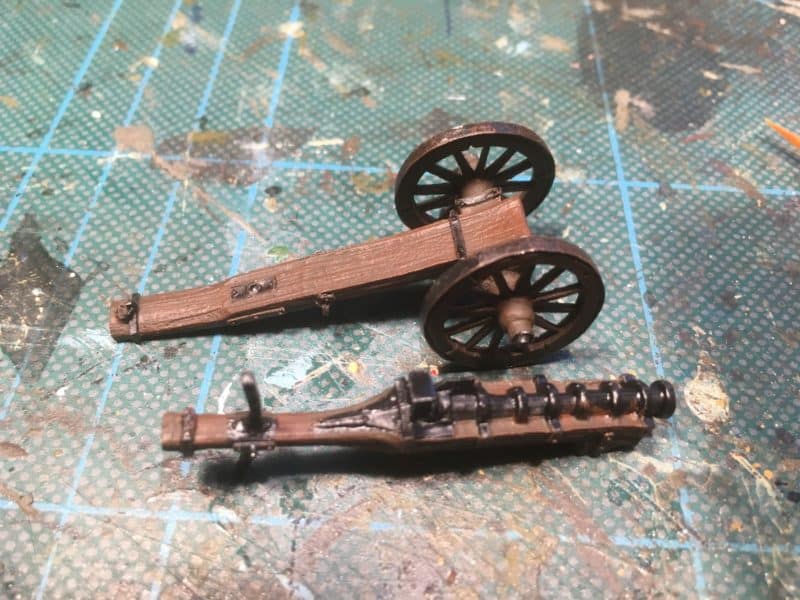
Next heavy coat is flat brown 70984

Next heavy coat is flat brown 70984

Now use Flat Earth as your next dry brush coat. This time use a slightly lighter coat and less paint on the brush. You just want to catch the details and grain of the wood. This is followed with Orange Brown. Once again, this is a light dry brush and you are just picking up the highlights.
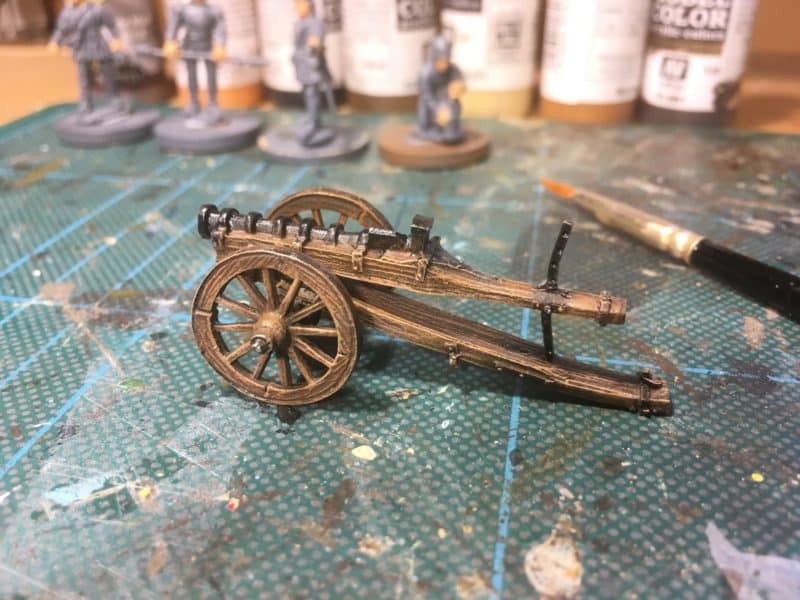
Added dry brush coats of Flat Earth 70983, Orange Vrown, 70981 and yelow ochre, 70913.

Added dry brush coats of Flat Earth 70983, Orange Vrown, 70981 and yelow ochre, 70913.

The final dry brush is done with Yellow Ochre. You need to be using a really dry brush and a light touch. I tend to focus just on the edges of the model. The magazine article suggests a further highlight using flesh as the top highlight. I decided that I was happy with the finish that I had and stopped there.
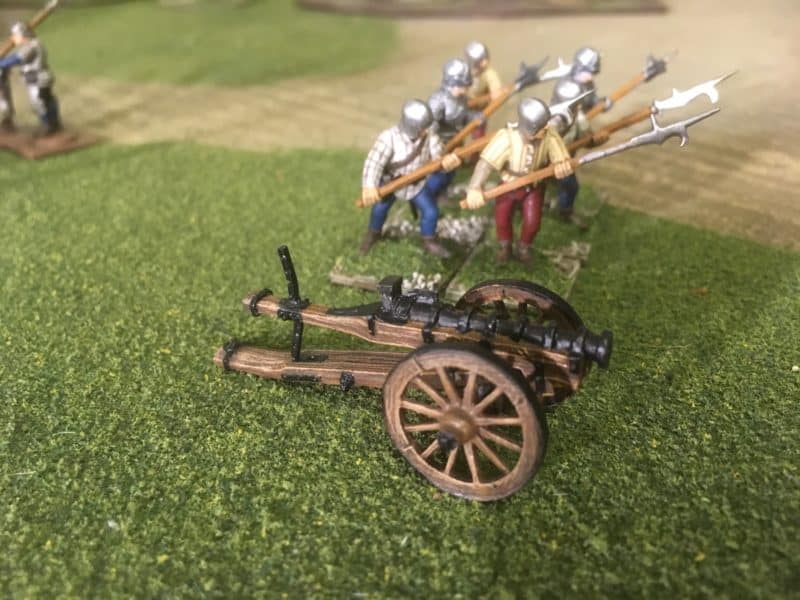
The finished gun. Black re painted - I need to go back over the wheel rims with steel.

The finished gun. Black re painted – I need to go back over the wheel rims with steel.

I then went back over the barrel and ironware on the cannon with  matt black to cover the over brushing that I had made whilst dry brushing. I also then gave the wheel rims a dry brush with gun metal to represent the paint chipping off these due to use. The gun is ready for action.
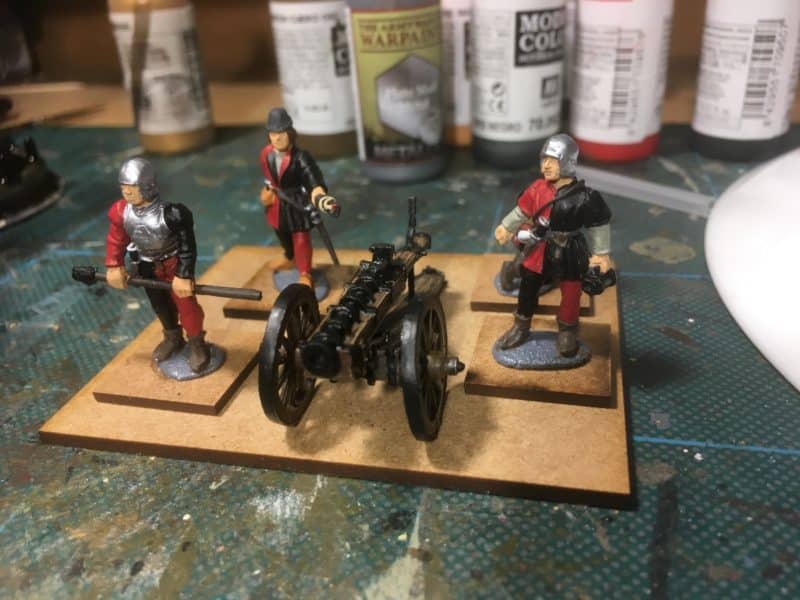
Gun crew block painted in their bal;ck and red livery.

Gun crew block painted in their black and red livery.

When it came to the crew, I decided on a straight forward red and black scheme for their livery and didn’t get to hung up on the accuracy of this. I just wanted them to match my ‘red faction’ of my retinue. I did consider painting the Gun Captain in a different colour as he would probably be independent of the Lords household, but in the event, went with with the easy solution.
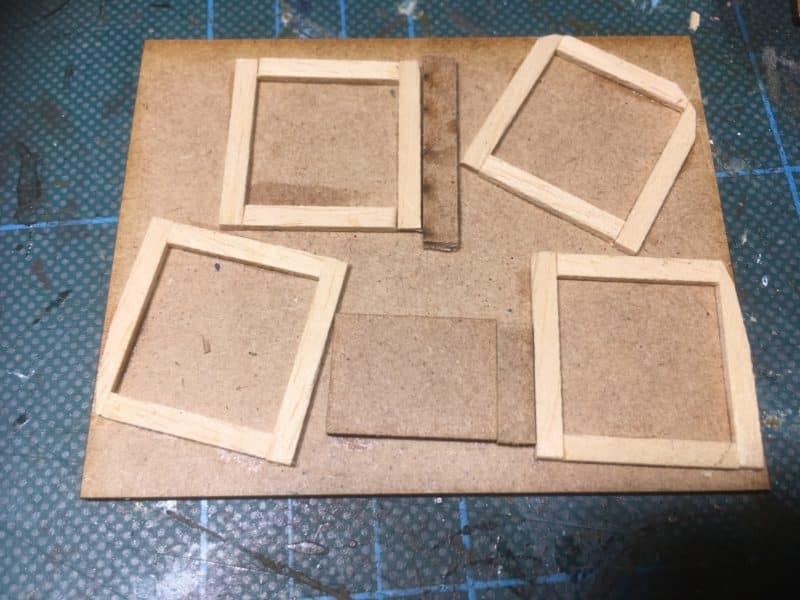
'sabot' base under construction

‘sabot’ base under construction

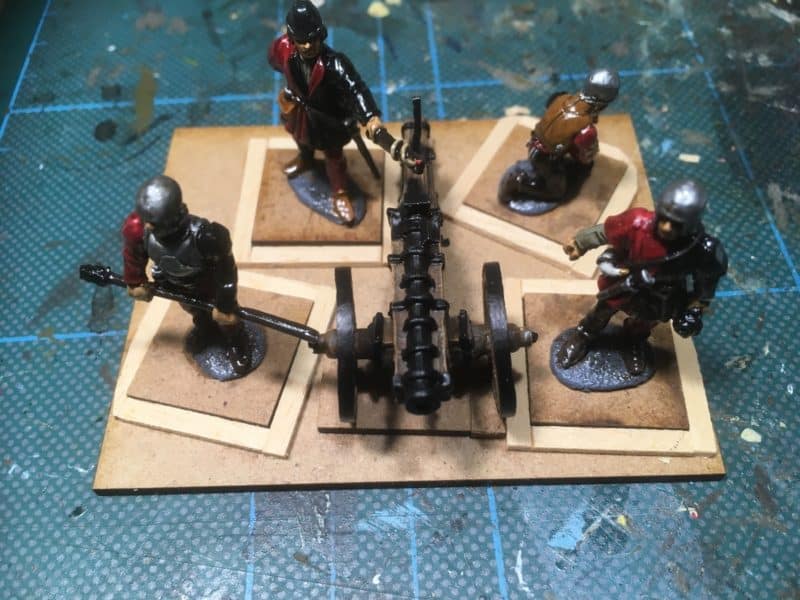
Crew in position

Crew in position – you can see that I’ve painted the crew with quick shade.

On to basing. I created a base that would allow me to remove the crew individually as in the ‘Never mind the Bill Hooks’ rules, this is how hits on the gun and it’s effectiveness is measured. With each ‘hit’ on the gun, you remove a crew member. So once the crew were mounted on 20mm x 20mm MDF bases, I created ‘sabot spaces’ for them on a larger 80mm x 65mm base. See the picture for details. I used some spare thin strips of wood and MDF to make the frames and super glued them into place. This is a bit lazy, I like to use PVA for gluing wood but I was in a hurry to get the base done. I did pay a small penalty for my idleness. I managed to get super glue over my fingers and as a result, even though dry, I couldn’t use the touch unlock facility on my i-phone as the glue blotted out my finger print!
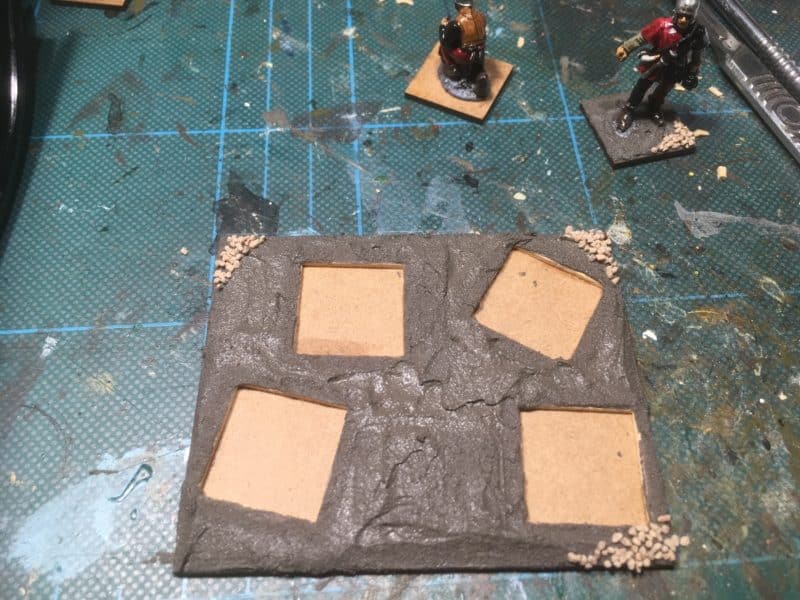
Base coated in texture paste

Base coated in texture paste – Vallejo Dark Earth 26219

Once the base framework was completed, I coated it in Vallejo Dark Earth texture paste and then followed my usual basing method.
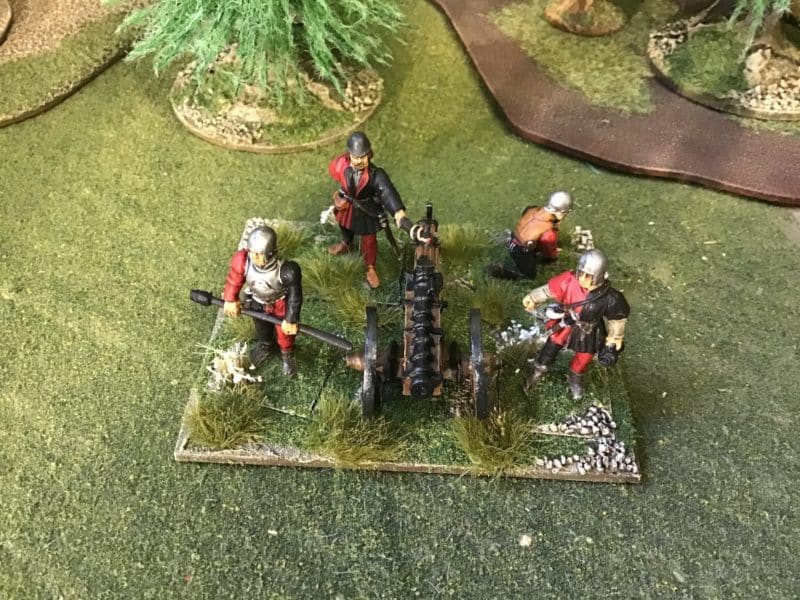
WOTR gun completed!

WOTR gun completed!

This involves painting the base with my favourite coloured emulsion paint ‘Delhi Bazaar’ – Vallejo is too good to waste on bases! Once dry, it is a case of dry brushing with lighter mix and then adding some scatter and tufts. If you would like to know how to get pots of emulsion to match your Vallejo colours, have a look at my earlier blog here:

DONT JUST DO IT…B&Q IT!

So another unit is ready for my Army, next up, the light cavalry, although I suspect that they will take a bit more than a week to complete!

THE COMMERCIAL BIT

Almost all of the paints, miniatures, bases, basing materials and anything that you are likely to need for your hobby are available POST FREE from my shop here:

ARCANE SCENERY

Perry’s WOTR plastic range are here:

PERRY MINIATURES

You can find all the Vallejo Model colour paints here. If you don’t want to browse, just enter the paint number into the shop search bar;

VALLEJO PAINTS

You can find the Vallejo texture paste here:

VALLEJO DARK EARTH TEXTURE

‘Never mind the Bill Hooks’ will be available as a full colour supplement with the April edition of Wargames Illustrated. If you would like the current issue, click here:

WARGAMES ILLUSTRATED

You can find the Painting War magazine here:

PAINTING WAR #9

Happy Modelling!
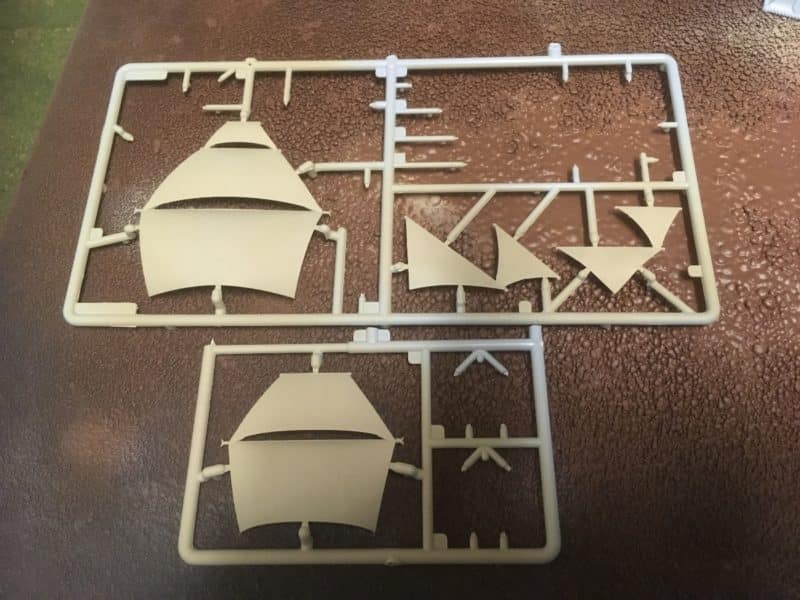
 

Never mind the Bill Hooks – New Battle Report

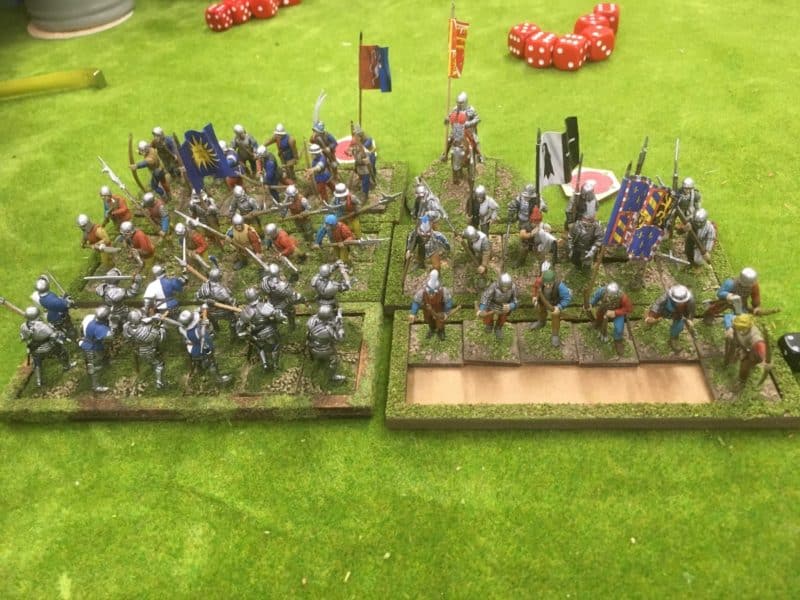
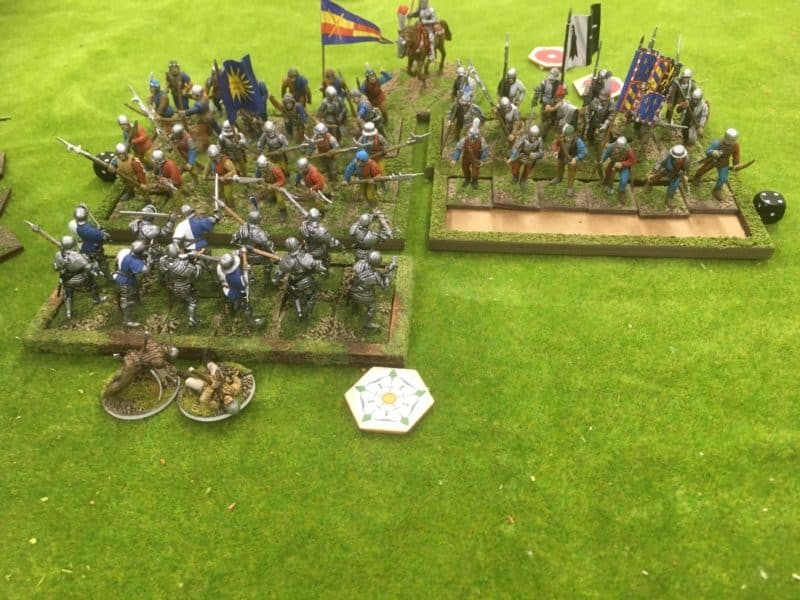
It’s been an exciting week for the ‘Never mind the Bill Hooks’ project. On Tuesday, Andy (Author and rules guru), Pete and myself met with Dan of Wargames Illustrated for a photo shoot for the forthcoming publication of the rules in Wargames Illustrated magazine. Dont worry, it wasn’t us old geezers that Dan was photographing but our WOTR armies. The photos would be used to illustrate the rules and to explain how the mechanics of assembling your army, movement and combat works in the game in detail. The plan is to include ‘Never mind the Bill hooks’ as a separate colour supplement with the April edition of the magazine so you will soon be able to get you hands on a copy of the rules and try it for yourself, if you fancy a bit of WOTR tabletop action.

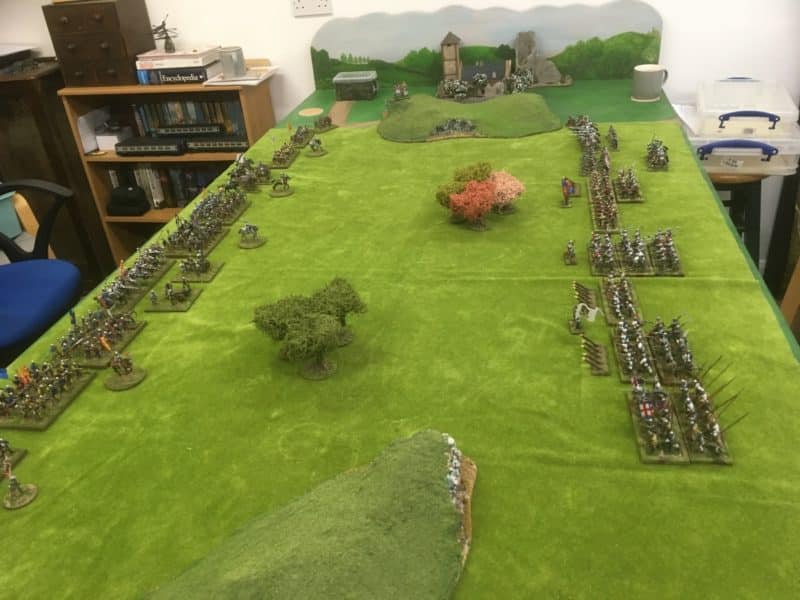
Two armies on display - not all of these units will fight in the battle!

Two armies on display – not all of these units will fight in the battle!

To give you a flavour of the game, here is a battle report of our game played on Thursday evening. Well actually, it’s two games, but more on that later. Sir Harry Hotspur (Yorkist) and retinue were giving battle to the Lancastrian sympathiser, Lord Bingham and his retinue on Woodborough fields! The Armies were of a similar size but Andy, playing Lord Bingham had randomly generated his retinue from the battle cards, once he had taken his mandatory core force of Bows and Billmen. I had opted for a cunningly designed bespoke retinue that would allow me to try out a different strategy to my usual suicidal charge in the centre…

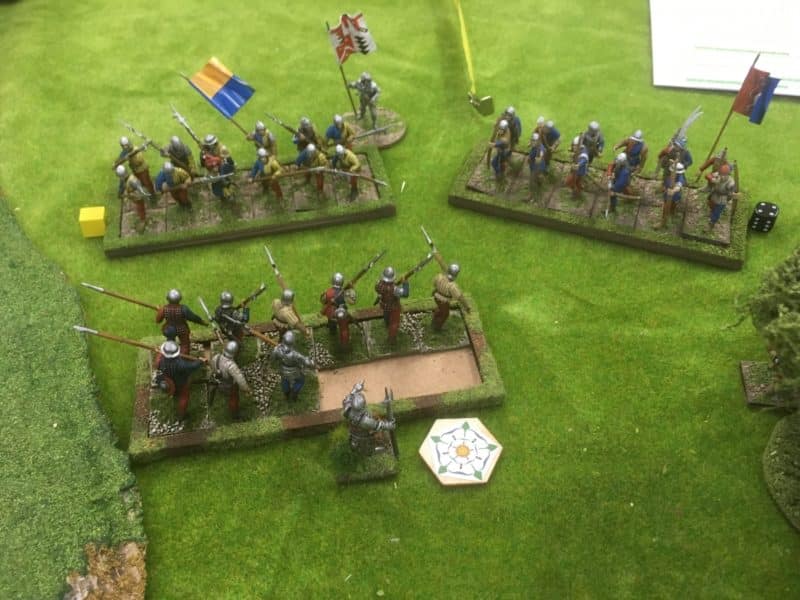
Sir Harry Hotspurs retinue ready for battle.

Sir Harry Hotspurs retinue ready for battle.

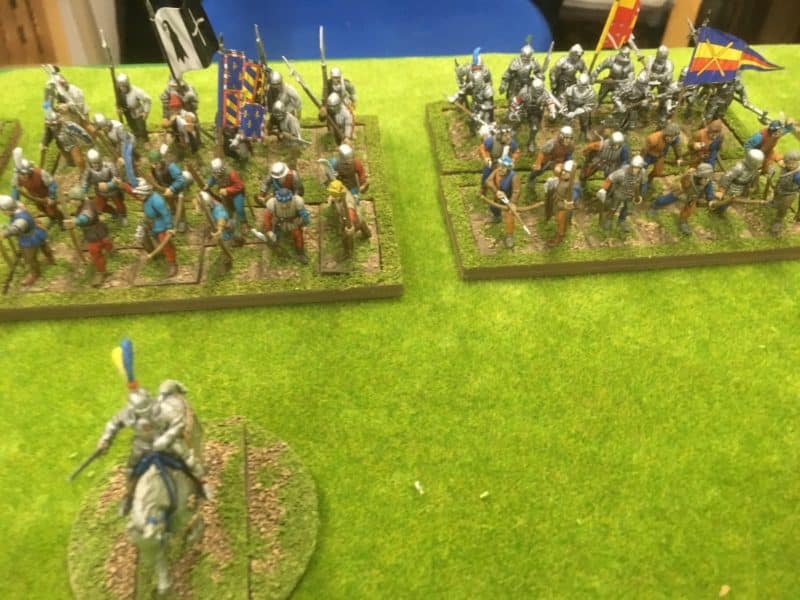
On the Yorkist side, Sir Harry Hotspur was commanding two units of Bowmen, supported by a unit of Men at arms. On the right, Sir Eric Diehard commanded a ward of a bowmen and Bill men and on the left wing, Sgt Danny Rose also stood ready with his ward of Bowmen and Bills. The army was supplemented by three groups of skirmishers who are allowed to act independently of the main command. There was one unit each of Bows, Crossbows and Hand gunners.

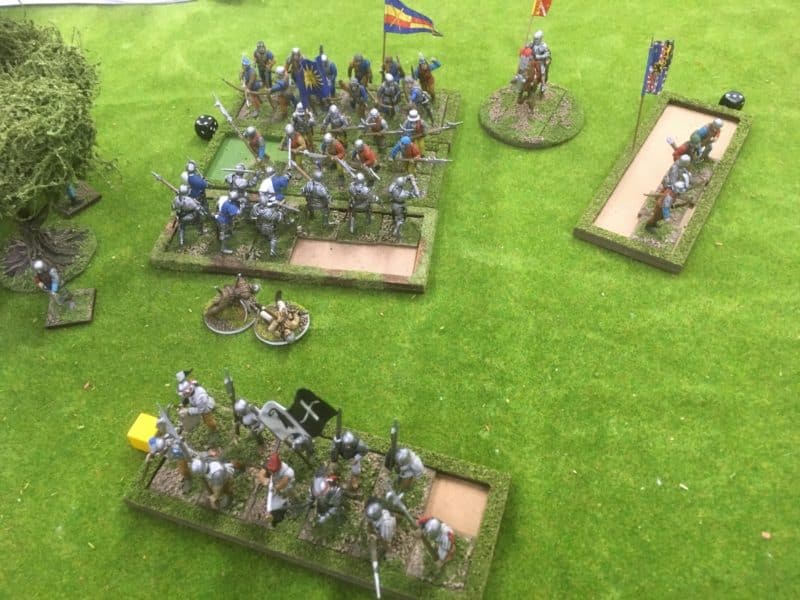
Lord Binghams Ward

Lord Binghams Ward

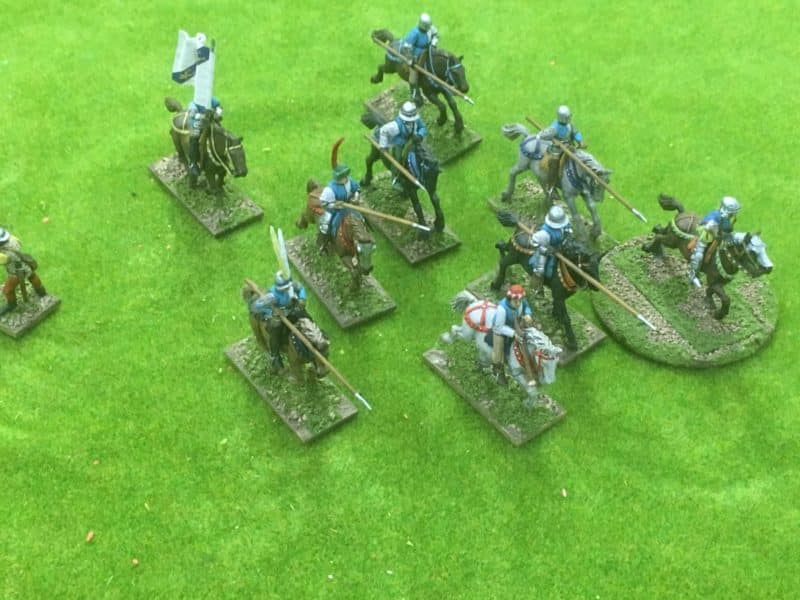
The Lancastrian side took the field with Lord Bingham in command of 2 units of bows supported with two units of billmen. On his left, Sergeant Longacre commanded a unit of Light Horse and to the right Captain Buttercross commanded two units of Bowmen and a unit of Billmen. Again, the Lancastrians were reinforced by three independent units of skirmishers, two of hand gunners and one of Crossbows.

Sgt Longacres light horse

Sgt Longacres light horse

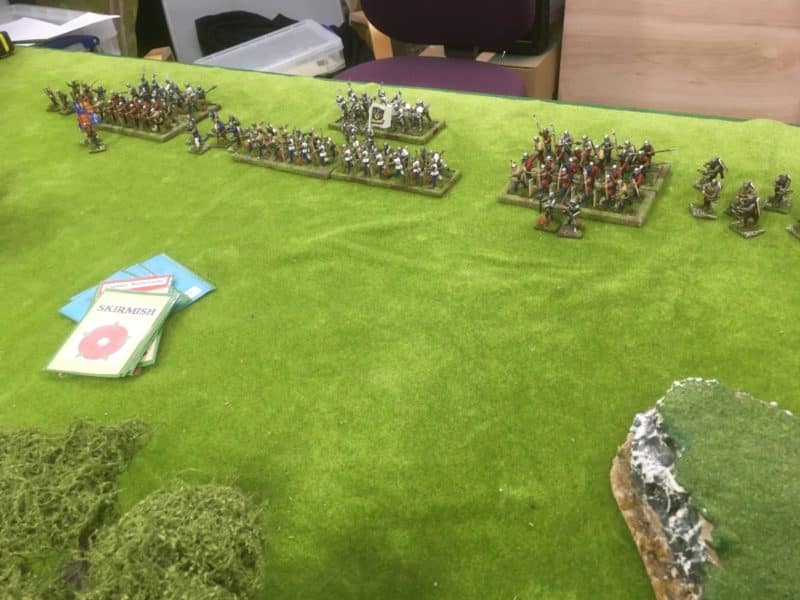
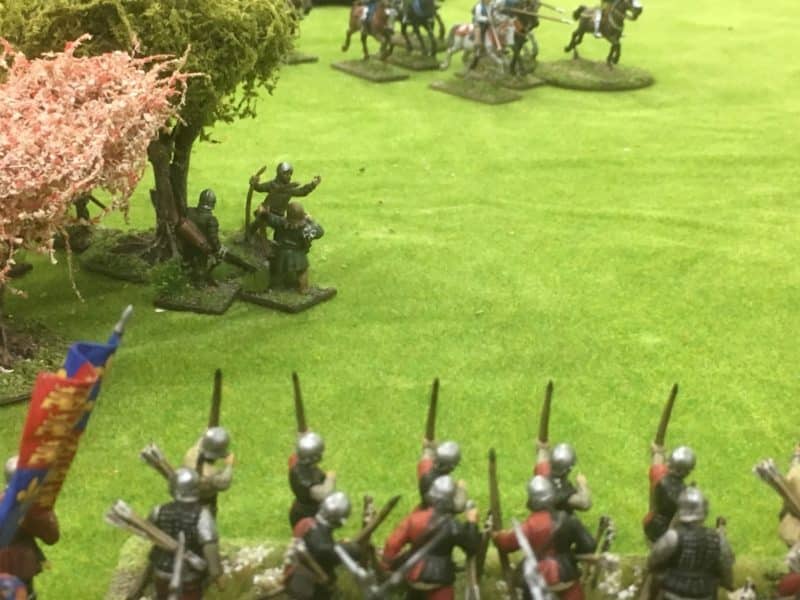
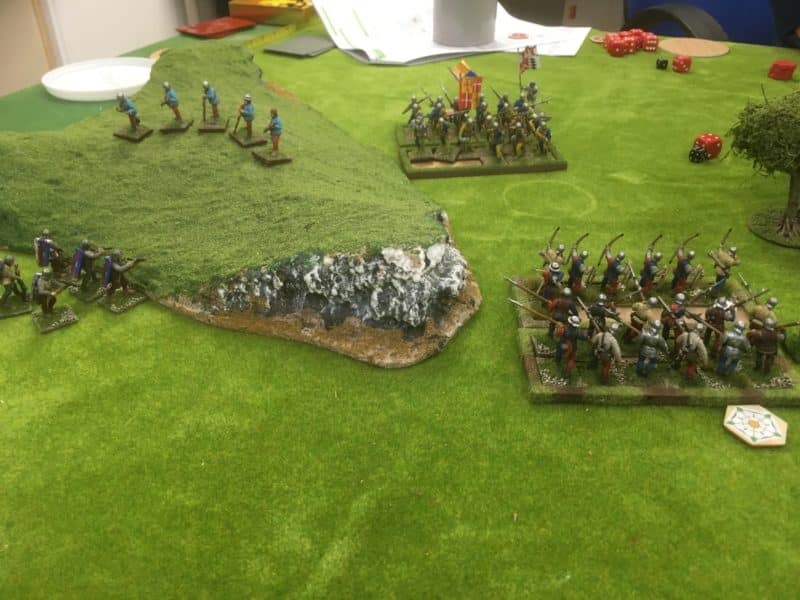
Both armies deployed within 9 inches of the table edge and after dicing for the first turn, the Commanders began to move their units. At the start of the battle, commanders are free to move units alternatively. The Yorkist skirmishers hurried into cover in the woods on the right of the battlefield just as Sgt. Longacre led his light horse in a flanking movement, threatening Sir Eric Diehard. Sgt Longacre had ventured too close to the wood and so the Yorkists skirmishers let loose a well aimed volley of arrows, bringing down two of the light horse men. This first shot signaled the start of the battle and from now, commanders would rely on their card being drawn to activate their units!

The Lancastrians are coming!

The Lancastrians are coming!

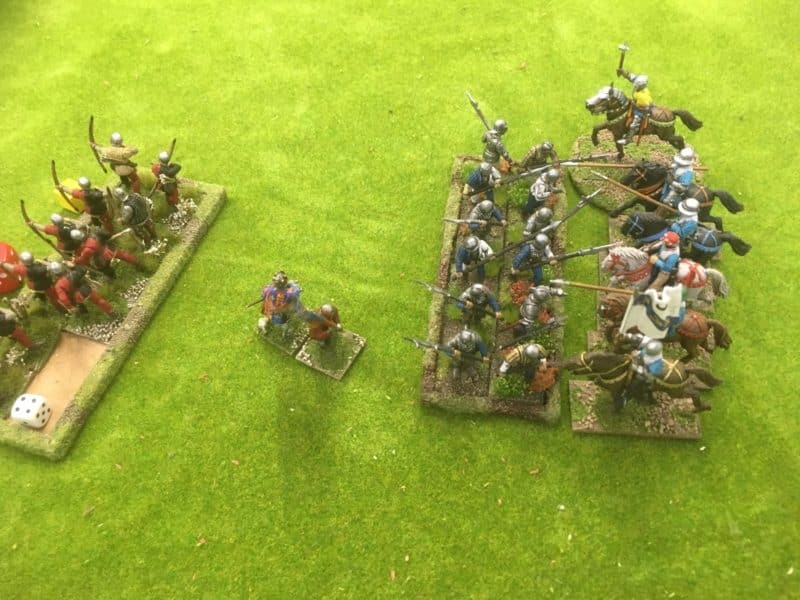
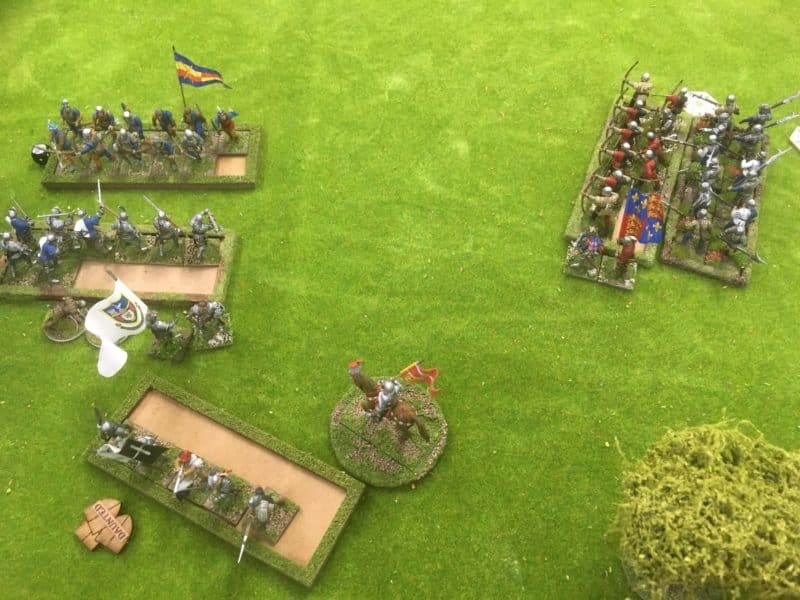
On the left wing, Sgt Danny Rose advanced cautiously, supported by a unit of hand gunners. In the centre, Harry Hotspur edged forwards to bring his bowmen to bear against Lord Binghams ward. It was Lord Bingham who took the initiative, moving forwards and unleashing an arrow storm on the Yorkists. The wind was clearly against them and although they caused a number of casualties, the Yorkists were able to weather the storm and launched their men at arms into the fray. The Yorkist men at arms were met by the Lancastrian billmen, who were no match for the fully armoured Men at Arms. Having lost the combat, The Lancastrians then failed their morale check and routed from the table. This meant that the units within command range had to test their morale – Andy’s dice appeared to be cursed and the bulk of his army ran off the table! Game over and victory for the Yorkists!

Take one! Men at arms charge home!

Take one! Men at arms charge home!

It was only in the post mortem that Andy then remembered that he had a special event card that he had won, that would allow him to protect one of his units with a terrain advantage, causing the charging unit to loose it’s bonuses and fight as ‘disarrayed’….

Take two! Men at Arms charge home - this time disarrayed by the hidden terrain.

Take two! Men at Arms charge home – this time disarrayed by the hidden terrain.

As the night was young, we rewound the combat and played on with the card in place. The combat this time was more even, with the Bill men holding the Yorkists – game on!

Sgt Longacres last hurrah!

Sgt Longacres last hurrah!

So with the centre locked in combat, attention turned to the two wings. Sir Eric Diehard was way out of position but cautiously moved around the wood to attempt to come to the aid of Sir Harry. Progress was slowed by the need to protect the archers from the marauding Sgt Longacre and his light horse. Sgt Longacre lost patience and as Sir Eric moved ever closer to the centre, Longacre launched a forlorn charge at the waiting Billmen. It was always going to be a difficult task for the horsemen to break through but my dice were only rolling 6’s – the light horse were wiped out!

Sgt Rose under pressure.

Sgt Rose under pressure.

On the left wing, Sgt Rose had suffered an injury and his bowmen were out numbered and taking casualties from the superior force commanded by Captain Buttercross. The unit of bowmen under his command were wiped out to a man by the superior archery of the Lancastrians – the left was looking shakey!  Unlike his namesake, Sgt. Rose soldiered on, carrying his injury and thanks to another special event card (only two special event cards are permitted in a game) that caused confusion in the Lancastrian ranks, Rose was able to charge home with his Bill men.

Sgt Rose makes progress against all odds!

Sgt Rose makes progress against all odds!

The Lancastrian archers were put to flight and the supporting billmen were left in disarray by their retreat. Sgt Rose pressed home his advantage and charged again, his dwindling band of billmen once again locking the enemy into combat.

Trouble in the centre for Lord Bingham!

Trouble in the centre for Lord Bingham!

Back in the centre, the hand to hand combat continued, with the Yorkist men at arms now held. A glimmer of hope arose for the Lancastrians when one of Hotspurs Bowmen units was put to flight, causing two units of Yorkists skirmishers to run off in panic. The victory was short lived, the remaining bowmen on the Yorkist side, although now desperately short of arrows, were able to reduce their opposite number to just four men. In desperation, Long Bingham pulled away from the combat forcing a morale check on his own men so that he could direct the last undamaged unit of bill men to attack the Yorkists archers. The Bowmen managed not only to evade the attack but turned and fired their last arrows into the Bill men. Once again, the dice were kind ( an understatement !) for the Yorkists and they decimated the Lancastrians.

It's over now!

It’s over now!

At last the Yorkist men at arms broke the bill men forcing them to retreat. In one last desperate attempt to win the field, Lord Bingham challenged Hotspur to a duel. A draw ensued and as Eric diehard finally arrived to bolster the centre, Lord Bingham left the field, his army in tatters! Victory for Sir Harry!

As usual, I apologise to my gaming buddies for the one sided account of the battle but in keeping with the chronicles, history is written by the victor and the man with the camera…. By the way, I should point out that the dice were borrowed from Andy and not my own. even I was beginning to think that they were loaded – 10 hits of 5 & 6 from 12 dice is pretty unusual. I wont put into print Andy’s response…

THE COMMERCIAL BIT

Almost all of the paints, miniatures, bases, basing materials and anything that you are likely to need for your hobby are available POST FREE from my shop here:

ARCANE SCENERY

Perry’s WOTR plastic range are here:

PERRY MINIATURES

As already mentioned, the rules will be available as a full colour supplement with the April edition of Wargames Illustrated. If you would like the current issue, click here:

WARGAMES ILLUSTRATED

Happy Modelling!
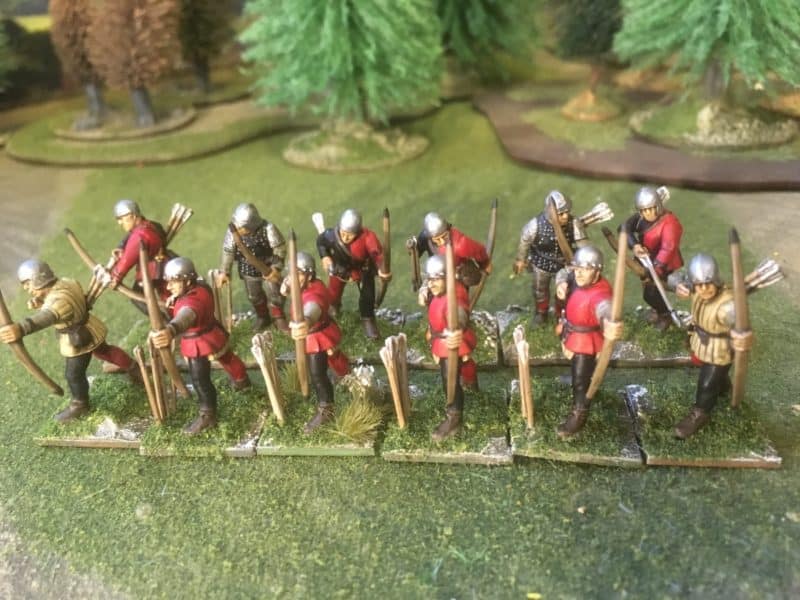
 

Work bench update. Mary Rose and Billmen

This weeks blog is just a progress report on this weeks modelling. I am somewhat consumed by my War of the Roses army but progress is slower than expected, partly because the model of the Mary Rose that I am working on has been a pleasurable diversion from ‘grinding out’ more billmen!

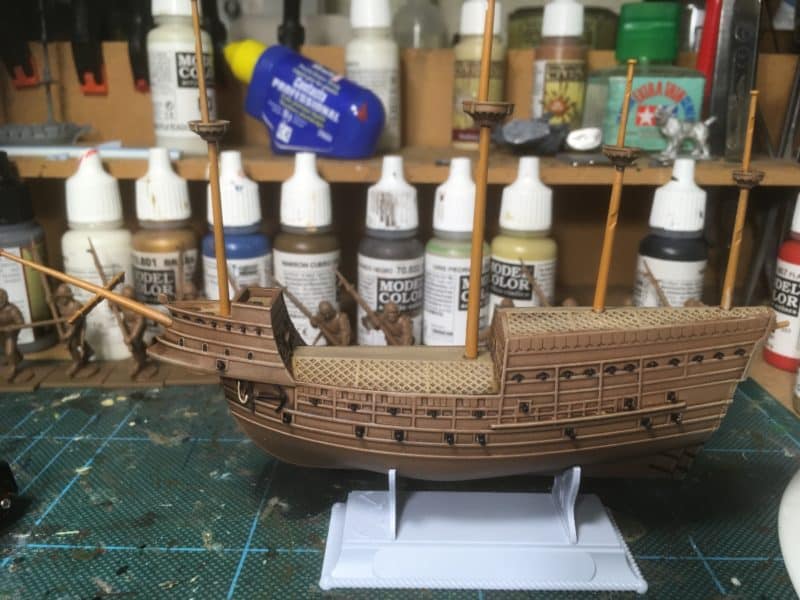
Mary Rose - washed with Strong Tone

Mary Rose – washed with Strong Tone

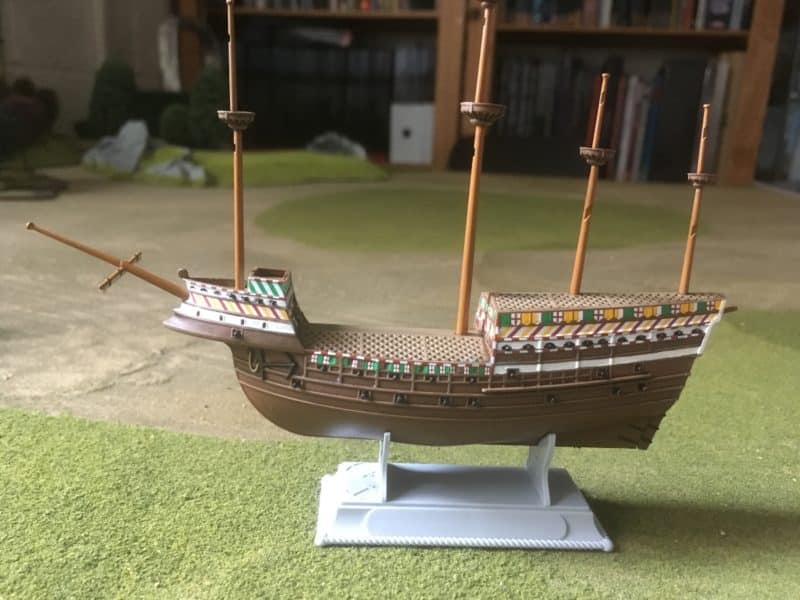
As you can see from the picture above, I have used similar techniques to paint the ship as I would one of my figures. I gave the hull a couple of light washes with Army painter Strong tone ink. Once this had dried, I gave the ‘deck’ ( it’s actually a representation of the rope grid that was there to prevent boarders – in the event it is thought that this prevented the crew from escaping when the ship capsized.) a dry brush with Vallejo Old wood, lightened with Iraqui Sand. I also gave the rest of the hull a very light dry drush with the same mix. It was then a case of carefully picking the guns out with matt black.

Mary Rose - Decals added

Mary Rose – Decals added

The next stage was to add the decals. Well, what a fiddly job. It took about three hours in a couple of sessions to get these on. I used the Vallejo Decal Medium and Decal fix to help with this job. There was a reason to do this job over a couple of nights – I was very concerned to make sure that one side of the ship had dried thoroughly before handling it. The decals are so small it would have been easy to unseat them whilst they were drying.

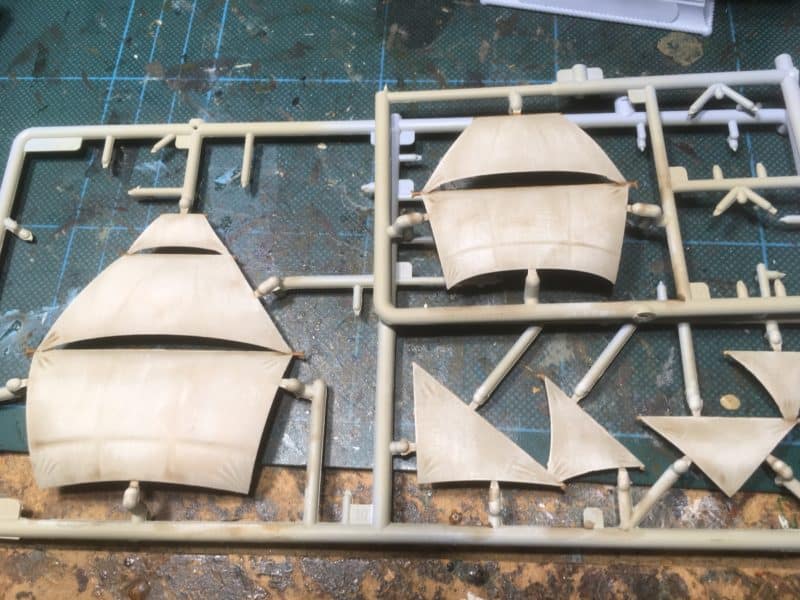
Sails - dry brushed

Sails – dry brushed

In between fixing the decals, I went to work on the sails. I dry brushed them with a mix of Army Painter Skeleton bone mixed with white, gradually increasing the white until I was happy with the effect. I then gave the sails a wash of Army Painter soft tone ink mixed 50:50 with the Army Painter mixing medium. The mixing medium helps to dilute the colour and helps the ink to flow over the larger surfaces of the sails. Unlike when thinned with water, it doesn’t pull away from the edges.

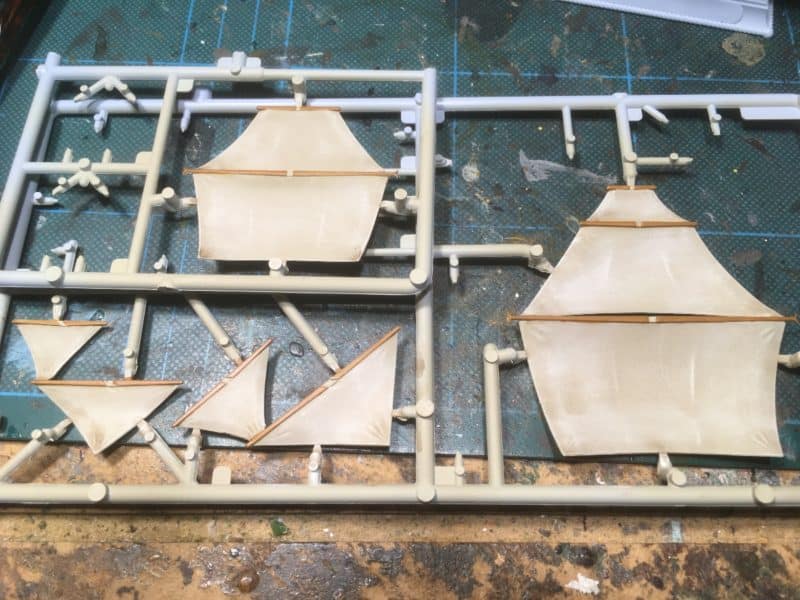
Sails - Spars painted

Sails – Spars painted

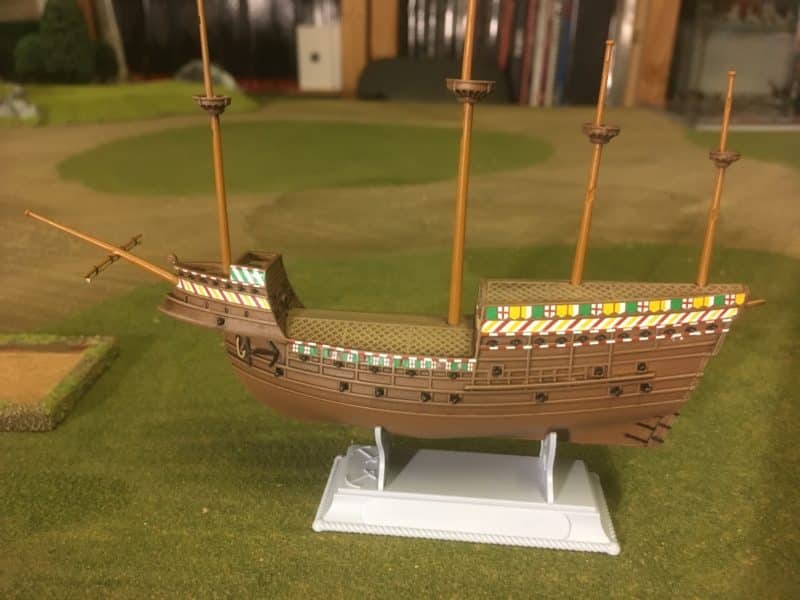
I’ve then painted the spars with Vallejo new wood and it was back to the hull. When fixing the decals I realised that parts of the hull should have been painted white. This would have been easier to do before applying the decals but as I said in a previous blog, I had tended to ignore the instructions and just did my own thing! This particularly applied to the paint scheme. I have broadly followed the picture but where it has suited me, I have used ‘artistic interpretation’ to emphasise details or just to get a nice finish.

Mary Rose - hull about finished.

Mary Rose – hull about finished.

So with the hull and sails about done, the next stages will involve fixing the sails to the hull, painting the stand and adding the rigging. However, I was happy to pause there as the Billmen on my work bench were glowering at me and demanding that I get back to finishing them!

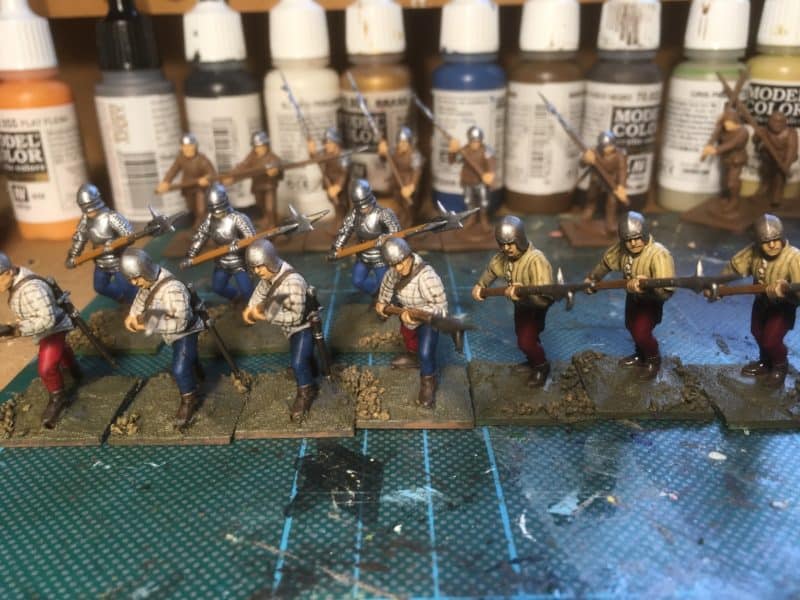
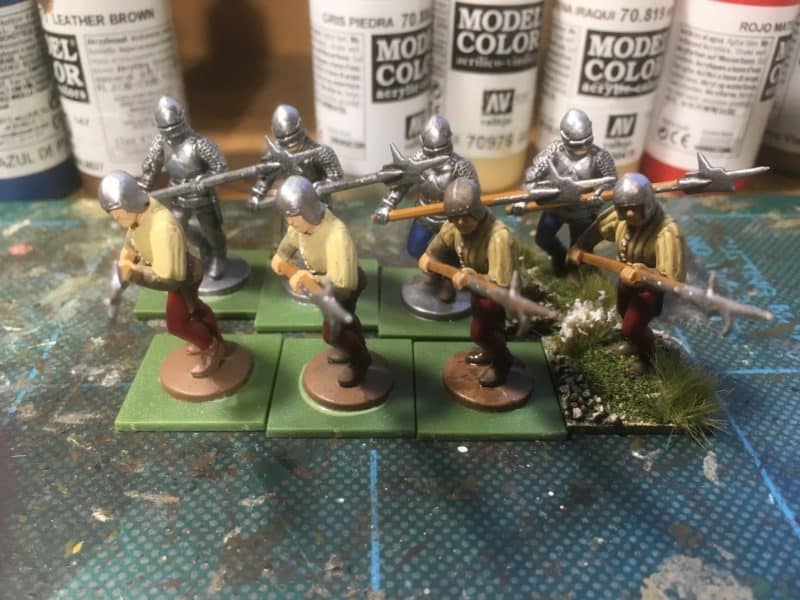
Bill men ready for basing.

Bill men ready for basing.

As you can see, I’ve nearly completed another unit, with another 12 underway. My army is approaching completion. To celebrate, I bought a Perry Miniatures Artillery piece…

Artillery!

Artillery!

Once the Bill men are complete, I’ll add this to my army and I am nearly done!

THE COMMERCIAL BIT

Almost all of the paints, miniatures, bases, basing materials and anything that you are likely to need for your hobby are available POST FREE from my shop here:

ARCANE SCENERY

Perry’s WOTR plastic range are here:

PERRY MINIATURES

Happy Modelling!
 

A bit of Flitting does you good!

It doesn’t take much to distract me sometimes. In this case, whilst on an ‘enforced’ shopping trip at Lidl, I spotted that they were selling some Airfix ship kits for just £4.99. A bargain! But could that price be an excuse for me adding another kit to my stash? Well, one of the kits was the Mary Rose and as I am interested in the War of the Roses at the moment, the Mary Rose was close enough to the period to justify my interest – and it would look nice in the display cabinet. So the Mary Rose kit, along with the ‘Victory’ (‘might as well pick it up – it could work with Black Seas… and a tenner for two kits…you cant go wrong.!’) were added to the trolley.

The Mary Rose under construction

The Mary Rose under construction

Despite the more pressing nature of finishing my WOTR army, I decided to break away and build the Mary Rose kit. I quite enjoyed the change from making Perry’s WOTR bow and bill men and it looks as though Airfix really have upped their game. The kit went together beautifully with the minimum and sanding and no filling. In fact, I became a bit over confident and did the usual bloke thing of straying from the instructions. As a result I missed out a couple of pieces but no matter, nobody will notice…

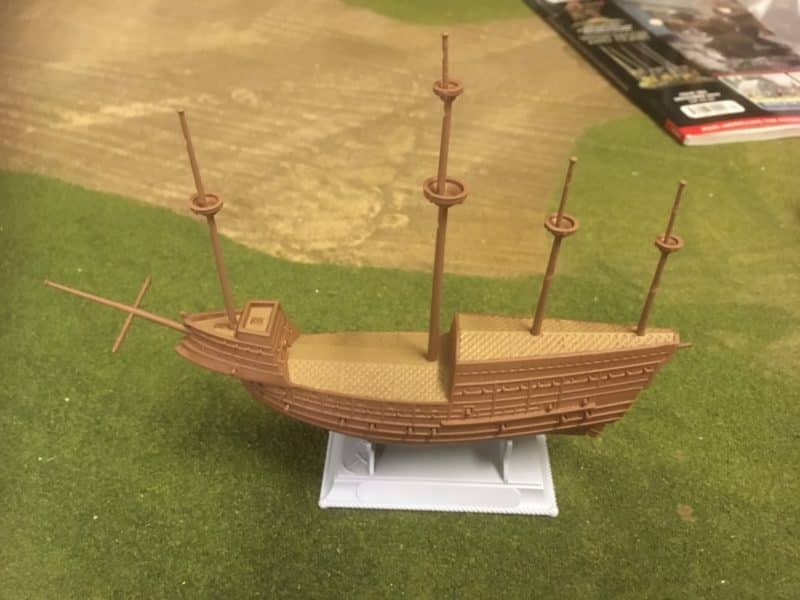
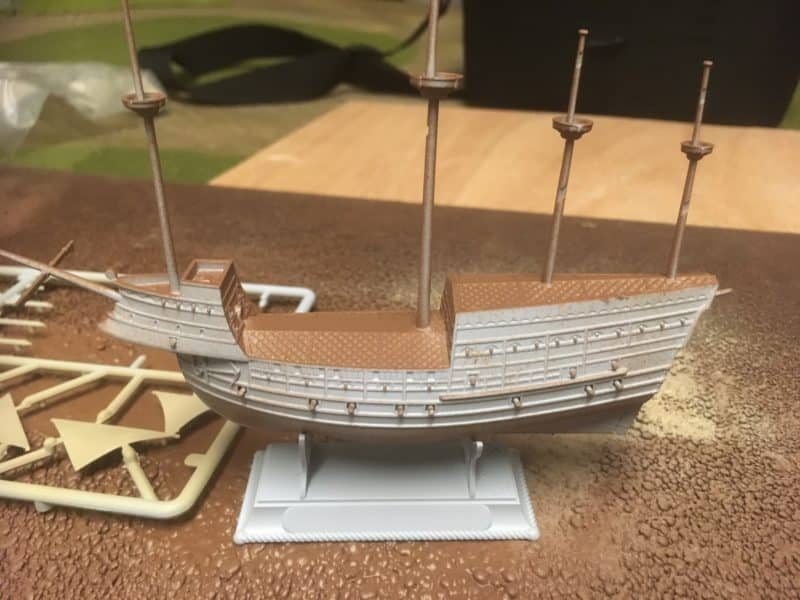
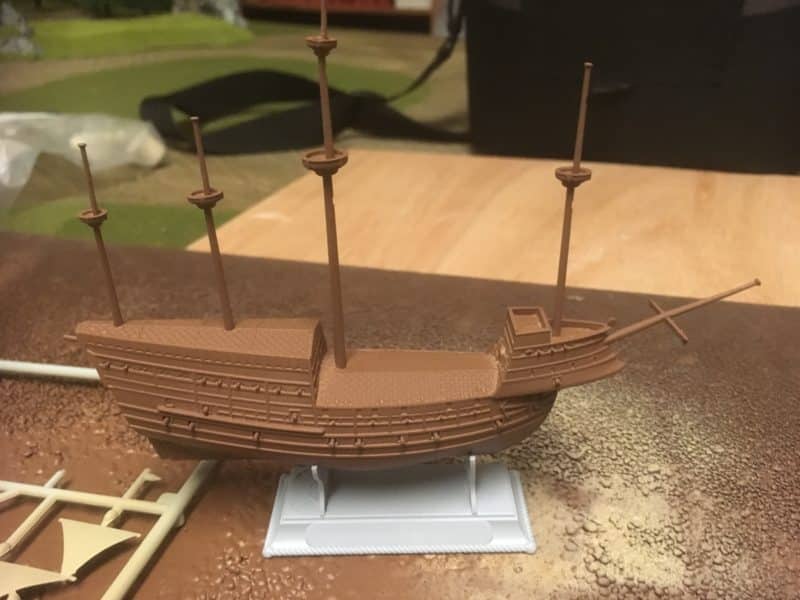
Mary Rose under coated

Mary Rose under coated

Once assembled, I sprayed the main hull with a Leather brown primer and the sails in Skeleton bone.

Mary Rose Sails

Mary Rose Sails

I then painted the decking or the deck covering with Vallejo ‘Old Wood’ and then painted the masts with Vallejo New wood. I should point out at this stage, that I had done no research regarding colour scheme, or for that matter, anything else. My only reference was the box art and the painting instructions supplied with the kit. I just fancied building a kit for a change! Incidentally, the kit does include paints, glue and a nice brush, so it’s a lovely little starter kit.

Mary Rose so far!

Mary Rose with decking painted.

It was at this point that I realised that I had a play test of ‘Never mind the Bill Hooks’ looming and I needed to finish off a couple of extra Archer units. So the Mary Rose was pushed to one side and it was back to the Archers!

More arrows please!

More arrows please!

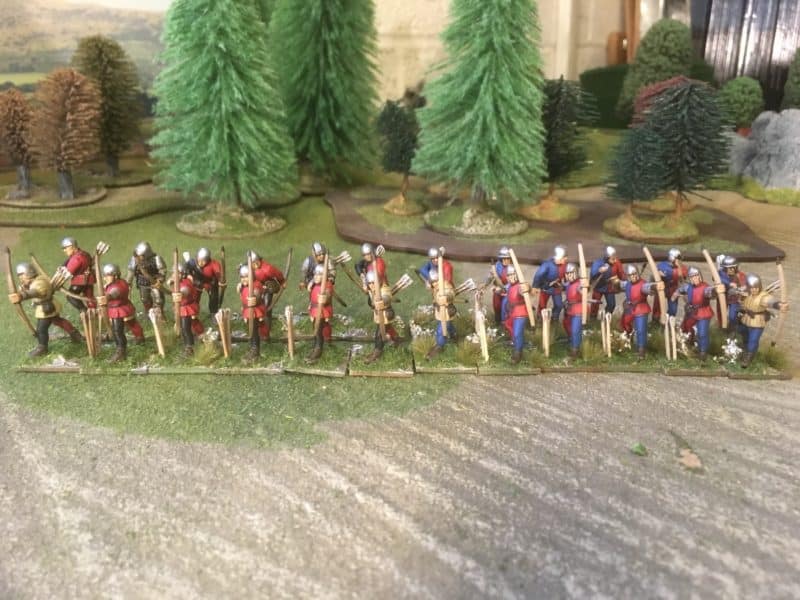
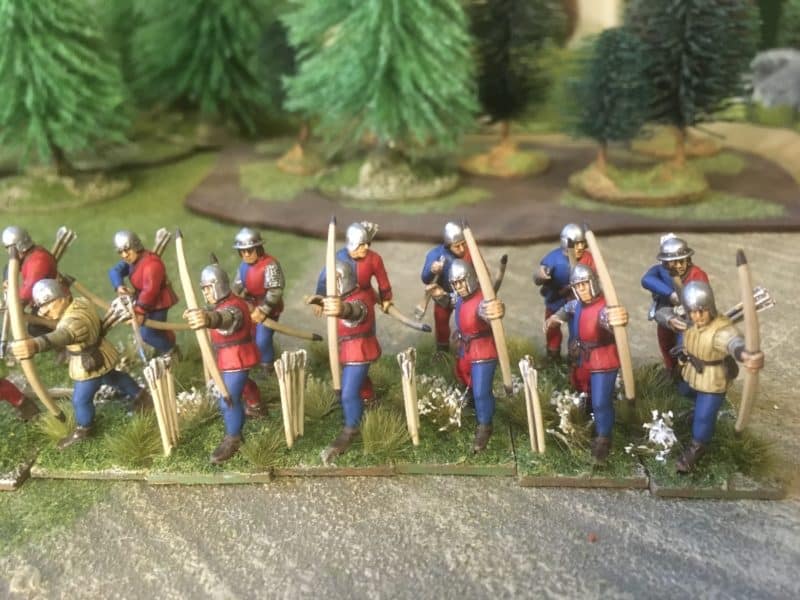
In fact I have completed two more units, making 4 Archer units for my army now.

Yet another bowman unit ready for battle!

Yet another bowman unit ready for battle!

The 'red faction' of my retinue!

The ‘red faction’ of my retinue!

So with a photo shoot of my army due, I’d better get on with the Billmen units. I will get back to the Mary Rose, it was fun to just to do something a little bit different during the Christmas break that didn’t require too much thought. But, I will finish the Mary Rose before I start another project – honest…..

Bill men on the work bench

Bill men on the work bench.

THE COMMERCIAL BIT

Almost all of the paints, miniatures, bases, basing materials and anything that you are likely to need for your hobby are available POST FREE from my shop here:

ARCANE SCENERY

Perry’s WOTR plastic range are here:

PERRY MINIATURES

Happy Modelling!