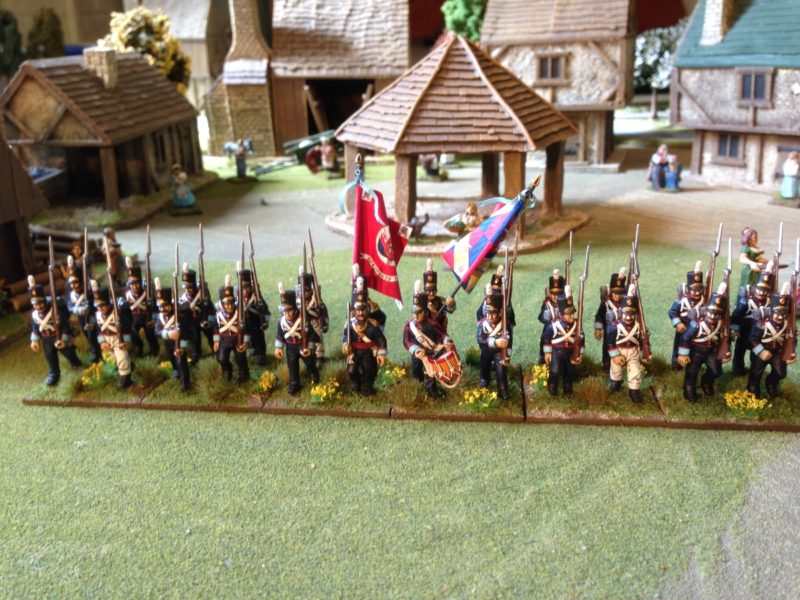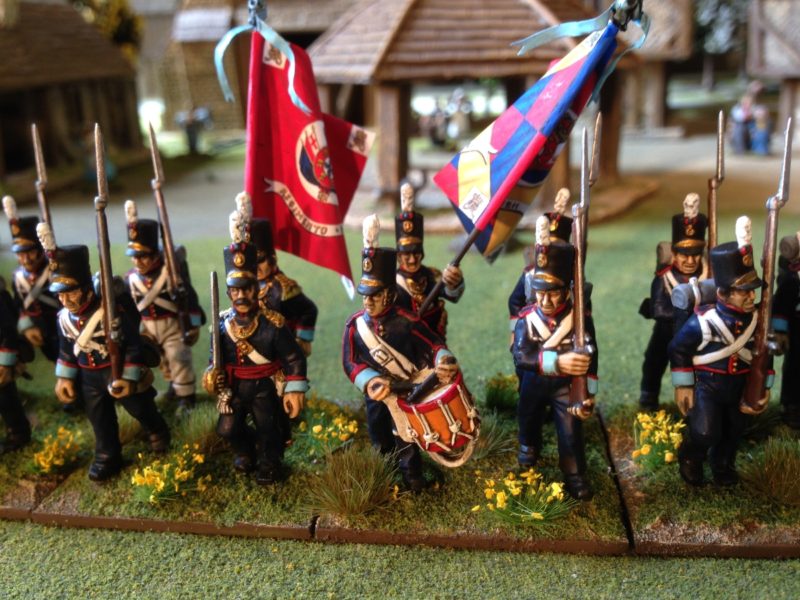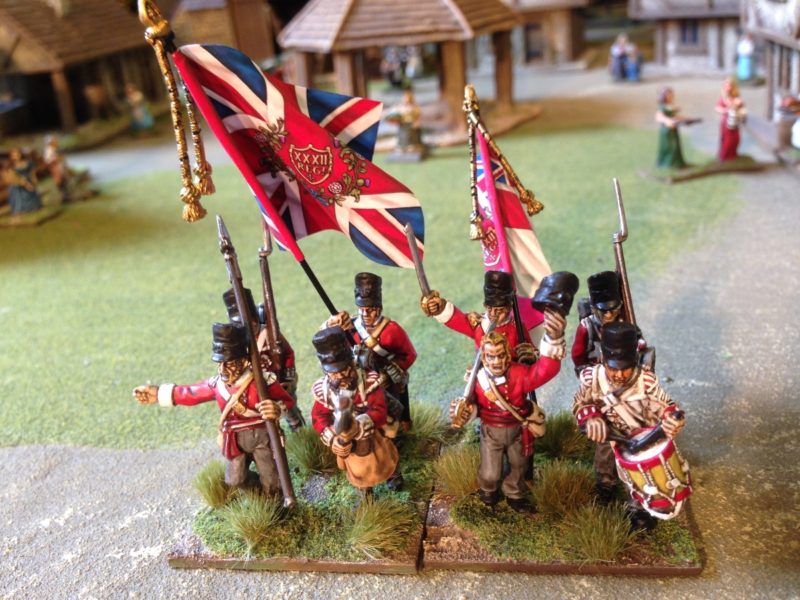
Portuguese Men of War.

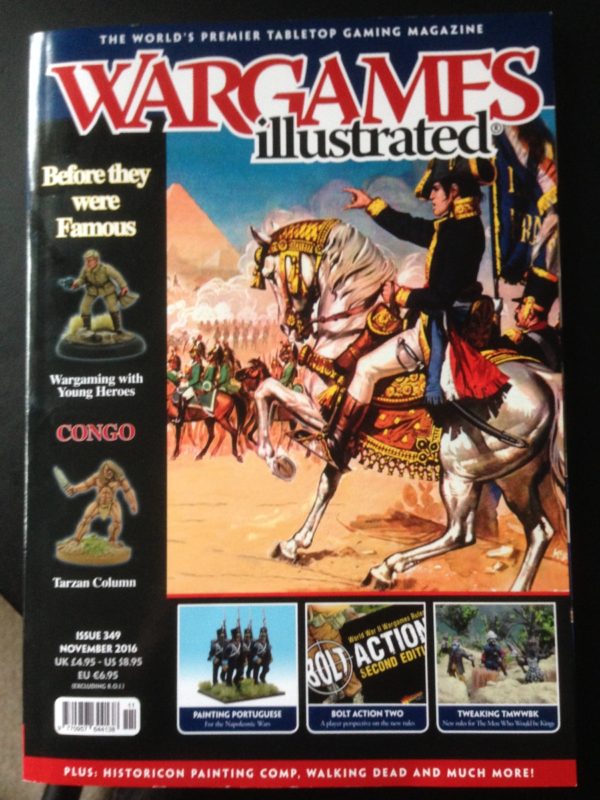
My attention has been very much on domestic and nursing duties this past week and so my hobby has taken a back seat. That said, I have still found the time to sneak off and get some painting done and so I have made some progress on my latest batch of figures, Napoleonic Portuguese Infantry. As I have mentioned previously, I have painted these for an article that will appear in this months Wargames illustrated, issue 349. If you would like a copy, it will be available, post free from my shop here:

WARGAMES ILLUSTRATED

Wargames Illustrated 349

Wargames Illustrated 349

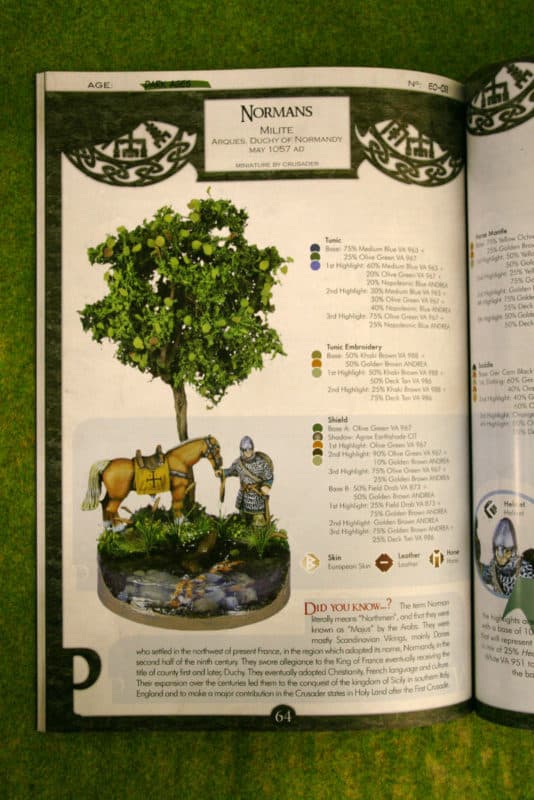
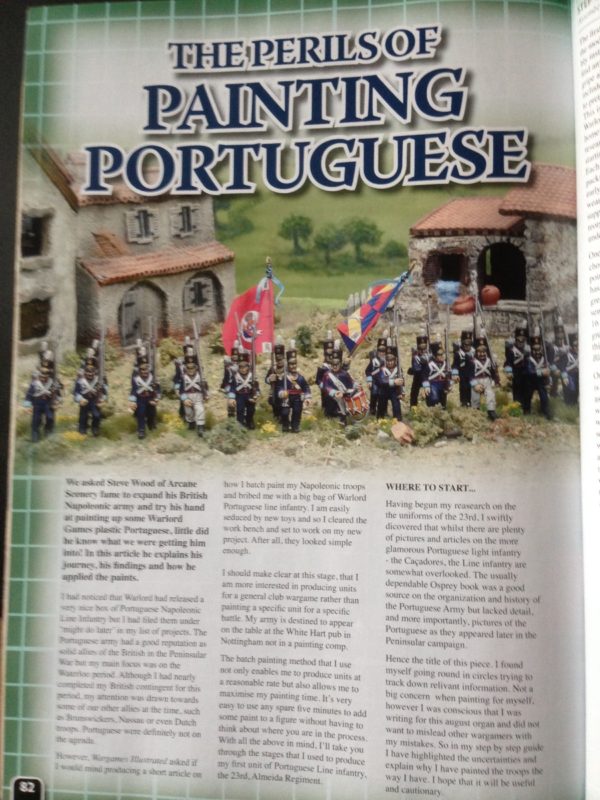
As you can see from the article, I had painted a full battalion as well as part painting another battalion to show the various steps that make up the process of batch painting these troops.

Painting Portuguese article

Painting Portuguese article

The article is entitled, The Perils of Painting Portuguese, not because the figures themselves were difficult to paint but because of the problems that I had in getting good reference materials to confirm the various colours. To find out more you will have to purchase the magazine but I am willing to share some of my references here:

https://uk.pinterest.com/horzawood/portuguese-napoleonic-uniforms/

It’s a link to my pinterest boards and if you are interested in painting some Portuguese infantry, I hope that you will find it useful. If you haven’t come across this site before it is a very useful way of gathering reference material for a project and if you check out the rest of my boards you will have a clue as to what I am interested in painting next!

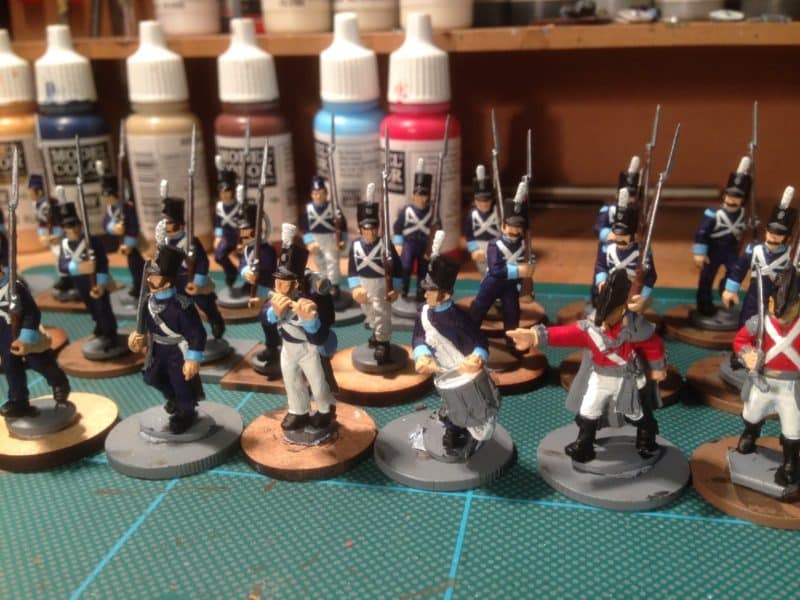
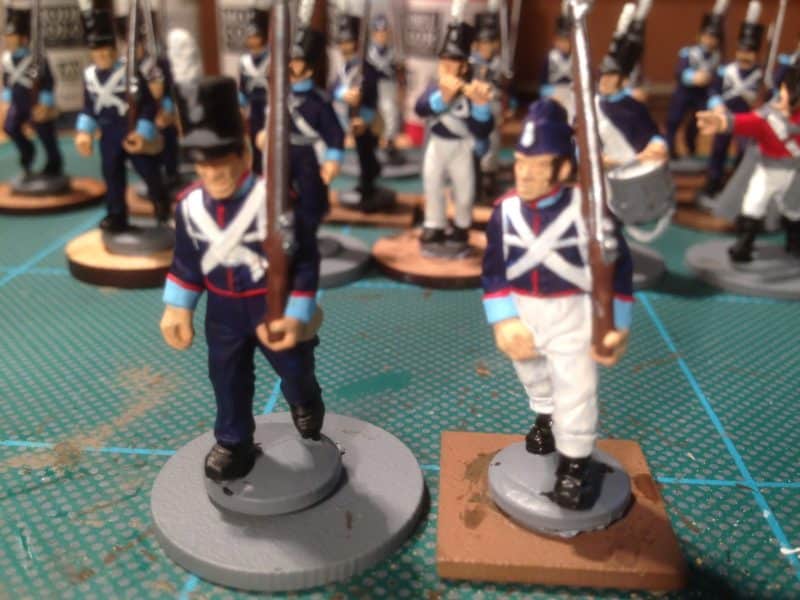
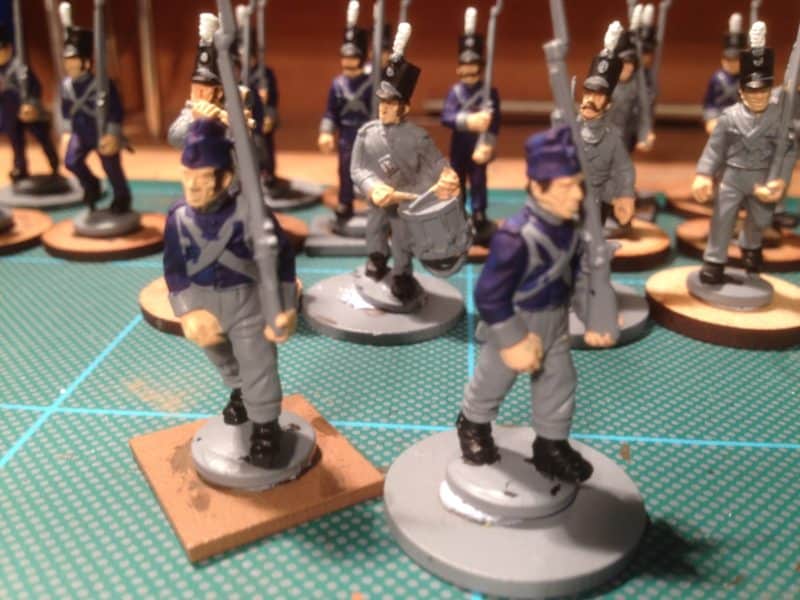
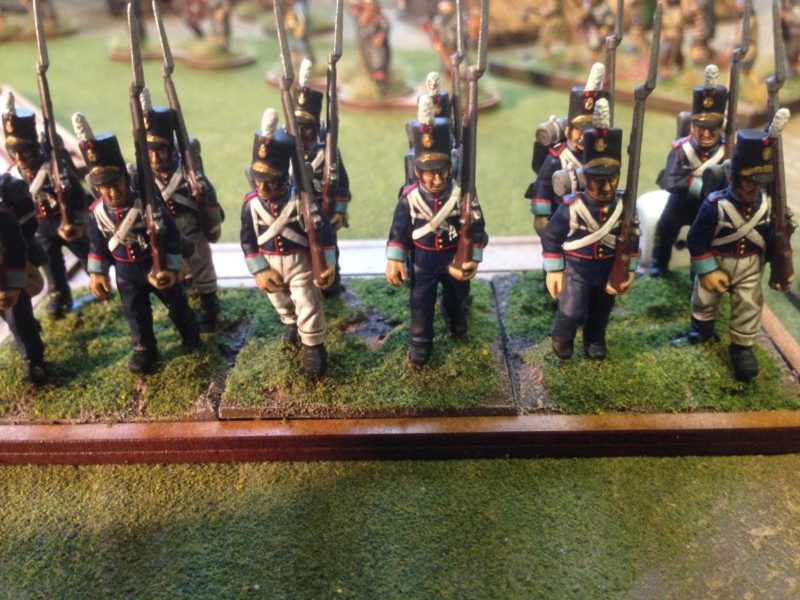
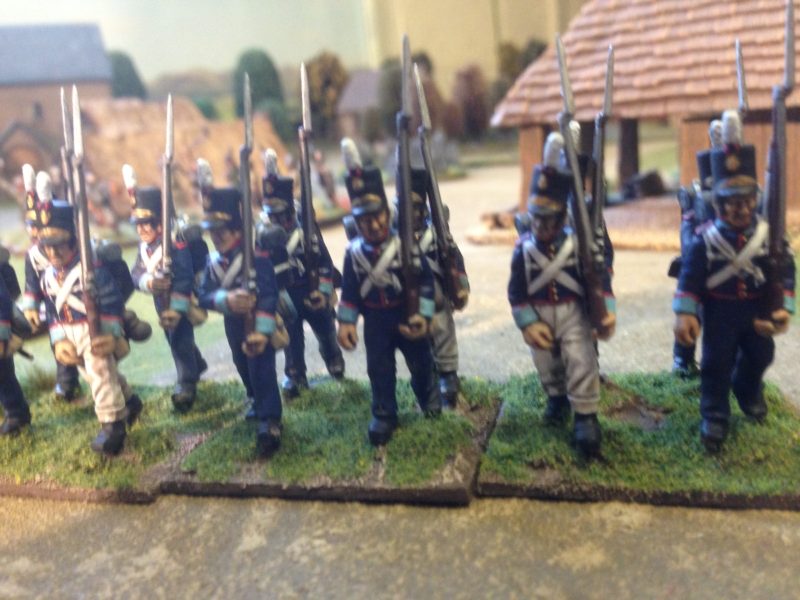
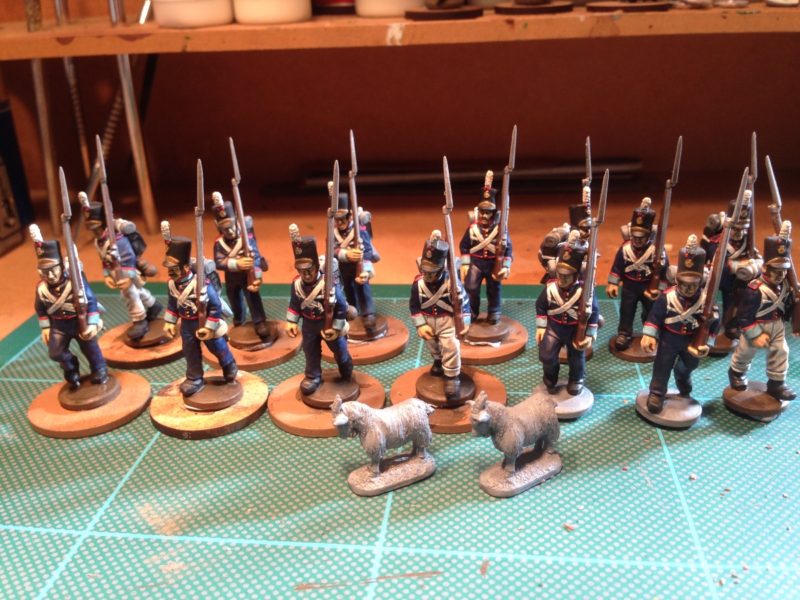
So back to my work bench and as you can see, I have finished and based the Infantry:

Portuguese Line Infantry

Portuguese Line Infantry

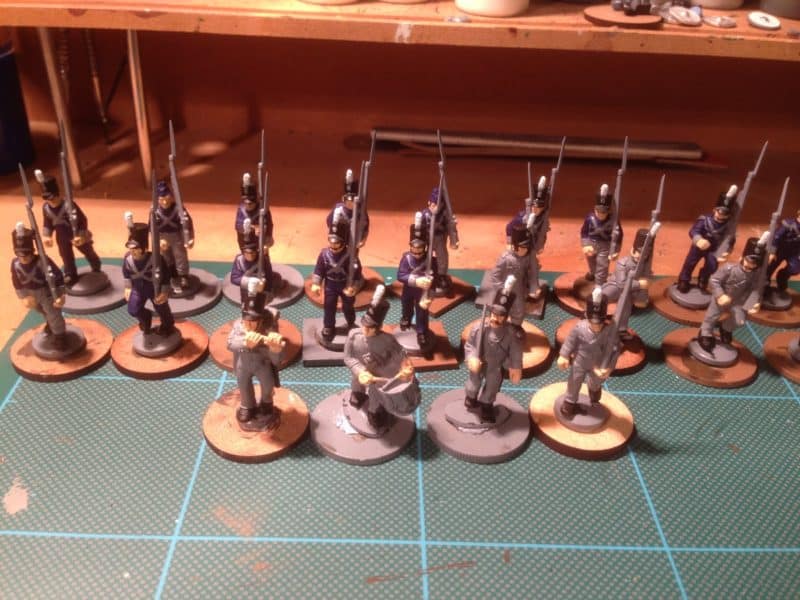
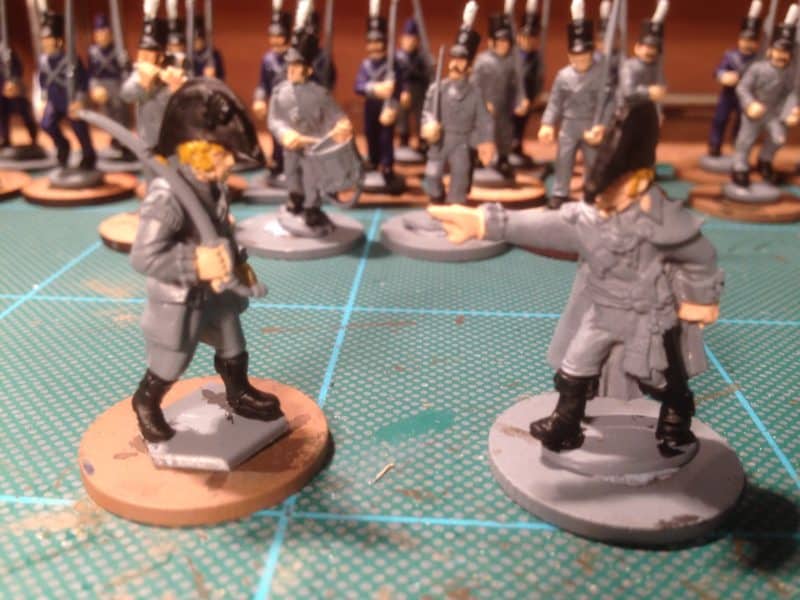
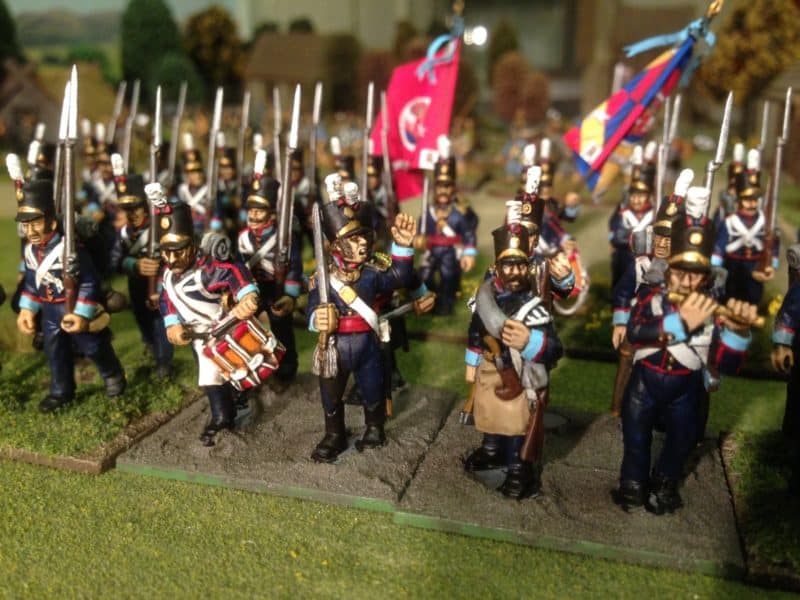
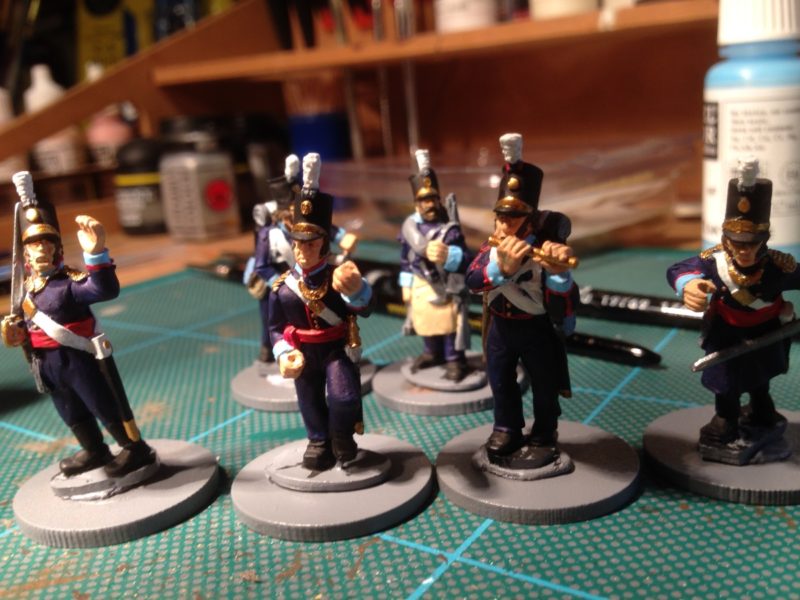
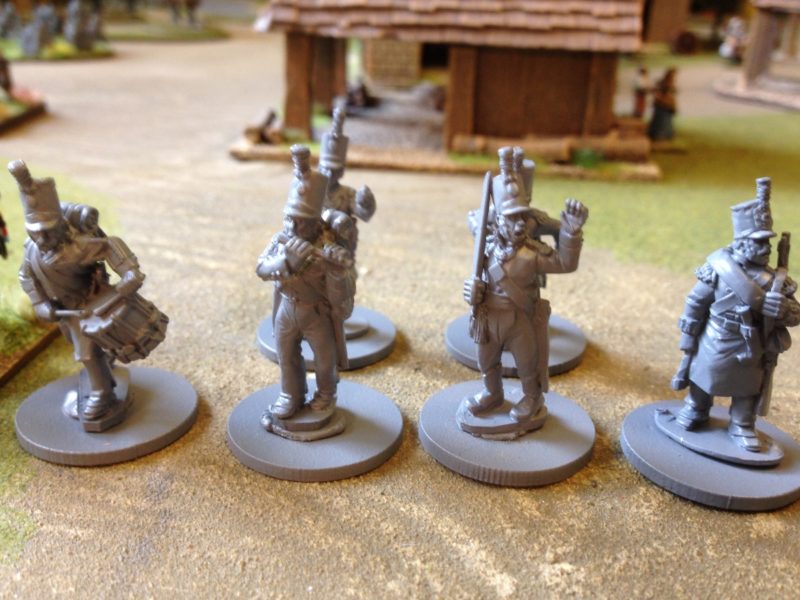
And the command group are nearly finished. They are just awaiting the last touches of paint, a coat of quick shade, matt varnish and then basing!

Command Group still W.I.P.

Command Group still W.I.P.

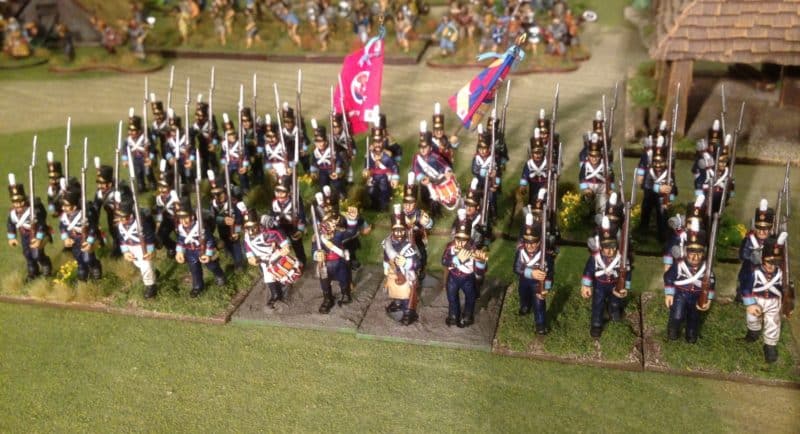
I’m afraid that the pictures were taken in haste for this blog post – once the battalion is complete I’ll post some better ones! That said, Portuguese infantry may be occupying my work bench for some time to come. The reason being  is that I have decided to build the full regiments for both the 11th Penamacor from the Central Division and the 23rd Ameida Regiment which were brigaded together in the Peninsular War. Each regiment consisted of two Battalions, the first battalion carrying the Royal Standard, the second battalion carrying the Regimental flag. So in all, I will need 96 figures, which means that I have another 48 to paint. I have decided that I might as well complete these whilst I am ‘in the groove’ so to speak, rather than come back and of them later. It will also force me to do a bit more research as to which battles they fought in and who they fought alongside.

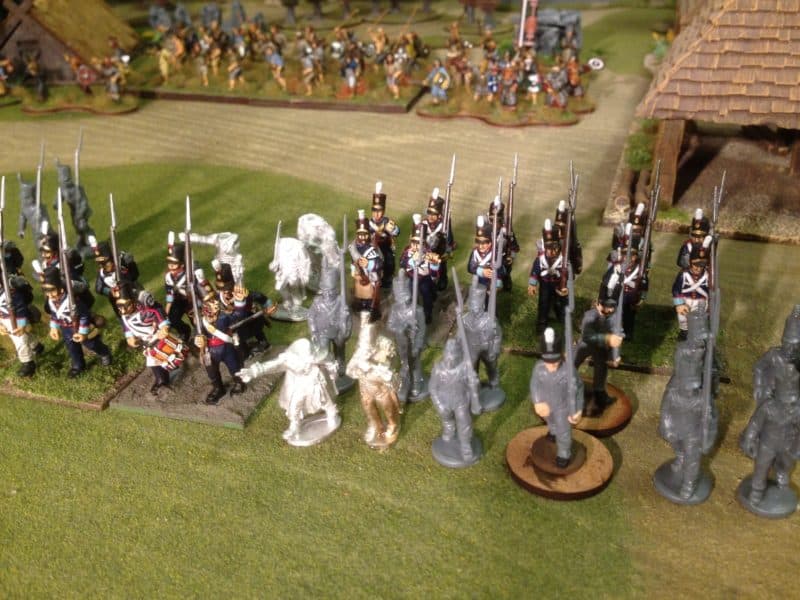
Portugese Infantry in movement tray

Portuguese Infantry in movement tray

So there will be plenty to keep me busy as we go into the Autumn and the clocks go back! My target is to have a full brigade of Portuguese, complete with Cacadores as skirmishers and some artillery support. Unless of course I get tempted elsewhere…..

Man Down!

Well actually, Woman Down! My wife, Julie has just had a Hip replacement and so I have been confined to domestic and nursing duties. It also means that we are missing both Julie and myself from the business at the moment. Fortunately, Hayley, Rob and Kevin are doing a great job holding the fort and keeping things running whilst I am away. However, I have found some time to sneak off to the garage when Julie has been resting to do some modelling, so some progress has been made with my various projects.

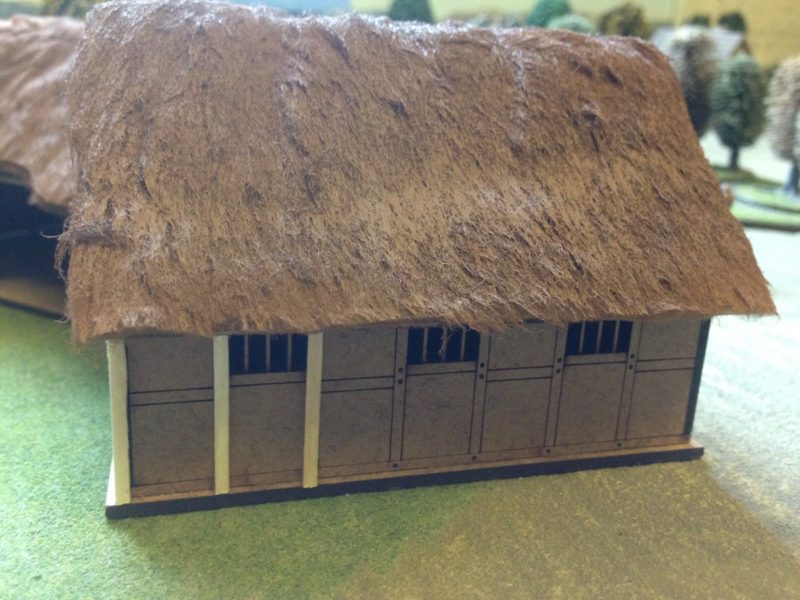
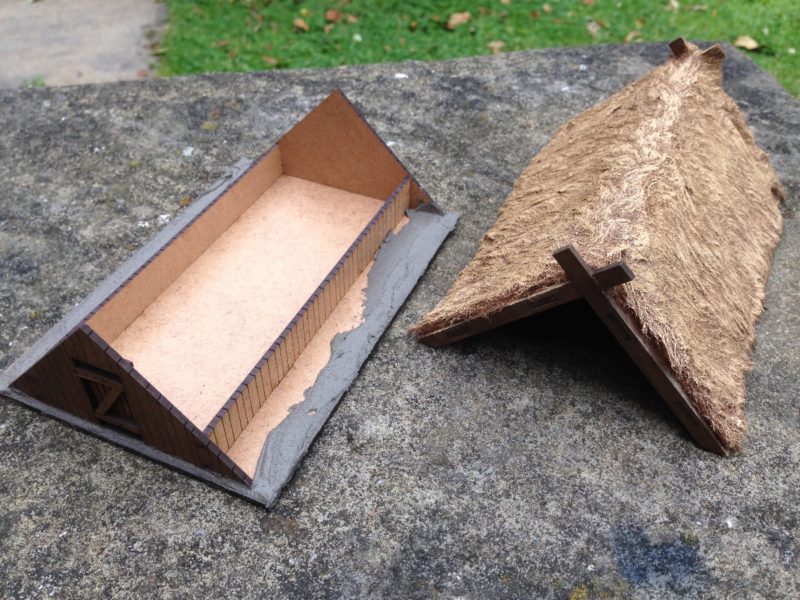
Sarissa Dark Age Stable

Sarissa Dark Age Stable

I have managed to finish another of the Sarissa Dark Age buildings for the village that will form the centre piece of my scenery when playing Saga. This building is the barn/stable J10, the third building in my collection. I have just one more building that I am keen to finish, the Grain store, although I am in no particular rush to do so. The method used to paint it was of course exactly the same as the previous buildings so that they all blend together.

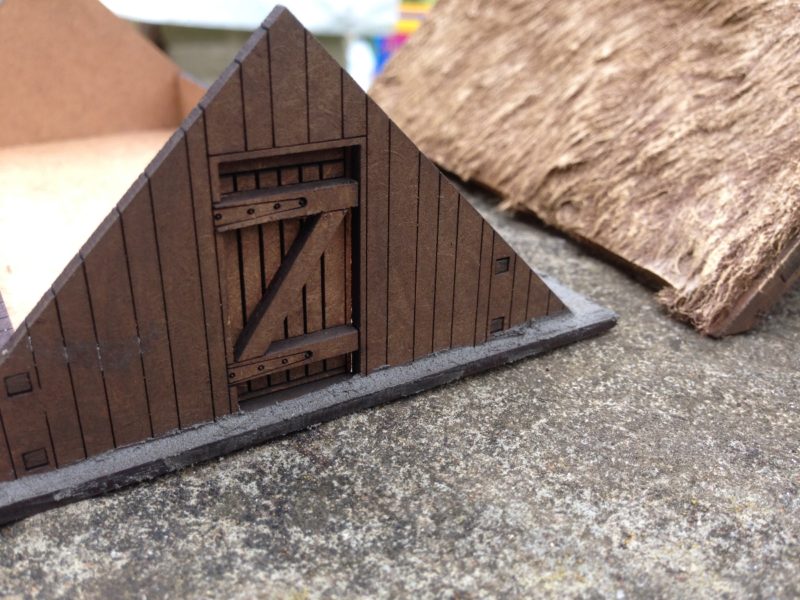
Sarissa Dark age Grain Store

Sarissa Dark age Grain Store awaiting its coat of daub!

I also have a Sarissa Dark age/Saxon church that I started work on some time ago but never actually completed. As usual, I decided that painting figures should take priority and so the Church was relegated to being in the background of many of my pictures but never quite was finished. Perhaps now is the time to get this project completed as this really will give me a nice little village for my warbands to fight over!

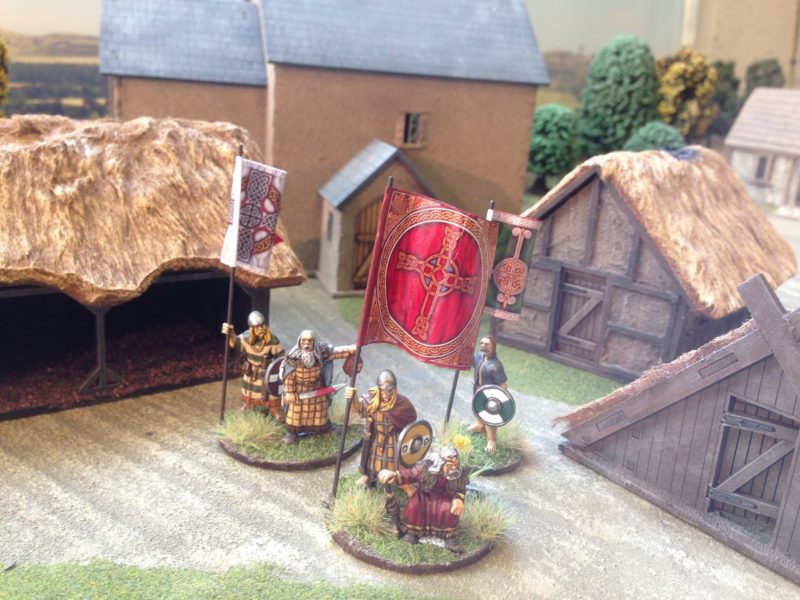
Dark Age Village - work in progress

Dark Age Village – work in progress

As I hinted, the lure of painting figures is always a distraction for me and I have already strayed back to my beloved Napoleonics! To be fair, the figures in question were already part finished as I had painted them for an article that will appear in this months Wargames Illustrated ( issue 349 November). The article is entitled, the ‘Perils of Painting Portuguese’ and explains step by step, how I batch paint my Napoleonic infantry units. I was using the Warlord Games Portuguese boxed set and in order to complete the article I actually painted 24 figures to completion to illustrate the main article but also then painted a further 20 in various stages so that the reader could follow the painting process. These figures have been sitting on my work bench queue for some time and I thought that it would be a good idea to get them finished. The other prompt was that I had found some of the old Victrix Portuguese metal figures in the ‘Bring and Buy’ at the recent Derby war games show. There are some really nice Officer, ensign and musician figures, so I will be using these to complete my next Portuguese battalion.

Portuguese 23rd Regiment awaiting final highlight and basing!

Portuguese 23rd Regiment awaiting final highlight and basing!

As you can see the rank and file are now completed and just require basing. Incidentally, the goats are not mascots but will be living in the dark age barn!

Portuguese Command.

Portuguese Command.

The picture above shows the Victrix Figures that I will be using for the Battalion command. I really like the fifer and it makes a change to have another musician present as well as the drummer. Musicians were of course a key part of the Battalion or Regimental organisation in most Napoleonic armies but the tendency is just to field drummers. Trent Miniatures make some very nice Musicians that will eventually find their way onto my paint table to flesh out my Waterloo collection! As ever, plenty to keep me busy, although, as mentioned above, my hobby time may be slightly curtailed over the next couple of weeks.

Doing Up The House.

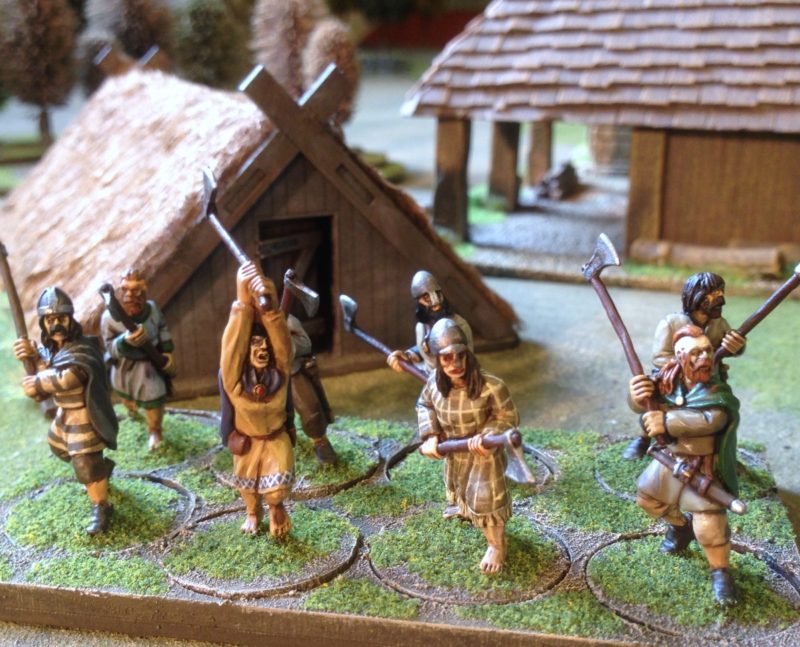
Following the completion of my Irish Warband it was time to move on to a new project. I planned that this would be some scenery for my Saga games and rather than dive into the next pile of miniatures that are waiting on the painting table, I thought that now would be a good time to try my hand at some scenery making. The goal is to have some generic scenery for each period that I am gaming in, so that when I am off to the wargames club, I can just pick up the appropriate boxes and I’m ready for battle. I also thought that having some nice scenery would also improve the look of our games. I dont expect to reach Wargames Illustrated standards but having scenery that is relevant to the game will improve the visual appeal. I have some nice Sarissa Precision Dark Age buildings that I am working on at the moment. Previous blog posts have shown the first of these buildings that I have completed, the A frame Hut,  in the background of my Irish figures.

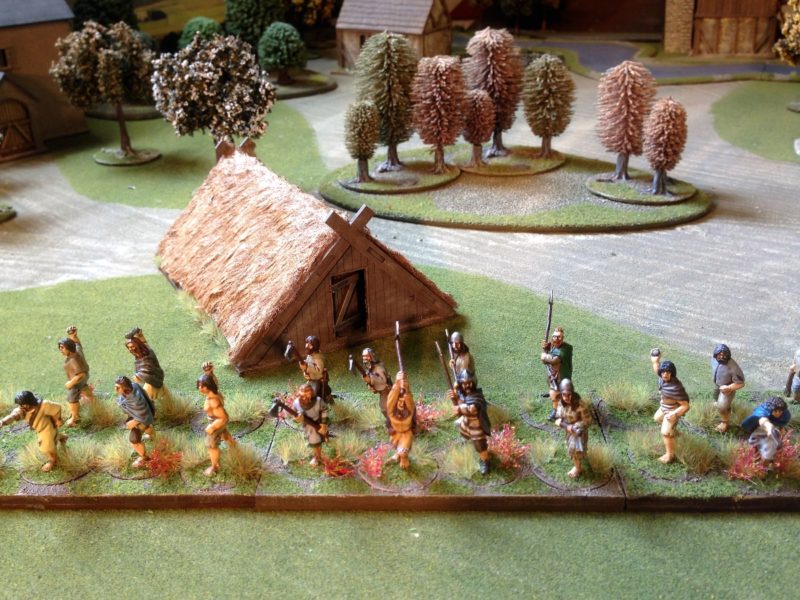
Fiana, Kern and A frame house.

Fiana, Kern and A frame house.

My next building was to be the Timber Framed House J14. I covered the roof in ‘Teddy Bear Fur’ thatch, to match the A Frame hut and then coated the fur in PVA glue to flatten it down and stiffen it up. Teddy Bear Fur is just one way of making roofing for these buildings. Gary, from March Attack, the designer for the range, prefers to use pan scourers as roofing and they look just as good, if not more effective. Other choices include flannel cloth or even coco fibre hanging basket liners. I think that it is a question of taste as they can all look realistic. I went with the teddy bear fur primarily because I had some to use up! I think that it’s worth pointing out that the Sarissa Buildings look very good with just a coat of paint, I just fancied trying a few ideas to pimp them up! So having covered the roof, the next stage was to add the timber framing.

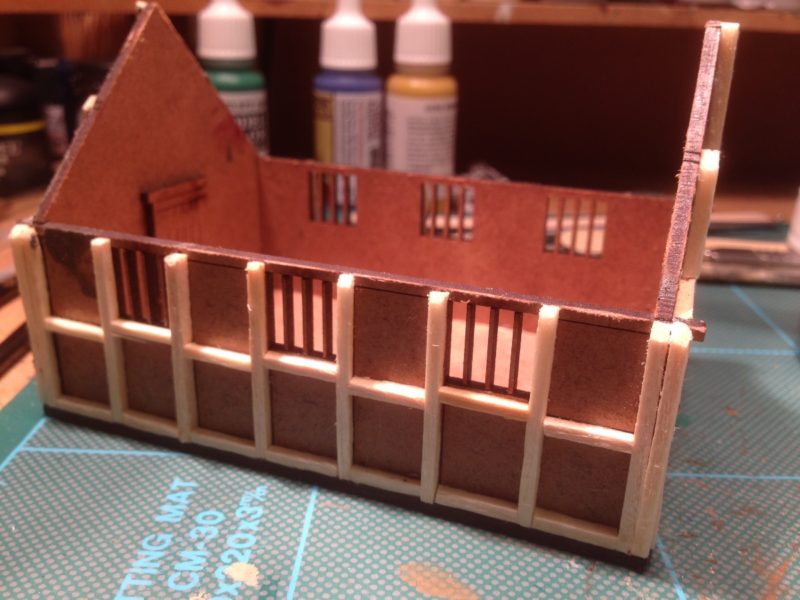
To do this I used some standard matchsticks. I didn’t actually use the headless hobby variety – we do sell these in the shop in bags of 2000 for just £2.99 – but as I was at home, I resorted to a box of Swan Vesta’s that were handy! I  used the etching on the building as a guide and cut them to the right length. It is then a simple matter to glue them to the building using PVA glue.

Sarissa Dark Age House j14 with framework added

Sarissa Dark Age House j14 with framework added

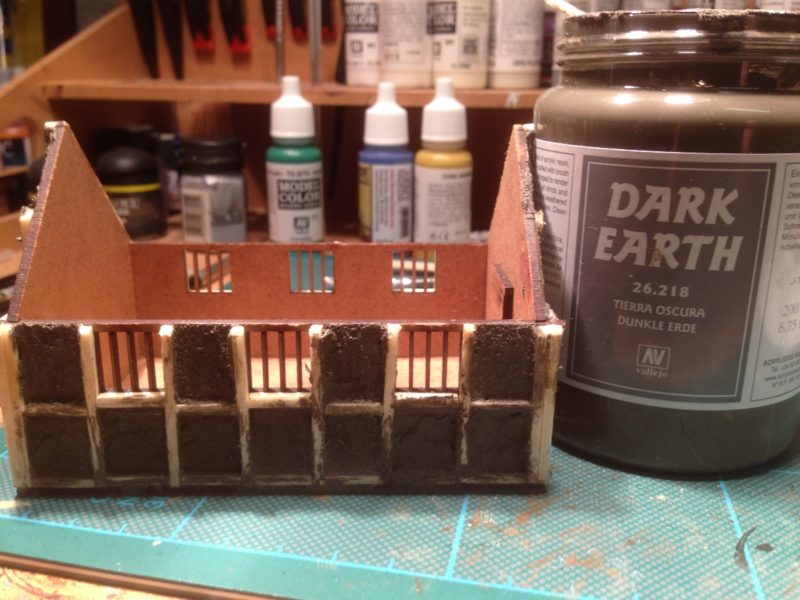
You need to gently sand down the tops to let the roof fit nicely but it is a relatively simple job to do. Once the frame work was glued into place and dried I used Vallejo Dark Earth Paste to represent the mud or daub filling in the panels. Actually, you can use any of the Vallejo pastes as you will be painting over them At a push Polyfilla or a similar product will do! I used a squared off coffee stirrer to apply the paste, leaving the frame work showing. You can see that I used the stirrer to roughen up the paste to get more of a texture.

Applying the daub!

Applying the daub!

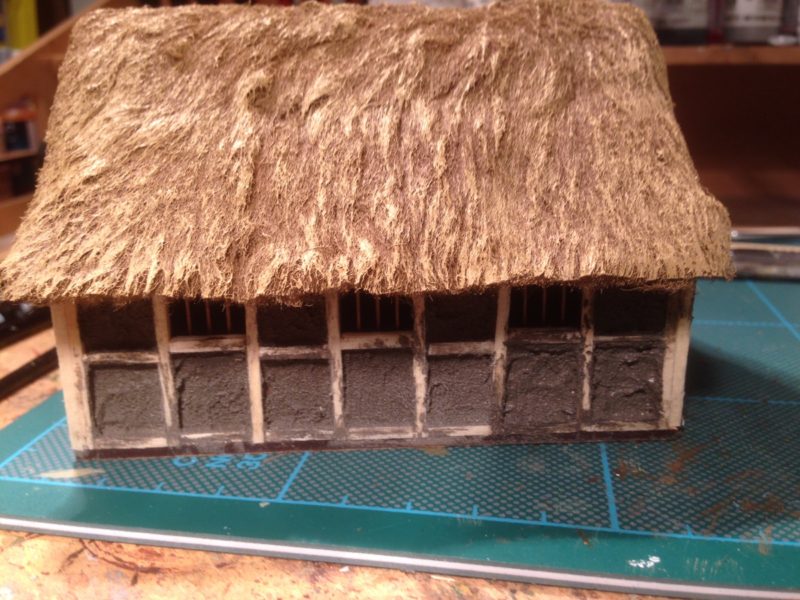
Once the paste had dried the next stage is to paint the building. I confess that I had made a slight mistake here. It would have made more sense to paint the inside of the building black before assembly or even afterwards, before I started to add the framework. As it is. I forgot and it doesn’t really show.

Dark Age house with daub

Dark Age house with daub.

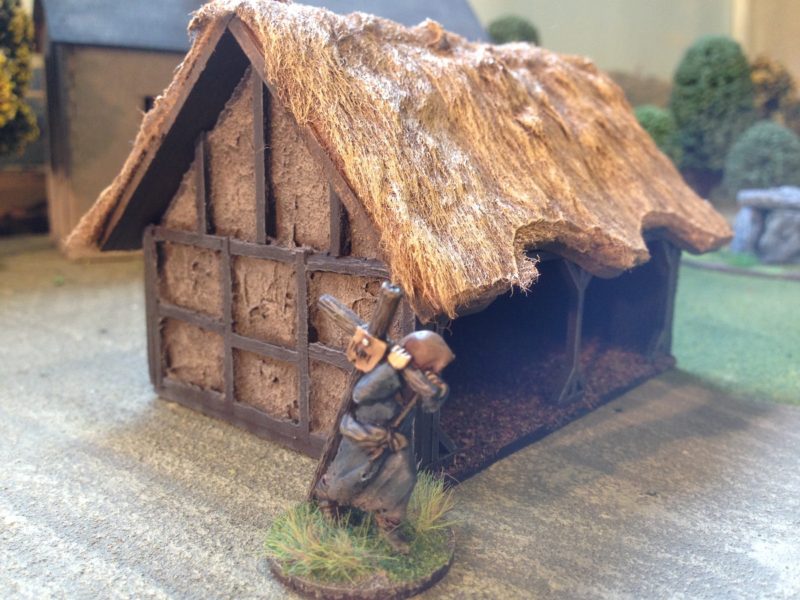
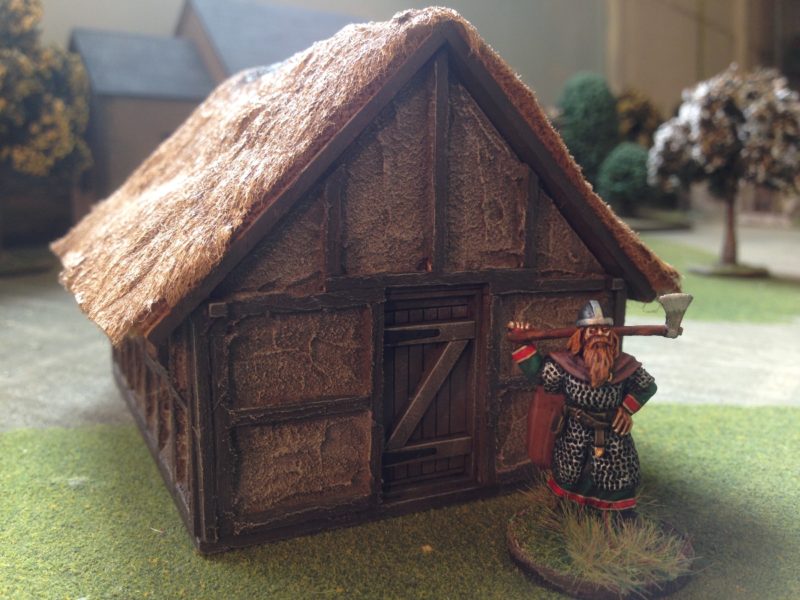
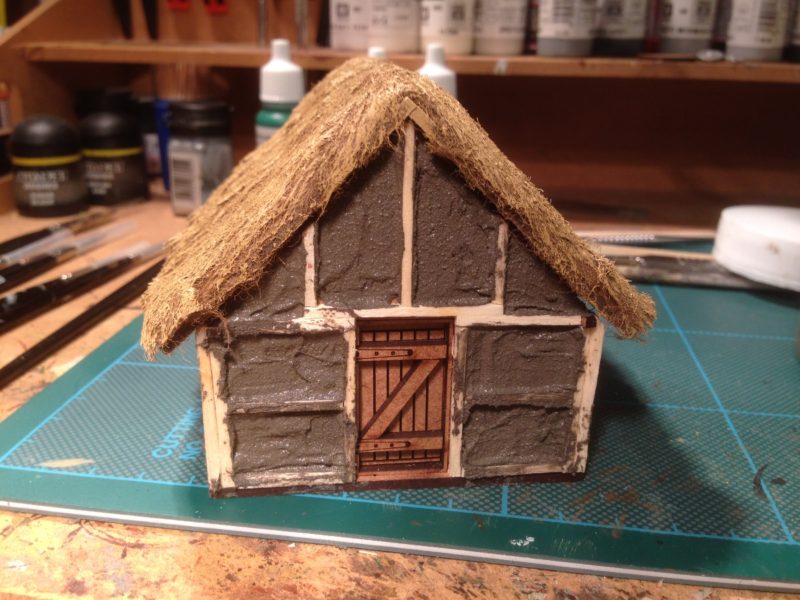
The picture above shows the effect achieved before painting and the picture below show how the building looks from the end with the door.

Dark Age house viewed from the end - note door is left unpainted at this stage.

Dark Age house viewed from the end – note door is left unpainted at this stage.

Once everything was dry, I painted the building with my favourite brown, Vallejo Chocolate Brown, including the door. I then dry brushed everything with a couple of lighter coats, using Iraqi Sand to lighten the brown on the panels of mud. Now, I’m no expert on Dark age buildings, so I wasn’t sure whether to paint the panels in a lighter colour or even whitewash them but I decided that they were best left a dry mud colour – this village hadn’t received a visit from the travelling Dulux Salesman! The next step was to paint the timber framing. I choose a very dark brown. Vallejo German Camouflage Black Brown was a good contrast. I used a light grey to lighten this and then gave the building, in particular, the timber frame, a gentle highlight using the dry brush technique. The final task was to pick out the door hinges with black and to  add some black & grey to the smoke hole in the roof.

The finished dark age house, complete with new owner.

The finished dark age house, complete with new owner.

The building is now ready for the table and my village now consists of two houses. I have a couple more to finish in a similar style and that should give me a nice little settlement for my Dark Age war bands to fight over! Whilst I was thinking about other scenery that I could use, I remembered that Arcane scenery has it’s own small range of Neolithic monuments. Although not specifically designed for the dark ages, they seem to be useful additions to the table top and will add a bit of atmosphere! Here’s a couple of the pieces:

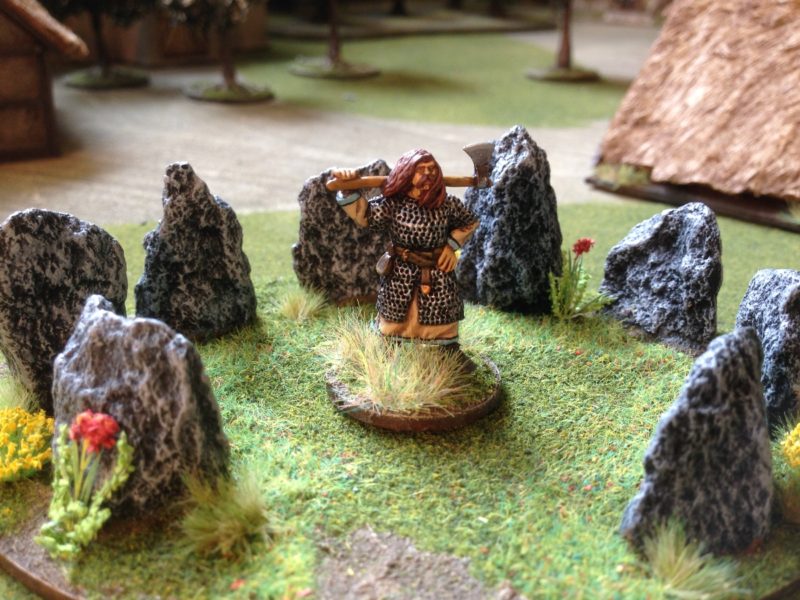
Neothithic Stone Circle

Neolithic Stone Circle

Neolithic Burial Chamber

Neolithic Burial Chamber

If you are interested, the DeeZee scenery range can be found here: DeeZee Scenery

So, my aim of building some new scenery for my wargames has moved forwards. If you would like to undertake a similar project, I would recommend that you visit the March attack site for some very useful Tutorials of how to get the best from the Sarissa Precision MDF buildings. Just a very simple paint job will give superb results as Gary demonstrates in these PDF’s

http://www.marchattack.co.uk/Painting%20Building%201.pdf

http://www.marchattack.co.uk/Painting%20Laser%20Cut%20Terrain.pdf

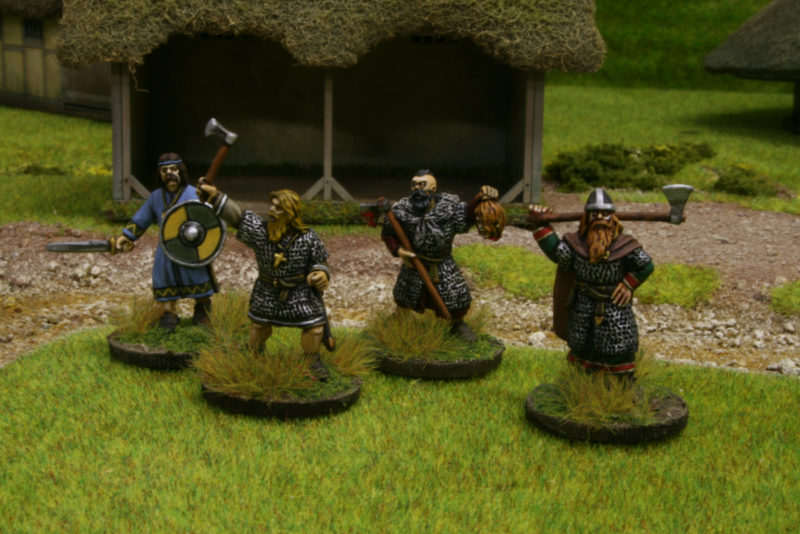
Sons of Dana are ready for battle

The Warband Gathers

The Warband Gathers

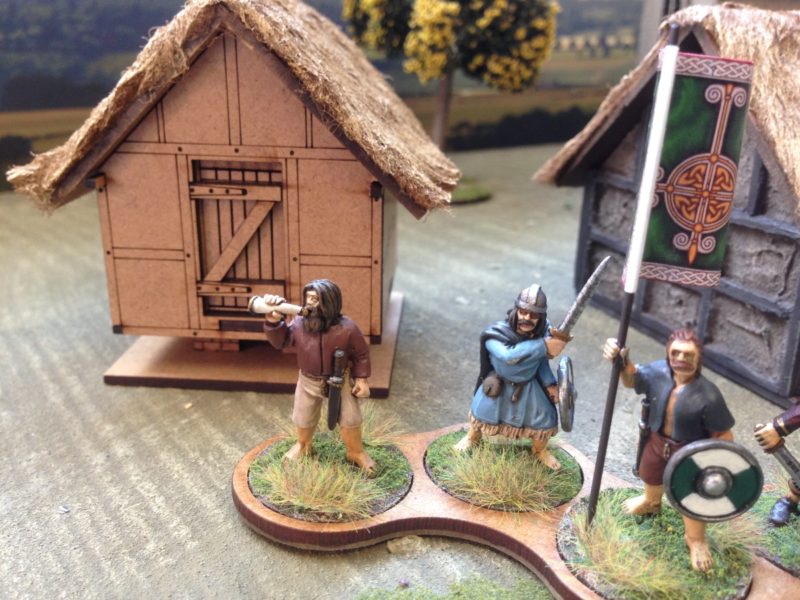
It seems like I have been painting my Irish warband for half the year but at last they are complete and ready to take to the table. I actually started to paint them in July, so it has taken me some time to finish the warband. It didn’t help that I had decided to paint the complete collection of Irish warriors from the Footsore range. I had actually finished enough Hearth Guard, Warriors, and Levy to field a warband some time ago but the Heroes in the Footsore range are such lovely sculpts I had to add them to the band. So I now have Ulf The Quarrelsome ( no you don’t…who said that..); Brian Boru, the High King of Ireland; a Priest; Standard Bearer and enough assorted heroes to give me the flexibility to easily field up to 6pts and more, in a Saga game.

The Heroes all took a bit longer to paint than the standard rank and file troops. I wanted them to be wearing more decorative clothes. However, I did stick to a limited pallet of paints and tried to avoid really bright colours. I agonised over how to finish the shields. I couldn’t make up my mind whether to use shield transfers or whether to paint them free hand. I decided to go down the free hand route but as I am no artist, I have kept the designs very simple. I had the same conflict when it came to producing the banners. Despite my concern that the Dark Age Irish would not have access to a graphic designer, I decided that the Little Bigman Studio Banner transfers were too nice not to use…

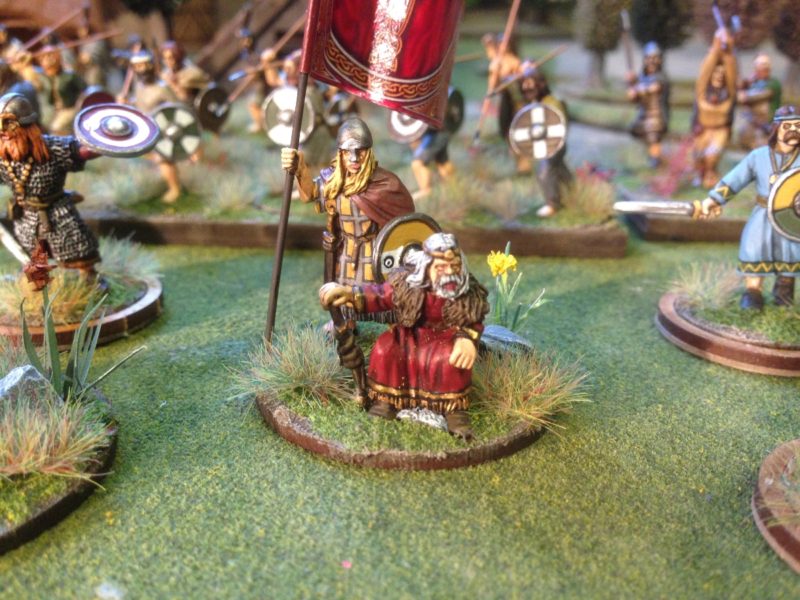
Brian Boru surveys the battlefield.

Brian Boru surveys the battlefield.

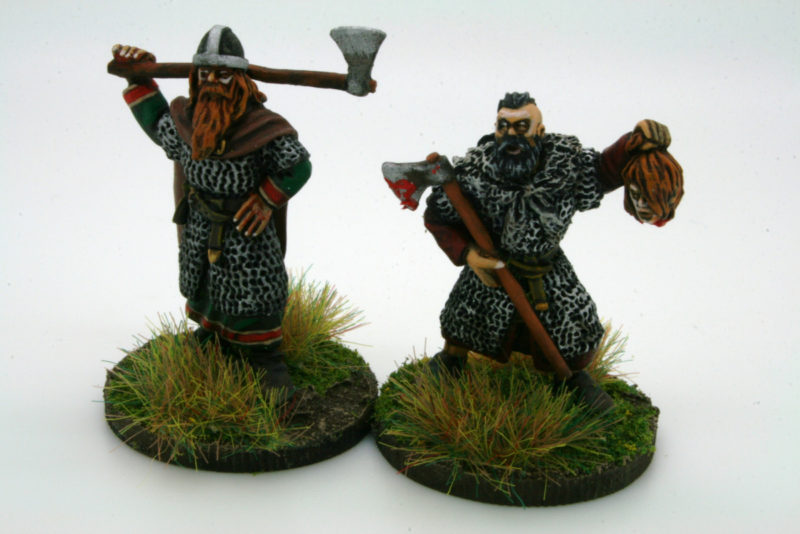
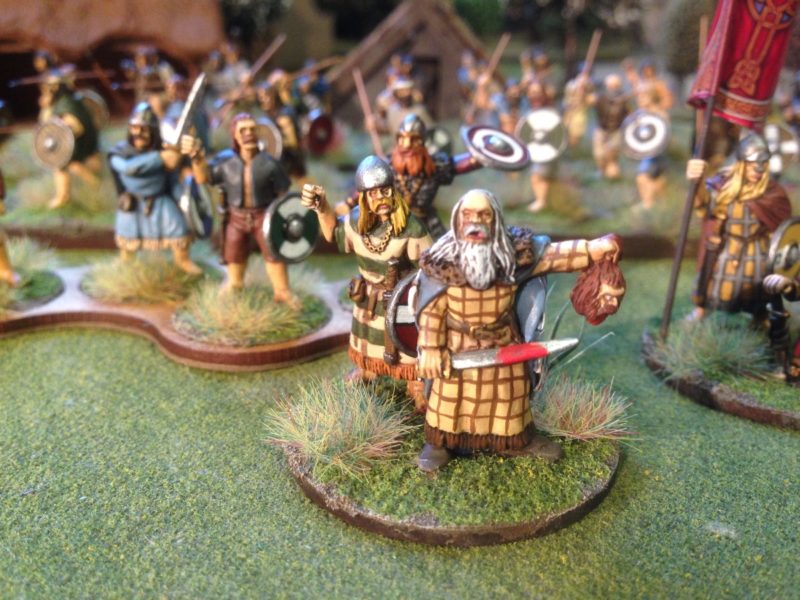
When it came to basing up the figures I put all of them onto 25mm round MDF bases, with the exception of Brian Boru and my ‘reserve Warlord’ – these went on 40mm bases. Although the Footsore Brian comes as a set of three figures, I decided that I would just mount him and the standard bearer on a 40mm round base. I also swapped out the Footsore Warlord with the mean looking guy from the Irish Command set. I think that he makes a better warlord, so the other figure has been relegated to Hearth guard status! So I have the luxury of two warlords to play. If I use Brian Boru, although he is ‘free’ in terms of points, his effectiveness as a warrior may be a challenge. Generating three saga dice and costing no additional points is a great bonus but his combat abilities are very limited – he will need protecting!

My newly promoted warlord displays his latest victim!

My newly promoted warlord displays his latest victim!

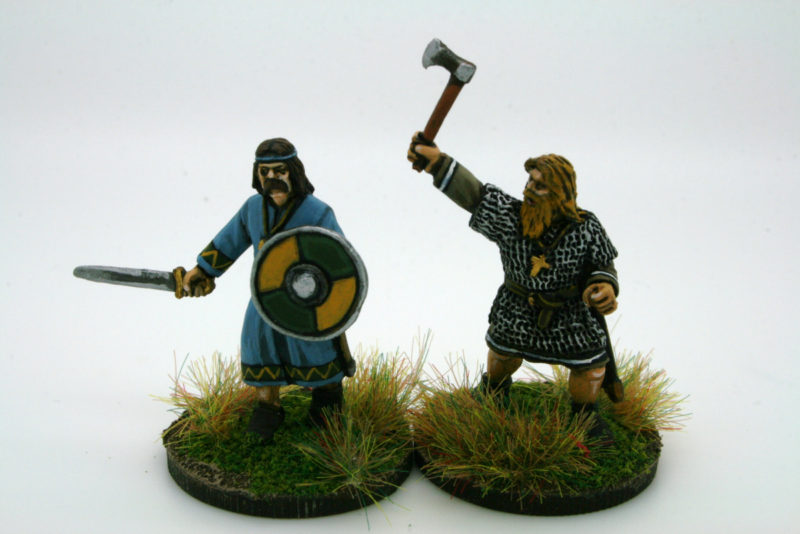
I mentioned that all the other figures are separately based on 25mm MDF bases. This gives me the opportunity to field these figures as separate units or even add them to another warband. I think that the heroes armed with Dane Axes will be quite at home in an Anglo Dane army.

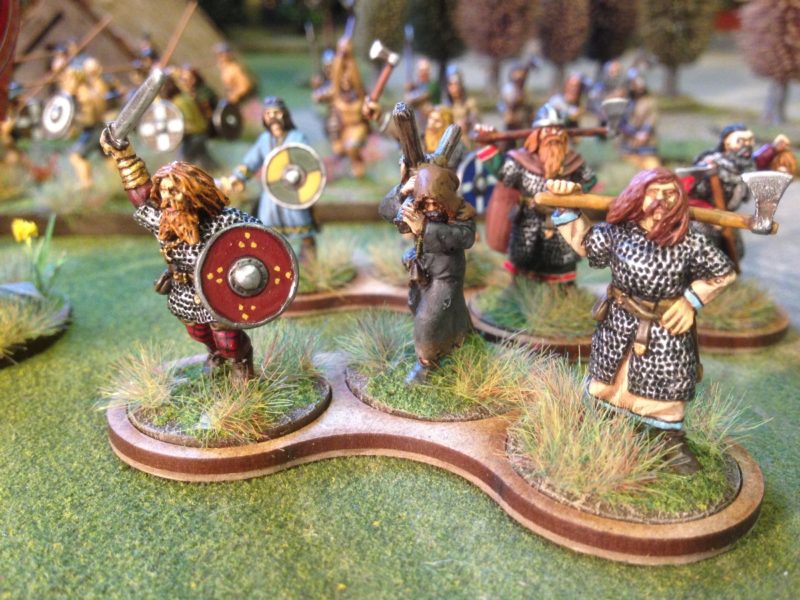
Ulf The Quarrelsome, Priest and Hero

Ulf The Quarrelsome, Priest and Hero

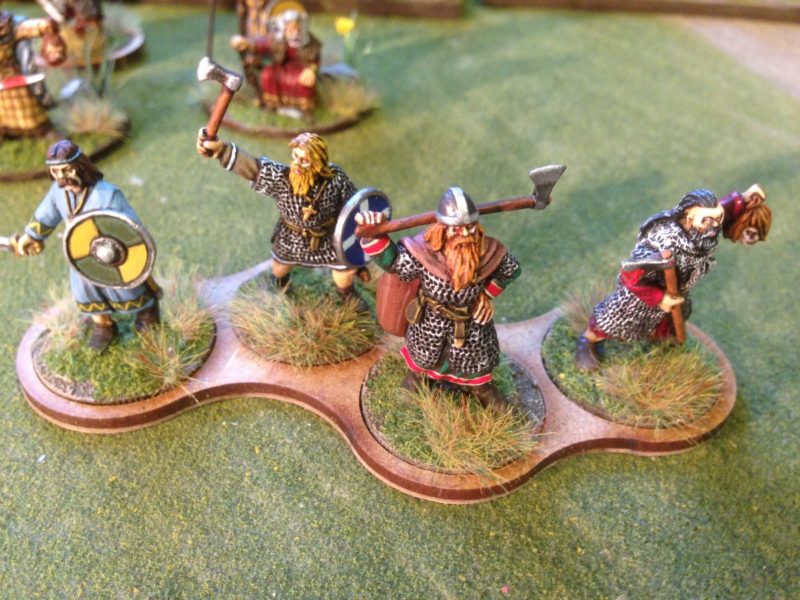
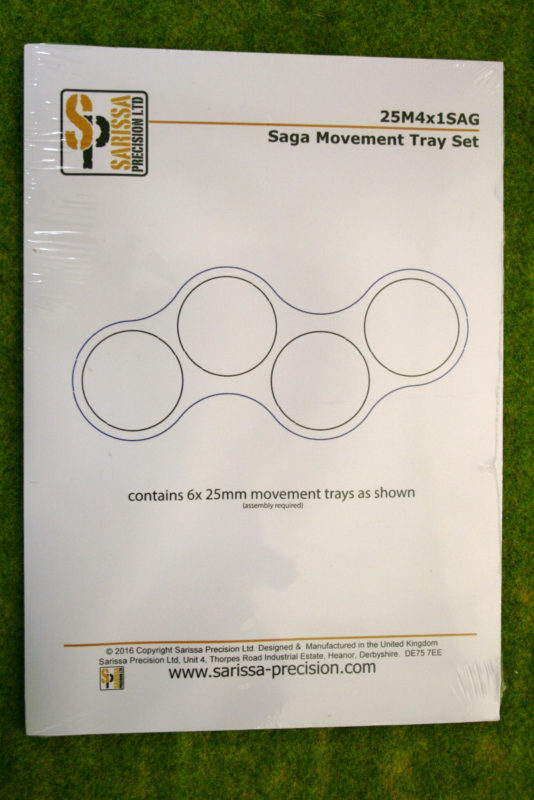
I’ve also been playing with movement tray design for Saga. Whilst my rectangular trays ranked my figures up nicely for display purposes, I didn’t think that they would look so good on the table. I was messing around with some other options and found these smaller skirmish trays that were designed for fire teams in bolt action by Sarissa. A quick conversation with those very helpful people and they produced a Saga Movement tray set. You can put four figures in the tray, allowing you to deploy units of 4, 8 or 12 very simply. The way in which they wrap around each other means that you can change the shape of the unit from a ‘clump’ to a line fairly easily. Of course when you get to combat, it will make sense to take the figures out of their tray but it will make the initial moves in a game easier. They are also good for transporting your army.

movement tray for Saga

movement tray for Saga

My intention is to use some Vallejo paste on the trays to make them blend with my basing scheme, but the picture does show how they might work. So the sharp eyed amongst you will see that I am two war banners short and those with long memories will be asking where are the dogs that you were going to make? Well the banners are ready, I just didn’t have the time to fix them to the poles before I took the pictures. As for the dogs, they are at the back of the work bench. My next project beckons…time to do some scenery!

If you would like to have a go at building your own Irish Warband, Footsore do a 4pt warband (26 figures) for just £36.00. Even better if you purchase before the end of the month through my shop, we are supplying free bases and spears for the warband. Just add the code WARBAND in at checkout. Even better, if you enter SEPT5, you will get an additional 5% discount and of course free postage. Free postage is worldwide, so yes, that does include USA and Australia… Click here to purchase your Warband:

Footsore Irish Warband

If you would like to buy the Saga movement trays that we have designed with Sarrisa, just click the photo:

saga-trays

By the way, the trays also include the 25mm bases, so you will have some spares!

If you would like quick links to my other saga articles for details of the paints used and the basing scheme, just click here:

Saga Articles

Right! I’m off to fight a battle!

Yet more Irish!

I have just about completed enough troops for an Irish Saga warband but the OCD part of my personality has taken over and I’ve decided to finish painting the rest of the figures in the Footsore Dark Ages Irish range. I did need to complete a warlord figure and was trying to decide between the Brian Boru set, The Irish warlord and Standard bearer or the Irish Command group. In the end I decided to paint all of them and have done with it! I also have a priest to add in, so there is another eleven figures on the work bench.

Irish Command ready to paint.

Irish Command ready to paint.

As you can see, there is plenty of work to do! With the Standard Bearer block painted and the chain mail dry brushed on the other figures, it will be a couple of weeks before these are table ready. As well as cleaning these figures up ready for painting, I have been busy elsewhere. I mentioned that there were another eight warriors to finish and these are now complete and based. If you read my post last week, you would have noticed that there was something missing from the first unit of warriors – Shields! Well these are now painted and attached and my war band is close to completion.

 Irish warriors ready for battle

Irish warriors ready for battle

Here is a view of both units with the Slingers in the back ground.

Irish warriors and Slingers

Irish warriors and Slingers

I’ve kept the shield designs fairly simple for these boys but I am thinking of going with shield transfers for the Lords so that I can give them a more affluent look! I also may resort to a decal for the banners. There’s no doubt that they look superb. My only concern is that in the days of Dark Age Warriors, graphic design and silk screen printing was not a skill set possessed by the local banner maker! So I may rely on my own free hand designs, which, whilst they will be more primitive, may look more appropriate. I suspect that I will use both methods. Perhaps use the decals for the Brian Boru and Irish Command set and my own freehand design for the Saga warlord. The next photograph shows my war band as it is now.

Dark Age Irish Saga warband

Dark Age Irish Saga war band

You may notice that I have used a slightly different tray for the four Irish Heroes. I’m thinking of using this style of tray in the game. I know that once combat is joined it makes more sense to move your figures individually, but these trays may be useful at the start of the game to make the movement faster & keep unit cohesion. So with 12 Slingers, 16 warriors and 8 Hearth guard armed with Dane Axes, I can comfortable muster a 5 point Saga war band. The additional 4 Hearth guard ( Irish Heroes) that I have painted can either double up as another Hearth Guard unit or as two Curadh and the Warlord. Once the leaders that are on the work bench are complete, I will comfortably have 6 points, more than enough for the average club game. I haven’t forgotten that the Irish are allowed to take war dogs! That is another unit on the back burner though. I have the dogs, I just need to get them converted and painted.

Finally, I mentioned last week that I was working on some scenery. I have another three Sarissa dark age buildings that I am working on. Although not specifically Irish, the idea is that they will represent a small settlement so that I can use them with either my Anglo Danes, Irish or the next Army that I plan to do, Anglo Saxons. I wanted to add to the MDF finish to make them look a bit more well worn, so as with the A frame hut that I have completed, I have added the teddy bear fur roofs. I also intend to add detail to the timber and daub walls and have started to detail the walls. However, my focus has been on painting, so I have not made very much progress. My plan is to complete the figures in the war band and then I will build the scenery. It’s going to be a busy September!

Sarissa Building with roof added and detailing started.

Sarissa Building with roof added and detailing started.

The Boys are Back in Town!

Well, the boys are on the painting table. As the last few blog posts have been about the gaming side of the hobby I thought it was time to return to the workbench and show you the progress with my latest project, my Irish Saga Band. Progress, as usual, has been rather slow but I have finished the four Irish heroes that I could use either as Curadh or as an extra unit of Hearthguard. When it came to choosing a colour scheme for these figures I was very much influenced by the Footsore web site and of course, in particular, the figures that were painted by Charle Baynon. I have also used some references from elsewhere and I am now finding that the Pinterest site is quite useful in this respect. The following link will take you to my Dark Age Irish and Celts board that I am building.

Dark Age Irish and Celts

There are some good references on this board and it shows what can be done these days with technology. In the past I would have been scratching around in books and magazines to find such images and it would have been quite impractical to have them at the painting table. Now I can just load this page onto my i-pad and it is there right in front of me when I am painting. So with these four heroes to add to my band, it is starting to take shape:

026

Footsore Irish heroes take to the table!

I also took some close up pictures of these figures in my light box. It’s interesting to see some of the ‘blemishes’ that you don’t see when the figures are on the table and I suspect it is the ability to be more careful in blending at this level that makes the professionals so good at what they do. My lads look a bit dark around the eyes!

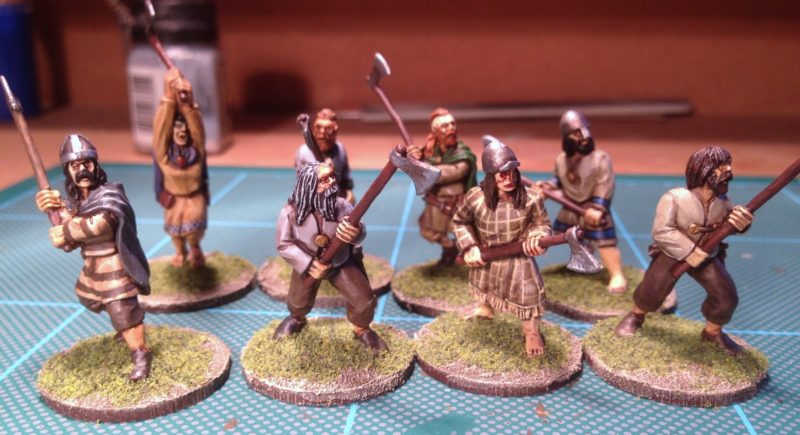
Irish Heroes with Dane Axes

Irish Heroes

So having painted Irish heroes with big choppers it was time to move on to the Irish Warriors with … I think Bill Thornhill must have modeled this one on his own physique!

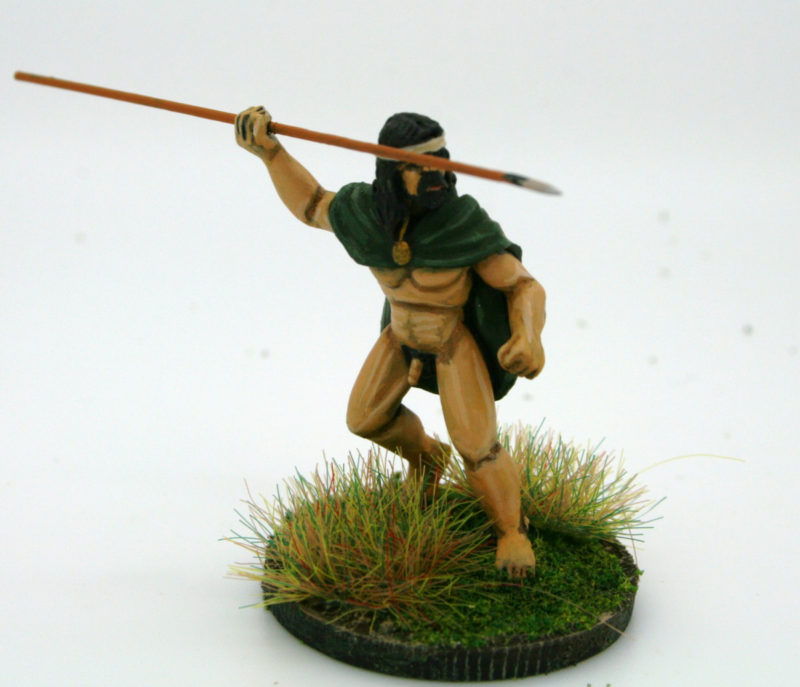
Irish Warrior with Javelin

Irish Warrior with Javelin

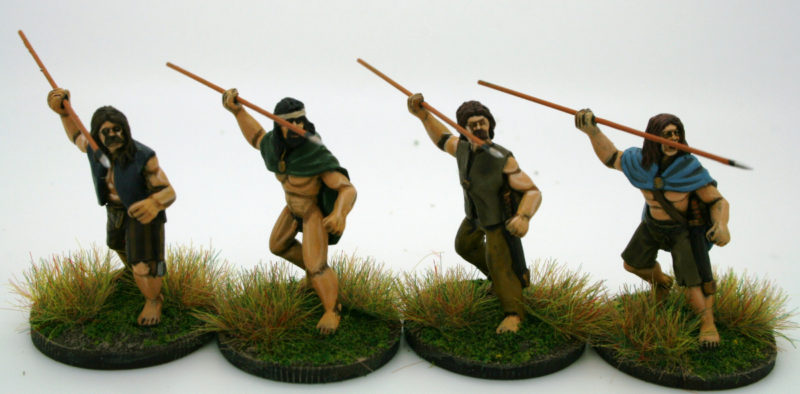
Enough of the smutty jokes. I have now painted a full unit of eight of these Javelin armed warriors with another eight following closely behind on the work bench. So by the end of this week I will have at least 5 Points for my saga army. The main unit that is missing is a warlord or commander.

Footsore Irish Warriors armed with Javelins

Footsore Irish Warriors armed with Javelins

The second rank! Javelins at the ready!

The second rank! Javelins at the ready!

I haven’t given too many painting details in this article but by and large, I have stayed with the limited pallet that I used for the Irish Finah and other Irish figures. To see the details, just click on these links to the relevant blog articles:

THE SAGA CONTINUES.

FOOTSORE IRISH SLINGERS – DONE!

AN IRISH SAGA

I’ve also made good use of my own technique of block painting the basic colours, then applying a dark tone ink wash, then repainting with the original colours, leaving the shadows and adding just a few highlights where I think that they are needed. I’ve also copied Charles Baynons idea of using multiple layers of light matt varnish between coats to protect the finish.

So that’s it for this week. Next week I will show the complete army and I hope to show you some of the scenery that I have also have been working on.
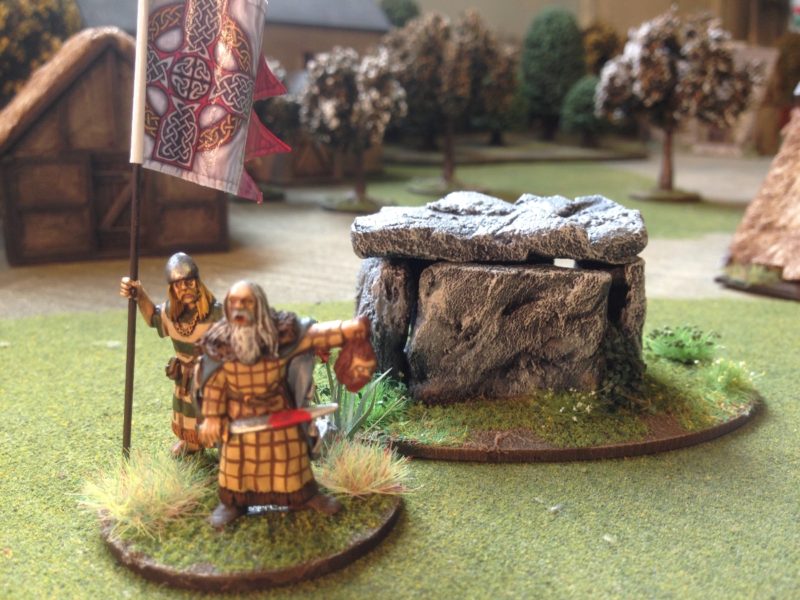
The saga continues.

On the face of it, painting a war band for Saga shouldn’t really take a month. After all, around 40 figures is all that is required. I suspect that some painters out there could knock these out in a couple of days, if not faster. I know of some wargamers who will paint in concentrated bursts to complete an army and then spend a month or so without painting anything. For me it is a case of slow and steady gets there and so having completed my band of levy, the next job was to paint 8 Fiana or hearth guard.  I tend to paint in short sessions of just an hour or so but manage to get at least three of these sessions in a week.  My method means that there is always something on the painting table and when I get a spare 10 minutes, I move a project on. So although I have been spending time on the Fiana, whenever I have had a spare few minutes I have been preparing and researching the next batch of models.
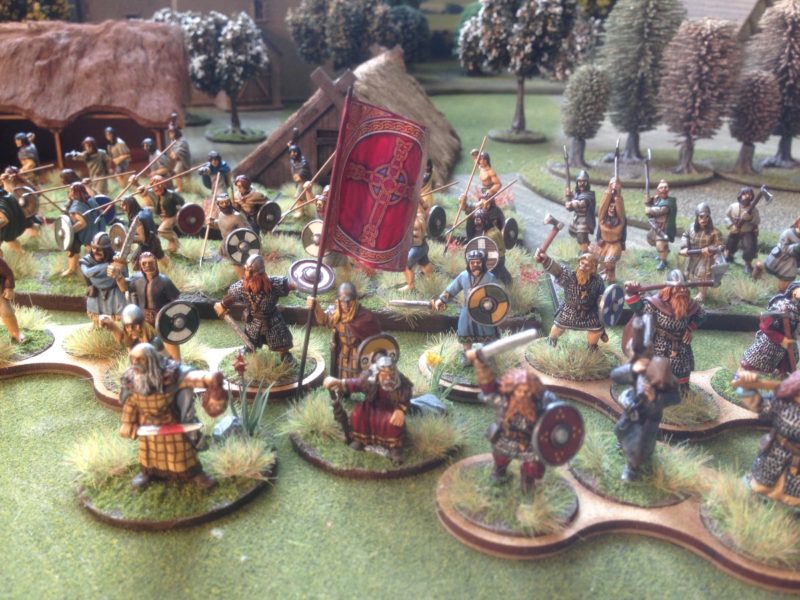
2016-08-03 08.44.34

So back to the painting table and my unit of Fiana. As you can see, they are all armed with Dane Axes, which makes them pretty lethal in combat, reducing your opponents armour by one. Used at the correct time in a game, these boys will crush the opposition with their ferocity. There’s just one problem, their own armour is reduced to 4, making them a bit of a one hit wonder when faced with equal opposition.  As with my Irish Levy slingers or ‘Kerns’ I have used a fairly limited palette of earthy and drab tones. As these figures represent Hearth guard though, I have painted them with a bit of decoration on their clothes. The basing followed my usual practice of using the Vallejo Dark Earth paste, painted and dry brushed to bring out the texture. I then added some green scatter. I have also made some movement trays for my saga units. I wont be using these in the game but it makes a convenient way of storing and transporting the models. They also look a bit more organised in the figure display cabinet. ( refer to my previous Blog post ‘Round Base, Square hole’ )

Footsore Fiana in their movement tray

Footsore Fiana in their movement tray

Of course I also added some tufts to the bases to give them a bit more texture. Again, I have kept with the Javis Tufts to give the army a cohesive look.
The finished unit of Fiana, complete with tufts!

The finished unit of Fiana, complete with tufts!

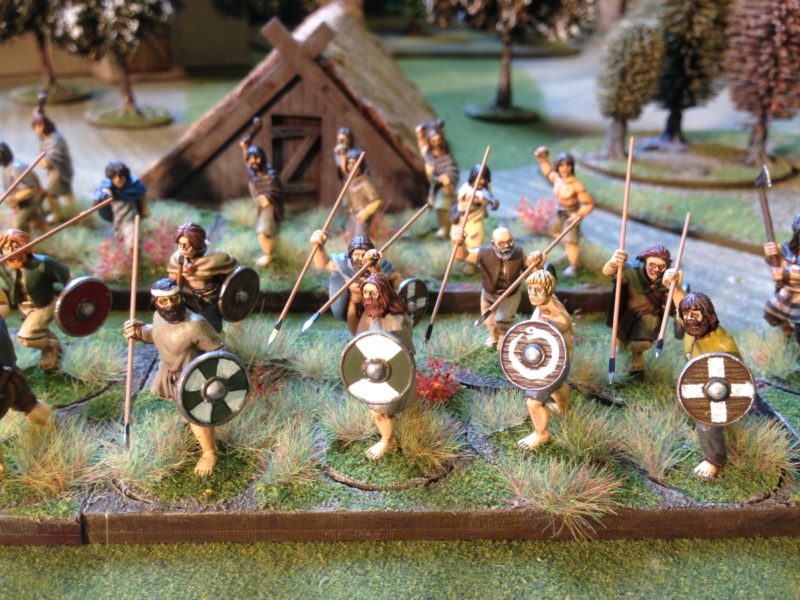
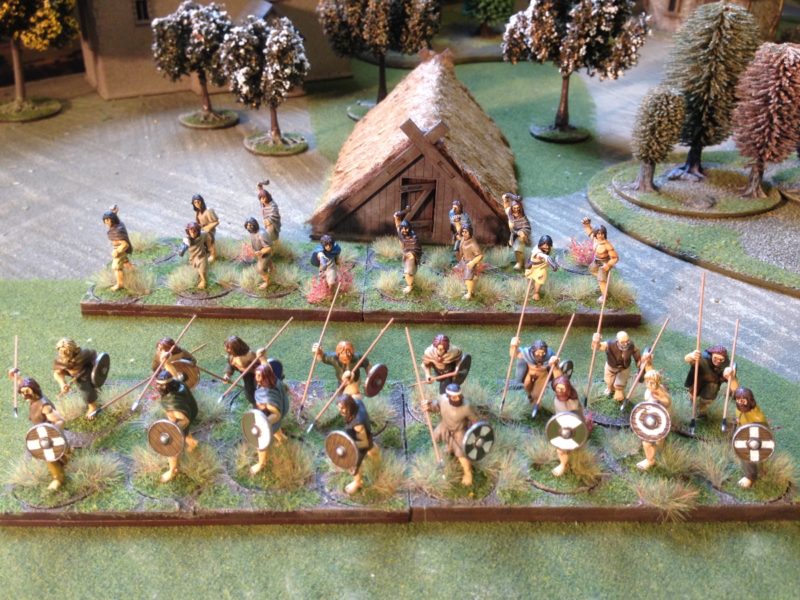
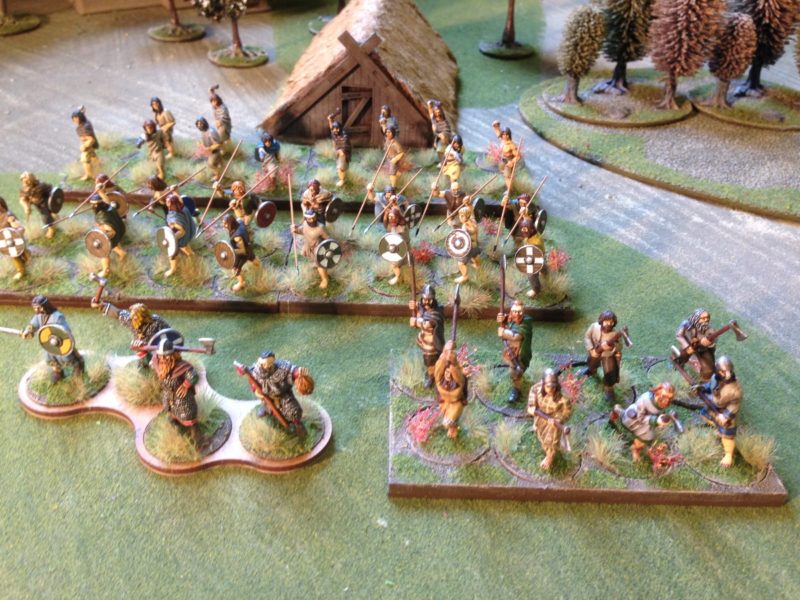
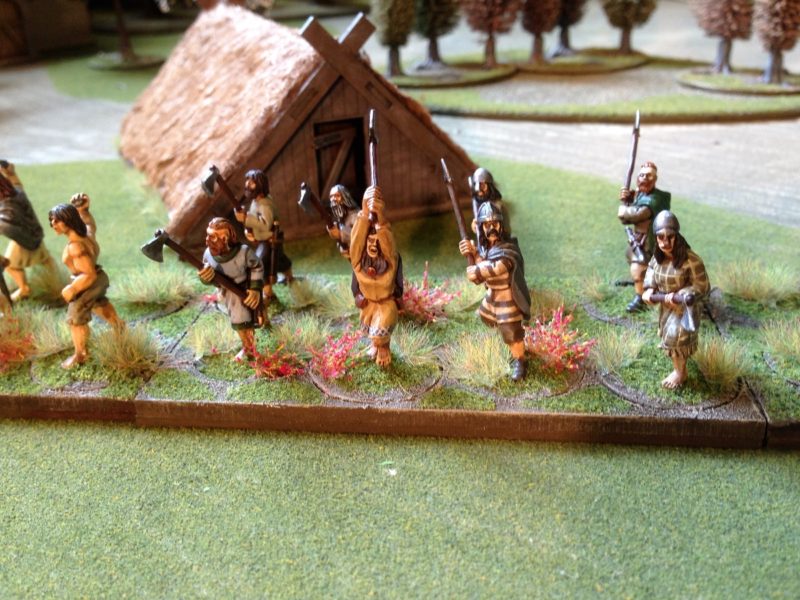
I have also completed work on the Sarissa Dark Ages A frame hut. You can see it in the background of the top picture. Here is a better picture of my Irish Warband, based and in their movement trays defending their one and only hut!.
Fiana, Kern and A frame house.

Fiana, Kern and A frame house.

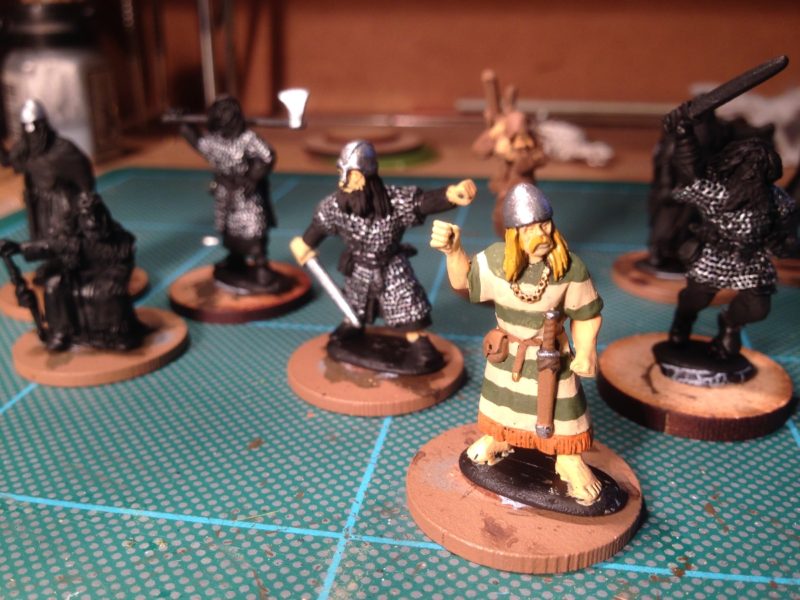
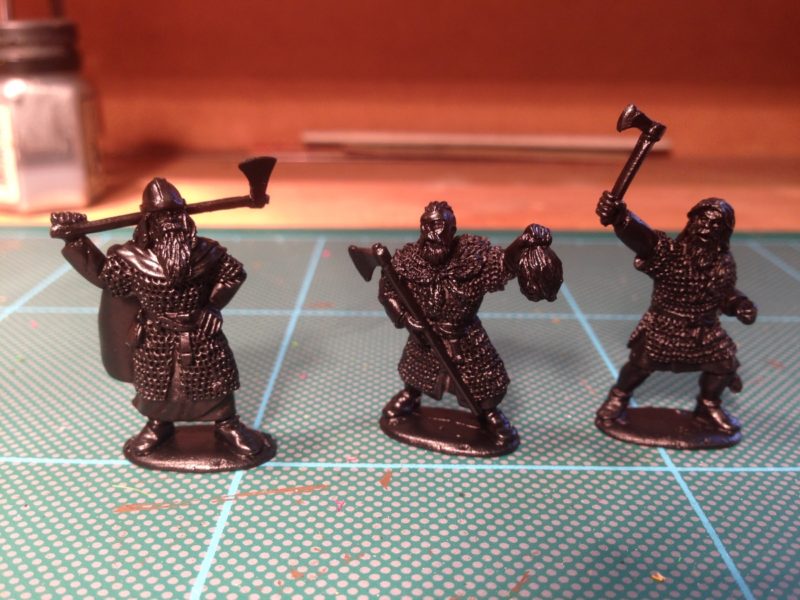
You will see that I have painted 8 Fiana to count as Hearth guard, these will count as two points in my Saga band. However, the plan is to paint at least two other Hearth Guard, that will serve as Curadh. These are used as single warlords and are detatched from their parent unit of Hearth guard to operate as ‘Champions’, generating their own Saga dice, benefiting from the Warlords ability and generally able to cause mayhem! The Footsore pack of Irish Heroes with Dane axes look like good candidates. Although I will use them as ‘standard Curadh’ armed with javelins in the actual game, these models look like they are the Champions that they are supposed to represent. Here they are undercoated and ready for painting.

Footsore Curadh ready for painting

Footsore Curadh ready for painting

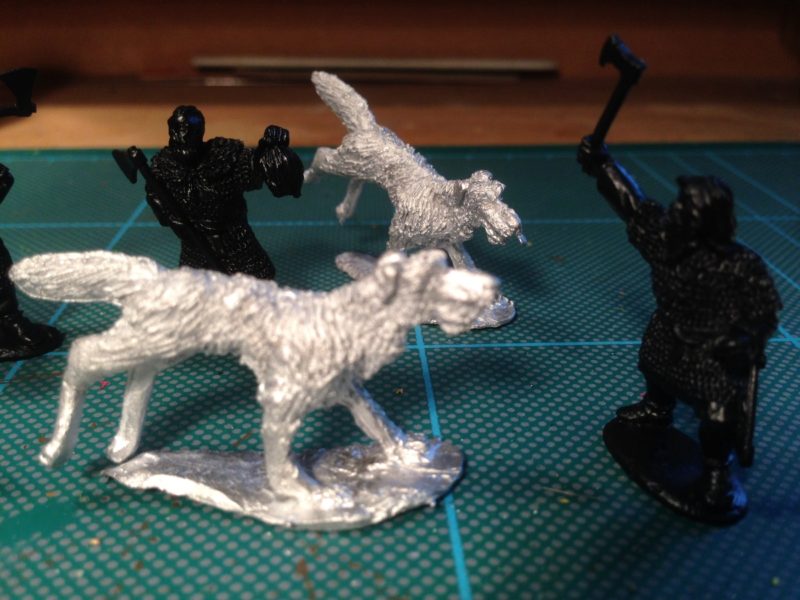
You can see that I have use a black undercoat for these figures as the chain mail will be easier to paint by simply dry brushing with Vallejo steel. There are three figures in the photo. The one on the far right will be my Pack master for the wolf hounds that I intend to use as one unit of warriors. Now as regards the Wolfhounds, I am going to take a bit of a liberty and use the Irish Wolf hound from my own DeeZee range. He comes as part of a the ‘Large Dogs’ pack and is a very big model as you will see from the pictures below. I realise that he is out of scale but I don’t think that this will matter for the purposes of the game. I wanted my dogs to look like they really could pull down a fully armoured warrior!  You can just imagine the warriors of the time talking about their encounters with the wolfhounds…’You should have seen them Aeflaed, they were as big as ponies, ‘orrible great things that would rip your throat out!’

Irish warrior wolfhounds!

Irish warrior wolfhounds!

I’ll have to do a bit of conversion work on these as I would like to have at least three different poses. If they look the part, I’ll see about getting them cast as a pack as part of the DeeZee range, so it might be a while before these are ready. In the meantime, I have plenty more to paint!

A final note. Last weeks blog was an account of my day at the Saga Ironman Day at Wargames Illustrated. There is now a very nice video that shows how the day went and as I am in it, it seems appropriate to include a link here:

Footsore Irish Slingers – Done!

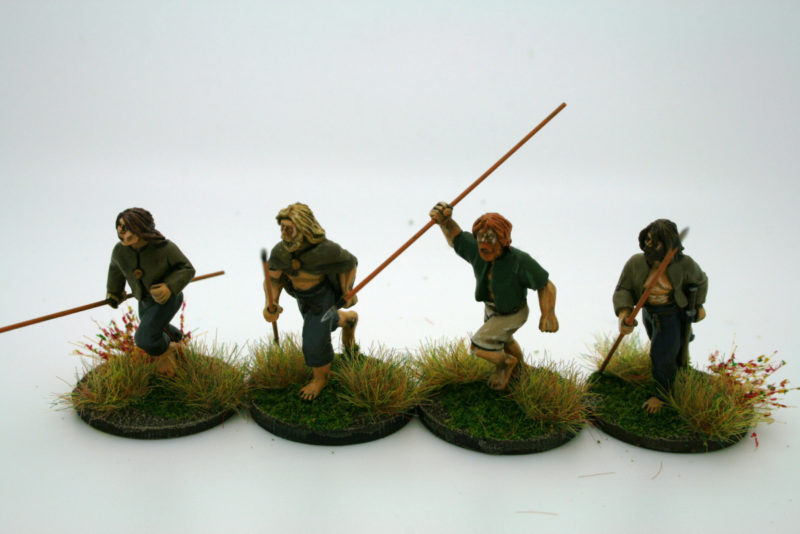
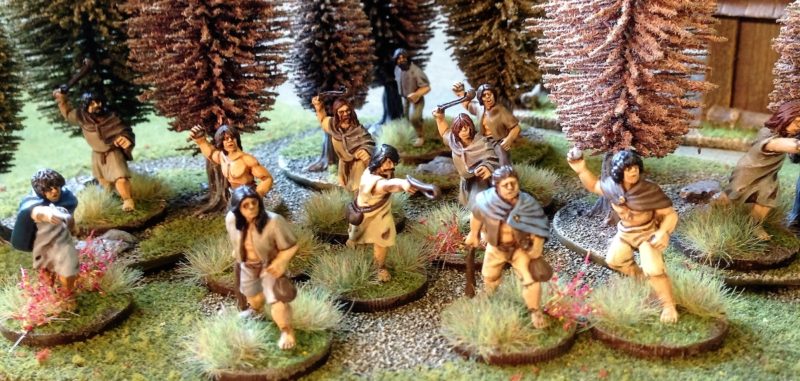
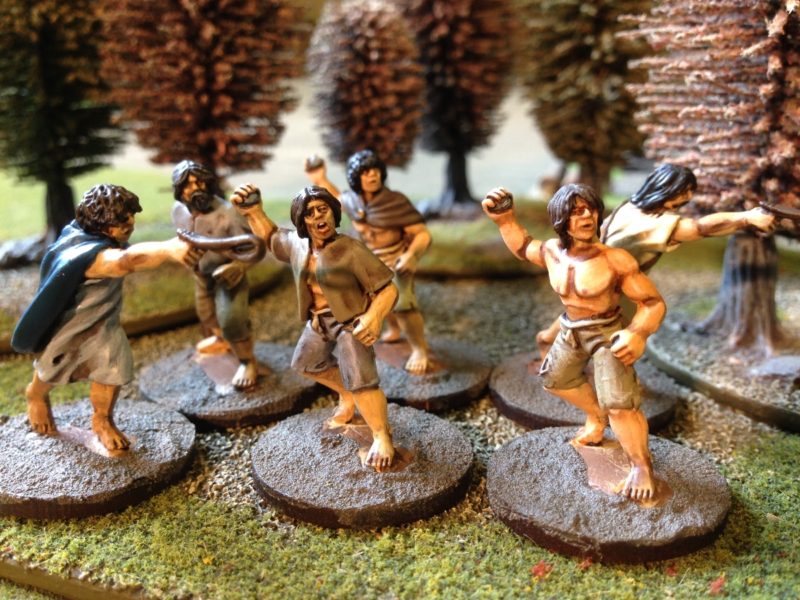
The recent spell of hot weather hasn’t helped with my painting or modelling projects. Apart from the paint drying as fast as I could use it, it’s been too hot in my garage to sit with the lights on whilst painting for any length of time. Far better to sit in the garden with a nice cool drink! Despite that, I have completed the unit of Irish Slingers for my new Saga army, albeit with a bit of a rush to have them ready for this blog. I have finished these guys in some fairly earthy, drab colours and have not worried too much about any decoration or embellishments. I concluded that if all you had on the battlefield was a sling or in the case of some of these boys, a rock to throw, then they weren’t too far up the social ladder ( if even on it) and therefore their clothing would be pretty basic.

Irish Slingers ready for action

Irish Slingers ready for action

I used the Army Painter strong tone ink to get the shading and then highlighted using the original colour with some off white added. As for basing, I used the Sarissa 25mm round MDF bases. I have a general rule that I use MDF bases for Metal figures and plastic bases for plastic figures. There’s no real reason, Renedra plastic bases would be fine, it’s just a personal preference. Once I had glued the figures to the base, I used my new favourite thing to blend the figures to the bases – Vallejo dark earth textured paste. The next job was to paint the base and texture paste with a Chocolate brown and then highlight by adding Iraqi Sand to bring out the texture. Once dry ( which didn’t take long… see my comments above!) I used some watered down PVA to coat the centre of the bases around the figures and dunked them into my green scatter mix. The final task was to add some grass tufts. I decided to ‘road test’ the new range of Javis tufts the we have just started to stock.

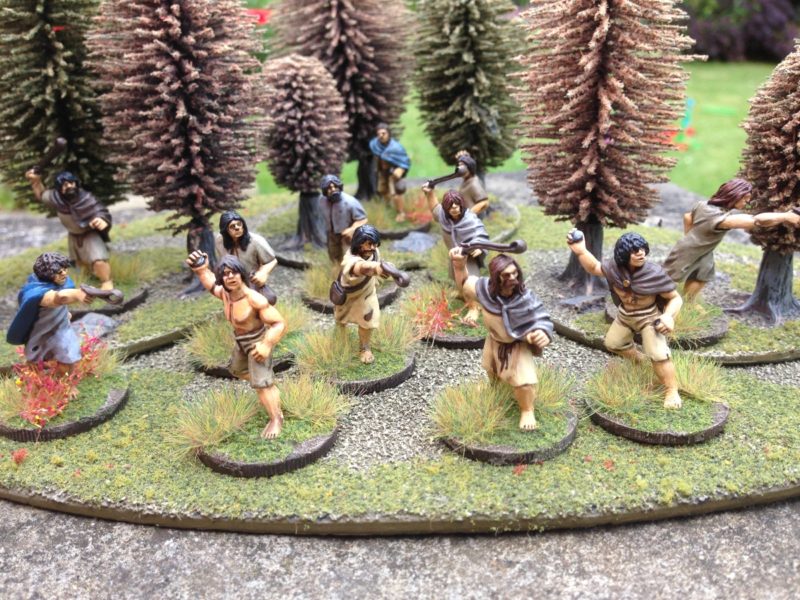
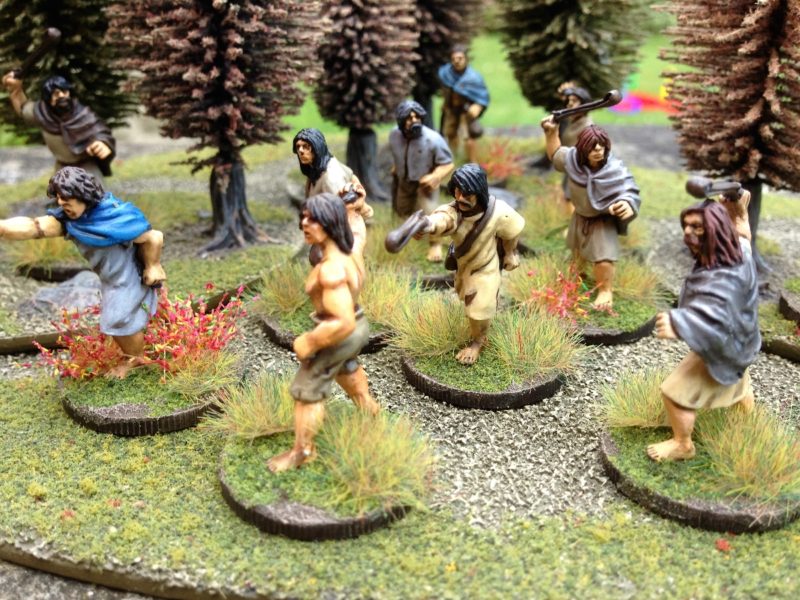
The Irish like a bit of cover!

The Irish like a bit of cover!

I decided on the Autumn mix 6mm tufts, which are not too bright a green and blend well with my scatter base. My first thought was that they were a bit too big to use straight form the pack and so I cut one in half. However, on the next figure I used the whole tuft and decided that this gave a good effect. After all, the Irish in Saga like to operate near to cover! To brighten up some of the bases, I added some of the Flower mix 10mm tufts. I did cut these down and unusually for me used them sparingly on just four of the figures. Overall, I am quite happy with the effect and pleased to recommend these new tufts. So my first unit is ready for the table!

Get ready for action! He's rolling dice again!

Get ready for action! He’s rolling dice again!

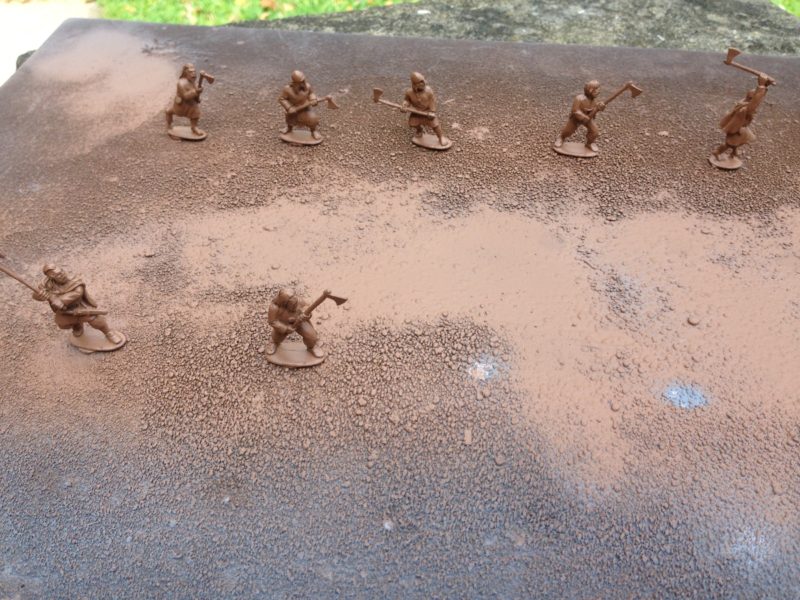
So it’s onto the next unit. This time I’m going to have a go at the Footsore Irish Fianna with Dane axes. These warriors will hopefully cause mayhem as part of my Saga band and count as Hearth Guard, so eight of these will form a good part of my army. As the photo below shows, once the figures have been cleaned up, I attach them to a board using blutack and spray prime them. In this case I am still using Leather Brown. Blu tacking them to the board enables me to hold them at all angles to ensure that they are well primed. Next step is to put them on temporary bases, again using blutack and to get painting!

Fianna, Primed.

Fianna, Primed.

As well as working on the unit of Slingers, I have been ‘pimping’ a Sarrisa dark age A frame hut as the first piece of scenery for my Saga games. I have made some more progress but not quite finished it. With hindsight I should have made this as a step by step blog article in it’s own right. Here is the progress so far:

Sarissa A frame hut W.I.P.

Sarissa A frame hut W.I.P.

As you can see from the photo, I have highlighted the thatched roof by dry brushing it with Vallejo Desert Yellow first and then again by adding off white to the desert yellow. I’ve added some Vallejo Dark earth paste to the edges of the house to give it a rougher texture. Finally, I’ve base coated the timber that will show with chocolate brown. The next picture shows this a bit better.

timber base coated

timber base coated

As you can see, the paint does not cover the laser etching, allowing this detail to shine through. I will be doing a bit more work on this and I will show you progress in the next blog.

I am at the Wargames Illustrated Saga ‘Iron Man’ day this weekend. I have low expectations as to how well I will perform in a tournament. I don’t really like Tournament wargaming, I’m not comfortable in taking the hobby too seriously and worry that I might…. However, The Wargames Illustrated days have in the past managed to create a nice relaxed atmosphere and I hope that I will learn a great deal and meet some like minded people from the world of wargaming. Read all about it in the next Blog!

An Irish Saga

My output continues to be slow and steady but this week I have made a start on my new Saga Warband, the Irish. I am using the Footsore figures that are available from my shop as I really like the sculpting and the poses of the figures. Even better, Footsore have a ready made 4 point Irish War Band that will form the core of my army. That said, I have decided to add in some Irish Slingers and some other extras so that I can field at least 6 points, possibly more. I have also decided to make some scenery specifically for my Saga games. The ideal outcome of all this will be that I have a Saga ‘kit’ of a couple of boxes containing my army, rules & dice and the scenery that I need to play a game. Well that’s the plan! With this in mind, I have started to ‘pimp up’ some Sarissa Dark Age buildings, well one at the moment. So here is my progress so far. Last week, I showed that I have primed and prepared the Irish Slingers ready for painting. I had also painted the flesh using Vallejo dark flesh. Rather than use my usual method of block painting and quick shade, I thought that I would try a variation and use ink and highlighting to see if I could get a slightly better finish. Unlike my Napoleonic figures, I wanted each figure to look more individual.

Irish Slingers from Footsore primed with leather brown and Flesh added

Irish Slingers from Footsore primed with leather brown and Flesh added

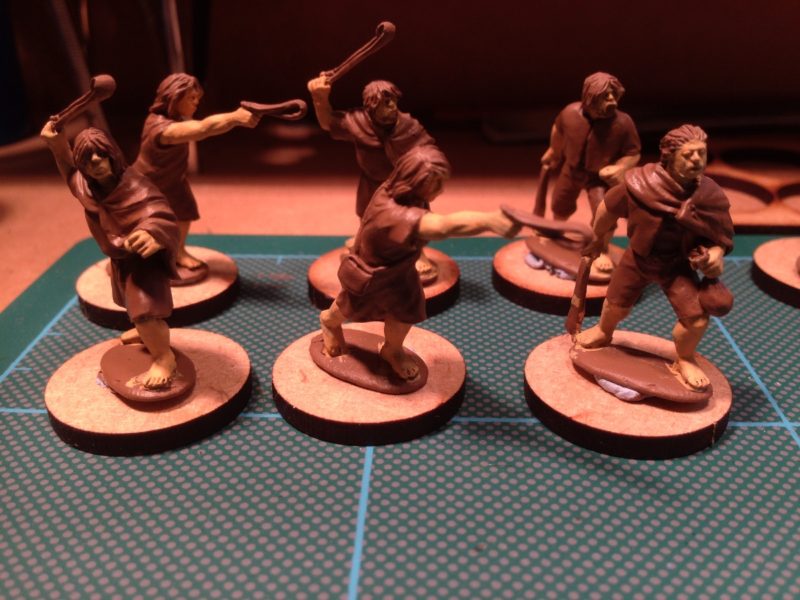
Having spent so long painting Napoleonic troops where every figure pretty much has the same uniform, I find it quite difficult to paint a batch of figures where they all are clothed differently. I have been tempted to paint them one at a time but this will be an even slower job for me and will waste paint, as I inevitably squeeze far too much out on my pallet! The solution for me is to use a limited range of colours and vary them across the figures. As you can see from the next picture, I have chosen a batch of earthy and drab colours and this is how the figures look once they have been block painted and washed with strong tone Army painter ink.

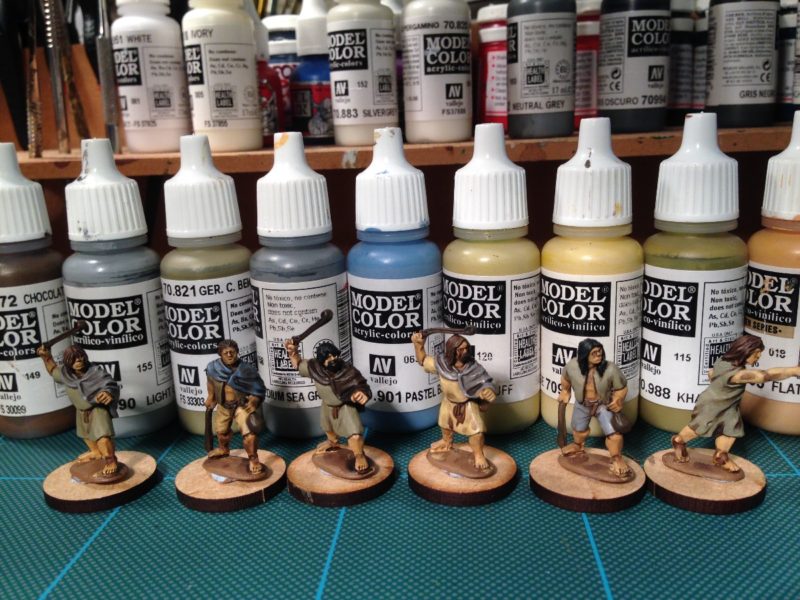
Irish slingers block painted & ink washed. Colours used in the background.

Irish slingers block painted & ink washed. Colours used in the background.

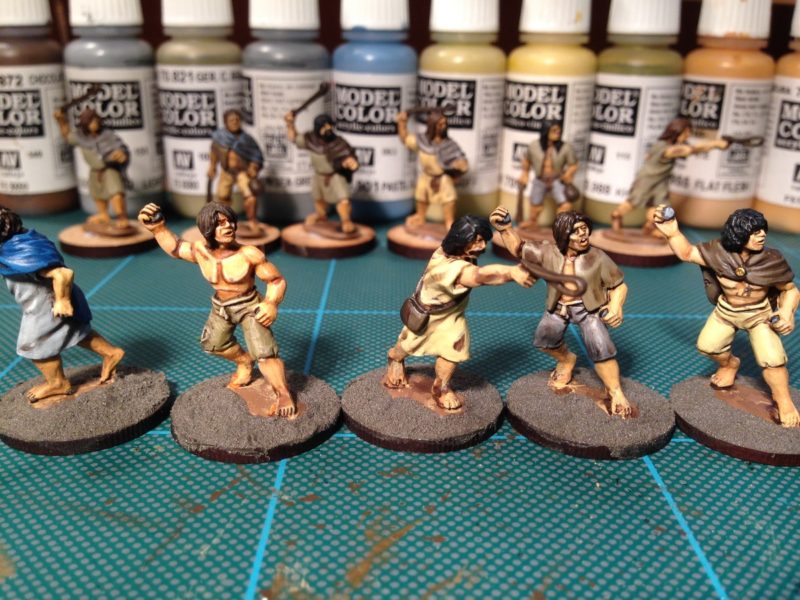
The next stage is to repaint the colours, leaving the shadows created by the ink and to create highlights by adding a bit of either off white or Iraqi sand to the original colour. I also used normal flat flesh to highlight the skin.

Figures repainted & highlighted

Figures repainted & highlighted

The lighting makes it all look a bit harsh. I hope that this picture shows them in a better light!

Irish Slingers in cover

Irish Slingers in cover

As you can see these are not properly based yet. I will finish the next six figures and then base the whole group in one go so that they look similar. It is also a chance to correct any obvious errors – the camera is good for spotting these as you can see…. Whilst they wont win any painting competitions, I’m sure that they will be ready for the table soon.

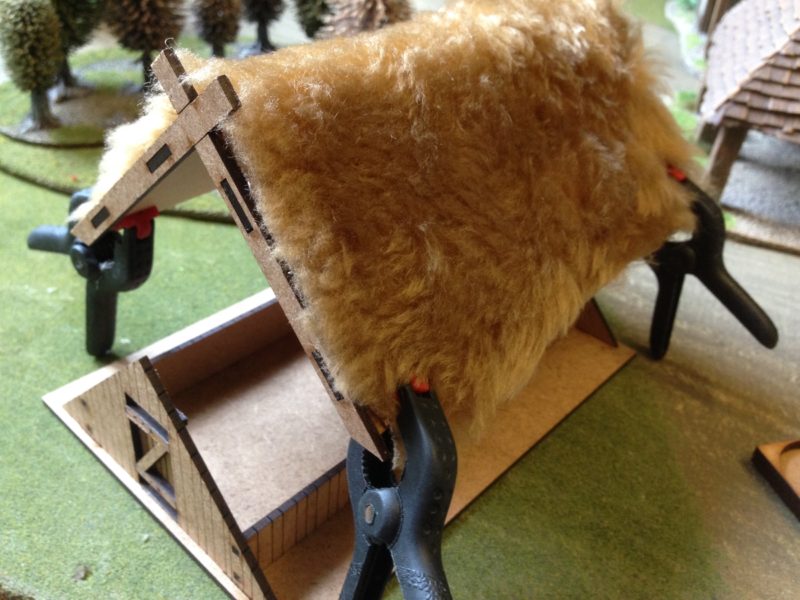
In between painting the Slingers, I have been attempting to add some detail to the sarissa Dark Ages A frame hut. I thought that I would add some teddy bear fur roofing as a start.

teddy bear fur roofing being glued in place.

teddy bear fur roofing being glued in place.

The first job was to cut the fur to shape using kitchen scissors ( don’t tell the wife!) and then to stick it into place using PVA glue. The clamps are just holding it whilst the glue dries.

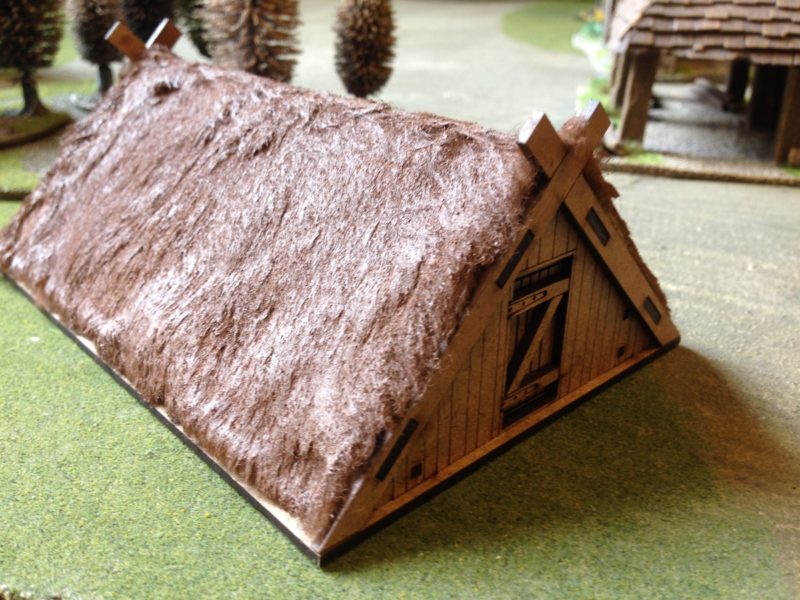
Roof coated in glue & primed

Roof coated in glue & primed

The next stage was to coat the teddybear fur in watered down PVA glue, wait for it to dry ( two days!) and then I have sprayed it with Army Painter brown primer ready for a coat of paint. I’m not sure whether to paint the roof grey as this is the actual colour that thatch goes as it weathers or a light brown or straw colour as this is the colour that seems to be used more by modellers. I’ll show you progress in my next post.

Finally, with all of this dark age stuff on the work bench, I did finally find the time to order my flags for the Cornwall regiment that I finished some months ago. The flags are from GMB, my favourite flag supplier and they certainly improve the regiment. Here are the command stands.

32nd Cornwall Regiment now with flags!

32nd Cornwall Regiment now with flags!

A rest is as good as a change!

I’ve had a very relaxing week away on the beautiful island of Skiathos in Greece. Time to catch a few rays and take a break from the usual routine and recharge my batteries. As well as taking a break for work I also stayed away from my hobby. So no packing up soldiers to paint for me – I even resisted taking my usual historical fact and fiction reads. Instead, I made do with a Lee Childs thriller  ‘Gone Tomorrow’ and the latest page turner, ‘Girl on a train’ by Paula Hawkins. Both exceptionally good reads. I did backslide a tad, in that having burnt through those two paperbacks I found that I had ‘Woe to live on’ by Daniel Woodrell on my Kindle. I came across it by accident and didn’t realise that I had it or even what it was until I started the introduction. It’s a terrific read and a tale of the American Civil War, in particular the war in Missouri and the conflicts between the Jayhawkers and Bushwackers, culminating in the raid on Lawrence in Kansas. The Film ‘Ride with the Devil’ is based on the book and I can recommend both if you are at all interested in the American Civil war period.

I hadn’t done any research on the Island of Skiathos itself. Being in Greece and close to the mainland , you would assume that there would be plenty of history to see, so to speak, but apart from a couple of Monastery’s the Island doesn’t seem to have much in the way of antiquity to see.  So, I hadn’t planned on any Historical research or visits to historical sites. In fact, the only excursion that we had planned was a boat trip to the neighbouring islands of Scopelos and Allonissos. The purpose of which was to do a bit of Dolphin spotting, sample the local food and of course visit some of the locations that the film ‘Mama Mia’ was filmed at – more of interest to my wife than myself.

Pirates weapons on show at the museum at Allonissos

Pirates weapons on show at the museum at Allonissos

As it turned out, on one of the islands, Allonissos, there was quite a good little museum to visit. Billed as a ‘pirates’ museum, it actually had quite a nice exhibition of both pirates weapons as well as other weapons from the Greek war of independence, WW1 and more recently, WW2.

Yet more weapons!

Yet more weapons!

This little museum turned out to be a bit of a treasure trove of interesting exhibits and had I had more time, I would have spent much longer investigating the exhibits and taking notes for future research. As it was, we had agreed to meet back with the ladies and so time was at a premium. It also didn’t help that the museum had a superb balcony bar with the best views of the harbour! So I spent more time nursing a cold glass of beer looking out over the bay, enjoying the cool breeze than I did on any serious research…

The view over the Harbour from the Museum balcony bar.

The view over the Harbour from the Museum balcony bar.

All in all, the museum is well worth the 4 euros entrance fee and is a nice diversion on a very relaxing holiday. Back in the UK for the weekend I found that I was ready to pick up my paint brush again and for the last couple of days I have cracked on and finished my next regiment of Portuguese infantry. It has now been confirmed that they will be appearing in Wargames Illustrated Magazine so if you would like to know how I have painted them ( and indeed why I have chosen certain options when doing so) you will have to purchase the magazine. The regiment is the 11th Penamacor from the Central Division and according to my references, would have been brigaded with the 23rd Ameida Regiment ( which is the featured in the WG article)

11th Penamacor Regiment

11th Penamacor Regiment

I’ve taken a liberty with the unit size as really the regiment would have consisted of two battalions, the first Battalion having the main colour, the second Battalion having the secondary colour, in this case the red flag. So it would be more accurate to have a regiment of 48 figures in two separate battalions of 24, each with their own command and just one colour.

Command Group 11th regiment

Command Group 11th regiment

I may yet revert to this configuration. It will be easy enough to do as I have put each ensign on a different base, so it would just be a case of painting the extra figures and finding some extra officer figures or musicians to make up the command group. I say easy, it does mean painting another 24 figures in the identical facings and I am sorely tempted to paint the next regiment with the yellow facings just to be different. For now though I am having a break from Napoleonics and next up on the work bench are some Footsore Irish Slingers for my new Saga band!

Irish Slingers from Footsore

Irish Slingers from Footsore

Round Base, Square hole.

Back in April 2015, I wrote a blog article entitled ‘It’s All About The Base’ where I explained why I thought that the base was the most important part of finishing a figure. It’s still a view that I hold and judging by some of the frequent questions and queries on forums and Facebook it is an important subject for most wargamers. The problem is that we all seem to have our favourite way of basing our models, influenced no doubt by the rule set that we are using.

 Maroon skirmishers

Maroon skirmishers

I’ve recently been working on some Maroons from the Caribbean wars and next up on the work bench are a batch of Dark Age Irish Slingers for Saga. Both sets of troops are designed to be used in a skirmish game and so I have based them on 25mm round bases. The problem is, I don’t like them – the bases that is. I cant explain why, but I prefer square bases. I particularly like 20mm square as a base size and in the past I have been more than happy to use these. Even for my Napoleonic troops. The problem of moving regiments on the table is simply solved by using movement trays. There are some difficulties with movement trays in that they hold your units in a rigid formation, which can make it tricky when negotiating terrain. It also makes formation changes awkward. My British do tend to stay in firing line but if forced into square it’s a nuisance having to take them out of the tray to form square. However, movement trays generally make deploying, moving and even storing your army easier.

Irish Slingers undercoated and based for painting

Irish Slingers undercoated and based for painting

Just recently I have started to use 40mm square bases for 4 figures. This is ideal for Napoleonics as they rank up nicely, you don’t have to use movement trays, giving you a bit more flexibility but it does mean that you have to think about how you put your regiments together. It’s no good mixing flank companies in with centre companies and you need to think where the ensigns & officers are going to go onto the bases. My Napoleonic Battalions are built as 24’s. This is ideal for Black Powder and even better, I can split them into two 12’s for club battles, giving me two battalions for the price of one.

four to a base

four to a base

I am currently thinking about how to design a movement tray that will allow me to incorporate a disorder marker, casualty marker as well as a name plate for the unit. If I perfect it, I’ll add it to the blog. Even better, I’ll sell it in my shop….

movement trays make movement easier

movement trays make movement easier

And so back to the round bases. I think that I will have to get used to them if I am going to play Skirmish games but I do have a solution for making them look easier on the eye when they are back in the cabinet. Yes, movement trays are the answer, this time with 25mm round cut outs. It helps with my OCD tendencies to see the troops all lined up smartly, even if on the games table they spread out a bit! So once they have finished their battle they can go back into the tray for storage and then back to the display cabinet in smart order!

Irish Slingers will form line!

Irish Slingers will form line!

Maroons of the Caribbean

The last couple of blog posts might lead you to believe that my painting output had slowed somewhat. In fact I have been steadily working through a number of projects, one of which has been to expand my Caribbean contingent. I mentioned that I am reading the book ‘Death before Glory’ a history of the British soldier in the West Indies 1793 – 1815. The number of nations and protagonists involved in this theatre of the French Revolutionary and Napoleonic wars could keep me busy painting for years to come, not to mention the vast amount of material for wargaming scenarios with regard to both the terrain and the people involved. It certainly is an eye opener with regard to our own history and that of other nations.

My Maroon band stealthily make their way through the forest!

My Maroon band stealthily make their way through the forest!

One group involved in the struggle were the Maroons. I use the word ‘group’ very loosely. In reality they were a number of disparate communities made up of runaway or freed slaves that had formed their own free communities in the wild interiors of the various Caribbean islands. In fact, there were and still are, Maroon Communities throughout the Caribbean, some parts of South and Central America and even in the USA. They were formidable warriors and expert at using the terrain to their advantage. The Maroons of Jamaica fought against the British and held the might of the British Army at bay for sometime.

Jean Kina leads his band to attack!

Jean Kina leads his band to attack!

As well as fighting against the British, they also fought alongside them on Saint Domingue ( Now Haiti). One leader, Jean Kina, led a substantial force of freed or runaway black slaves that fought for the British and was involved in number of engagements with the French. So it was clear to me that I needed to add a unit of Maroons to my collection and of course the obvious choice was the figures from the Trent Miniatures range. I have still to finish the bases of my figures. I intend to add more plants and give them more cover to hide behind! But for now the unit is ready for use. I have been blathering on about using the Muskets and Tomahawk’s rules to game in this region and whilst it is still on the agenda ( as it has for the last couple of years) the new Sharp Practice rules look as they  may be much easier to adapt. I also think that they may give more flavour to the troops and Characters involved – who knows, I may be able to use a bit of Voodoo. Napoleonic Zombies…now there is a thought!

Voodoo Chile..you wouldn't want to mess with this guy!

Voodoo Chile..you wouldn’t want to mess with this guy!

I would very much recommend that if you are interested in the French Revolutionary and Napoleonic Wars that you research the conflict in the Caribbean. There is a wealth of material and scope for skirmish games, the history is fascinating and the characters involved may be more familiar than you expect. There is nowhere near enough time or space in a blog post to give you an idea just how much was going on out there. There were very few big set piece battles as was seen in Europe but my goodness, there were some fearsome sieges, amphibious assaults, guerrilla fighting and ambushes. The fighting seemed to be non stop across the Islands as first one side held ascendancy and then the other , with both succumbing to a terrible toll due to Yellow Fever and Malaria.

For now though, I have my Maroon Unit, next on the painting table, for this army, Cuban hunting dogs…

1 11 12 13 14 15 18