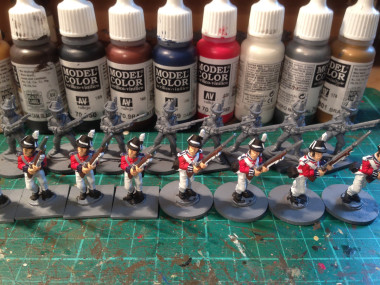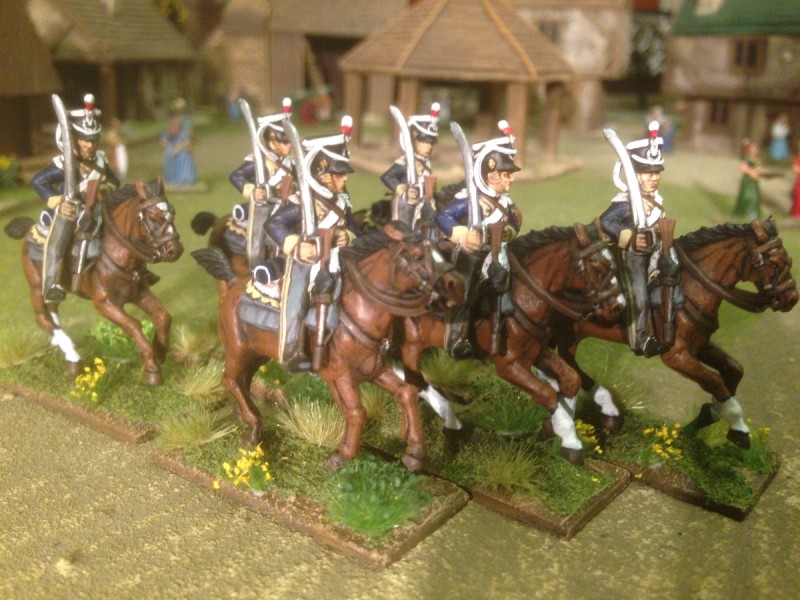

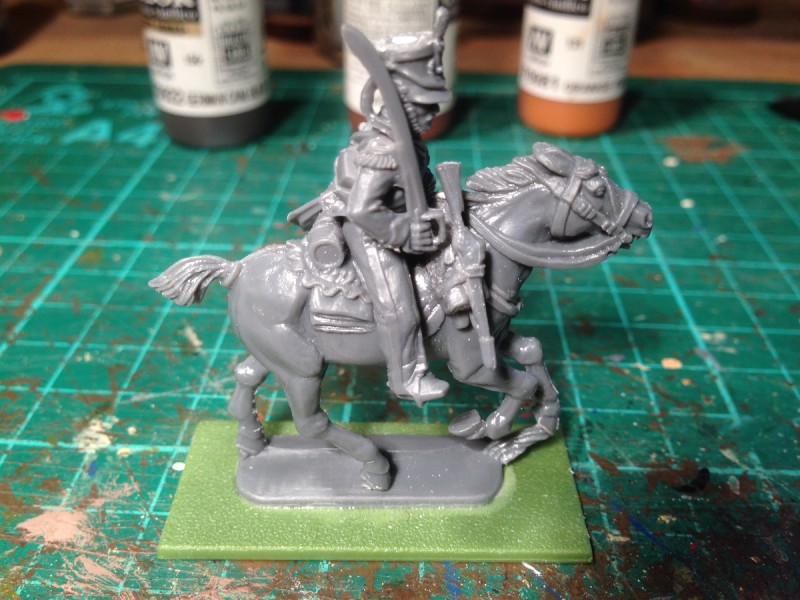
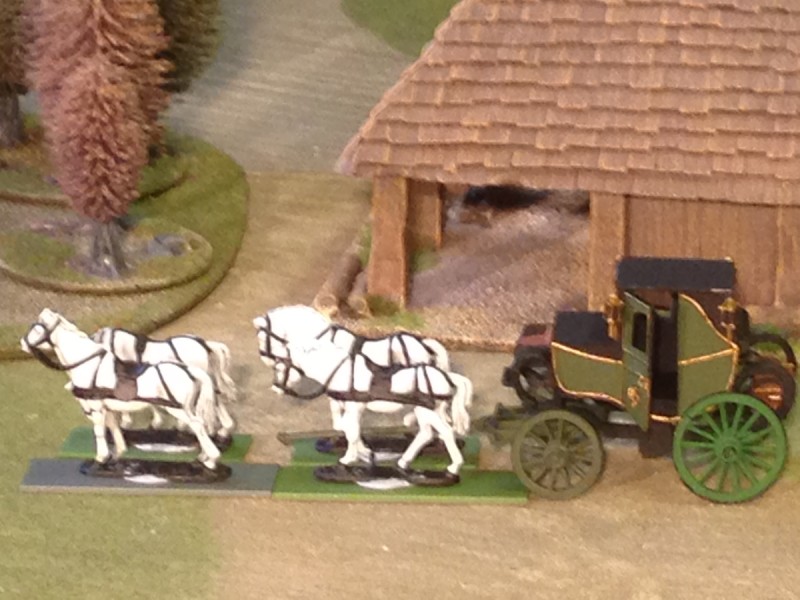
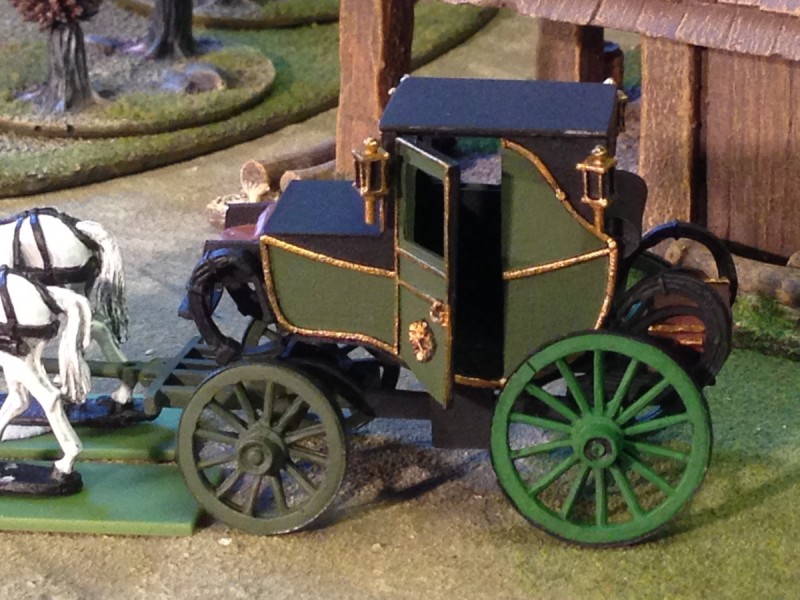
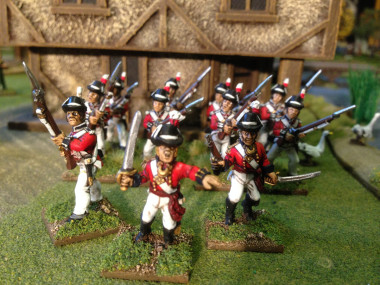
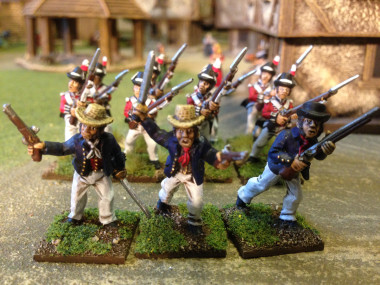
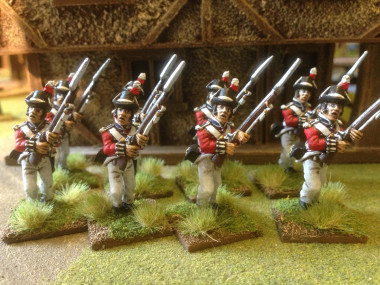
Perry Light Dragoons – the first 6 troopers are finished.
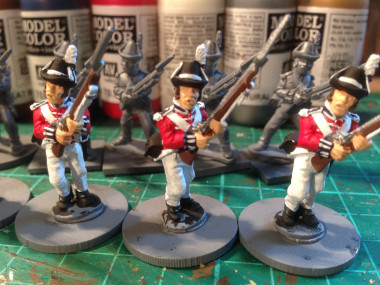
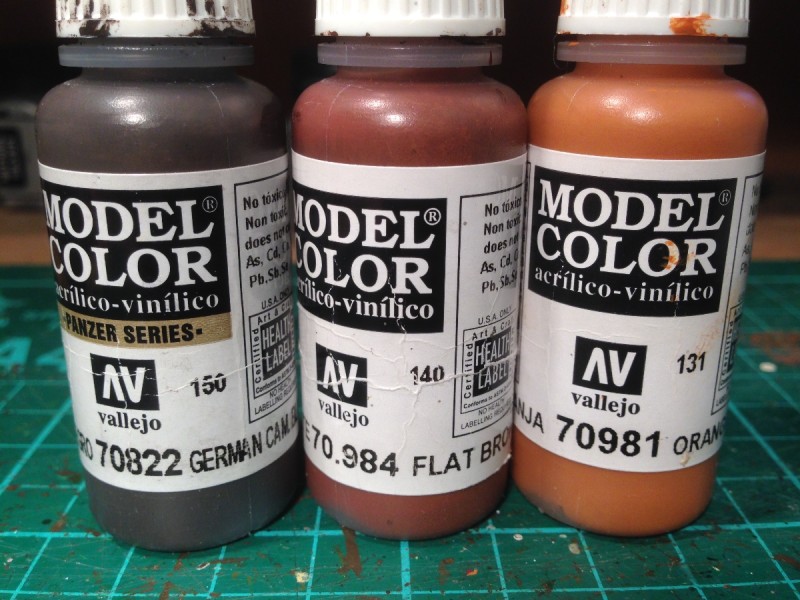
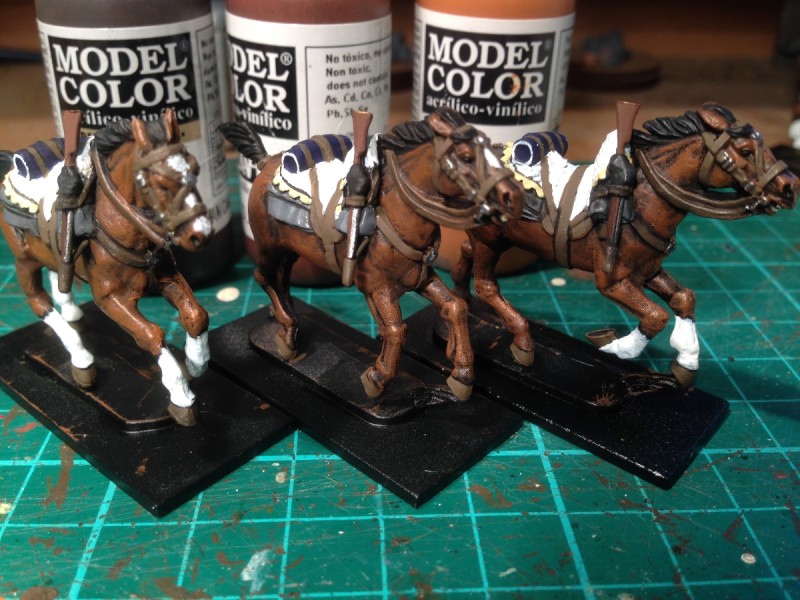
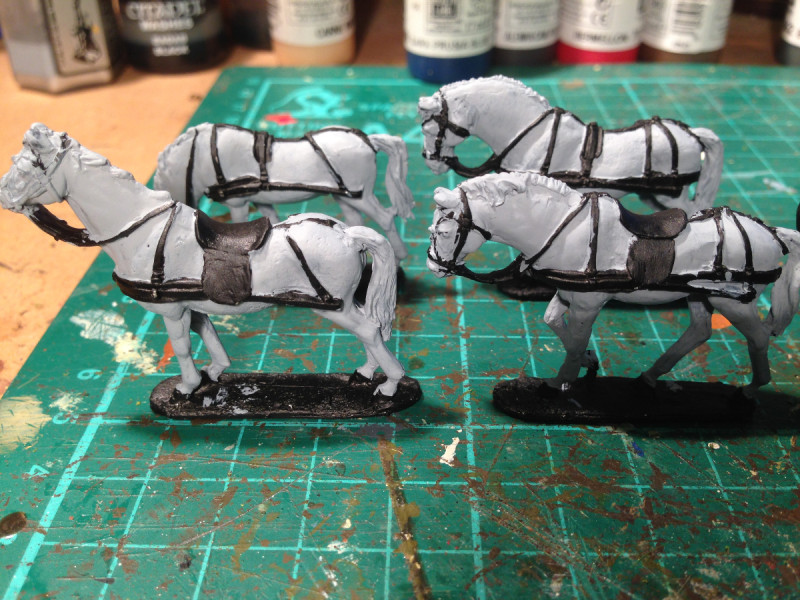
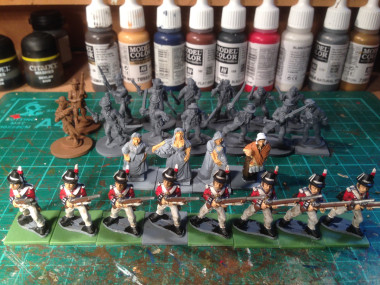
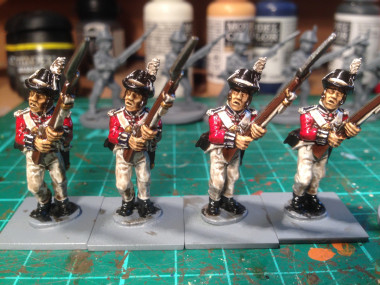
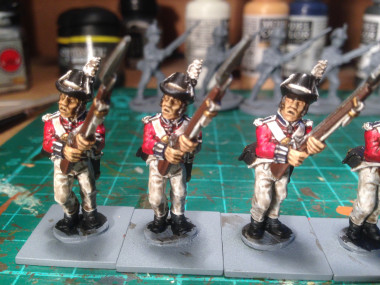
To be honest, the blog post title is a bit of a tease. As you can see, I have finished the first 6 troopers in the regiment and they did indeed see service on the wargames table this weekend. However, time constraints this week prevent me from writing up either a full battle report or a comprehensive guide to painting the troopers. Just to say that I followed my usual process for troops, of block painting the main colours onto the figures, painting them with Army Painter Strong tone ( the black) quick shade, and then once they were dry, spraying them with antishine matt varnish. The final stage is the most important though, I give all of the lighter colours and metallics, a highlight, particularly the white as this makes these areas really stand out. I also used a new trick to help me to get the lines on the troopers overalls. The main buff stripe was first painted and then I painted a grey line down the middle to separate the two stripes. However, rather than thin the paint with water, I used Vallejo thinning Medium, 70524 to thin the paint. It gives a slower drying time but more importantly, allows the paint to flow from the brush, making it easier to paint a long line. You still need a fairly steady hand ( No Jack Daniels for me when painting!) but there’s no doubt it makes a real difference when using a fine brush.
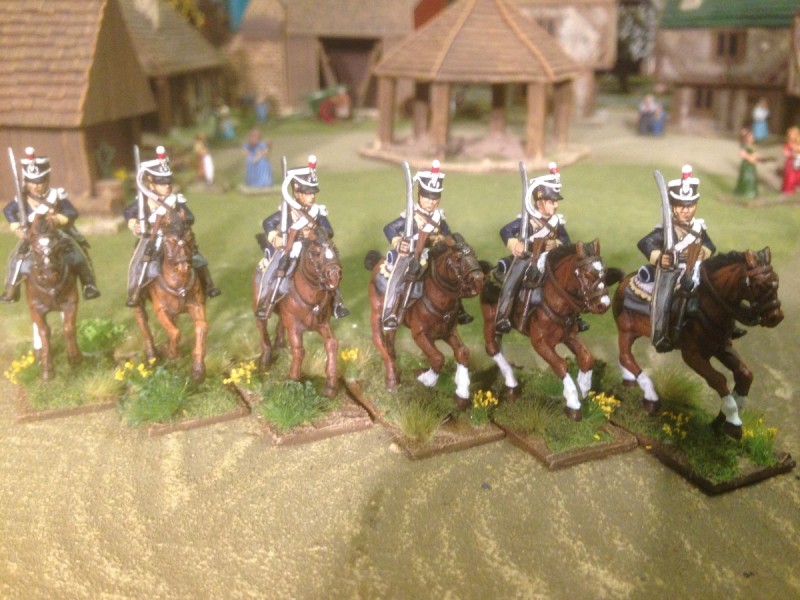
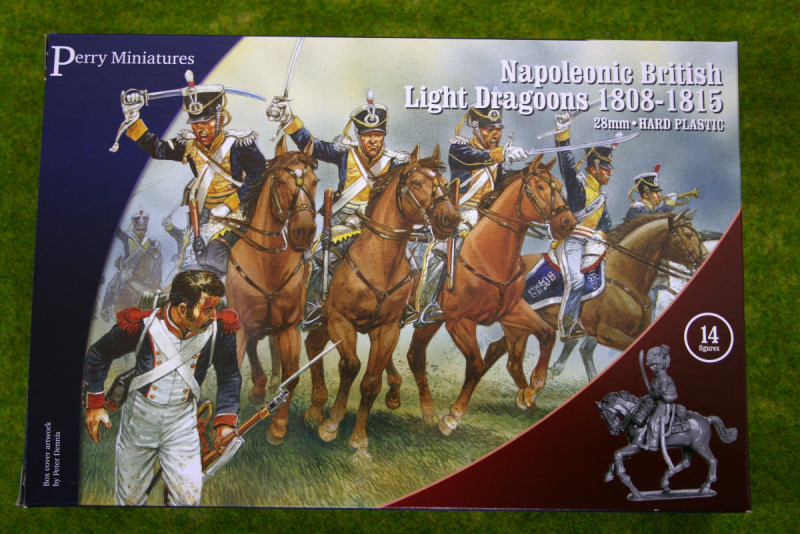
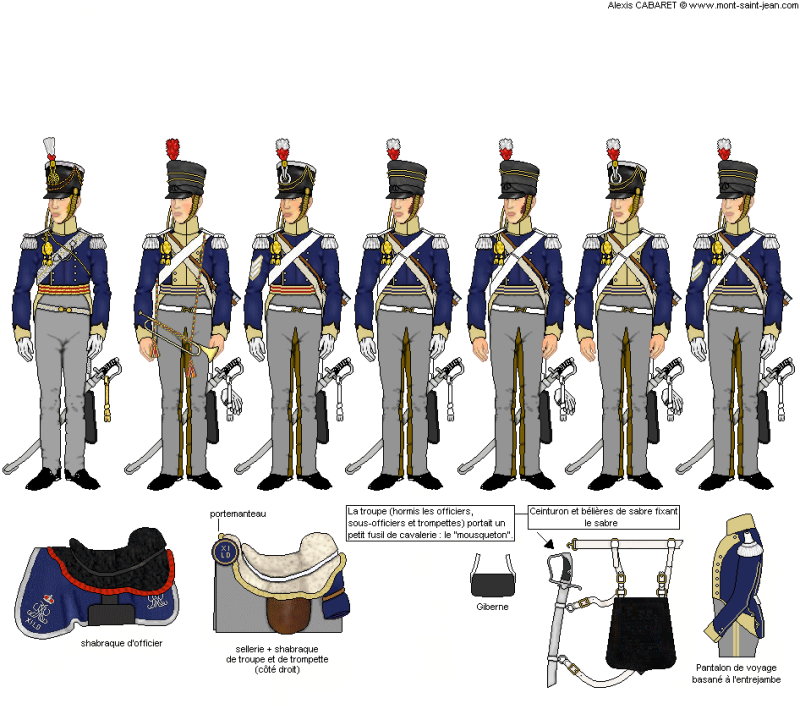
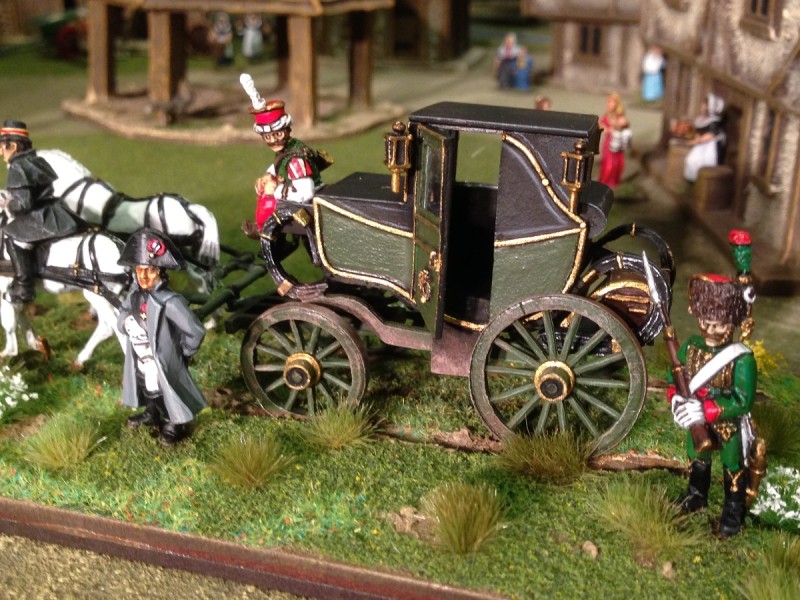
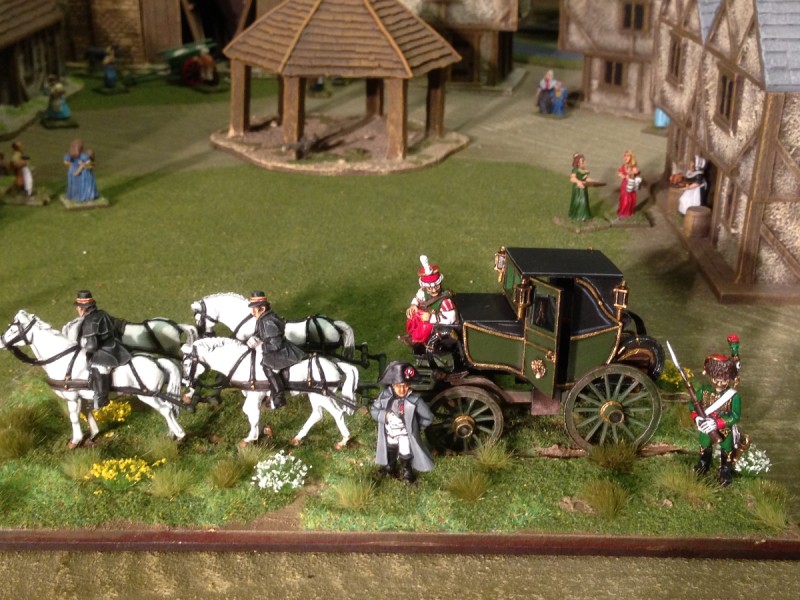
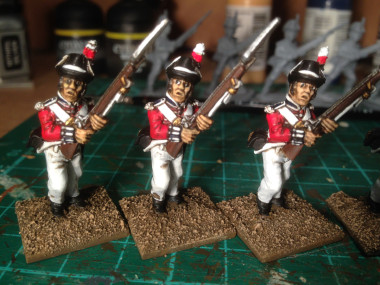
A detachment of the 11th Light Dragoons
The basing was done to my usual process, although I treated myself to a pot of Vallejo Dark Earth textured paste to speed things up. So with the first six troopers done, they were deployed in the latest of our war gaming groups’ mega Battles, the retreat from Bitteberg. As is often the case with new units, they attracted quite a lot of attention. In this case, most of it of the wrong sort. Their first task was to defend the flank of an errant foot battery that had advanced without support, the rest of the brigade refusing it’s orders. My opponent, Pete couldn’t believe his luck and proceeded to shoot the unit to bits! Fortunately, it was able to rally but played very little part in the rest of the battle.
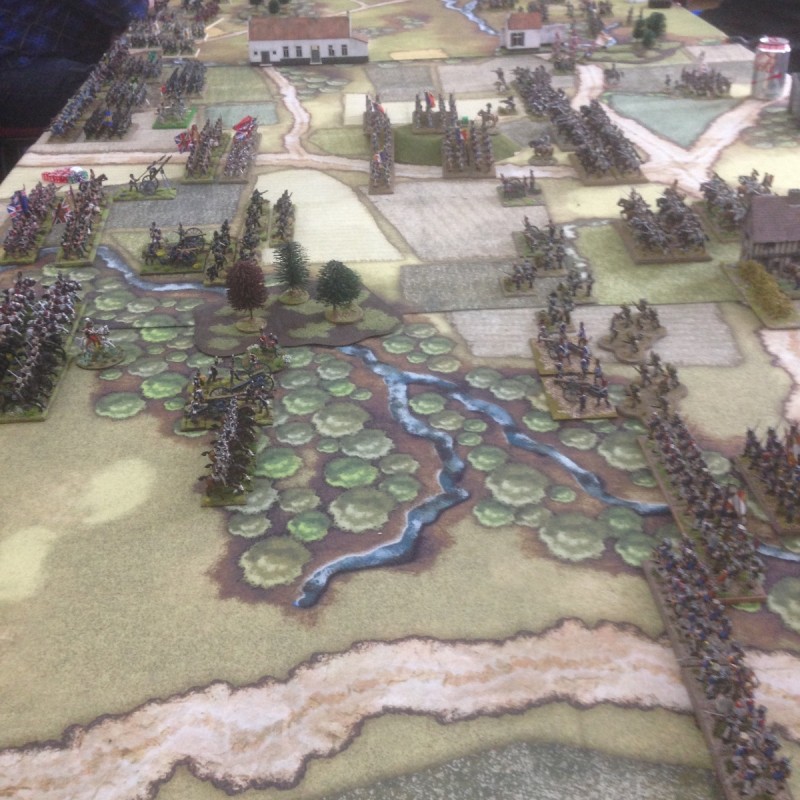
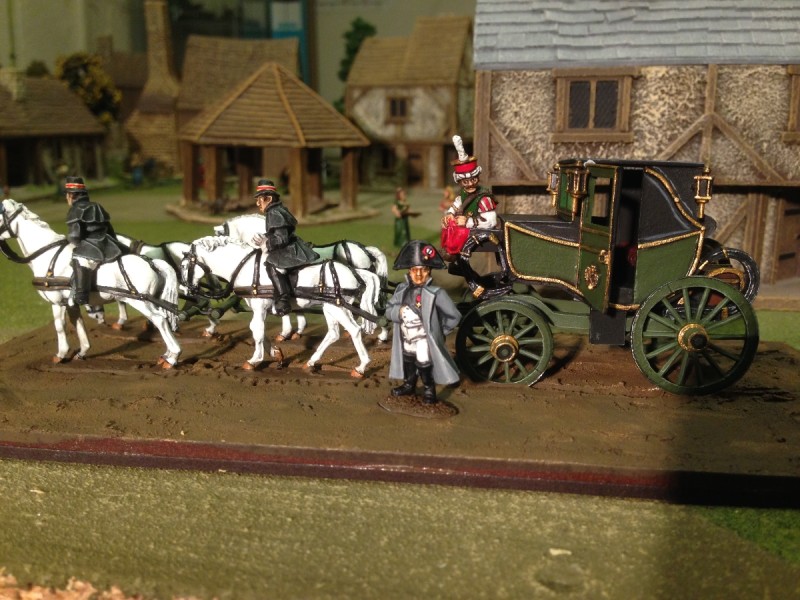
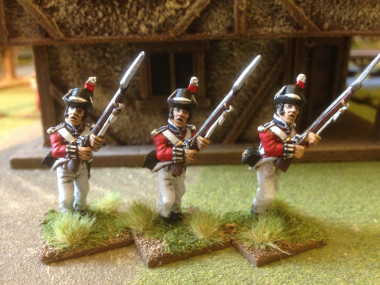
The Light Dragoons are a bit exposed!
I’ll perhaps add a few more pictures to my next blog, along with an outline of the battle. That’s all for now though – time has run out!

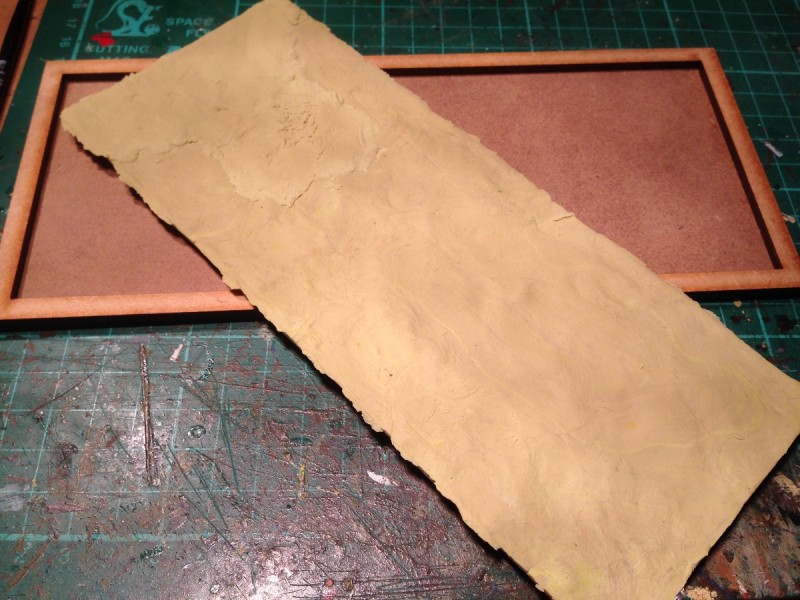


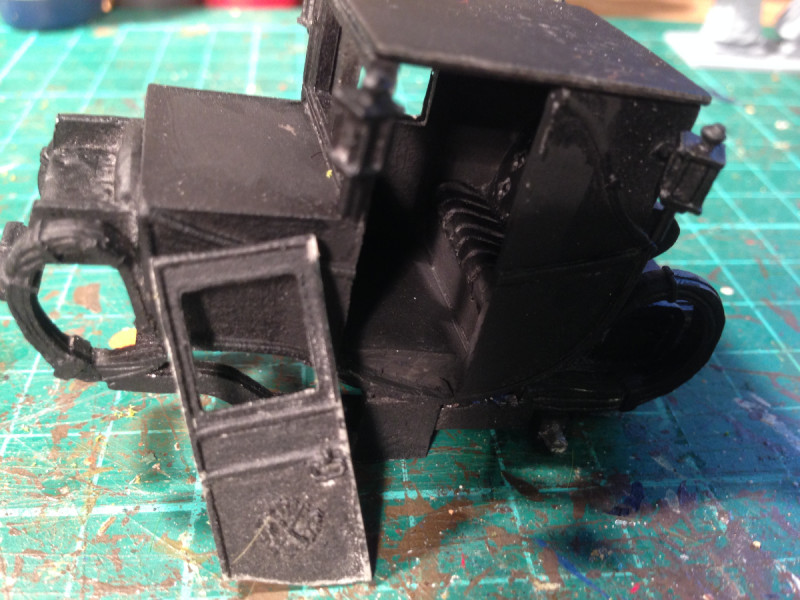

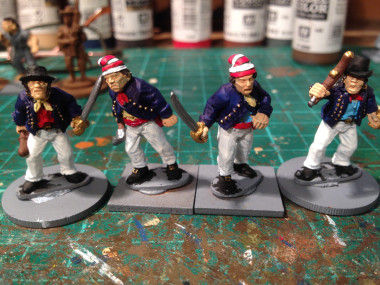


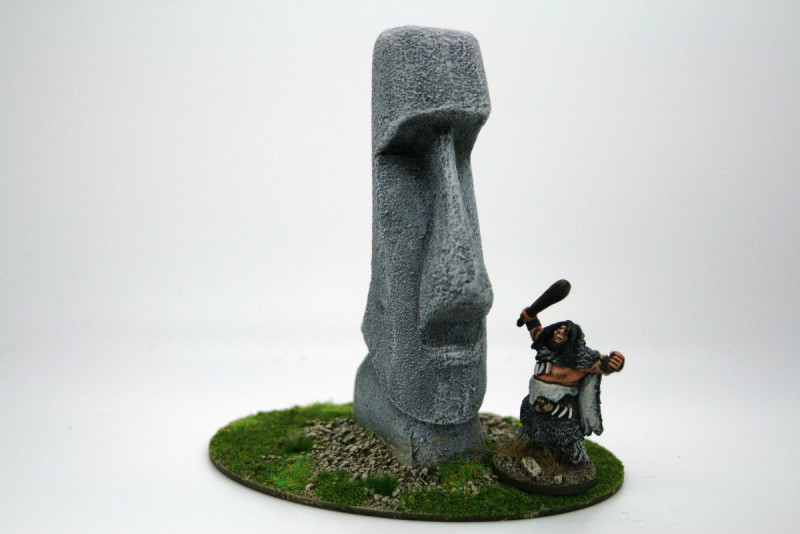
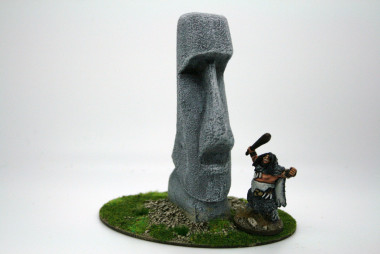
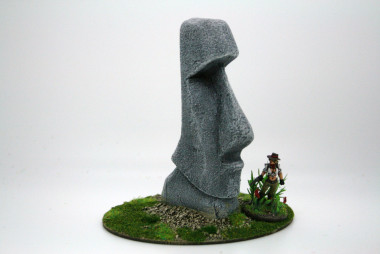
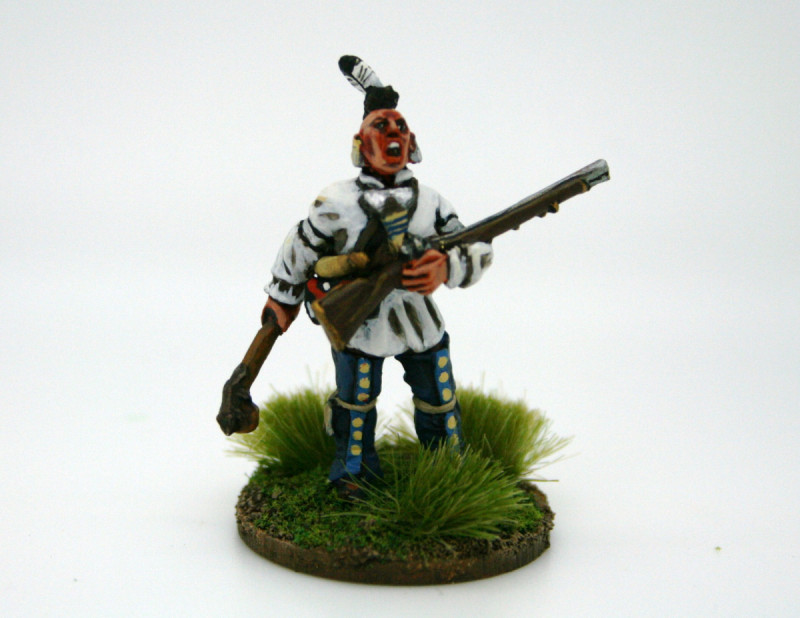
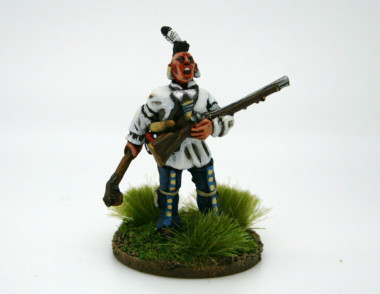
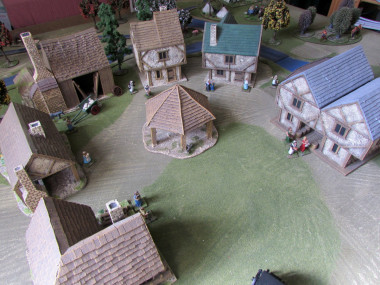
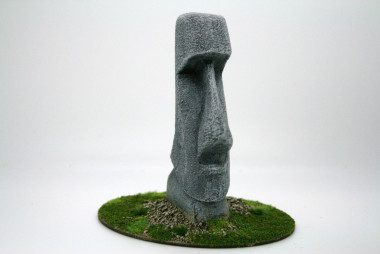 No, it’s not the start of an Arcane Scenery Haka, but the first in a series of terrain pieces that are being designed for us in conjunction with Nick and Tasha, two very talented people that make up the N-FX team. N-FX have produced special effects for the TV & Film industry as well as producing custom built costumes for the Cosplay community. You can see some of their recent projects here: