The recent spell of hot weather hasn’t helped with my painting or modelling projects. Apart from the paint drying as fast as I could use it, it’s been too hot in my garage to sit with the lights on whilst painting for any length of time. Far better to sit in the garden with a nice cool drink! Despite that, I have completed the unit of Irish Slingers for my new Saga army, albeit with a bit of a rush to have them ready for this blog. I have finished these guys in some fairly earthy, drab colours and have not worried too much about any decoration or embellishments. I concluded that if all you had on the battlefield was a sling or in the case of some of these boys, a rock to throw, then they weren’t too far up the social ladder ( if even on it) and therefore their clothing would be pretty basic.
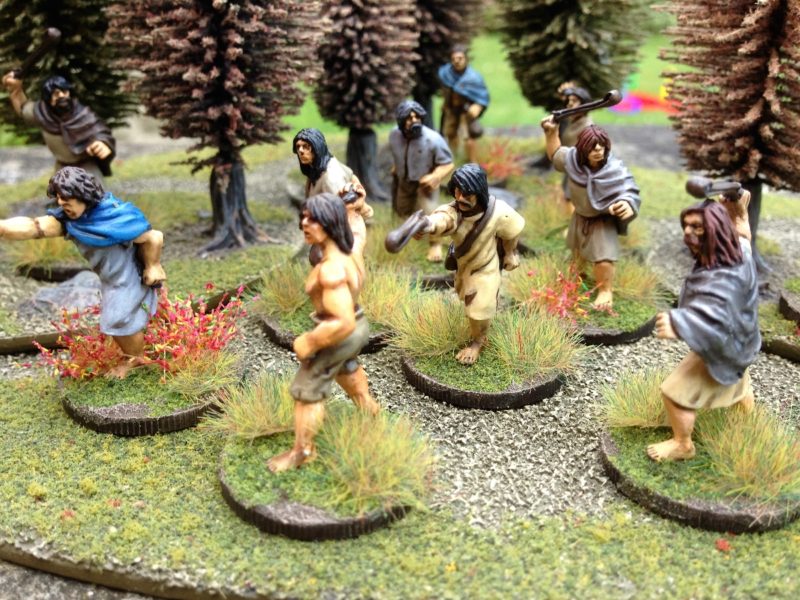
Irish Slingers ready for action
I used the Army Painter strong tone ink to get the shading and then highlighted using the original colour with some off white added. As for basing, I used the Sarissa 25mm round MDF bases. I have a general rule that I use MDF bases for Metal figures and plastic bases for plastic figures. There’s no real reason, Renedra plastic bases would be fine, it’s just a personal preference. Once I had glued the figures to the base, I used my new favourite thing to blend the figures to the bases – Vallejo dark earth textured paste. The next job was to paint the base and texture paste with a Chocolate brown and then highlight by adding Iraqi Sand to bring out the texture. Once dry ( which didn’t take long… see my comments above!) I used some watered down PVA to coat the centre of the bases around the figures and dunked them into my green scatter mix. The final task was to add some grass tufts. I decided to ‘road test’ the new range of Javis tufts the we have just started to stock.
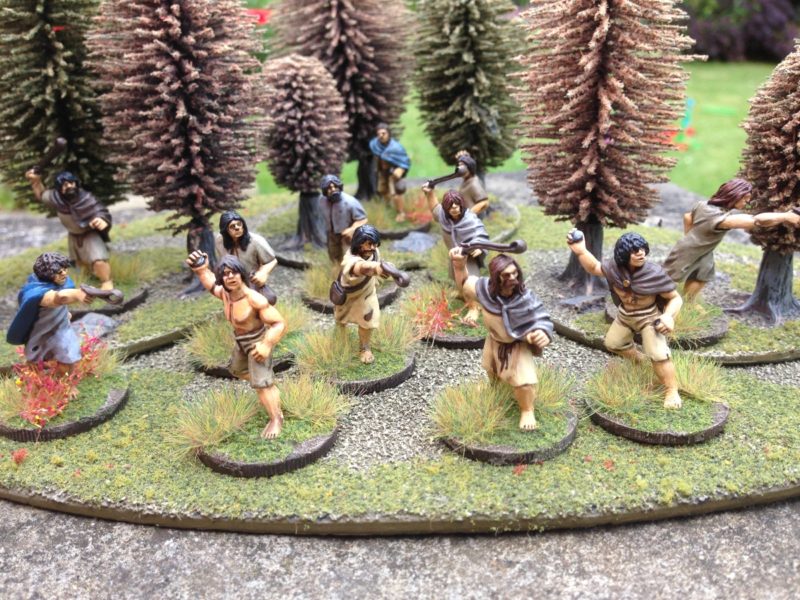
The Irish like a bit of cover!
I decided on the Autumn mix 6mm tufts, which are not too bright a green and blend well with my scatter base. My first thought was that they were a bit too big to use straight form the pack and so I cut one in half. However, on the next figure I used the whole tuft and decided that this gave a good effect. After all, the Irish in Saga like to operate near to cover! To brighten up some of the bases, I added some of the Flower mix 10mm tufts. I did cut these down and unusually for me used them sparingly on just four of the figures. Overall, I am quite happy with the effect and pleased to recommend these new tufts. So my first unit is ready for the table!
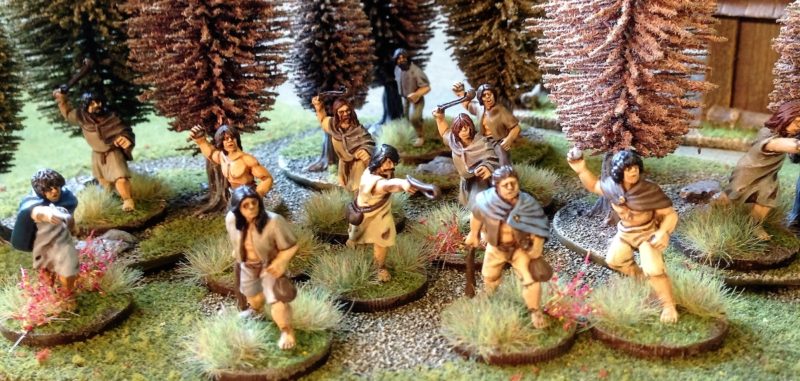
Get ready for action! He’s rolling dice again!
So it’s onto the next unit. This time I’m going to have a go at the Footsore Irish Fianna with Dane axes. These warriors will hopefully cause mayhem as part of my Saga band and count as Hearth Guard, so eight of these will form a good part of my army. As the photo below shows, once the figures have been cleaned up, I attach them to a board using blutack and spray prime them. In this case I am still using Leather Brown. Blu tacking them to the board enables me to hold them at all angles to ensure that they are well primed. Next step is to put them on temporary bases, again using blutack and to get painting!
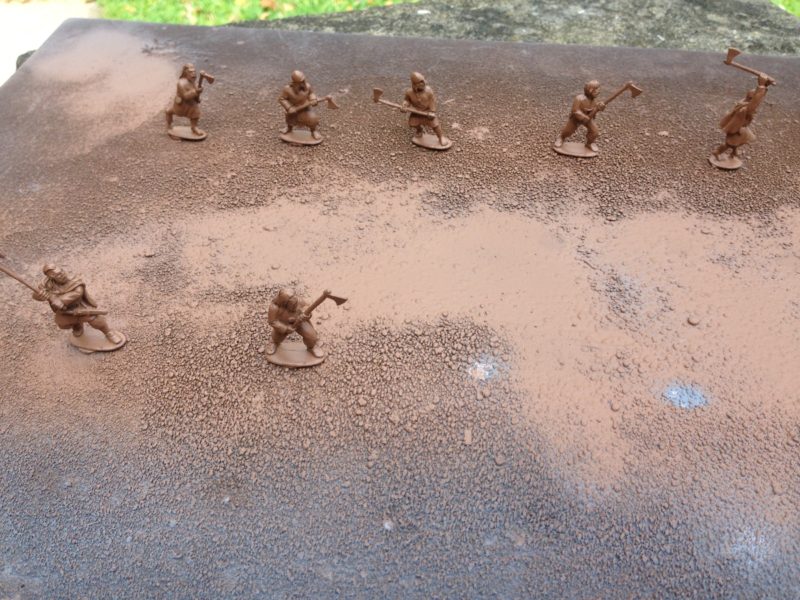
Fianna, Primed.
As well as working on the unit of Slingers, I have been ‘pimping’ a Sarrisa dark age A frame hut as the first piece of scenery for my Saga games. I have made some more progress but not quite finished it. With hindsight I should have made this as a step by step blog article in it’s own right. Here is the progress so far:
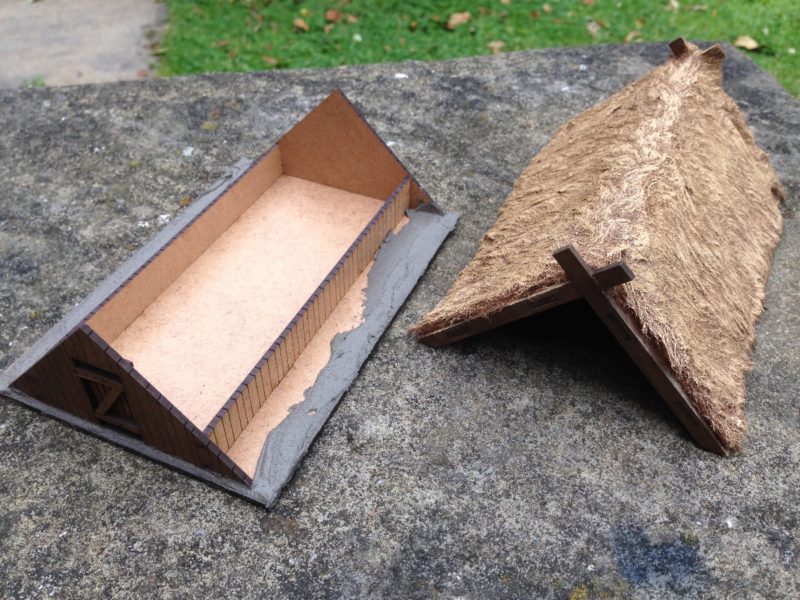
Sarissa A frame hut W.I.P.
As you can see from the photo, I have highlighted the thatched roof by dry brushing it with Vallejo Desert Yellow first and then again by adding off white to the desert yellow. I’ve added some Vallejo Dark earth paste to the edges of the house to give it a rougher texture. Finally, I’ve base coated the timber that will show with chocolate brown. The next picture shows this a bit better.
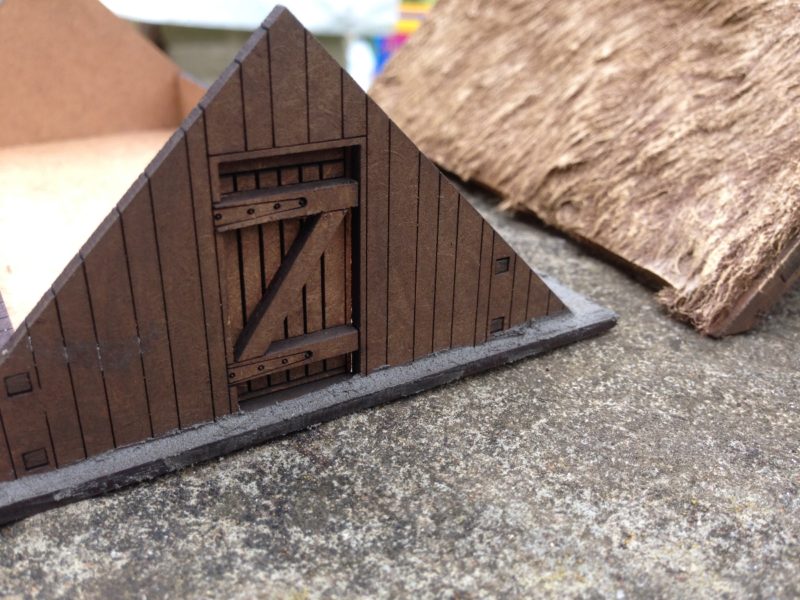
timber base coated
As you can see, the paint does not cover the laser etching, allowing this detail to shine through. I will be doing a bit more work on this and I will show you progress in the next blog.
I am at the Wargames Illustrated Saga ‘Iron Man’ day this weekend. I have low expectations as to how well I will perform in a tournament. I don’t really like Tournament wargaming, I’m not comfortable in taking the hobby too seriously and worry that I might…. However, The Wargames Illustrated days have in the past managed to create a nice relaxed atmosphere and I hope that I will learn a great deal and meet some like minded people from the world of wargaming. Read all about it in the next Blog!