I mentioned in my last blog that I would be attending the Wargames Illustrated event ‘Saga Iron Man’ held at WI HQ in Nottingham. The Saga Iron man Tournament format was such that all you had to do was pay your entrance fee and turn up on the day. Everything that you needed would be provided, from well painted armies, tables and scenery through to the Saga dice and measuring sticks. Even refreshments and dinner was provided! To make matters interesting and to really test your knowledge of the game, the Armies would be assigned randomly on the day and each game would be played with a different army. There were to be four games for each player in total, each against a new opponent. The word ‘tournament’ usually has me running for cover. I’m not a tournament player and don’t really like the idea of competitive wargaming – it can bring out the worst in players and nothing is quite so sad as grown men arguing over toy soldiers – I speak from shameful experience here!
However, events held at Wargames Illustrated HQ have in my experience been extremely good-natured and thanks to the friendly, approachable nature of Danny, the owner of WI, the Event days are well worth attending. They are as much a social event and a chance to meet like minded people from across the hobby. I put aside any concerns and signed up for the day as a chance to play Saga with armies that I had not used before and an opportunity to learn more about the game. My expectations were happily fulfilled although at times, I was well away from my wargaming comfort zone! The battle scenarios were fairly straight forward. Each side had 5 points of troops and the idea was to kill as many of the enemy as possible. The player with the most points at the end the battle won the game and the player with the most points at the end of the day would be the Saga Iron Man. Here is an account of how the battles went.
Battle 1
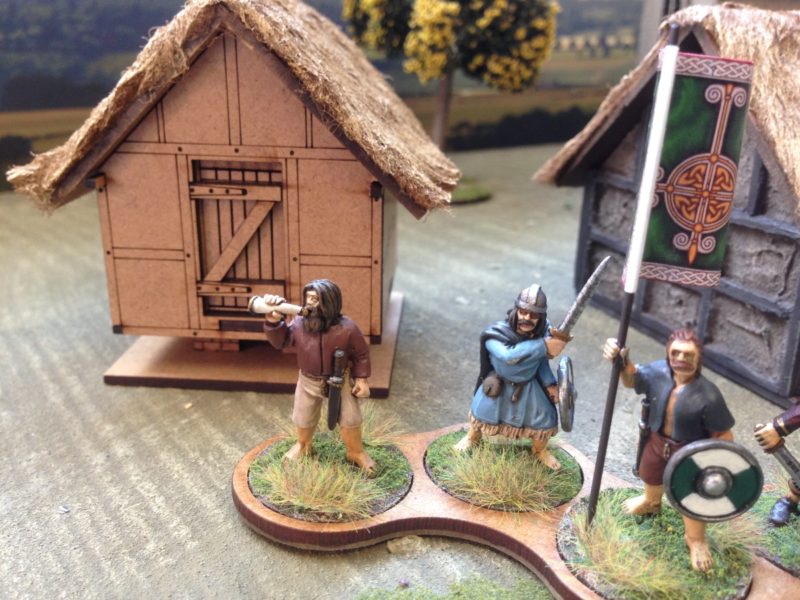
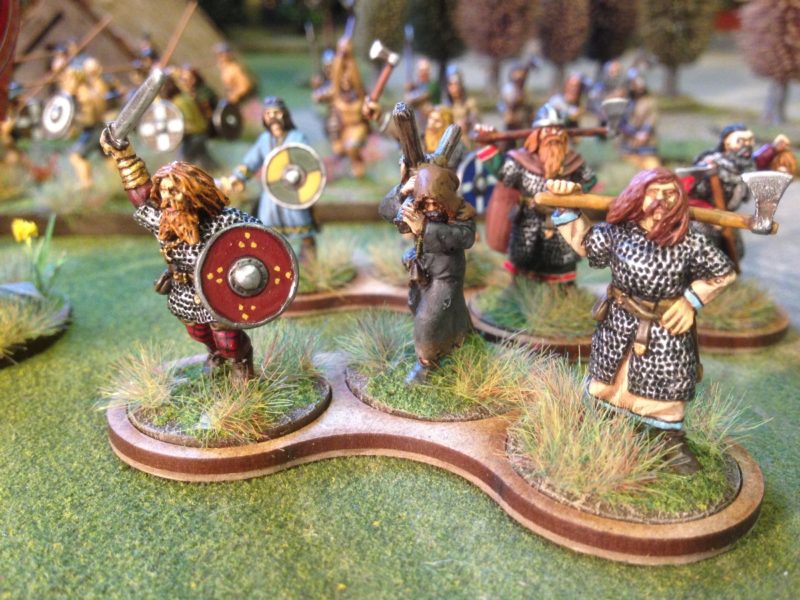
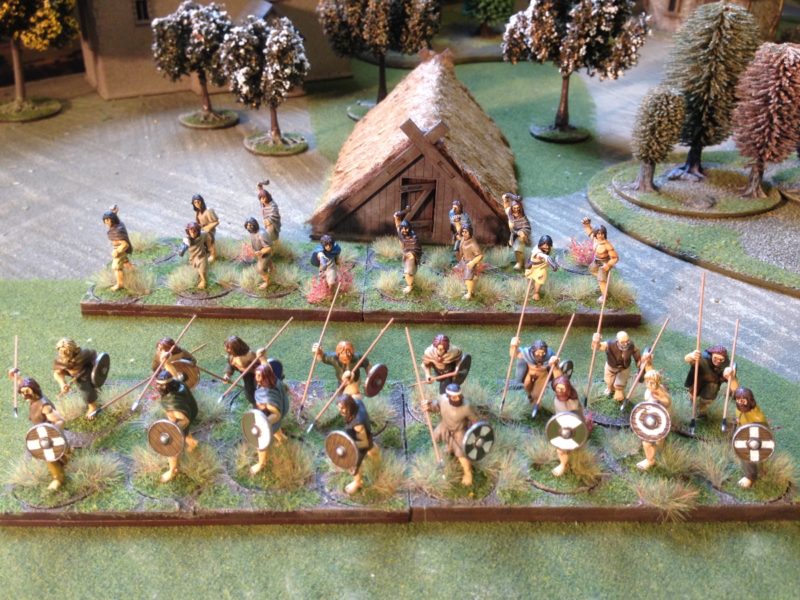
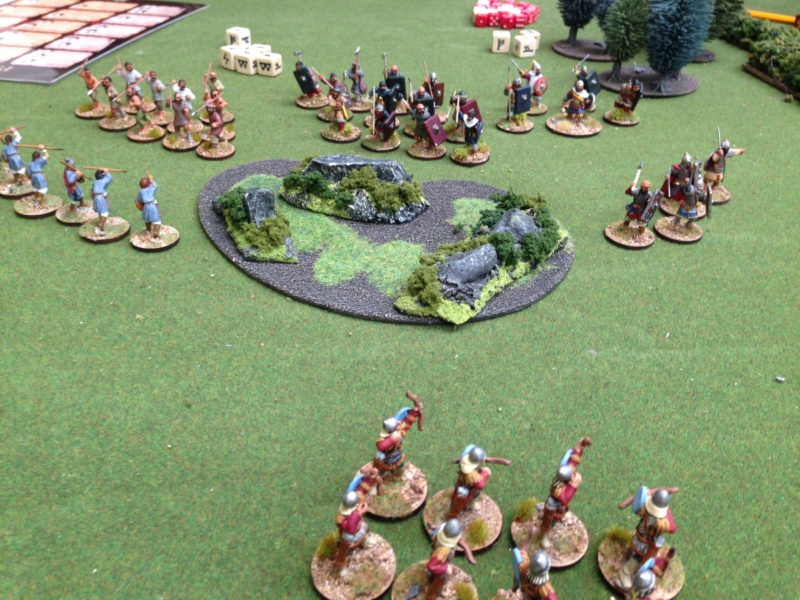
Your Byzantine Army awaits you.
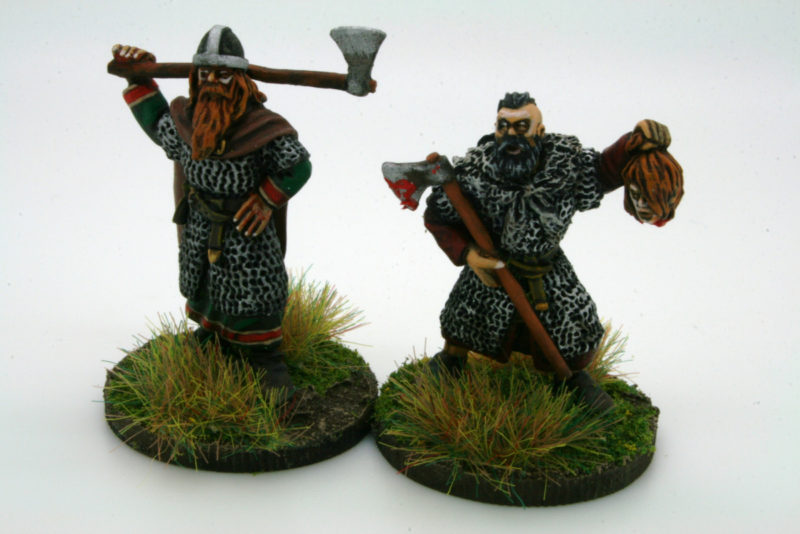
Having drawn a random rune, which gave me my starting position, I moved to the relevant table to see which army I had drawn. Flipping ‘eck! I was playing Byzantines and my opponent was using Pagan Russ. Both armies feature in the Varjazi & Basileus supplement which I had not even read , let alone played the armies. Fortunately, my opponent, Nick Simmerson was almost as inexperienced as I was and was prepared to be patient as I blundered along trying to get to grips with my new battle board. Nick lived up to his deserved award of ‘Most Sporting Player of the day’ and patiently explained how he thought both armies would work and the best strategies to use. We got on with the game and thanks to some decent dice rolling I did manage to inflict some damage on my opponents army. At times, the battle felt a bit like two drunks fighting in a darkened room as we got to grips with our respective battleboards. Nick used the Pagan Russ control of the weather to slow my army and limit the effect of any ranged attacks. However, as the two sides closed and went on to the attack, it was the Byzantine side that edged the contest and gained a narrow victory 11 points to 9 points. Still, a win was a win and feeling a bit more confident, I moved to the next battle, hoping that I would get something that I was familiar with.
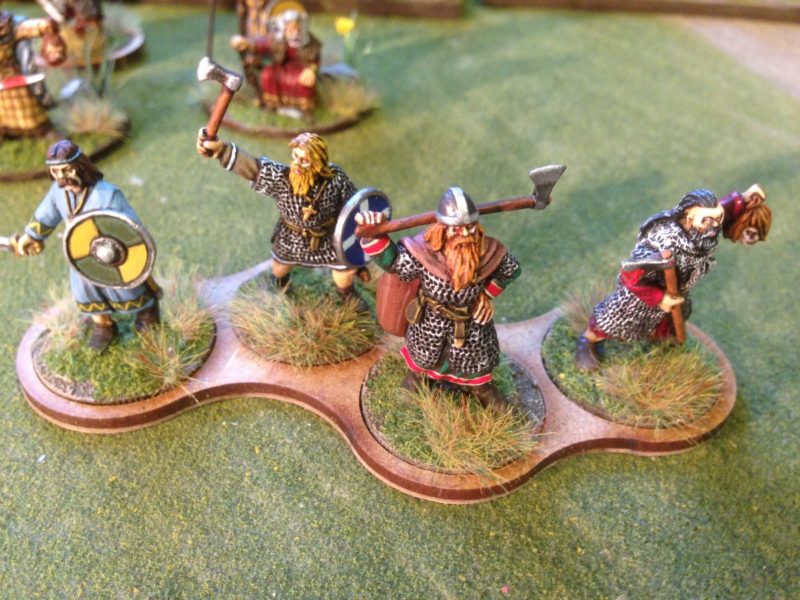
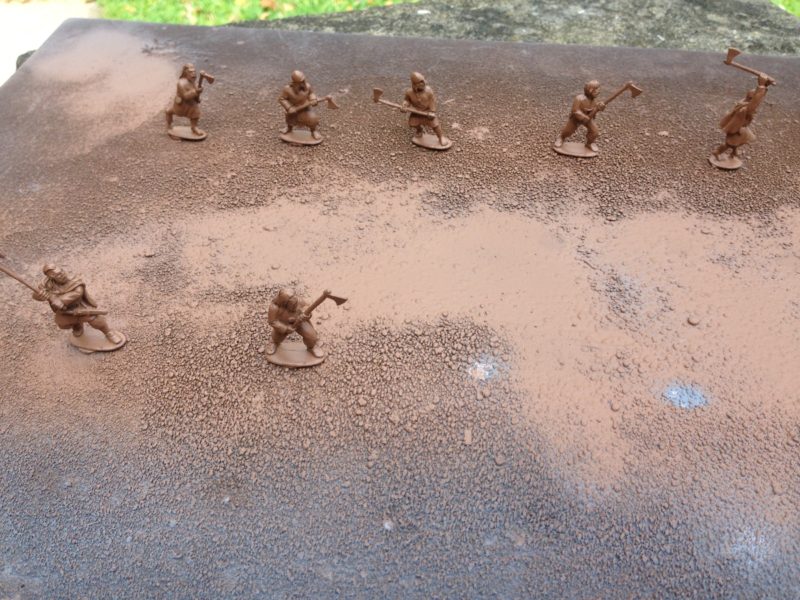
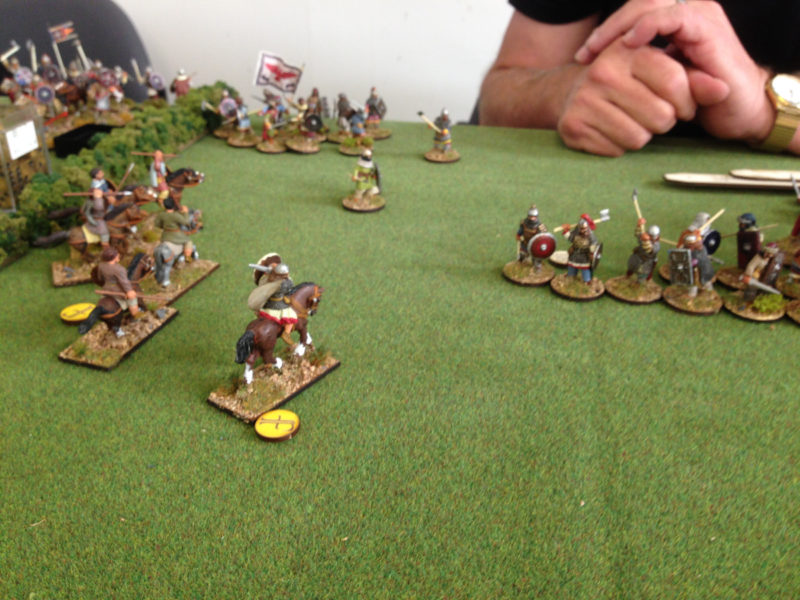
The Pagan Russ advance into range
Battle 2
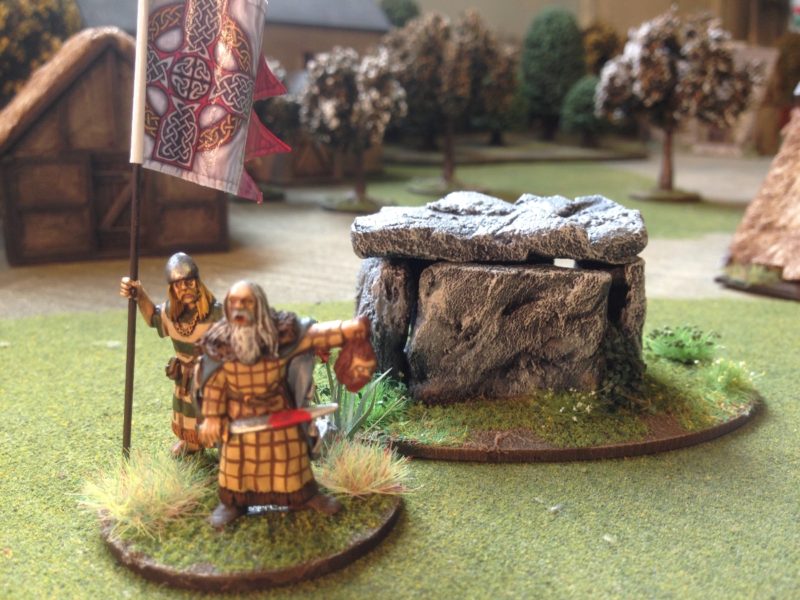
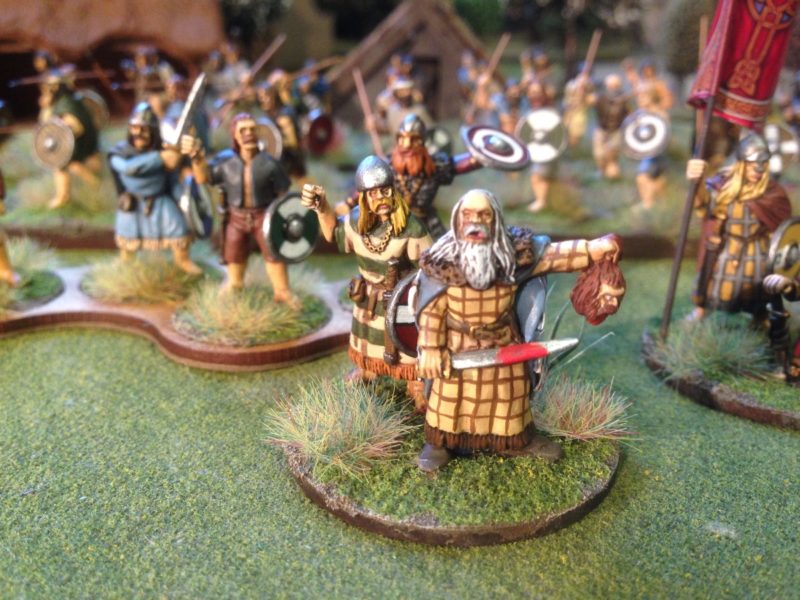
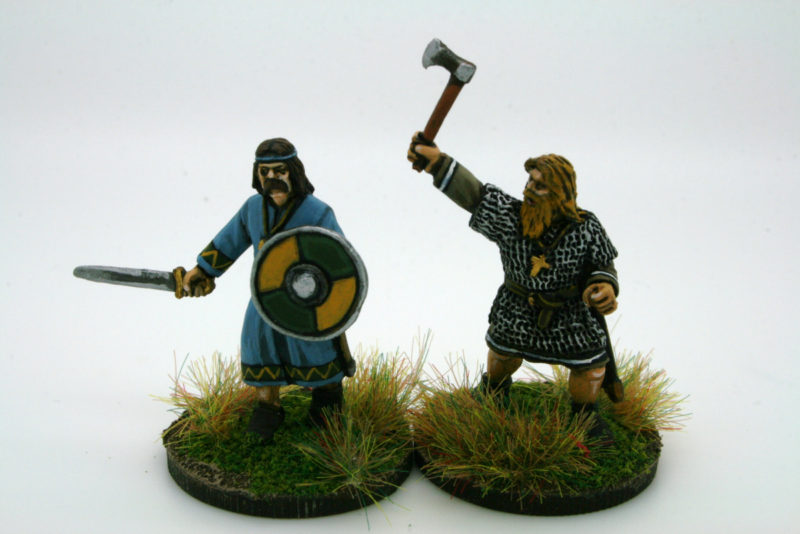
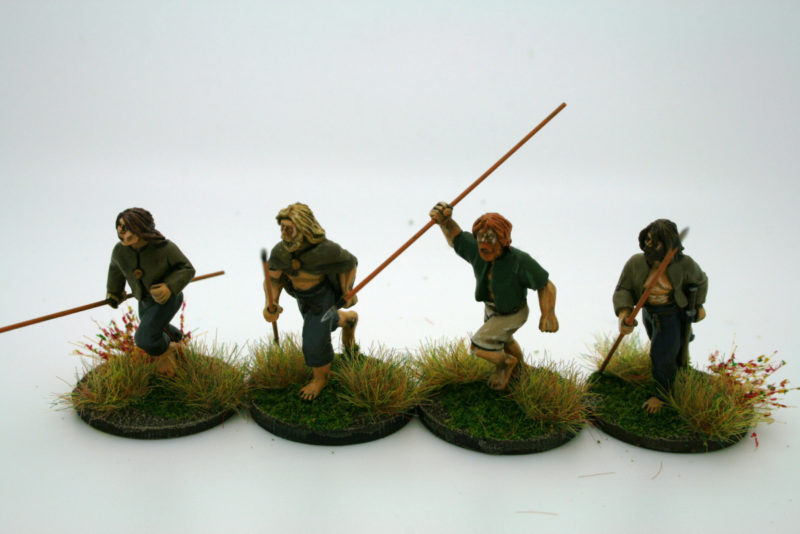
My next force was the Strathclyde Welsh. Oh dear! I knew very little about this army other than the main advantage it had was that you could deploy off table and still use these units to score hits on your opponent. Furthermore, you could enter at any point to surprise your opponent and outflank him. My opponent, another Steve, was using Jomsvikings, with whom he seemed remarkably comfortable. It turns out that they are his army of choice…bugger! I decided to deploy a large unit of mounted warriors off table in the hope that I could outflank my opponent and roll up the wing of his army before he could react to the danger. With hindsight, I would have been better off splitting this unit into smaller units to gain more abilities from my battle board. I also underestimated the power of the Wrath of the Jomsviking. Initially, I was quite happy to let him build up his store of wrath, thinking that I would be able to punish him before it could be used. Oh boy, was I wrong about that as well. I had a big unit of Levy and for all the good that they did in the battle, I could have sacrificed these guys to keep the Jomsvikings quiet!
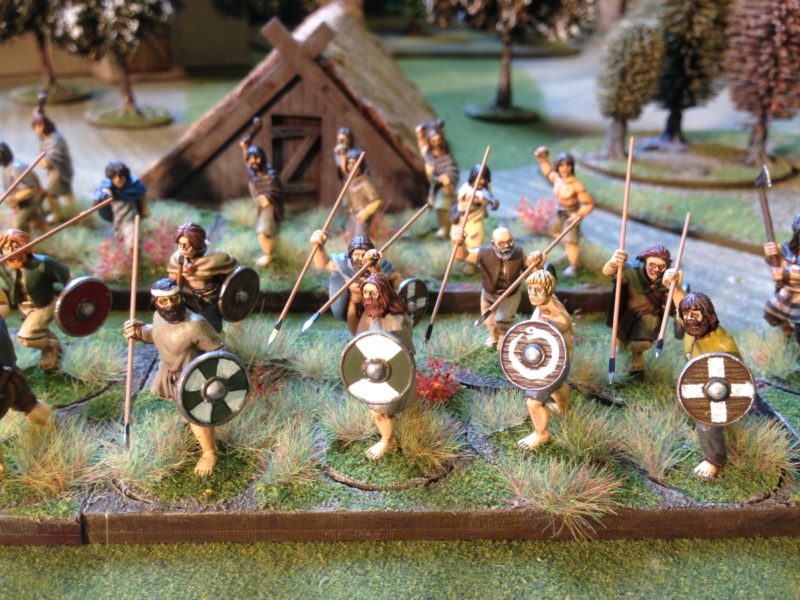
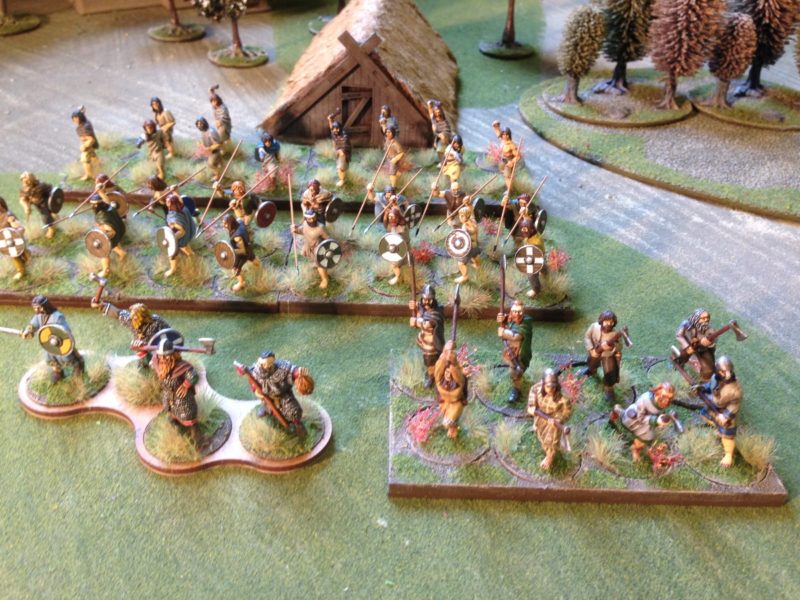
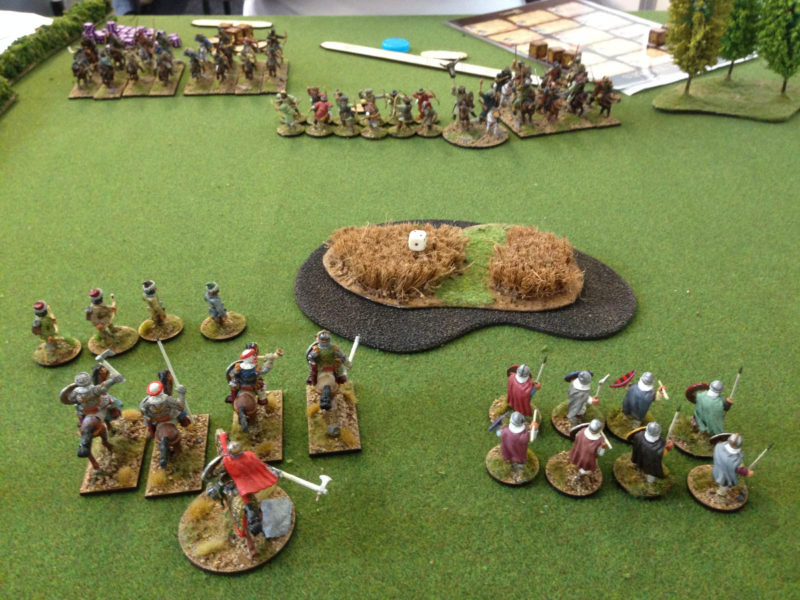
Strathclyde Welsh take the flank.
In the second turn, I unleased my out flanking move by bringing on the large unit of warriors and supporting them with a unit of Hearth guard. The combat was a qualified success as I wiped out all of a warrior unit except one man – this turned out to be critical as the wrath of the Jomsvikings was now unleashed on my army. The counter attack saw the remains of my warrior unit killed out right as well as a unit of hearth guard. By protecting the last man in the Jomsviking warrior unit, my opponent still had his full quota of saga dice to roll, whereas by the end of this turn I had lost two dice and in effect half of my army. From there, it was all down hill as the wrath of the Jomsvikings built, I had very little left on my battle board to fight back with and so the Strathclyde were ground down until just the levy were standing. I conceded defeat and although my initial success had gained 8 points, my total for the morning had left me firmly in the bottom half of the tournament table. Surely things could only get better.

The last charge of the Welsh.
Battle 3
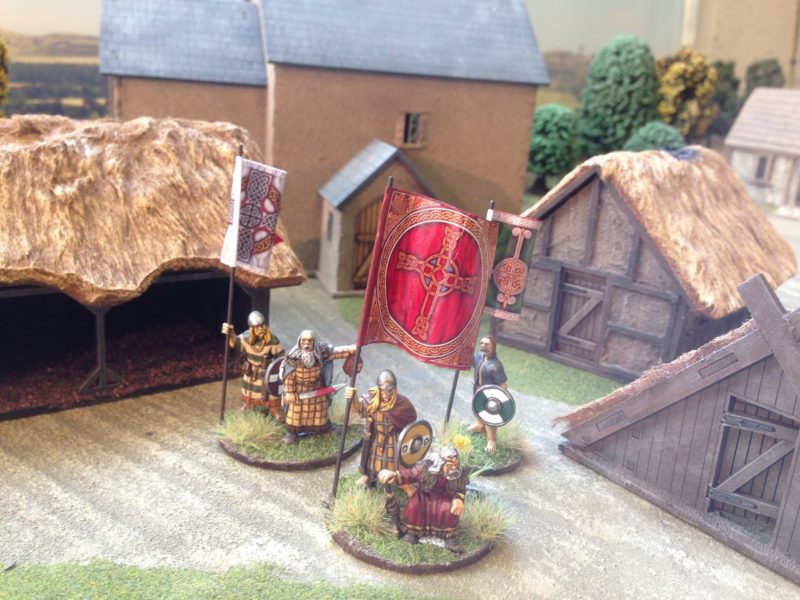
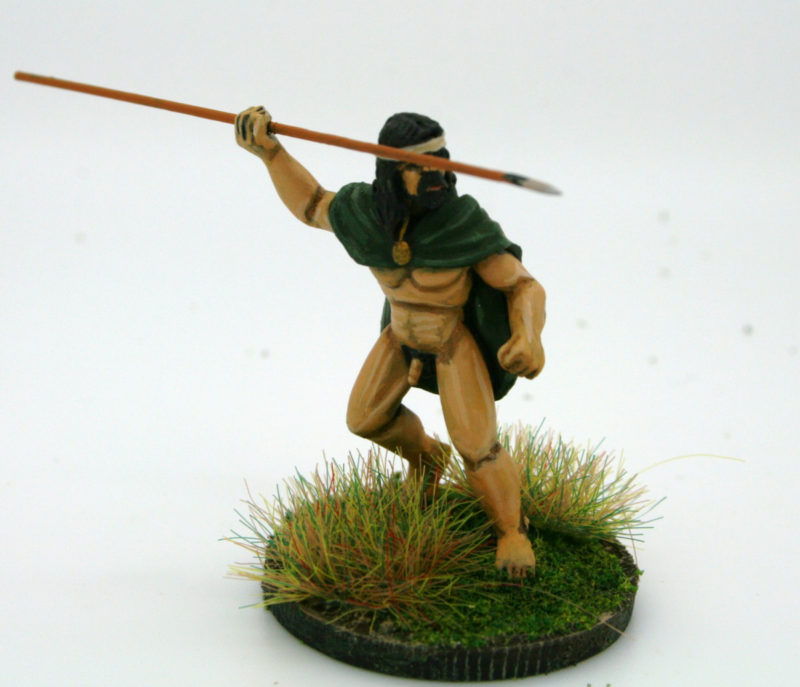
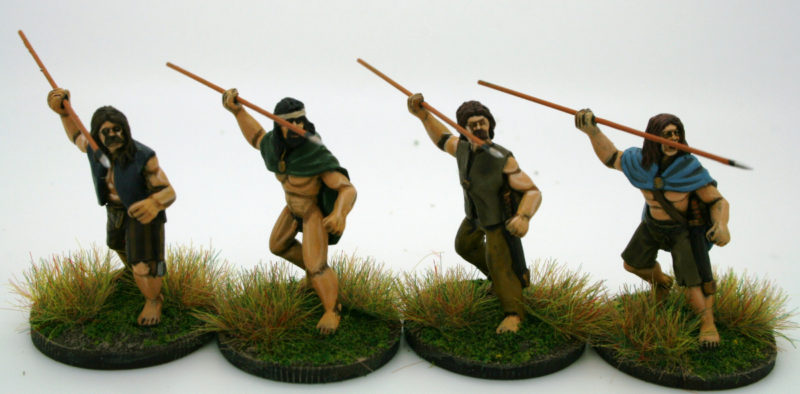
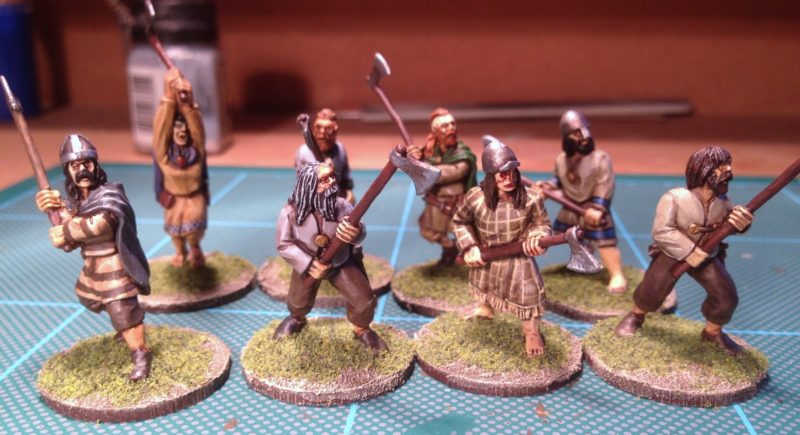
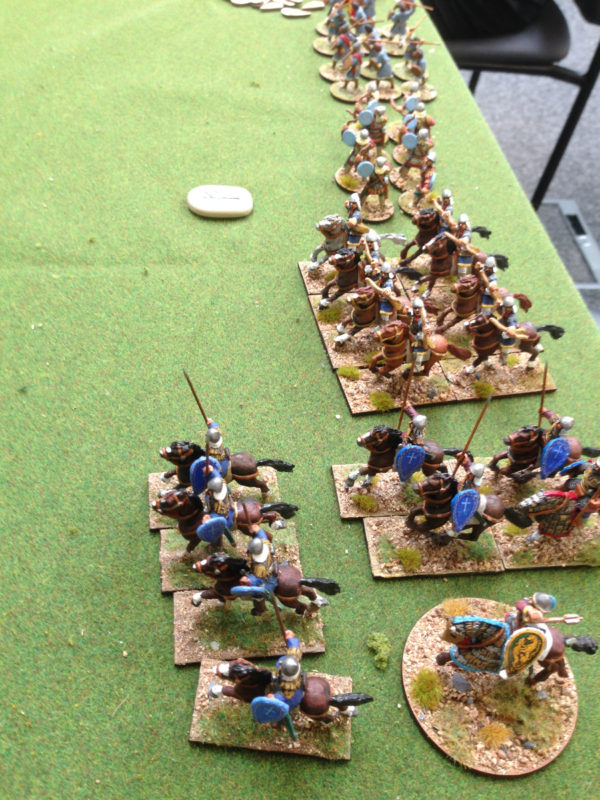
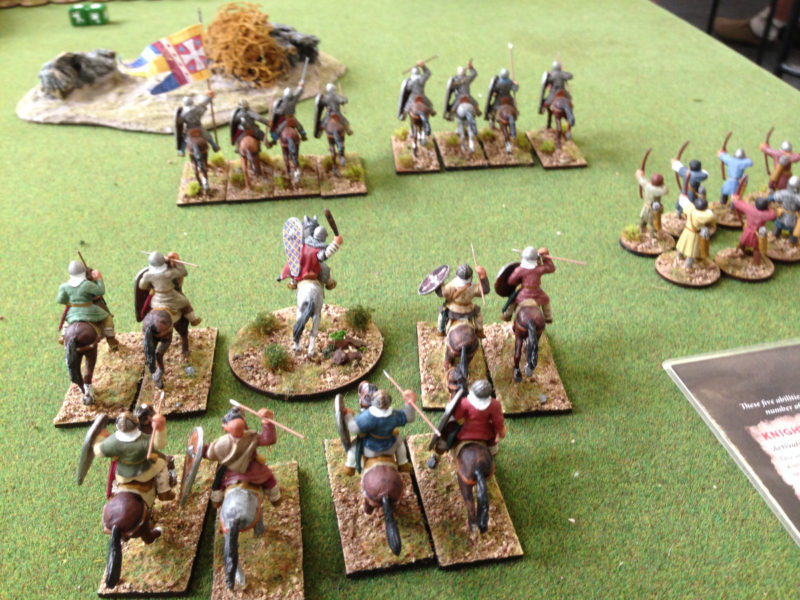
The Russ Princes face the Steppe Tribes onslaught
After a very nice lunch of meatball stew, potatoes, bread, cheese followed by a lemon meringue tart all washed down with a diet coke, my carb levels were restored and I returned to battle. Any optimism that I had quickly evaporated when I found that I would be commanding a Russ Prince army and fighting the Steppe Tribes. The Steppe tribes are an official Saga army but their stats only appeared in Wargames Illustrated issue 311. To make matters worse, there was only one copy of the battle board so through out the battle I had no idea what was coming. To go back to my analogy of two drunks fighting in a dark room, it felt like I had one arm tied behind my back as well. To make matters worse, all of the good fortune that I had had with my dice rolling in the morning turned to bad luck. In three rounds of rolling saga dice I managed to roll all crosses, or the worst symbol on the board. If I had been playing yahtzee, my score would have been brilliant. I could barely get my units to move and as for the abilities on the saga board, they remained a mystery. My combat dice were just as bad. If there was a prize for rolling 1’s, I would have won it in this game. It’s fair to say that I took a hammering and scored a mere 3 points.
Battle 4
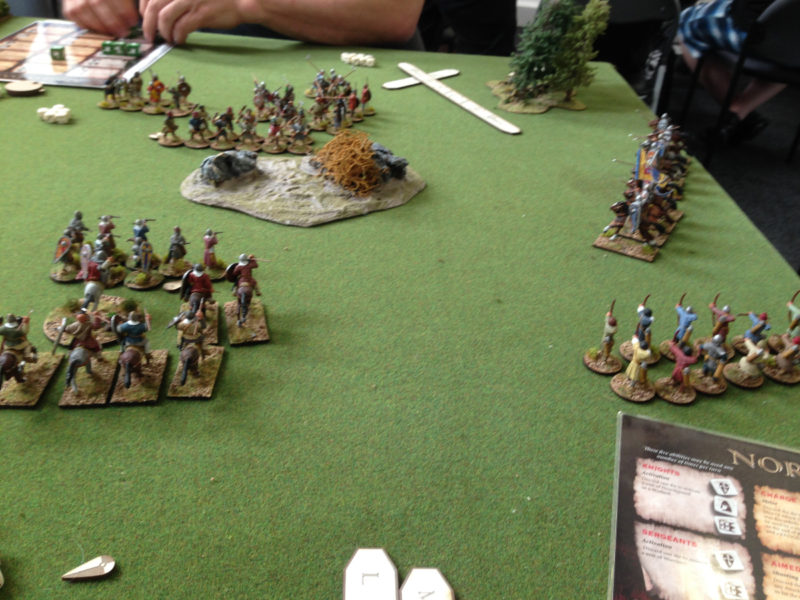
I moved to the next table with some trepidation but cheered up a bit when I saw that I would be commanding Normans. They are an army that I have some familiarity with even though I have not played them. Even better, I would be facing the Anglo Danes, my army of choice and at least I knew exactly what they were capable of. Maybe now I could get some points on the table. That initial burst enthusiasm was some what tempered when I found that my opponent was Andy from Ainsty castings, the current Saga World Champion. I was about to get a lesson in how to manage a Saga army!
The Normans confidently advance
Rather foolishly, I decided to take the fight to the Anglo Danes, although I tried to pull them out of position by attacking along the flanks. I underestimated just how effective levy slingers could be against mounted troops. Within a couple of turns, I had been badly mauled, losing hearth-guard to mere sling armed levy. The Anglo Danes were solid and were able to keep their defensive shape and resist any attempt to isolate a unit or charge it down. At this point, I realised that my own bow armed levy had the ability to double their range and that by using some of the other saga abilities on the board it could have been my archers that were whittling down the Anglo Dane army whilst they slogged across the table to me. Of course the other ability was that the Norman hearth guard could have been shielded behind the crossbow men and archers ready to charge through them at the right moment. This at least would have given me the initiative in combat. In the event, though, I was goaded into charging the very solid Anglo Dane line and it was again my misfortune to be on the wrong end of a beating! The Anglo Danes had a well prepared battle board and what ever small success I enjoyed was quickly punished by a fierce counter attack. My warlord was eventually pinned and over come by the Dane Axe wielding enemy hearth guard. Once again, I was nearly wiped out to a man but I did manage to score 9 points, a better haul than my previous two games.
The Norman Army attempts to pull the Danes out of position.
Results
Unsurprisingly, I had accrued the least number of points on the day with the exception of one other player, Jon, who also had a total of 31 points as well. The winner, Andy, had 80 points so that will give you some idea as to how far behind the pack I had fallen. If this all sounds like a bit of a disaster, it wasn’t by any means. I had had a great day and whilst I had been on the end of three thrashings, the games were all very enjoyable and I had learnt a tremendous amount about the game of saga. I know have a basic working knowledge of six armies that I had never even considered using and I had been given a masterclass in how to use the battleboard to maximise an armies ability. Furthermore playing against four new opponents had given me a far greater insight into the way in which a Saga army could be deployed and used. Up until the day, I had always discounted levy as being a waste of points, particularly as they do not generate saga dice. I now know differently!
I am confident that should I get the opportunity to play in another such tournament, I would improve not only my points haul but also the way in which I manage my army. I think that I will be a much improved player! I guess the final thought is that if you play like General Custer: carry out insufficient recon; underestimate your enemy; split your forces; fail to capitalize on your strengths and charge in like a bull at a gate, you will get massacred!