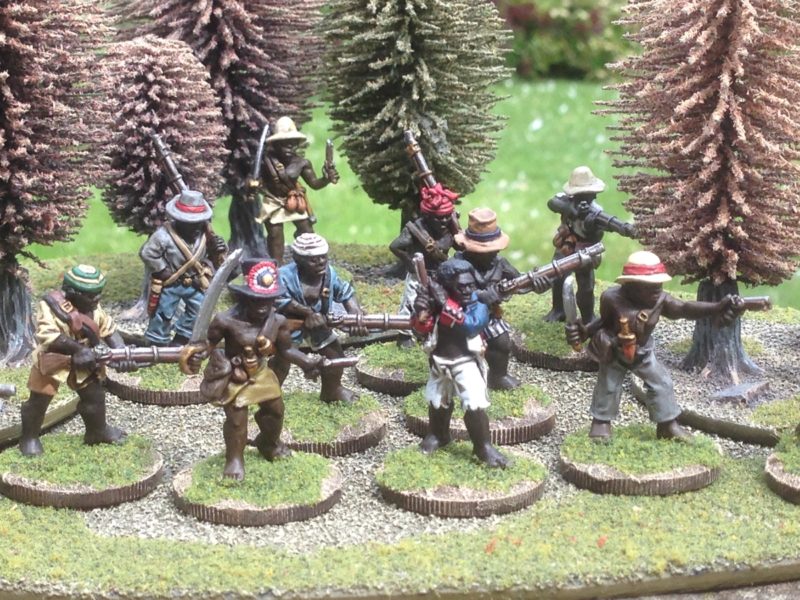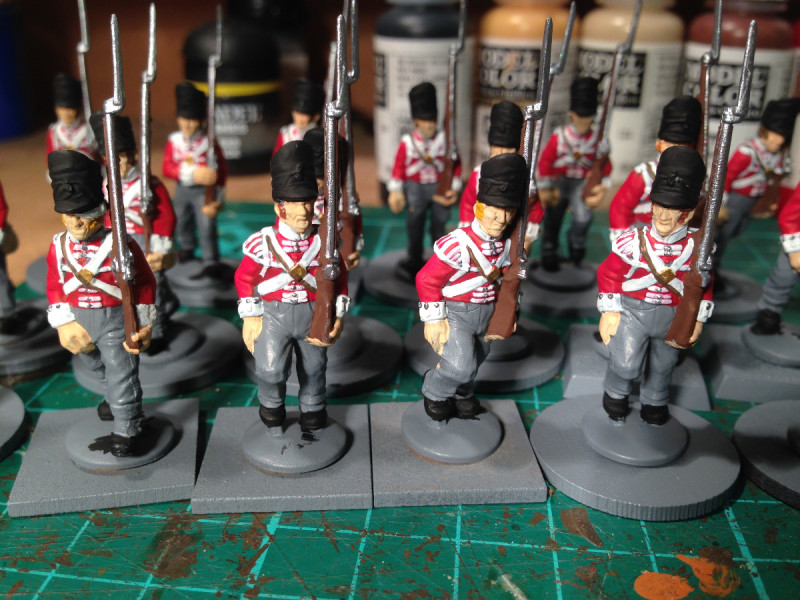
My output continues to be slow and steady but this week I have made a start on my new Saga Warband, the Irish. I am using the Footsore figures that are available from my shop as I really like the sculpting and the poses of the figures. Even better, Footsore have a ready made 4 point Irish War Band that will form the core of my army. That said, I have decided to add in some Irish Slingers and some other extras so that I can field at least 6 points, possibly more. I have also decided to make some scenery specifically for my Saga games. The ideal outcome of all this will be that I have a Saga ‘kit’ of a couple of boxes containing my army, rules & dice and the scenery that I need to play a game. Well that’s the plan! With this in mind, I have started to ‘pimp up’ some Sarissa Dark Age buildings, well one at the moment. So here is my progress so far. Last week, I showed that I have primed and prepared the Irish Slingers ready for painting. I had also painted the flesh using Vallejo dark flesh. Rather than use my usual method of block painting and quick shade, I thought that I would try a variation and use ink and highlighting to see if I could get a slightly better finish. Unlike my Napoleonic figures, I wanted each figure to look more individual.
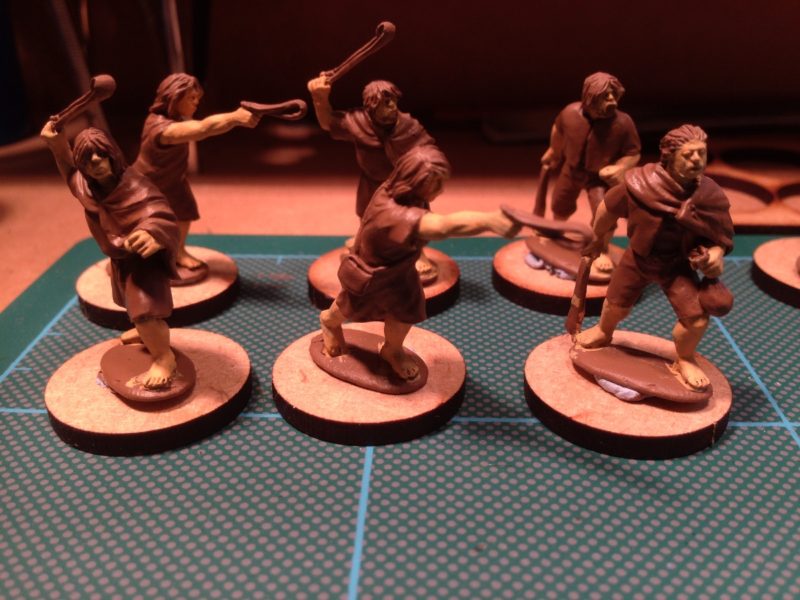
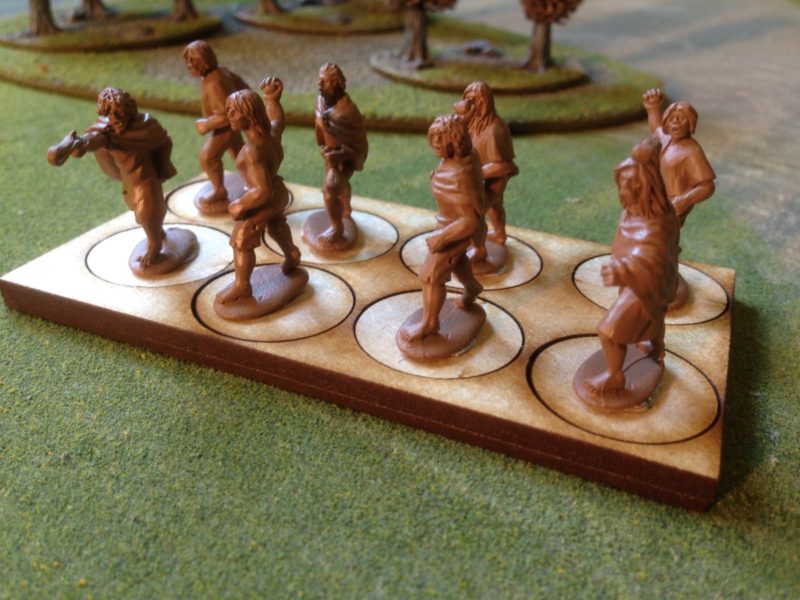
Irish Slingers from Footsore primed with leather brown and Flesh added
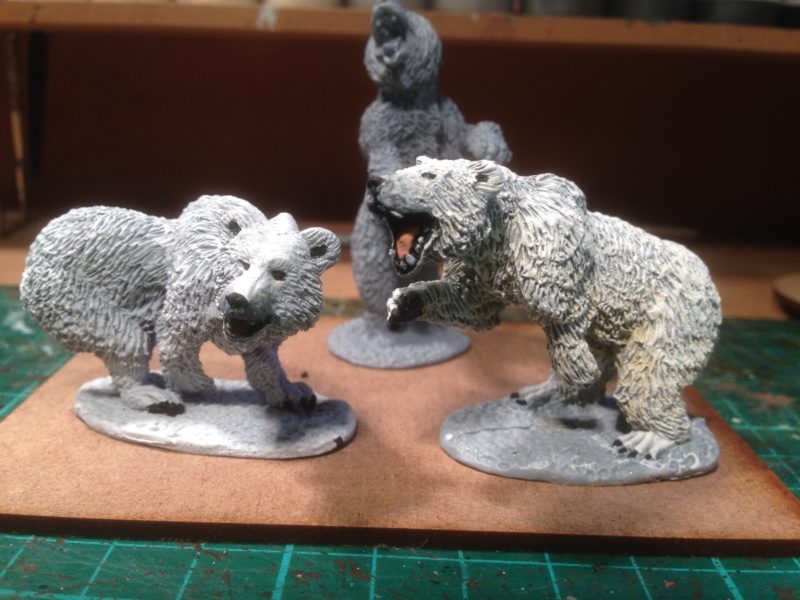
Having spent so long painting Napoleonic troops where every figure pretty much has the same uniform, I find it quite difficult to paint a batch of figures where they all are clothed differently. I have been tempted to paint them one at a time but this will be an even slower job for me and will waste paint, as I inevitably squeeze far too much out on my pallet! The solution for me is to use a limited range of colours and vary them across the figures. As you can see from the next picture, I have chosen a batch of earthy and drab colours and this is how the figures look once they have been block painted and washed with strong tone Army painter ink.
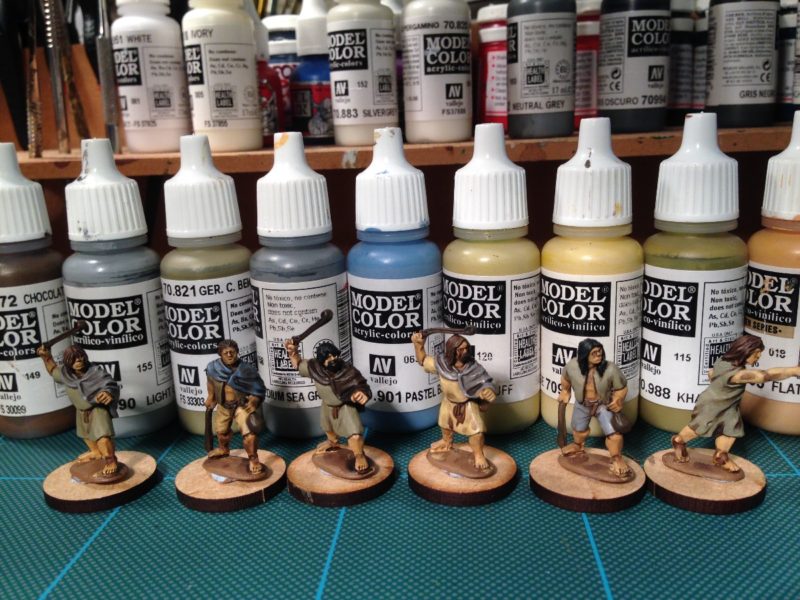
Irish slingers block painted & ink washed. Colours used in the background.
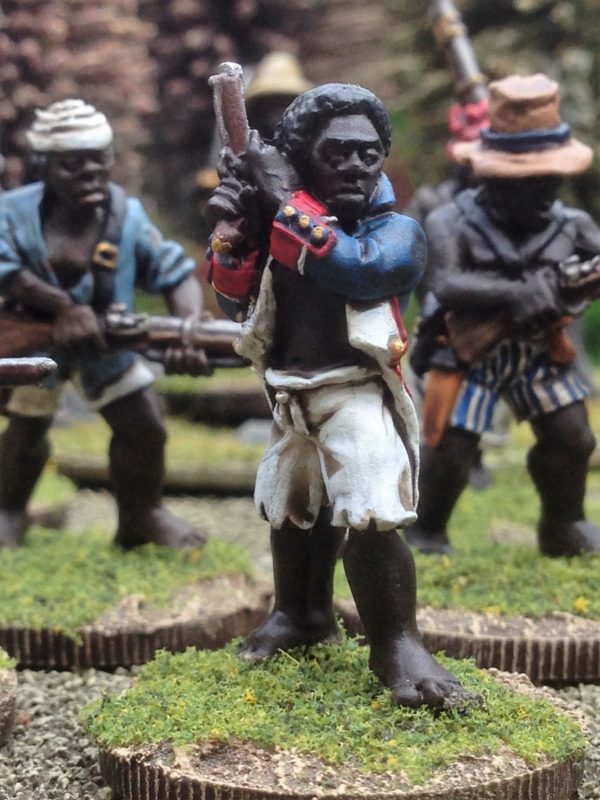
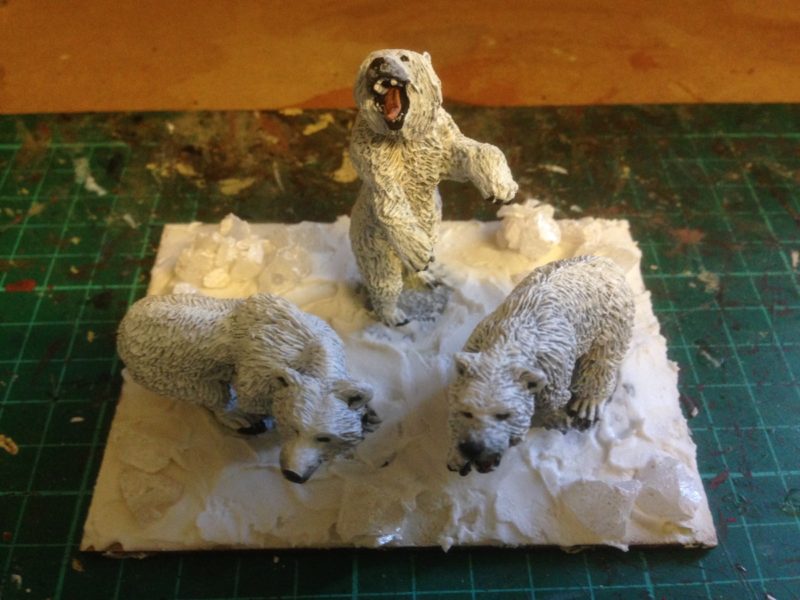
The next stage is to repaint the colours, leaving the shadows created by the ink and to create highlights by adding a bit of either off white or Iraqi sand to the original colour. I also used normal flat flesh to highlight the skin.
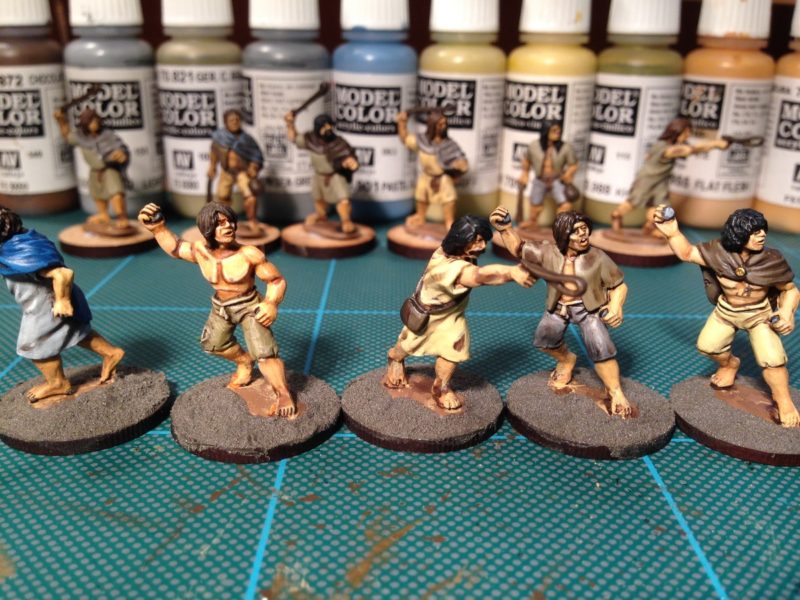
Figures repainted & highlighted
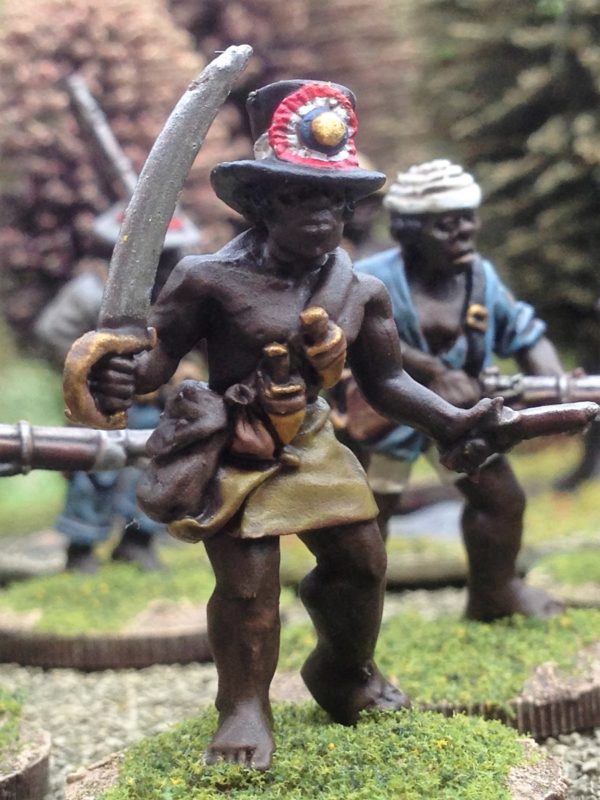
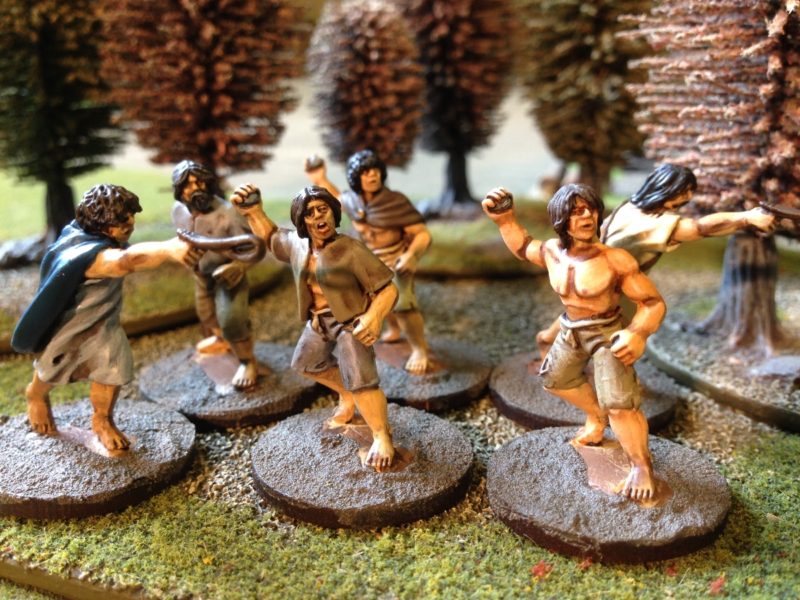
The lighting makes it all look a bit harsh. I hope that this picture shows them in a better light!

Irish Slingers in cover
As you can see these are not properly based yet. I will finish the next six figures and then base the whole group in one go so that they look similar. It is also a chance to correct any obvious errors – the camera is good for spotting these as you can see…. Whilst they wont win any painting competitions, I’m sure that they will be ready for the table soon.
In between painting the Slingers, I have been attempting to add some detail to the sarissa Dark Ages A frame hut. I thought that I would add some teddy bear fur roofing as a start.
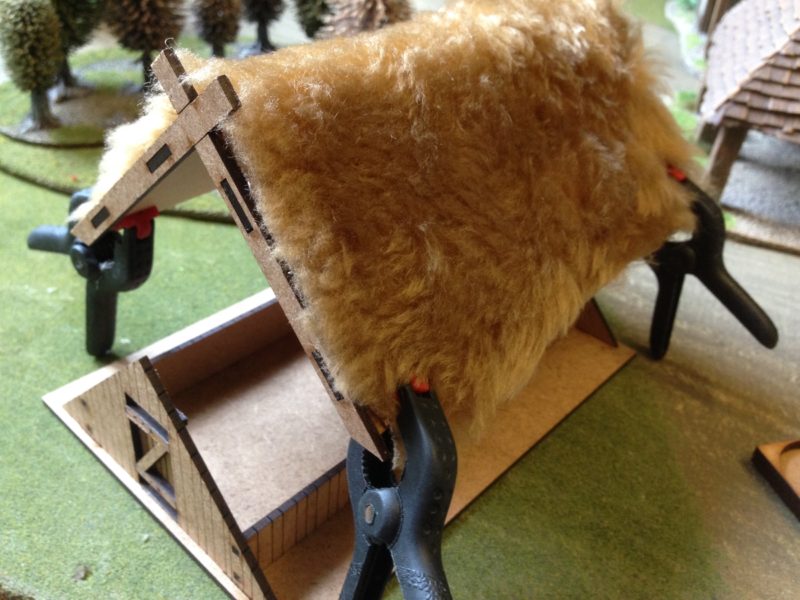
teddy bear fur roofing being glued in place.
The first job was to cut the fur to shape using kitchen scissors ( don’t tell the wife!) and then to stick it into place using PVA glue. The clamps are just holding it whilst the glue dries.
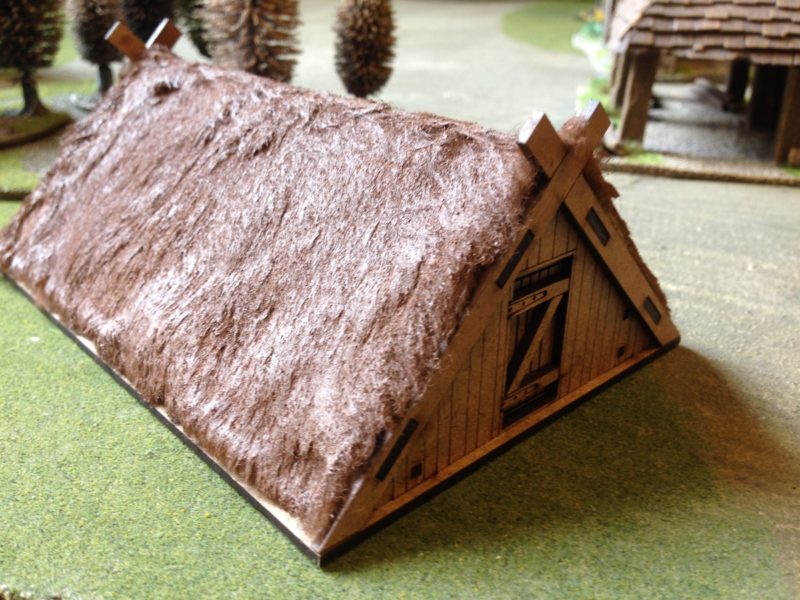
Roof coated in glue & primed
The next stage was to coat the teddybear fur in watered down PVA glue, wait for it to dry ( two days!) and then I have sprayed it with Army Painter brown primer ready for a coat of paint. I’m not sure whether to paint the roof grey as this is the actual colour that thatch goes as it weathers or a light brown or straw colour as this is the colour that seems to be used more by modellers. I’ll show you progress in my next post.
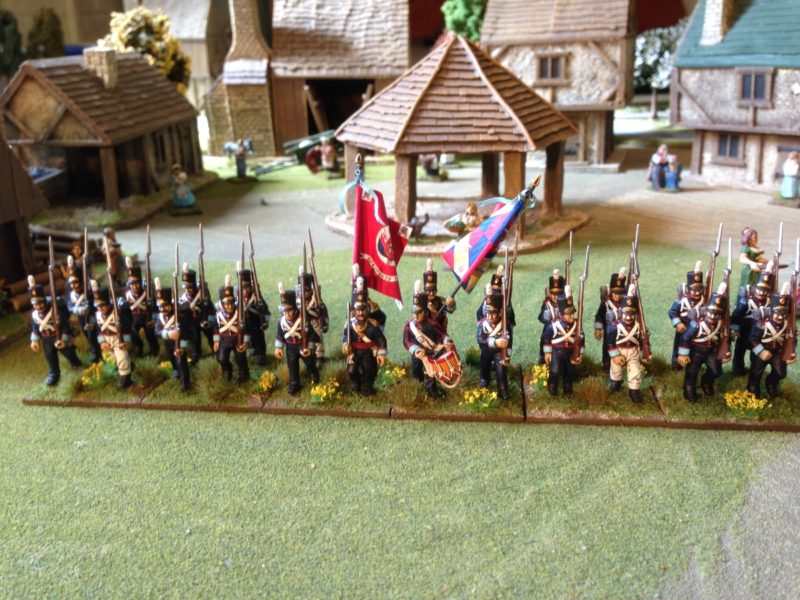
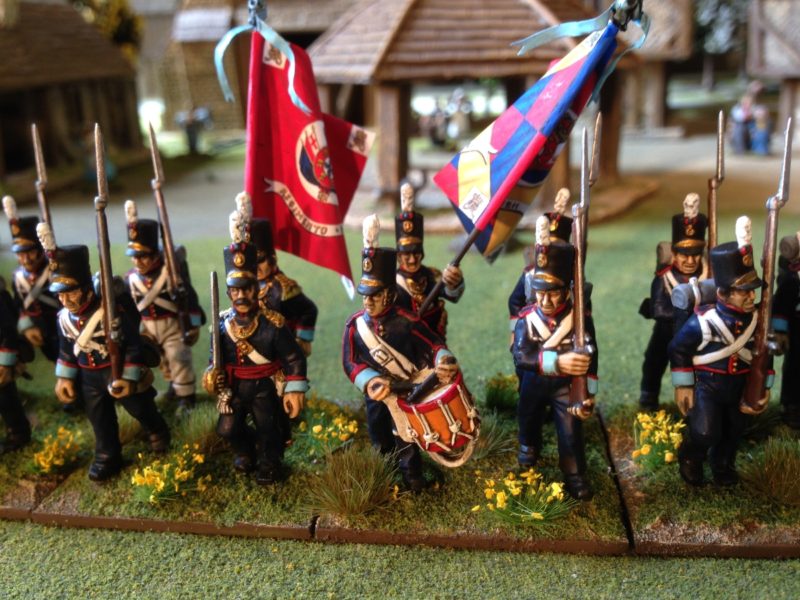
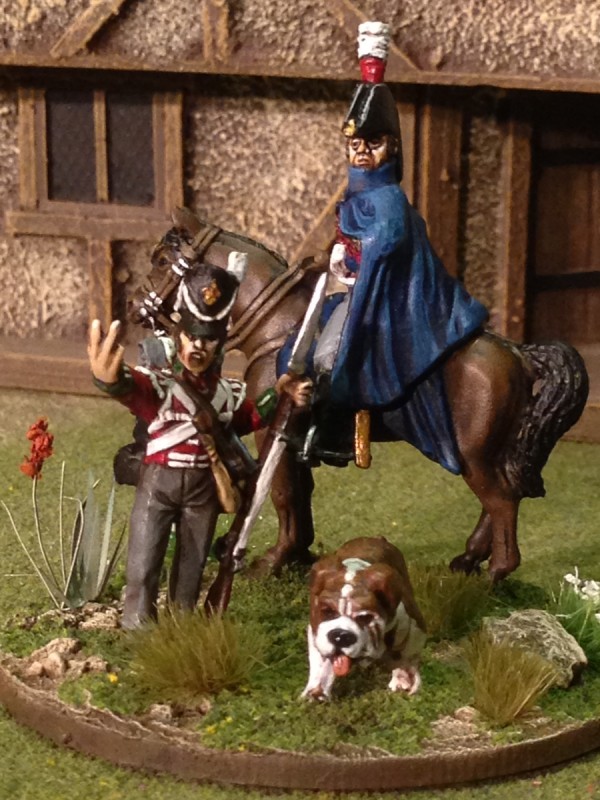
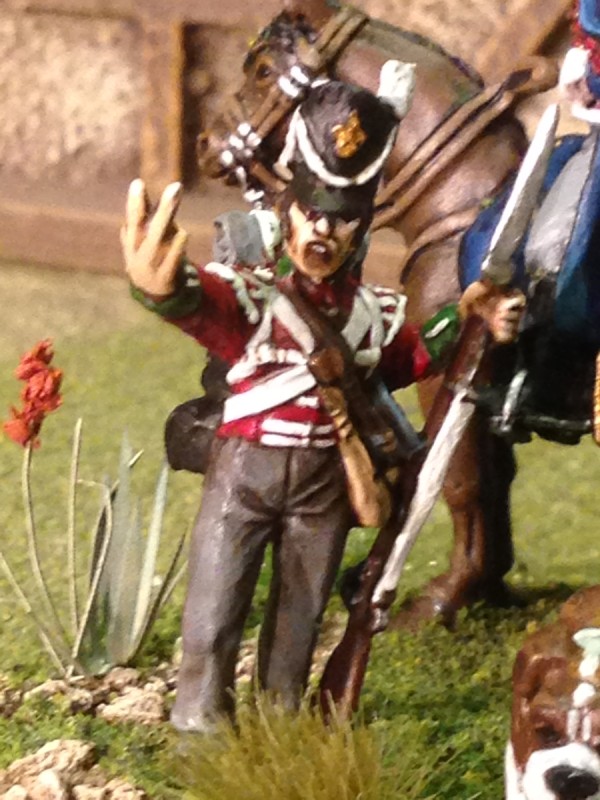
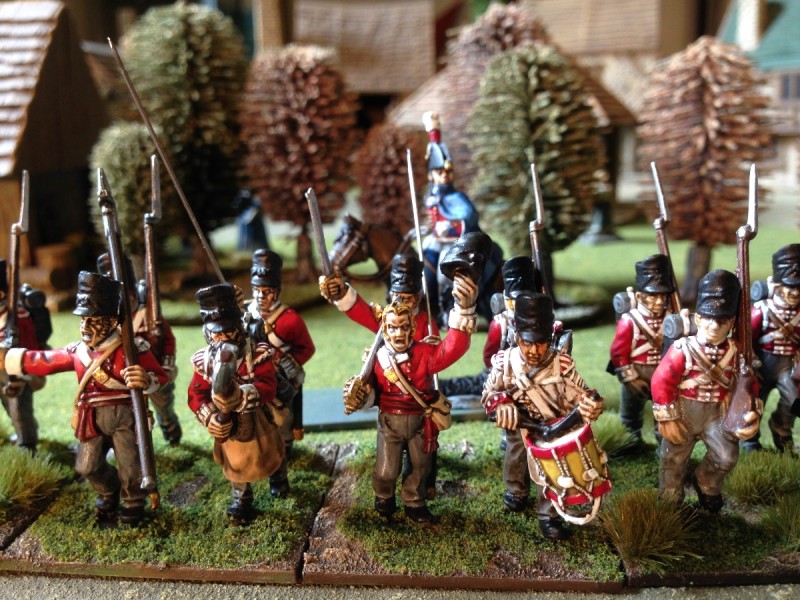
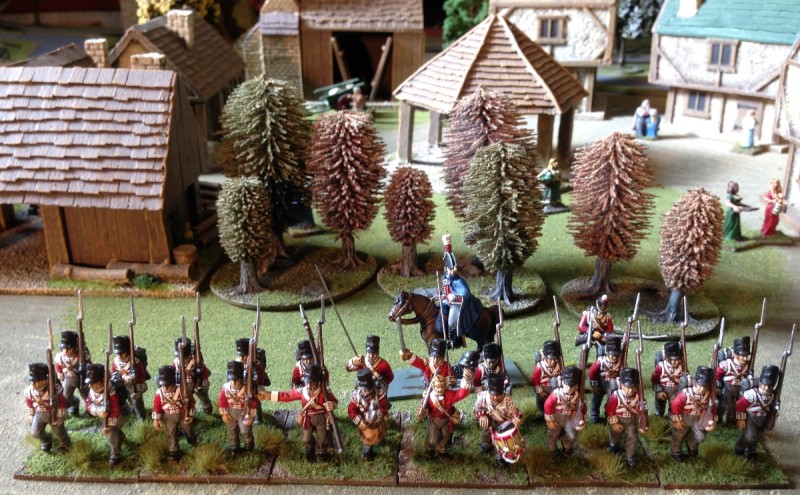
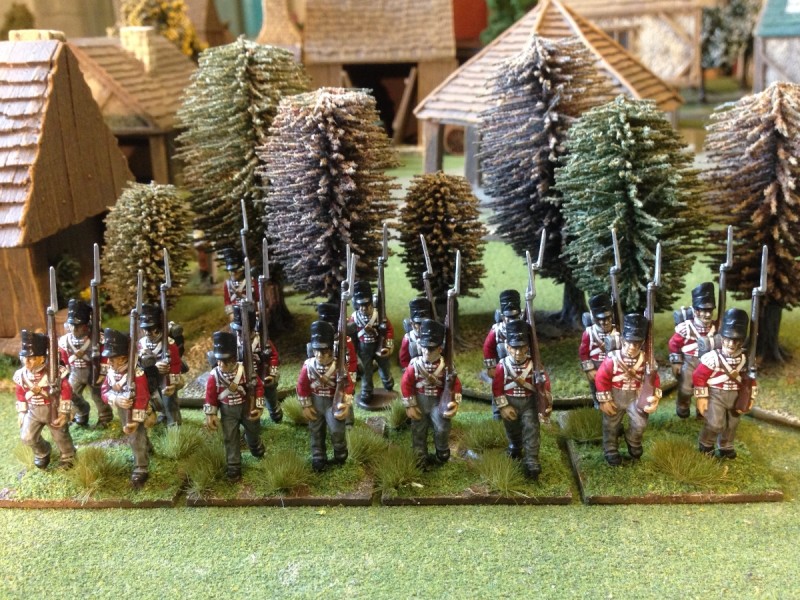
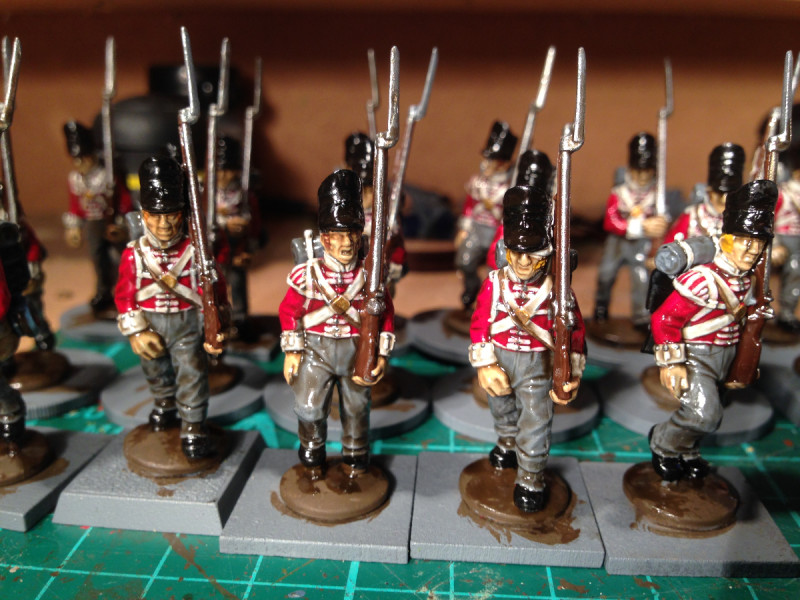
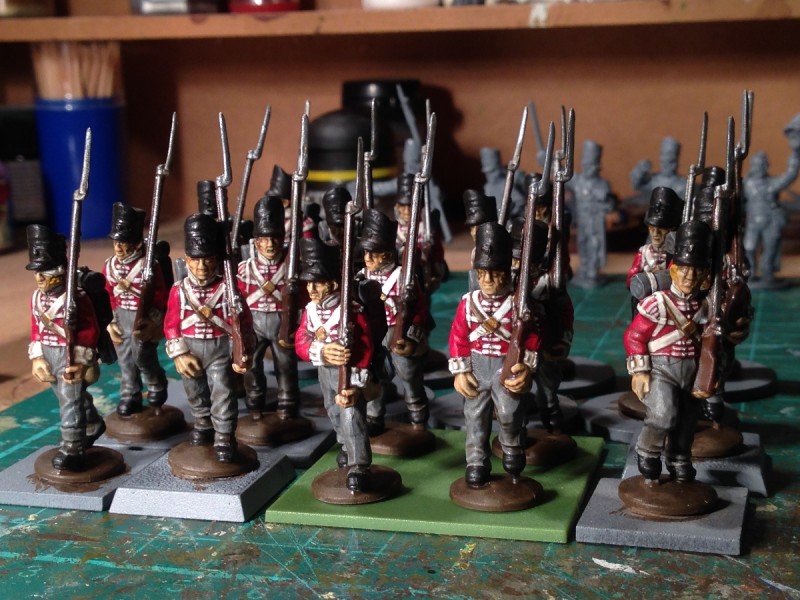
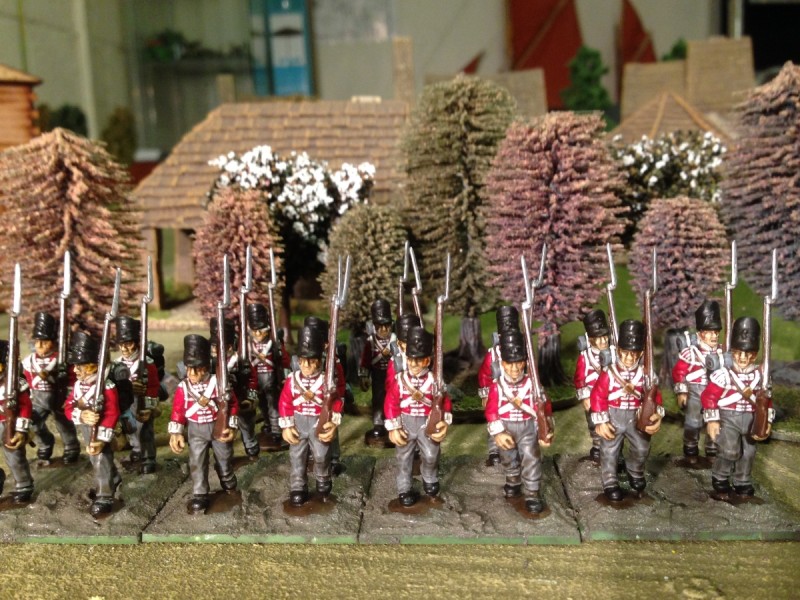
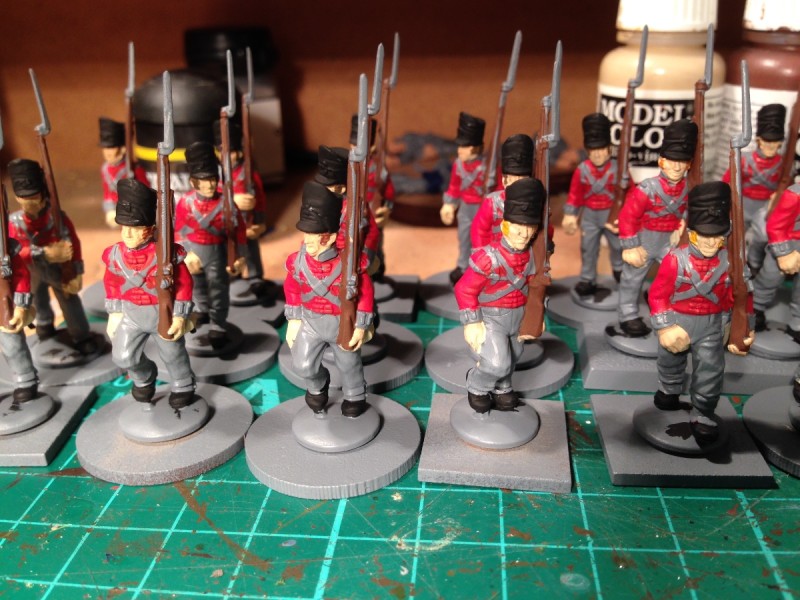
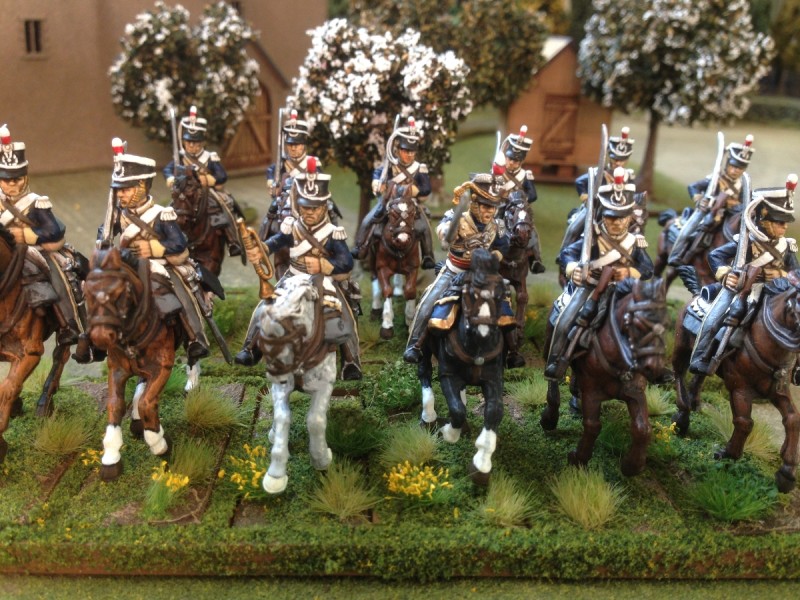
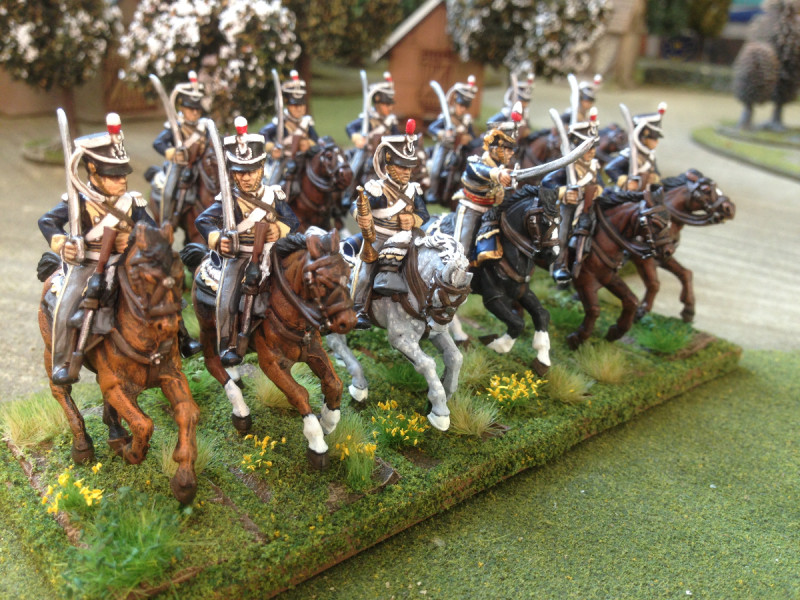
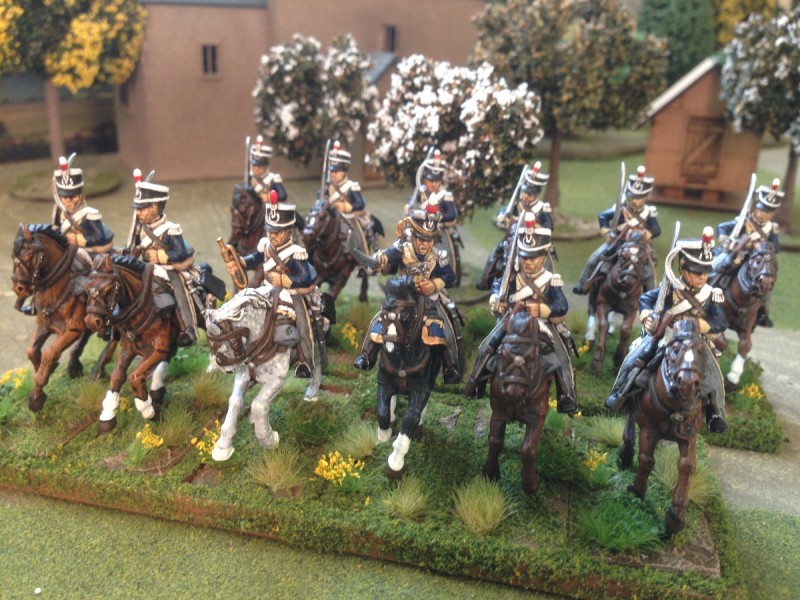
Finally, with all of this dark age stuff on the work bench, I did finally find the time to order my flags for the Cornwall regiment that I finished some months ago. The flags are from GMB, my favourite flag supplier and they certainly improve the regiment. Here are the command stands.
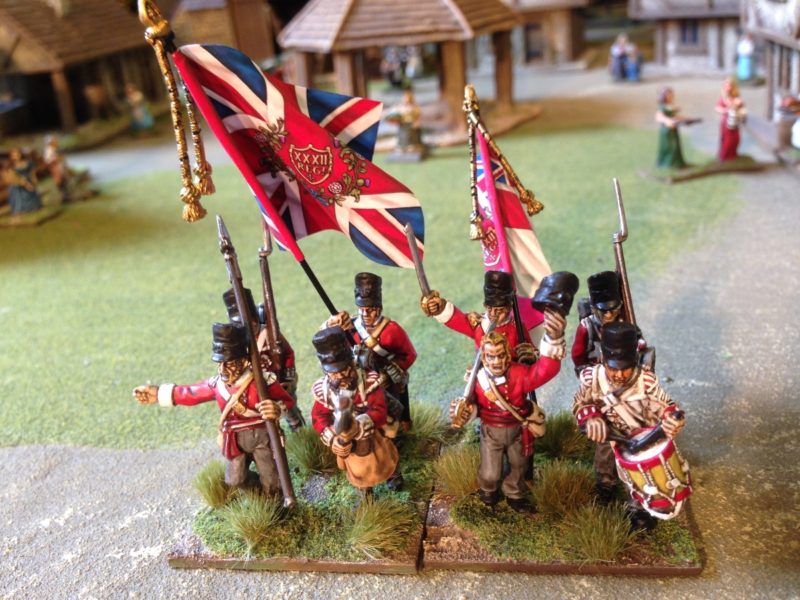
32nd Cornwall Regiment now with flags!