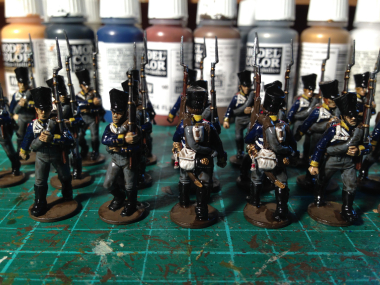
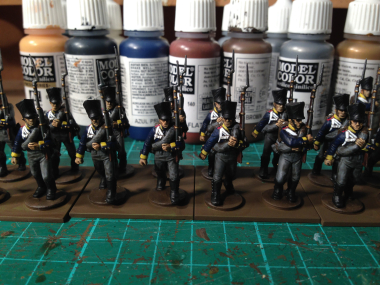
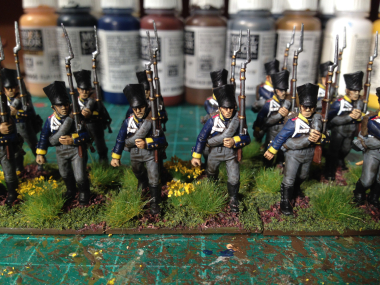
After nearly 3 weeks away from my workbench, I was actually pleased that we had a miserable wet Bank Holiday! I was able to sneak off and at last get some painting done! I was still persisting with my Prussian Brigade. The last figures that needed painting were the Volunteer Jaeger that come with the Perry’s Prussian infantry set. I didn’t do my usual research on these figures regarding uniforms but just relied on the artwork supplied in the boxed set ( which is usually very good anyway!).
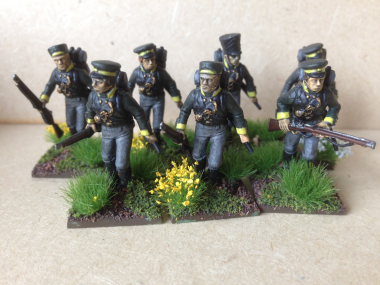
Prussian Volunteer Jaeger
For some reason, I didn’t enjoy painting these figures as much as usual. I suspect that I have become a bit jaded with Prussians! Regardless, I pressed on and finished them as I thought best, with green jackets, yellow facings ( for Silesia), and equipment colours as the rest of my Prussians. Here are the figures based & ready for battle tonight!
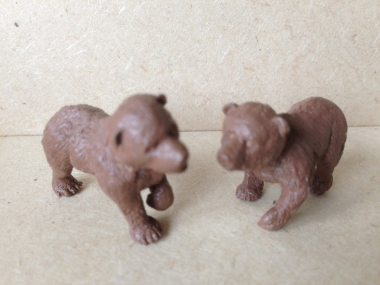
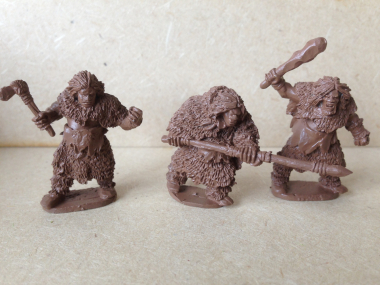
As well as finishing these figures I started to prepare another batch ready for painting. I am working my way through the DeeZee range at the moment. Although we have painted examples of the full range now, some of them are quite old and since we acquired the range, I have been gradually painting examples. As well as giving me a few more display pieces it also helps me to understand how to paint the models so that I will be able to advise customers in the future. We also have some new models in the pipeline – we’ve already released the Baby Mammoth so next up we have some Juvenile or Baby bears! Here they are undercoated ready for painting. At some point in the future I’ll do an update on the DeeZee range and where we are going with it. The other little project on the go is my band of Neanderthals. Sculpted by Steve Saleh at Lucid Eye, these figures are the second pack to be released. There is a slight glitch in production as Steve has moved jobs but we hope to solve this soon. The Lucid Eye range fits nicely in with the Deezee Range, We have the animals, Steve will supply the Hunters ( or hunted!), so we hope that we can work with Steve to keep the range in production and growing. Here’s the pics: