Christmas is nearly upon us, so a Merry Christmas and a Happy and Prosperous New Year to all of my Friends, Customers, Facebook associates and any one else that that takes the time to read my blog!
To be fair, my blog is as much a self indulgence as it is anything else. I hope that it is of use to fellow hobbyists as I try to share my research and thoughts on the hobby. I think that there are some useful tips and techniques and perhaps reading how someone else goes about building a collection or army is useful. Even if this means you avoid my mistakes!
It certainly is useful for me! For one thing, it keeps me focused on a particular project and it is an invaluable record of how I have done things in the past. A good example is my most recent project. I have written an adaptation of the ‘Never Mind The Bill Hooks’ rules for Samurai warfare – ‘Never Mind the Bushido’. Before I unleash these rules onto the Never Mind The Bill Hooks community, I want to sanity check them and make sure that some of the new mechanics that I have introduced actually work in a gaming situation as opposed to in my imagination!
In order to play test the rules I need an army. The easy way would be to borrow one from the generous friends that have made this offer. However, that would leave me in a position of not being able to play my own rules, should they be successful. No, I have to bite the bullet, so to speak, and get painting!
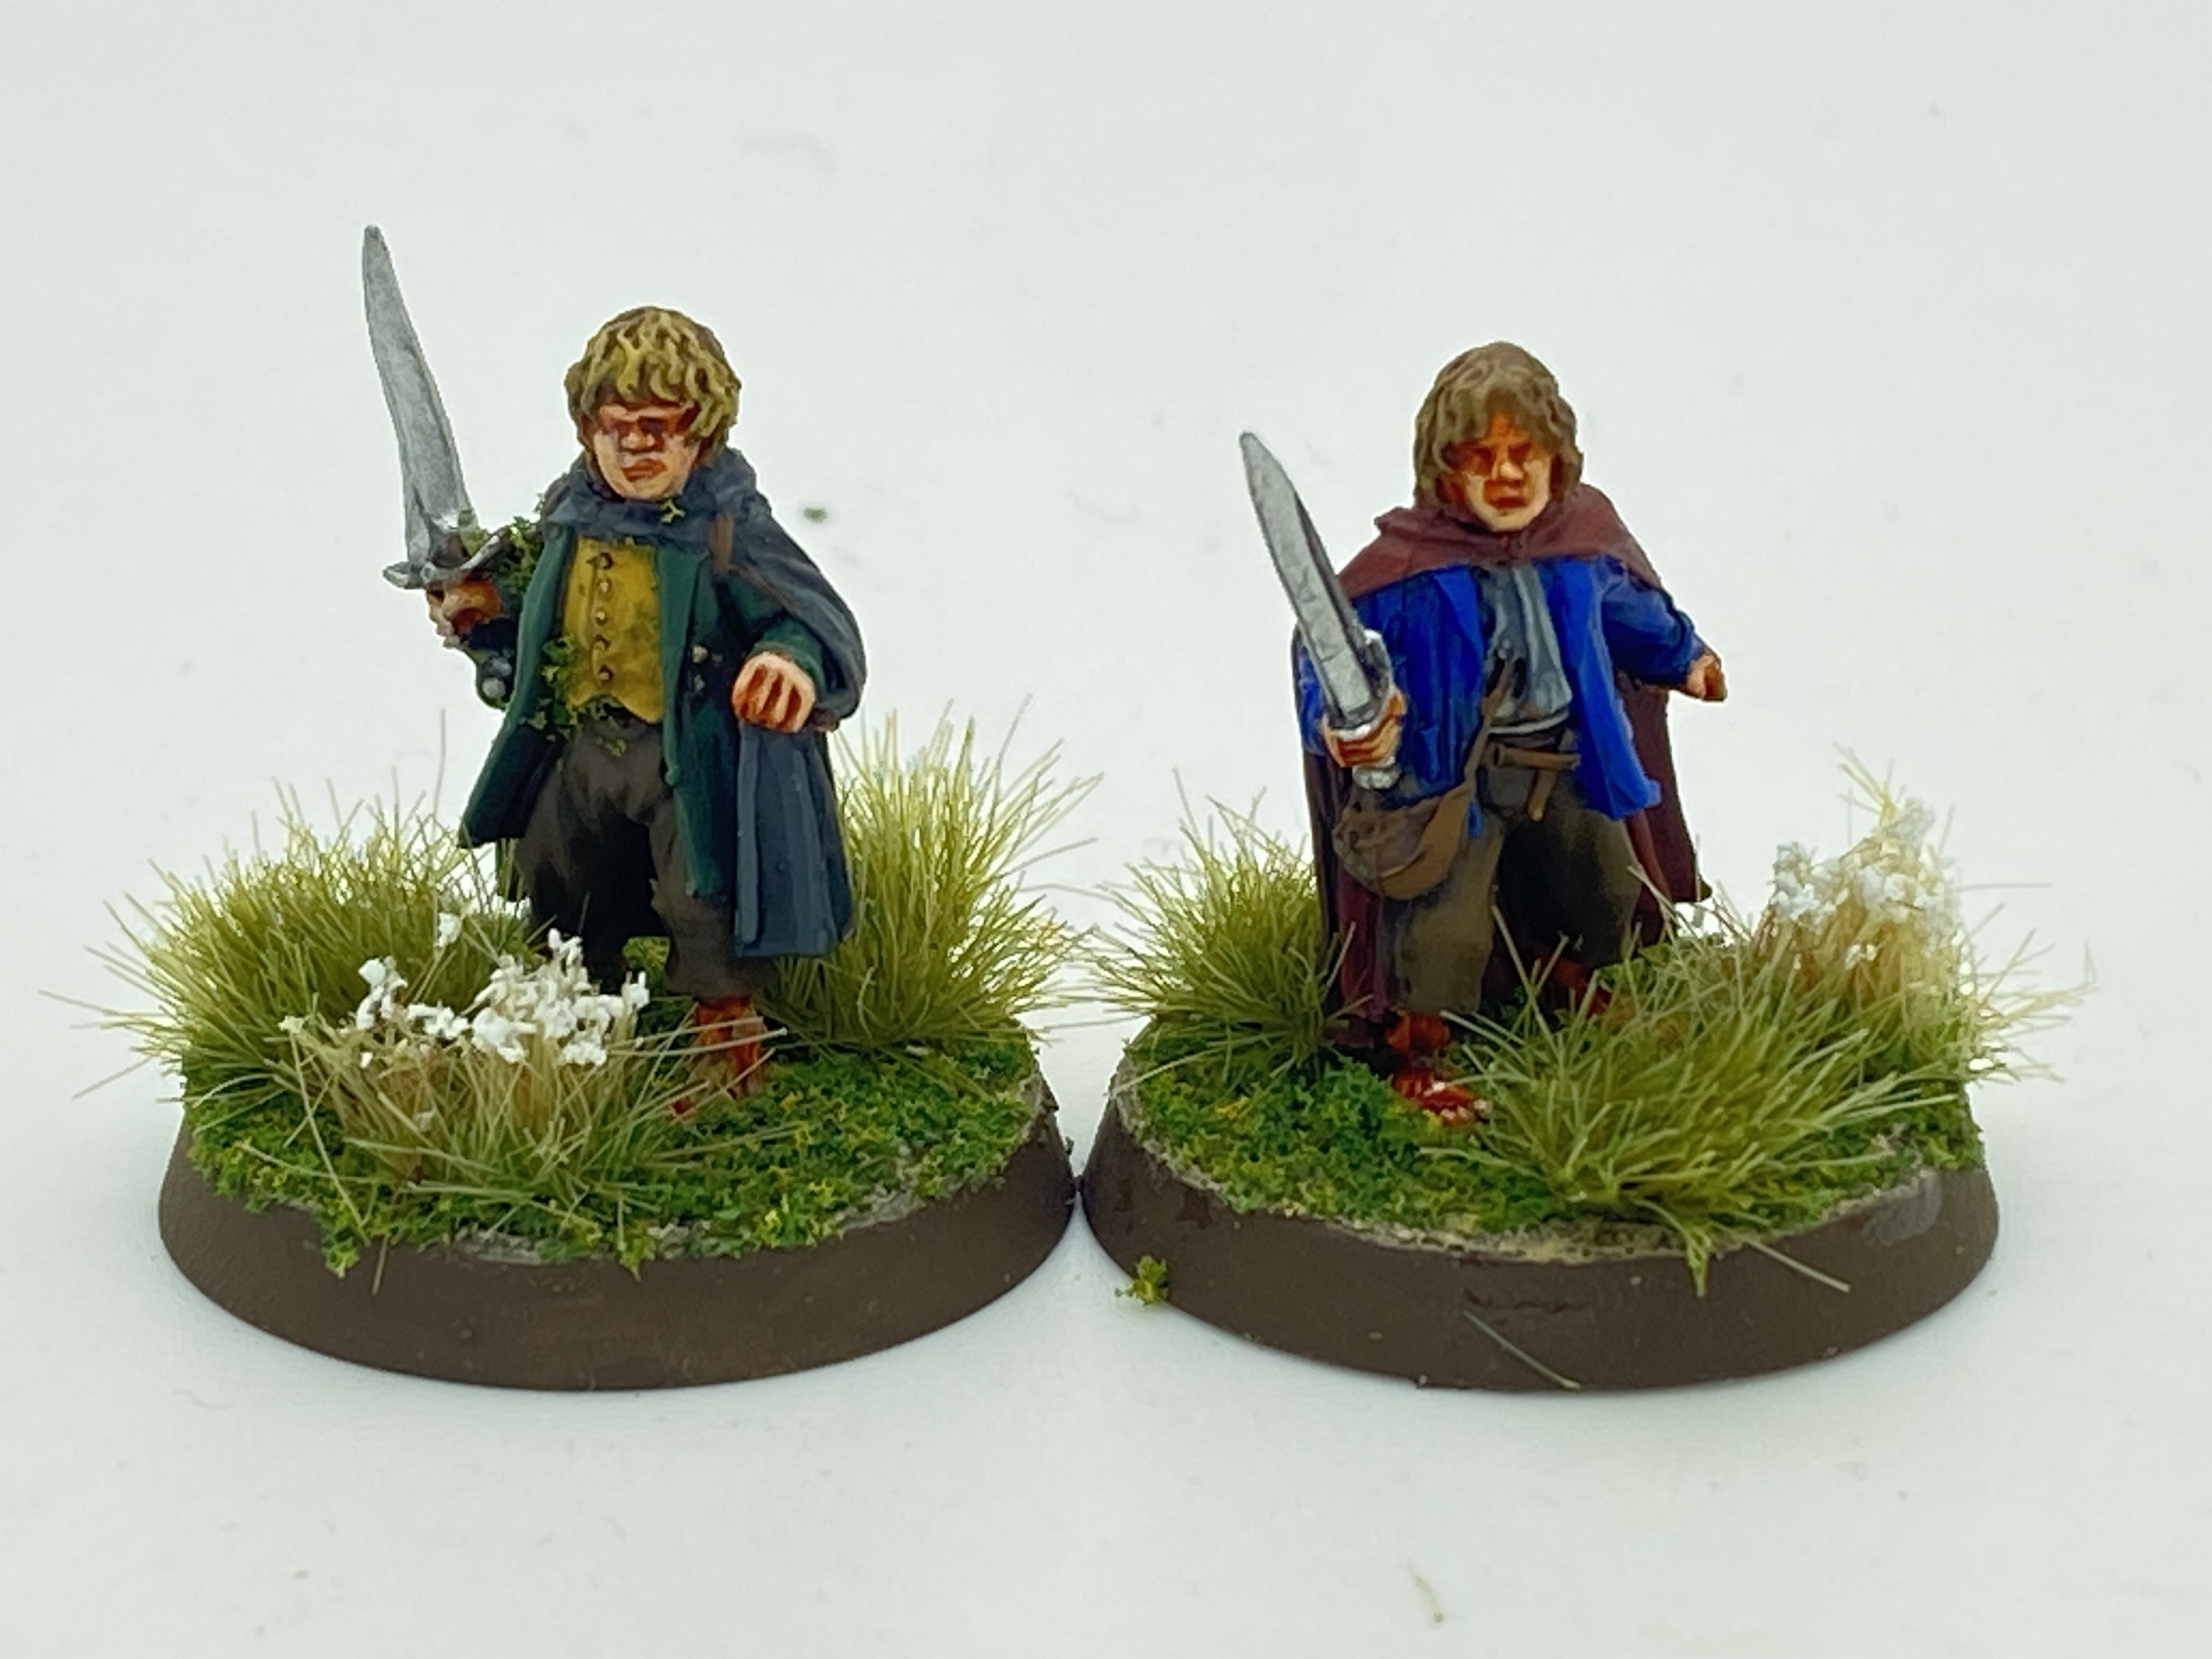
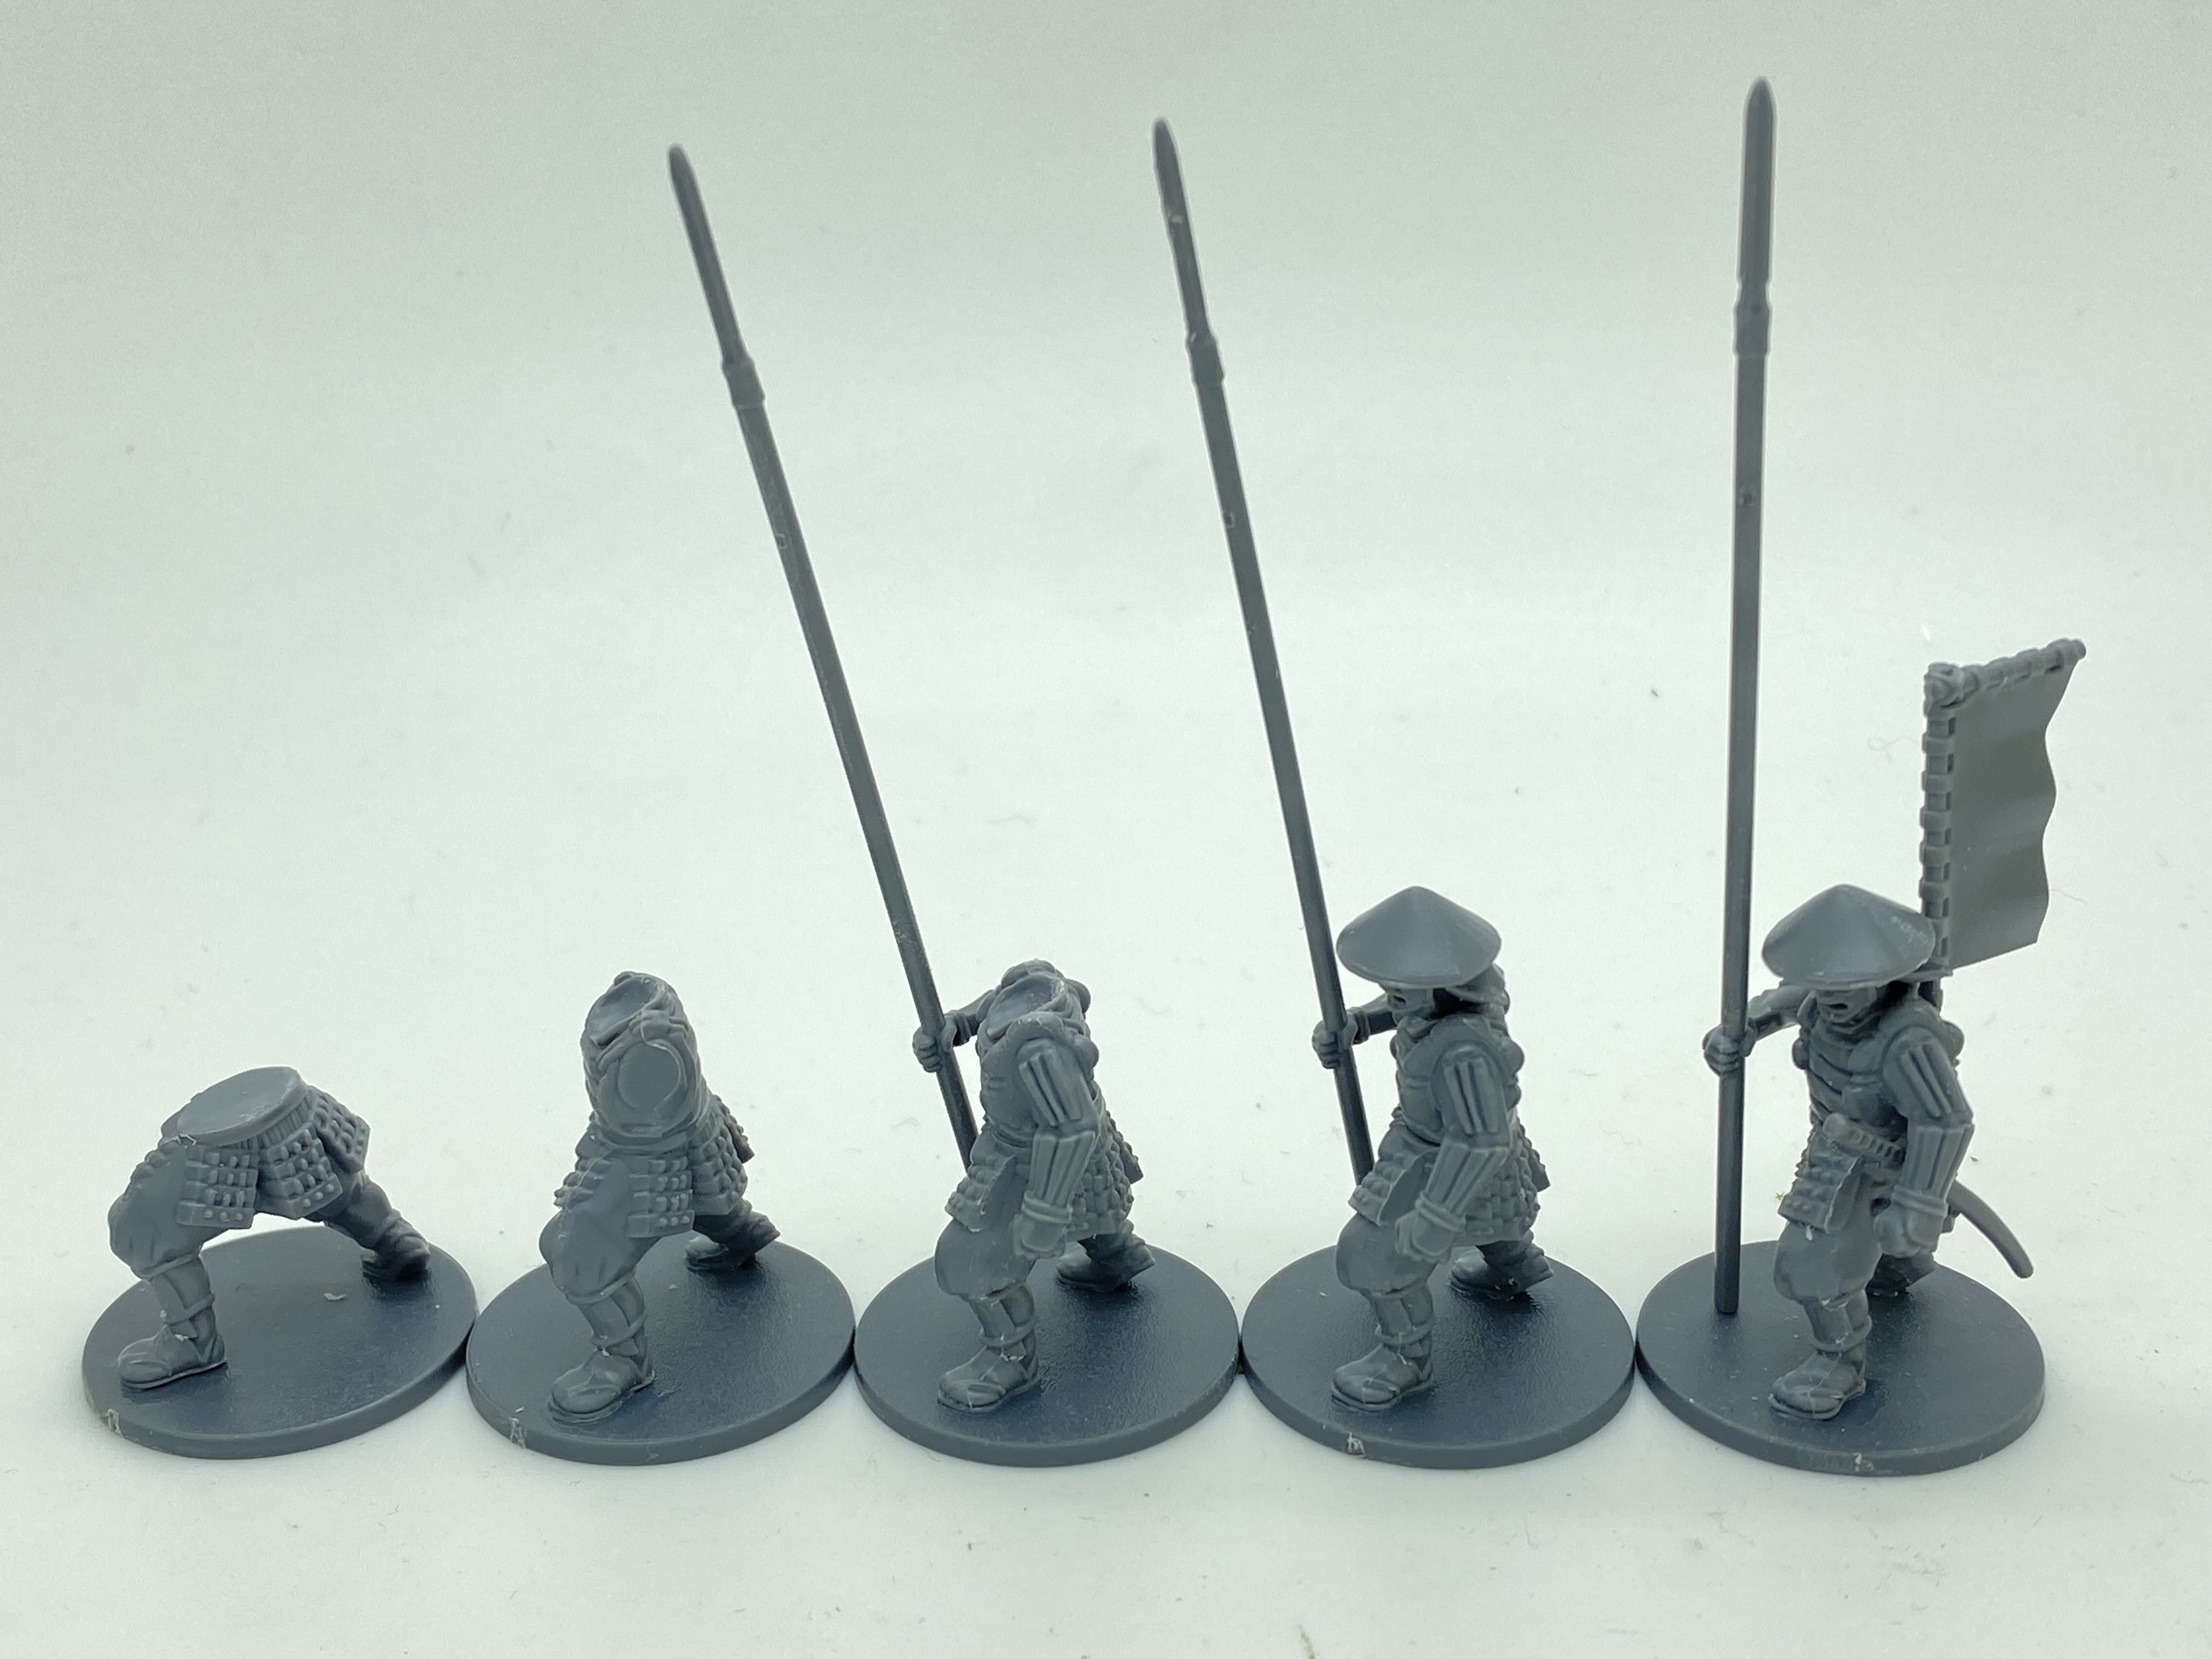
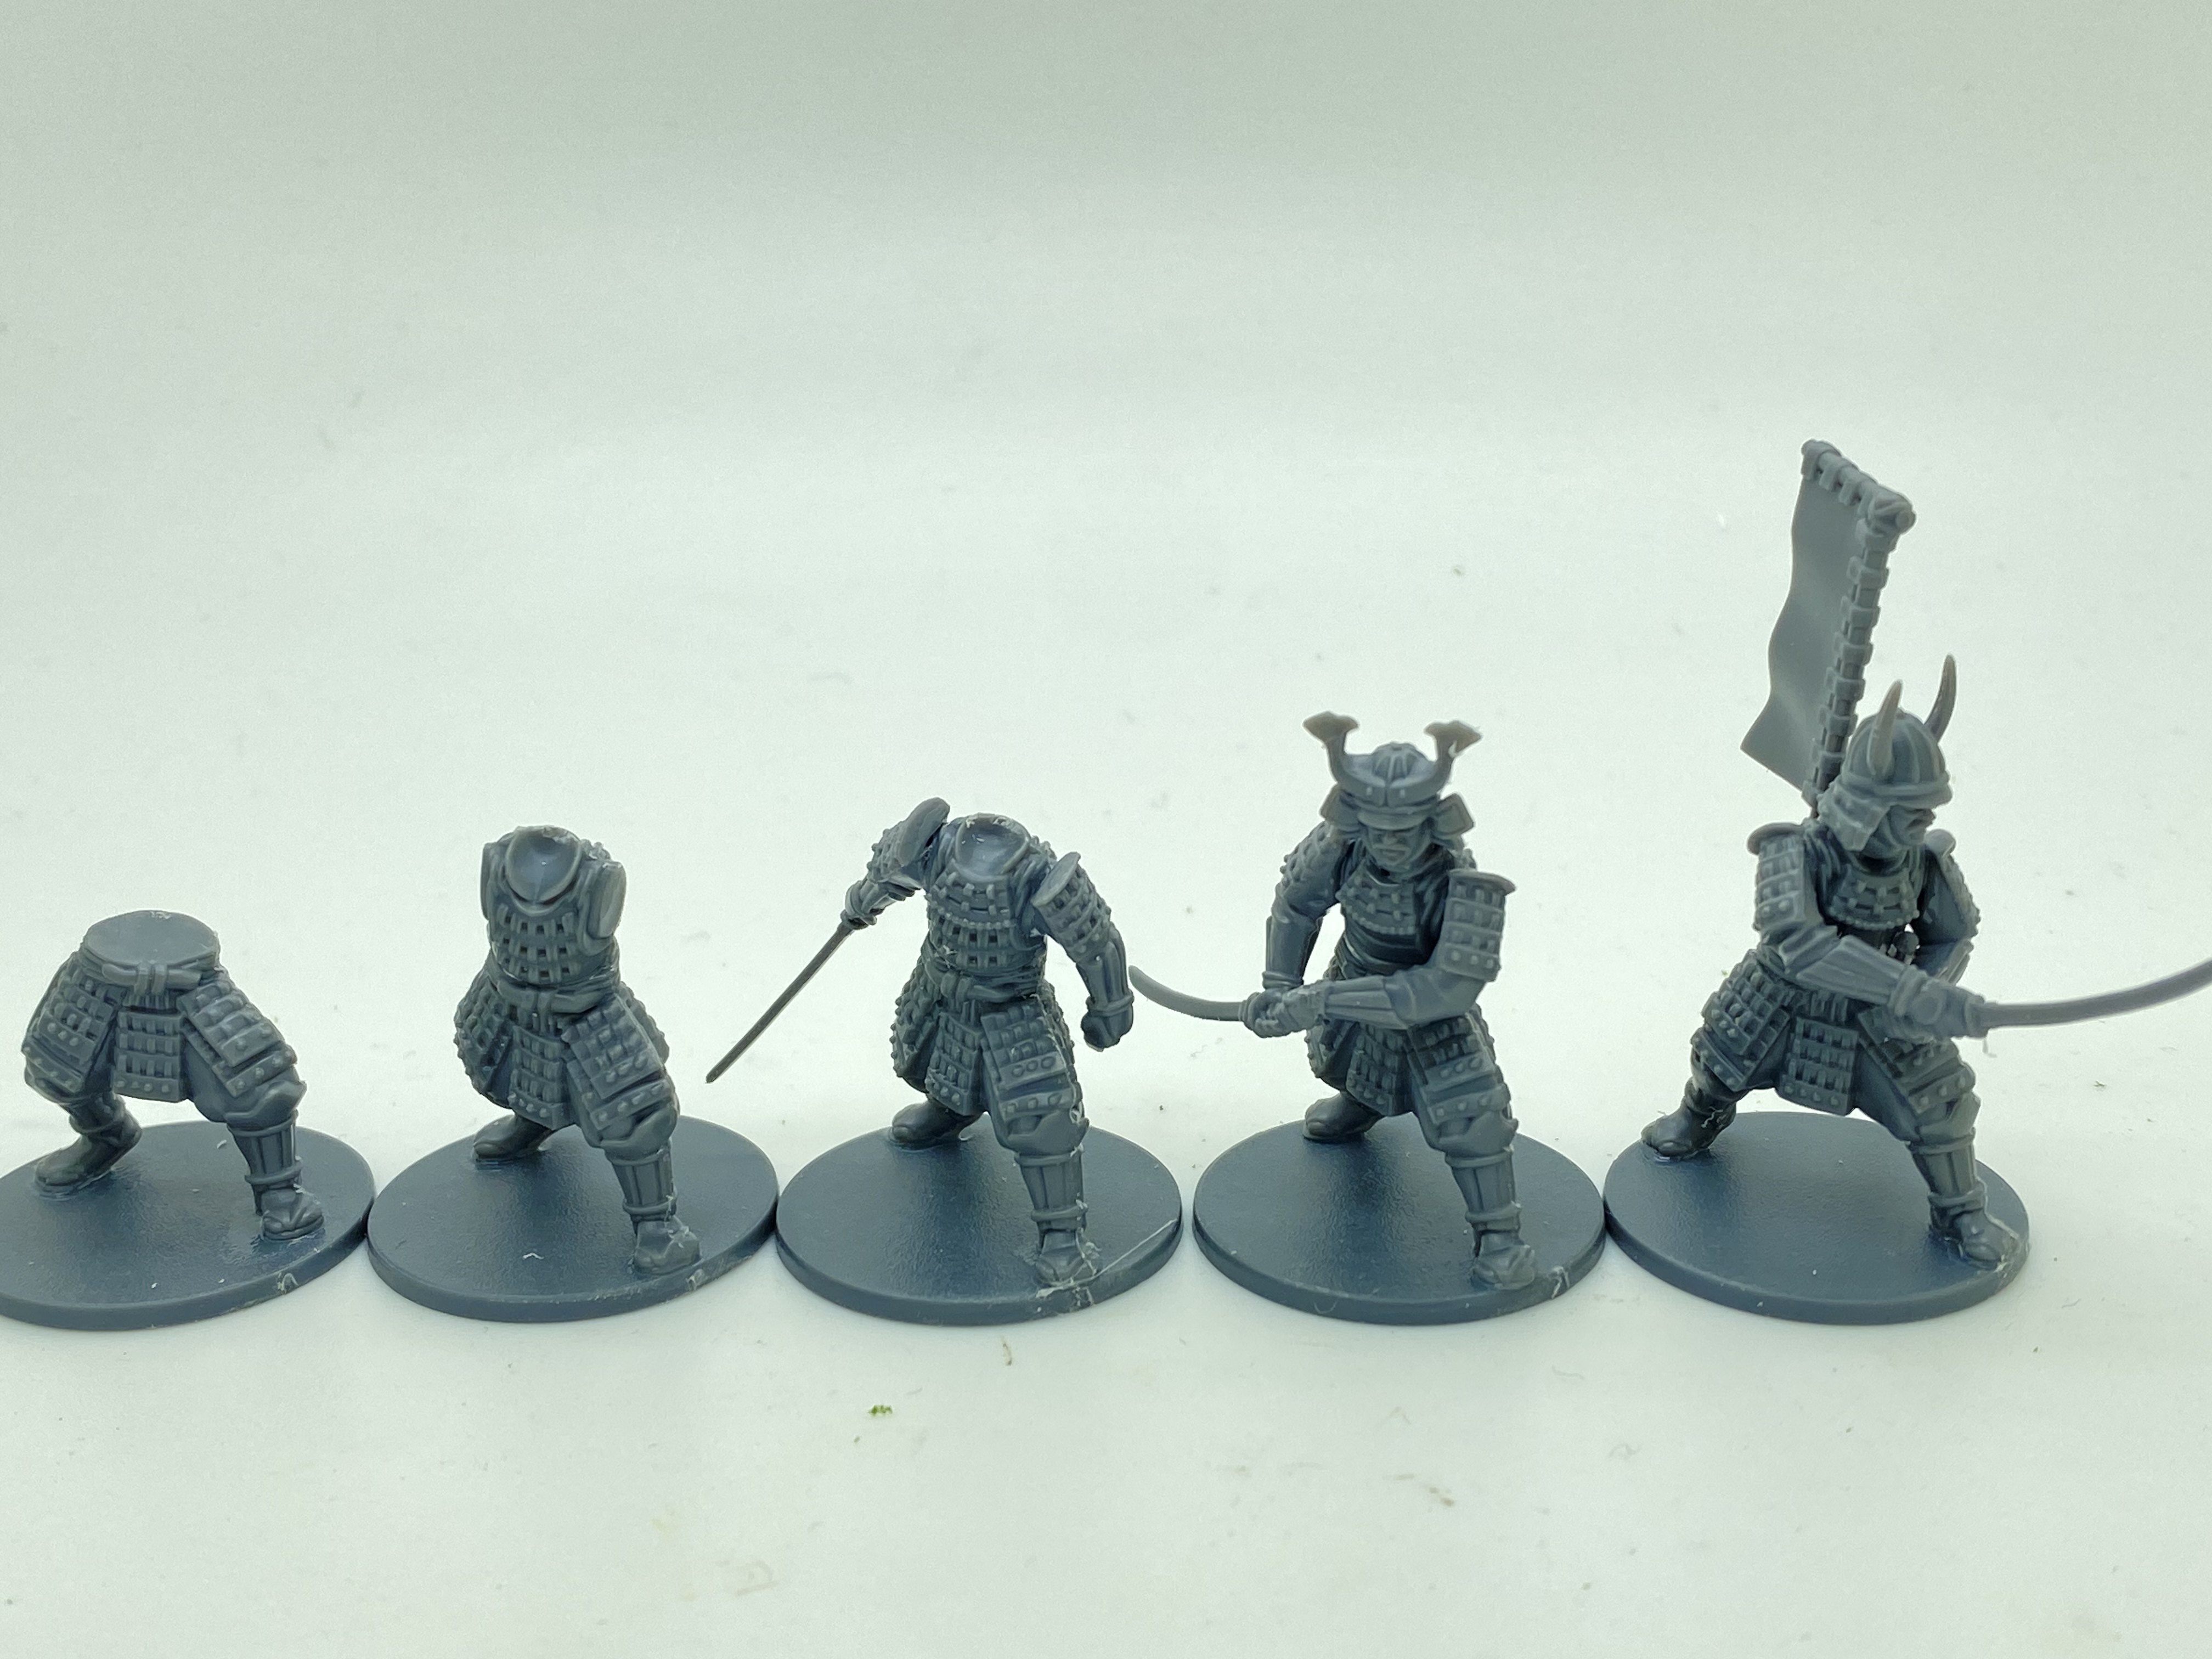
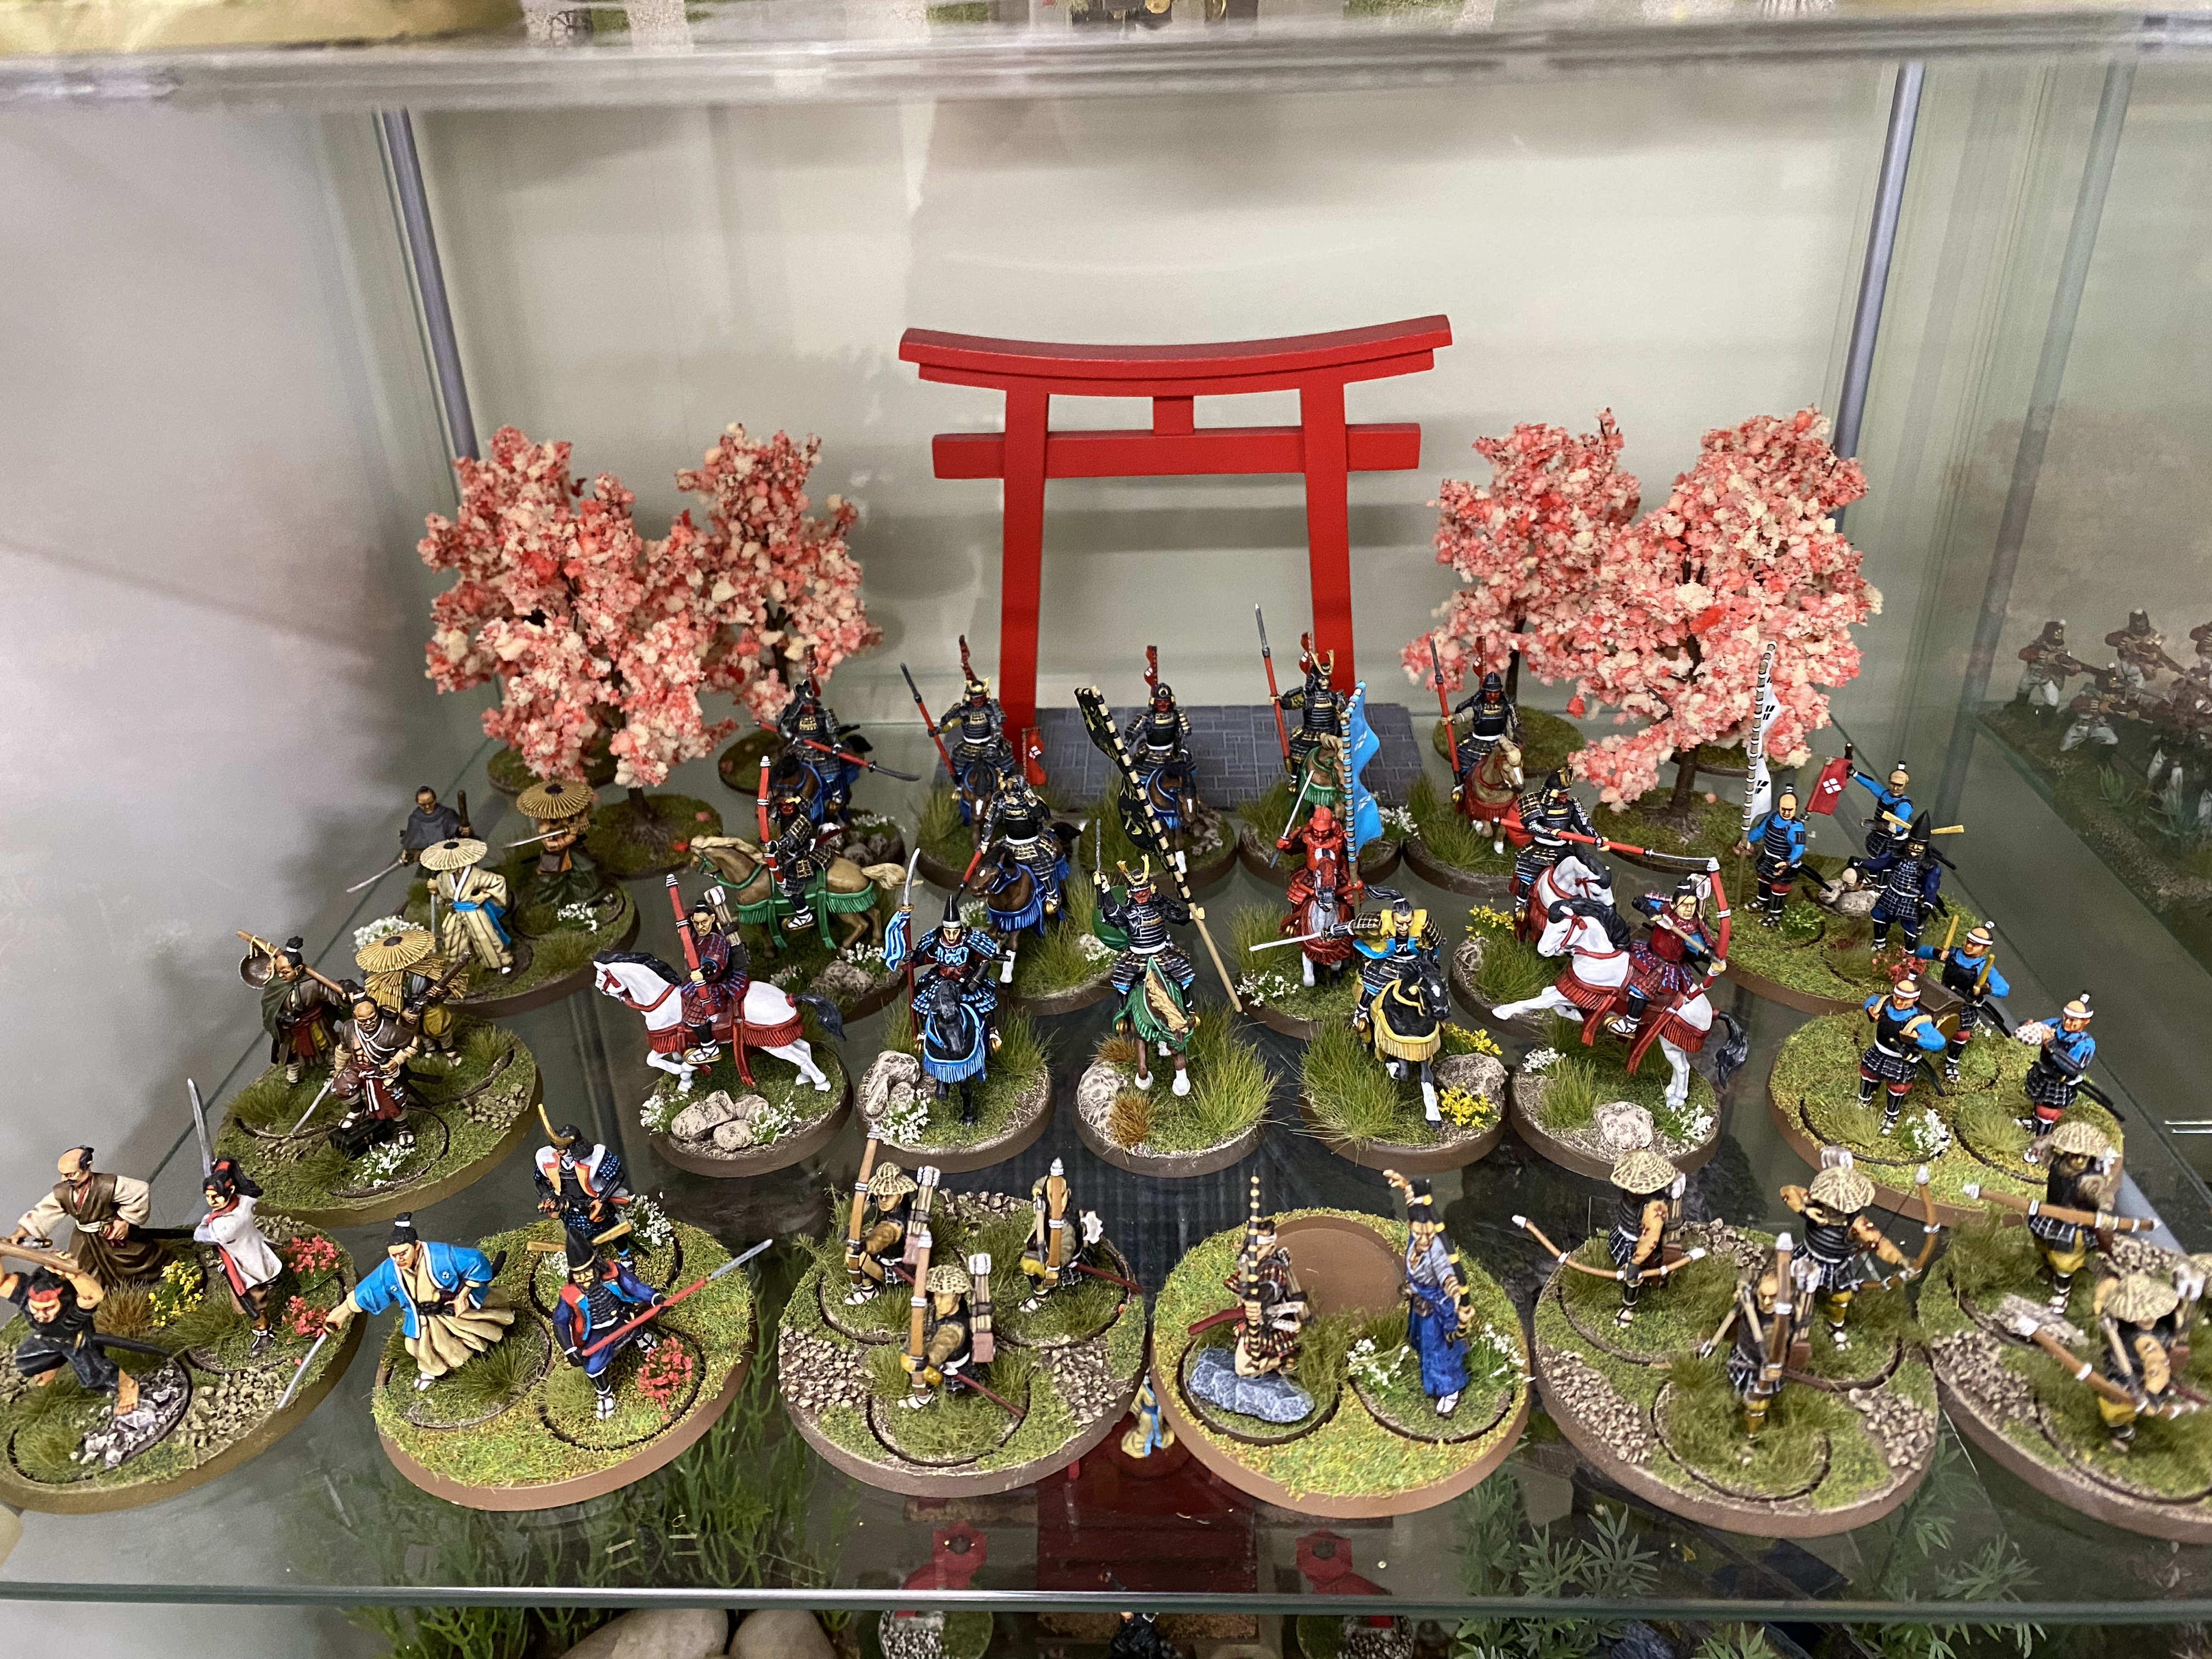
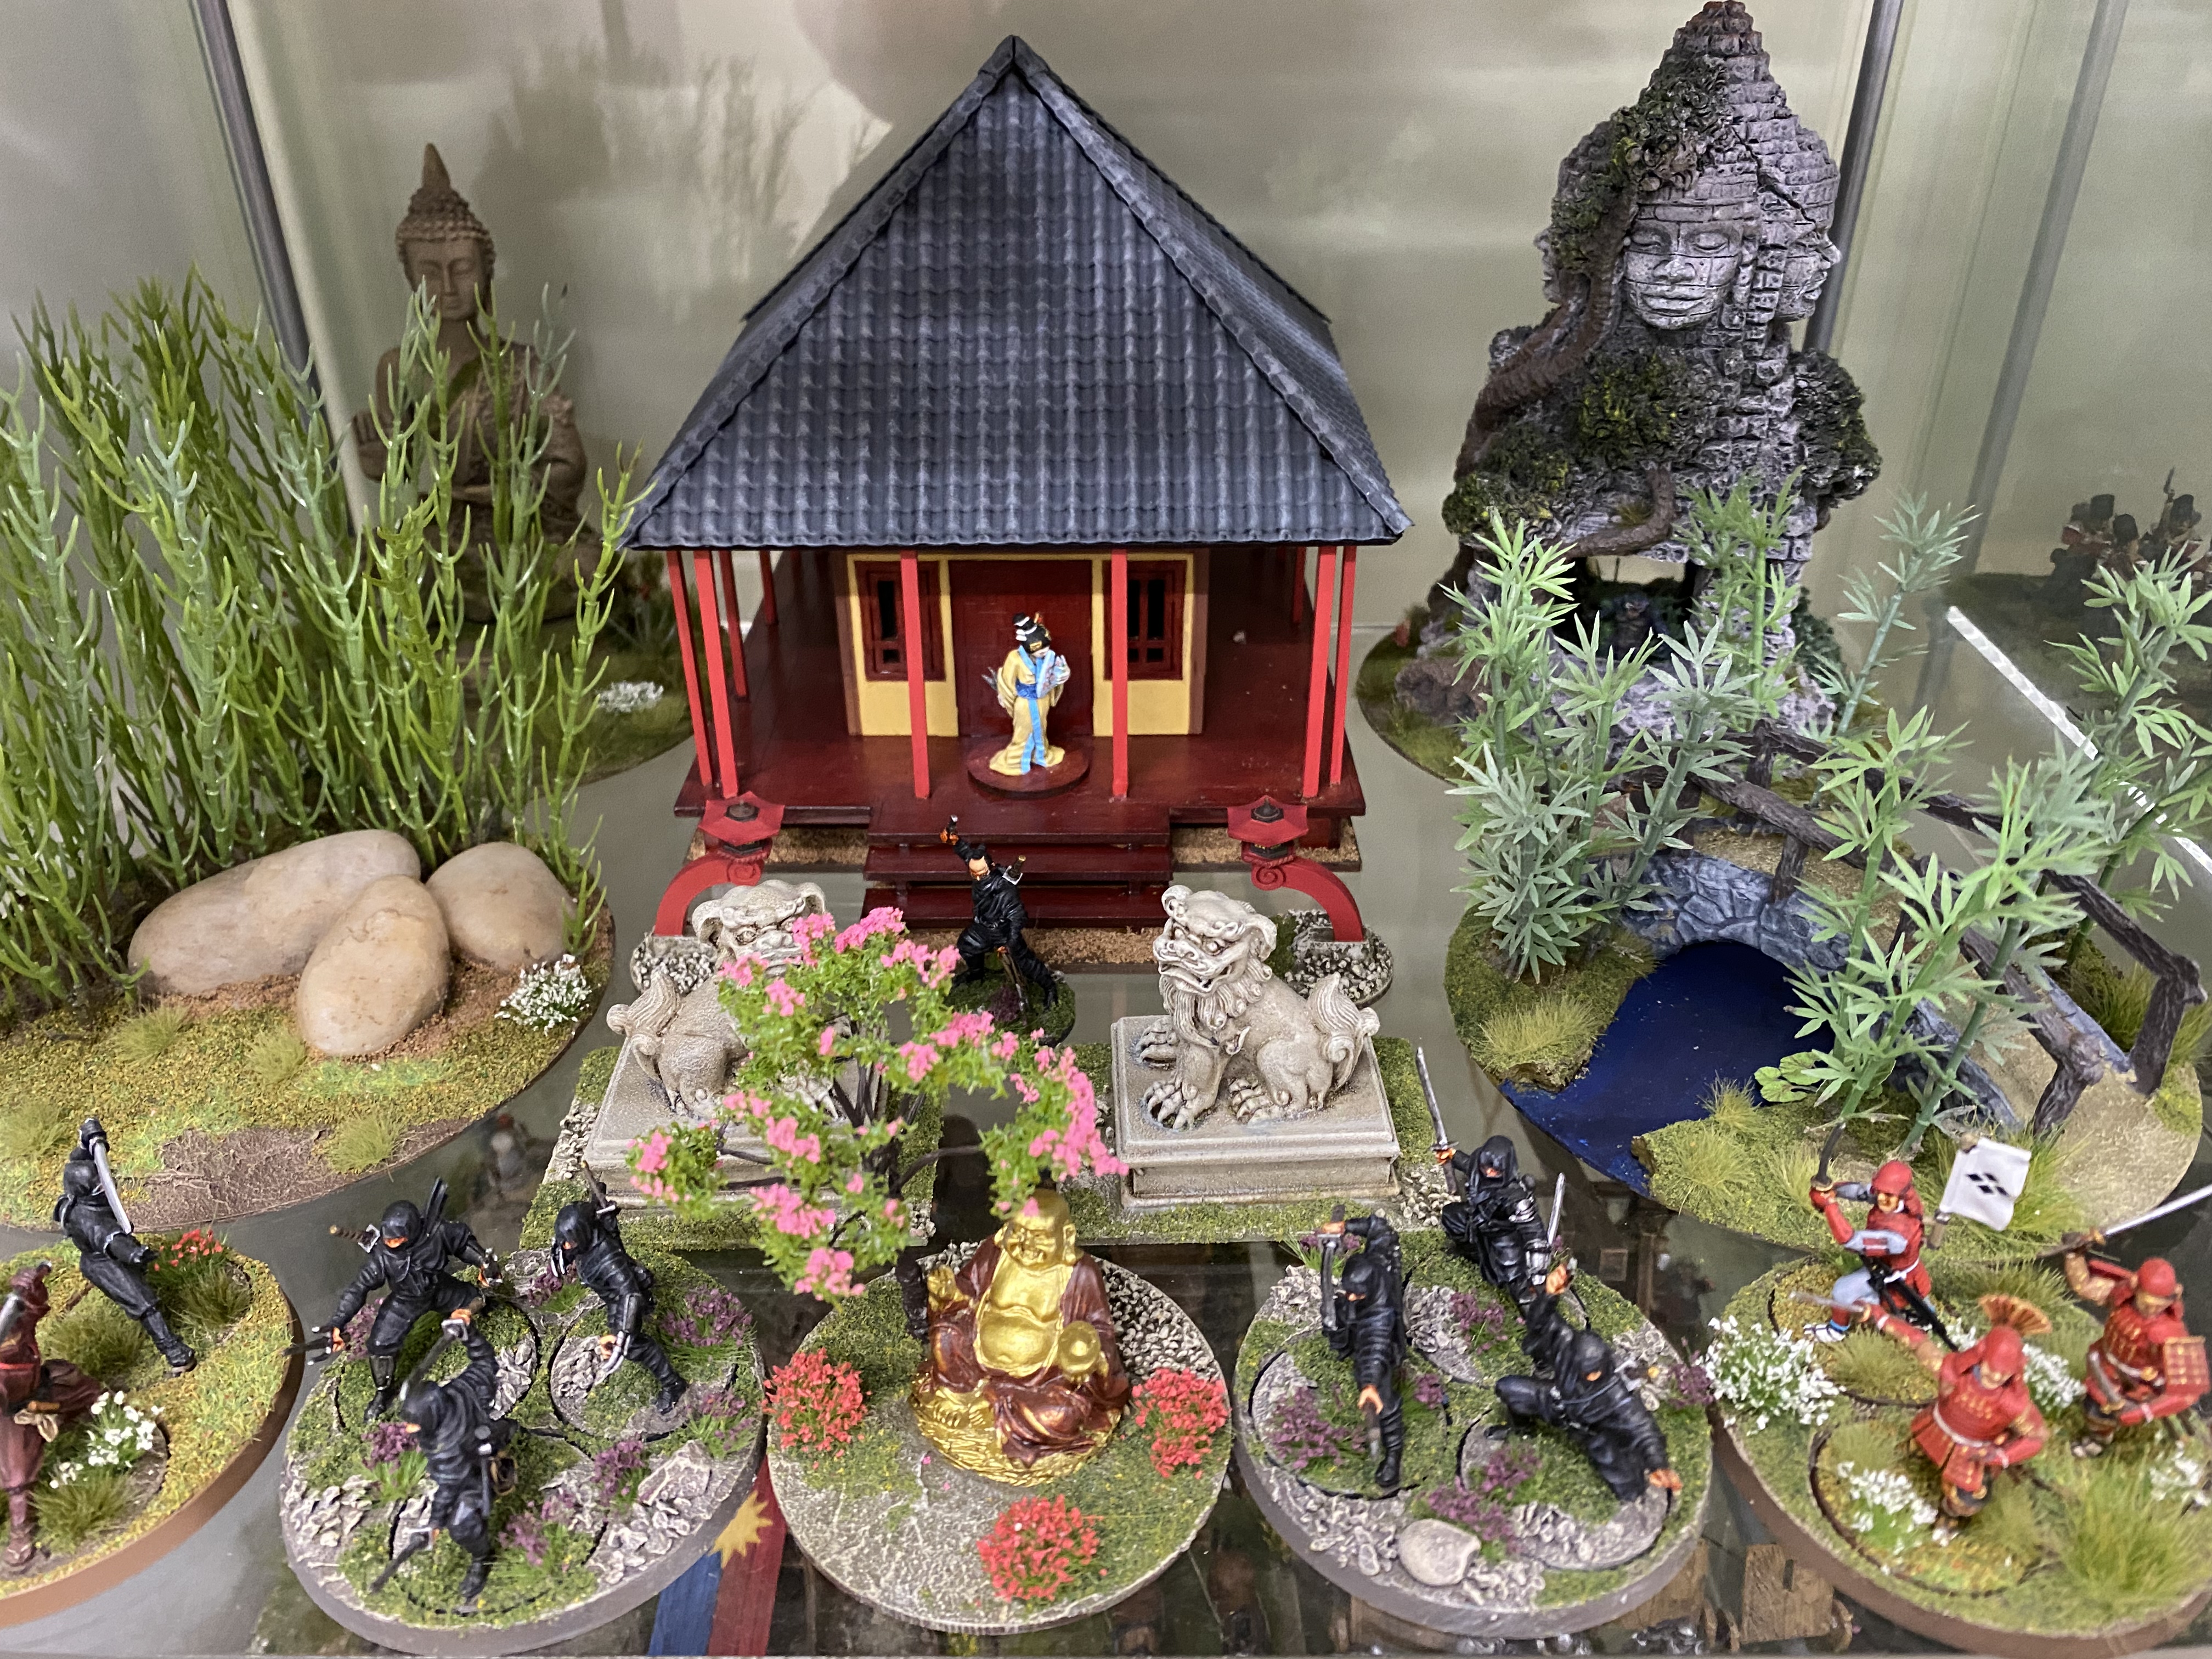
I do have a helpful starting point. I was very much into the original ‘Test of Honour’ game and I had painted a large war band as well as some scenery (see pictures above) All I needed to do was to paint the additional figures to up grade my collection into units for NMTB. I will need about 120 figures and my first army list will look something like this:
24 Samurai Warriors ( possibly in 2 units)
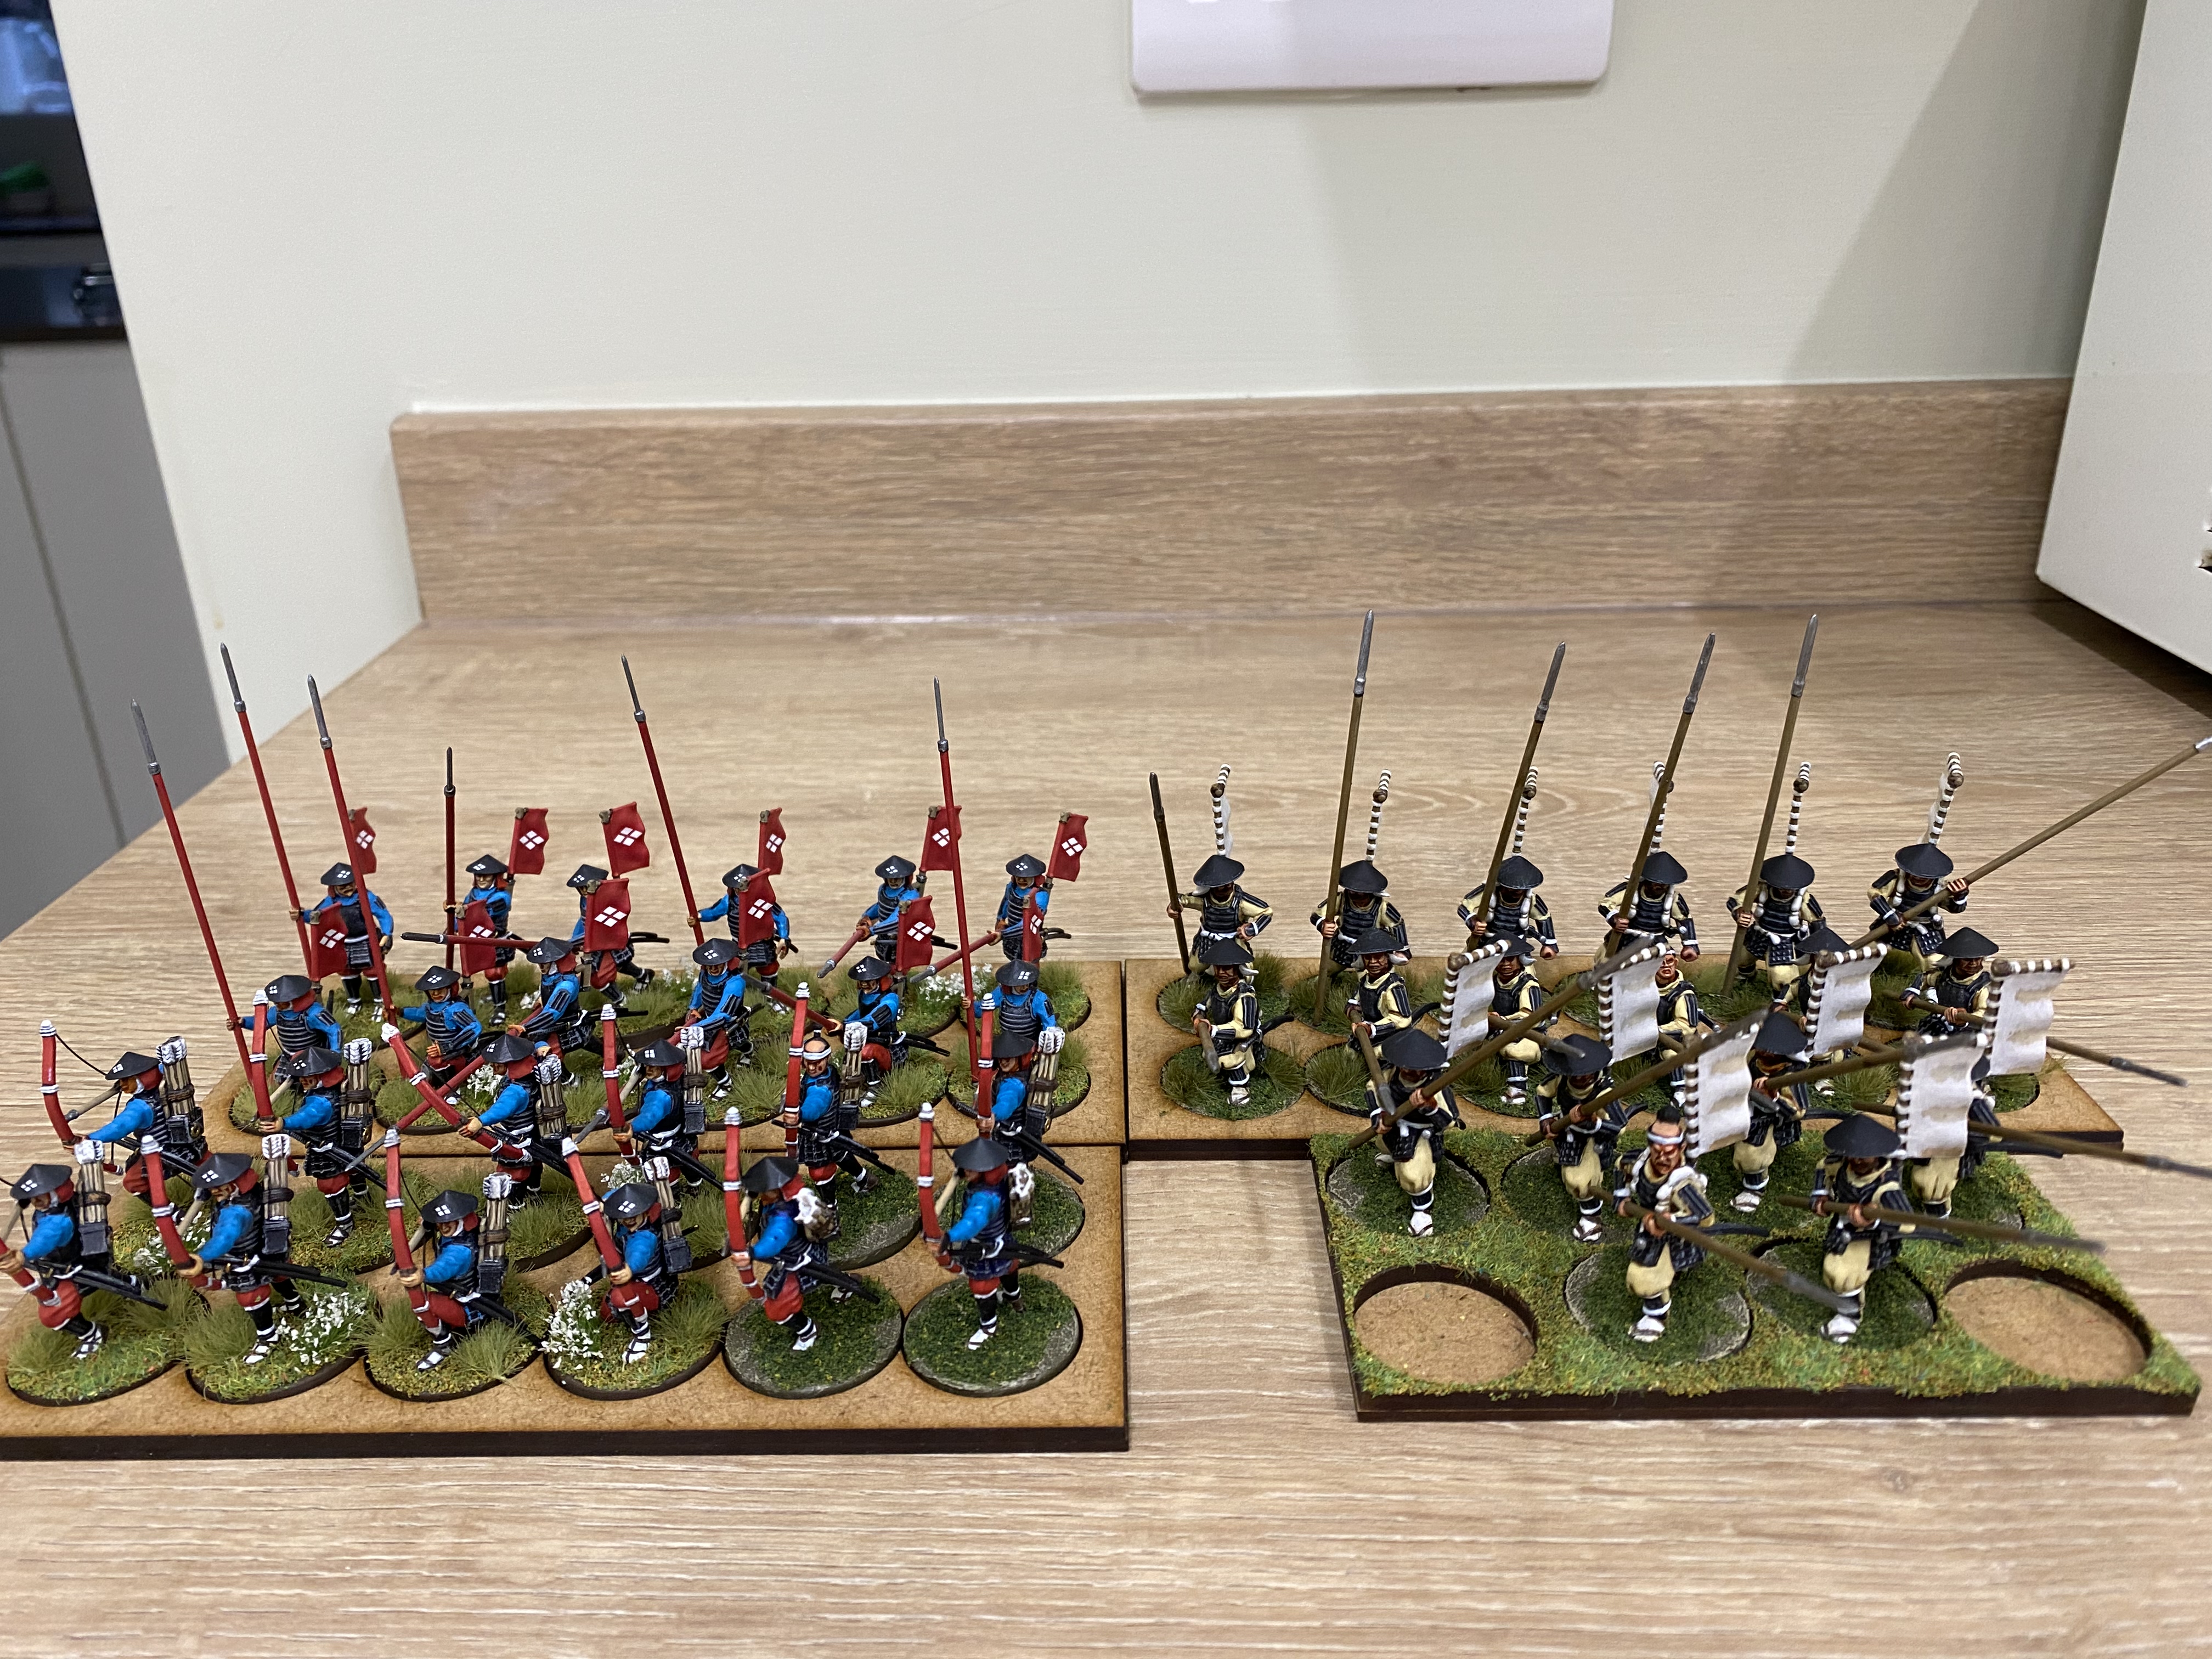
24 Ashigaru armed with Yari ( spears to form a ‘pike block’)
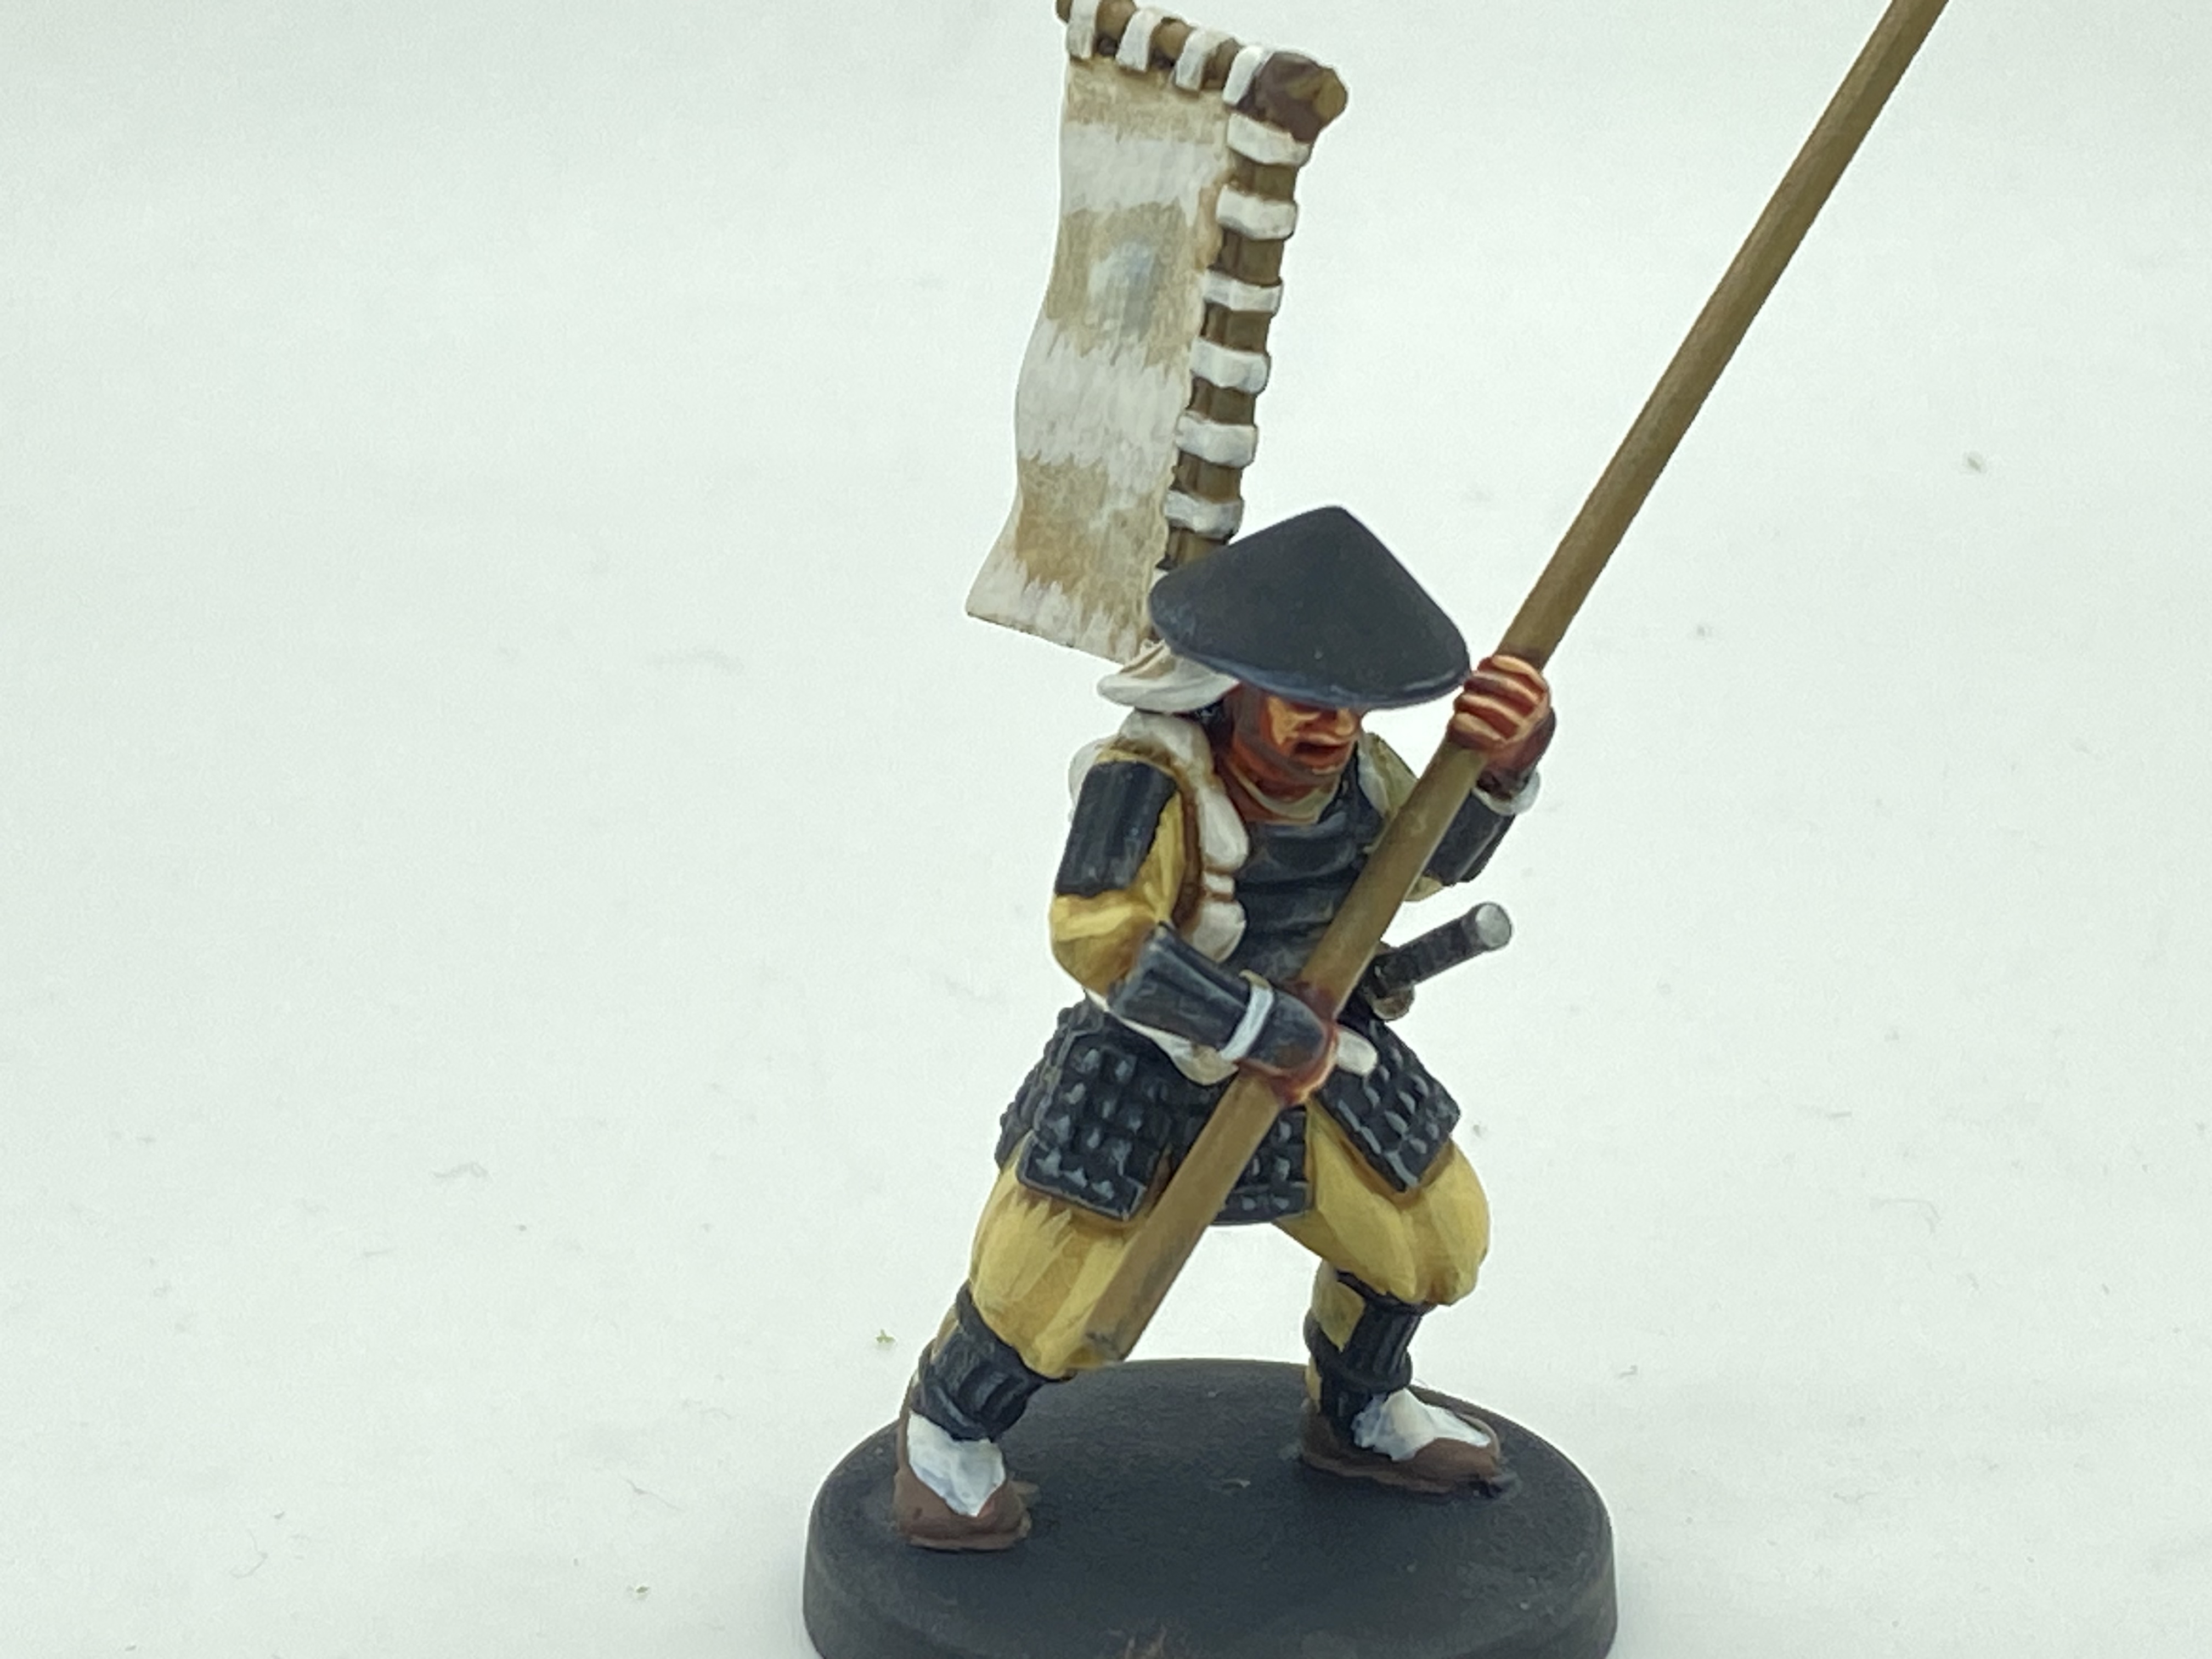
24 Ashigaru armed with Yumi (bows)
12 Ashigaru armed with Naginata (bills)
12 Ashigaru in two bands of six armed with Teppo (guns) as ‘Skirmishers’
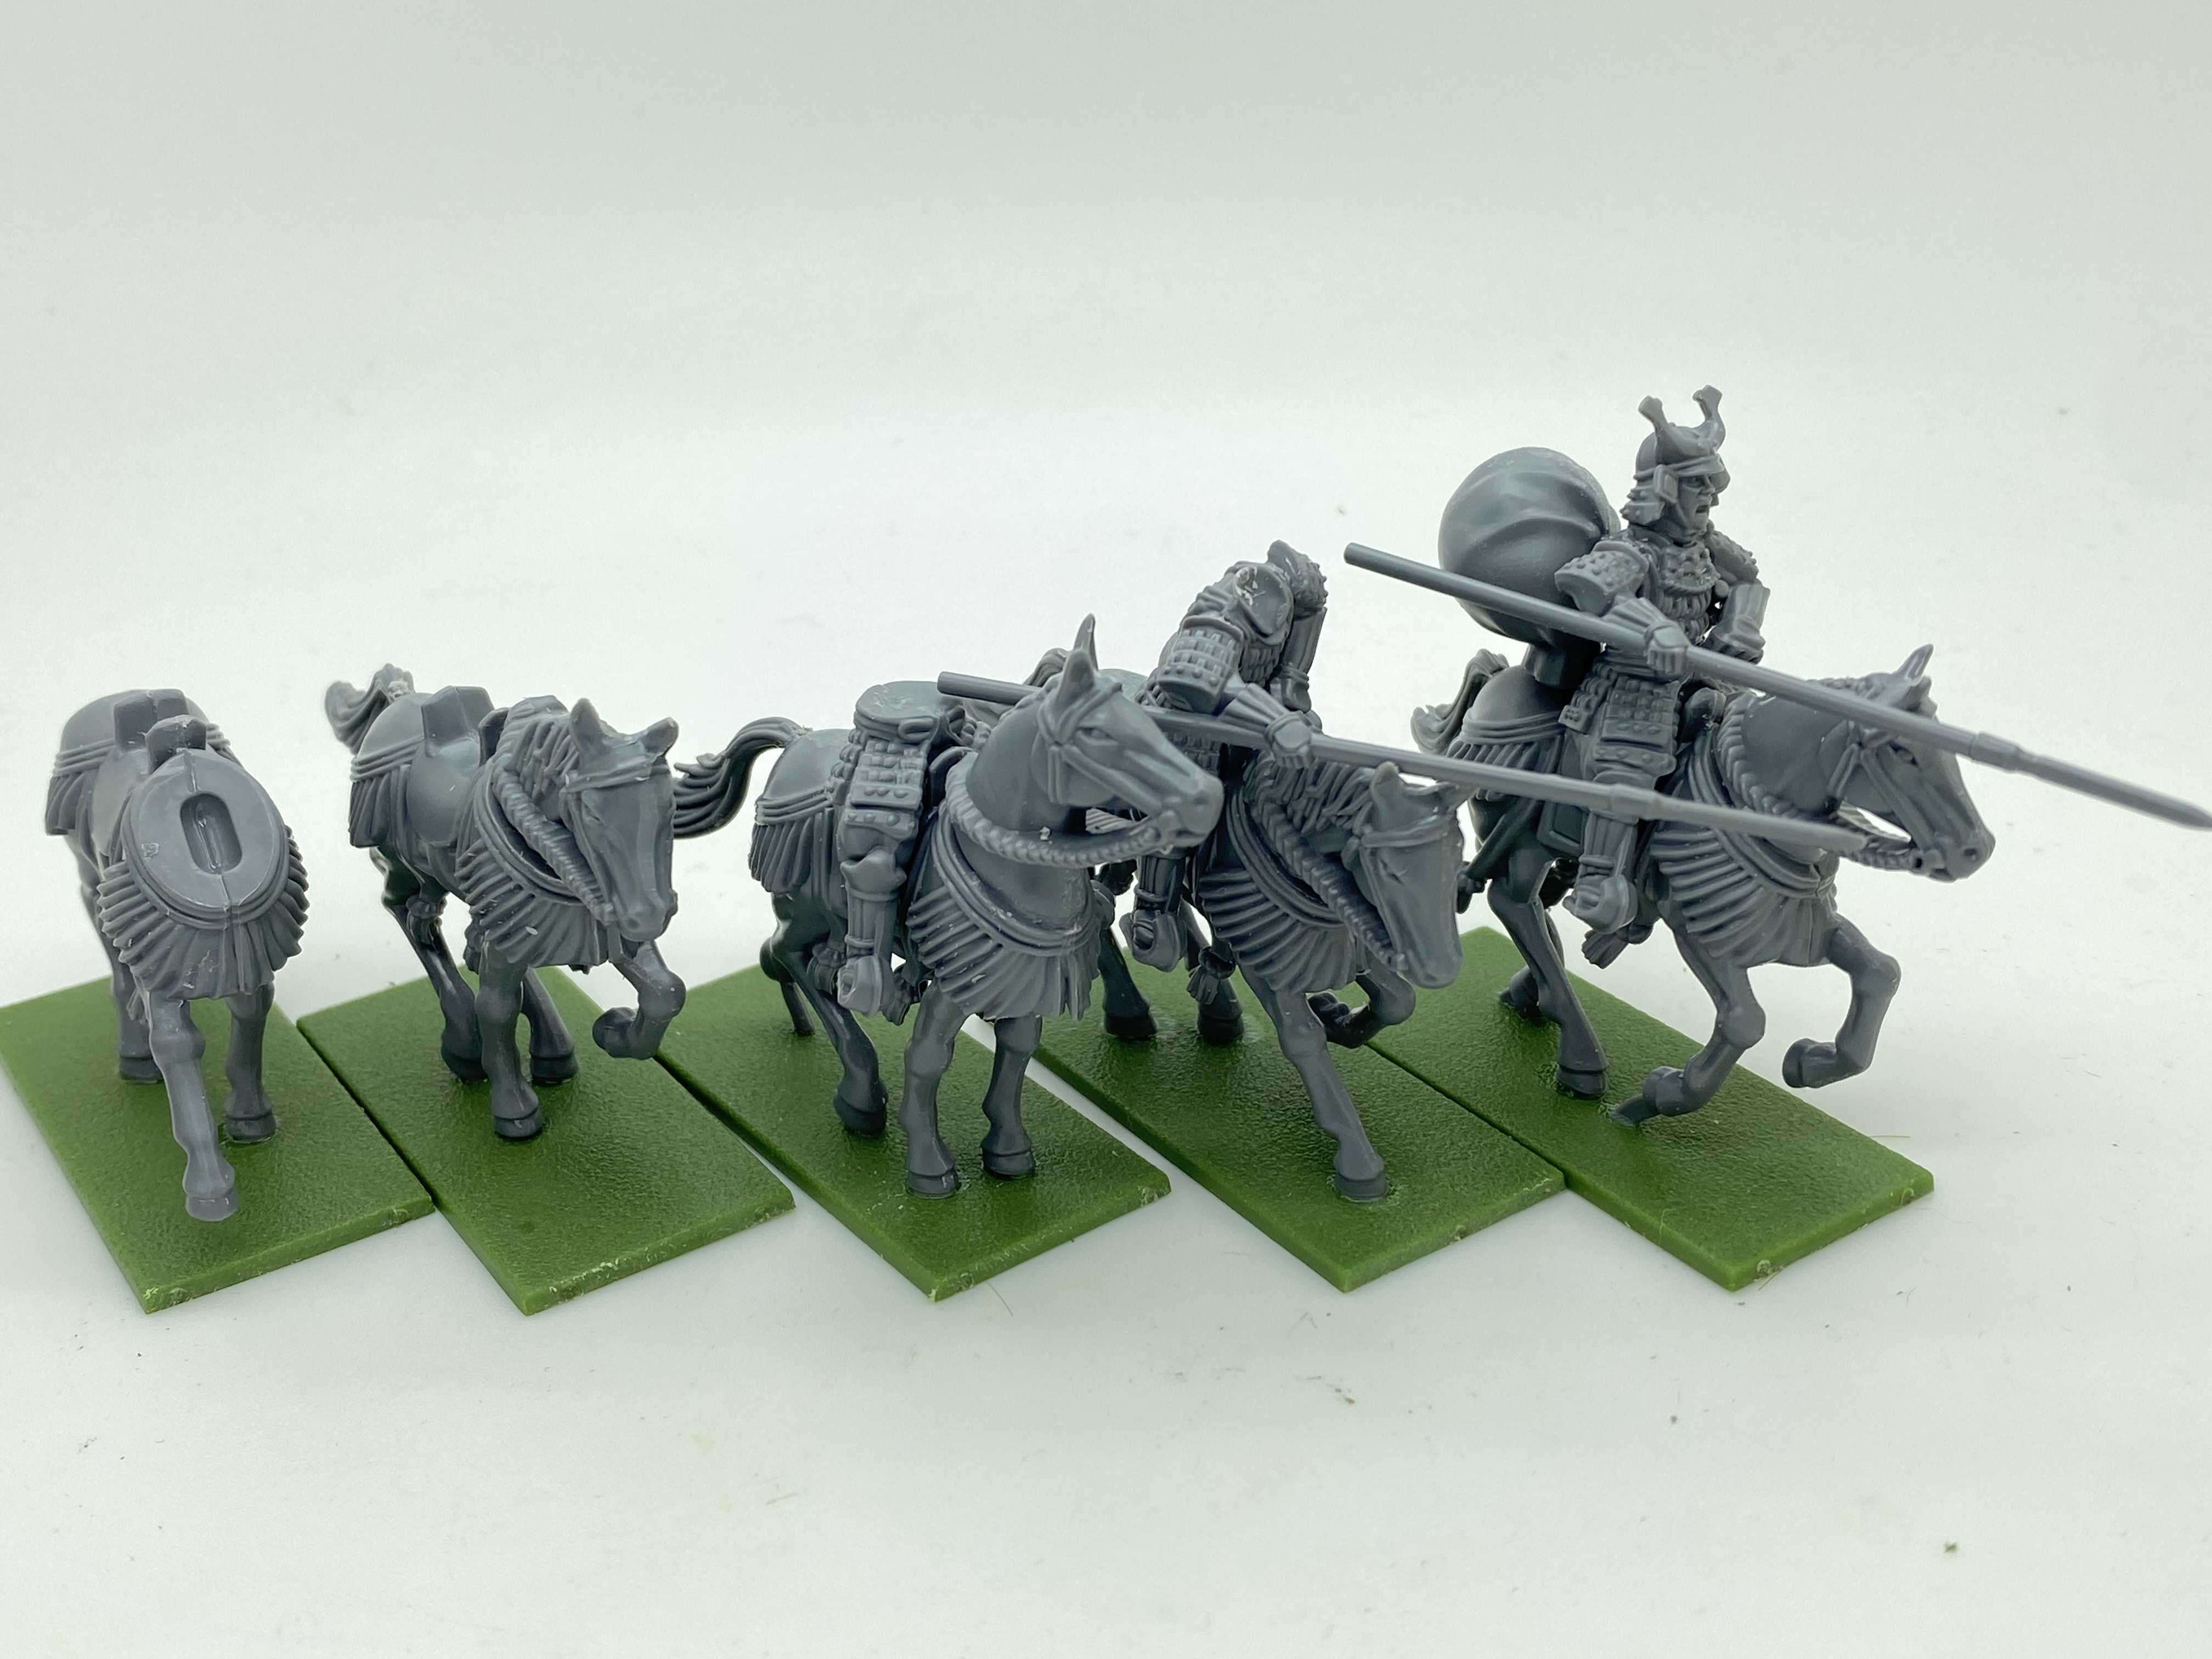
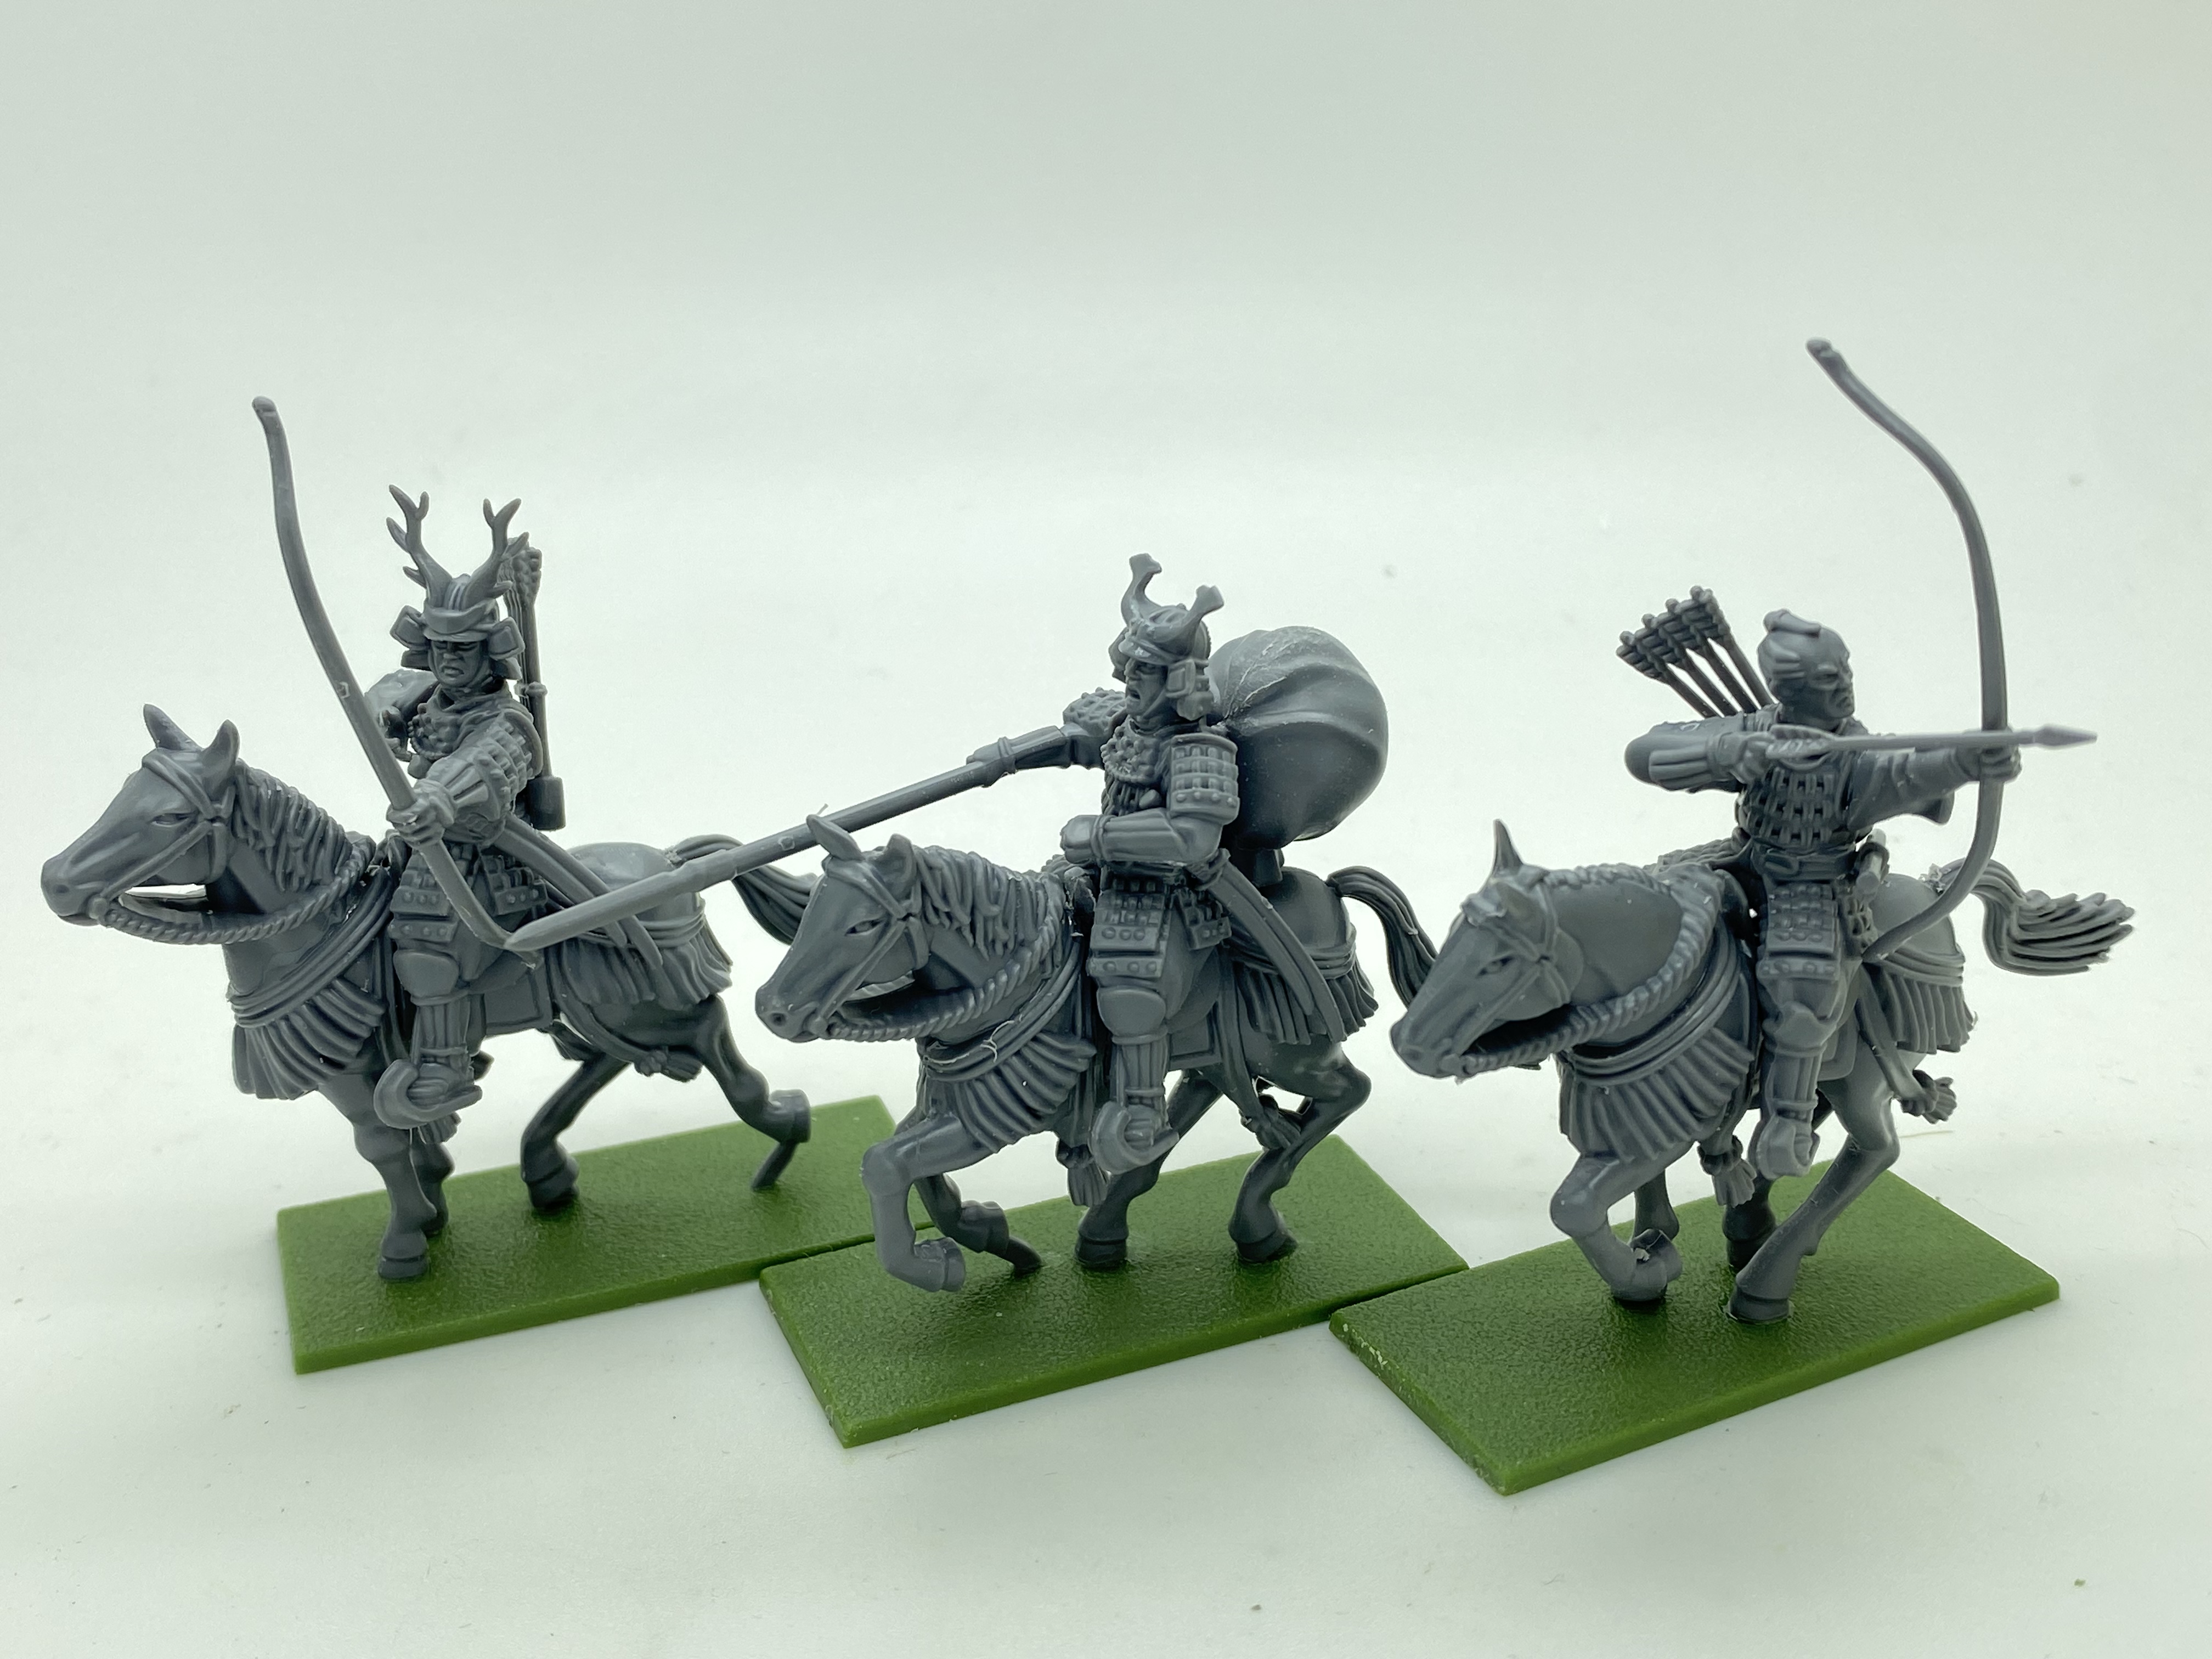
8 Mounted Samurai armed with Bows
8 Mounted Samurai armed with Naginata or Katana
At least 7 Samurai Leaders
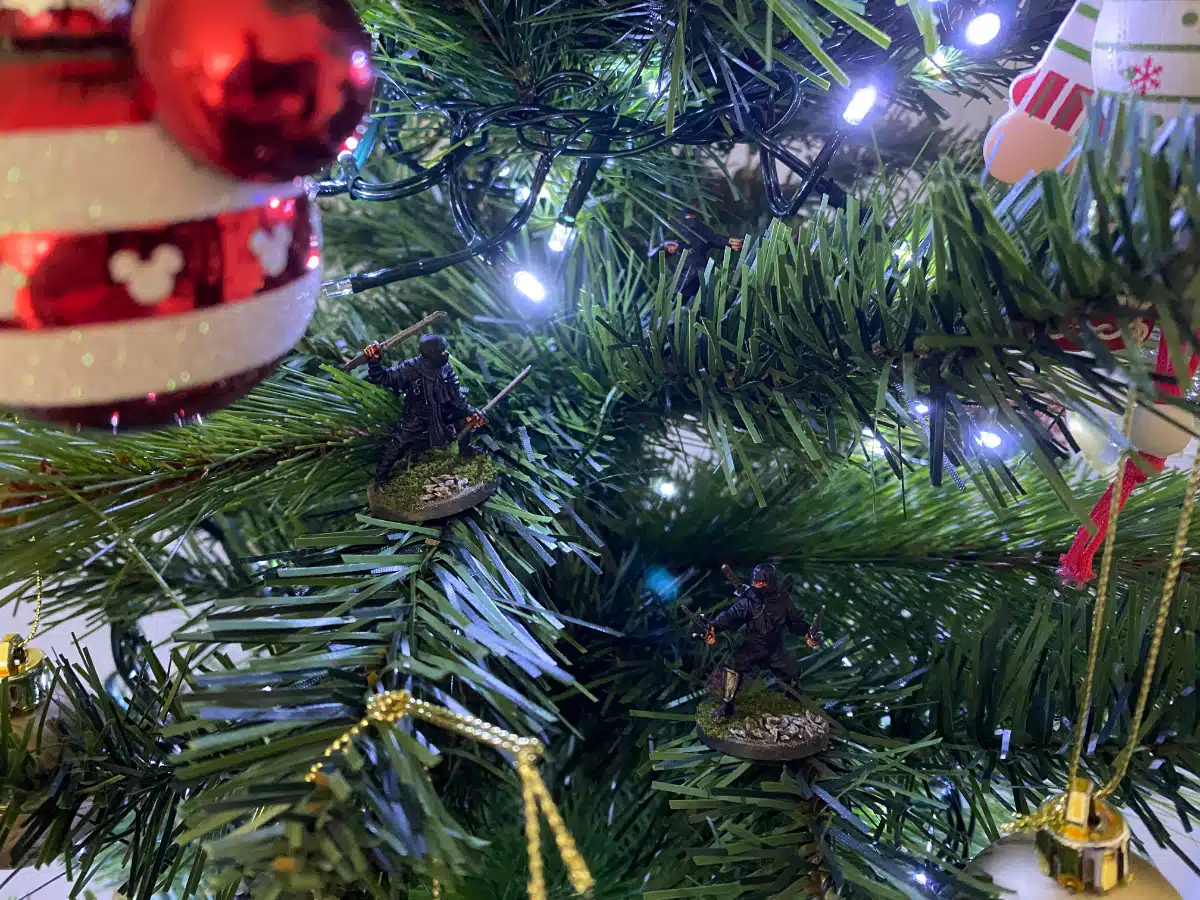
The rules also have an option of Ninja being ‘bought’, so I’ll need six of these!
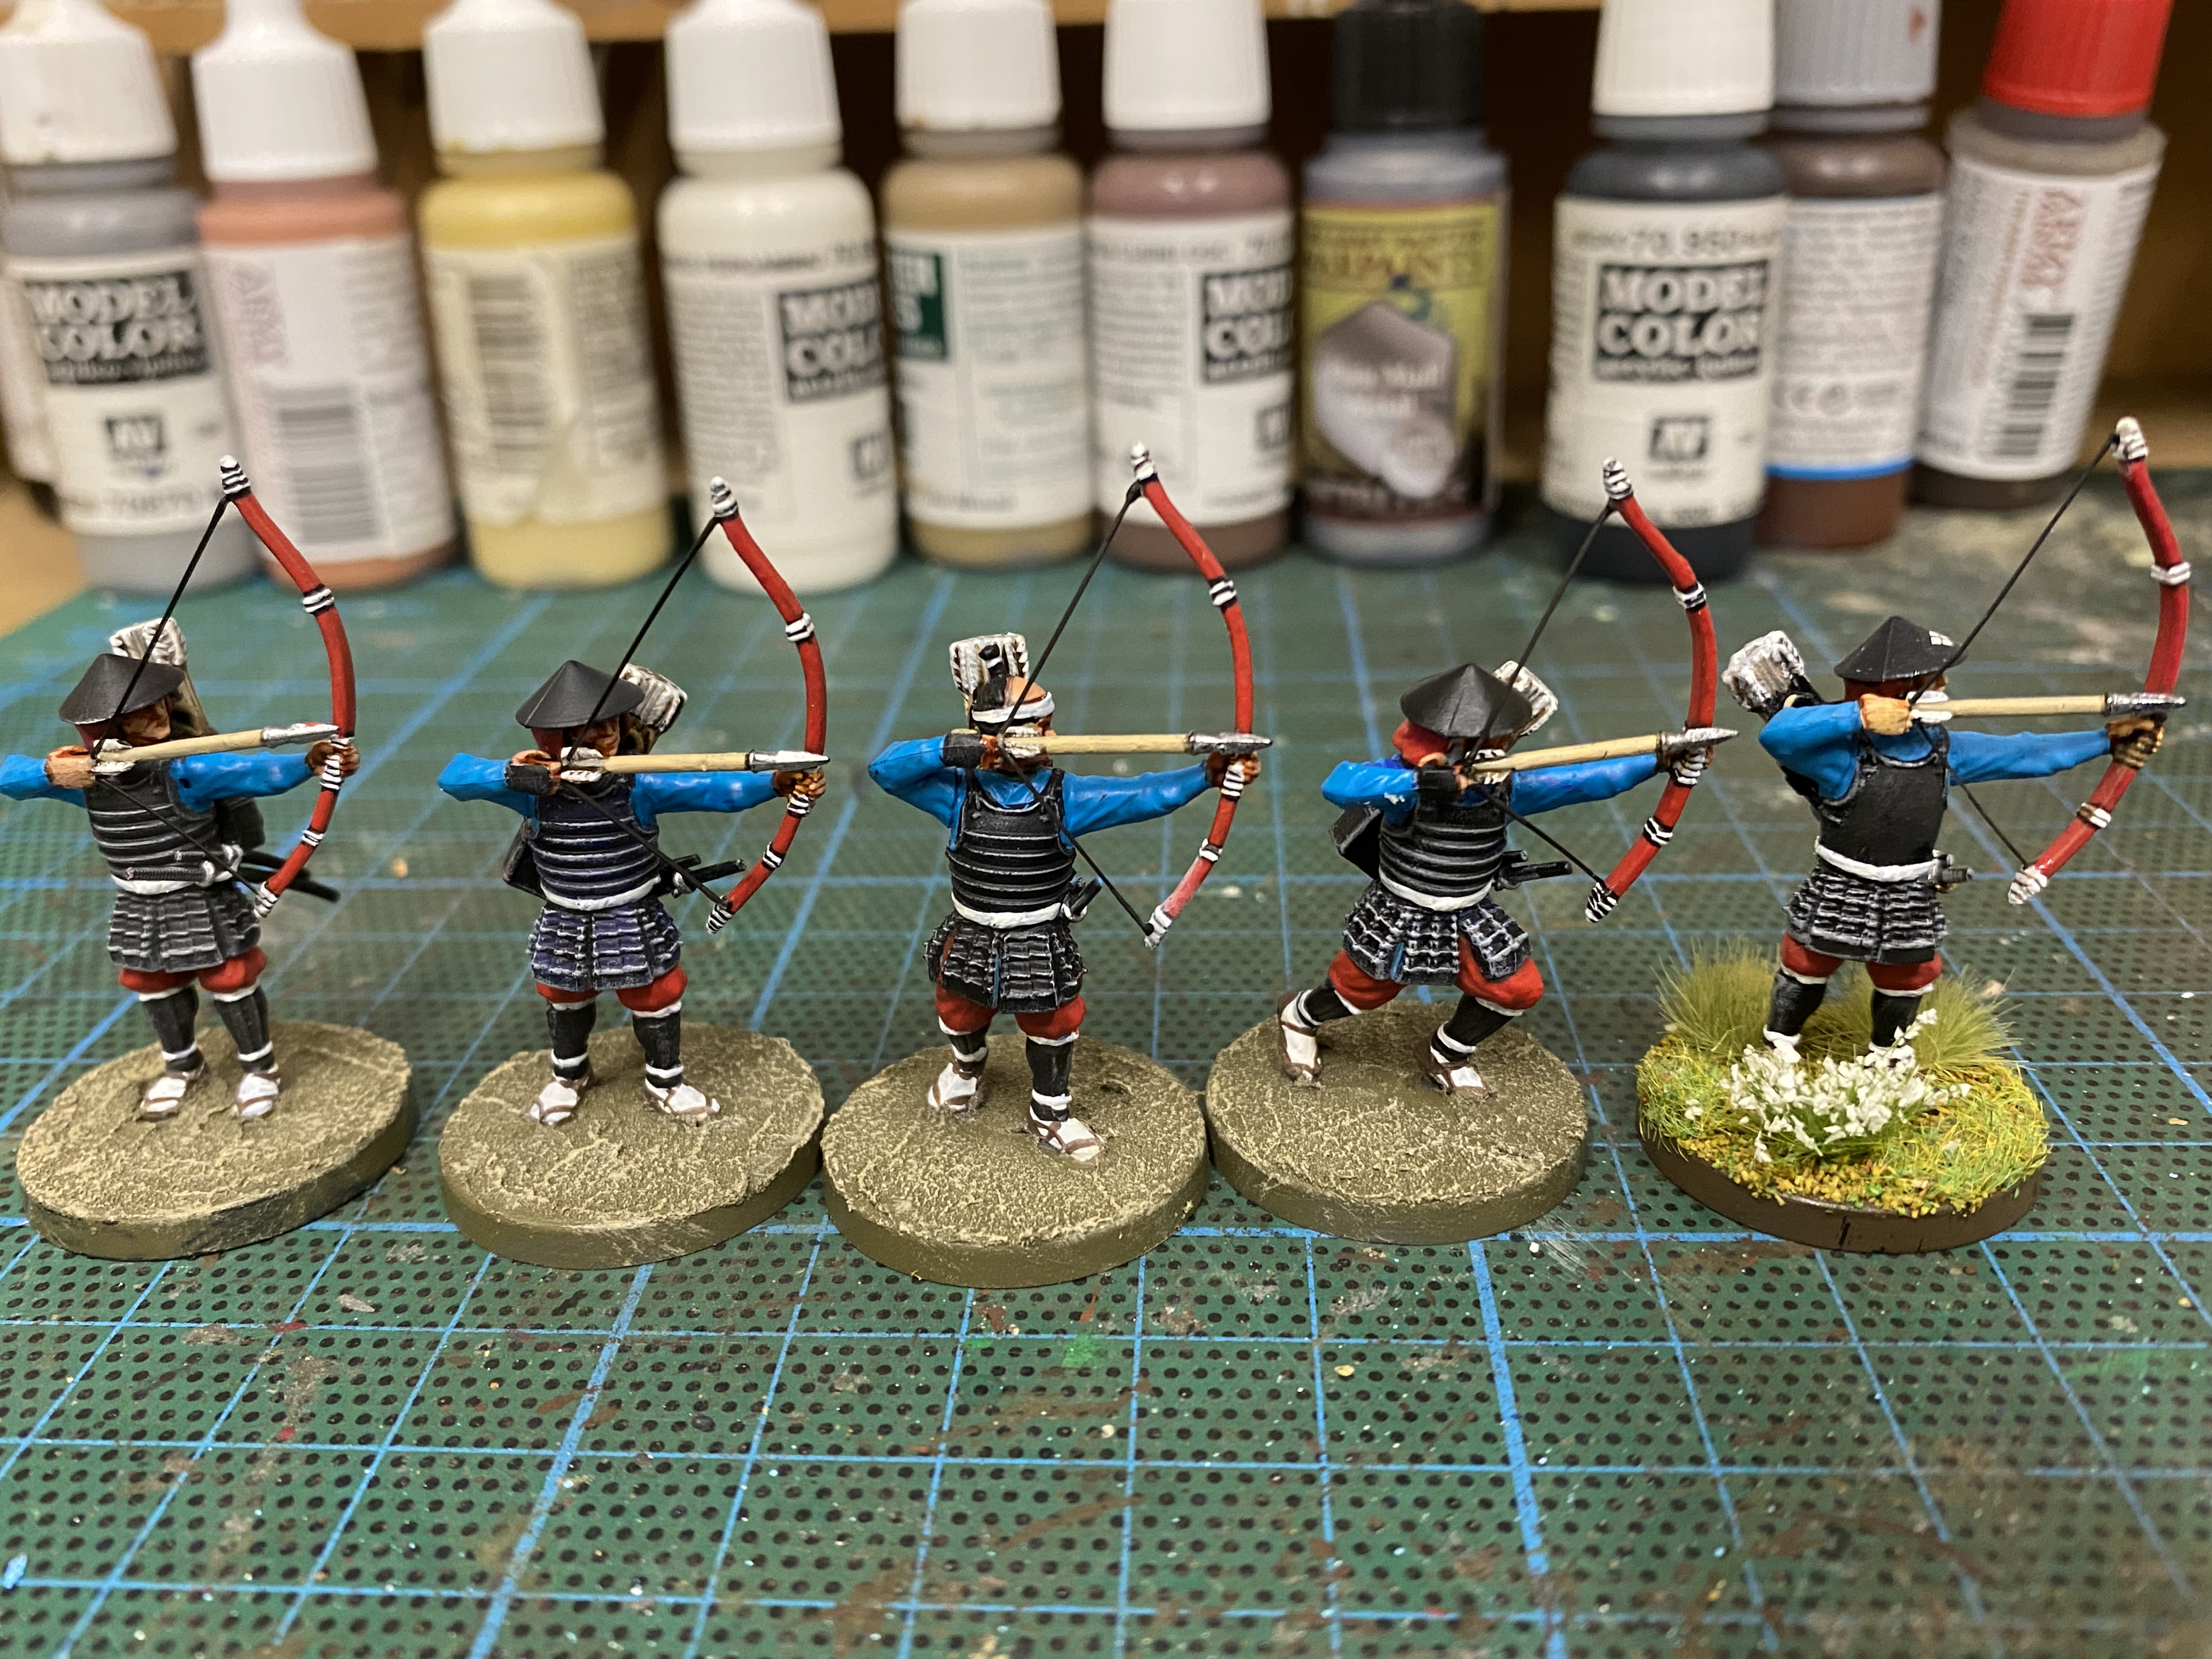
Which brings me back to my blog. I have 8 Ashigaru armed with bows already painted. To get my first unit of 12 all I need to do is to add another 4. So when it came to remembering just how I painted them originally and the colours used, all I had to do was to check back on my blog and all the information that I needed was there! It is worth noting that it was 2017 when I last painted these! Without my blog, I would have struggled to remember how to start again!
If you would like to see more articles about how I built my Japanese Samurai collection, including the scenery, click on the link below to my Samurai category in my blog. I suspect that the New Year will bring a few more articles on this subject!
THE COMMERCIAL BIT
I hope that you all enjoy your hobby as much as I do – our web site will have much of what you need! Click here to see our shop.