
Not quite John Lennon, but a good intro to my first blog of the year. I had intended to do a review of the year but to be honest, I’m not in the mood to look back, I prefer to look forward. If you would like to know what I have been up to, there are over 40 blog entries from last year to peruse! That said, I’m not one for making New Years Resolutions as such. I prefer a 90 day plan. A year is a long time and there will be plenty to distract me. Test of Honour is a great example. I had never planned to model and paint Samurai or come to that anything Japanese. My focus was very much on building a Napoleonic Army with Saga Dark Age warbands as a happy distraction from churning out battalions of Brits.

My latest addition to my Warband
But along came Test of Honour, and I was hooked. I think I know why and bear with me whilst I explain.
Now, first of all, I had been stocking and selling the original Wargames Factory Samurai kits since their release. I had always been a fan of their sets long before they moved across to Warlord Games. I thought that in terms of value for money they were excellent and the sculpts were improving all the time. For those that doubt me here’s a couple of links to earlier blogs written in 2010 and 2011 respectively:
WARGAMES FACTORY DARK AGE MODELS
Despite my enthusiasm for Wargames factory, the Samurai kits didn’t really appeal, I was too involved in Napoleonics to consider them as a hobby project. Just to further name drop and show how I missed the early boat, Andrew Chesney, who was working at Warlord at the time, mentioned that he was playing a Samurai game with a couple of other guys from Warlord, a certain Andy Hobday and Graham Davey, did I fancy joining him in a game? At the time, I was again, too wrapped up in my own agenda and politely declined, although I did sell him some nice Japanese buildings that were being produced by Sarissa….
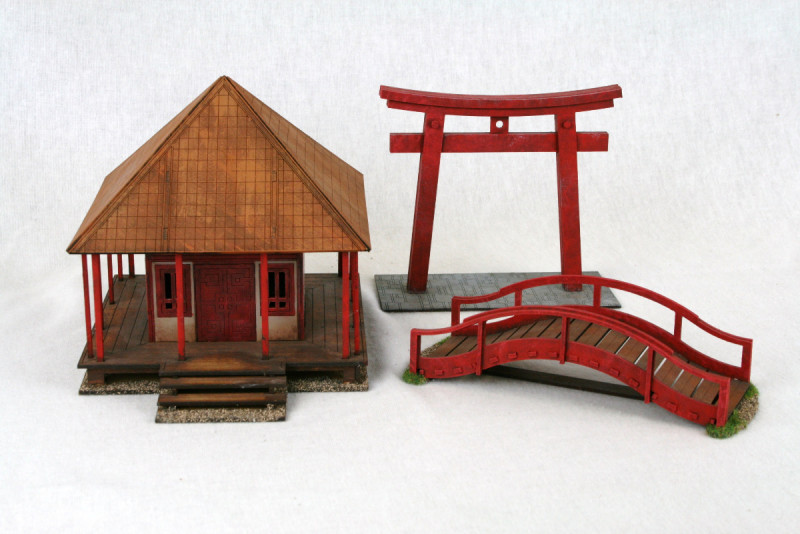
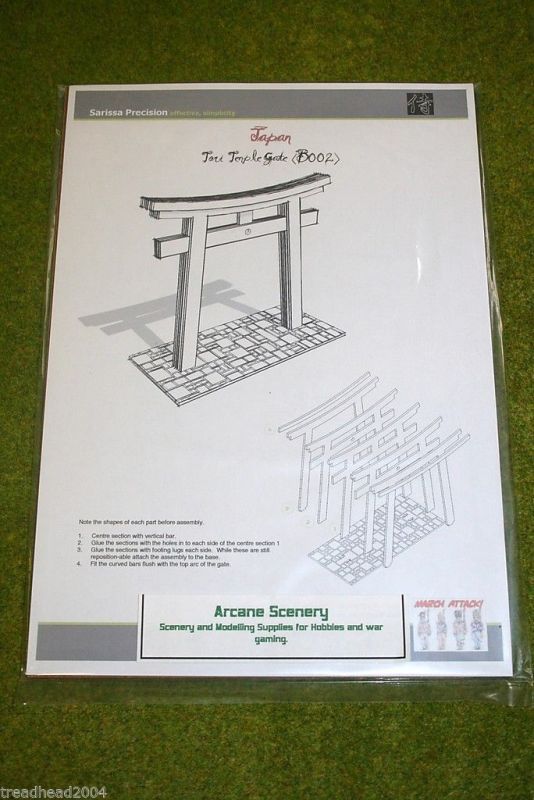
The rather Superb Sarissa Buildings
I nearly got hooked on the Samurai vibe when Zvezda released their 1/72nd range but 1/72nd is really not my preferred scale and although we commissioned some Japanese scenery in this scale, it didn’t take off either as a game or a range. Zvezda seem to lose interest quite early on as well and although some of the sets are still available, as far as I can see the range is not included in their latest catalogue and is disappearing fast.
The release of Ronin by North Star and Osprey books was also tempting. The miniatures are lovely but the rules didn’t quite capture my interest, nor more importantly, that of my gaming buddies, who like me were focusing elsewhere. So, no Samurai for me then…until Test of Honour was released last year.

New from Warlord Games, Test of Honour
I wrote about the initial release in my blog here:
and my conversion to the game here:
It would appear that I am hooked. The appeal for me is the simple game mechanics that expand with each supplement that you buy. This results in the game having collectability as well as allowing you to field all sorts of variations in your warband. Of course, this also means that there is depth to the game. As you build your warband, more tactical options are available. The game doesn’t take itself too seriously. It’s not designed to be an accurate historical recreation of Samurai Warfare and this is quite liberating for a Napoleonic Wargamer. It’s simply a game using Samurai figures with just enough flavour to make it feel authentic. You can get through a game in an hour or less. This seems to ensure that nobody takes winning or losing too seriously – you can always have another chance to win if a game goes against you.

My own take on the Widow Takeda – Black seemed appropriate to me.
As you are encouraged to build your own retinue, you can either research a historical clan or simply design your own – again, a very liberating process for a historical wargamer. I guess as my collection grows, so will my very limited knowledge of the period but for now I am happy to focus on the modelling and painting and enjoy the freedom of creating my own collection of both models and scenery.
So no New Years Resolution for me as such. Don’t get me wrong, I do have a list of Projects to get on with but filling a year would be silly. I know what’s coming later in the year and it’s going to be brilliant… and I’m not just talking about Samurai!
So watch this space, or even better, follow us on Facebook. We will let you know what’s coming as soon as we can but for now, just leave a bit of space in your modelling schedule. As for those of you yet to try Test Of Honour, if you have a like minded gaming buddy, give it a go. The boxed set has pretty much everything that you will need for two players to get started for just £35.00 and we ship post free worldwide. But, don’t blame me if you get hooked!


 Made from Laser cut MDF, assembly is very simple using PVA glue. Painting is just as straight forward. There seem to be a lot of questions as to how easy is it to paint MDF. The answer is very easy. I just use the same paints (Vallejo) that I use on my miniatures, unless I am painting a large area. In which case, match pots of emulsion from B&Q (other DIY superstores are available) also work very well.


