I am gradually working my way through the Test of Honour boxed sets. Having completed all the figures in the Starter Box, Bandits and Brigands and most recently, the Samurai Cavalry, my next project was the Pauper Soldiers set. I very much like the main metal figure, Lord Senzo ‘The Thorn’ although I have to mention that the couple of occasions that I used him in a game, his accuracy with the bow led me to christen him something else – nothing to do with my dice rolling of course… I digress, back to the modelling!
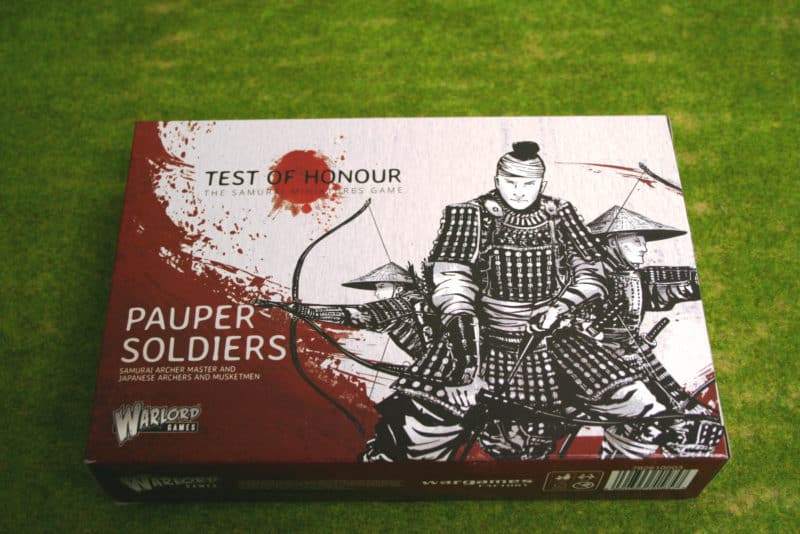
As well as Lord Senzo, the box contains two sprues of ‘Missile ashigaru’, enough to build ten bowmen and musket men. The cards supplied also enable you to field groups or single models of Bowmen or Musket men. I decided that I wanted to build 9 bowmen to go with Senzo. It seemed logical that as he was armed with a bow, his retainers would follow suit. A sort of Japanese version of Robin Hood and his merry men! The tenth model would be used as a musket man but I have plans for fielding a force of Musket men and if they come to fruition, I will post these in a separate blog article.
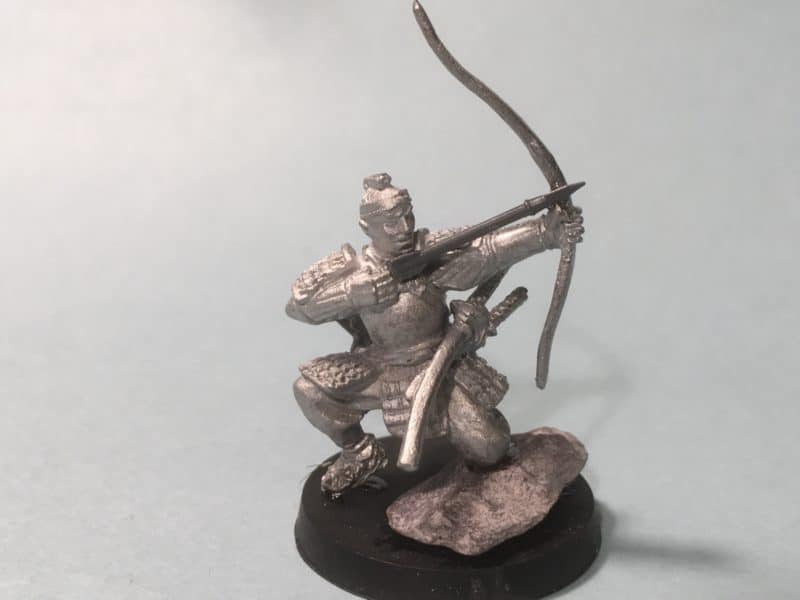
Lord Senzo ready for priming.
Lord Senzo himself was pretty straight forward to put together as he is essentially a one piece metal moulding. I made a couple of changes though. By carefully cutting an arrow away from one of the plastic arms on the sprue, I was able to add an arrow to his bow. I also wanted to alter the angle at which he was firing, so by adding a small piece of slate to the base, I super glued Senzo to this. as with the other archers that I have made, I will add a bowstring once painting is complete.
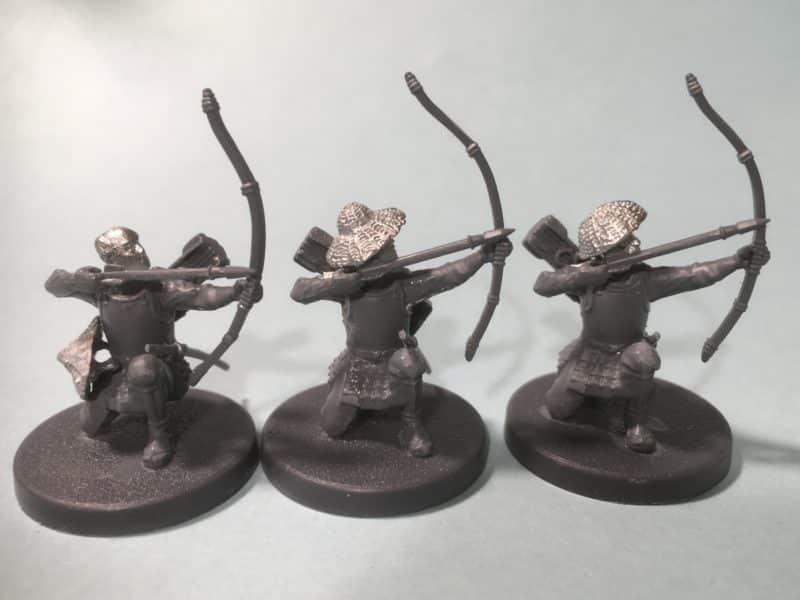
Kneeling Archers
The Pauper Soldiers come with a selection of metal heads – some with hats and some with separate hats. I decided that I would leave the ones without hats bareheaded and hang the hats from the belt. I’m not sure whether this was the idea, but I quite like the effect. Two of the kneeling archers are aiming high. It was a case of finding the bow arms that looked about right for this pose and slightly modifying the arrow arm by adding a sliver of sprue to the shoulder to adjust the angle. Any gaps were filled with Vallejo plastic putty, which is easier and faster to use than green stuff for this small job.
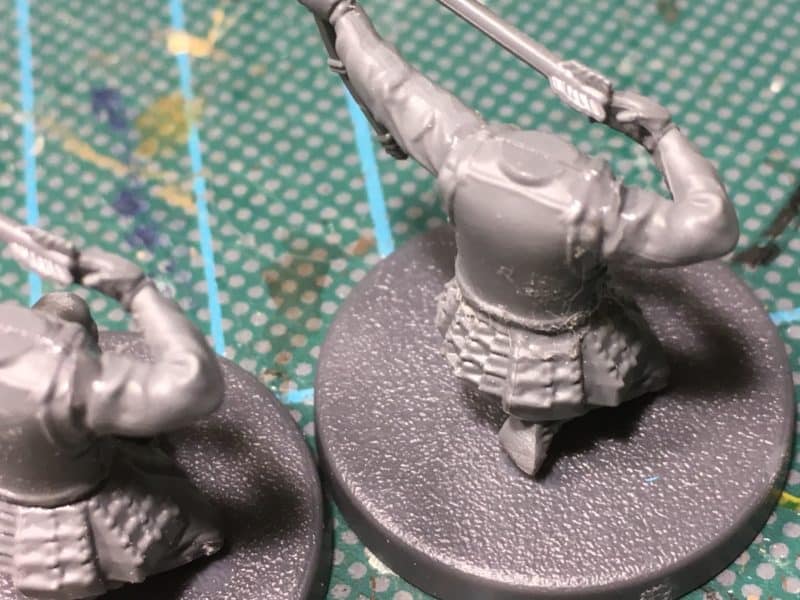
Adjusting the angle of the draw!
You can just about make out the inserts in the picture above – it looks messy but cleans up OK! Incidentally, I’ve cheated as you only get two kneeling figures in the set – I had a spare donated by a friend who didn’t build everything in the starter set.
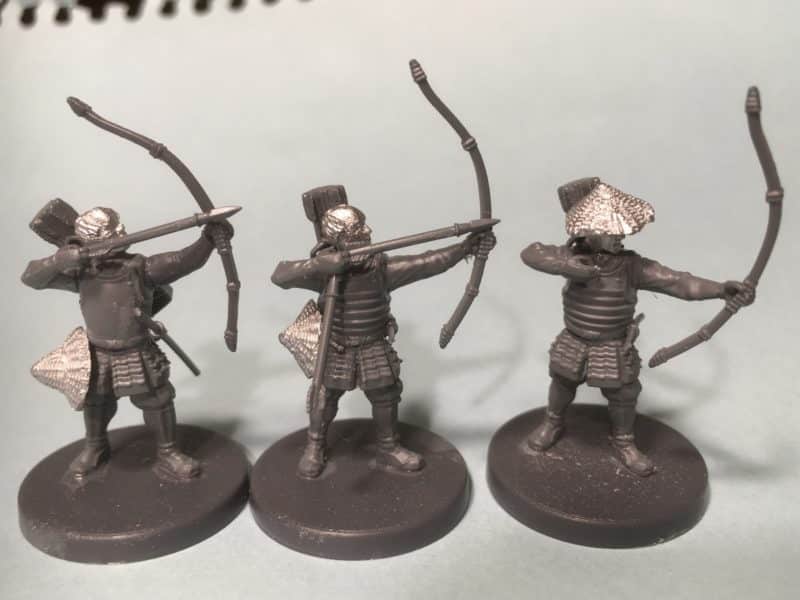
Standing archers
The standing archers are fairly straight forward to put together but I have made some slight modifications. I’ve used the legs that are have feet at right angle to each other and made sure that they are spread as wide as possible. There is no need to fill the slight gap but I did need to flatten the waist area slightly. The middle figure is holding a second arrow, ready to reload quickly! It’s a pose that I have seen in many pictures of Japanese archers. The spare arrow came by carefully cutting it away from the arm on the sprue. I’ve used that arm, now without an arrow, with the man on the far right. The idea is that the arrow has just been fired and when I fit the bow string this should look more obvious. I’ve also tried to tilt the bow down as though the tension has now gone.
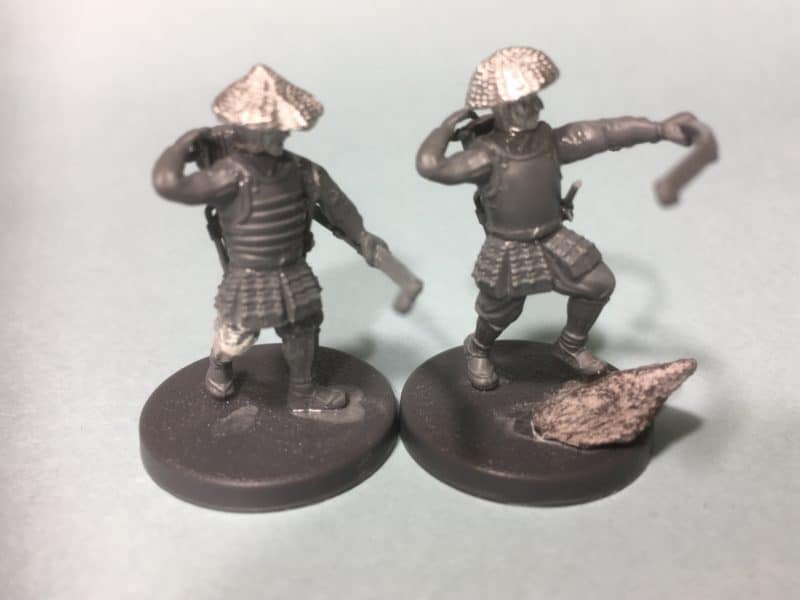
Bowmen Reloading
The two bowmen reloading have been made using the left arm that is designed to be used to hold the musket. By simply glueing it so that it is positioned reaching over the shoulder, it looks convincing enough. Of course the other trick is to glue the quiver in place right under the hand! The bowman on the left has had a bit of surgery on his leg to make it look as though he is supporting his body as he leans back to get an arrow. It’s a small modification to cut off the legs and re-join it at an angle. As before, I have used Vallejo plastic putty to fill the gap. If you are not familiar with this product, it is idea for filling gaps in plastic models, dries quickly and is easily sanded and primed. You use it straight for the bottle or tube with no mixing and the drying time is very fast. The final note is that I have again used a piece of slate on the base of the right hand figure to change the angle of his pose.
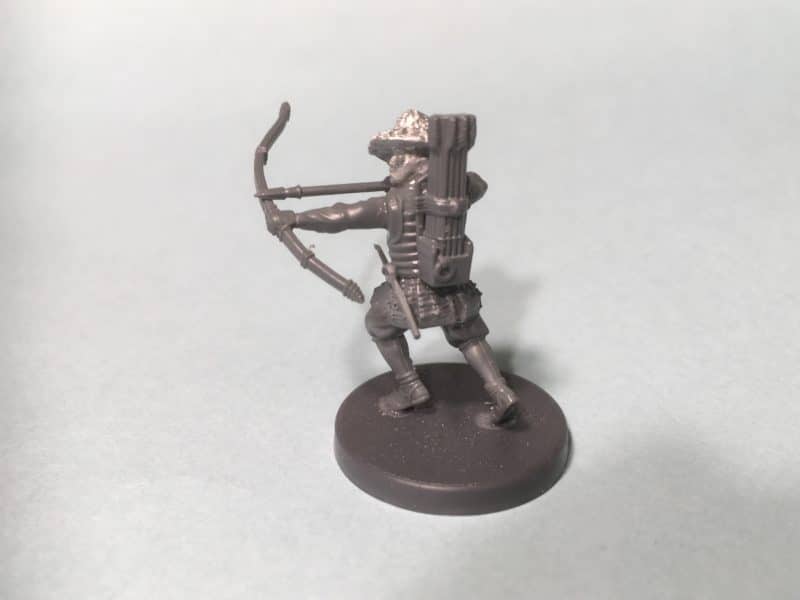
Running bowman.
The final figure of the ninth bowman is pretty much a straight build except that I have altered the angle of the bow arm to one side and as a result, the arrow is resting on the ‘wrong’ side of the bow. As I’m not an archer, I’m not sure how realistic this is but it makes the pose more dynamic. The other point to note is that I have given him just one sword. This is true for all of the plastic pauper archers that I have made. I had originally thought to leave the swords off but decided that even paupers would have some sort of sword, so I have either given them one of the ‘extra’ short swords from the samurai sprue or simply cut the small sword away from the double Katana that is supplied.
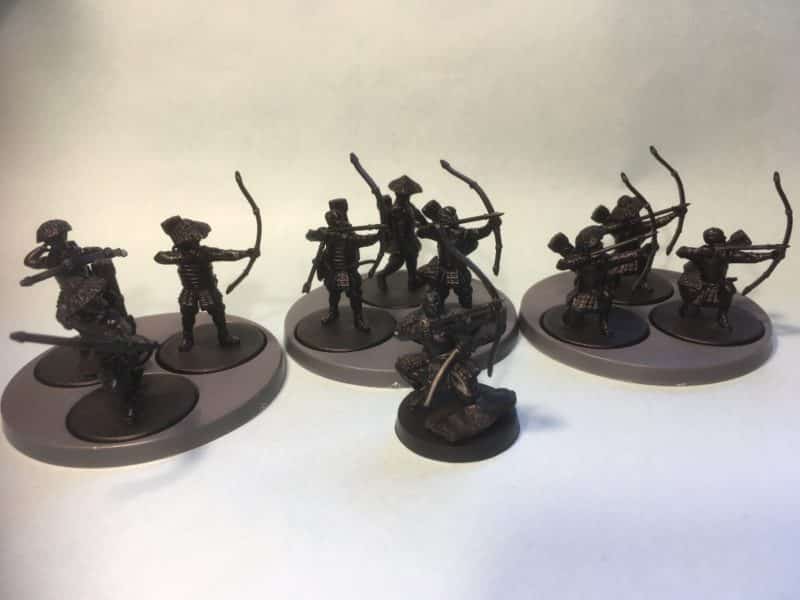
Pauper soldiers, primed and ready for painting.
Here is the finished group, primed and ready for painting. I’m sorry that the picture doesn’t show the detail but it gives you the idea as to how they will look. I have a colour scheme in mind that will hopefully make them look a bit like pauper soldiers – more of a drab scheme than I have used for my other archers. I’ll update you with my progress in a future blog.
The Commercial bit.
If you would like to have a go at building your own Pauper soldier warband, all of the products that I use are available from the Arcane Scenery shop and with the exception of aerosols are supplied post free to most worldwide locations at the time of writing. Here are some links:
SAMURAI AND TEST OF HONOUR CATEGORY
FILLERS, INCLUDING VALLEJO PLASTIC PUTTY
BASING MATERIALS INCLUDING SLATE
