Having finished assembling the Pauper archers (see last weeks blog) the next job was to paint them. I had an idea of the colour scheme that I would use and decided to ‘batch paint’ all nine in one go. The deadline was to have them completed by this weekend as I have a big Napoleonic project that I has to be completed by the end of February – more on that in future blogs!
So the first task was to prime them with Army painter matt black spray.
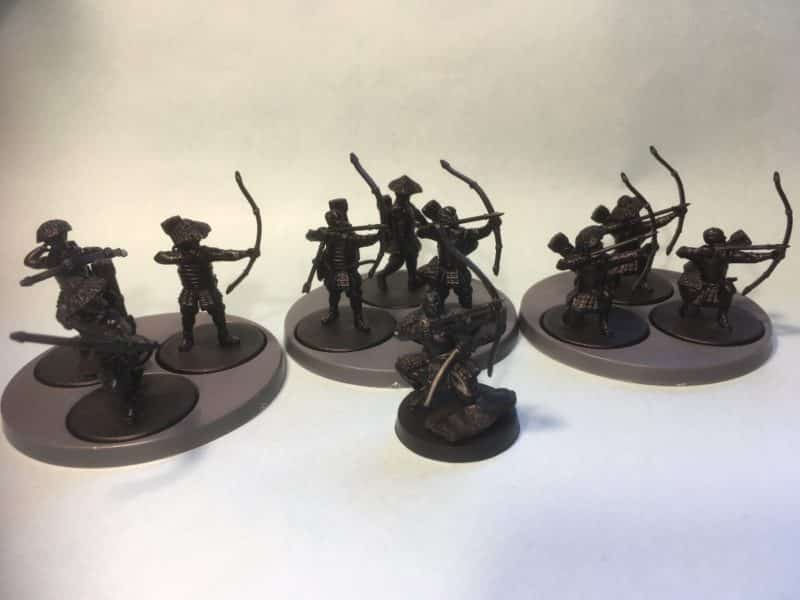
Pauper Archers primed and ready for painting
Senzo was put to one side for now – he will get his own special paint job! Next, using a large brush, I dry brushed them with Vallejo Sea Grey to bring out the detail. With hind sight, I should have given them a heavier dry brush, a lesson for the next batch as it not only highlights the black armour but brings out the detail making it easier to paint the models. It also helps to show any imperfections that I had missed before they were sprayed.
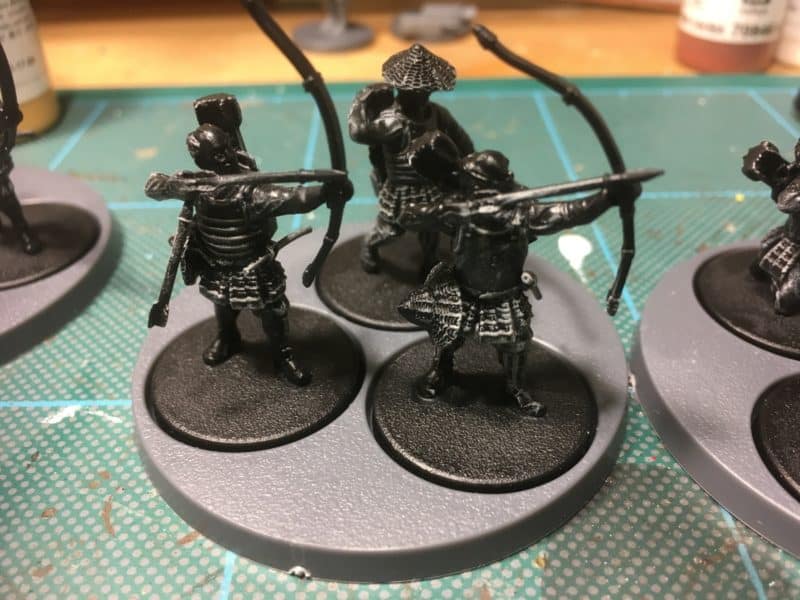
Dry brushed models ready for the next stage
The next stage was to paint the face and hands with Dark Flesh and the straw hats were painted with Flat Earth.
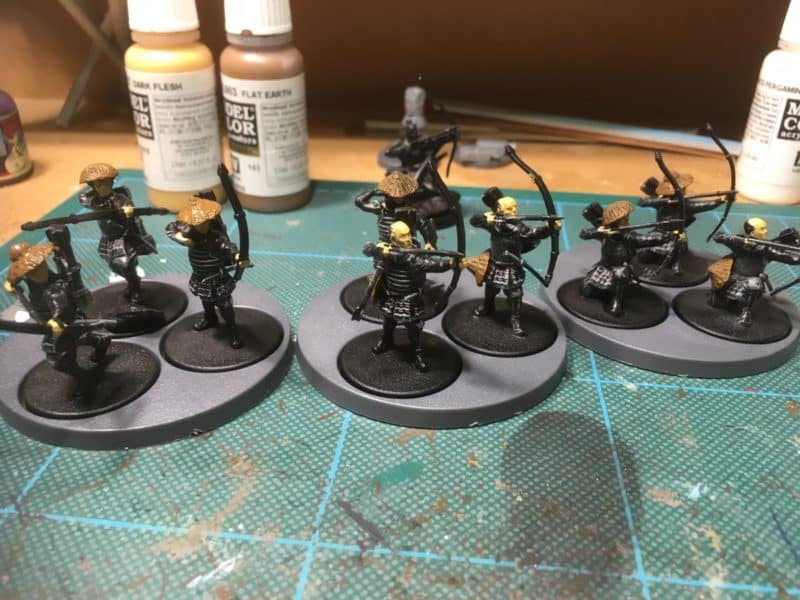
Faces and Hats done
Rather than give all the archers the same uniform, I wanted them all to be slightly different. They are supposed to be a ‘rag tag’ band not a cohesive unit. That said, I still wanted them to look similar so when it came to painting the tunics and trousers, I used five different ‘earthy tones’ and using a trick learnt from painting my Dark Age War Bands, applied these colours randomly across the nine figures.
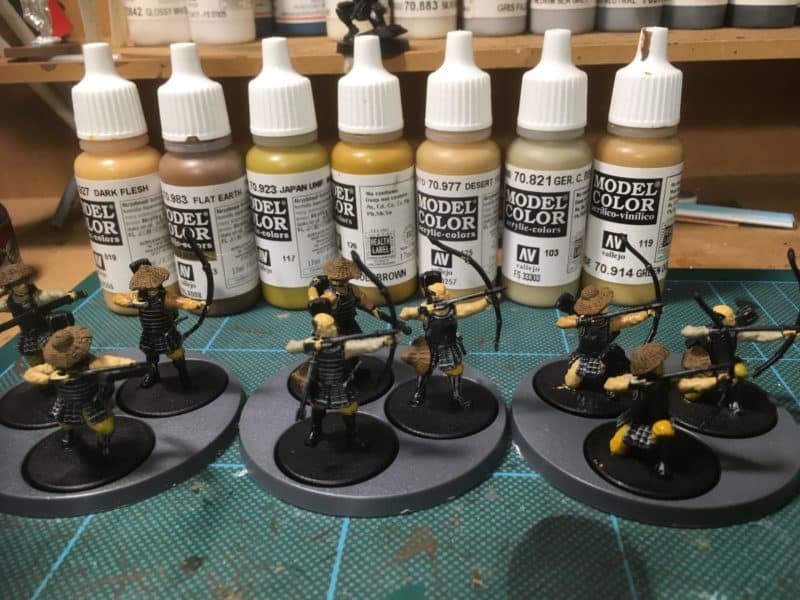
Tunics and Trousers painted
The next picture shows the bows painted using New Wood, The socks, arrow flights and trim on the bows are off white, and the arrow shafts are painted using Old wood. I’ll list all the colours with their numbers at the end of the blog.
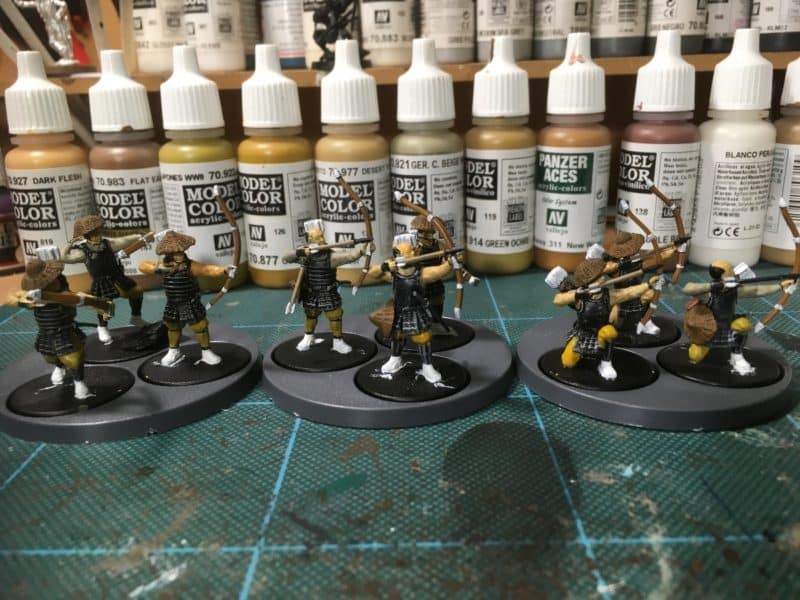
Bows, arrows & socks done
The next picture shows a bit more progress. I’ve dry brushed the hats with buff to lighten them & bring out the texture. The straps on the sandals, Katana hilts and detail on the quivers have been painted using German Camouflage Black Brown, the arrow heads and Katana hilts have been painted in natural steel, The katana scabbards have been painted in burnt red. The idea has been to stay away from using any more black than is necessary (the armour and gloves) and to keep to the earthy colours.
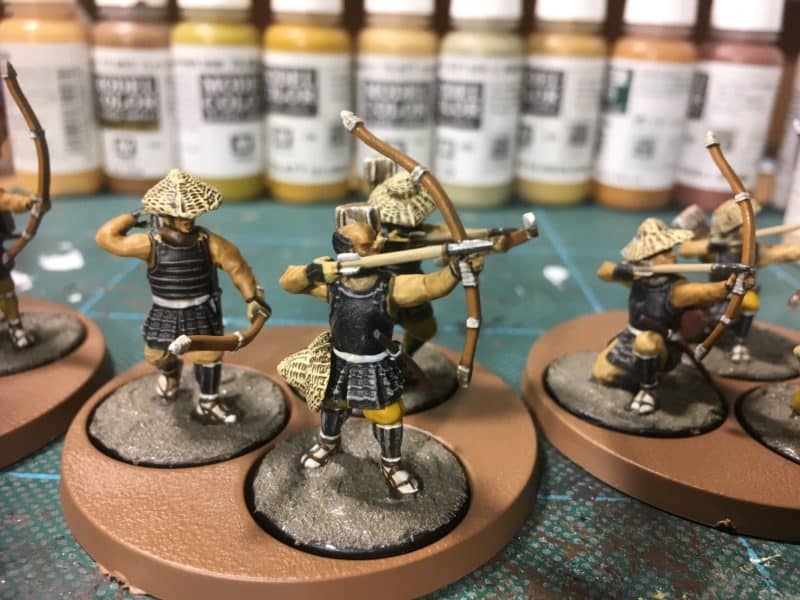
Main colours now blocked in
I also gave the figures a thin coat of Army Painter Strong tone and added texture to the bases. The figure are nearly done but I’m not quite happy with the finish yet.
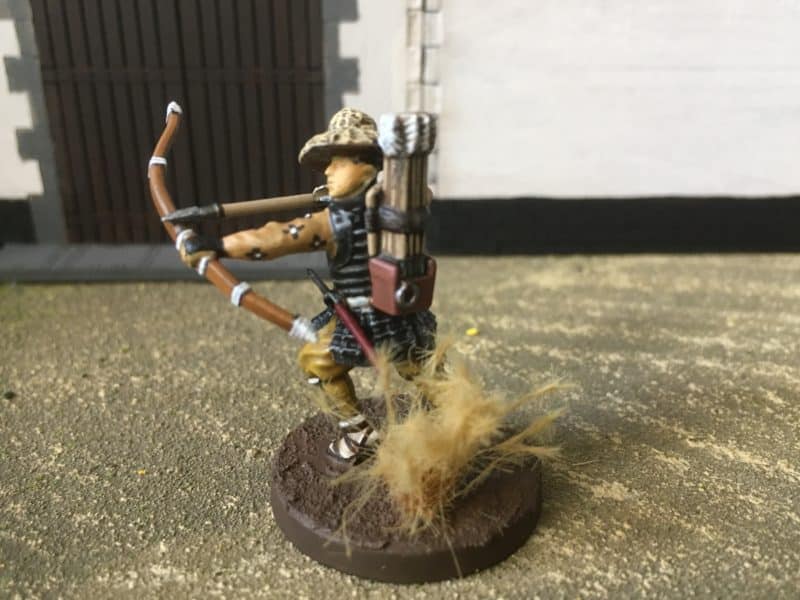
Reinforcements arrive at Papelotte!
I’ve added a simple pattern to the archers tunic, tidied up the arrow flights and painted the base chocolate brown ready for highlighting. The tuft is just to see how it looks before I finish the basing. I was also having problems with the figures being top heavy. Because they all have metal heads there is a tendency for them to be top heavy and to fall over easily. I fixed this by gluing a penny into the base of each model – this also had the effect of increasing the value of my collection!
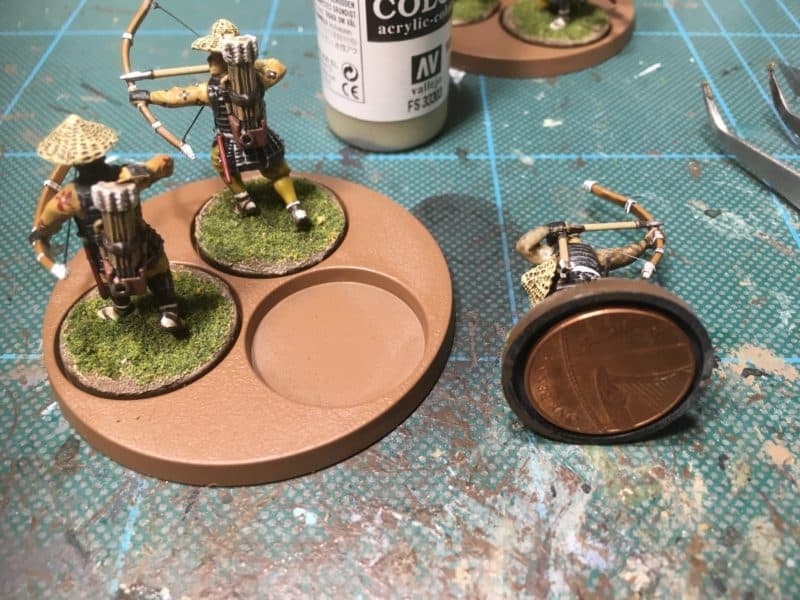
Weighting the base makes the figures more stable
You can also see from the picture that I have dry brushed the bases and added some green scatter. I’ve also added the bowstrings using the stretch sprue technique outlined in a previous blog here. One further tip. I attach the bow strings using super glue, applied with a cocktail stick. Don’t put the wrong end of the stick into your mouth when manoeuvring the model. Super gluing a cocktail stick to your lips is not a good move and it hurts when you take it off!
I finished off the base using some of the new Gamers Grass spikey bushes. I think that they look great!
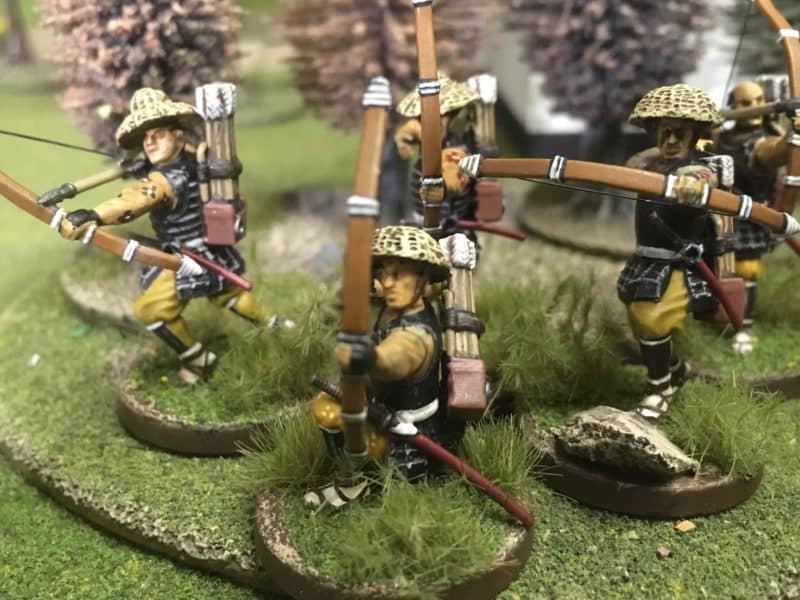
bases complete with spikey grass!
And so another unit is finished. If I’m honest, I’m not as pleased with these as some that I have done. The faces are not good – perhaps an ink wash will hide some of the problems and help to blend some clumsy highlights. In truth, I have rushed them over a week, rather than take my time. That all said they make a nice band and once the bases are tidied up and they are in the triple bases supplied, they will look fine on the table.
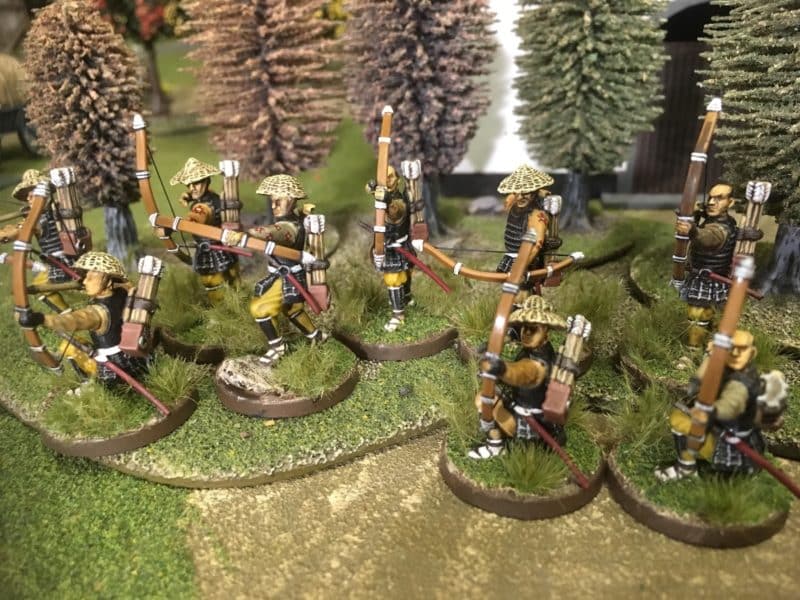
Nine Pauper Soldiers ready for action!
I now need to paint the leader,Lord Senzo ‘The Thorn’. However, he might just have to wait as I have Papelotte to finish and about 60 Nassau infantry to paint, ready for the end of the month!
The Commercial Bit
Nearly all of the materials that I use are available from the Arcane scenery shop and at the time of writing are supplied post free to most worldwide locations.
here are some of the links:
GAMERS GRASS AND OTHER BASING PRODUCTS
The paints used were as follows. Face & hands; Dark flesh 70927: Hats; Flat Earth 70983, dry brushed in Buff 70976: Trousers and Tunics; 70923 Japanese uniform, 70877 gold brown, 70977 desert yellow, 70821 german cam. beige, 70914 green ochre: Bows, 311 New wood: Quivers, saddle brown 70940: Socks, bow trims, arrow flights, Off white 70820: Arrow shafts, Old Wood 310: Sandals, sword hilts, quiver ties, Germans Cam. Black Brown 70822: Arrow heads natural steel 70864 ( silver highlight), Dry brush on armour, Sea grey 70870: Sword Scabards & patterns 70870 burnt red. I have used army painter inks & Strong tone as described above.
I hope that helps!
