
I have committed to helping with a Wargames Demonstration at the ‘Bingham Napoleonic Day’ organised by the writer Peter Youds, who lives in Bingham. We ran a similar demo game at last years event – you can read all about it and the event here:
This year the plan was to run a battle loosely based around the action that took place at Papelotte, Waterloo. As I have found, it’s a very under documented part of the battle, probably because it involved mainly the Belgium, Dutch, Nassau, Hanoverian and of course, Prussian contingent from the Allied side and was somewhat overshadowed by events elsewhere on the battlefield. As an aside, if there is anyone out there that can point me in the right direction of a reasonably priced English language account of this part of the battle, I would be very grateful.
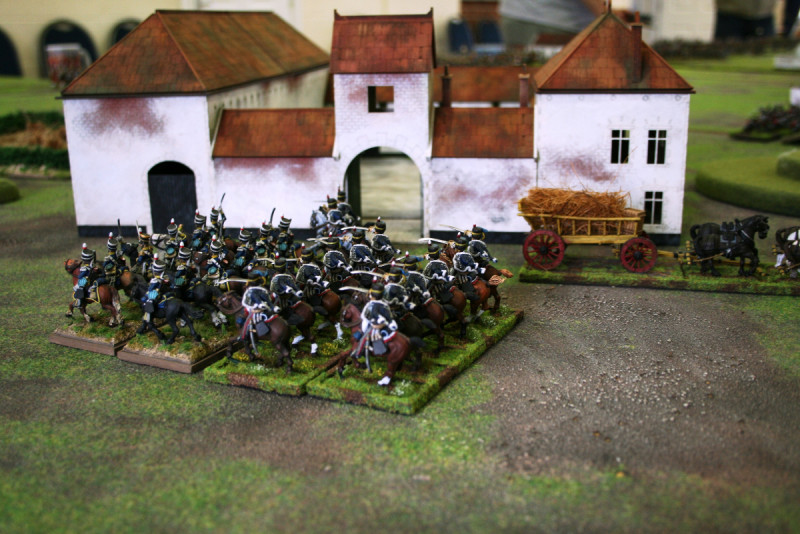
British Light Cavalry deploy behind Papelotte
I had been given a ‘test shot’ model of Papelotte by those very generous people ( Steve and AJ) over at Sarissa precision and it seemed a shame not to get it painted and battlefield ready. The picture above shows the Sarissa show model superbly painted by Gary at March Attack. My first thought was to follow Gary’s colour scheme, Terracotta roof and white washed walls with exposed brick work. Here is my first attempt at painting it.
Papelotte Farm – Under construction!
I have used standard household emulsion to paint the walls and roof – no priming is required, just slap the paint on! I also used the terracotta paint on the ‘exposed’ brickwork and then brushed over with the white. However, I wasn’t happy with the effect. Firstly, it didn’t look as good as Gary’s painting! Secondly, I had seen some versions of the Farm with a Grey slate roof and decided that I would go for this as a finish. So it was off to the bargain arts shop to get some more paint and some big brushes. As a Model shop retailer, it might seem strange not to be pushing ‘proper paints’ but if you are undertaking a project like this, it’s silly to use something like Vallejo to cover large areas. I also find the the ‘coarser nature’ of cheap paints helps with the texture, so that when it comes to weathering or dry drying, the cheap paints are better.

Papelotte,divided into it’s components for painting.
So I simply mixed black & white paint to get a nice grey and repainted the roof. As you can see, the Sarissa model easily breaks down into the seperate buildings to make painting more straight forward. It will also help when it comes to storage or transport.

There’s something not quite right…
The picture above shows Papelotte assembled but there was a problem with the Farm house building on the far left. It had been assembled with the walls in the wrong position. Once again, MDF showed it’s versatility, as I was able to carefully split the walls from the building and re assemble it with out too much drama.

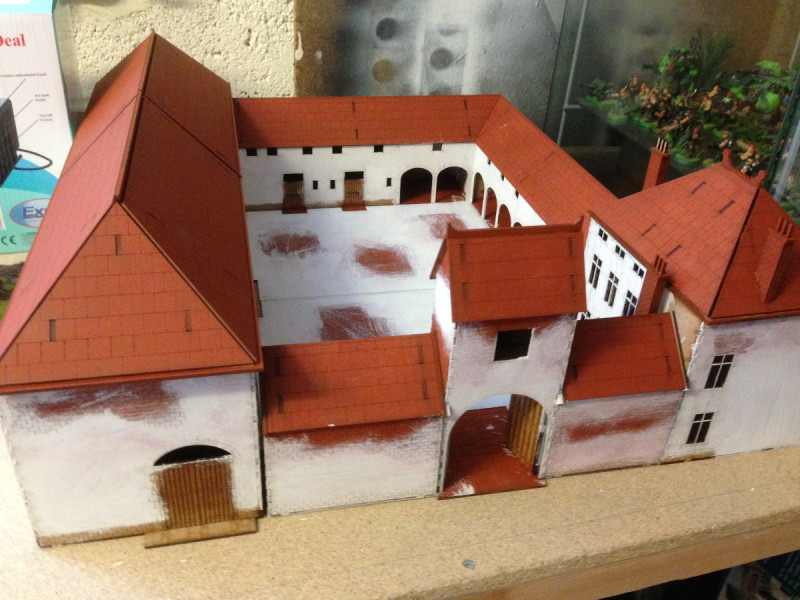
Papelotte assembled with damp course and correct facing for the building.
The building is now assembled correctly, the damp course is painted in black and I have used some artistic licence in painting the stone surrounds on the gates in grey, although modern pictures of Papelotte now show this detail. I’ve also used the same artists paints to dry brush the grey roof and the white to blend the exposed bricks on the walls. At this stage I had left the yard ‘whitewashed’ but then decided that it would be muddied up.

Papelotte with muddied yard.
To create a more used look to the yard, I simply used Vallejo textured paste dabbed straight onto the MDF yard and then painted and dry brushed with my gaming board colour ‘Dehli Bazzar’ emulsion with a small amount of Vallejo iraqi Sand to lighten it. I have also painted the doors German Camouflage Black, a nice dark brown colour.

Another view of the yard at Papelotte
I’ve also added a bit of ‘moss’ – green scatter to parts of the roof and detailed the yard with some Gamers grass tufts and some Javis leaves.

Through the door at Papelotte.
So for now that is as far as I have got. I have done some detailed work in some of the open buildings in the courtyard and added some mud/ straw to the interior using textures past and plant liner that I have cut into small bits but I don’t have photos of this. I’ve also added some Javis climbing weeds to the back of the big barn for a bit more detail and artistic licence. I’ll leave it for now as the next project is to get some Nassau painted ready for the battle but I suspect that I will add a bit more in the way of debris to the yard to make it a bit more battle worn.
I’m a great fan of the Sarissa buildings. They are extremely practical to build, paint and use. If you are looking for a reasonable representation of a building to go onto your wargames table at a great price, I think that you will be pleased with them too.
THE COMMERCIAL BIT
To see the range of Sarissa buildings for Waterloo, including the ‘big three’ Hougomont, La Haye Sainte and Papelotte, click here:
SARISSA OLD EUROPE
VALLEJO PAINTS AND TEXTURES
JAVIS SCENERY & ACCESSORIES


