I have painted some of the DeeZee wolves in the past, in particular for a project that my Granddaughter was working on for school but I had not completed a pack for display purposes. You can read about the school project here:
So my next project was to paint a pack ( pun intended) of DeeZee wolves – all six of them. As it turned out, I also had two spare wolves left over from Emily’s project, so I added them in as well. The first thing that I did was to look at some wolf pictures. When you ask someone ‘what colour is a wolf’ they will invariably reply ‘grey’. Well it seems the answer is not quite that straight forward.


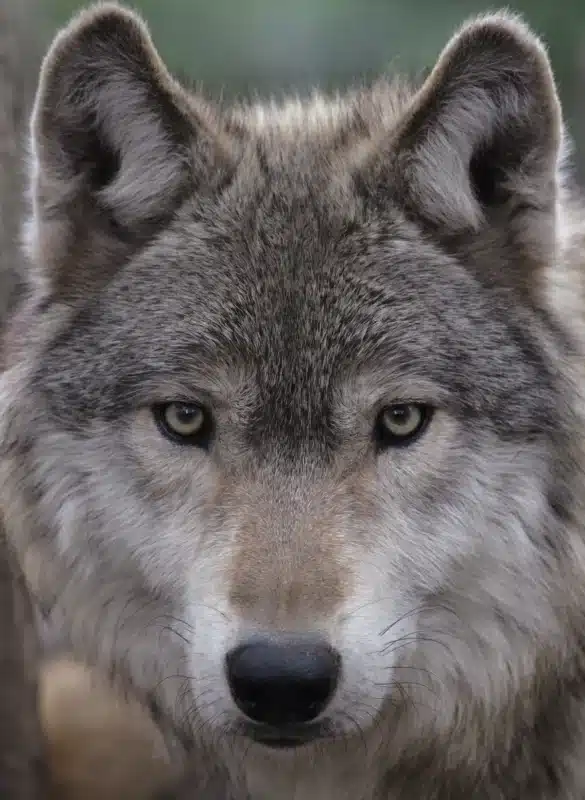
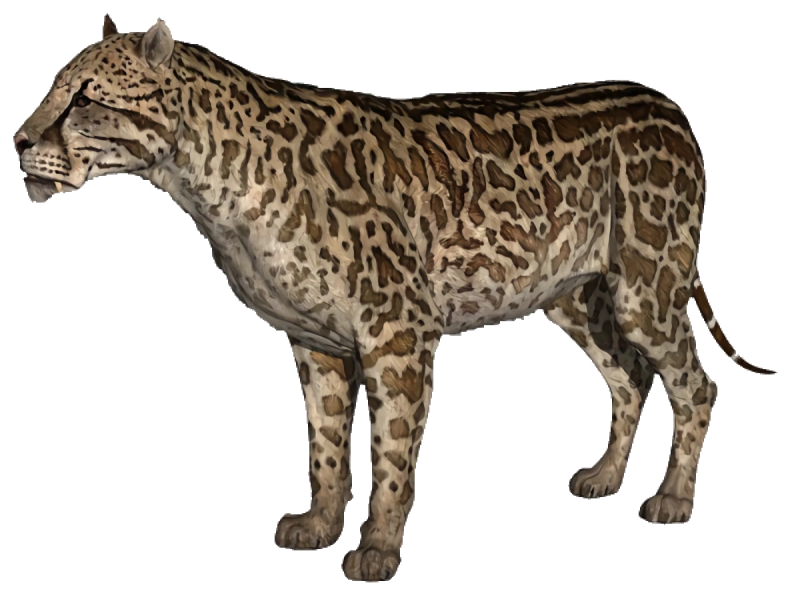
As you can see, there’s a lot of brown on a wolf! Of course it depends on the type of wolf that you are trying to replicate. This chart shows that there are quite a few species and different colours!

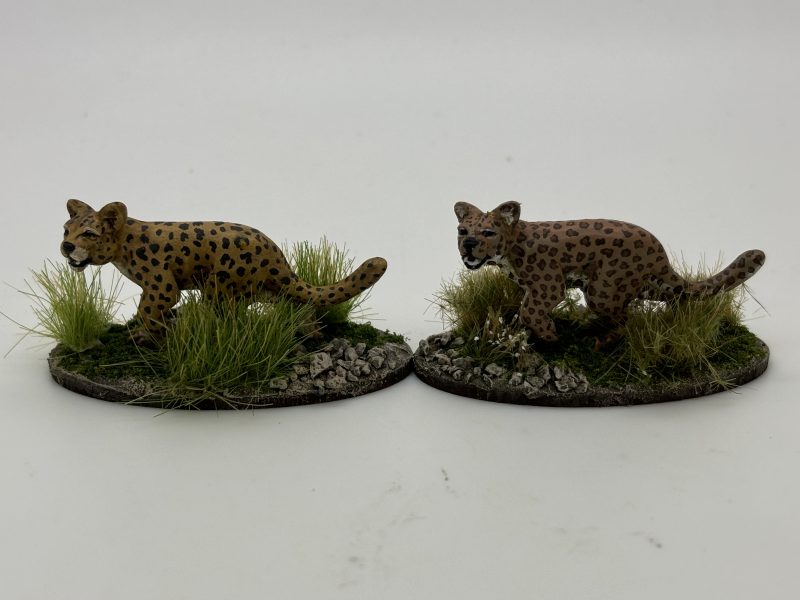
The DeeZee wolves are supposed to be Dire Wolves, so that opens out even more options. To make life simple for myself!), I decided to paint my wolves in different colours. Part of the reason is that all of the Wolves in the pack are in the same pose, so I thought that by varying the colours, it would draw attention away from the identical poses when they are grouped together.

So I started with a couple of tests wolves that I painted in browns. It’s quite difficult to describe how I painted them other than that I started with a light colour on the legs and belly and worked up to the darkest colour for the backs, blending and combining the different shades as I progressed with each model.

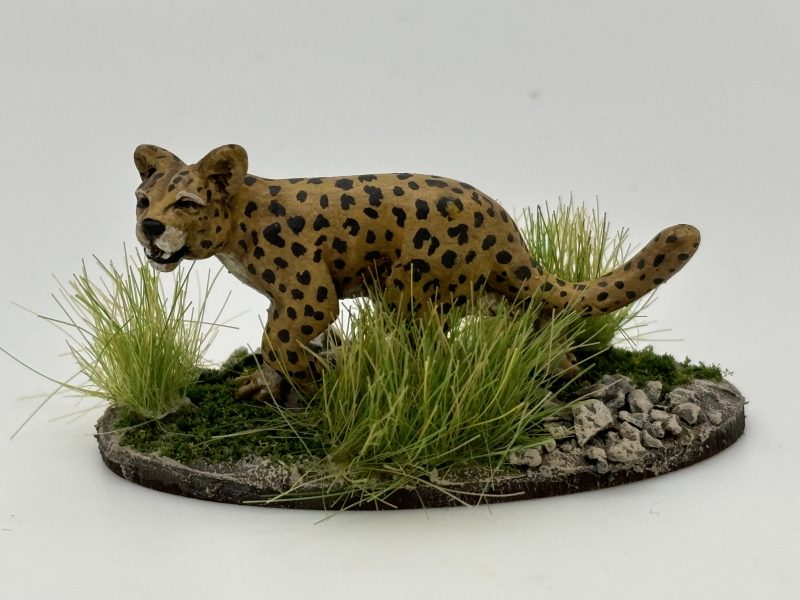
The next three that I ainted were mainly light browns to start with but one of the wolves was finished as white than rather than brown as I experimented with colours and inks.

As well as their coats, I also experimented with the eye colour, using black, then I tried yellow, before settling on light blue!

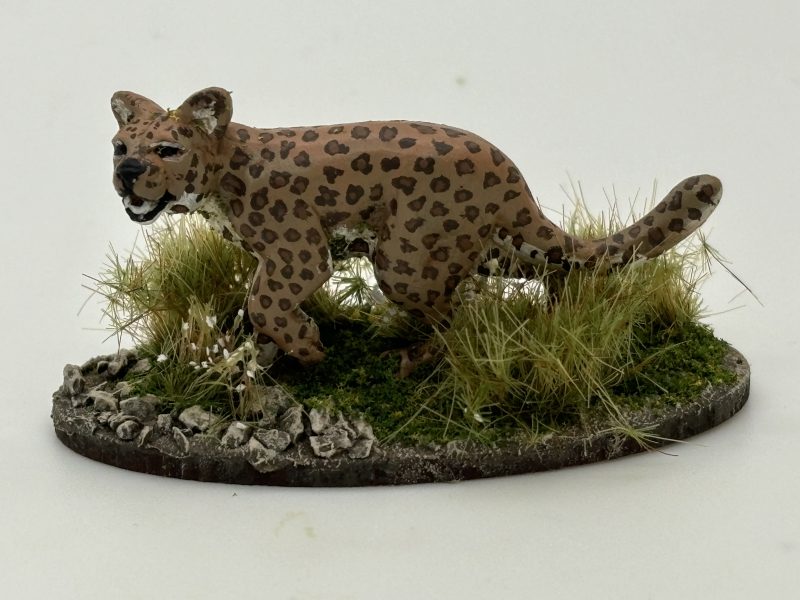
For the last three wolves, I used a grey pallet only, no browns at all! As with all of the wolves that I painted, I gave them a coat of either Soft tone ink for the browns or Dark tone ink for the greys, to help tie all the shades together and bring out the detail.

I confess that at this stage, I wasn’t too happy with the results. However, as is often the case, the basing made the difference. I painted the base as usual but then used Gamers grass winter tufts and a snow effect scatter to represent tundra. It seemed to bring everything together.
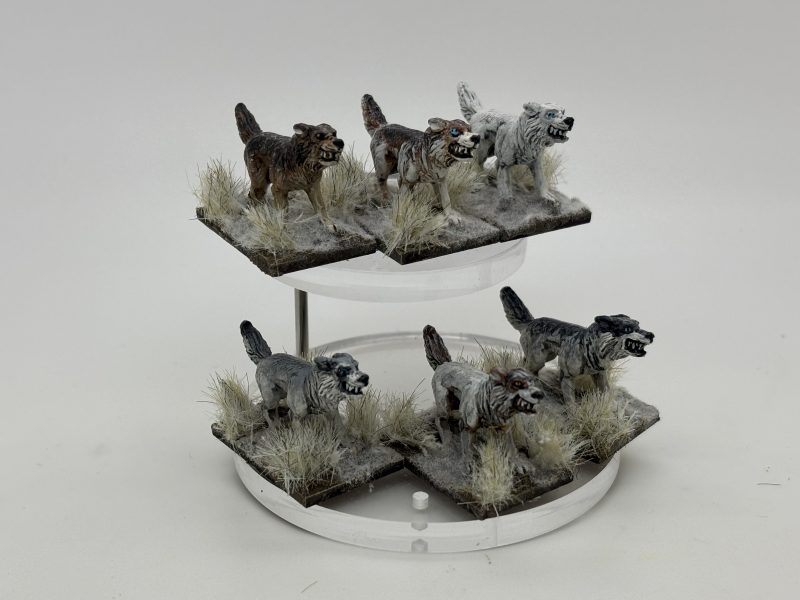

I’m quite happy with the finished result and I do think that the different colours help to hide the identical poses and make the wolf pack look more interesting!
As I have said, it’s quite difficult to describe how I painted the wolves, they are all slightly different, for reasons explained but here is a list of the main colours that I used:
Brown Wolves: Iraqi Sand 70819; Cork Brown 70843; Light Brown 70929; Black brown 70822
Grey Wolves: White 70820; Sky Grey 70883; Light grey 70990; Dark grey 70994; Black 70950.
Now the good news is that the DeeZee range is in the process of being relaunched so if you fancy a pack of wolves, they will be available to purchase from Footsore Miniatures in the near future. For now here is a link the the DeeZee models that are available:
DEEZEE RANGE AT FOOTSORE MINIATURES
I’ll be posting a blog later in the month giving details of this exciting new development and hopefully by then, the full range will be available.
For now, though, Happy Modelling!