Snow Bears!

I am not easily distracted when focused on a project. In fact, I pretty much stick to what I have started, regardless of all the shiny new toys that I see every day. However, a casual enquiry at the recent Salute show set my mind working and before I could stop myself, the workbench was cleared and I was off on a complete tangent. The enquiry was, ‘Do you sell Polar Bears?’ I answered that we didn’t but that we did have some nice cave bears that could be painted white. Which made me wonder why we hadn’t done this before.

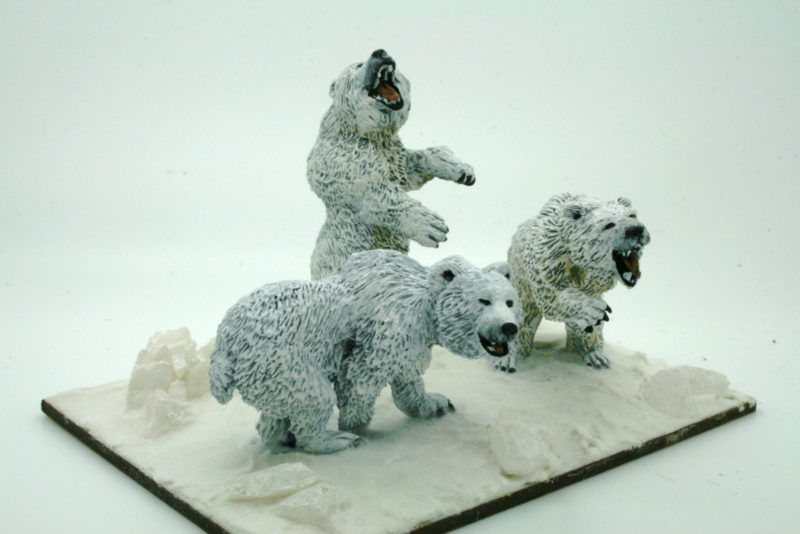
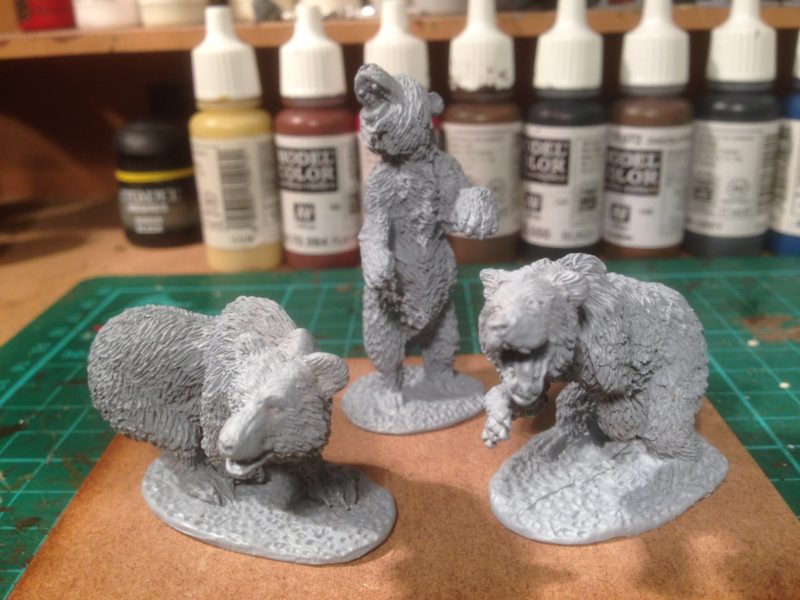
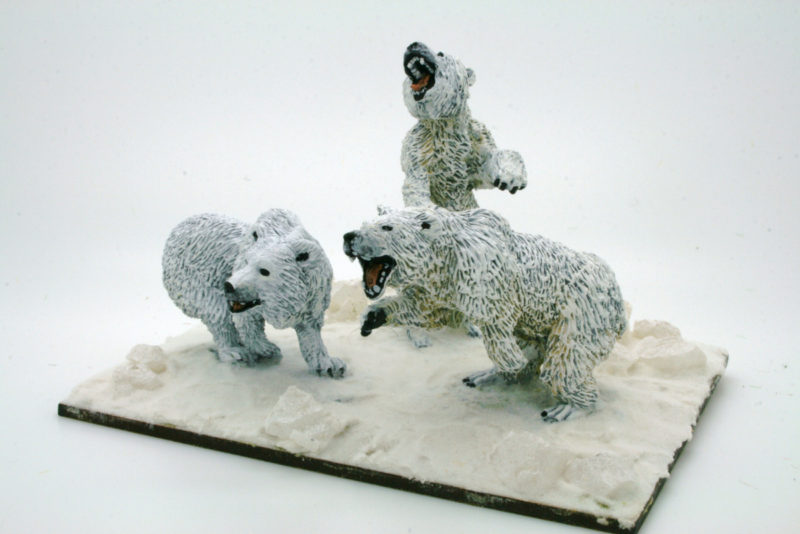
So as soon as I had a free weekend, I had a go at painting the three DeeZee bears as ‘Snow Bears’. We can’t describe them as polar bears as their heads are a bit on the large size, although the bear attacking looks almost sleek enough. The painting process was surprisingly quick. Once any mould lines had been removed, I primed the bears with a Model Mates Light grey primer.

DeeZee Cave bears primed and ready for painting.

DeeZee Cave bears primed and ready for painting.

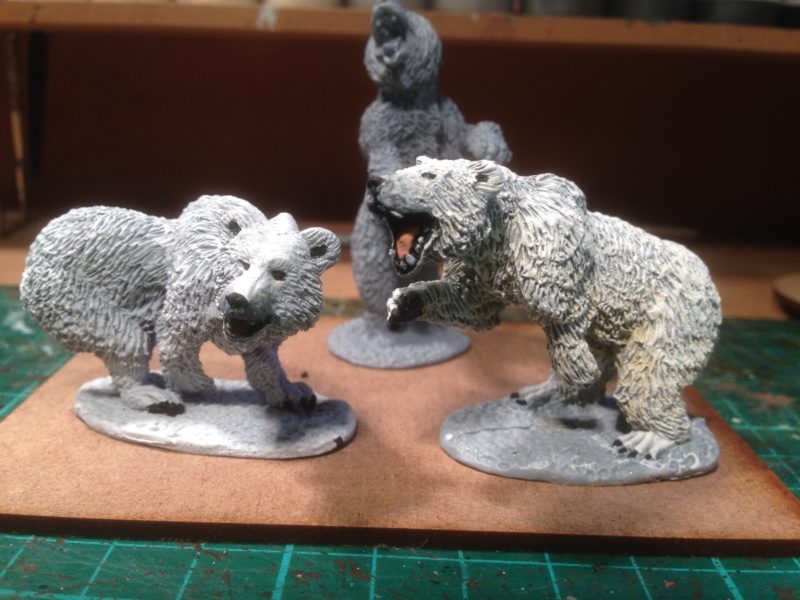
I had already decided to put them onto one base so that they could be display models for future shows. I decided to try a slightly different painting technique for each bear. For the Bear attacking, the one on the right, I first used a Vallejo beige to dry brush the undersides and shadows on the bear. This would give that slight yellowish tinge that you often see on Polar bears. I then used Vallejo Ivory, followed by Silver grey, followed by off white and finally Vallejo white in successive dry brush coats to build up the high lights. For the prowling Cave bear, the one on the left, I simply lightly sprayed him in white over the grey undercoat!

The first two cave bears painted as snow bears.

The first two cave bears painted as snow bears.

The details were quite straight forward. I painted the eyes, nose, mouth, ears, claws and paw pads in Vallejo Black. The tongue was painted Beige red and shaded with a brown wash. I added some dark greys around the snout and finally the teeth were tidied up with Vallejo white.

Three Bears!

Three Bears!

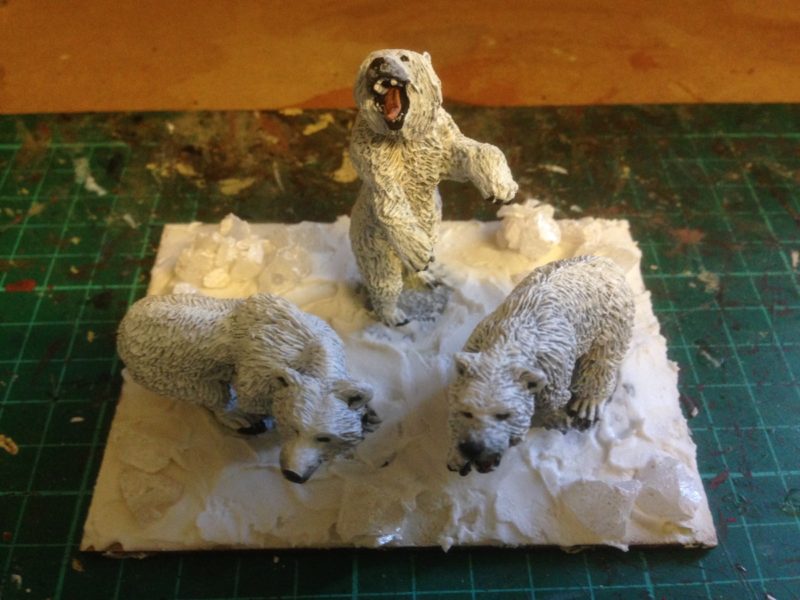
When it came to the third bear, the rearing bear, I followed the same process used for the attacking bear but shortened down. I still used the Vallejo Beige as a shade colour but went straight to the white dry brush to save time. The base ground work was done initially with milliput ( to stop the base from warping) and then covered in polyfilla to get the snow effect. I also added some Arcane scenery ‘Snow and Ice’ rocks to the base to add a bit of detail.

Base work done.

Base work done.

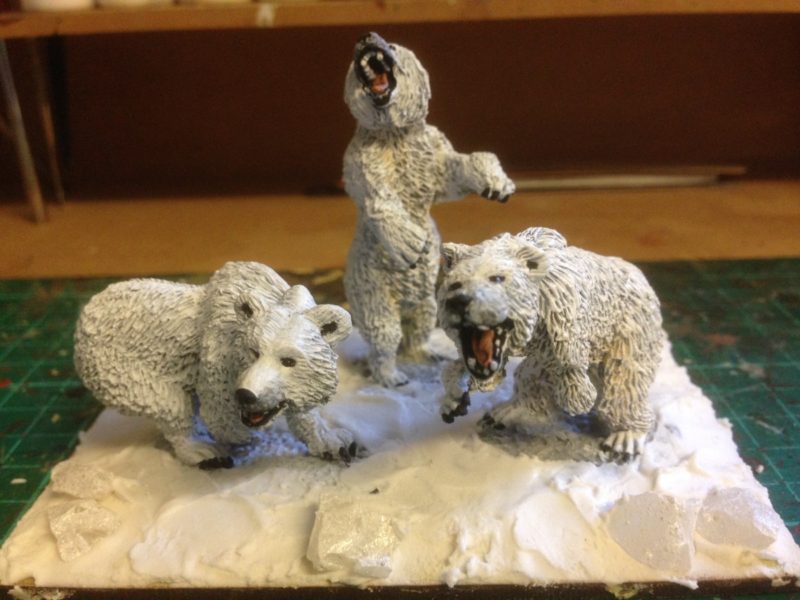
The final touch was to add some Noch Snow effects to the base and that was my little project complete. A bit of a change from my usual Napoleonic addiction but good fun. I think that if you are looking for a Snow Bear for your games – Frost Grave springs to mind – then the DeeZee bears will look great!

The finished Snow Bears

The finished Snow Bears

Another view of the completed Base

Another view of the completed Base


MOAI!

MoaiNo, it’s not the start of an Arcane Scenery Haka, but the first in a series of terrain pieces that are being designed for us in conjunction with Nick and Tasha, two very talented people that make up the N-FX team. N-FX have produced special effects for the TV & Film industry as well as producing custom built costumes for the Cosplay community. You can see some of their recent projects here:
https://www.facebook.com/nfx.gds

We are working with them to produce a series of terrain pieces that will compliment our DeeZee range of animals and provide interesting and different subjects for dioramas and war games scenery.

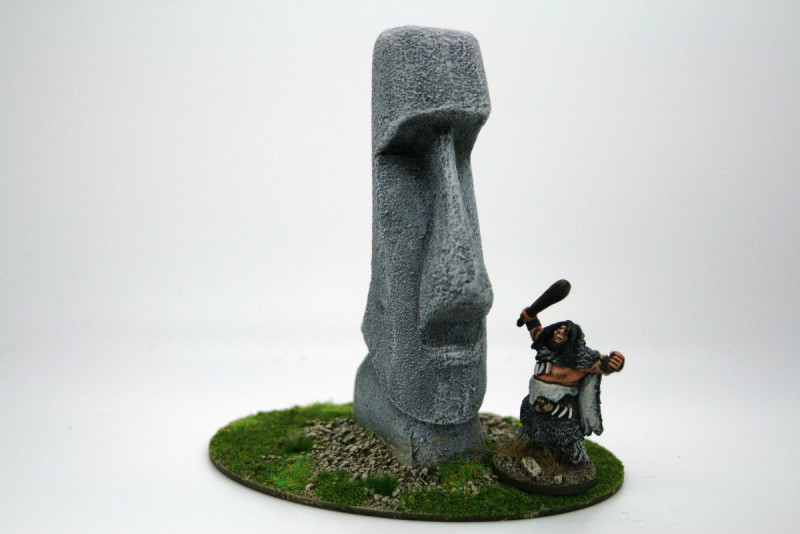
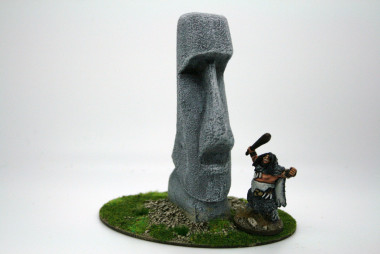
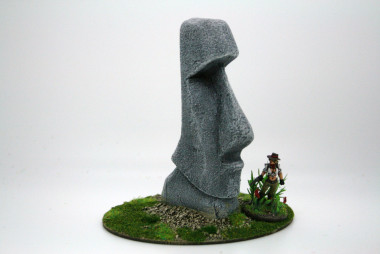
The first piece out of the moulds was this Moai, or as most people will know them as, Easter Island heads! The model isn’t designed to be a scale replica of a Moai – more of a nod in their direction… If you haven’t come across these before, there is some terrific background on Wikipedia. We thought that they would be superb background pieces in many a setting. Once I had one to ‘play with’ I wanted to get it painted and based.

Moai & Chief

It’s a very quick and straight forward paint job. Simply spray with a black primer and then when dry, use a standard dry brush technique with various shades of grey up to nearly white to bring out the texture. I mounted the Moai on the MDF base using Vallejo Desert Sand texture. It was then just a case of painting to my usual method and adding some green scatter, static grass & tufts to finish. The plan is to do a step by step video together with N-FX in future so watch this blog!

In the meantime, I’ve just placed a couple of Lucid Eye figures on the base to how effective they will look. It was great fun painting the Moai – back to Napoleonics in my next blog!

moai 2

If you would like you own moai, please visit the Arcane Scenery shop or just click here:

MOAI

Pikemen, Prussians and Pterodactyls

It’s been one of those weeks when life has got in the way of my hobby! So I haven’t been able to spend as much time as I would like to have done with my various painting projects. The result is that nothing is actually been finished although things have moved on. One of the benefits of having a dedicated hobby area means that if I have just a spare five minutes, I can do a little bit here and there – add some static grass to a base, undercoat a figure even slap some paint on!

Perry Pikemen

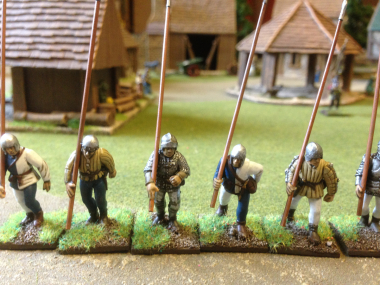
So the six Pike men for my Wars of The Roses army are very close to being finished, just a bit of extra detail needed for the bases – a few tufts & flowers! the plan is to have at least one unit of 12 pike men for my army, probably two, but as the next Lion Rampant Day is not until September there is no rush to complete the unit. I have a box of the plastic Perry Mercenaries and the plan is to make two blocks of Pikes, a small unit of mercenary Crossbow men and the remainder as hand gunners.

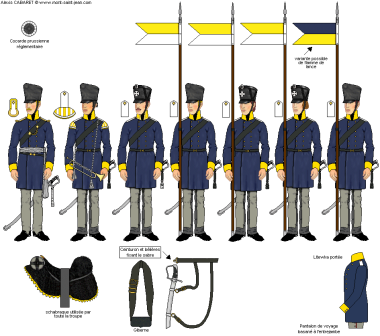
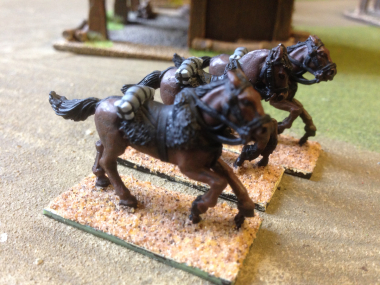
I also started on my Prussian Landwehr Cavalry. There will be 12 in the unit and they are all prepared & undercoated and I am painting the horse in batches of threes. Here the first batch nearly complete. The difficulty I have had with this unit has been trying to find details of the uniform. The figures are from foundry and whilst they are very nice, they seem to have different head gear to my Mont St Jean Reference:

CavLandwehrSilesie01

Just to add to my confusion the detail on the sheepskin saddle cloth is showing as a Yellow trim ( makes sense if they are Silesian) but other pictures and references give the colour as Red regardless. In fact the reference material for Landwehr Cavalry is thin and as usual contradictory. I think that I will have to overcome any ‘button counting’ tendencies and go for what I think looks best – in this case yellow trim to match the yellow facings! So here is the progress so far:

2015-04-16 09.34.30

As you can see, still plenty to do!

Pterodactyls

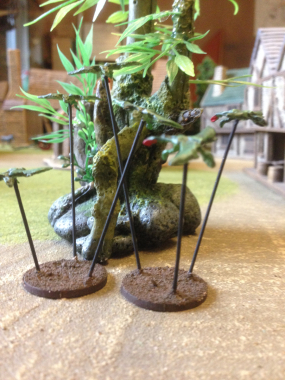
Finally, the Pterodactyls are nearly completed! This is all part of my project to get one of each of the DeeZee codes done. The pterodactyls are certainly straight forward to paint but detailing them is a challenge that is beyond my eyesight & patience these days! I just gave them a spray on top with dark green & a spray underneath with light green. Then a quick couple of dry brushes to try & bring out the detail, followed by a brown wash. They are mounted on a 25mm MDF base using thin wire. The final stage is to detail the bases and I may have a go at painting the eyes……They are only 15mm or so wingspan so no one is ever going to look that closely but as a group of 10 they look quite impressive and will add chacter to a model.

Glyptodon and Mammoth clear the work bench!

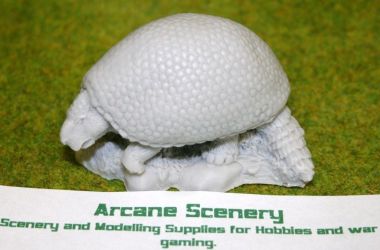
DeeZee-Miniatures-GLYPTODON-Adult-DZ18-28mm-Wargames-380655342625As we go into the Easter break it seemed appropriate to paint something vaguely egg shaped and as the Glyptodon had been sitting forlornly on the work bench in just an undercoat I decided his time had come!
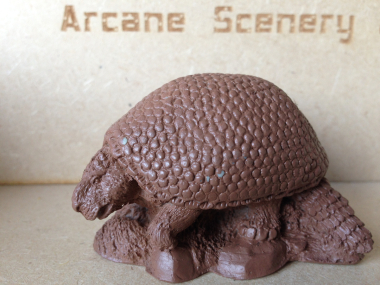
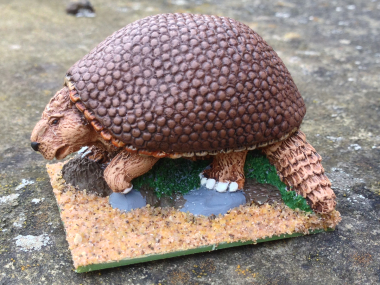
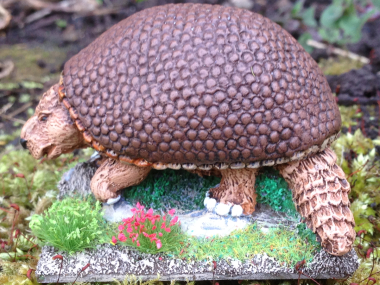
He is nicknamed the ‘kinder egg’ by the Arcane team due to his rotund shape but there’s plenty of detail in the casting that can be brought to life with a bit of dry brushing. I had hinted that I would use an airbrush to finish him but that will be a project for another day. I have put off buying an airbrush for now. Although I can see that it will be invaluable when painting Tanks and larger subjects like Mr Glypto, I am not quite in the right frame of mind to learn a whole new skill, particularly when I am still learning to paint with a brush! That said, I am of a mind to jump in to this mysterious world and who knows, I might just treat myself for Easter…..

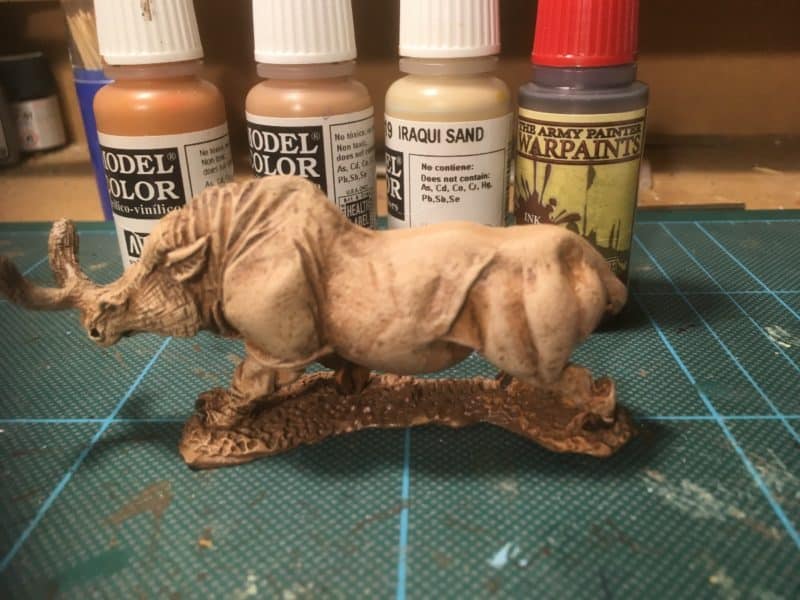
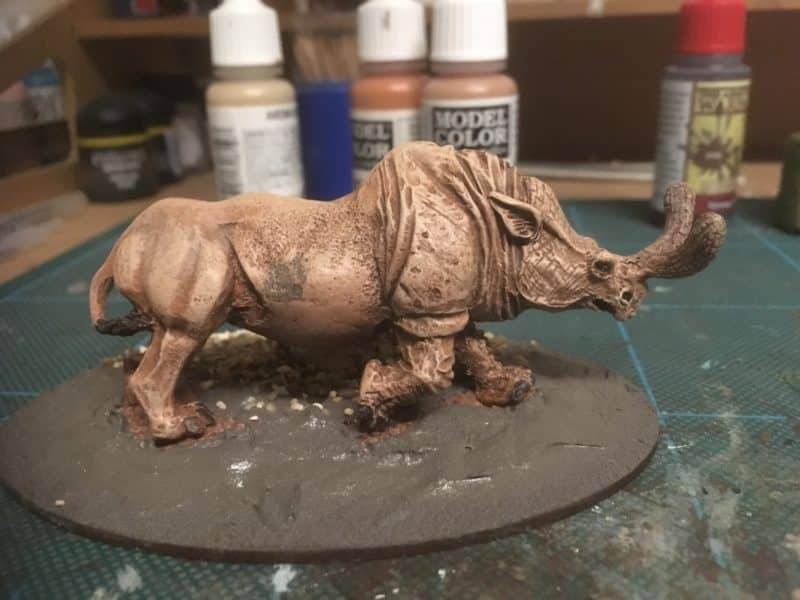
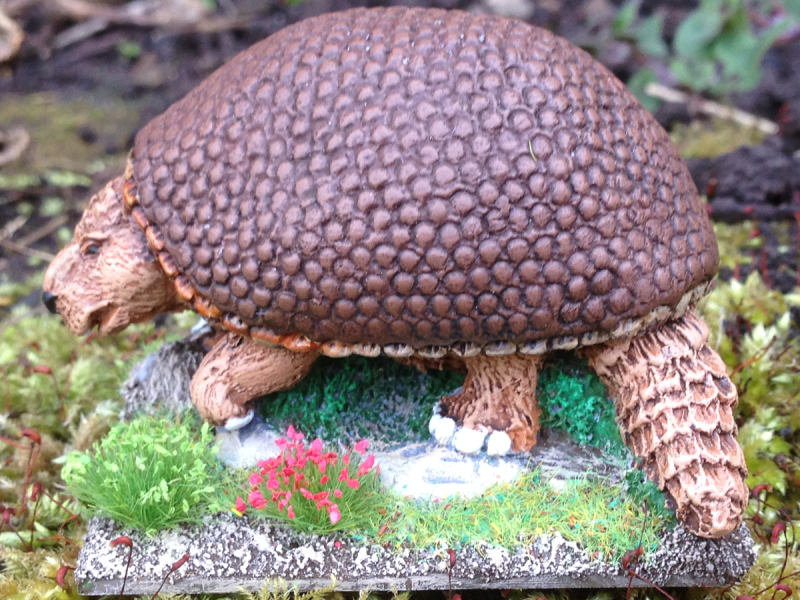
Anyway, I digress, back to painting the Glyptodon. I had a quick look on Google for some inspiration and colour schemes and was pleasantly surprised at how many pictures there were! In the end, I went for a fairly safe option using a variety of browns in various combinations. To be specific, Vallejo light brown 70929, Flat brown 70984, Chocolate brown 70872 and to lighten them, Iraqi Sand 70819.

DeeZee Glyptodon

DeeZee Glyptodon

There was a slight problem when I started to paint. I had failed to follow my own advice and I had not washed the model before priming. The result was that the primer had started to flake off due to the release agent still on the casting. I confess, I was too lazy and impatient to start again, so I re primed the model with Model Mates Light grey primer. I have started to use this brand more often recently in favour of my usual Army Painter primer. It seems to be a much more effective primer and in this case, solved the flaking problem. However, lesson learnt, next time I will wash a resin model before painting! For the sake of 5 minutes, it will save time and heart ache in the long term!

So back to painting. The shell was done in the flat brown and then dry brushed with a couple of coats of the flat brown & light brown mixed. The fur was done with light brown, dry brushed with light brown and Iraqi sand. I picked the detail out around the shell with Iraqi  sand  and then I then gave it all a wash over using a dark tone ink. As with all these things, you have to fiddle around until you get the general effect that you are looking for and even now, I’m not sure whether to go back and add another lighter coat to the shell. The next task was to pick out his eyes, nose using black & claws using ivory and to paint some of the detail on the base. I then mounted him onto a renedra base and blended the model to the base using Vallejo Desert sand paste. If you haven’t tried these pastes from Vallejo, give them a go – they are superb for basing and once dry you can paint straight over the paste as there is sufficient texture. I like to add sand to give even more detail.


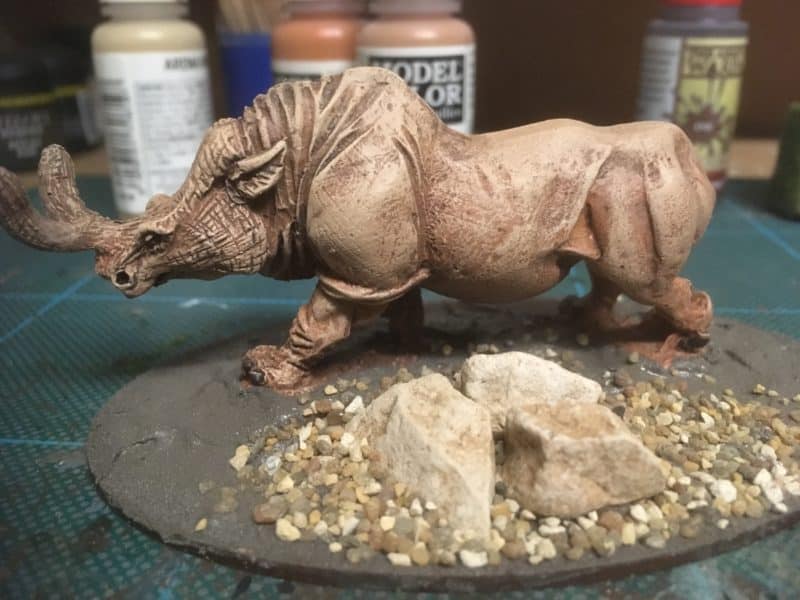
Glyptodon painted - working on the base

Glyptodon painted – working on the base

I finished off the base by adding some detail to the rocks, painted the tree stump and painted the grass and of course the sand. This was all done using virtually the same pallet of Chocolate Brown and Iraqi Sand, with plenty of dry brushing of lighter combinations of these colours – the final dry brush was done with some white added in. To finish off, I added some Static grass and of course a few clumps of flowers! I’m reasonably happy with the result for now – as I said, I may add a final lighter coat to his shell but he’s off to the cabinet.

The finished Glyptodon!

The finished Glyptodon!

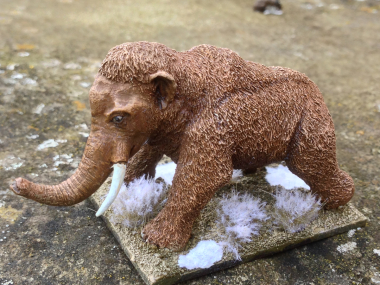
I often find that it’s difficult to know when a model is finished so sometimes it’s best to put it to one side and then have a look after a week or so. If I’m still not happy then I might try a bit of retouching. This was the case with the baby mammoth. I just wasn’t happy with the way he looked, so he has sat on the paint table whilst I decided what to do. In the end it was a case of cutting down his tusks – they were too big even for a baby Mammoth – and giving him another even lighter dry brush to add detail & adding some ink to bring out the shadows. I also gave him a snowy base with some frosted tufts. I’m still not entirely happy but he is looking better for now. Perhaps I’ll have a go at another one – I have a diorama in mind that involves a nasty Sabre tooth……

DeeZee Mammoth Calf

DeeZee Mammoth Calf

There’s something happening in the Jungle!

I mentioned in my last post that I had been somewhat distracted by the new releases from DeeZee and Lucid Eye. DeeZee is part of the Arcane Scenery empire and over the last year or so we have been gradually updating the moulds, converting some of the larger figures to resin, releasing some of the lines that had been lost or discontinued and even releasing two new lines. If all that sounds like a lot of work, it isn’t really – even now we still only have 31 codes or packs in the range, which pales into insignificance when you compare this to the number that, say, Warlord have in their range. If there was nothing else to do, and plenty of spare cash around, we could have done this in a month!

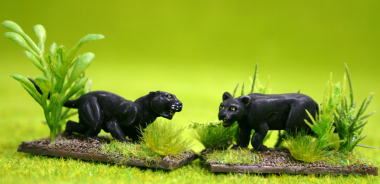
Still, slowly, slowly, catchee monkey, seems the appropriate phrase and we are making steady progress. The latest releases have been two packs of assorted dogs, some mini Pterodactyls and the latest, an updated Jaguar pack. In the past, this pack had two animals of the same type – we have added a new pose so that there is a bit of variety. So in between painting my Napoleonic Army and building my Lion Rampant retinue, I’ve been painting the odd DeeZee animal. If you have read any of previous blog articles, you will know that the Jaguars were the last animals that I have painted but I hadn’t got around to basing them. So here they are at last,based up and ready for some jungle action.

013

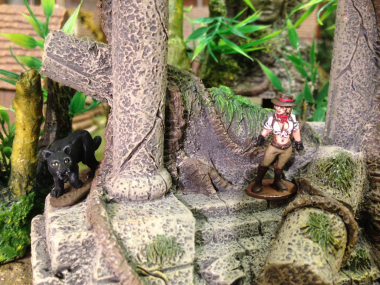
The other distraction has been the figures released by Lucid Eye. They are sculpted by Steve Saleh and I think look superb. The range is also growing and has an eclectic mix of explorers and tribes that will inhabit the strange world of the Savage Core. I hope that Steve himself will write some details of what he has planned, so that people can understand how these figures will eventually work with each other. For me, the obvious tie in is that the DeeZee range of animals are a perfect fit for the tribes. So when I saw the latest characters I just had to have a go at painting them…here’s Analise, the lost explorer, being stalked by a Jaguar.

2014-11-29 19.15.53

So, watch out! There’s lots more to come from both DeeZee and Lucid Eye and if you would like to see the ranges, just click back into my shop.

Whats on the Workbench 25/9 & Deezee Miniatures

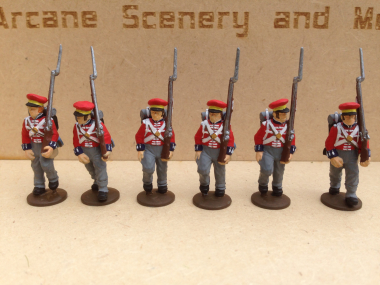
2014-09-25 11.06.22Progress on the Hanoverian battalion continues, albeit at a snails pace. I had started to paint a batch of 18 figures but progress was too slow and so I decided to finish six off just to get to see how they would look. The picture shows the first six block painted according to the colour scheme from the Mont St Jean site ( see last weeks blog for link). The next stage will be to paint them with army painter quick shade – I’ll use the strong tone or black shade. This will give me the shading to bring out the detail, particularly the faces and trousers. It will also give a clear outline to the equipment and lacing, making them stand out. Once the quick shade has dried, I’ll highlight the figures by repainting the lighter colours, particularly the webbing & lace and I’ll highlight the metals with either silver or gold as appropriate. This will really make the Buttons & bayonets stand out on the battlefield. Of course the most important finishing touch will be the bases! I just need to think about the colour of the flowers that I will use….. Hopefully by next week I will have at least these six finished. One final thought on painting these models. With hindsight, I should have painted the three individual pieces that make a figure separately. It would have made painting the detail much easier, so I will give this a try when I paint the next 18 figures.
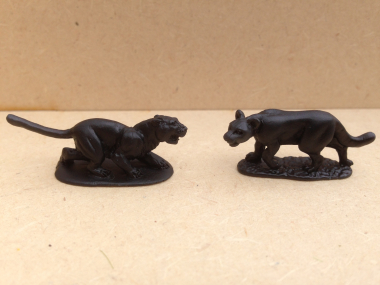
Changing the subject completely, I mentioned in a previous blog that I was working my way through the Deezee range. Well, next on the workbench is a couple of Jaguars! One of them is not yet in production but we are edging ever closer to sorting this out! All being well, we will change the pack on the Jaguars so that you will get two different animals rather than two the same. The bear cubs should be in production by next week and we will have a couple of brand new packs of dogs! Here’s the Jaguars, just undercoated. I will be trying to paint them both as Black Jaguars, the sort that appeared in Apocalypto. On the face of it, that is the simpler option as opposed to the spotted type of Jaguar. However, painting & shading black is quite difficult – I’ll show you how I get on when they are finished. 2014-09-25 11.07.26

If You Go Down To The Woods…..

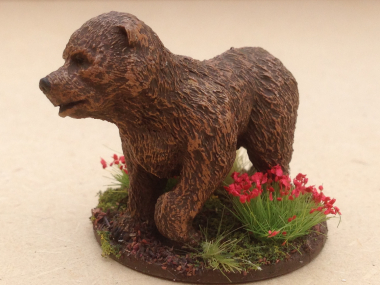
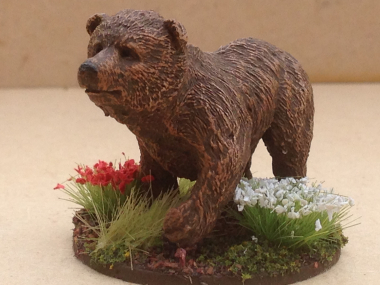
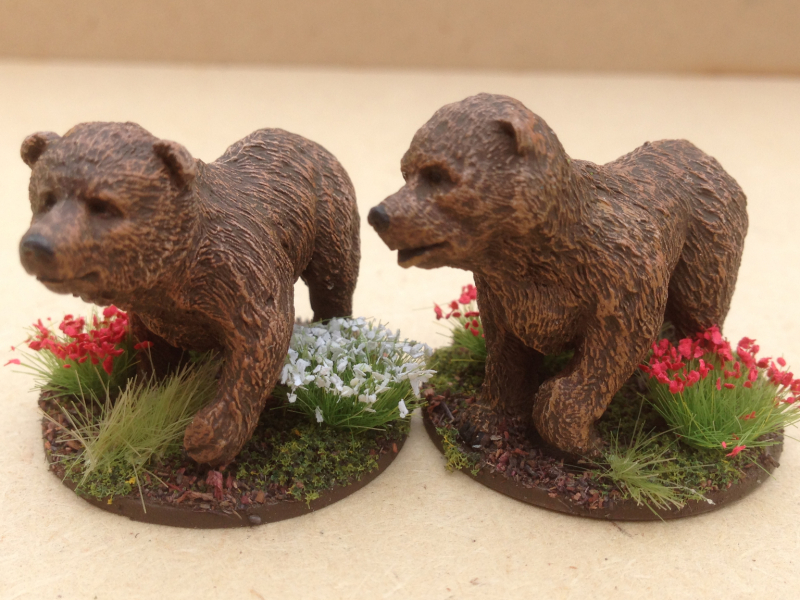
Once again, I find that my modelling and painting activities are taking a back seat and I have had very limited time to get to paint anything. I have managed to get the to Bear Cubs finished though. As I mentioned before, we will be adding these to the DeeZee range – I hope to have production started on these in the next fortnight, subject to the production moulds being completed.2014-09-04 12.03.29

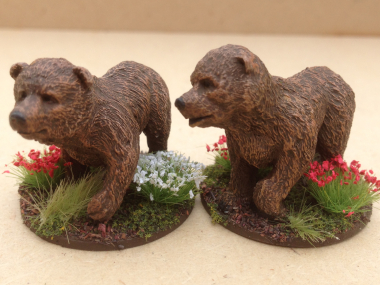
The Bear cubs are a bit on the large size, even for giant Ice Age bears and to be fair, are more like juveniles than cubs. They look cute enough, though, and make an interesting addition to the range. The paint scheme was quick and easy enough, just a base coat of chocolate brown and then a number of dry brush highlights using increasing amounts of light brown. The noses, claws & eyes were picked out in black and then the eyes given a coat of gloss varnish. I’ve added a few flowers onto the base to represent the bears in spring time (not that  I need an excuse to add flowers – most of my bases feature these, much to the amusement of my gaming buddies!) So the Bears are done. Onto the next batch of neanderthals!

2014-09-04 12.05.322014-09-04 12.05.51

1 2