 I mentioned in my blog earlier that I had signed up for the Wargames Illustrated Magazine’s Lion Rampant day, to be held on 31st January 2015. Although it seems some way off, I thought that I better start putting my retinue together and of course practicing the game. As I am somewhat focused on collecting English Armies (and their Allies!), I thought that I would start with a typical English Warband. In the LR rules this breaks down to: a unit of 6 foot men at arms; a unit of 12 ‘expert’ foot sergeants and two units of 12 ‘expert’ Bowmen; a total of 42 figures to assemble and paint.
I could save a bit of painting time by having two units of 6 foot men at arms but this will make the army quite fragile. However, in the short term it will speed the process of having my own retinue finished. The beauty of the English Retinue is that I think that I will be able to build most of the figures using the Perry’s Wars of The Roses Plastic boxed set, which has 40 figures, a good mix of which are either archers or Bill men (foot sergeants). So for an outlay of £12 for the rules and £20 for the figures, I’m in the game!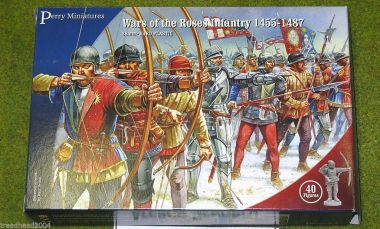
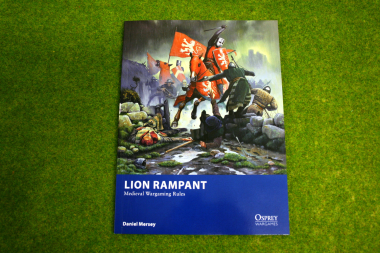
For those of you not familiar with Lion Rampant, it is one of the Osprey Wargames mini rules, written by Daniel Mersey. It’s one of those clever rules sets that does what it says, it really is straight forward and simple to learn, easy to play and has enough subtlety to keep players engaged. As I have previously noted, this type of skirmish game is a great way to explore a historical genre before you pile in and build a huge army. Even better, the small war bands allow you to mix & match different troop types. So if my English Army doesn’t work for me or if I fancy a change, it wont take too much effort to produce, say, a Templar war retinue.
The game itself is a bit like Saga Rules, but without the Saga board – all the action takes place on the table and combat is resolved quickly by rolling either 6 or 12 dice. A simple attack & defence mechanic determines how many casualties are inflicted and then it’s down to morale – which unit has the stomach for a fight! The fog of war comes in the order system, you roll a dice to see if a unit will activate or not. If it activates ( Moves , Attacks etc) then you go to the next unit. If not, your opponent gets the turn. This soon opens up opportunities or causes problems, depending on which side of the table that you are on! Of course, the other fun comes from the scissors, rock, paper effect of matching one type of troop to another.
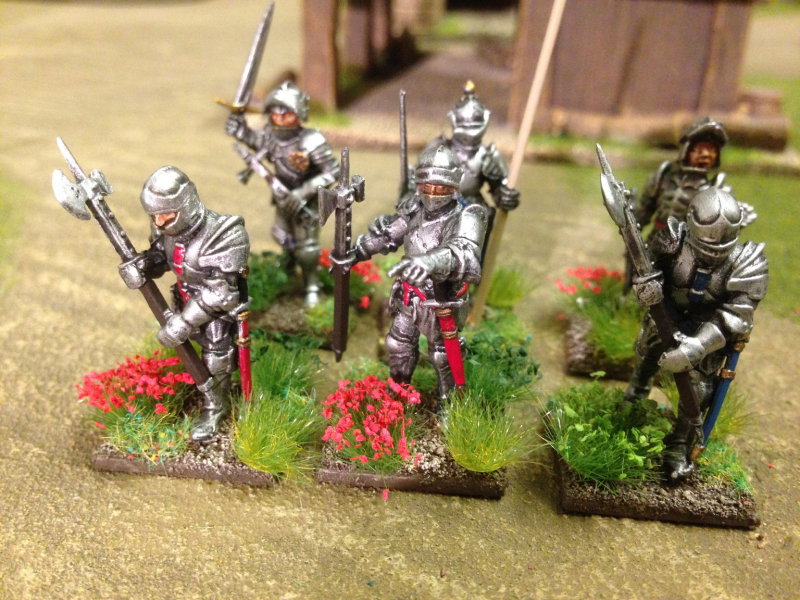
So, I have painted my first unit, the foot men at arms. It’ a bit of a motley crew -4 of the figures are Perry plastics, and two are spare metal figures that I had lurking in my lead mountain! In fact I think that both were figures given out at past Newark wargames shows, one of which I painted some years ago & just needed rebasing. Painting was fairly straight forward, I spray undercoated the figures in Plate mail, gave them a dry brush with silver, painted the cloth & leather bits ( Scabard & belts etc) blue or red for a bit of colour, and gold for the sword pommels, brown for any wood. Then a good wash of black ink, brought out the detail before re highlighting the armour. Basing is done using Sandy paste to level up the figures on the renedra 20mm plastic bases, then extra sand added & painted in chocolate brown & highlighted & dry bushed with Iraqi Sand. I finished off with a liberal dose of tufts and flowers…. Here’s the first unit :
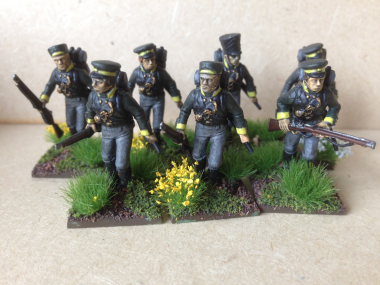
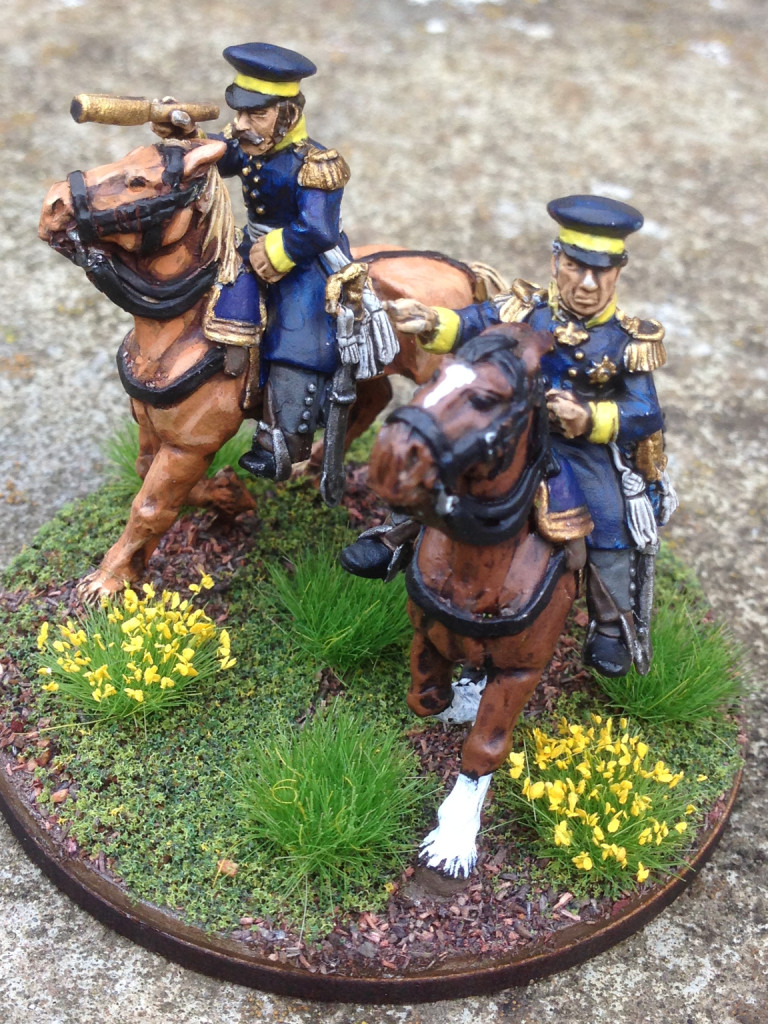
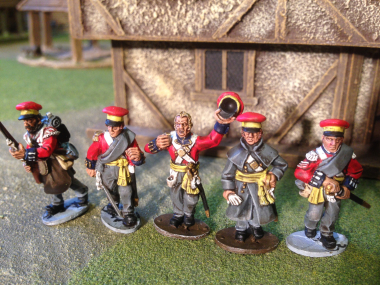 Well I am just about going to scrape in with my objective of finishing a Hanoverian unit by the end of October! As you can see the officers are close to being finished – final highlights need to be applied. The only figure that needs painting now is the Drummer and I will then have my unit of 24 finished. The next stage is to base them and then finally the add the flags. Ah! the flags….
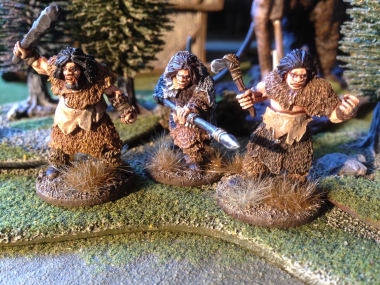
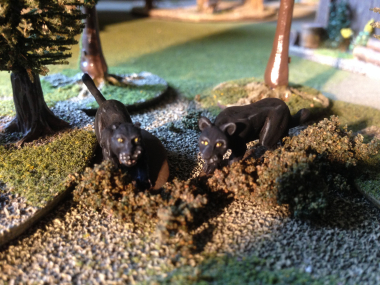 The next project was the Jaguars. I’m not sure that I am happy with the finished result. Painting and highlighting black is a devilish business! I’ve tried using blue rather than grey or white and in the end it was a mixture of both but I haven’t got the effect that I was looking for. I also used white to paint on some whiskers & for the teeth but it all looks a bit stark. the standard of photography isn’t too good either!The yellow eyes have just about worked. I think that when they are properly based, with plenty off jungle cover they may look OK. So that’s it for this week. Next up, back to Hanoverians – the officers this time.
 A strange mix of subjects on my workbench at the moment! I’ve just about finished painting 18 rank & file Hanoverian Landwehr. As you can see from the picture, they’re all based and ready for the table. There are of course 6 figures missing – the officers, ensigns & sergeants. They are undercoated and ready to paint, so they should keep me busy for the next few painting sessions. I will then have a nice unit of 24 figures representing the Munden Landwehr battalion. As far as finishing the figures went, once I had painted them with Army painter Strong tone, I gave them 24 hours to dry and then sprayed them with Army painter Anti shine. I tend to use a light coat and if the figures are still a bit shiny in places then I use vallejo matt varnish, just brushed on, to finish off.
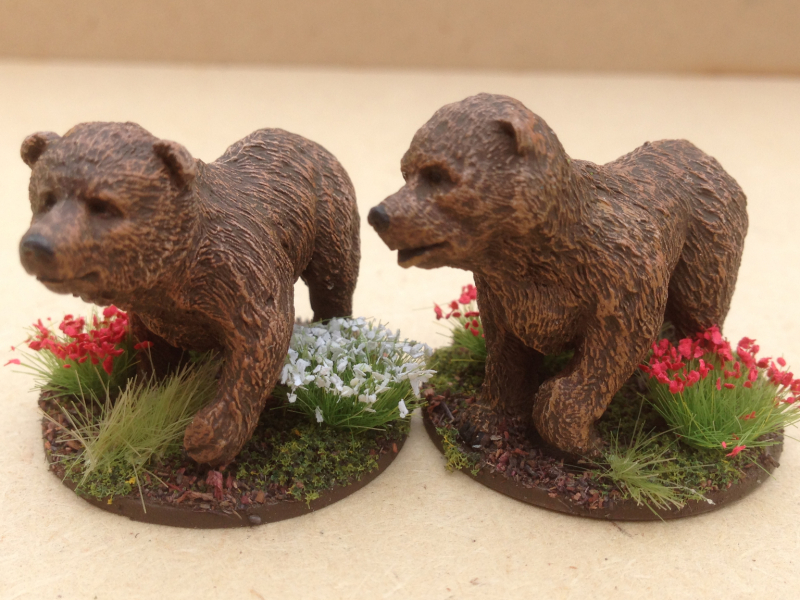
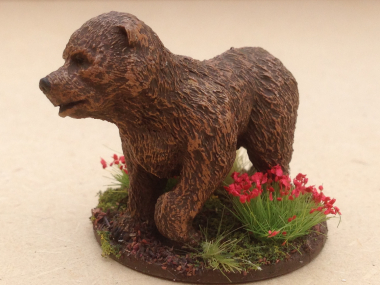
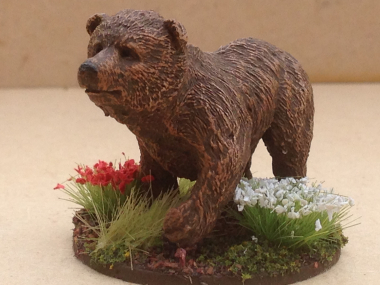
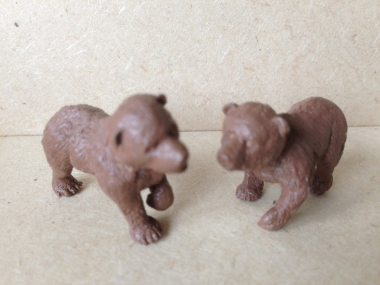
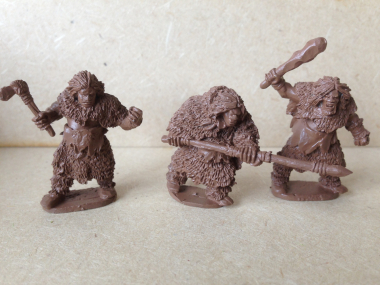
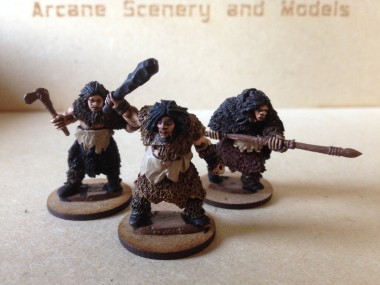 The other project that has leap-frogged up the painting queue is pack two of the Lucid Eye Neanderthals. Arcane Scenery are now stocking the Lucid Eye Range and of course the Neanderthals go really well with some of the Ice Age DeeZee miniatures that we produce. The Mammoths, Cave Bears & Smilodons for starters! So I’m working on getting a little band of Neanderthals ready for a Hunting party. One is just about finished, except the basing, the other two are just awaiting the fur pelts to be highlighted & the detail picked out. The techinique that I have used for these is slightly different from my usual style. Rather than using ‘dip’ to shade, I am shading and highlighting using inks, dry brushing and mixing lighter & lighter shades of the base colours. It’s a bit more time consuming for me but gives a nice result, particularly when the figures are so well sculpted. Here’s the progress so far. I’ll spend a bit more time in my next blog detailing the colours used.
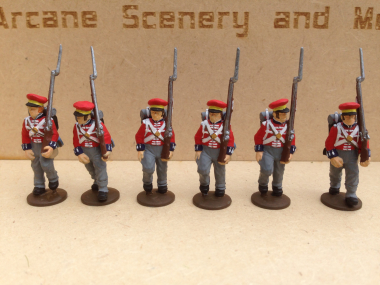 Progress on the Hanoverian battalion continues, albeit at a snails pace. I had started to paint a batch of 18 figures but progress was too slow and so I decided to finish six off just to get to see how they would look. The picture shows the first six block painted according to the colour scheme from the Mont St Jean site ( see last weeks blog for link). The next stage will be to paint them with army painter quick shade – I’ll use the strong tone or black shade. This will give me the shading to bring out the detail, particularly the faces and trousers. It will also give a clear outline to the equipment and lacing, making them stand out. Once the quick shade has dried, I’ll highlight the figures by repainting the lighter colours, particularly the webbing & lace and I’ll highlight the metals with either silver or gold as appropriate. This will really make the Buttons & bayonets stand out on the battlefield. Of course the most important finishing touch will be the bases! I just need to think about the colour of the flowers that I will use….. Hopefully by next week I will have at least these six finished. One final thought on painting these models. With hindsight, I should have painted the three individual pieces that make a figure separately. It would have made painting the detail much easier, so I will give this a try when I paint the next 18 figures.
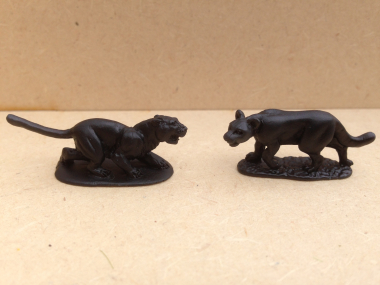

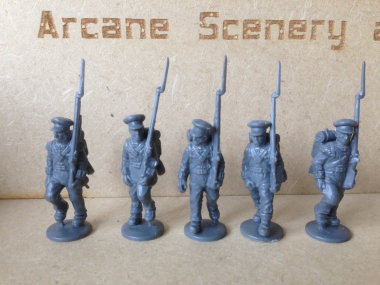 The Warlord figures are nice and straight forward to put together and have very little flash to worry about. A bit of cleaning with a file & a scrape with a knife and they are ready for undercoating. Here’s the first batch of 5 ready to be sprayed.
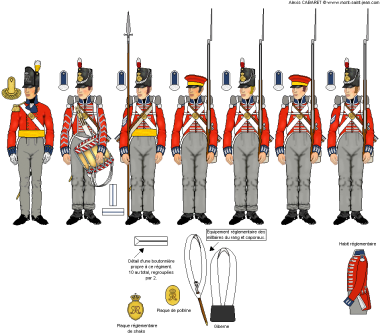

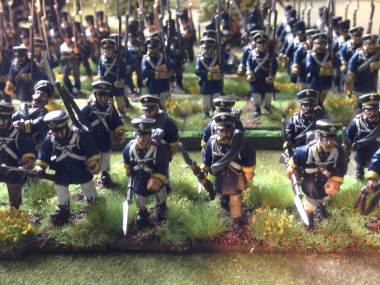
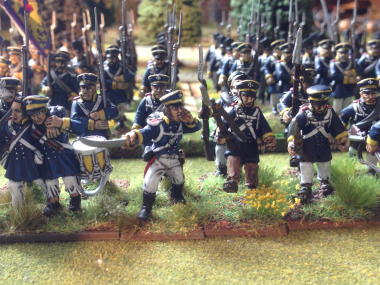
 So over the last three weeks or so, progress on my projects have been slow to say the least. The hot weather brings other distractions and it doesn’t help that the paint was drying faster on the pallete than on the figures that I was painting. But work on the Prussians has progressed. I’ve finished an Officer & a sergeant and I also now have my Brigade Commanders completed. So I do have a Prussian brigade of Infantry that I can field in my next battle. Of course the brigade isn’t finished… I could do with completing the Jaeger as skirmishers that come with the set. I’ve started to assemble them but I have had problems with the arm holding the rifle on these figures. It seems that the rifle is a weak point and the rifle butt has snapped off on a couple of my figures. So I have decided to do a couple of minor conversions & replace the broken rifle arm with a musket arm from the Victrix British set. This does mean a bit of filing & filling with green stuff – the shoulder wings need removing, as does the piping on the cuffs and I’ve remodelled the cuff to match the other one. Apart from being a fidley job , it’s not too difficult. I don’t think that the musket rather than a rifle is too much of a problem, I am sure that there were jaegers with both. So that’s about it for this weeks blog – I’m off for a cold drink of something…..