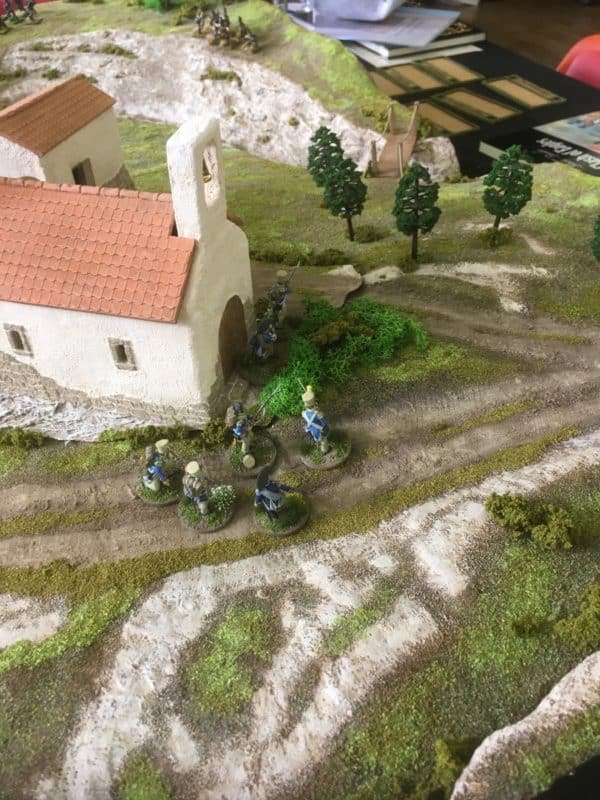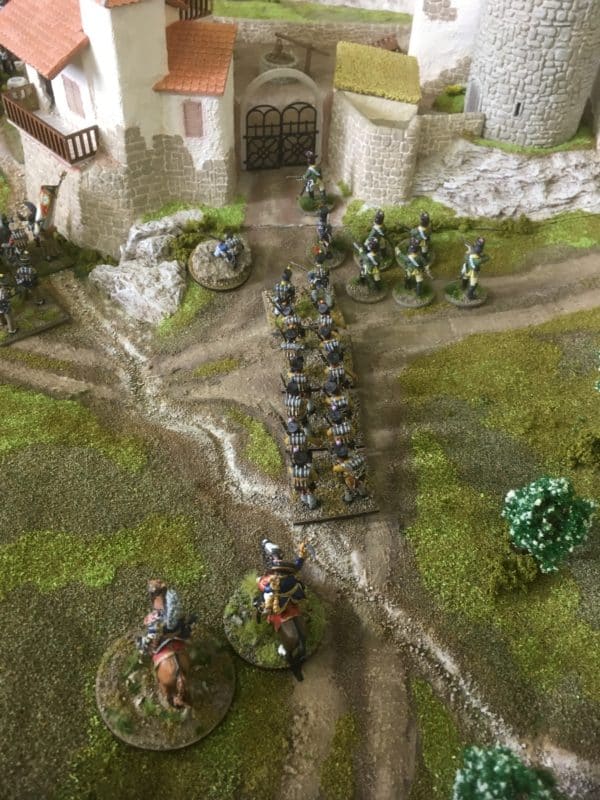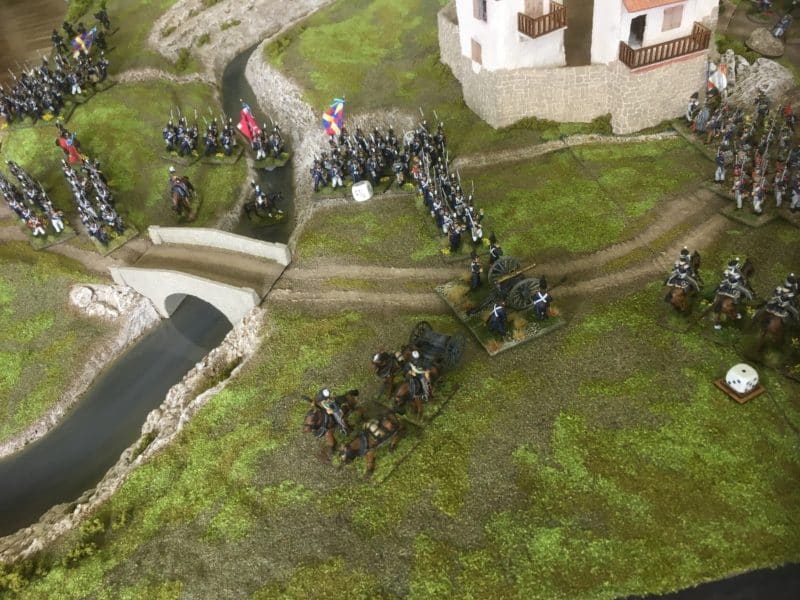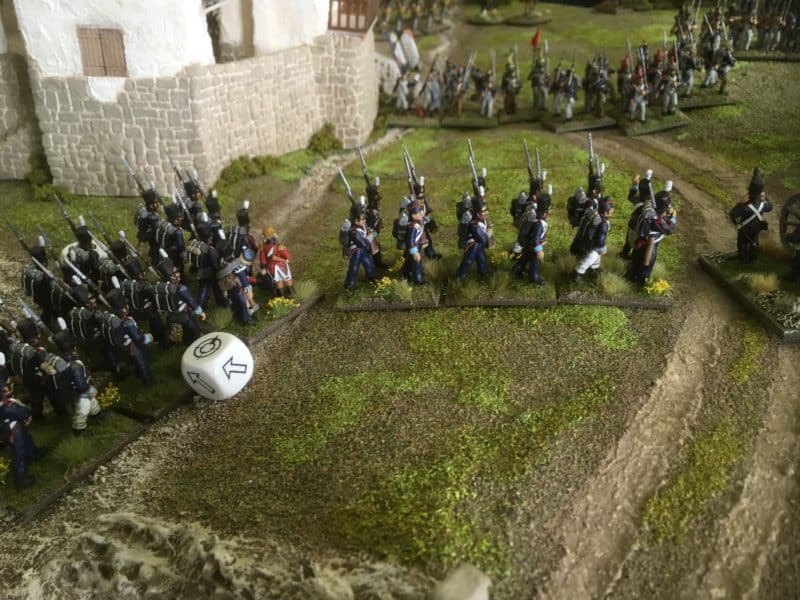
A Blast From The Past

Our small war games group have started to mix things up a bit recently. The winter weather has meant that some of the venues are not particularly comfortable, as they are in cold garages. At our age, cold bones are a bad idea. So we have started to play board games in the comfort of the house to give ourselves a break from ‘traditional wargaming’ every other week or so.

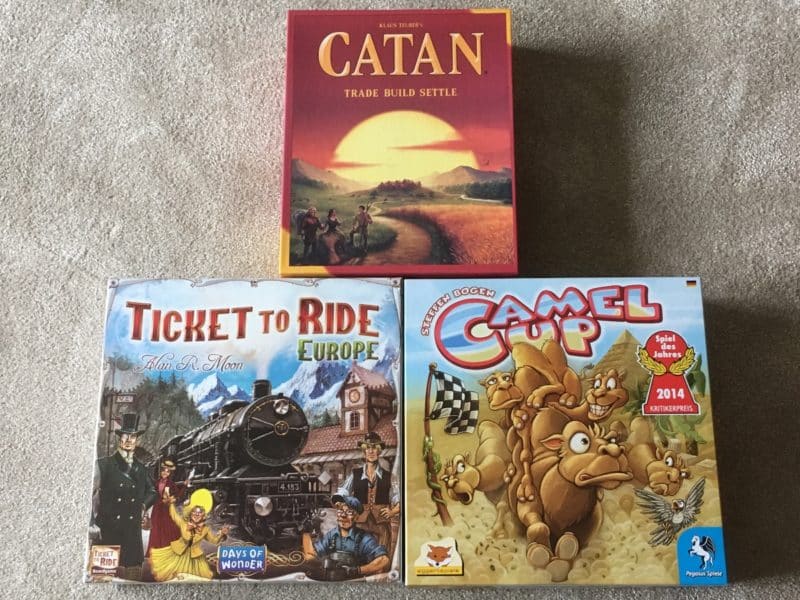
Catan, Ticket to ride and Camel Up!

Catan, Ticket to ride and Camel Up!

Initially, we started to play some of the more ‘recent’ games that are popular on the board games scene. ‘Ticket to ride’, ‘Settlers of Catan’ and ‘Camel Up’ are most enjoyable. It is fairly easy to pick up the rules but the games are cleverly designed with a great deal of depth to them.

Campaign and Risk - 'classic' games!

Campaign and Risk – ‘classic’ games!

That then prompted us to dig out some of the games that we played in our Youth. Risk was the first, closely followed by Campaign. Two classic games that I spent hours playing as a teenager. I then suggested a game that I played with my kids and had great fun with. It was the closest that I got to involving my children into wargaming – ‘Space Crusade’!

Space Crusade.

Space Crusade.

For two of the group, Space crusade was a new experience, as was the idea of gaming with Science Fiction figures. However, the game is brilliantly designed and soon had them absorbed in the game play. In fact, the game did what it was supposed to do when initially released. It fired up their imagination and we were soon all talking about how we could customise it and have our own Space Marine Chapters and perhaps designing different versions of the board. Of course it is also classic ‘Granddad material’ to play with the grand children once they reach about 8 or 9. Granddad will of course be the Alien player, springing nasty surprises on the kids, just like we did with our own children. I can still remember the squeals as a Gene stealer appeared as a result of a Alien Event card being turned over! Happy days!

Space Crusade Board set up.

Space Crusade Board set up.

The game takes a bit of time to set up, about 20 minutes or so but once done so, the game play is very smooth, with each marine player taking it in turn to move onto the board. The marine players are in competition with each other to achieve a mission but can of course co operate against the Alien player. The Alien player has a variety of troops at his disposal and deploys them onto the board, initially as ‘blip tokens’. It is only when a Space marine has line of sight on the token that he will know what he is facing!

Gretchin!

Gretchin!

Gretchin are at the bottom of the Alien food chain. They are numerous and in the main, ineffective – but you never know when they will get a lucky shot off!

Space Orks.

Space Orks.

Next up are the Space orks. A bit tougher to kill and dangerous in combat.

Andriods!

Andriods!

The Andriods pack quite a punch. They are slow to move but tough to kill and are more than capable of taking out a standard Space marine.

Chaos Space Marines - the baddies!

Chaos Space Marines – the baddies!

The Chaos Space marines are the Bad Guys. Not quite as tough as Standard marines but dangerous if they get the first shot off.

Gene Stealers from the Kult of the Living Flesh!

Gene Stealers from the Kult of the Living Flesh!

The gene stealers only appear on the turn of an Alien Event card. They are fast and vicious and can even badly damage a Space Marine Captain in their hit and run attacks. I painted these figures for Space Hulk – another classic game. They are from my Gene Stealer cult, the Kult of the Living Flesh, or KLF – guess what I was listening to at the time….

Alien Chaos Dreadnought

Alien Chaos Dreadnought

The Alien Chaos Dreadnought is perhaps the toughest character on the board, excepting the Space Marine Captains. When he appears, you better take cover and come up with a good plan of attack!

The Ultramarines are ready to board the Space Hulk.

The Ultramarines are ready to board the Space Hulk.

The Space Marines in the game are equipped with some very hard hitting weaponry that will take down most of the aliens that they will face. The Captain has 6 lives or wounds, so he is quite tough. In addition, the marines have a number of equipment upgrades, that if played at the correct time, will get them out of trouble or take down that cursed Dreadnought!

We have now added Space Crusade into our portfolio of games to play when we meet. I suspect that we will work our way through the mission book! Playing board games through the winter has been a great way to keep the group together and keep us gaming. It has also been a welcome change from our usual activities and sometimes a change is as good as a rest. We will still keep wargaming and as summer approaches, the campaign season will start!

THE COMMERCIAL BIT

Space Crusade is long OOP so you will have to resort to eBay to obtain a copy, although the price is pretty steep these days. Better still, add it to your list and check out the local charity shops or car boot sales – you may just get lucky!

For all your other gaming needs, particularly when it comes to wargaming, painting and modeling, check out our shop. We send post free to most worldwide locations at the time of writing!

ARCANE SCENERY

Happy Modelling!


Bingham Napoleonic Days

Over the last couple of weeks my blog has been focused on the Demo game that I was a part of at the Bingham Napoleonic days. I thought that this week, I would round up this very enjoyable occasion by giving a few details about the event and who else and what else was there. It’s a bit of a ‘bolting the stable door’ blog but if you are interested in Napoleonic history, it’s a nice little event to attend and assuming that it goes ahead next year ( I hope so) – put it into your diary now.

A selection of Peter's books

A selection of Peter’s books

The event is organised by local author Peter Youds. Peter has written a number of novels ( 10 so far!), set initially in the Peninsular War, in his series, ‘The Ties of Blood’. He thought that it would be a bit of fun to organise a small event at the end of February/beginning of March to celebrate the Napoleonic period and it’s rich history. He gathered together some of his like minded colleagues and the first event was held three years ago. The East Midlands Napoleonic Days weekend takes place at Long Acre Studios, Bingham, Nottinghamshire. The building is the former drill-hall of the South Notts Hussars and provides a most suitable venue for the event.

A good selection of Helion books available - as were some of the authors!

A good selection of Helion books available – as were some of the authors!

The event is steadily growing and this year, with the help of Helion Books, there was a full program of guest speakers. Familiar names included Carole Divall and Andrew Bamford along with of course, Peter Youds himself. Other speakers included Mark Thomson, Mick Crumplin, Rod Griffiths, Paul Chamberlain, Michael Kirby and Edward Hammond.

Spot The Author! - Another selection of titles available.

Spot The Author! – Another selection of titles available.

Also attending the event, was the very talented Christa Hook. If you have used Osprey books as a painting reference, particularly if painting British Napoleonics, you may well have used Christa’s paintings as a reference. I certainly have, although the name hadn’t registered until the week before the event. I was painting a Warlord Games 95th rifleman and I realised that the painting that I was using as a reference was by Christa!

My attempt at painting a 95th Rifleman

My attempt at painting a 95th Rifleman

Christa Hooks Cover art - no doubt who is the more talented painter!

Christa Hooks Cover art – no doubt who is the more talented painter!

Christa had brought a selection of paintings to display and sell, as well as copies of her book ‘Far in Advance’ a beautifully illustrated book of the Peninsular war.

Just a small selection of Christa Hooks work on display.

Just a small selection of Christa Hooks work on display.

So with a full program of speakers in one hall, a selection of literature and art work in the gallery, Café Corsica, a pop up café, selling delicious home made cakes, tea coffee sandwiches and freshly made bacon cobs ( bread rolls, to you Southerners…) what more could you want? Oh yes, in the back room, the NG13 wargamers were putting on a battle based on an engagement from the Peninsular war that occurred at Foz d’ Arouce and described in Peter Youlds book, ‘the Hardest fight’.

The Hardest Fight by Peter Youlds

The Hardest Fight by Peter Youlds

A full battle report is in last weeks blog but it is worth mentioning again that the board was scratch built by Peter Harris of the NG13 wargamers with assistance from Jaz Storey- Smith.

Jaz busy painting the board under Petes direction!

Jaz busy painting the board under Petes direction!

Having spent all day Saturday playing our Demo game, I returned on Sunday to listen to some of the speakers. I particularly wanted to hear Rob Griffiths talking about the 5/60th rifles. I had treated myself to one of Christa’s paintings of these guys and I wanted to know more about them. Rob’s talk was so enlightening, I purchased a signed copy of his book!

I spent a bit more than I intended to but I am very pleased with my haul!

I spent a bit more than I intended to but I am very pleased with my haul!

I should also mention that as well as speaking,  Michael Kirby had put on a ‘Hands on History’ demo in the back room that was a superb introduction to the period for both kids and adults. I regret that my roving reporter skills are so poor and that I have no pictures of the display that he had assembled. Another speaker, Edward Hammond was in full Napoleonic French Infantry dress. I had the pleasure to watch Christa Hook sketch him and produce a superb likeness as I stood and watched. Such talent! Again, I was so star struck that I forgot to record the results!

Christa Hooks painting now has pride of place in the lounge!

Christa Hooks painting now has pride of place in the lounge!

In conclusion, I spent a very happy weekend at the event and I am very grateful to Peter for organising such a pleasant experience. If you are in the area next year ( The event can coincide with Hammerhead at Newark, just down the road) and you are at all interested in Napoleonic’s, I would urge you to make the effort to attend – it’s free! All you will spend is your time….unless like me you are tempted by the books and paintings available. Oh and the cakes…

The Commercial Bit

As always a link to the Arcane Scenery and Models on line shop. We currently post all orders free to most worldwide locations:

ARCANE SCENERY

Here is a link to Peter Youds Bicorn Books site.

BICORN BOOKS

You can see and purchase more of Christa Hooks Paintings, book and Art Work here:

CHRISTA HOOK

Happy modelling and gaming!

Footnote: In case you haven’t noticed, I am having problems with aligning some of my pictures. It seems that if you view them on a Tablet or phone they are aligned correctly but on a desk top, they are set at 90 degrees. I will be seeking some technical help to resolve this!

Combat at Foz d’Arouce

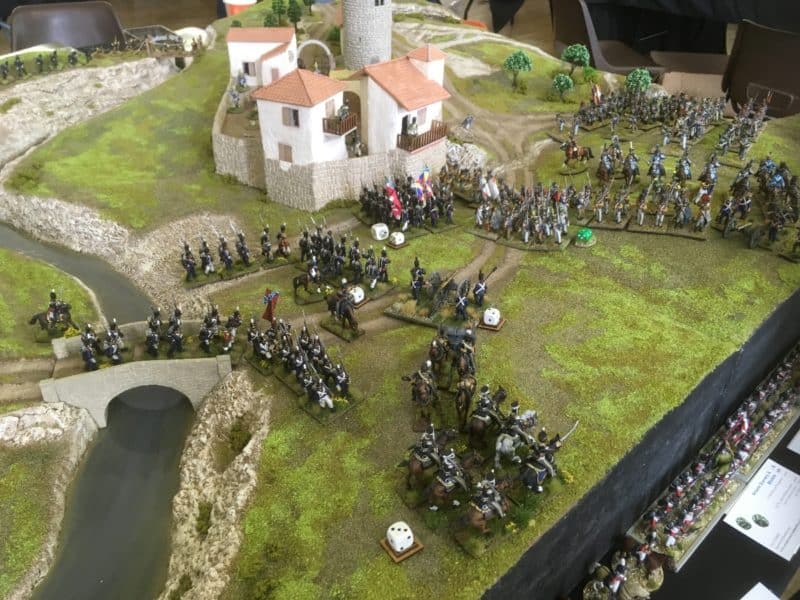
I had a most enjoyable weekend at the Bingham Napoleonic Days event, organised by the Author and Bingham resident, Peter Youds. The Saturday was spent playing in a Napoleonic demo game based around the action at Foz d’Arouce in the Peninsular War on a beautiful table, designed and built by Peter Harris. On Sunday, I attended a number of talks on Napoleonic subjects, the highlight for me, being a talk on the ‘personalities’ in the 5/60th rifles given by author Robert Griffith. In this weeks blog, I’ll give you the battle report from the Saturday, whilst it is still fresh in my mind and next week, I’ll cover the event itself.

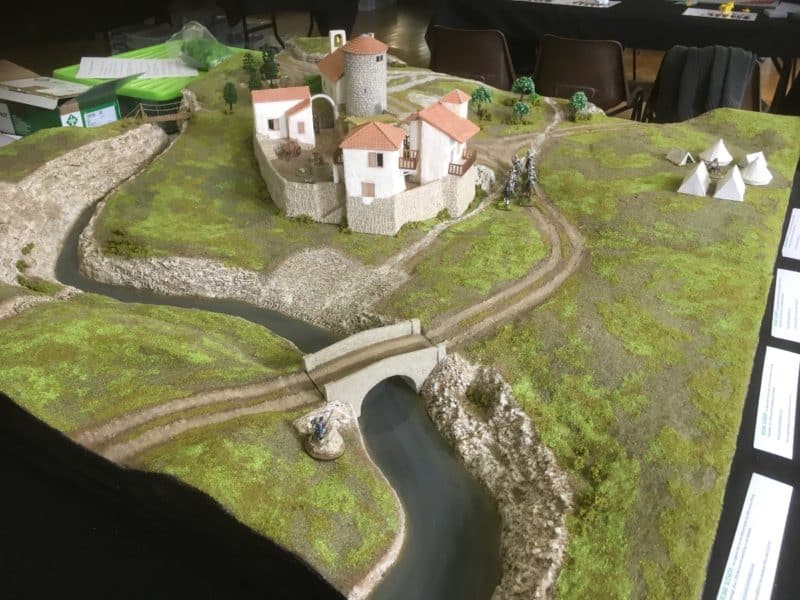
The Village of Foz d'Arouce - Table built and designed by Pete Harris

The Village of Foz d’Arouce – Table built and designed by Pete Harris

Andy Callan had come up with the scenario and the rules that we would use to pay the game. In the attachments below, you can read the actual account of the battle from Oman, the scenario for the game itself and the briefing handout for visitors. It’s worth taking the trouble to have a read – the links are PDF’s which you are free to use should you wish to – they should open in a separate tab on your computer.

FozOman (1)

FozScenario (1)

Fozhandout (1)

I’ll also include a link to the rules at the bottom of the blog. We have been a bit easy going when it came to the actual figures used. You will see that the figures on the table don’t quite match the actual regiments present. I should also say that the battle account is very much from a British perspective (me), so if you ever get to chat to my opponent, Pete, dont be surprised if he has a slightly differing version!

The British Officers are all Characters from 'The Hardest Fight' by Peter Youlds.

The British Officers are all Characters from ‘The Hardest Fight’ by Peter Youlds.

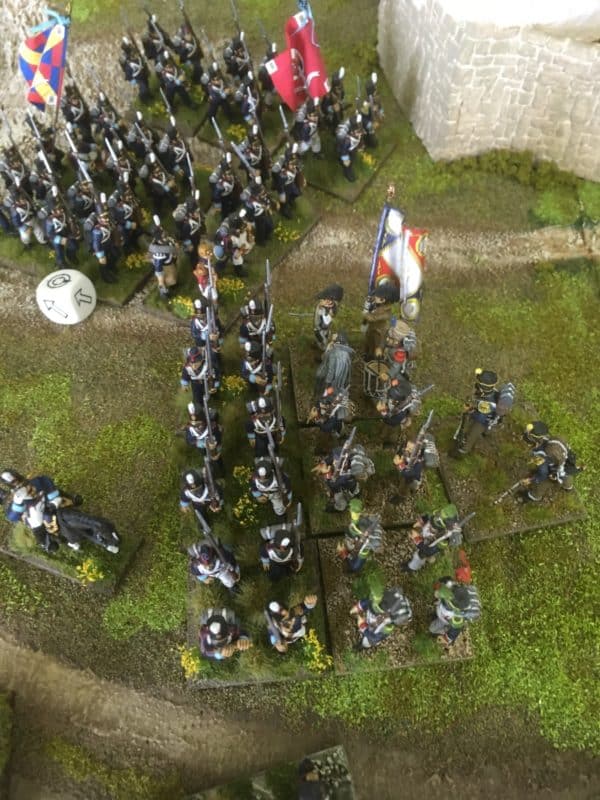
The British force was led by characters from Peter Youlds novel, ‘The Hardest Fight’, whilst the French Officers were all named after cheeses! The battle started with Captains Jago and Herryck a company of the 95th Rifles already in place in the village, with two companies of British infantry, led by Marlow entering the field of battle at the top of the board.

Marlow leads his troops onto the field of battle

Marlow leads his troops onto the field of battle

Rifles sneak into the village!

Rifles sneak into the village!

The French encampment - they are defending the wrong road!

The French encampment – they are defending the wrong road!

Breast or Leg Sir? - Just give me the chicken, I have a battle to fight!

Breast or Leg Sir? – Just give me the chicken, I have a battle to fight!

The first turn saw the British suprising the French and opening fire on both the camp and the companies defending the road at entry point b. Captain Rocquefort decided to pull back from the road and defend the camp, with Captain Vachequirit abandoning his lunch to join him on the hill. In the subsequent exchanges of fire, the French were temporarily driven back, one company suffering badly and failing it’s morale. To add to the French discomfort, Lt. Thicknesse had arrived with two more companies of red coats to put more pressure on the French.

British Reinforcements push the French back up the hill

British Reinforcements push the French back up the hill

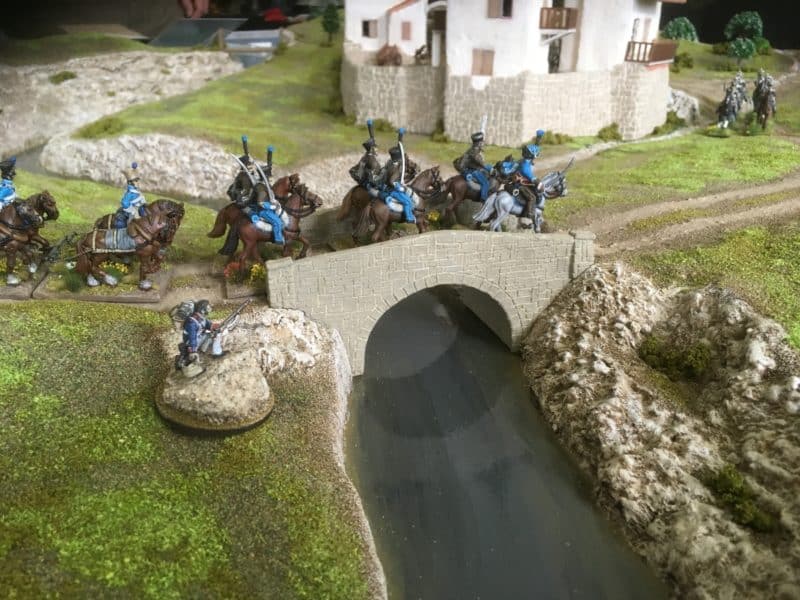
It all seemed that it was going well for the British but in their over exuberance, the commanders had lost touch with some of their units which meant that the British were unable to follow up their early success. To add to their woes, the French had received reinforcements, with Sgt Camembert leading a company of elite Voltigeurs and Lt Brie leading his squadron of Hussars. Lt Brie charged straight into the action.

Lt. Brie withdraws having mauled the British Infantry

Lt. Brie withdraws having mauled the British Infantry

Lt Brie caused havoc in the British lines, severely mauling one company and pushing it back off the table, which caused further confusion in the British lines. The French Cavalry were stopped by a furious musket volley and having suffered a number of casualties, Lt Brie retired to the rear. The French had recovered from the initial shock of the British advance and were further able to halt the British advance with some excellent musketry, which left the British in disarray and in need of re organisation.

The British form up again!

The British form up again!

For a short period, the French appeared to have the initiative, with Sgt Camembert attempting to sneak around the side of the village whilst taking on the 95th Rifles.

Voltigeurs skirmishing around the rear of the Village whilst more French reinforcements arrive.

Voltigeurs skirmishing around the rear of the Village whilst more French reinforcements arrive.

Take the Village!

Take the Village!

The tide turned again, with more British reinforcements arriving. A battery of Horse artillery had arrived and immediately went into action against the French infantry and Cavalry. A further two companies of infantry had appeared at the top of the village. The British had by now sorted out their command, with Captain Herryck leaving the village to take control of the newly arrived infantry and advance on the French around the other side of the village. Captain Jago had also taken command of an additional light Company and brought them into the village to secure it from the French.

Light Infantry secure the village.

Light Infantry secure the village.

British superiority is re-established!

British superiority is re-established!

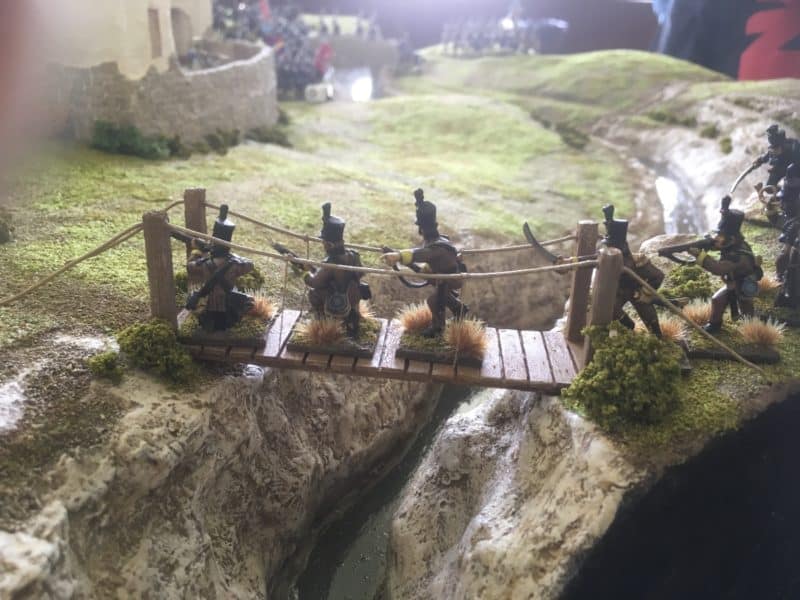
A desperate attempt by the French Voltigeurs to storm the village was easily repulsed and the British were now able to go onto the offensive again. Just to add the the French Commanders woes, a company of Cacadores appeared on the bluff to his rear and started harassing the now retreating French columns.

Cacadores! Where did they come from!

Cacadores! Where did they come from!

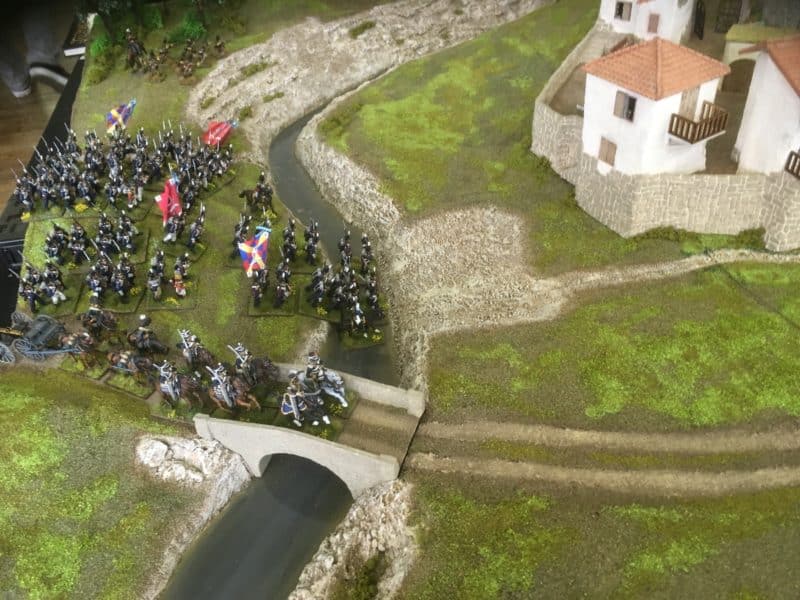
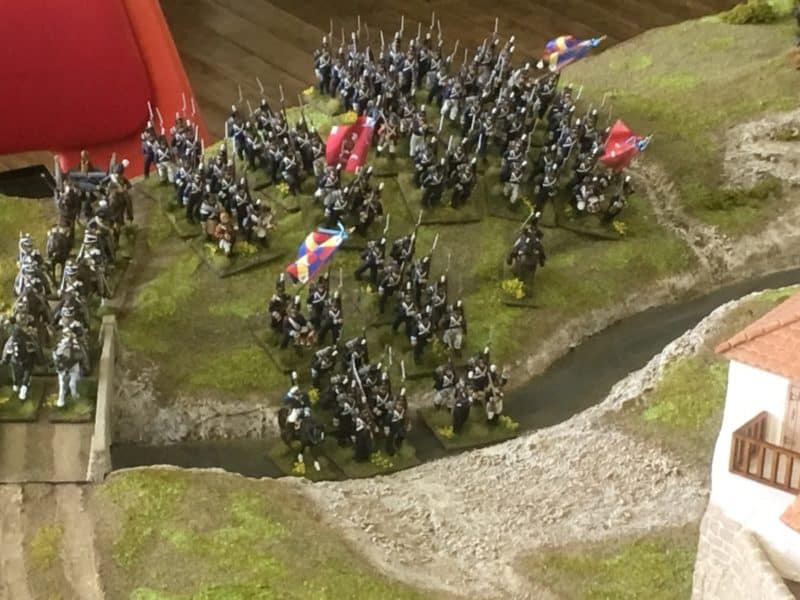
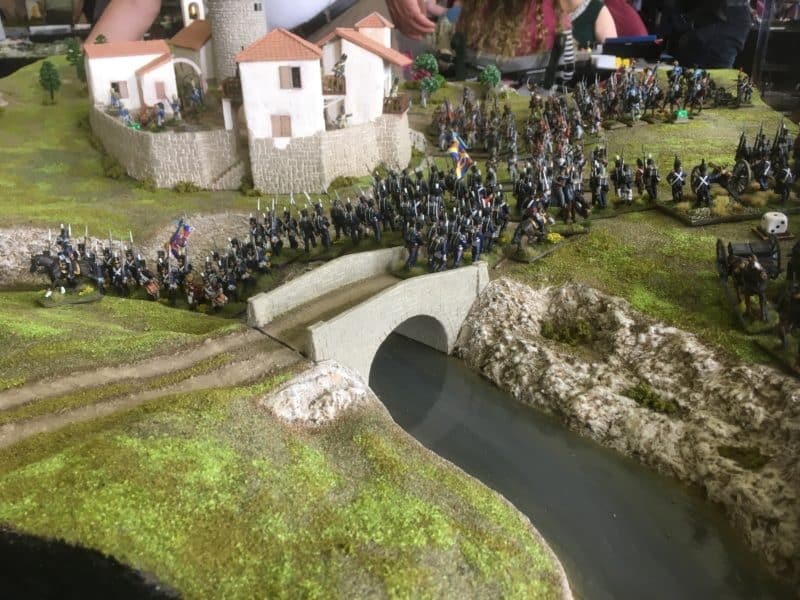
The French were now facing superior fire power and having been worn down by the British attack, realised that retreat was their only option. With the bridge choked, one retreating unit was forced into the river at the ford and suffered further losses to the treacherous current. Some order was restored on the far bank and the French prepared to blow the bridge.

French in new defensive position

French in new defensive position

The British hold the field!

The British hold the field!

The umpire decided that the French would need to roll to see if the explosives had been placed correctly and on which side of the bridge the charge had been set. A 1,2 or 3 would mean that the charge was on the British side; 4,5 or 6 it would be on the French side. Pete, the French commander, managed to roll a 2. The race was now on! Could Capt. Herryck reach the bridge and diffuse the explosives before the bridge was blown?
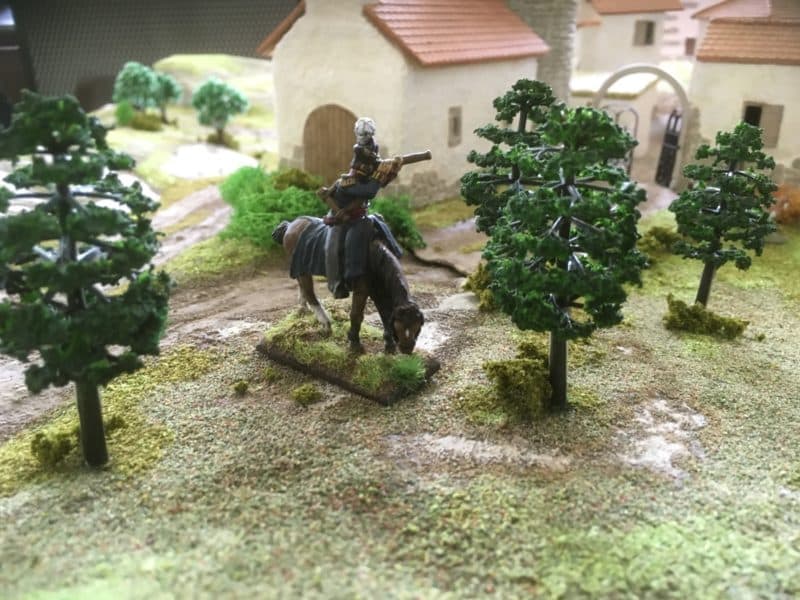
A solitary French trooper was sent to light the fuse!

A solitary French trooper was sent to light the fuse!

The fuse was lit, anything but a 1 on a D6 and the bridge would blow before Herryck could get there. Pete rolled the dice…a 1! The charge had failed to blow, the British were delighted! But wait! The French had a re roll card to play. The umpire obliged and we held our breath as the dice was rolled again…a 1! The British once again celebrated in a most unsportsman like way… Herryck rushed to the bridge to difuse the charge, a 2,3,4,5,6 would make him the hero of the day. A 1 would mean that the charge was booby trapped and the whole thing would blow after all. I rolled a 1! As I looked at the dice in disbelief, willing the spots to change, the French commander was badly concealing his glee. Bloody wargaming!

Oh No! He's killed Herryck!

Oh No! He’s killed Herryck!

I would now have to tell Peter Youds that I had killed off his main character. Oh well, these things happen, time for a pint, I think.

THE COMMERCIAL BIT

As I hope that you can see we had great fun with our game. The rules are a mash up of the original Sharp Practice rules and Muskets and Tommahawks with some extra ideas from Andy, hence Sharp Tomahawks. The sub title of ‘Rules for old wargamers with short attention spans’ is a clue as to why we like them. We have used them before and they are available here as a brief PDF. The new Sharpe practice rules would have worked just as well and if you are not familiar with them, I recommend them as one of the best set of skirmish rules around.

SharpTomahawks

We sell many of the figures, scenery, rules and accessories used in the game – if you would like to visit our shop and see the huge range that we have, click the link below. At the time of writing we send orders post free!

ARCANE SCENERY

Happy Modelling!


Ready for the Weekend?

This weekend I will be attending the ‘Bingham Napoleonic Days’ event and on the Saturday, participating in a small Wargames demo game set in the Peninsular.  The game scenario has been devised by Andy Callan and he has also put the rules together – they are a version of his ‘Rules for Old Wargamers with Short attention spans’. Pete Harris is building the table. The game is a skirmish around a small Spanish hill top village. My contribution is to supply the British contingent, who will be assaulting the village and driving out the French and rescuing the villagers.

Protect the pub! They still have beer!

Protect the pub! They still have beer!

As the game is a fictional event and is designed as much as an introduction/explanation of wargaming to a generally bemused set of non wargaming visitors, we aren’t too precious about the details of the uniforms and combatants. However, It was an excuse to dig out some of my unpainted Peninsular figures that I had accumulated and create a ‘Forlon Hope’ that would lead the assault on the village.

Another six figures to complete!

Another six figures to complete!

Well, I am just about there but as usual, I will still be painting and basing the last few figures on Friday night. They are not critical to the event, so if they are not finished, it wont be a disaster but it will be nice to have them done. I am quite pleased with the ‘command’ base that I have put together using the two limited edition figures that were supplied with the ‘Albion Triumphant’ supplements for Black Powder.

Albion Triumphant!

Albion Triumphant!

I’ve used a Sarissa Precision Bolt action gun team base that will allow me to use the figures separately if I choose to do so, or to remove them as casualties. These ‘sabot’ bases are very useful and allow a bit more flexibility than permanently basing figures in a Vignette, so that they can be used for wargaming but look nice in the figure cabinet.

Albion Triumpant rear view

Albion Triumpant rear view

Incidentally, when it comes to basing, I always try to work in three’s or five’s. Hence the little rock formation at the front of the base that’s there to ‘balance ‘ the figures. It’s something that I was taught in my earlier career in retail whilst learning how to put up window displays ( something all shops used to do in the olden days!). The idea was the everything should be grouped in threes or fives as it was more appealing to browsing customers. My wife worked in H Samuel and was taught the same trick, although they also had to set the clocks at ten to two as it gave the impression of a smiley face….I digress somewhat!

The Drummer boy is finished - jst some tufts to add to the base.

The Drummer boy is finished – just some tufts to add to the base.

You can see that I have mixed figures for the unit. There is the Warlord figures, some Foundry figures and some from Casting room miniatures ( although these are an off shoot of Foundry). The height differences are minimal and I have no hesitation in mixing and matching. The figures that are still on the workbench ( casting room miniatures) are a bit slighter than the others but a trick to hide that is to add a bit of plastic card to the base to raise them up. It will only need a millimetre or so but helps to level things up. I don’t really have a problem with the slight height differences in some figures. I know that some of my colleagues can get vexed by this but I like the variety and if anything, it is more realistic to have different sized people!

Another view of Albion Triumphant.

Another view of Albion Triumphant.

So I better get back to painting these last few figures. If you can get to Bingham on Saturday, you will be able to see them ‘in the flesh’ so to speak! The event is free to attend – just click on the link below for details.

Cheers! Happy Modelling!

Cheers! Happy Modelling!

THE COMMERCIAL BIT

The details of the Bingham Napoleonic Days can be found here:

NAPOLEONIC DAYS 

Although the figures in this weeks blog are not available from Arcane Scenery ( I think some of them may be OOP) all of the finishing and painting products are, even better, we send post free!

ARCANE SCENERY

You can see a huge range of  bases and movement trays in our shop but here is the link to the base used in the article above:

GUN TEAM BASES

I hope that you enjoy your modelling and wargaming!


Whats on the work bench? 21/02/19

Despite being busy painting, nothing is really finished! I seem to have too many ideas and not enough time, although that isn’t really unusual. So this weeks blog is as much an attempt to re focus as to show what is on my work bench. I guess that I am steadily working my way through the lead pile, although I visited the ROBIN show at the weekend and managed to add to it…more on that later.

The Forlon Hope gathers strength!

The Forlon Hope gathers strength!

My Forlorn Hope gathers strength, with another eight figures completed. The facings are yellow, as they are supposed to represent the 29th Worcestershire’s in the Peninsular. They are all individually based as my intention is that they are for a skirmish game rather than a ‘big battalion’ game.

Ensign completed

Ensign completed

The limited edition Warlord Games Ensign is also completed but needs basing. I’m dithering as to whether to put him onto a standard 20mm square base or to use him as a ‘big man’ and base him on a 60mm round base along with the limited addition Rifleman from Warlord. It’s the second option that appeals at the moment as I think they will make a nice contrasting pair.

Riflemen and drummer boy

Riflemen and drummer boy.

As you can see, I actually have two of the Riflemen, so basing one up separately and one with the Ensign will work nicely. I’m going to try a quick paint job on the riflemen as an experiment. I have undercoated them with Army Painter Dark Angel Green and will leave this as the base colour for the uniform, just painting the rest of the detail. Out of focus is the drummer boy for the 29th – yellow is not an easy colour to paint and there are constant queries on social media as to what the best method is. In this case, I have first painted with Vallejo Yellow Ochre and then recoated with Vallejo Deep Yellow. In reality, this is perhaps a bit bright but should show nicely on the wargames table.

Highlanders!

Highlanders!

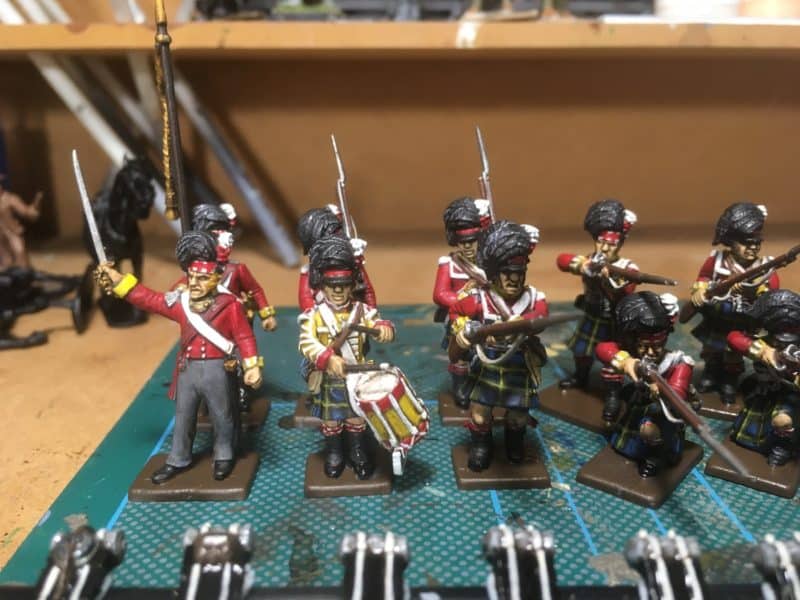
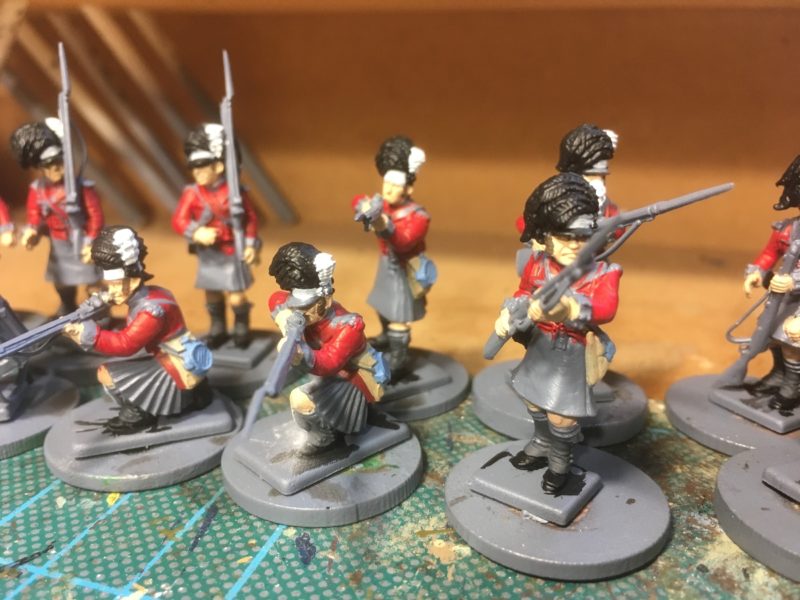
I’ve 48 Highlanders assembled, 24 of which are undercoated and 12 of those have made it to the back of the workbench to have their hands, knees and faces painted in flesh. At the moment, I’m distracted by other projects so these are getting a sort of deferred batch paint job! When ever I have some spare time or paint, I’ll put the next colour on – black hats next!

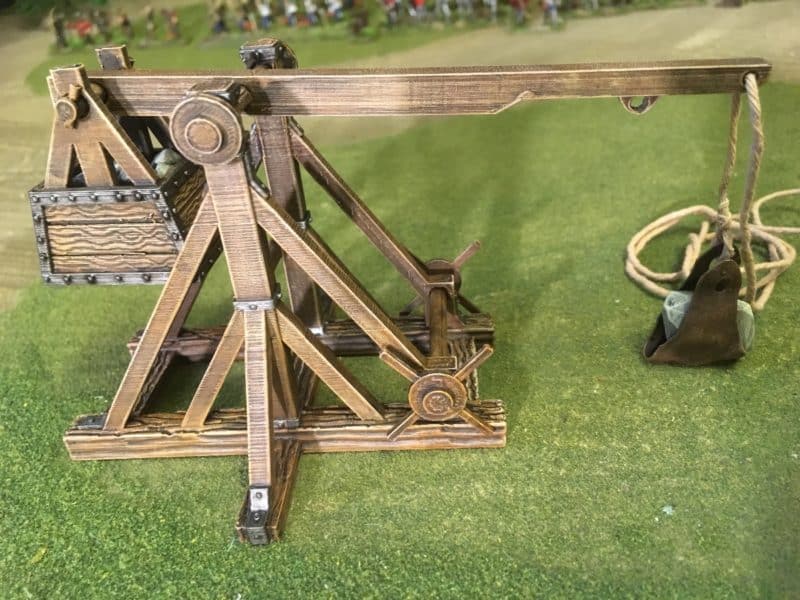
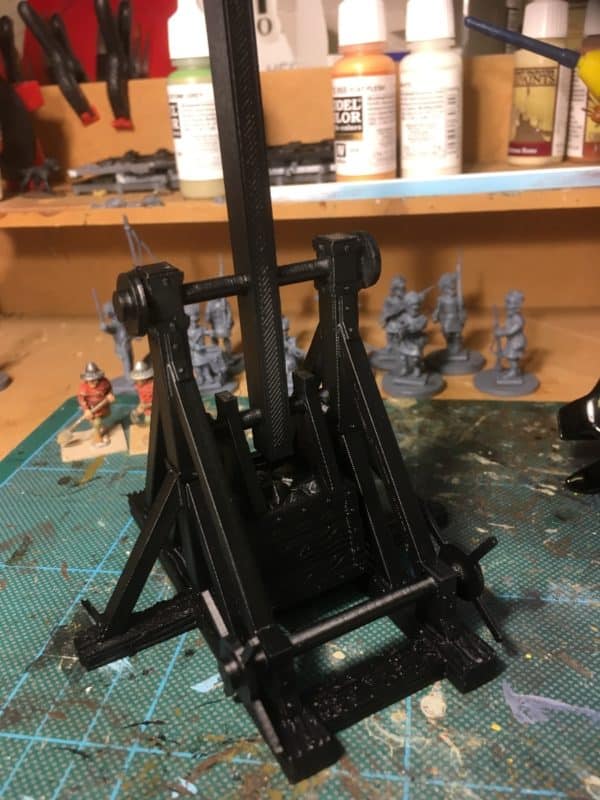
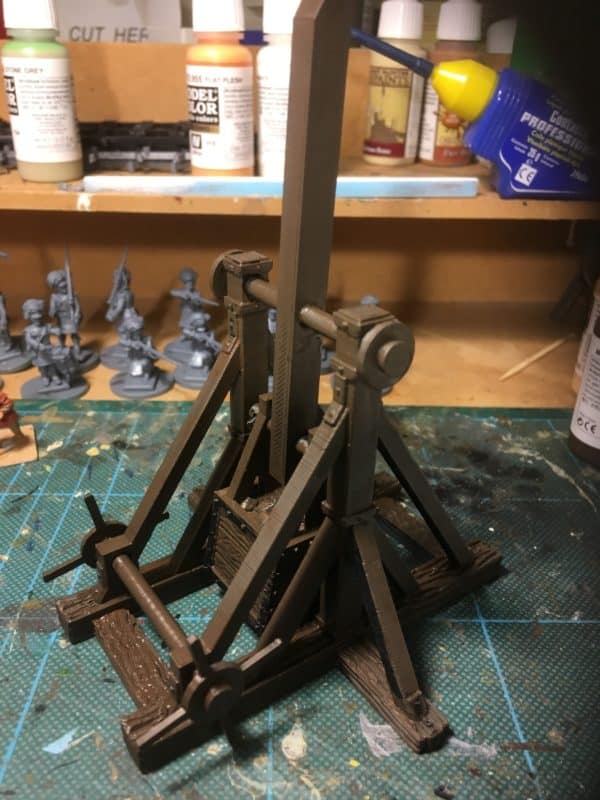
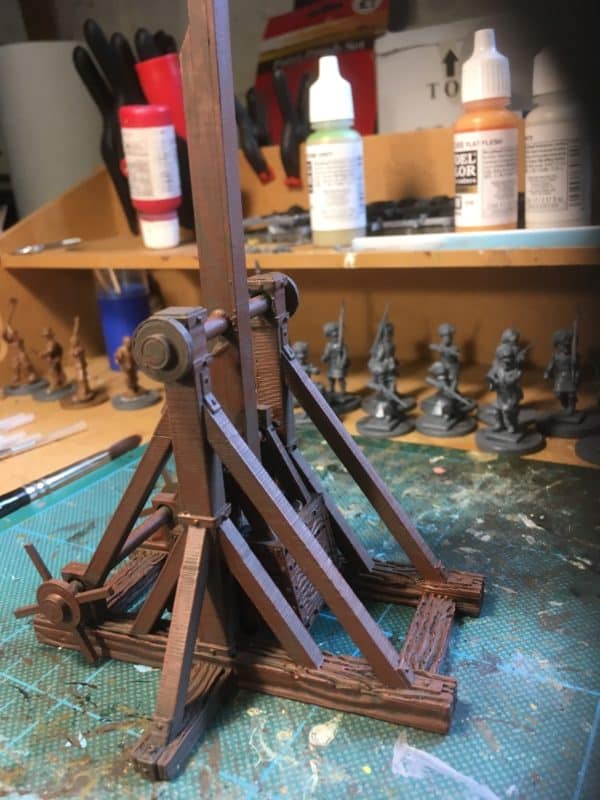
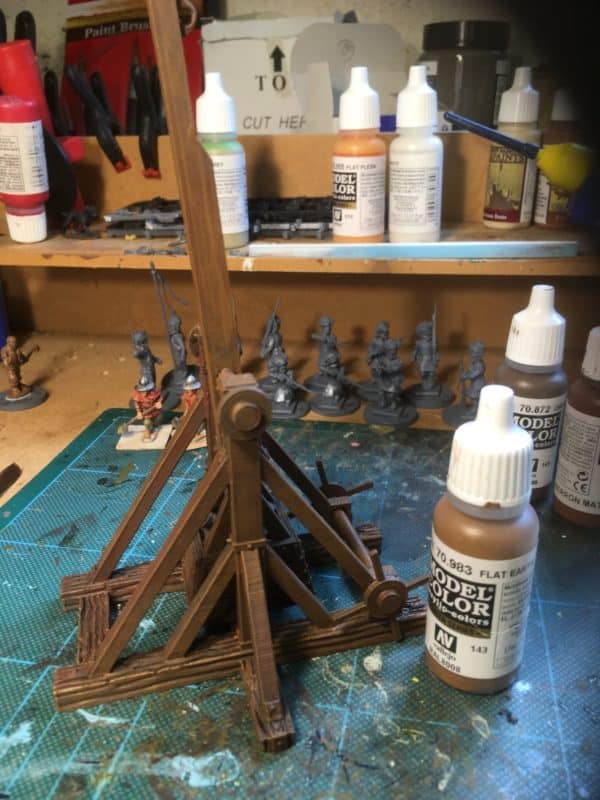
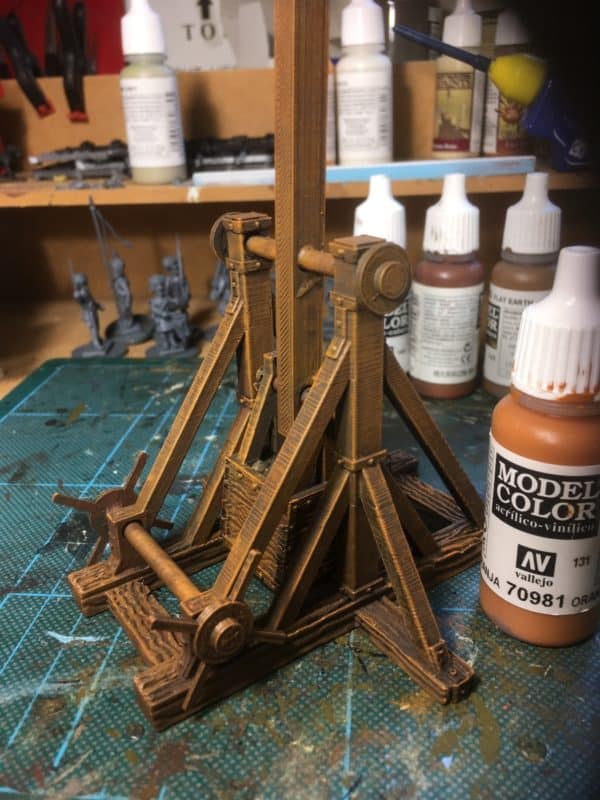
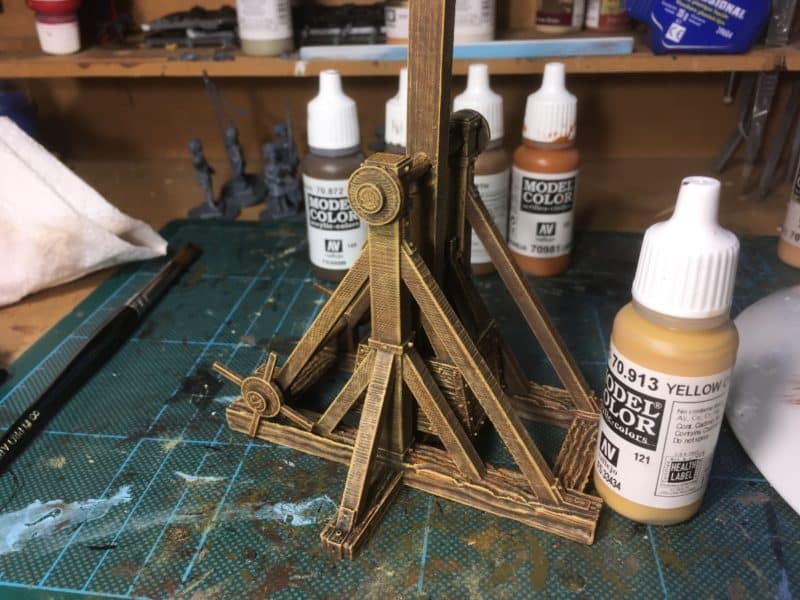
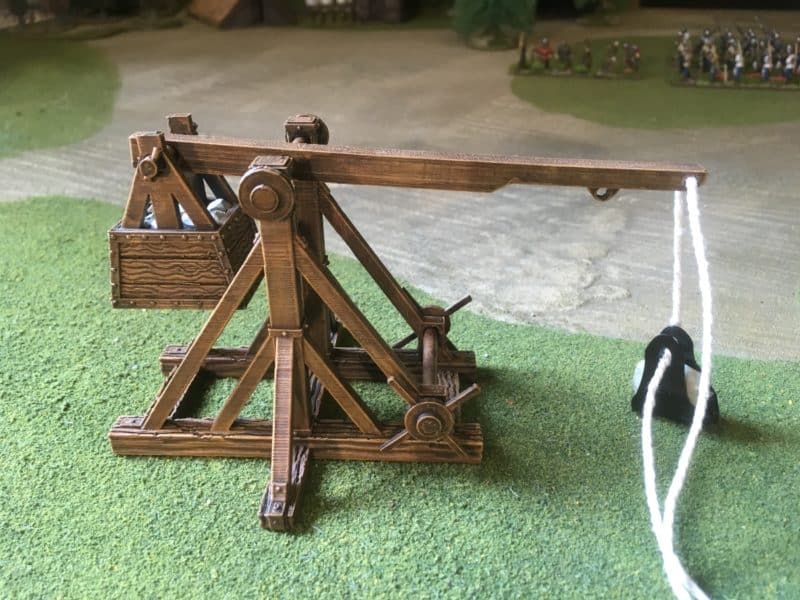
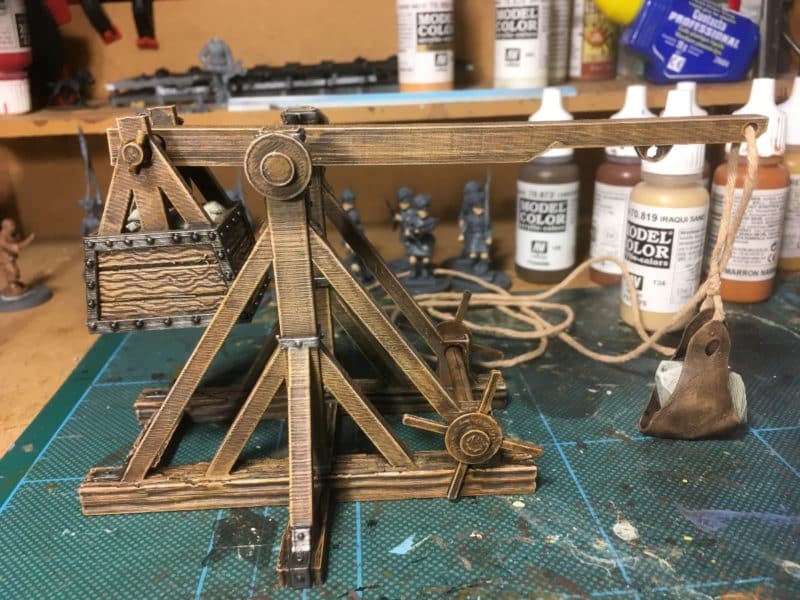
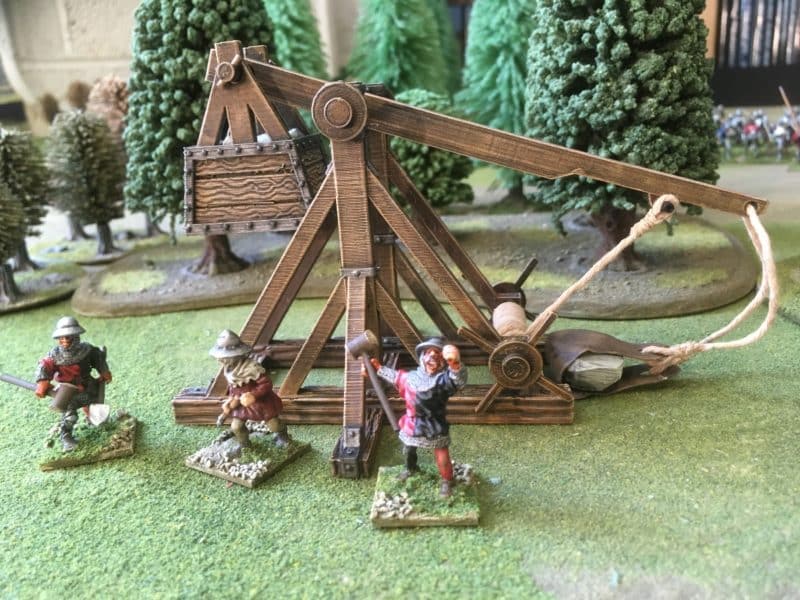
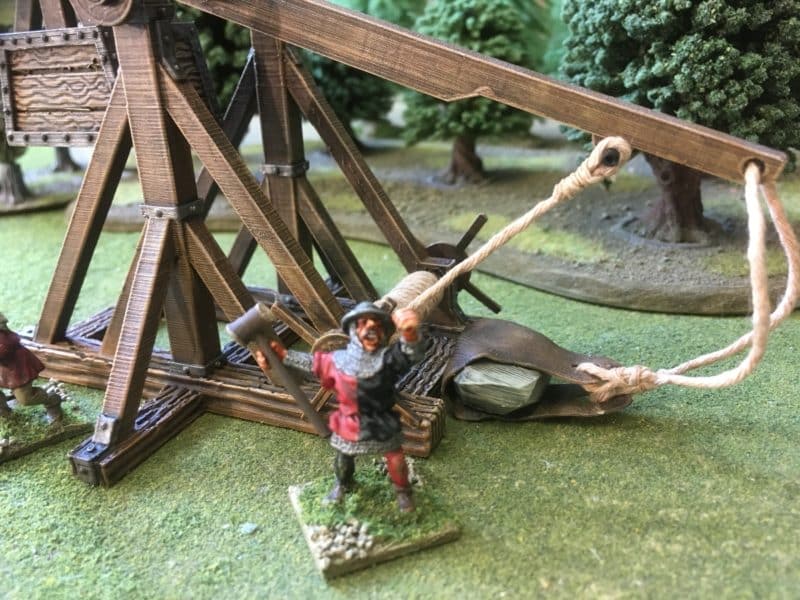
Napoleonic Trebuchet!

Napoleonic Trebuchet!

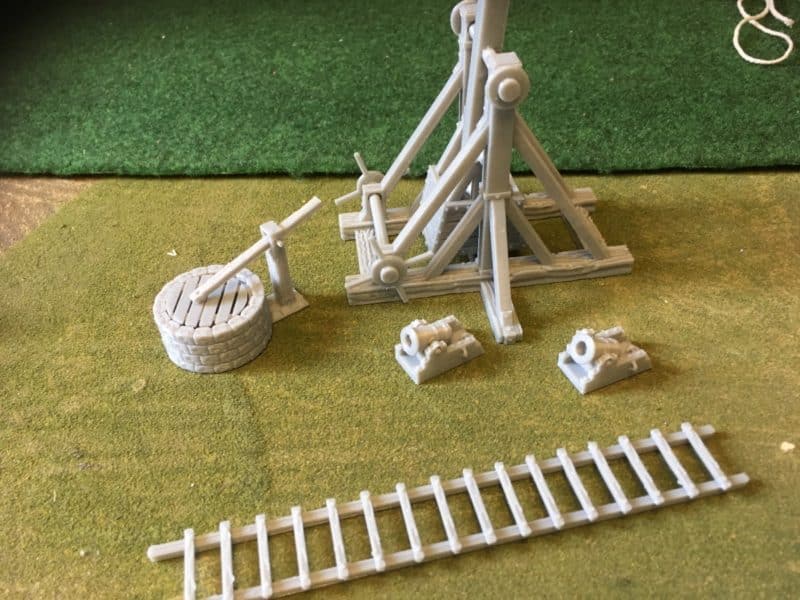
I mentioned above that I had been to the excellent ROBIN show in Nottingham. Being determined only to buy if it would help me complete an existing project, I had kept my wallet firmly in my pocket until I came across the IronGateScenery stand. Well it was loaded with goodies, all produced using 3D printers and top quality too. My will to hold onto my money was broken by the Mortars and siege ladders but then, having succumbed, I bought the rather lovely Trebuchet, the village well and some Aztec scenery – don’t ask, it all just looks fantastic…

Aztec Scenery

Aztec Scenery – the finished product on the Irongatescenery stand.

To be honest, I could have spent a great deal more as the range is superb. There’s a link to their web site at the bottom of the page so go see for yourself.

DeeZee White Rhino

DeeZee White Rhino

As if I haven’t got enough to do, plans are afoot to expand the DeeZee range. I would like to produce a painting guide to each one of the 37 packs ( with more to come….). I also don’t have my own painted version of this model so I’m starting with him. It’s going to be a busy year!

THE COMMERCIAL BIT

Although the figures in this weeks blog are not available from Arcane Scenery ( I think some of them may be OOP) all of the finishing and painting products are, even better, we send post free!

ARCANE SCENERY

You can see the full range of rather lovely scenery from IronGateScenery here:

IRONGATE SCENERY

You can see the full range of DeeZee Models here:

DEEZEE BEASTS

Happy Modelling!

The First Bull Run

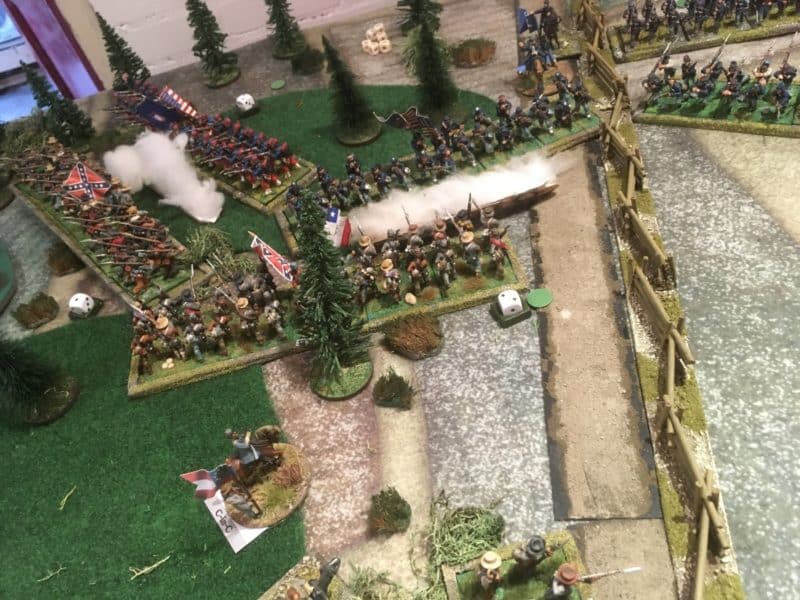
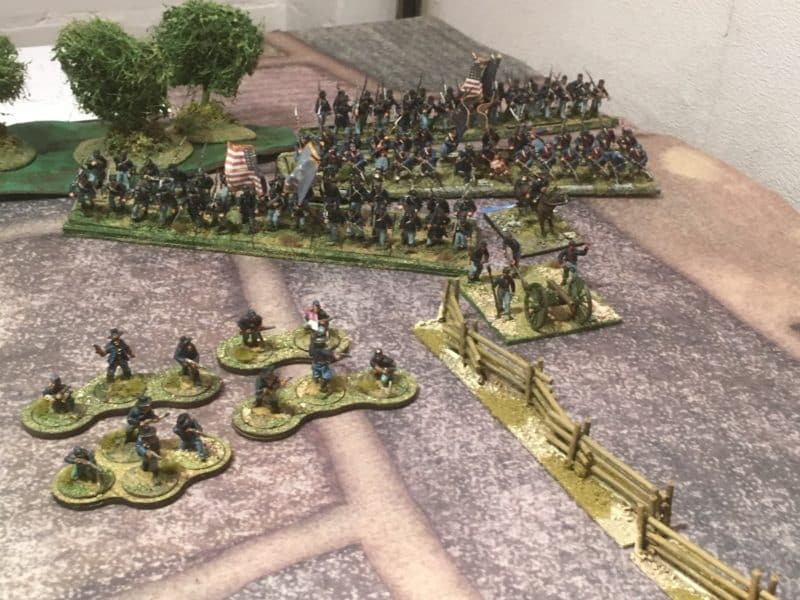
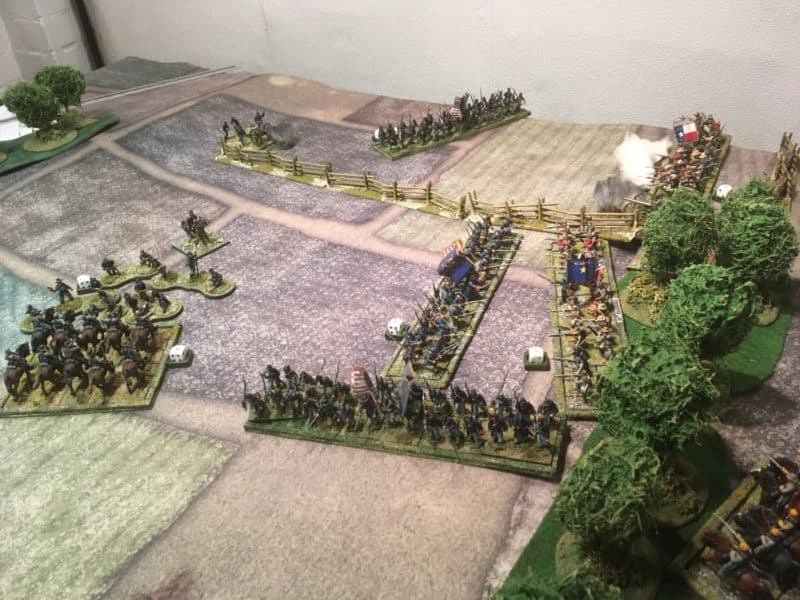
Our journey through the American Civil War battles continued this week with a refight of the First Battle of Bull run. Just to put the game in context, Andy Callan had recently acquired a superb collection of ACW figures that he has added to, and as well,  built a very nice selection of scenery and buildings. His plan is to refight the major battles of the American Civil War over the next year or so, more or less in the sequence of the war itself.

We are using Black Powder Rules, modified with the Glory Hallelujah! supplement, as well as some house rules that enable each battle to reflect some of the challenges that the Commanders faced on the day. For this battle, the First Bull Run, Andy was to be the umpire. Pete would play the Union side, commanded by Brigadier General Irvin Macdonald, I would command The Confederate forces under Brigadier General P.G.T. Beauregard. Whilst the individual units in our game weren’t strictly accurate, the main Brigades involved were represented, as was the general disposition of the battlefield. This was after all an evening club game not a full blown demo game!

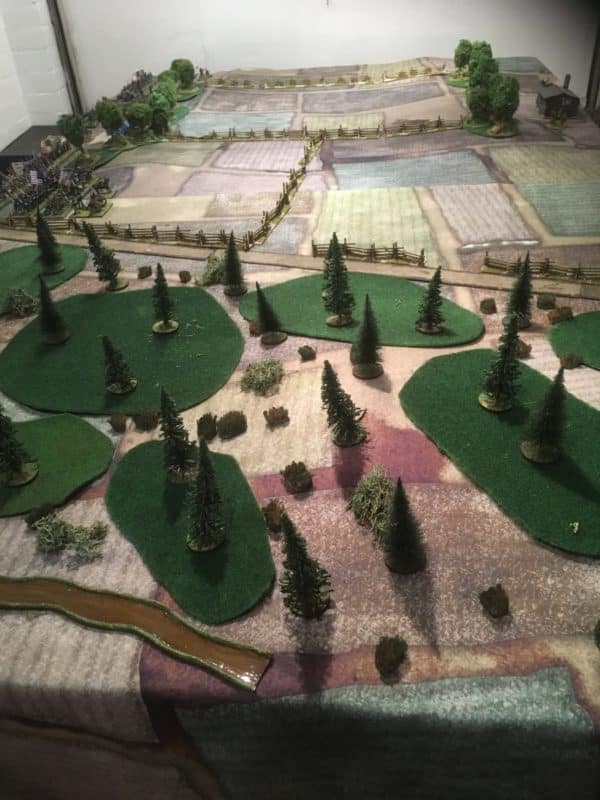
The Table set up

The Table set up

Manassas Junction - all the main features of the battlefield were identified.

Manassas Junction – all the main features of the battlefield were identified.

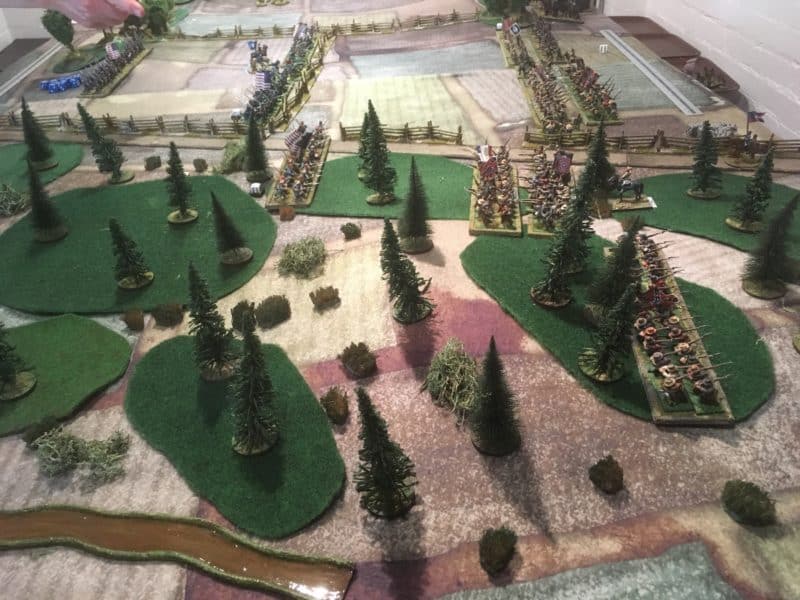
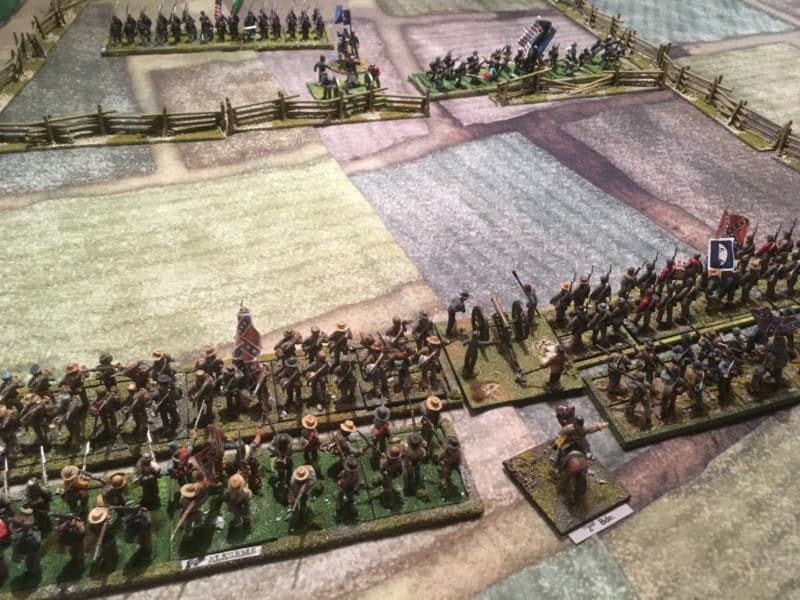
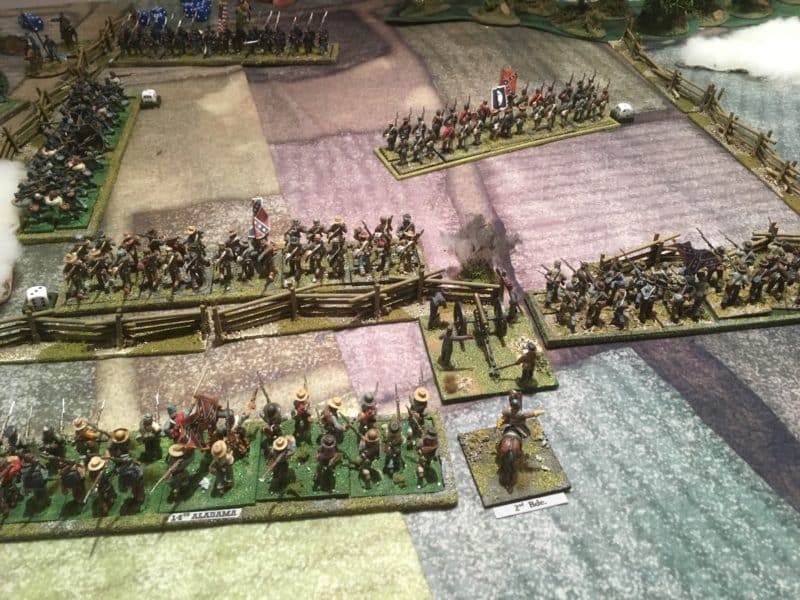
Neither Pete nor I were aware of the details of the battle but we were supplied with a basic briefing for our troops. Neither player knew exactly what the other had in terms of troops and guns available, that would only become clear as the battle progressed.  Having won the initial dice off, the Confederates were allowed to deploy two infantry brigades and a cavalry brigade onto the table. I knew that a third Confederate Brigade would be arriving via the rail road junction , just not when it would appear. With this in mind I deployed Jacksons 2nd Brigade in line to defend the railway junction ( resisting the temptation from the umpire to detach pickets to guard the bridge crossing). They would be supported by Jeb Stuarts Cavalry Brigade in the centre, with Bonhams 1st brigade assigned the left of the battlefield.

Confederate Deployment

Confederate Deployment

The Union forces then attempted to deploy onto the battlefield using the three entry points over the bridges. As they had lost the dice off, they were considered to be ‘under fire’ and so a command point was deducted for the initial turn. This made the deployment a slower process for the Union forces and combined with some poor command rolls from Pete, only the leading Regiments from two of the brigades managed to deploy onto the battlefield.

Union Deploy - the bridge slows the advance.

Union Deploy – the bridge slows the advance.

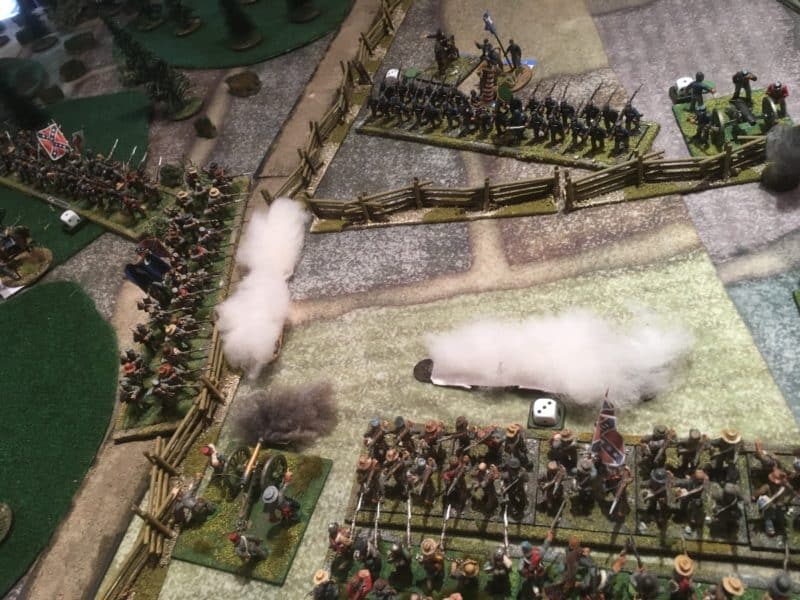
Pete’s unfortunate dice rolling was to be a major factor as the battle progressed. Not only were the Union forces finding it difficult to deploy in strength but the dice results meant that they suffered heavily when under fire. To make matters worse, their own shooting was in the main, ineffective. This was perhaps best illustrated as the Second Union Brigade under Hunter attempted to cross the river in front of Jacksons brigade. Artillery fire and accurate musketry took a heavy toll of the leading Union regiments, whilst true to form, Jackson stood firm!

Bonhams Brigade under pressure!

Bonhams Brigade under pressure!

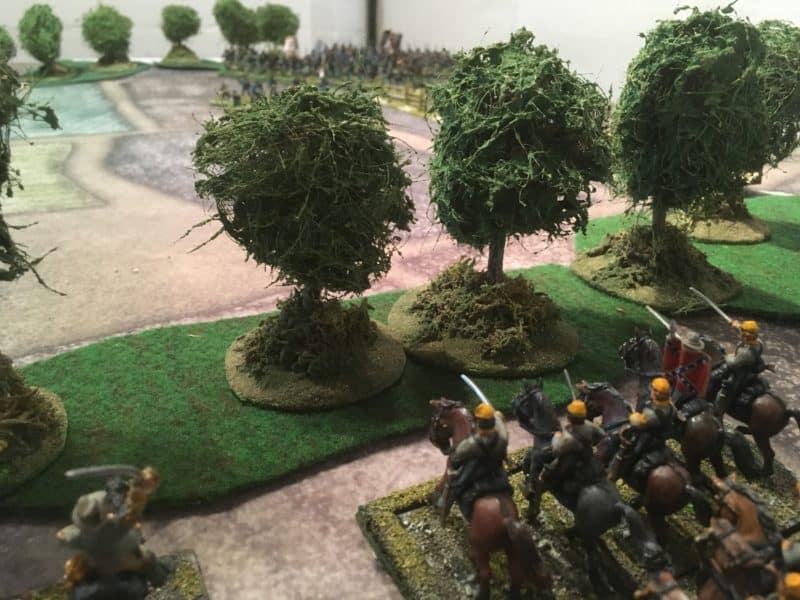
If the battle was going well for Jackson, on the left, at Robinson House,  Bonham found himself out numbered, out flanked and in some disarray.  The union forces under Sherman had found a ford across the river that helped with deployment and a strong flanking force, of two brigades had appeared at the bridge at Robinson House. Jeb Stuarts Cavalry, were ordered to redeploy in support of Bonham to shore up the flank until more reinforcements could arrive.

The fighting is intense around the Robinson house!

The fighting is intense around the Robinson house!

As Bonham was pushed back, the third Confederate Brigade, under the command of the somewhat mis-named Colonel Early had arrived at the Railway junction and rushed to the left to rescue Bonham. Jackson had pinned and  all but defeated two Union Brigades, In a desperate move to break the Confederate left the remaining Union regiments in front of Jackson attempted to move to the Left Flank to support the  Union force there.

Colonel Early marches to support Bonham!

Colonel Early marches to support Bonham!

Although Bonhams Brigade had now broken under the Union pressure, they had inflicted a heavy toll on the Union forces. Jeb Stuart had led two successful cavalry attacks, crashing into the flanks of exposed Union regiments during the confusion of the battle here. Colonel Early had managed to get his brigade in position around Henry House, joining with Jackson to beat off the final Union push. With more brigades broken than effective, the Union were forced to concede the battle.

Colonel Early moves to defend Henry House and covers Bonhams withdrawal.

Colonel Early moves to defend Henry House and covers Bonhams withdrawal.

So the Confederates whooped with joy as the Union fell back from the battlefield. There is no doubt that the Confederates had benefitted from some very fortunate dice rolls whilst the Union were hampered by the opposite. The result of the battle was of course very similar to what happened in history and despite not knowing the details of the battle, it was strange how somehow key moments were reflected in our game.

Andy had done a tremendous job organising the evening and providing us with great entertainment. It is worth pointing out that much of the scenery and buildings that were used have been scratch built by Andy – I need to persuade him to do a tutorial for the blog!

THE COMMERCIAL BIT

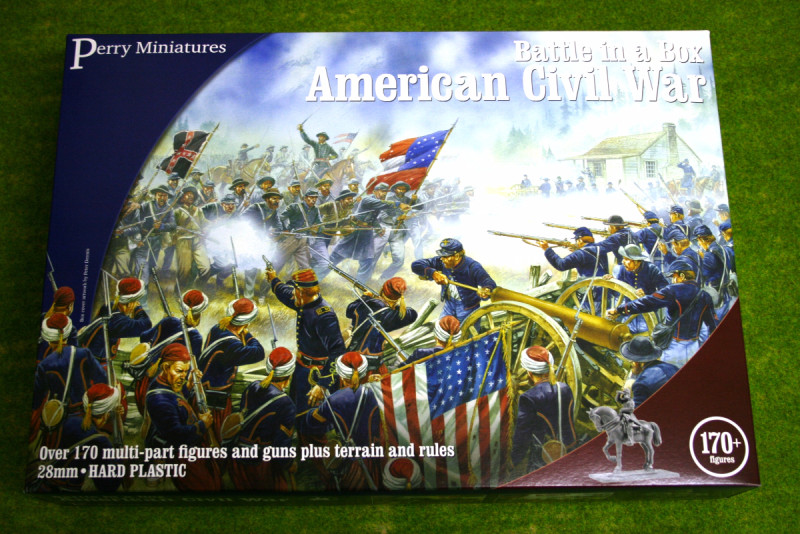
If you fancy a go at the ACW, there’s no doubt that a great place to start your army will be the impressive Perry’s plastic range. You can see them here:

AMERICAN CIVIL WAR PLASTICS

The Warlord Games Glory Hallelujah! Supplement is available here:

GLORY HALLELUJAH! 

Of course, we have a massive range of wargaming, modelling and painting accessories in our web store, all post free worldwide at the time of writing!

ARCANE SCENERY AND MODELS


Forlorn Hope.

My painting this week has been a bit hit and miss. That said, I have still found plenty to do, sometimes you have to go backwards to go forwards. So I’ve been tidying, dusting, researching and preparing a couple of projects for the future. One of those projects is in support of the Bingham Napoleonic day to be held on 2nd March. I’ll post a link at the end of this blog to the event itself,  but it involves a small Napoleonic demo game set in the Peninsular War. This was a good excuse for another dive into the lead pile to see what I had that would be suitable.

Peninsular skirmishers

Peninsular skirmishers

I found a few Foundry Peninsular Light infantry and the limited Edition Warlord Games Ensign that came with the first Black powder supplement,  Albion Triumphant ! I actually had about 20 figures but decided to focus on just eight, leaving the ensign to one side for the time being, as the rest lent themselves to a quick batch paint.

Early stages of the batch paint

Early stages of the batch paint

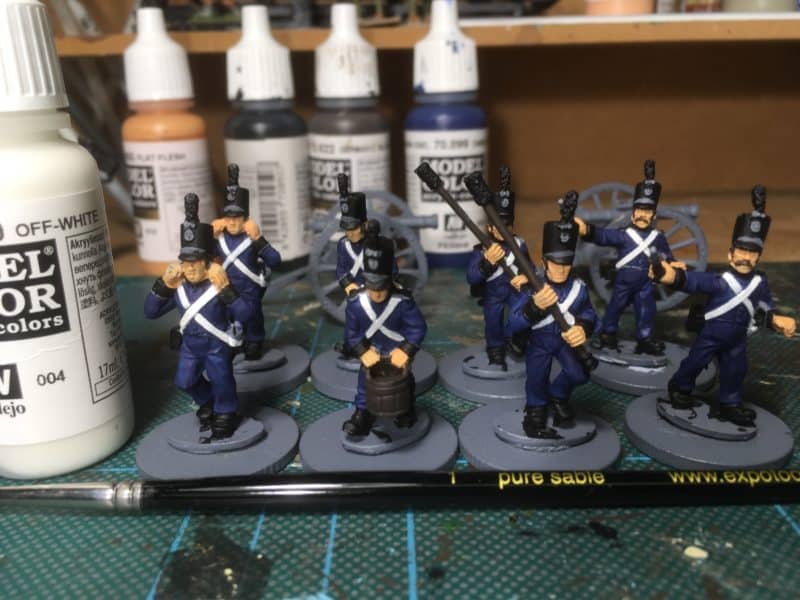
I used my tried and trusted approach to painting, working from the inside out, to block paint the various colours. Flesh first for hands & face; Black hats, boots cartridge cases & bayonet scabbards; Iraqi Sand Bread bags; Pastel Blue water bottles; Flat brown for muskets. It was only during preparation that I noticed there were some differences in the figures. Four of them are clearly light infantry ( kneeling and climbing), four are line infantry but in light kit. Also, these final four are clearly very early Peninsular uniforms.
Facings done.

Facings done.

The early Peninsular chaps still had their hair in the ‘queue’, so I followed the colour scheme for the 29th Infantry 1808 ( Worcestershire Regt) from the book ‘Military Dress of the Peninsular War’. The others I painted as 52nd light infantry. As they are intended to be part of a ‘Forlon Hope’ assaulting a village somewhere in Spain, I’m not too worried that they will be from different regiments. In the same casual approach that I have adopted for the new year, I’m not going to get too excited about the differences in uniform. It will make a nice conversation piece at the game, should any one notice!

Figures nearly complete.

Figures nearly complete.

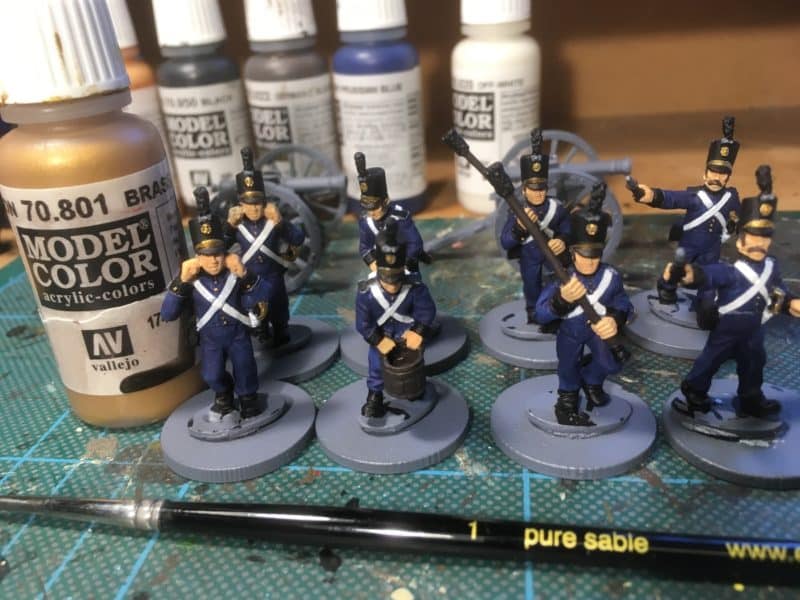
The picture above shows the figures nearly completed – at this point, I just needed to paint the lace and cross belts, brass for the buttons and buckles and touch up any obvious mistakes. The final step would be to paint them in Army Painter quick shade, matt varnish them and then re paint and highlight the lighter colours.

Completed figures awaiting basing.

Completed figures awaiting basing.

The picture above shows the completed figures. Of course the next step is to base them but I am waiting to see how our demo board looks before proceeding.

Capture the house!

Capture the house!

As you can see, the next project is to finish a house for the board. It may be that we don’t actually use the house. It was originally bought for my Caribbean project but the building looks ‘Spanish’ enough for both the Caribbean and the Peninsular, so whether it’s used or not, it will be another useful edition to my collection.

Assault on House 13!

Assault on House 13!

So, I’ll go back and finish that Ensign and following a meeting planned tonight, I may need to paint a few more figures for the game. I also need to do quite a bit of work to finish the house, so the next few weeks look busy!

THE COMMERCIAL BIT

Although the figures are not available from Arcane Scenery ( I think some of them may be OOP) all of the finishing products are, even better, we send post free!

ARCANE SCENERY

If you would like more details about the Bingham Napoleonic weekend, including time table of events and how to get there, click here:

BINGHAM NAPOLEONIC DAYS

Happy modelling!

Rocket Man – Part Two

Well, in the song, Elton sings that ‘I think it’s going to be a long, long time’. As it turns out, I have managed to finish the diorama featuring the Warlord Rocketeer within a couple of weekends. The idea of just getting on with the model rather than spending ages researching has paid dividends. I have cut some corners, made some assumptions and used a bit of artistic licence but I am pleased with the result. Here’s how I went about the final stages of finishing and basing the figures.

Rocket troop basing plan

Rocket troop basing plan

I replaced the original lances that I made from spears with some thinner 0.8mm brass rod from Albion alloys. I may have cut them a bit too long but went for an unsophisticated approach in keeping with the rest of the model  and simply guessed the ‘right length’ based on the reference pictures. The ‘string’ holding the two sticks together is some thin Florists wire wound around the rod and super glued into place. The Pennant on the sticks was simply cut from paper and painted. I used a darker blue than two of the reference pictures show, preferring this over the light blue.

View from the other side.

View from the other side.

Once the painting was finished, I positioned the figures on the base that I had chosen. I prefered a smaller MDF Oval base rather than a Rectangular artillery type base. I doubt that the model will get regular use on the wargames table and the oval base looked nicer. I also wanted to keep things close together – I suspect in reality, the horses would have been a bit further away from a rocket that was being launched!

The ‘rocks’ at the front of the base are there to fill a space although they are extremely accurate, having been picked up from a certain area in Belgium!

Basing in Progress

Basing in Progress

Once I was happy with the layout, I covered the base with Vallejo Dark Earth Texture paste and placed the figures into the paste. There is no need for glue, the paste will hold them securely but in the unlikely event that I decide to re base the figures, it is a simple matter to cut them free. I also sprinkled some coarse grit around the stones and some finer grit at the rear of the base to give some additional texture.

Rocket troop ready!

Rocket troop ready!

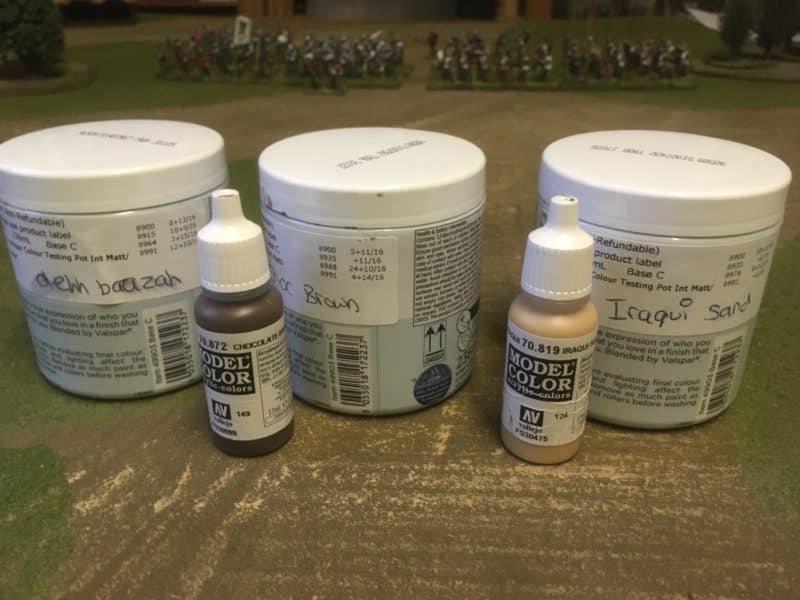
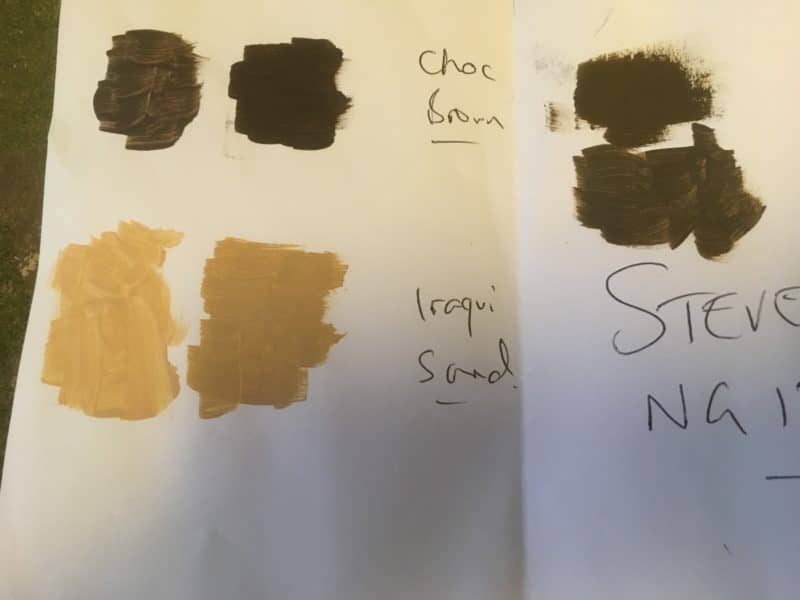
The next stage was to paint the base. I use a earth coloured emulsion called ‘Delhi Bazaar’ that I picked up from a DIY store as the first coat. I then dry brushed it with the same colour mixed with increasing amounts of Vallejo Iraqi Sand. The rocks and grit were also highlighted with a final coat mixed with white. I then added some scatter (Woodlands Scenics Green Blended Turf) and once this was dry, pressed the rocket launcher tray into place & glued the rocket in.  It was then a question of adding some nice tufts and flowers and my Diorama was completed! Incidentally, the officer in the pictures is nothing to do with the Rocketeer. He’s another Warlord figure that I finished basing at the same time.

An Officer observes the launch!

An Officer observes the launch!

View from the other side.

View from the other side.

So another project from the lead pile is complete, Next up some Peninsular War Light infantry for a forth coming Napoleonic day in Bingham – More details to follow!

THE COMMERCIAL BIT

Nearly all of the materials that I used are from my shop, Arcane Scenery:

ARCANE SCENERY

To make life easy, we post out free to most worldwide locations! You can see our range of Woodlands Scenics here:

WOODLANDS SCENICS

Vallejo Textures & pastes can be found here:

VALLEJO TEXTURES

Albion Brass rod can be found here:

ALBION ALLOYS

If you would like to get hold of a Warlord Rocketeer, you can go to their web site or contact me here:

CONTACT ME

Our web store shows live stocks, so if something that you want isn’t there, just email me and I will let you know whether we can get it and how approximately long it will take.

Happy Modelling!

Rocket Man!

I had been taking my hobby a bit too seriously at the back end of last year and getting overly concerned with ‘what is right’. Fortunately, I have my mates to sort me out and inject some common sense into the debate. When it comes to Napoleonics, detail is both a blessing and a curse. It is the details and minutiae of the uniforms that make the period so fascinating whilst at the same time providing a ‘barrier to entry’ to many in the wargaming hobby, who decide that having fun is more important than arguing about buttons and facings and so move into Fantasy or Science fiction for their hobby fix.

That Space marine has got the wrong colour facings!

That Space marine has got the wrong colour facings!

I had fallen into the ‘too much analysis causes paralysis’ mode and as a result some of the projects that I had consigned to the lead pile were being buried ever deeper because I was worried that I wouldn’t make a decent enough job of them. I’m not sure what happened over the Christmas Holiday period but something triggered my JFDI switch and I decided to just get on with what ever I fancied to the best of my ability and knowledge.

I'm not sure if this is the book but I have enjoyed all of them!

I’m not sure if this is the book but I have enjoyed all of them!

So I started on a little project that had been on my mind for a while. I actually first got the idea years ago from reading a Bernard Cornwell Sharpe novel. I can’t remember which one it was but it involved some troopers from a Rocket detachment pretending to be Lancers.  I then saw the Warlord model of a Rocketeer launching his rocket from the ground and thought that he really needed a mate to hold his horse. Put the two ideas together and you have one guy with the rocket sticks looking like a Lancer with his pennant on the rocket sticks and the Officer firing off the rocket on the ground.

Warlord Rocketeer.

Warlord Rocketeer.

As far as I know there is no model of a Rocket detachment trooper riding with the rocket sticks so I would have to convert one myself. So in the spirit of JFDI, rather than wait to find the exact figure or horse, I went through my bits box and this is what I came up with:

Rocket trooper WIP

Rocket trooper WIP

I’ve no idea where the horse is from – it just looked about right. I did have to ‘dock’ his tail though and remodel his hind quarters. I also added a saddle roll from green stuff and a cup for the rocket sticks from a piece of evergreen tube. The rider is a ‘spare’ from the Perry’s British Light Dragoons set. I have shaved off his boots, cut off his sword hand and added an open hand from a spare Victrix arm.

Rocketeer Diorama WIP

Rocketeer Diorama WIP

This is how the Diorama was shaping up but at this point I thought it might be worth doing some research. I found these three pictures on Pinterest and added them to my reference board.

Rocketeer Ref 1

Rocketeer Ref 2

Rocketeer Ref 2

Rocketeer Ref 3 Rocketeer reference 3.

As a result, I changed the saddle roll to two saddle rolls or valises, I also extended the docked tail with green stuff as I thought that it looked a bit short. I also made the rocket sticks from some spears and changed the pose so that the rider was now holding the spare rocket sticks.

Rocket trooper WIP 2

Rocket trooper WIP 2

Having slept on the changes, I decide that I needed to add a stripe and buttons to the troopers’ overall. Again, a dive into the bits box and I found some Evergreen 10/000 plastic strip which I used to make the stripe and some 40/000 rod that I sliced to make the buttons. Evergreen strip is an excellent material to use and reacts well to liquid polystyrene glue, so a few coats of glue and it was relatively simple to mold the stripe to the legs of the trooper. 40/000 is the equivalent of 1mm and slicing this sized rod is a challenge for my eyes but once glued in place, a quick sanding down meant that they too blended in with the trousers. With hindsight, the buttons are a bit on the large side, as is the stripe but the job was done and if I convert another dragoon, I’ll get a smaller sized evergreen rod to slice!  I had intended to photograph the conversion in progress but stupidly undercoated the conversion in my rush to get the project moving. Below is a picture of the trooper, now painted.

Painted Troopers

Painted Troopers

The next job was to paint the horses. I decided to change from my usual ‘recipe’ for brown horses and try a much paler brown. So the base coat was Vallejo Flat Earth, followed by Cork brown with a Green Ochre top coat/highlight. The Horse furniture was painted with leather brown, blanket dark Prussian Blue and I used Brass for the blanket detail. With the colours blocked in, I will either use a quick shade or ink to bring out the details.

Officers horse colour blocked, awaiting ink wash.

Officers horse colour blocked, awaiting ink wash.

The next task was to get the troopers horse painted. I decided on my usual triad of Chocolate brown, Flat brown and Flat earth for the horse. The rest of the model was painted as above.

Troopers horse, block painted

Troopers horse, block painted

Troopers horse, reverse view.

Troopers horse, reverse view.

As you can see, I don’t have a fixed plan of how things should look and use the photographs to modify or correct as I go along! The diorama is coming together though and in the next picture you might notice that I have decided to use a smaller oval base for the diorama and I have decided to ‘quick shade the Officers horse. I will do the same with the troopers horse using the strong tone or dark brown quick shade.

The diorama is coming together!

The diorama is coming together!

A different view - The quick shade will matt down nicely.

A different view – The quick shade will matt down nicely.

Having had a look at the pictures, I decided to add some socks to the troopers horse.

Pull your socks up!

Pull your socks up!

And that is as far as I have progressed with the project this week. I’ll quick shade the troopers horse and then Matt Varnish both horses. I’ll need to highlight some areas on the horse, specifically the blanket and possibily the leatherwork. I’ve also decide to replace the rocket sticks with some Albion Alloys Brass rod that is a bit thinner than the spears that I am currently using. The rocket also needs painting but I am nearly at the basing stage. I think that I will also add some definition to the troopers overalls just above his boots as it doesn’t show up very well.

It is a bit nippy out in my Garage at the moment and even with a heater on, when sitting still, painting, it is easy to get a chill, so my painting sessions are a bit shorter than in the Spring! However, this coming weekend should see a bit more progress – perhaps even basing!

THE COMMERCIAL BIT

Regular readers of my blog will know that most of the materials and models that I use are available post free from my shop here:

ARCANE SCENERY

It’s worth pointing you to the Evergreen plastics range this week – I find this stuff invaluable when converting.

EVERGREEN PLASTICS

The bases are from the Sarissa MDF range here:

MDF BASES

and if you would like to have a look at my references on the Pinterest site just click here:

STEVE’S PINTEREST BOARDS

Incidentally, joining Pinterest is free. If you haven’t got an account, I very much recommend it as a way of collecting reference pictures.

Happy modelling!


Mining The Lead Pile and Finding Fun!

I started the New Year with a post entitled ‘Bitting and Bobbing’ which is a fair assessment of how my modelling has continued so far this month. In the last fortnight I have gradually been working through some unfinished units and figures that have been at the side of the work bench for some time. A good example being my battalion of Nassau Infantry that were finished last February but were languishing without a flag. Well the flag is now added and I think I’ve got it the right way up….

Nassau Infantry at last have their flag!

Nassau Infantry at last have their flag!

Talking of flags, I decided to ‘reflag’ my Battalion of Coldstream Guards. They actually did have flags but I was unhappy with the quality. I had bought the original flags at a show but with hind sight they were oversized and badly printed on glossy paper and nowhere near as good as the GMB flags that I normally use. So they have now been replaced with GMB printed flags which are a much better size and a much better colour and quality.

New Flags for the Guards!

New Flags for the Guards!

I have also been working my way through some officer figures. This fellow was a limited edition from Warlord, I think, so although not quite finished ( the basing needs to be completed) he is almost ready to join his Regiment.

New Officer - just the basing to complete and a bit of a tidy up.

New Officer – just the basing to complete and a bit of a tidy up.

I am gradually assembling the two Battalions of Highlanders, the 42nd and 92nd Battalions. I have one Battalion of 24 assembled and have started on the next battalion. Once I have them all assembled, I’ll start the challenging task of painting them but I am in no rush to start! Incidentally, the trees behind the figures are from a Garden Centre – it may be too late now but I recommend checking out the sale section in your local Garden Centre, there are bargains to be had for wargamers!

Next Battalion of Highlanders assembled

Next Battalion of Highlanders assembled

In my previous blog, you may have noticed a random Caribbean Maroon figure on the work bench. I have actually painted him before but somehow he has gone AWOL from my cabinet, so I decided to replace to re- complete my set of Trent Miniatures Caribbean rebels and Maroons. Out of the blue, Duncan, of Trent Miniatures, announced that he had released new pack of Caribbean casualties so I grabbed a pack and finished them all in one batch. My Caribbean collection is now complete for the time being!

Caribbean casualties in progress - basing about finished.

Caribbean casualties in progress – basing about finished.

Completed Caribbean Casualties

Completed Caribbean Casualties

Maroon leader - replacement complete!

Maroon leader – replacement complete!

I have long admired the Warlord British Napoleonic Rocketeer and had added it to my unpainted figure ‘collection’. It was one of those figures that I intended to do something with but I wasn’t quite sure what. Well with my new found carefree approach to my painting projects, I decided to get on and paint him as well as converting a horse holder to go with him. I’ll detail how I made the companion in a future blog but here is a picture of the work in progress.

Rocketeer! WIP.

Rocketeer! WIP.

I have a version of this cheeky figure already. As you can see, he’s still a W.I.P. although since writing this blog he is nearly ready to join his officer. I’m not sure whether to make another small vignette with him, an officer and a DeeZee dog (you can see I have two versions of DeeZee dogs that are being worked on in some of the other pictures) or whether to put together a battalion of odds and ends and spare figures just for fun. It’s the latter option that appeals to me at the moment. I seem to accumulate random figures from friends, so it might be fun to have a battalion of characters and misfits.

Cheeky Chappie!

Cheeky Chappie!

And there’s more…well actually, there isn’t but I have just re-read ‘Sharpes Tiger’ by Bernard Cornwell. Once again, I am reminded that history doesn’t have to be a dry subject and with a bit of imagination it can be exciting and fun. I know that some find the ‘facts’ and detail the most important part of the hobby but if you are not careful, the pursuit of absolute accuracy can result in nothing ever being finished. The more I read, the more I am convinced that we really dont know half of what went on, so why get too hung up on micro details? A thought that I will return to in my next blog.

However you choose to make and paint your models, I hope that you have fun and enjoy yourself and if we can help at Arcane Scenery, please drop me a note.

THE COMMERCIAL BIT

If you are interested in the revolutionary wars in the Caribbean, then Trent Miniatures have a superb range of miniatures. You can see them here:

WARS IN THE CARIBBEAN

We have a range of animals, including dogs and tigers in the DeeZee Miniatures range. You can see them here:

DEE ZEE

Bitting and Bobbing!

The Christmas holiday break can be a good time to get plenty of modelling done but for me the opposite is true. We were actually working through the break, as long as the post office was collecting, we were packing. Although there was time off on Christmas Day, Boxing Day and New Years Day, hobby time was at a premium. After all, it’s a social time of year and sneaking off to the garage for any length of time to paint models is somewhat anti social when you have invited the family over for Christmas. Besides, there was alcohol to drink and food to eat – always a distraction for me!

It's not just models that I like making! Scotch eggs, Cranberry sauce and a home cooked ham - Lovely!

It’s not just models that I like making! Scotch eggs, Cranberry sauce and a home cooked ham – Lovely!

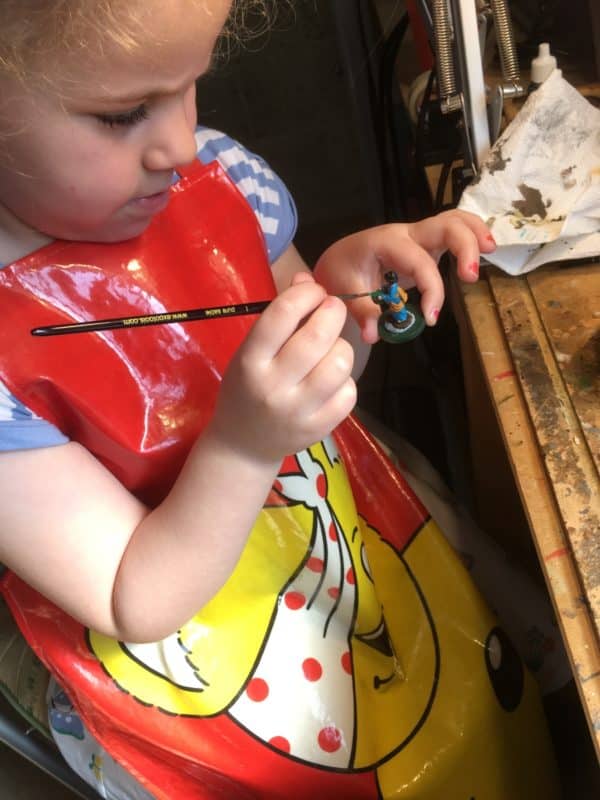
Mind you, nobody complained when my Granddaughter, Emily, came out with me to paint a DeeZee Platybelodon. She decided that a nice light blue shade would be best for her version of the beast! We actually managed to get the model based and she was very proud to take her new model home. At five years old, she did a pretty good job! Kids love painting and modelling, they just need some help at an early age and if they get the bug, they will be producing better models than us old ‘uns!

Emily and her Platybelodon!

Emily and her Platybelodon!

So, apart from the Platybelodon, I actually haven’t finished anything over the break but progress has been made. As a change from painting battalions, I decided to paint four Officer figures that I had in the lead pile to bolster my command structure!

New officers!

New officers!

Three of the figures are about finished but all need basing. The two staff officers are Warlord figures and will just be added to the appropriate battalions. Wellington and Crawford (in the Background) are from Front Rank and I will probably mount these on 60mm round bases as part of a vignette and use them as Brigade commanders but I have yet to finalise details in my mind.

I also cleaned up and undercoated a couple of other random figures as well as starting to assemble some more Victrix Highlanders.

A mixed bag on the workbench

A mixed bag on the workbench

The other task that I completed was to go through my ‘lead pile’ and list down just what I had squirreled away. I wont be making any rash promises about how I will finish everything this year but the exercise was worthwhile and reminded me that I had bought some of the items for a reason and it was time to get them painted! So rather than starting the year with a firm plan and a promise that I wont keep, for the tiome being, I am going to go where ever the modelling muse takes me.

At the moment, that means that I will be making 48 highlanders to complete the 42nd and 92nd Battalions but if I take a break to complete a Samurai or piece of  Caribbean scenery, then I wont get to uptight about it. Having lists, challenges and goals can be very effective in achieving results or kick starting you after a lull.. However there is a danger that they can turn your hobby into a chore. Everything in moderation, is a good motto, and long as I am modelling, I will be happy!

Once again, Happy New Year and I hope that you enjoy your modelling.

THE COMMERCIAL BIT

The Arcane Scenery web store has a huge range of products that will help you to complete your modelling projects and we dispatch post free to most worldwide locations. Just click here to see our ranges.

ARCANE SCENERY

I would like to point you towards the Albion Alloys Abrasive ranges. You can see that I am using the sanding sticks to help assemble the Victrix Highlanders – The sanding sticks are excellent for use with plastics – I wouldn’t be without them and a pack will last for ages;

ALBION ABRASIVES

We also carry the Victrix plastics range – they are without doubt amongst the best plastics around. The highlanders are simply lovely figures.

VICTRIX RANGE

Happy New Year and a Cautionary Tale!


The 2/44th advance through the snow!

The 2/44th advance through the snow!

The ‘Old year’ has ended for me with a lesson that I have often experienced but have still yet to learn! When it comes to painting and modelling, if you rush you will make mistakes! I have been working on a really nice set of figures produced by Three Armies and unusually, they portrayed British infantry in Greatcoats. I was in no hurry to finish them until I had this brilliant idea of having them marching through the snow and using them as an Arcane Scenery Christmas card. As with all my Christmas preparation, I had left it a bit late but it seemed like a good idea and I knew just how I would execute it!

2/44th advance!

2/44th advance with colours on the correct side

My friend, Andy Callan had a job lot of snow covered trees – he had picked them up at a bargain price from a local garden centre last year – Andy is not only a very experienced war gamer but a canny bargain hunter! As the scene was going to be a temporary one, I needed a quick, cheap method of reproducing snow. Another of my Gaming buddies had the answer – use salt. So, a quick trip to Sainsburies and for 37p, I had all the snow that I would need.

2/44th full batalion

2/44th full batalion

I just had to temporarily base up the figures and add the flags and I was good to go!

It's cold out there!

It’s cold out there!

I had already ordered the flags from GMB, my favourite flag supplier, but I had to make the flag poles. There are some supplied with the figures but these are just plain wire, lacking the finials. Fortunately, I had some spare and using the thinner wire spears that we sell, I knocked up the poles with finials and painted them. It was then that the problems started. I was trying to attach the flags rather late in the evening – well past 11.00pm and I should have known better and waited a day but time was running out! To make matters worse, the garage where I normally do my modelling was freezing, so while the missus was tucked up asleep in bed I moved operations to the nice warm kitchen. Of course, every time I wanted a tool or paint brush, I had to go back to my workbench. Instead of cutting the flags on my proper non slip cutting mat, I used the breadboard.  So first of all, I managed to slip with the scalpel and steel rule and sliced the top of one side the regimental colour a bit short and at an angle!

Colour party 2/44th

Colour party 2/44th

After some cursing, I managed a reasonable repair and with a bit of careful folding and a repaint job it looked OK. Next up, the Kings Colours, this time I was very careful and made a great job of cutting out. There was a bit of drama when I knocked the PVA over but it cleaned up OK and nobody saw it! I carefully fixed the Kings colour to the flag pole – perfect! Order was restored. I just needed to glue the poles to the figures and once everything was dry I would be ready to take the pictures the next day. Bugger! I had managed to glue the top of the super glue onto the bottle. Nothing that couldn’t be fixed – a pipe wrench and a pair of mole grips and I got the lid off. The fact that it would never go back on again is neither here nor there, I could super glue the flags on and get to bed. Job Done!

It was tough in Russia!

It was tough in Russia!

All was calm the next evening as I set up the photo shoot. I was quite pleased with the result and had some fun not only photographing my new Battalion, but also some Napoleonic Zombies that I had borrowed from Daz at Warbanner. I was so pleased with the result that I put the pictures up on Face book to get an opinion on which was the best picture to use. It was only at this point that it was pointed out that I had attached the Kings colours upside down…Bollocks!

YOU PUT THE FLAG ON UPSIDE DOWN!!!!

YOU PUT THE FLAG ON UPSIDE DOWN!!!!

Ah well, lesson learnt. Again. I have managed to soak off the flag and re attach it the right way up but as you can imagine there has been a bit of damage and I will probably replace both flags the next time I order from GMB.

The flag is now the right way up! Just the permanent basing to do.

The flag is now the right way up! Just the permanent basing to do.

So, a cautionary tale and a lesson learnt again. My New Years resolution is now sorted – I’m going to stop worrying about how long it takes to complete a project and just enjoy what I am doing without rushing. In the mean time, Happy New Year! I hope that you have fun with your modelling!

THE COMMERCIAL BIT

Unusually for me, most of the stuff featured above isn’t available from Arcane Scenery but if you do need paints bases, glue, proper fake snow and a huge range of kits and wargaming figures, they are available post free to most world wide locations at the time of writing.

THE ARCANE SCENERY SHOP

You can see the Three Armies range of figures here:

THE THREE ARMIES

The fantastic range of GMB Flags can be seen here:

GMB FLAGS

The salt is available from any decent Grocers but you do get nectar points at Sainsburys…..