Back in February, I picked up a Trebuchet and some other bits and pieces from Iron Gate Scenery at the Robin Show in Nottingham. Although it was a ‘generic’ model, more fantasy than an accurate scale model, it looked great and I thought that it would make a nice objective for my WOTR army.
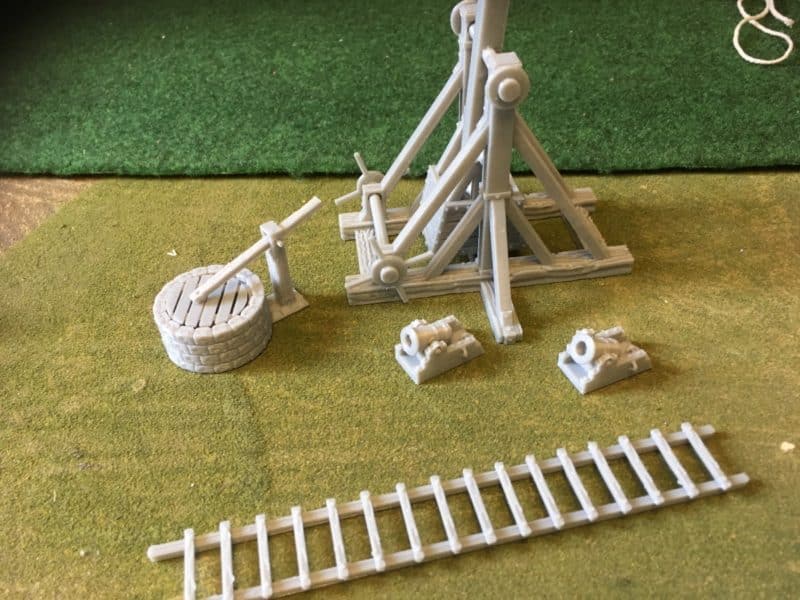
Iron Gate Trebuchet!
As my current focus is on completing my WOTR army, I thought that I would have a break from painting figures and get on with completing the Trebuchet. I had also just picked up a copy of the latest ‘Painting War’ magazine that covered the Holy War in the Middle ages. There was a nice tutorial in this issue that showed how to paint siege engines and I decided to follow this guide to complete the Trebuchet.
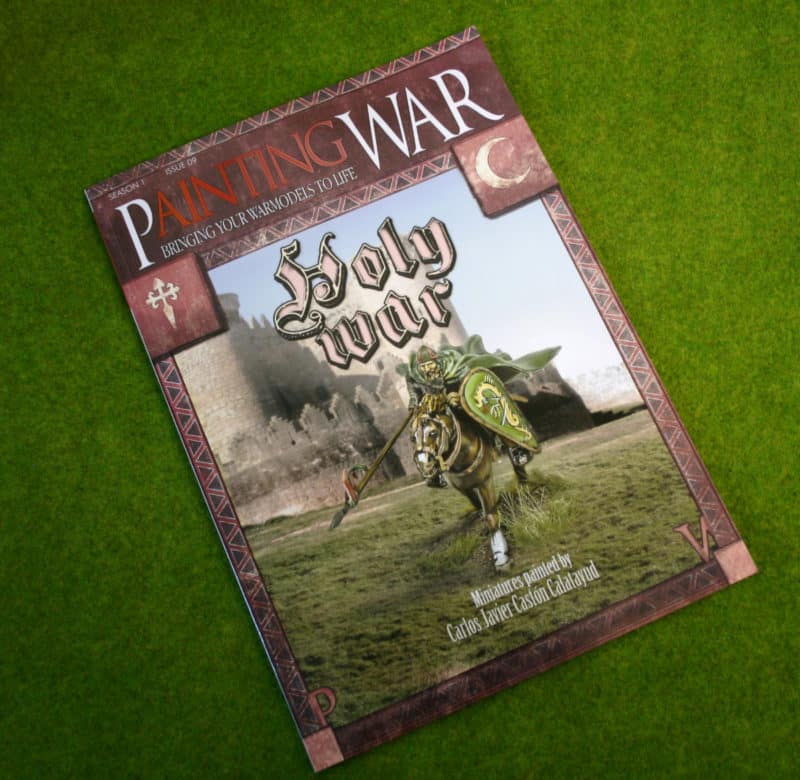
The latest ‘Painting War’ Magazine
So here is the stage by stage process that I followed.
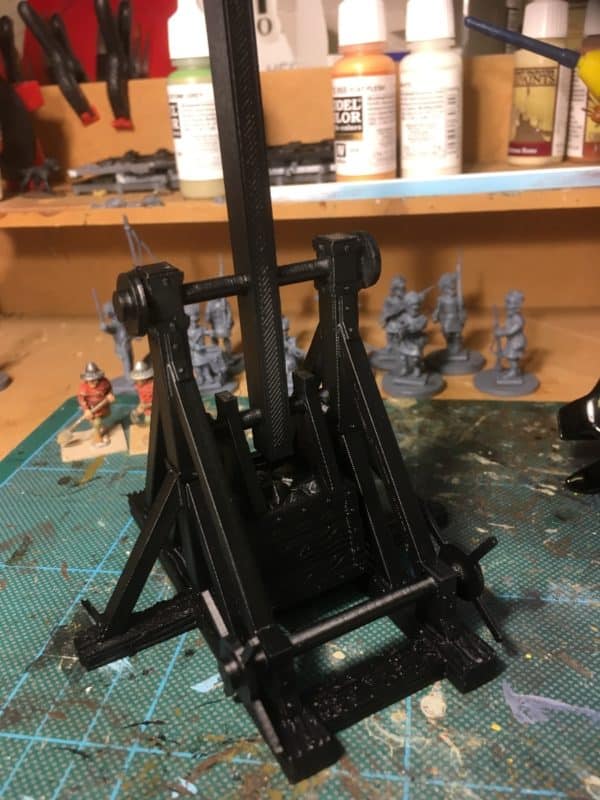
Trebuchet primed with black spray.
The first job was to prime the model using Army Painter Black spray primer. This gives a good base to work from and if I miss any of the difficult parts to get to, the black undercoat will look like shadows.
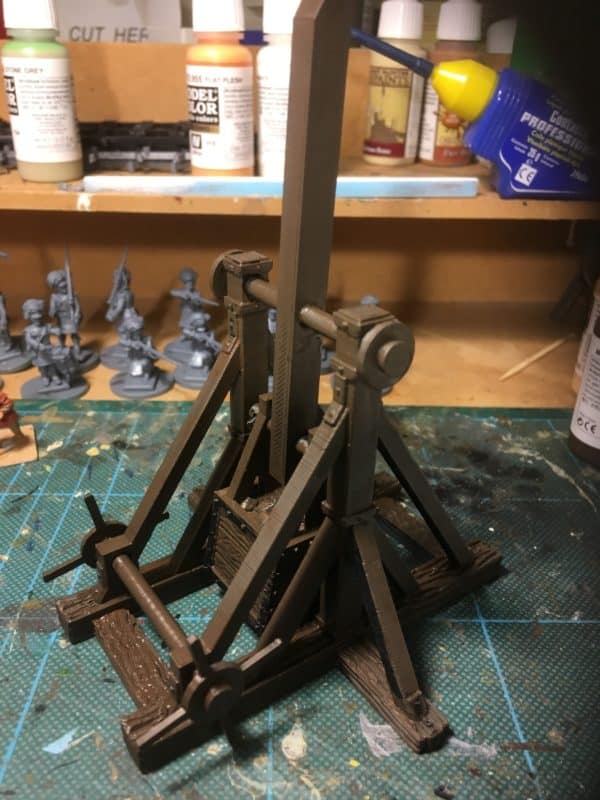
Next coat – Chocolate brown
The next stage was to paint everything in Chocolate Brown, Vallejo 70872. Use the biggest brush that you feel comfortable with. At this stage I was using a sort of ‘wet brush’ technique, to make sure that the paint covered everything and got into most of the deep cracks.
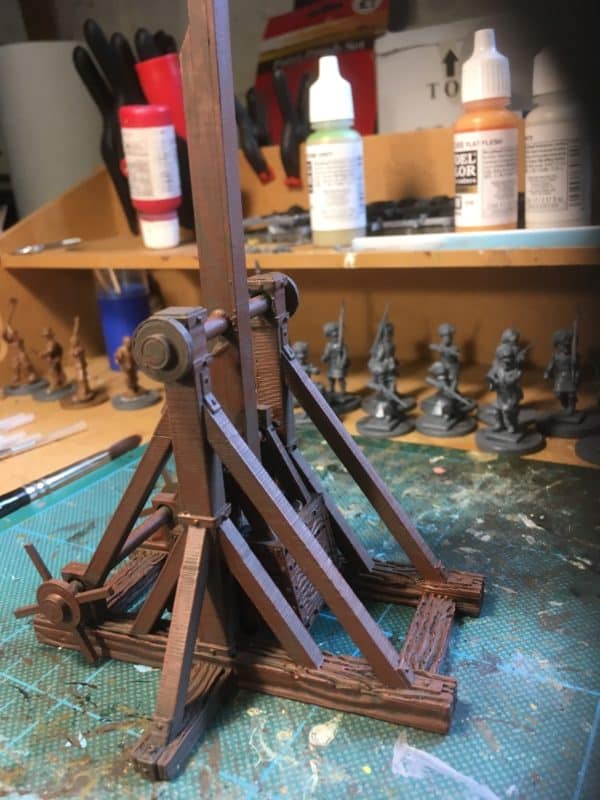
Trebuchet Stage 2 – Flat Brown
Stage 2 was to use a heavy dry brush of Vallejo 70984 Flat Brown. I covered most of the model but the dry brushing technique meant that some of the Chocolate brown was left in the recesses.
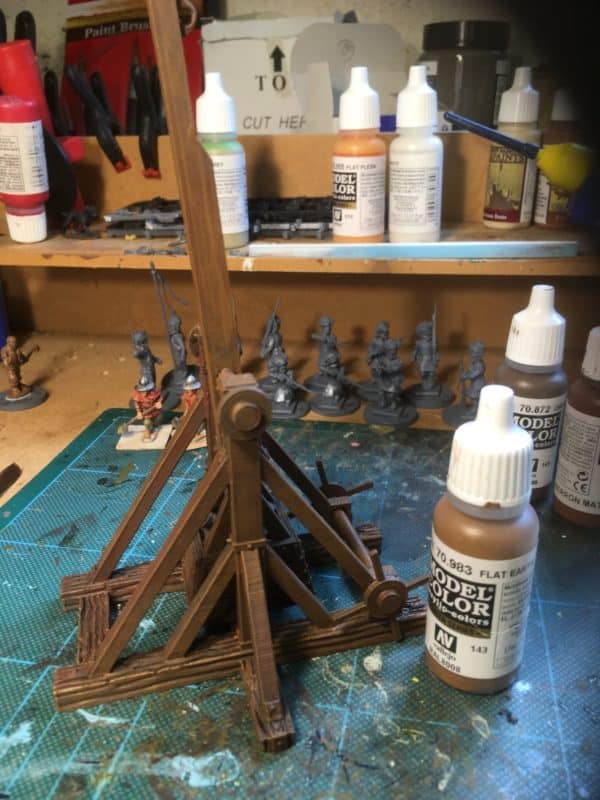
Trebuchet Stage 3 Flat Earth
Stage 3 and another dry brush with Flat Earth, Vallejo 70983. This was a lighter dry brush than before and I was careful to take nearly all the paint off of my brush before starting the technique. I found that the edges of the model picked up the paint quite quickly – a bit more care was needed on the flat surfaces.
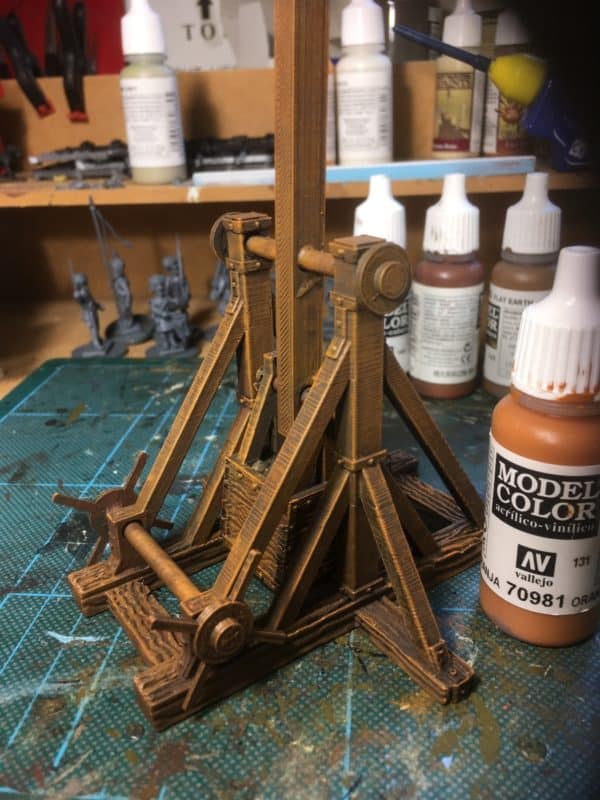
Trebuchet Stage 4 Orange Brown
Stage 4 was to dry brush with Orange Brown, Vallejo 70981. Again a lighter dry brushing technique was used. Had I not been following the article in the magazine, I might have stopped at this stage! But onto to stage 5.
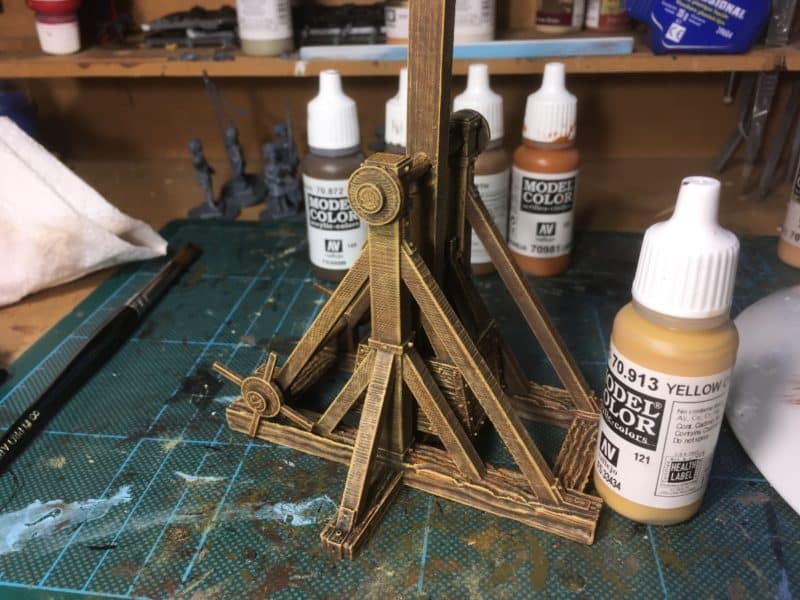
Trebuchet Stage 5 Yellow Ochre
Stage 5 and another light dry brush with Yellow Ochre 70913. I would not have chosen this colour without the guidance of the article but it certainly brought out the detail and looks very realistic.
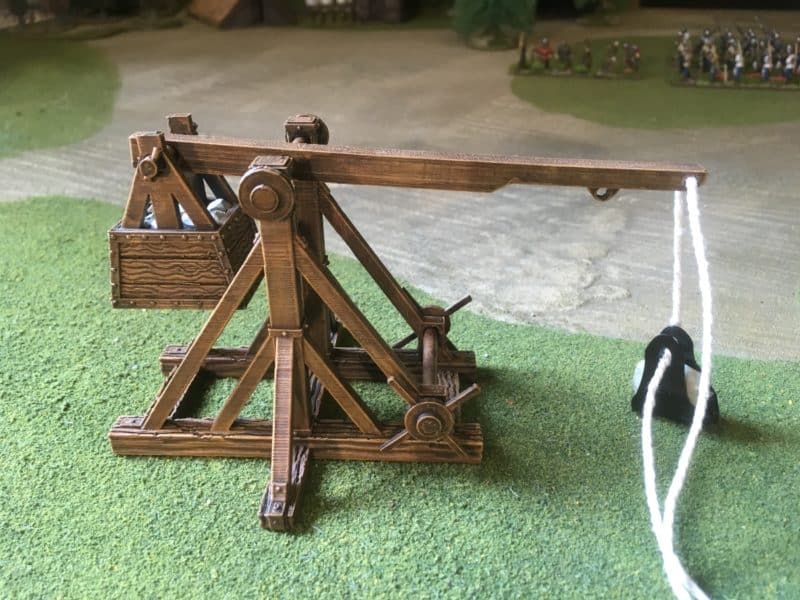
Trebuchet Stage 6 – Basic Skin!
Stage 6 and the final dry brush with Basic Skin Tone Vallejo 70815. I would certainly never have thought of using this colour as a highlight on wood! To be honest, at first, I chickened out and only gave the model the lightest of dry brush highlights with this colour. However, I think that it works well and I have learnt something new!
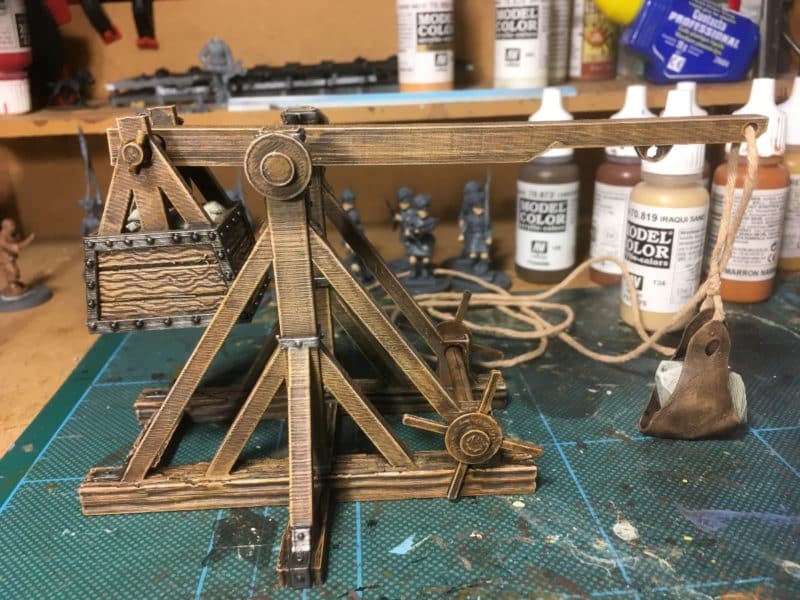
Trebuchet nearly completed
The next stage was to wash the whole model with Army painter strong tone. I watered this down very slightly but the effect was to tie all the dry brush coats together and to add shade and depth to the model. I then went back and used the driest of dry brush coats with the Basic Skin to bring out the detail again. You can also see that I have picked out the iron work in Plate mail and then washed this with Army Painter Dark Tone Ink. I’ve also painted the leather pouch holding the stone with a coat of Leather Brown, Vallejo 70871. I then dry brushed this with Orange brown and a mix of Leather Brown and yellow ochre. The whole thing was then washed in Army Painter Strong Tone.
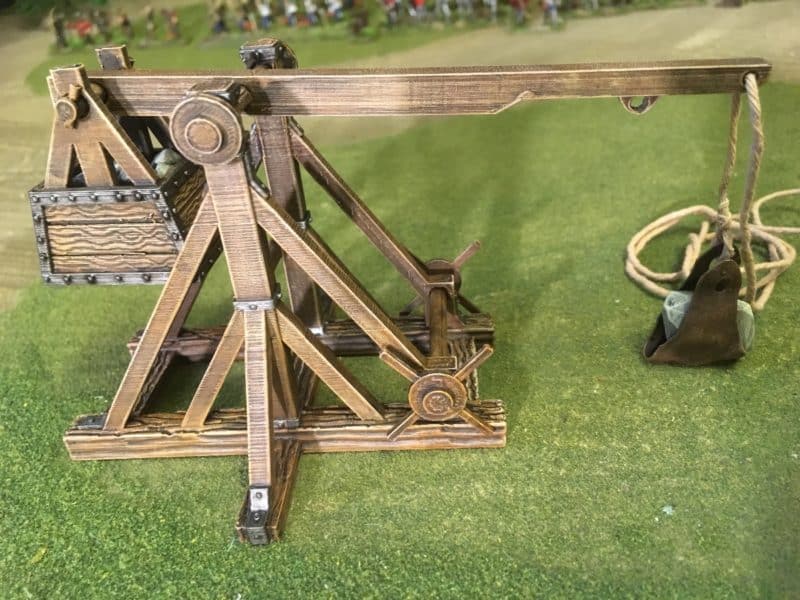
Trebuchet – almost battle ready!
Two other points to note. The stones were painted with Stone Grey, Vallejo 70884 ( currently my new favourite colour…), washed with Army Painter Dark tone and then highlighted with stone grey and a mix of stone grey and white. The string that I am using is just some parcel string that I had in my ‘spares box’. It is slightly thinner than the stuff supplied with the kit. To make it less white I dyed it in some tea…Yes, standard Yorkshire tea from the tea pot!
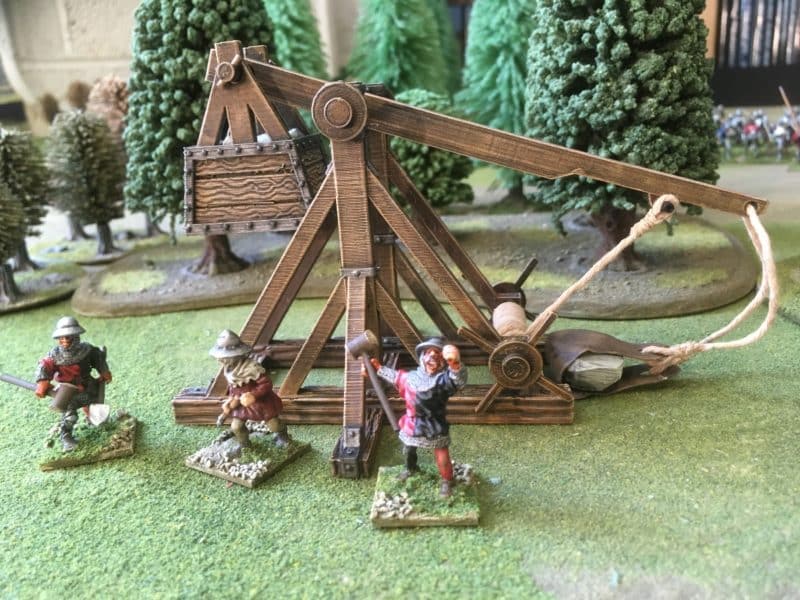
Trebuchet ready to fire!
The final task was to add the ‘rope’ to the trebuchet. I have taken a few liberty’s here. The model doesn’t allow for a practical firing mechanism and a close look will show that if it was fired, the stone would never release. There is also no clear firing mechanism or a convenient way of recovering the firing arm once it is released. I made my own attachment for the windlass to the firing arm from a small piece of plastic tube. That all said, it’s a wargaming piece not a museum model and I am happy with the final result.
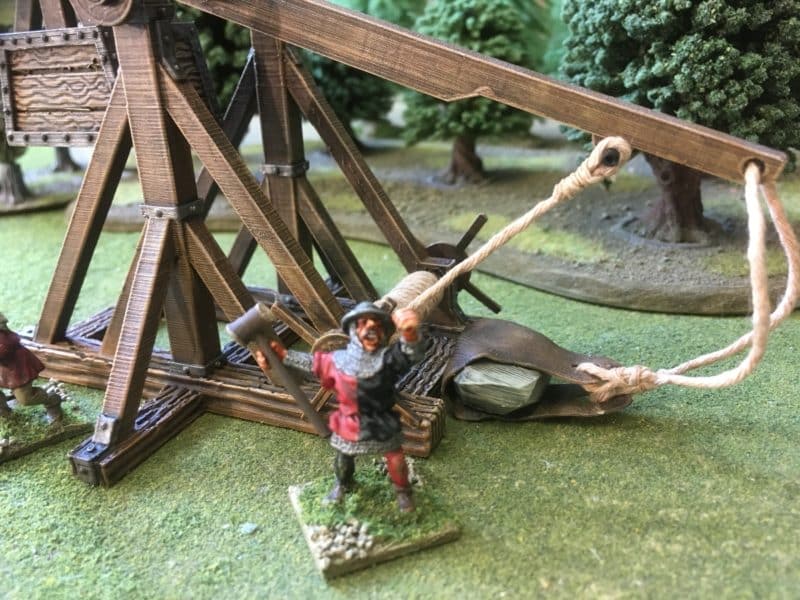
Trebuchet ready!
Finally, an apology to any one reading this blog on a tablet or phone. I am having problems with displaying some of the pictures in the correct format. They all look fine on a desk top but for some weird reason, the portrait pictures lay on their side on other devices…. I’ll keep trying to resolve this but I hope that you can still make sense of the post!
THE COMMERCIAL BIT
With the exception of the Trebuchet itself, all of the paints and washes are available post free from my shop.
You can get the Painting War #9 here:
We carry a huge range of Vallejo paints. You can see them here but use the shop search box and the paint number from the article above to get to a specific colour quickly!
We don’t carry the Iron gate scenery range but you can get it direct from here:
Happy Modelling!
