Battle Report – Waterloo 2014

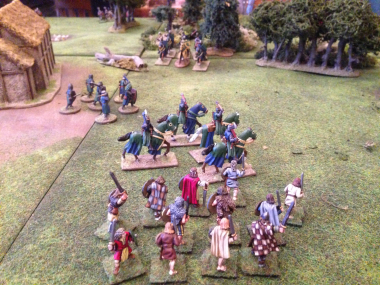
The Allies deployment -Hougoumont in the foreground.

The Allies deployment -Hougoumont in the foreground.

As we were approaching the 199th anniversary of the battle of Waterloo I thought that it would be fun to fight a large battle in the style of Waterloo. The plan was to put as many of our troops on the table and fight a scenario that paid homage to the battle rather than attempt to recreate it exactly. To this end The British and her Allies would be defending a line that ran from a small village ( ‘Papelotte’) on the left, along a road to a walled farm house on the far right (‘Hougoumont’), with another farm house (‘La Haie Sainte’) at a cross roads in the middle of the board. Just behind the road was a line of hills that would allow the British to place defensive artillery – not quite accurate but a nod in the direction of the reverse slopes that gave the British infantry cover during the battle!

The French troops were massed on the opposite side of the table and whilst they outnumbered the Allies significantly to start with, had no cover or defensive position. Their mission was simply to drive the British from the field before the Prussians arrived. The simple mechanic that we used to simulate this was that on turn 3 the Prussians would enter the table form the right on a dice throw of 6, turn 4, a throw of 5 and so on.

The rules that we used were the Black Powder Rules, without too much in the way of ‘extras’ from the recent supplements. I very much like the original rules and find that there are too many extras in the supplements that can both distort and over complicate the original rules set. That said, we do have a few of our own ‘house’ modifications and even with a large 12 foot by 6 foot table, still prefer to use shortened movement & ranges, basing everything on 66% of the original distances.

Mercer observes the French advance!

Mercer observes the French advance!

Our troops were a bit of a mixed bag, as we were short on the British side, so close scrutiny of the pictures may revel that the Allies consisted of a few Bavarian & Austrian troops! And so with the troops deployed, the battle got underway with the British advancing in line to take position just in front of the road. The 95th Rifles dashed forwards to garrison La Haie Sainte and form a skirmish line whilst the KGL rifles moved into the woods in front of Hougoumont.

In reply, the French moved to attack the village of Papelotte, set up the Grand Battery,  and they advanced towards the British Right Flank. Hougoumont was largely ignored, although there was a sharp exchange of fire between the skirmishers in the Woods in front of the house.

Turns two and three saw the French batter away at the defenders in Papelotte but to little effect. To relieve pressure on this sector, the British advanced past the road to attack the advancing French Columns, stopping them with a fearsome volley! ( or as the French General would say , some dead jammy dice rolling…how many 6’s!)  To add to the French woes, the Grand Battery was having trouble deploying effectively – a blunder sending them in the wrong direction. Add to this, the Centre also refused to move and so despite fierce fighting around La Haie Saint, the British right wing was holding it’s own, with the garrison in the farm house stubbornly holding on.

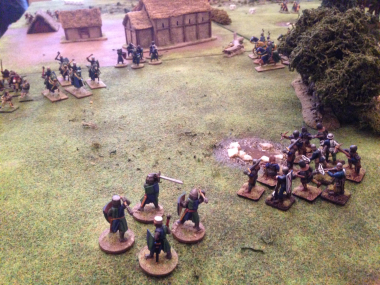
Fighting around La Haie Sainte

Fighting around La Haie Sainte

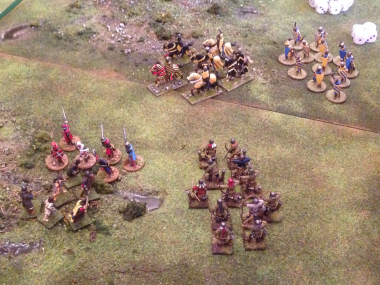
The French right wing attacking Papelotte

The French right wing attacking Papelotte

Turn 4 saw the British inflicting heavy casualties on the French left flank. The French Guard were soaking up the punishment but finding it difficult to make further progress. Faced with the Cold-stream Guards and taking heavy fire from both the Howitzer and the rocket battery on the hills, the French were beginning to waver. To add to their woes, the skirmish around Hougoumont had been won by the KGL and they were now advancing from the Chateau and threatening to out flank the French. The French centre still stubbornly refused to support the Guard and was becoming entangled with the small garrison at La Haie Saint.

At Papelotte, the Prussians were yet to arrive and the French were gradually making progress. However, the odds were that the Prussians would soon make an appearance and so rather than being able to exploit their stronger position, the French were forced to make provision for the threat to their flank.

The Prussians have arrived!

The Prussians have arrived!

Sure enough, on turn 5, the Prussians began to filter onto the battlefield putting the French in front of Papelotte in dire trouble. To add to the French worries, the Guard brigade attacking the British Right flank had begun to crack and was falling back…

By Turn 6, the inevitable happened, and the French position became untenable. The Prussians drove into the flank, breaking the French Brigade attacking Papelotte and flanking the next French Brigade that was being held by the British Left.

Around La Haie Sainte, The French Guard Brigade had broken, and despite attempts to support it with the cavalry and troops from the French centre, it was now in retreat. The French had become entangled around the farm house and despite their best attempts could not shake the Rifle Companies defending it.

The ineffectiveness of the Grand Battery was overshadowed by the British Howitzer fire and amazingly, the Rocket battery, which scored 4 direct hits, causing mayhem!

Although the French had largely ignored Hougoumont, this time La Haie Saint had been their undoing, tying up too many troops and causing congestion in their lines. Strangely, the Cavalry on either side had been fairly ineffective. The British Cavalry had managed one charge but although they had caught a French Infantry battalion in the flank, they failed to do any significant damage. The French cavalry had also done very little. When called upon, they had failed their orders and refused to charge, lurking behind the infantry…

British Rocket Battery!

British Rocket Battery!

The star on the British side was the Rocket battery. With 4 direct hits, including a double hit on an advancing French Guard unit they had undoubtedly been the most effective artillery unit on the board! So a most enjoyable game (especially for the British!) – no doubt that the French will be back again!

Many thanks to Pete & Quentin for being such good sports and for doing the hard work in setting it all up!

What’s on the Workbench 14th June 2014

Napoleonic Gun Boat!

Napoleonic Gun Boat!

Somewhat encouraged by the news that Northstar Games, in conjunction with Osprey, will be releasing a new rules set for Pirates – ‘On the Seven Seas’ I cracked on with my gun boat project and here is the finished result.

All the crew painted and facing the right way!

2014-06-11 08.12.32

Gunboat from the Bow

I painted the crew in dark Prussian Blue Jackets with off white trousers. Although there wasn’t a formal uniform as such, most sailors were kitted out this way. The head gear would have varied and of course the shirts & neck ties could all have been different. I have gone for a fairly straight forward colour scheme with a few red & light blue neck ties to brighten things up. The Marines were of course in uniform. I have used an Osprey reference guide and painted them with the standard red coats, Black ( Navy Blue in reality I think!) facings, off white trousers and white lace. All colours are from the vallejo model colour range. So for the time being, this model will sit in my cabinet to await the Osprey rules set. I suspect that I wont be able to use the boat but it will provide a nice bit of scenery. Although the rules are set in the 1600’s when pirates were in the ascendancy, I’m sure there will be a chance to modify the rules to incorporate these more ‘modern’ chaps! I plan to expand my naval force with a detachment of Marines, supplemented with some sailors to make a good sized shore party.

So, it’s back to the Napoleonic Army again, and of course on with my Prussians!

The Heroic Stand of The Inniskilling, 27th Regiment of Foot

Inniskilling memorial at Waterloo

Inniskilling memorial at Waterloo

In last weeks post, I gave a brief description of La Haie Sainte Farm House and my observations from the battlefield visit to Waterloo. This week, I thought the I would take a look at a different part of the battle. When we were planning to visit Waterloo, it seemed appropriate that we would take some of our figures to the actual battlefield. I had been inspired by the stoic bravery of the 27th Regiment of Foot, the Inniskillings, during the battle and had painted one of my Battalions to represent them. It just seemed right to take them to the Battlefield.

The Inniskillings had been held in reserve during the battle until around 3.00pm when they were ordered up to defend the crossroads. Following the loss of La Haie Sainte, they were ordered to form square. This wasn’t so much a response to any imminent cavalry threat but such a formation would allow them to deliver fire to the side towards the Brussels road as well as to the front, over the ridge towards the french advance.

The densely packed ranks of such a formation made a tempting target for both the French Guns and the many French skirmishers – a target that they could hardly miss. As a result, the battalion, commanded by Captain John Hare, suffered terrible casualties, losing 66% of it’s men and officers. Of the Nineteen officers with the Battalion, sixteen were killed or wounded, leaving many of the Companies to be commanded by Sergeants.  The memorial reads:

Inniskillings on memorial

Inniskillings on memorial

In Memory of the heroic stand by the 27th (Inniskilling) Regiment of Foot at the Battle of Waterloo on 18th June 1815 when, of the 747 Officers and men of the regiment who joined the battle, 493 were killed or wounded. A noble record of endurance. Of them, the Duke of Wellington said, ‘Ah, they saved the centre of my line’. Erected by their successors, The Royal Irish Rangers (27th Inniskillings, 83rd,87th) 18 June 1990.

My act of remembrance was to take the regiment that I had painted to the battlefield – here they are on the memorial once again, facing out across Waterloo.

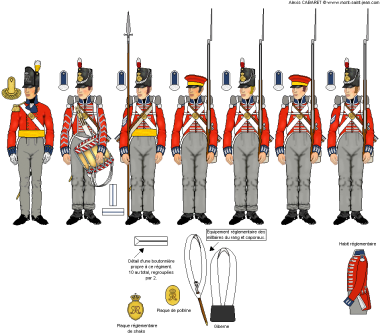
The models are Perry miniatures from the plastic box set. I have painted them with Buff facings and with buff cross straps. I am not sure if this is entirely correct. Some pictures show the troops with the standard white belts, others with buff. I have also painted the officer with buff trousers or coveralls. I suspect that this is incorrect as the Officers would have worn Grey trousers as was standard for campaign duty. However, I had seen a picture showing an Ensign in buff trousers and according to a reference in C.E. Franklins British Napoleonic Uniforms, the Officers wore Buff breeches – however, I think that this is the dress uniform rather than campaign. That all said, Officers were responsible for their own uniforms and given the haste with which the British Army moved out to Waterloo, may be this officer stayed in his dress uniform… Regardless, I just wanted the unit to look a bit different on the gaming table. Finally, here is a close up of the models actually on the Battlefield of Waterloo, roughly in the position that the real Troops would have made their Stand.

Inniskillings 2014

Inniskillings 2014

What’s on the workbench 8 June 2014

With the onset of summer (allegedly!), my painting seems to slow up, and as I’ve mentioned before it’s not fast to start with. So progress on the various projects is hampered by the need to mow the lawn, weed the borders, power wash the patio, wash down the garden furniture, clean up the barbeque, light the barbeque, cook the burgers, open the beer, drink the beer, drink the beer, drink the beer….you get the picture!

Ice Age Range!

Ice Age Range!

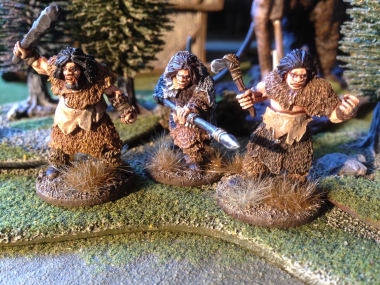
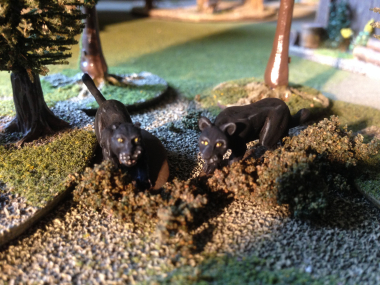
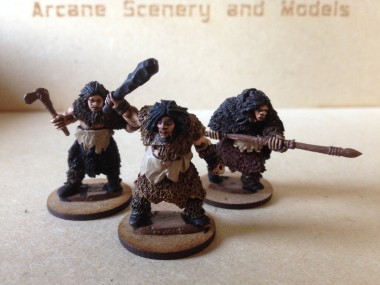
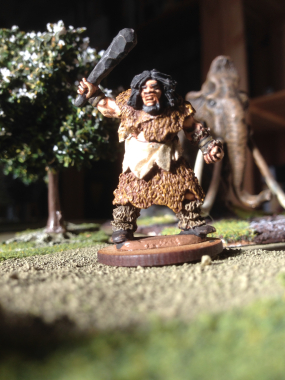
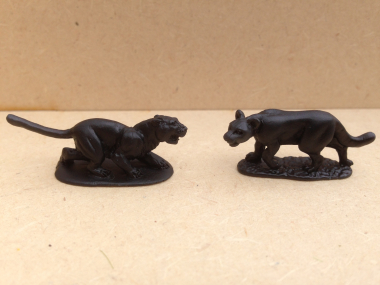
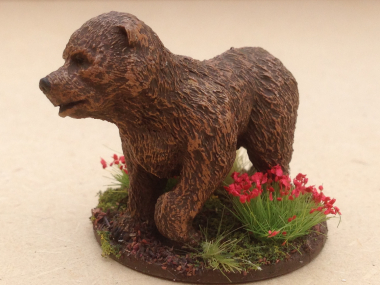
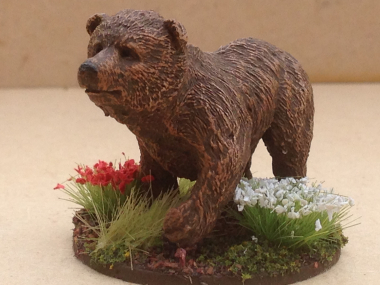
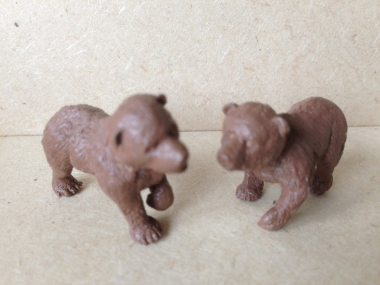
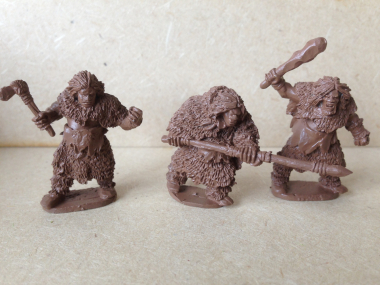
But the baby mammoth has his tusks now and has joined the rest of the herd! If you would like one, he is now available as part of the DeeZee range. We’ve also added in the Lucid Eye Neanderthals and the Bestial huts, so if you would like to start building your own Ice Age collection, it’s all in one place now!

I’ve also made some progress with my gun boat, with the oarsmen almost finished, leaving just the marines to complete. The gun boat is one of those models that looks better from a distance. I mentioned that the crew needed quite a bit of work on them but some of the detail hasn’t cast too well and this is more obvious close up when the mini’s were painted. Still, the model will make a nice centre piece for my growing Caribbean collection.

2014-06-05 14.46.11

Gun Boat & Crew

Incidentally, there is a big mistake with the positioning of my oarsmen on the gun boat! I hadn’t spotted it until I was looking at my own picture and it is just as well because they would have been glued in as they are. If you haven’t spotted it, I’ve got the oarsmen facing the wrong way! They should be facing the stern not the bow!

Also on the work bench is the last of my Prussian Landwehr troops. These are more metals  from Warlord and will finish off the final battalion, giving me two battalions in total.

So over the next week, World Cup Football and Barbeques permitting, the plan is to complete at least one of these projects, not least because I am eager to get to work on the new Hanoverians from Warlord!

Battlefield Visit – La Haie Sainte – Waterloo

La Haie Sainte Farmhouse

La Haie Sainte Farmhouse

I mentioned a while back that I had been over to Belgium for a short break to visit the Waterloo Battlefield. I went with my war-gaming buddy, Pete Harris. We spent a couple of days visiting Ypres looking at WW1 museums and then went on to spend a couple of days at Waterloo.  It’s surprising how much you can fit into a few days if you are well prepared – there isn’t space in a short blog article to cover everything that we saw, so I thought that I would put together a few short pieces reviewing various facets of the trip.

The great thing about visiting the actual battlefield is that you can see for yourself just how things were, how the land really lies and gain true perspective on the size of objects & the distances involved. You can also walk in the footsteps of the combatants and try to imagine just what they would have seen and how they would have felt. I have been reading about the Battle of Waterloo since I was 15 – I still have the first book that I read ‘Waterloo – A Near Run Thing’ by David Howarth. Interestingly, it is David Howarth who has written the Official Guide to the Battlefield that is sold in the Battlefield Gift shop.

So although I had seen many pictures of the battlefield, read many accounts and looked at the maps, it was only when I actually saw the battlefield did I begin to really grasp what may have happened. Incidentally, one of my favourite quotes from Wellington is as follows:

The history of a battle, is not unlike the history of a ball. Some individuals may recollect all the little events of which the great result is the battle won or lost, but no individual can recollect the order in which, or the exact moment at which, they occurred, which makes all the difference as to their value or importance.

The Crossroads & La Haie Sainte

So with that in mind, here are a few pictures of La Haie Sainte with some of my observations. The photograph at the top of the article shows La Haie Sainte as we look to the west from the Lion Mound. The first thing that struck me was how big the Farm was. It more of a large complex than I had imagined and although set well forwards from Wellingtons main defensive line, nestled down on the side of the valley, it made an impressive defensive position. The photograph to the right shows the position of La Haie Sainte in relation to the crossroads. Any attack on Wellingtons Centre would have to pass by this strong point.

La Haie Sainte - Road view

La Haie Sainte – Road view


The next picture shows the western side of Farm and the road as it is now. This road runs straight on to to the cross road and from there to Brussels. The slope on the road is about right – it’s not me with a dodgy camera angle! It just goes to show that the area wasn’t flat ( I think that wargamers prefer nice flat tables but it doesn’t really reflect reality!) The other thought that struck me was how tall the walls were. It wasn’t going to be easy to climb over those in full kit, especially with the Kings German Legion defenders inside doing their utmost to stop you!


One of the mysteries of the battle is why the french didn’t use artillery to breach these walls. I just wonder if because of the position of the farm in the landscape, none of the French Commanders could see how difficult it was to breach these walls. The main gate was particularly defensible and the higher walls could probably be left unmanned as unless the troops had ladders, there was no easy way over. Of course, the buildings face into the farm complex, presenting the sheer sides to the outside – the owners built this farm to keep out intruders! The picture below show the Main gate and part of the higher wall that runs down the West side.la Haie Sainte gate & wall

La Haie Sainte was eventually taken by the French during the battle. At around 6.30pm, exhausted and practically out of ammunition, Major Baring, leading the defense, ordered the remnants of his command to retreat to the British lines. Only about forty of the 360 defenders made their escape – a terrible toll to pay in the defense of the farm.

For the French, any sense of victory would have been tempered by the fact that although they had captured the Farm house, the British lines remained intact further up the slope.

Even worse, the Prussians were coming!

Whats on the Workbench 29th May

Gun Boat!

Gun Boat!

Oh dear! I’ve been distracted from finishing off one project by the lure of something more interesting…..

I guess it’s a common occurrence and it explains why most of us in the hobby have a ‘lead mountain’ lurking around in a secret location. A bit like the Wife’s handbag and shoe collection…

Well, last year, at the Derby war games show I saw a lovely model of a naval gunboat and thought that it would make a nice addition to my collection. I justified buying it as I could use it in the Caribbean campaign that I will one day play. Having had the instant gratification of buying it and showing it off to my mate, once home it went up onto the shelf – ‘for later’.

Well, I was tidying around in the garage this wet bank holiday weekend and came across it. What a great little project to complete, I thought. It wont take long as the uniforms are pretty straight forward to paint and they use a similar colour scheme to the Prussians, so I might as well have ago at finishing it.2014-05-25 18.01.28

Unfortunately, things aren’t that simple. The figures weren’t quite as cleanly molded as I would like. Now I dont mind doing a bit of cleaning up, scraping down mold lines , getting rid of flash etc. – but these figures were just hard work! In fact, rather than cleaning up, it felt at times that I was re-sculpting them….Nevertheless, I persevered and I did make some progress. In fact, actually, the figures turned out to be quite nice and when put all together on the boat, do make a nice model. So the boat and the crew are finished. Just 5 marines and the ten oarsmen to go. So much for a quick project….

The full crew awaiting painting...

The full crew awaiting painting…

What’s on the Workbench 22 May 2014

Landwher Casualties

Landwher Casualties

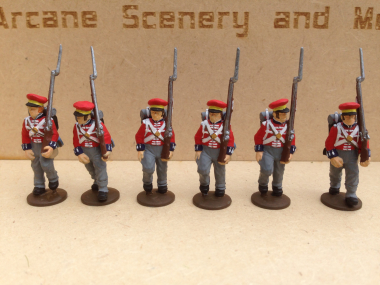
Despite a busy couple of weeks, including a short break in Belgium ( more on that later!) I did manage to finish off the 5 Prussian Landwehr casualties – not literally, of course – but they are now painted and based and ready to join their unit. The figures have been painted with the  following Vallejo Paints:

Face & hands – Flat Flesh 955; Hats & coats – Dark Prussian Blue 899; Boots, Hat detail & cartridge case – Black 950; Musket straps, packs & equipment detail – Leather brown 871; Misc. equipment – Iraqi Sand 819, Powder horns – Dark yellow 978; Musket Stocks –  Flat Brown 984; musket barrels, buttons & other detail – natural steel 864, Detail on muskets & straps – brass 801; Trousers & Straps – Off white 820; Blankets – neutral grey 992.

As these figures are from the Silesian Region, I gave them Yellow facings (yellow 953) and red shoulder tabs (Flat red 957). Technically, the colour of the tabs should vary by battalion, but I like the red & decided to go with this scheme with all my troops. The only other variations were the hair colouring – I just use a random mix of brown & blond! Oh! and one of the figures has light brown (Val929) trousers.

Once the basic colours

2014-05-22 10.14.46

were on, I painted them with Army Painter Dark tone and when this had dried for 24 hours, I sprayed them with Army Painter Anti shine varnish

I then go back and highlight some of the colours to make them stand out, notably, the white, yellow & flesh and I finish the bayonets with a bright silver ( val 997).

For basing, I re-based all the figures on Renedra 20mm square bases. I use a filler to level out the bases & then paint them chocolate brown. The next stage is to cover with Forest Brown scatter & then Flower field Static grass. The final step is to add some flowered and plain grass tufts for a bit of interest on the bases. The final picture shows three of the figures with their battalion as they advance into battle!

As a final thought, whilst I was over in Belgium, I visited the Battlefield at Waterloo and of course a full report will follow; but it only seems appropriate to include a picture of the memorial to the brave Prussian soldiers that fell during the battle for Plancenoit.prussian memorial at plancenoit

What’s on the Workbench 15th May 2014

Well, last week it was the Prussians and if all goes to plan they should be finished for next weeks post. This week, there is something different to show you, a baby mammoth- aaaah! We are gradually rebuilding the DeeZee range of animals and have had two

2014-05-08 12.42.33

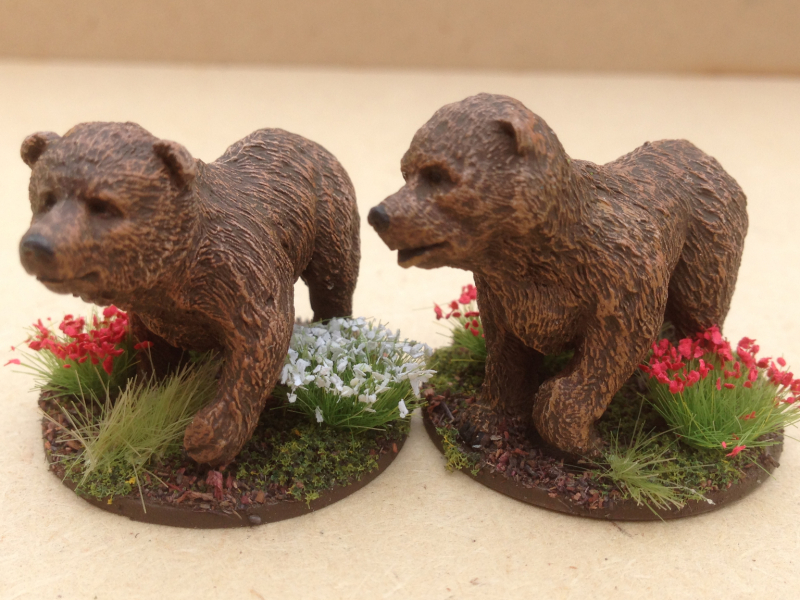
new models sculpted by our very good friend Cedric. The first one is of the baby mammoth. Here’s the little darling being painted. I’ve still got the tusks to add and some more detail to add to the base but you can get an idea of how she (he?) will look when finished.

Once I’ve finished the baby, I’ll publish some pictures on the blog with the rest of the mammoths that we stock. The idea is to create a herd of mammoths for another project that we have on the go…….

Watch out for more information in the coming year and also for the next cute releases in the DeeZee range….

What’s on the workbench? 8th May 2014

It’s been a while since I have managed to to add to my blog in any regular fashion. I’m afraid that I have had other distractions that have prevented me from writing a regular blog – just finding some time to actually paint & do some modelling has been a challenge. I hope that this has now changed and I now have both the time and the facilities to keep my blog up to date. Of course as well as keeping me amused whilst writing the blog, I hope that there will be some content that is useful to anyone who is good enough to spare the time to have a look at my musings….

I thought that one way of giving some continuity to the blog would be to show just what I am working on at the moment. The danger being that some of my projects drag on as I am not the fastest when it comes to modelling & painting. As I usually have three or four projects on the go at any one time. I will perhaps alternate between a couple over the weeks. So what is on the workbench at the moment?

Prussian Landwehr Casulaties from Warlord Games

Prussian Landwehr Casulaties from Warlord Games

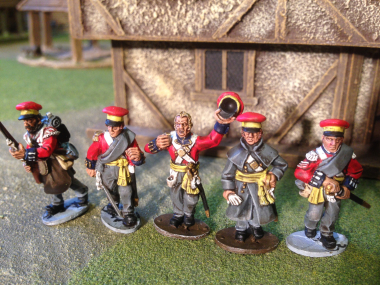
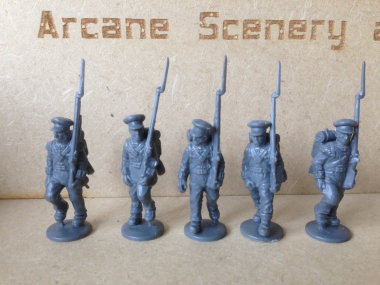
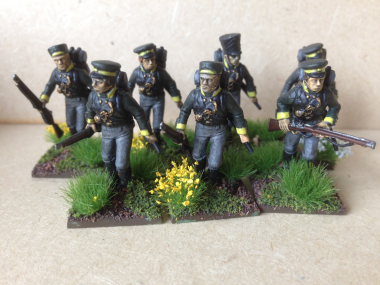
I’m working on Prussian Landwehr at the moment. I am in the process of building a Prussian Brigade for my Black Powder games and I need to add a couple of units of Landwehr to the brigade. I already have two command groups painted, as well as 30 marching troops ( The Warlord games plastic boxed set). I’ll need another 15 troops to be able to make up two battalions of 24. Rather than just buy some more of the marching troops, I thought that I would add in some Prussian Landwehr Casualties for a bit of flavour! The picture shows my progress so far. They have been cleaned up, undercoated & received the base coat of Flesh & dark Prussian blue. I’ve added a picture to give you an idea as to how they will look when they are completed an added to the unit. Of course they are on temporary bases at the moment, so they should look a bit better once the painting & basing is complete!Prussian Landwehr advance into fire!

Blitzkrieg tanks – What scale do I choose!!

004

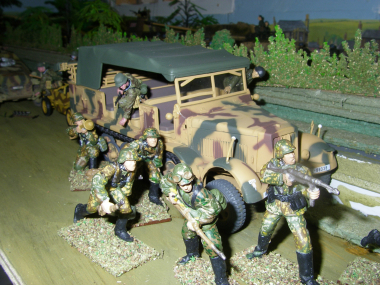
We now carry Blitzkrieg tanks in both 1/48th scale, 1/56th scale and claim that both scales are suitable for 28mm figures so which one do you choose?

The 1/48th scale range was originally designed because although manufacturers claim their figures to be 28mm in size, they are often larger & closer to 30mm. In addition, the sculpting process tends to favour a ‘chunkier’ look to the figures. Add to this, the fact that most wargamers will mount their figures on bases and you finish up with that figures that will look on the large size when placed beside the 1/56th scale tank models. So we introduced the slightly larger 1/48th scale tanks in resin, feeling that they looked more realistic and more imposing on the battlefield. After all, when you put a Tiger tank on the wargames table you want it to look as though it would terrify the troops!

The 1/56th scale range was designed for the wargamer that already had other vehicles of this scale in their collection. We realised that if you already had a PZIII in 1/56th, you wouldn’t want a different variant in a different scale. 1/56th scale is often the standard scale for the new breed of plastic kits, such as Bolt Action and Rubicon and so these Blitzkrieg models are the identical scale and completely compatible. This scale also goes well with some of the ‘smaller’  figure ranges such as the new Perrys miniatures plastics, which are true 28mm or the foundry range which tends to be smaller sculpts than later ranges.

So which range do you choose? Well, if you already have 1/56th scale vehicles , it makes sense to stick with this scale. If you haven’t, my choice would be to go for the larger 1/48th scale as they just look more imposing and realistic when on a gaming table.

To see our range of Blitzkreig 1/48th scale tanks, click here:

1/48th Scale Blitzkrieg tanks

To see the 1/56th range, click here:

1/56th Scale Blitzkrieg tanks

Incidentally we have a comprehensive range of 1/48th scale Tamiya models that look superb on the wargames table. In addition, we have a small range of Hobbyboss items in this scale – links below!

1/48th Tamiya military range

1/48th Hobbyboss range

What ever scale you choose, we hope that you enjoy your modelling!

Bolt Action Tanks!

Tiger in snow camouflage Scheme.

I always like to see other people’s models – you can always learn something new from seeing how other modellers produce their masterpieces. In this case, our guest modeller Darek Wyrozebski, is an expert in weathering down tanks and vehicles to produce some of the most realistic battle worn models I’ve seen!

JagdPanther.

He uses a whole host of techniques to produce the battle worn finish and is a great advocate of the Vallejo weathering pigments.  So here is just a small selection from Dareks’ collection:


Hetzer


Opel Blitz


Kubelwagen in Polish Army Service!


M10 Tank Destroyer

Darek uses an airbrush to get the basic paint job done and then uses a variety of filters, washes and even a bit of dry brushing to get the different layers of weathering. Add to that the use of pigments, careful replication of scratches using a fine brush, and he even uses hairspray as a barrier to allow the careful removal of layers of paint to get the worn look on the Hetzer. If it all sounds a bit like alchemy, Darek assures me that once you have a go at using these methods, you soon learn to get the results that he has…..as with all things, practice makes perfect!

Spotlight on Zvezda – new in this week!

The rate of new releases has yet to slow down, in fact there seems to be even more new releases this week, despite the fact that we have entered the summer months, usually a quiet time for the modelling world. Again, rather than list everything, I thought that I would just use the new releases to highlight a part of our range. This week it’s the very popular Zvezda ‘Art of Tactic’ series that’s in the spotlight.

Zvezda are a Russian kit manufacturer who traditionally have produced a great range of military subjects in both 1/35th scale and1/72 scale. That changed slightly with their release of the war game/board game hybrid ‘Art of Tactic’. To support the game, Zvezda have released a huge range of mini packs retailing at around £2.99 that features infantry and artillery sets in 1/72nd scale, tanks & vehicles in 1/100th scale and aircraft in 1/144th to 1/200th scale.

However, even if you dont plan to play the ‘Art of Tactic’ game, the models are just superb. At 1/100th scale the vehicles are ideal to supplement a Flame of War force, and the small units of 1/72nd scale figures are a great way of putting together a force to use with any number of rules sets from ‘Mum I aint been shot yet’, Rapid Fire’ , Rate of Fire and even the forthcoming ‘Bolt Action’ rules set.

The latest releases include a 1/100th scale Sd.Kfz 222 armoured car:

In 1/72 scale, a set of German Gebirsjager or mountain troops:

And finally,  Soviet a 76mm infantry gun with crew:

There are some 40 of these sets already available, with more on the way. Although the existing sets are primarily focused on German and Soviet forces, there’s good news for modellers – Zvezda have plans to release some early war British and Allied subjects. If you like the format, you may also be interested to know that Zvezda also do similar sets of Samurai models. I cannot begin to tell you how well modelled and moulded these sets are. If you have n’t tried them, at £2.99, you wont break the bank in checking out a pack!

The zvezda range is available in our ebay shop here. We also stock a huge range of rules sets.

1 29 30 31 32 33 41