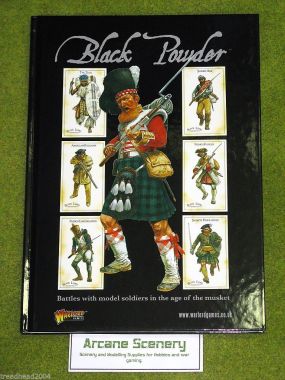
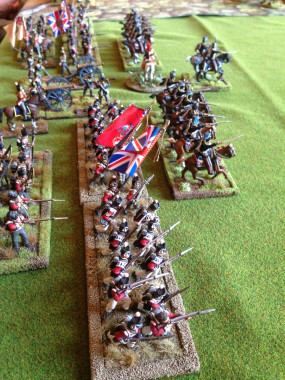
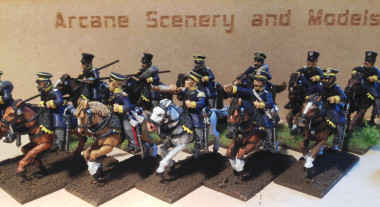
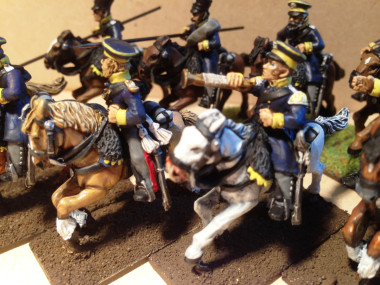
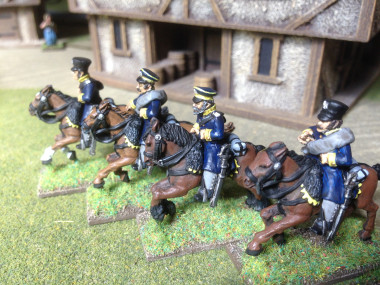
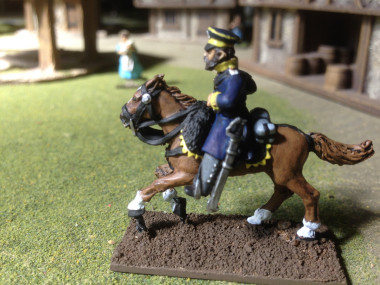
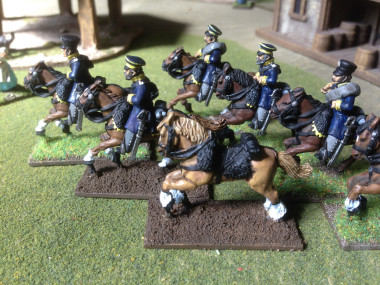
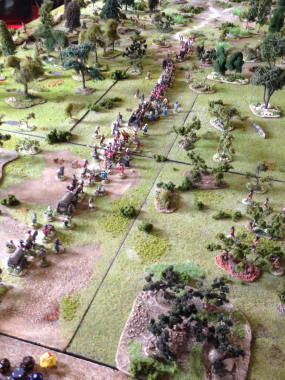
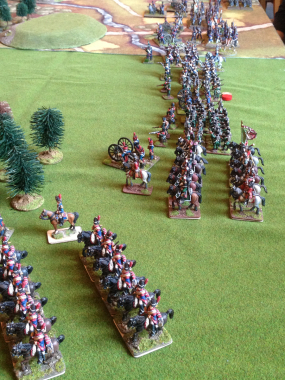
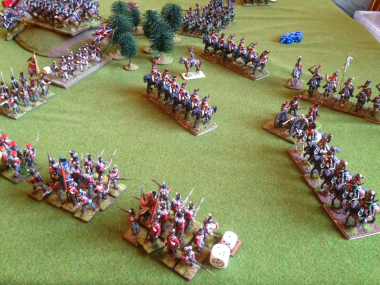
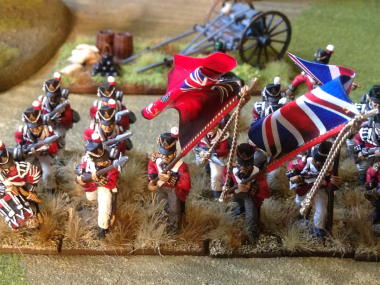
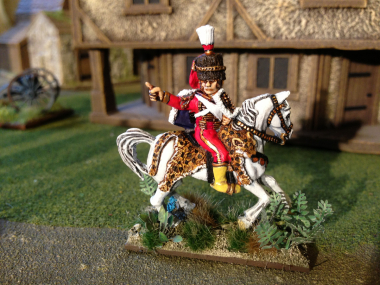
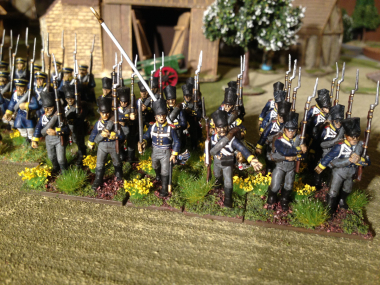
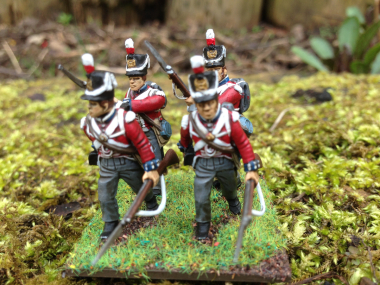
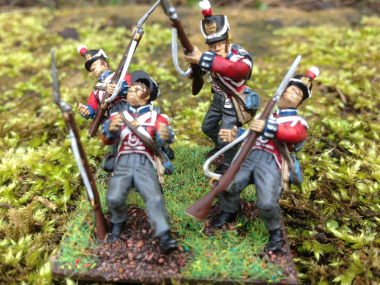
 Playing Black Powder with Napoleonic figures continues to be my obsession, with no sign of ‘game fatigue’ appearing. I still play at least once a fortnight at the club, only recently having a break every other week to play Muskets and Tomahawks. The other guys at the club are quite amused at our adherence to this rule set and period and we are now known collectively as the ‘Black Powder’ lot! That said, our ‘gang’ is growing and whereas it used to be just two of us slugging it out over a table, there are now at least six ‘hardcore’ members of the sub club, so to speak, with a few more that are happy to join in and even more that come over to check our battle progress during the evening.
So whats the secret that keeps us locked into this rules set. Well, read the opening line of this blog. We are well aware that we are playing a rules set with Napoleonic figures and we are not too hung up on how realistic the rules may or may not be, we just know that we will have a fun game. Of course, there is a nod in the direction of historical realism, but thats all. When ever we play there will always be a talking point about what may or may not be realistic. Our current debate concerns the use of Howitzers and the limitation on the effectiveness of these guns at close range. The rules say that you cannot fire on an enemy that has closed within 6 inches of a Howitzer, which pretty much implies that you have no closing fire option. It also prevents you from firing canister into Squares at close range.
Is this historically accurate? Probably not, but I don’t think it matters too much when playing a table top game. The rules are clear, and you take a howitzer in your ‘army’ knowing those limitations. Of course there are benefits in the game for Howitzers and when you put your army list to gether, you take the rough with the smooth. That’s not to say we haven’t modified some of the Black Powder Rules to suit our style of gaming. The two Napoleonic Supplements, Albion Triumphant 1 & 2, introduced some new rules and ideas, some of which we have adapted, some not. The beauty of Black Powder is that it allows this, provided everyone is clear at the start of the game.
For anyone that is interested, here’s the points system and a few of the rules modifications that we use for our club night. They are designed to allow us to play a reasonable game on a 6 foot by 4 foot table in an evening or a couple of hours.
The 30 Point System
Level 8 Commanders are free. +1 point for each addition level (Max 10)
Regular Line Infantry = 2 points
Regular Light Infantry = 2.5 points
Militia, Conscripts, Reserves = 1.5 points [Cannot be upgraded]
Foot Artillery ( 1 Cannon = Battery) = 1.5 points [No half Batteries]
Horse Artillery ( 1 Cannon = Battery) = 1.5 points [No half Batteries]
Regular Heavy and Lancer Cavalry = 2.5 points
Regular Light Cavalry = 2 points
Vetran Status = + 0.5 points
Elite Status = + 0.5 points
Rifles = + 0.5 point
Old Guard = + 0.5 points in addition to Veteran and Elite Status cost
Large units = + 0.5 points
Small units = – 0.5 points
Tiny units = – 1 point
Unit Sizes
Standard Infantry = 12 to 16 figures
Small Infantry = 8 figures
Tiny Infantry = 4 figures
Standard Cavalry = 6 figures
Small Cavalry = 4 Figures
Tiny Cavalry = Not Permitted
Unit Restrictions (Maximums)
Rifle Units = 9 points
Old Guard Units = 9 points
Lancer Cavalry = 9 points
Regular Light Infantry = 15 points
Notes:
Small and Tiny units cannot constitute more than 25% of a brigade and do not count towards the Brigade’s morale.
Infantry brigades must have a minimum of three infantry units and Cavalry a minimum of two units in addition to any Artillery.
Mixed Brigades must have a minimum of two Infantry units.
Brigades and Army break on greater than 50% loss
Cavalry may retire in the movement phase when disordered.
Mixed Order Columns do not benefit from a column save bonus if you are shooting at the skirmishers or from artillery fire.
French Columns do not benefit from Pas de Charge – they already have a bonus from being in column.
British first fire only applies if you have not moved more than once during the orders phase.
British troops fight in line and do not form column
Now I guess that there will be a few dissenters out there with regards to these amendments but don’t worry, they are not official and you will only be asked to use them if you join us at the White Hart…. In the meantime, I can only hope that other gamers enjoy Black Powder as much as we do.
Prepare for Battle!


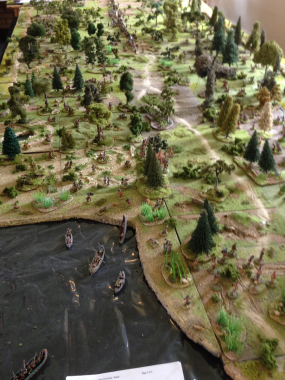
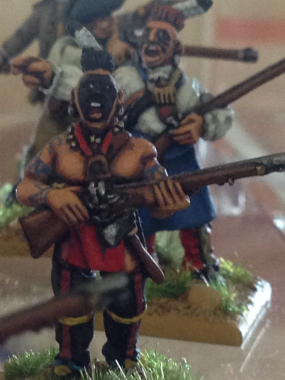

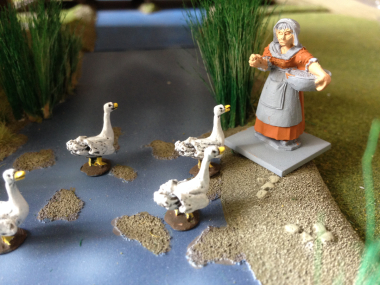
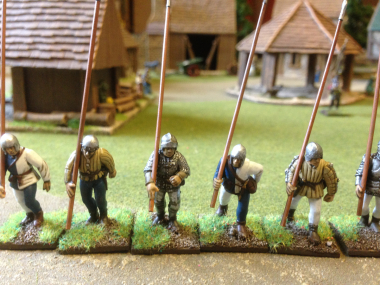
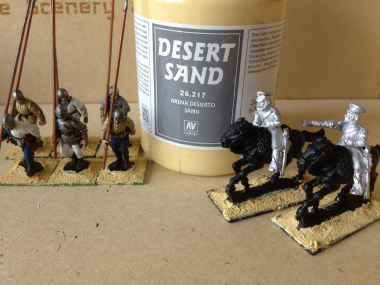
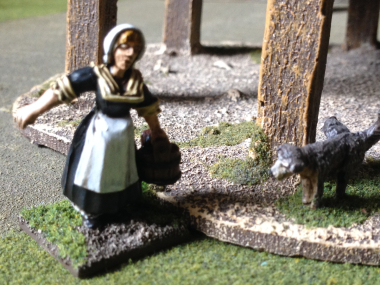
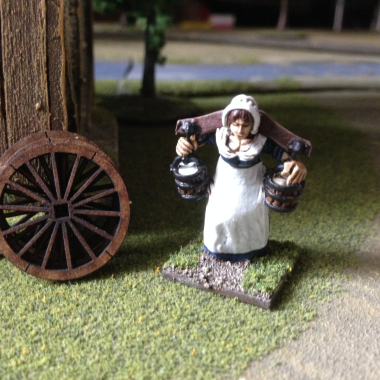
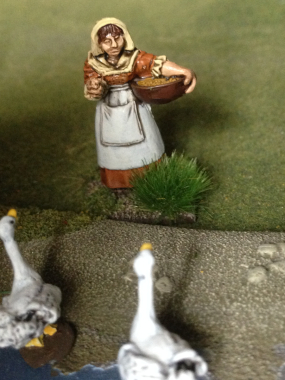
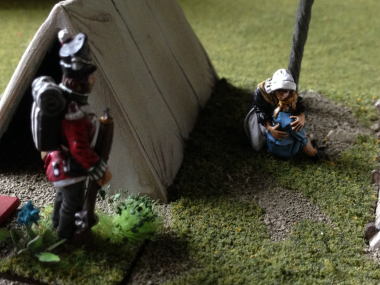
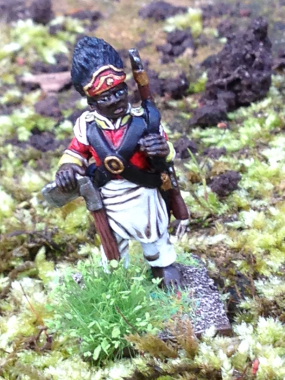
 I’ve been blathering on about my Carribean force for sometime now but have yet to use it on the field of battle. There have been two problems; one, the lack of a rules set and more importantly, the lack of an opponent! I started to collect and paint the Trent Miniatures Caribbean figures because I thought they were superb models. The sculpting is of high quality with some really characterful models in the range. Add to that, the uniforms look pretty good and there is plenty of scope for all sorts of variety when putting together a force. The theatre of action, the Caribbean islands in the late 18th Century provides plenty of scope for all sorts of battles, from small scale skirmishes to full on battles, naval landings and sieges. And of course the scenery will be interesting – anything from Plantations to Jungles.
 Well, as usual, the answer was right in front of me. There is a superb rules set by the very talented Alex Buchel of Studio Tomahawk called ‘Muskets and Tomahawks’ for skirmishes in North America during the 18th Century. I could see immediately that it would be very straight forward to transpose the Caribbean forces over the North American Forces in the rules set and I could use my figures on the wargames table! Luckily there are a few players at my local wargames club that play M & T’s, so I asked one of them, John Grant (or Nice John as he is known locally!) if he would take me through the rules with a practice game. John has a terrific set up with plenty of scenery and AWI figures, so the game was great fun and confirmed my impression that the rules set would transpose to the Caribbean. The next step was to ask if I could use my Caribbean force in a game!


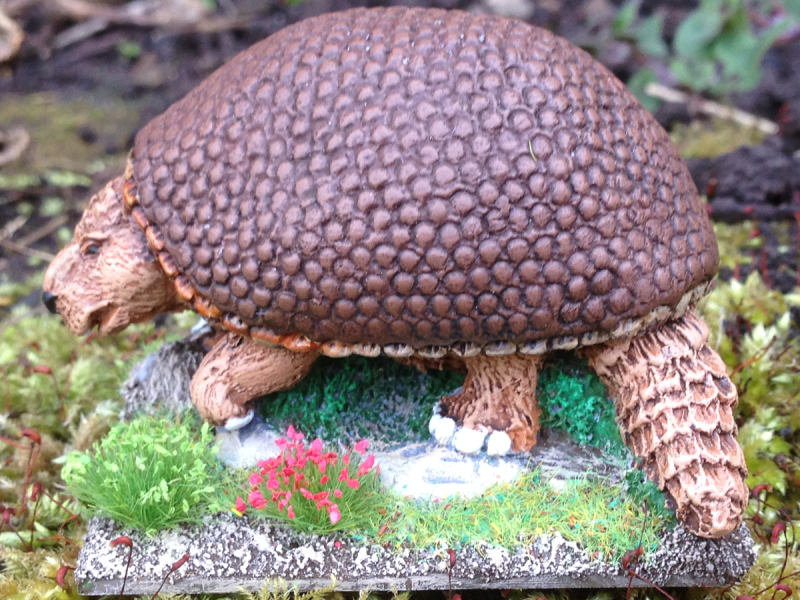
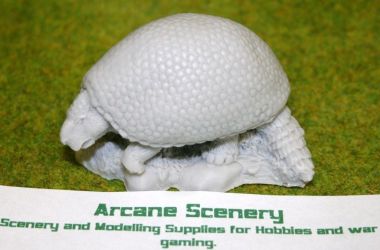 As we go into the Easter break it seemed appropriate to paint something vaguely egg shaped and as the Glyptodon had been sitting forlornly on the work bench in just an undercoat I decided his time had come!
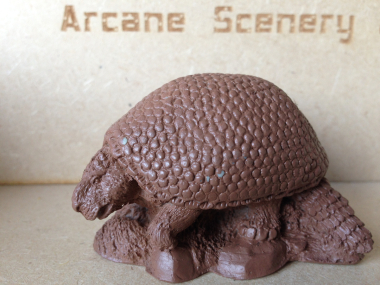


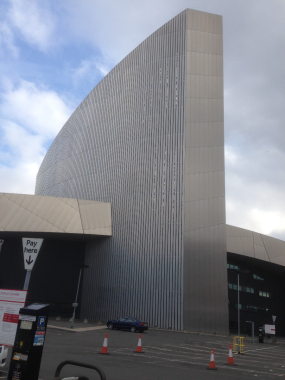 On Sunday 15th, I was up in Manchester (Old Trafford, to be precise) to watch Tottenham play Man Utd and rather than just visit the Theatre of Dreams, ( or on this particular day, Theatre of nightmares – Tottenham lost 3-0!), I made a day of it and visited the Imperial War Museum North.
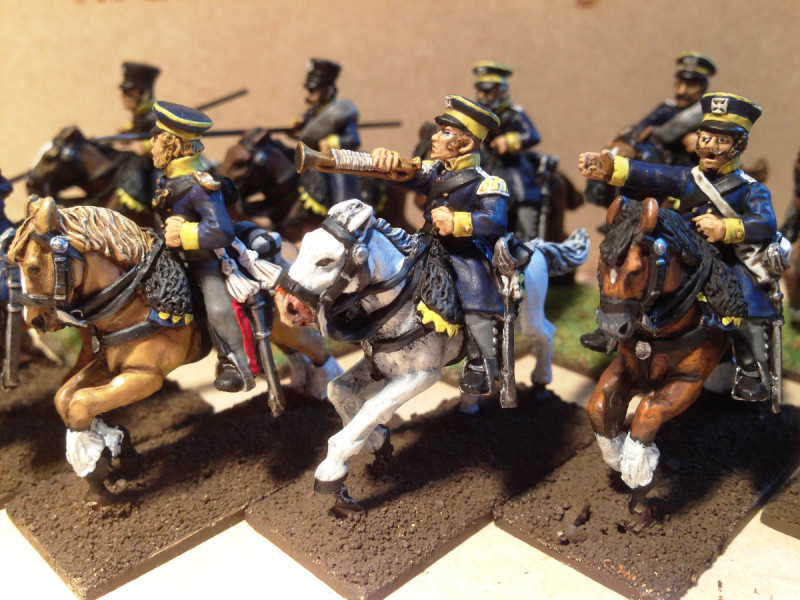
 The next Battalion that I should be painting is the final Hanoverian Landwehr Regiment, The Osterode, but even the excitement of finding that they have green facings and shoulder tufts hasn’t convinced me that another 24 red coats is a good idea at the moment. Then there’s my lack of officers in my army – I’ve got a nice pack of Warlord mounted officers to finish…red coats again though.
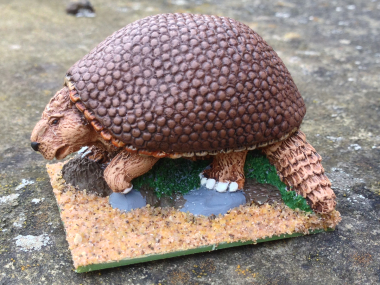
 Then I have my own Deezee range that I am supposed to be painting. I’ve got a bit stuck here as I have undercoated a Glyptodon but I think that I should try to airbrush him rather than paint him, so he’s been relegated to the back of the table along with some Pterodactyls that I have started but cant quite visualize how I am going to base them. Along with the Deezee, I have some superb models from Lucid eye and I really like the look of the new Cromagnons but I was disappointed with my last efforts with Ze-Khor & Harranna so I’m not in the mood for painting these.