I had wanted to add a couple of units of peasants to my ‘Never Mind The Bill Hooks’ army for some time. I thought that they would come in useful as levy troops and also I had a vague idea for a scenario involving an attack on a village where the villagers rise up and fight back.


The Fire forge Northern Folk Rabble looked as though they would do the job although I had a couple of misgivings. First of all they are not really medieval peasants ( not that I am any sort of expert in Medieval peasant dress) and secondly, they are a bit on the ‘chunky’ side. That all said, they certainly looked like an angry mob of peasants armed with agricultural implements rather than swords etc. I decided to ignore my concerns and bought a box.
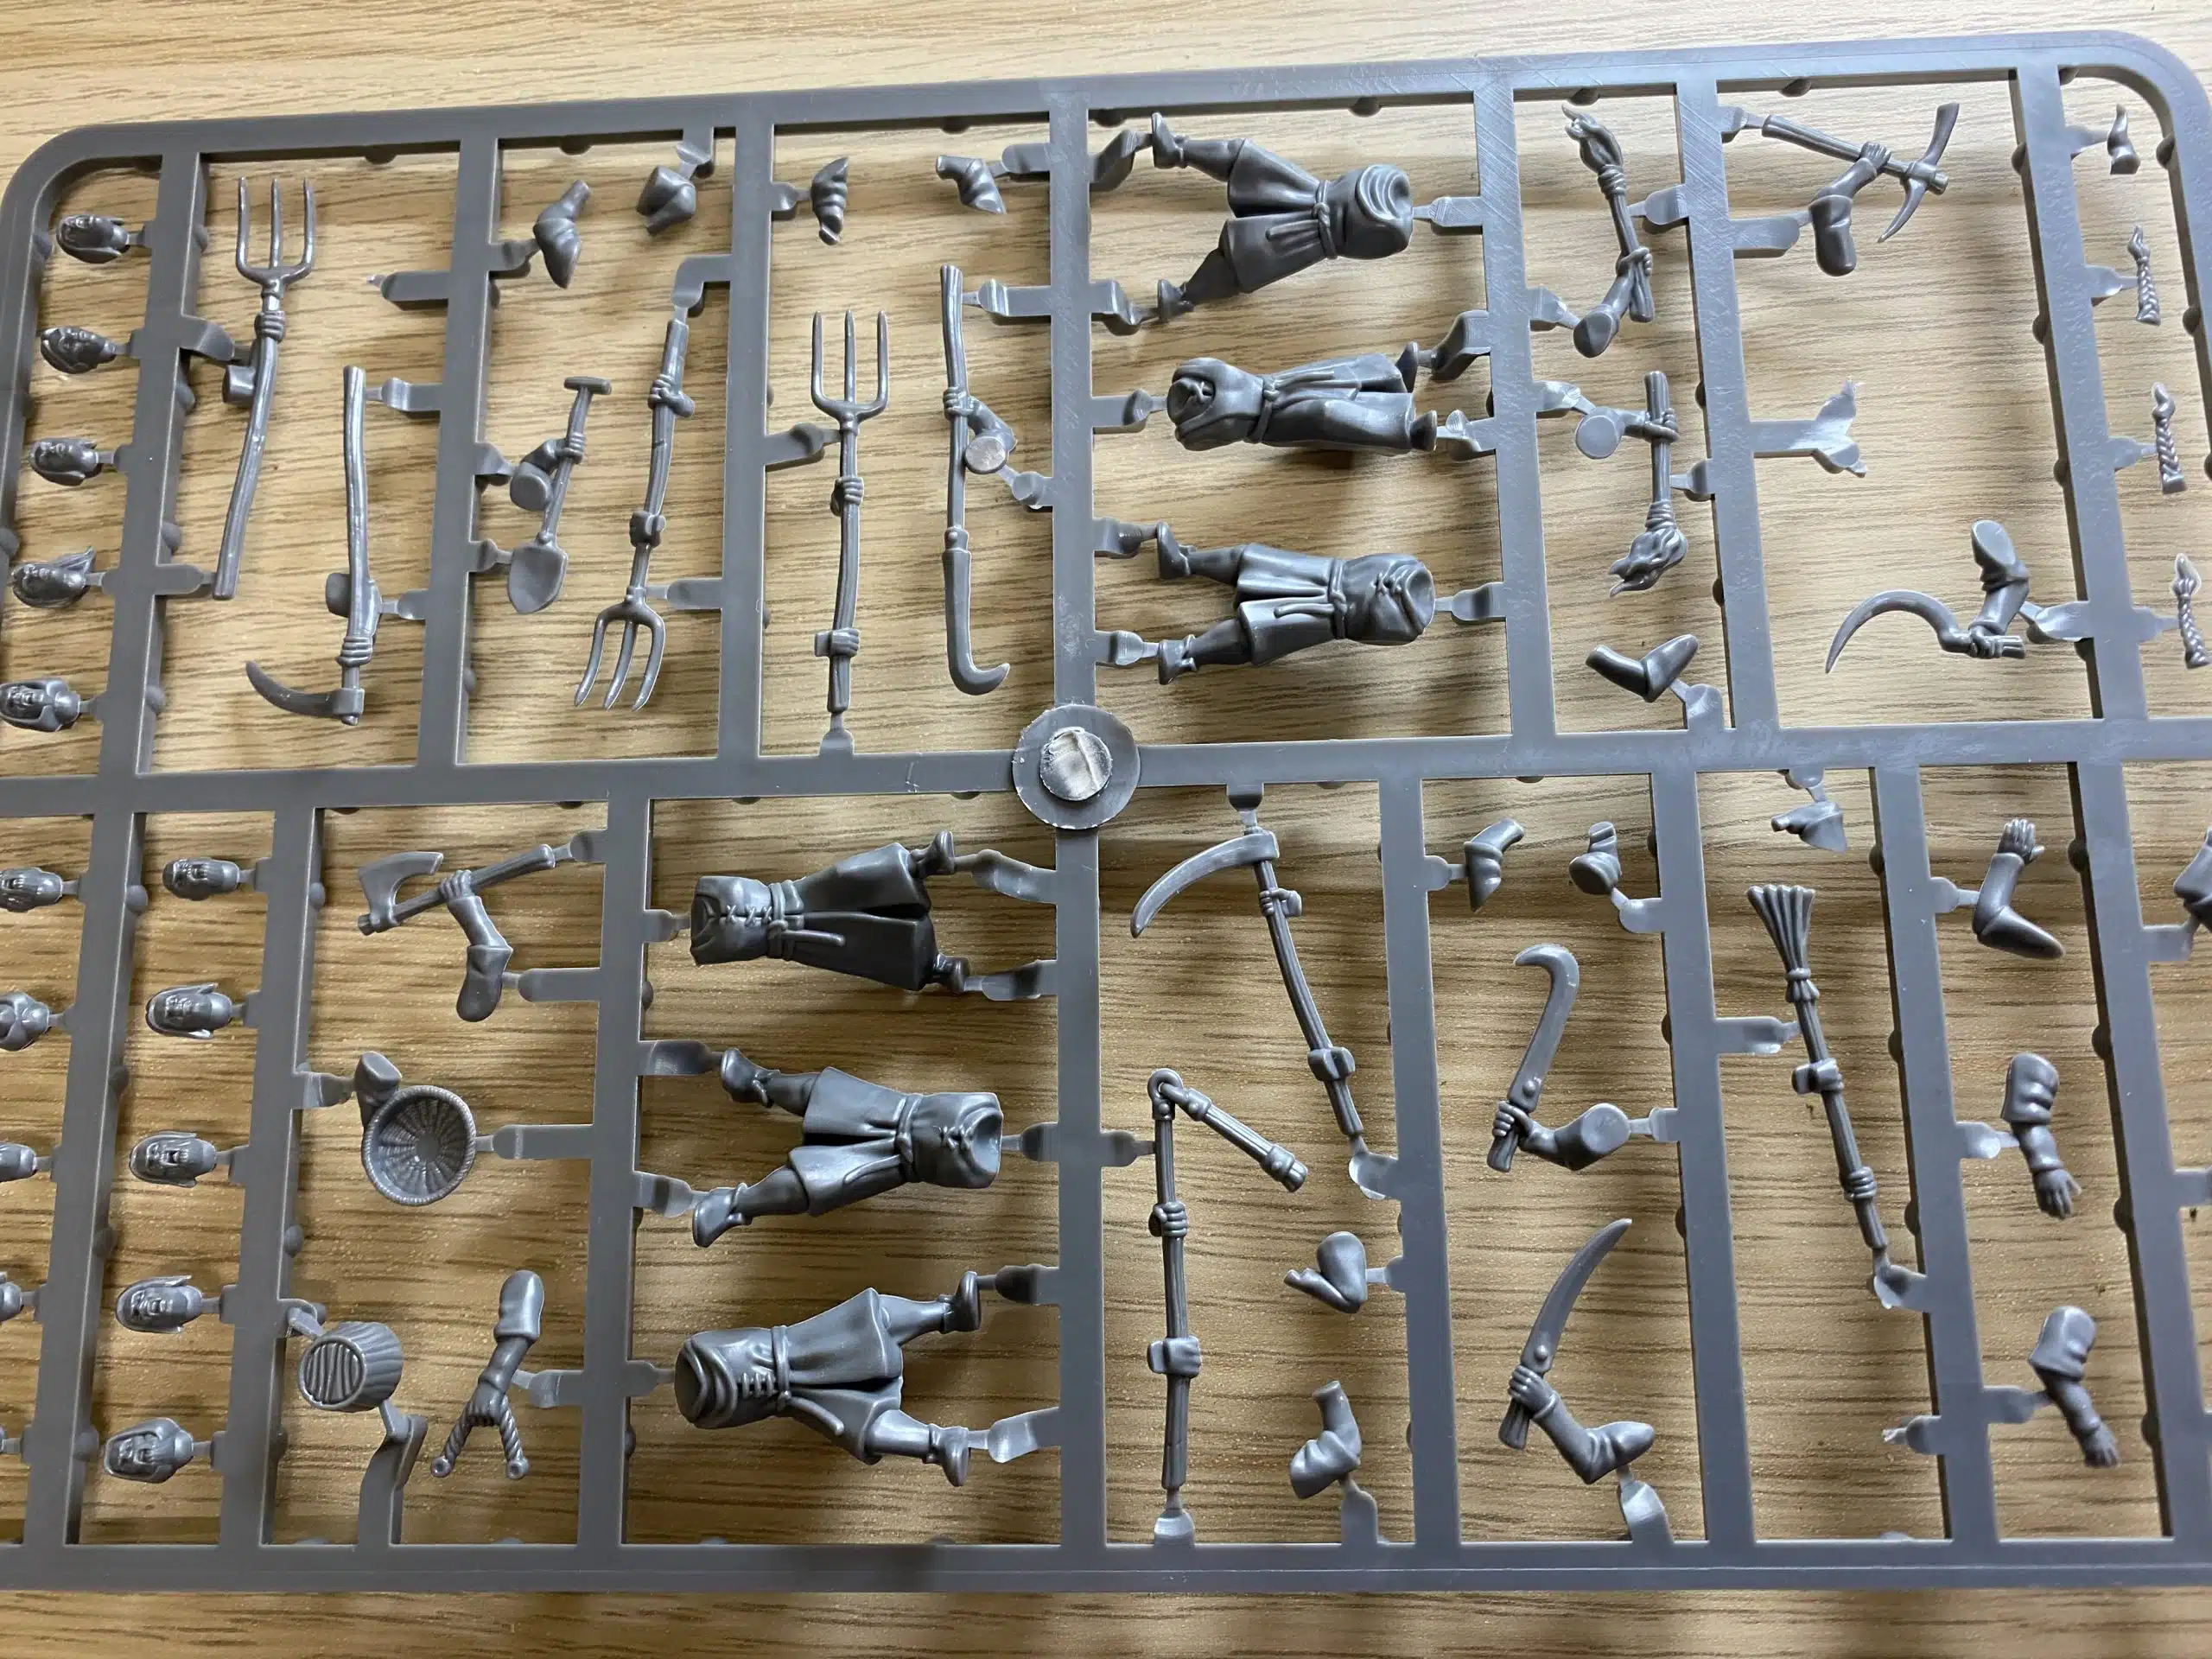
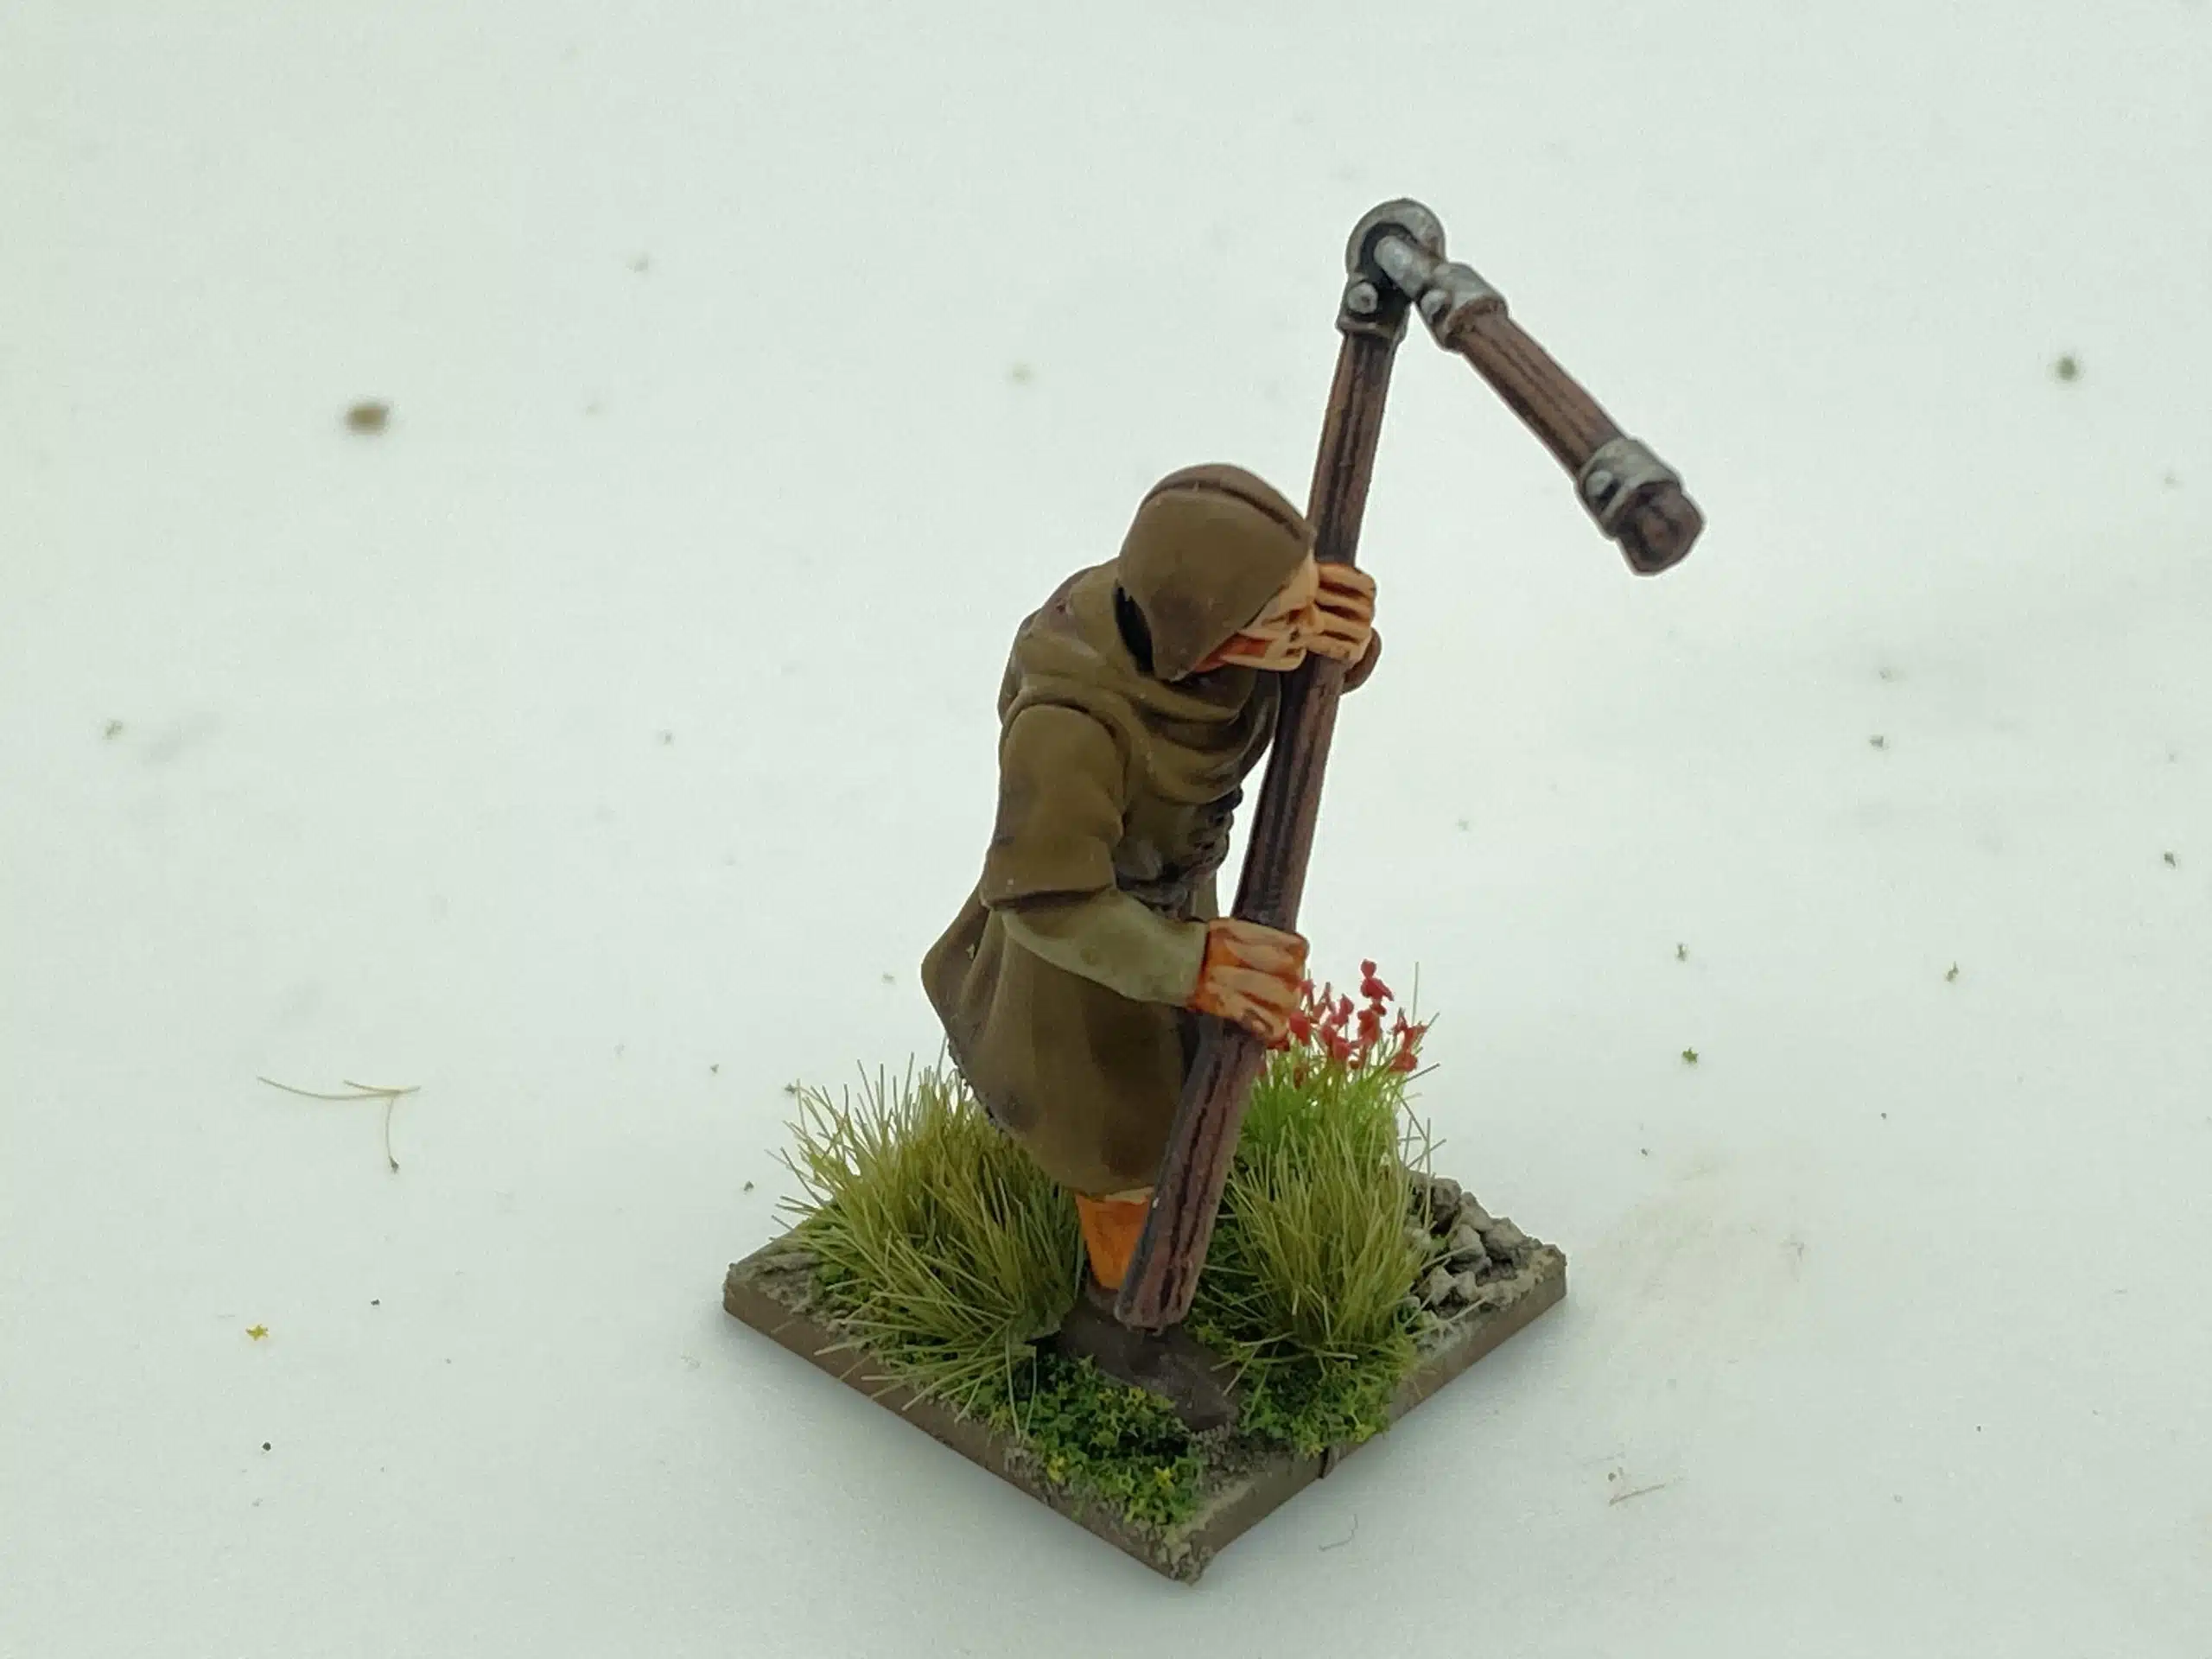
I guess it’s worth pointing out that the figures have clearly been designed on a computer as some of the detail is a bit coarse. But that’s the last of my gripes. You get 18 figures on three sprues. There are 12 men and 6 women with a huge variety of ‘weapons’ and a choice of 15 different heads. The flail is particularly useful if you are intending to build a Hussite army.
I started by putting six figures together – there is just a bit of a mould line to scrape off, otherwise, the figures are straight forward enough to assemble. The arms holding the larger two handed implements are a bit tricky to put together and some problems were encountered in getting them to ‘sit’ correctly. I think the issue was me trying to pose them how I wanted them, rather than getting the best fit. If you use plenty of glue (polystyrene, not super glue!), a bit of patience, you will get a fairly good fit. The other thing that I missed on the first figure that I made is that the small wiggly bit at the top right of the sprue is actually part of one of the figures’ hood – the other three pieces below, being pony tails for the women. Incidentally. it was apparently not the done thing for medieval folk, particularly women, to go without some sort of head covering. However, when you are angry enough to rebel against your Lord, you might just forget to put your hat on….

Having completed one sprue, I moved onto the next one and was pleased with how easy it was to get plenty of variety in the figures. It was also apparent that I was going to have plenty of spare bits for my bits box! I decided not to use the flaming torches, I just wanted my villagers to be armed with sharp objects! The torches will be useful should I decide to build a bonfire party!

When it came to painting, I just went through my different browns and greens for the men and used a few brighter colours for the ladies! I used a mixture of inks for shading and then re highlighted with the original colours where I thought it necessary. I had intended to make up the shortage in numbers for the final unit by mixing in some Perry’s but decided that this didn’t look right – the difference in sculpt style and size didn’t work for me. So I bought another box, having come up with a cunning plan to use the extra figures.
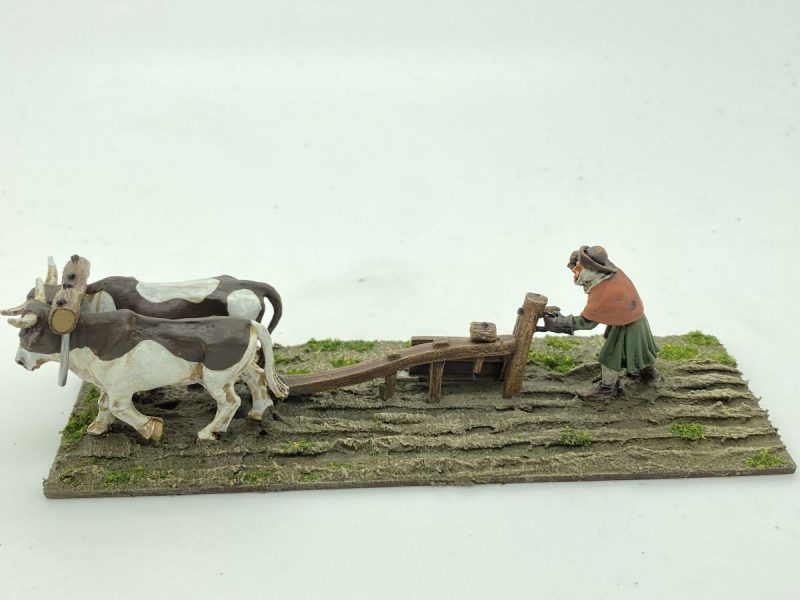
I decided that I would make two units of 12 peasants and one unit of skirmishing archers ( making 30 figures). I would then make a leader – ‘Jack Wood’ with his standard bearer, ‘Jill’ leaving just 4 spare figures. As it was, the two spare women were made up as working peasants for my village (under construction). Another spare was donated to my Granddaughter for a project that she was working on, leaving me one spare man who will end up in the fields at Little Bingham!


To make the leader, Jack Wood stand out, I decided to give him a big dog from the DeeZee range. I also changed his bill hook to a big sword that I had in the spares box from making up the Perry Foot knights. It’s actually a two handed sword but it looks about right in Jacks big hands! I thought that a trouble maker like Jack would be an ex soldier! To make Jill’s standard, I simply stuck two of the larger handles from the longer implements together and trimmed them into shape.

The banner was based loosely on a Wheafsheaf design (inspired by a pub in our village) and hand painted on paper. I keep practicing my free hand and whilst I wont be winning any competitions with it, it does save on buying decals! I painted the dog as a Rottweiler- I doubt that the breed existed in the middle ages but he conveys the idea that you would be a bit cautious about petting him! The dogs chain was from my bits box – originally an anchor chain for a boat. I also gave ‘Jack’ a wrapped bow from the Perry Light infantry set and Jill has an arrow bag from the same set. The idea was to convey that they are a team!

I’ve obviously taken a few liberties from an historical point of view. The whole project is a figment of my imagination, based on an imaginary uprising in the Village of Little Bingham! I now have a decent ‘ward’ of Levy or angry peasants for my ‘Bill Hooks’ collection, I just need to get them into battle!
THE COMMERCIAL BIT
I hope that you all enjoy your hobby as much as I do – our web site will have much of what you need! Click here to see our shop.
You can see the range of miniatures, including the Fire Forge Folk Rabble, that we think are suitable to for the Wars of the Roses, along with the rest of our Never Mind The Bill Hooks range here:
To see the full range of DeeZee animals, click here:
You can find all the Vallejo Model colour paints here. If you don’t want to browse, just enter the paint number into the shop search bar;
You can find Gamers grass here:
If you need Milliput or other fillers, click here:
Happy Modelling!