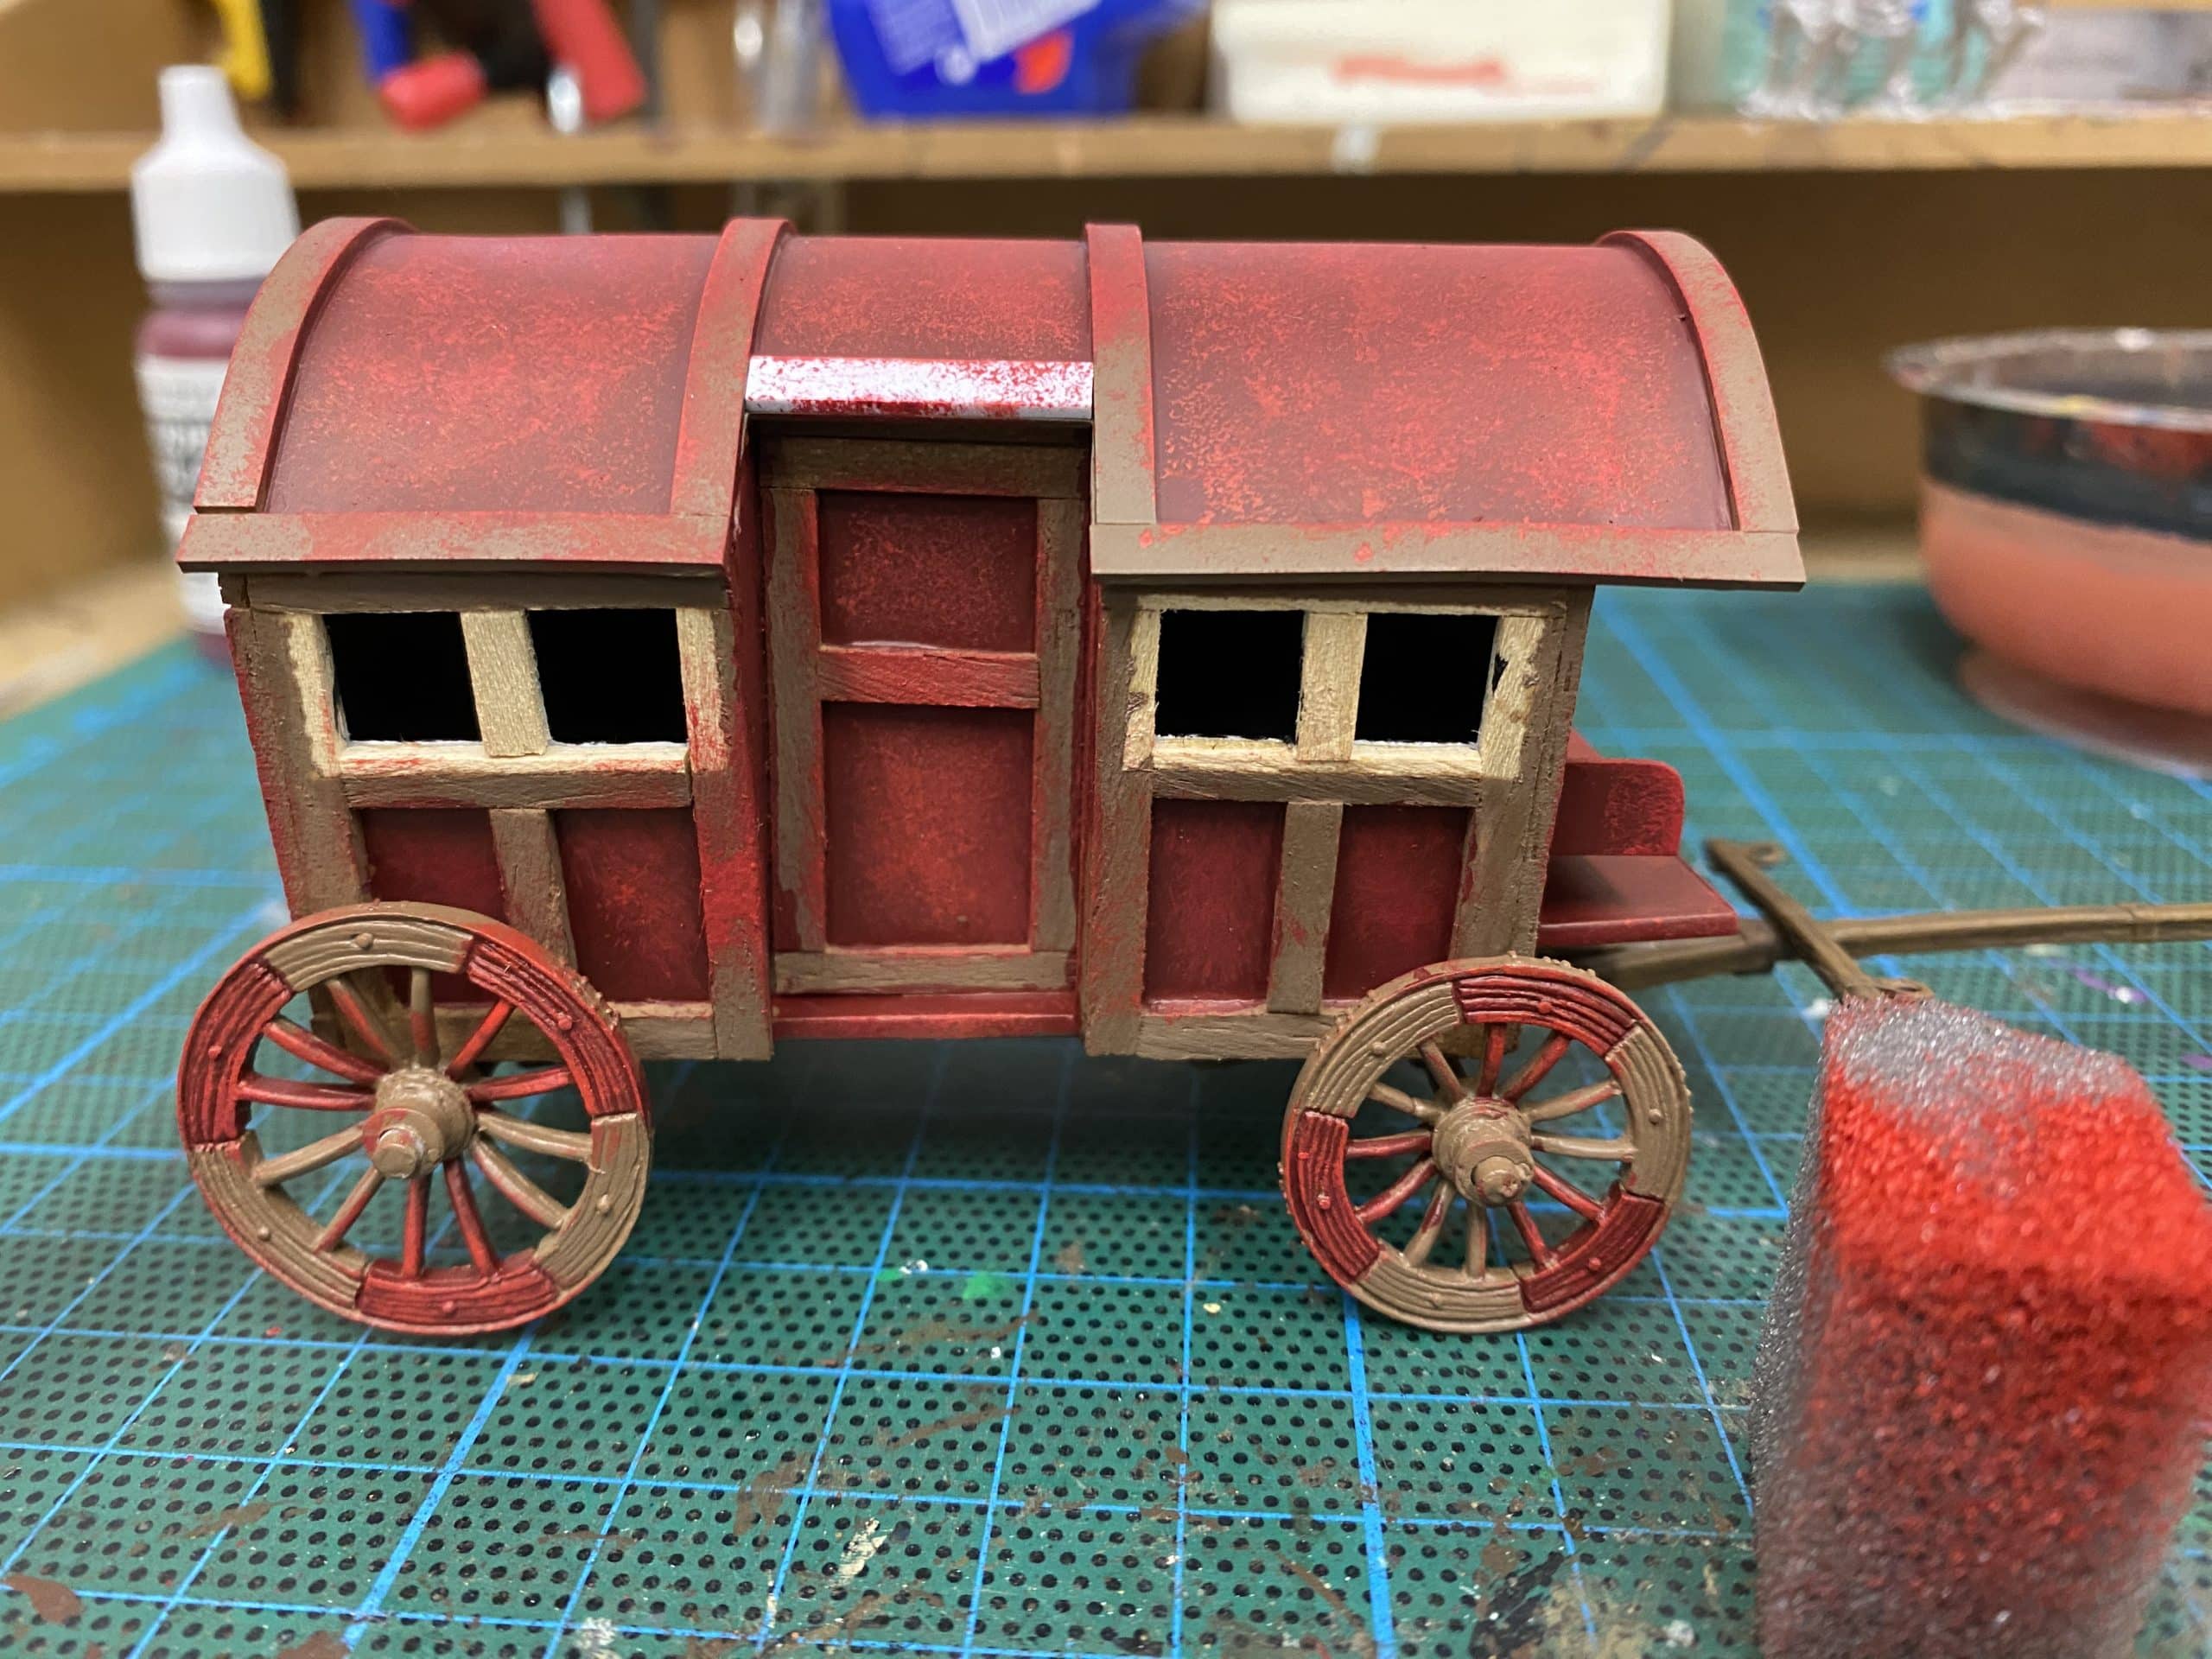
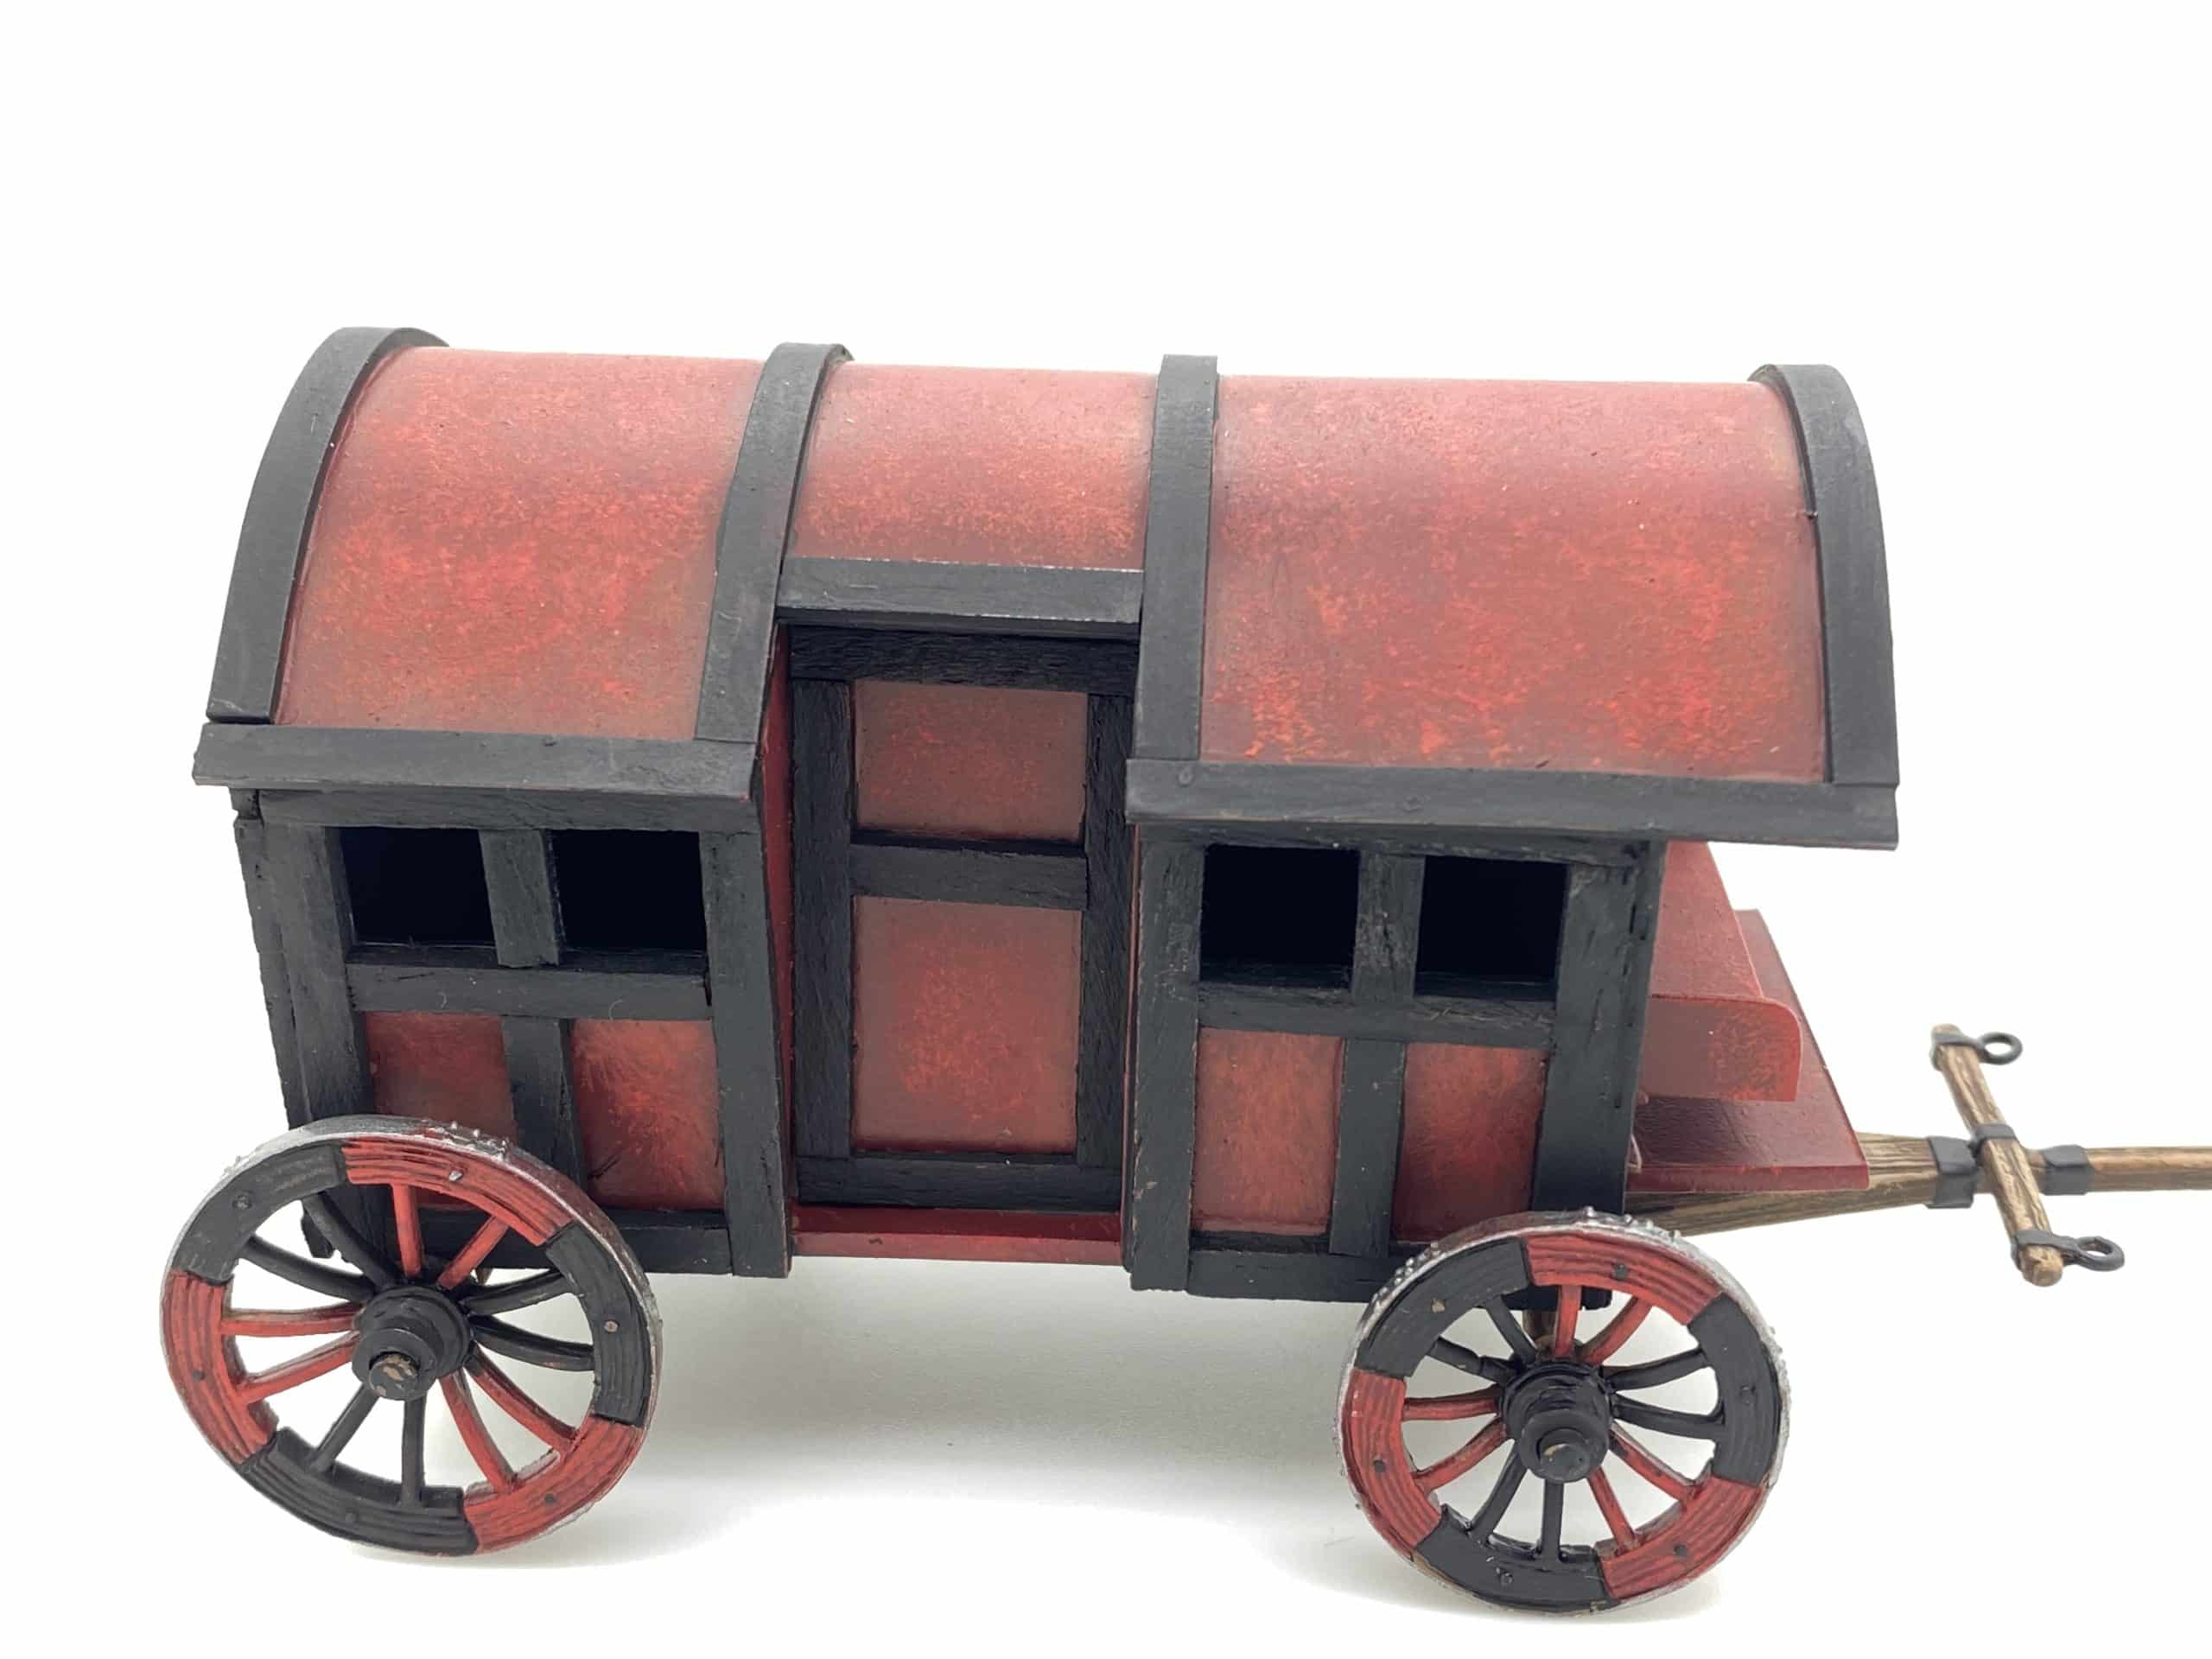
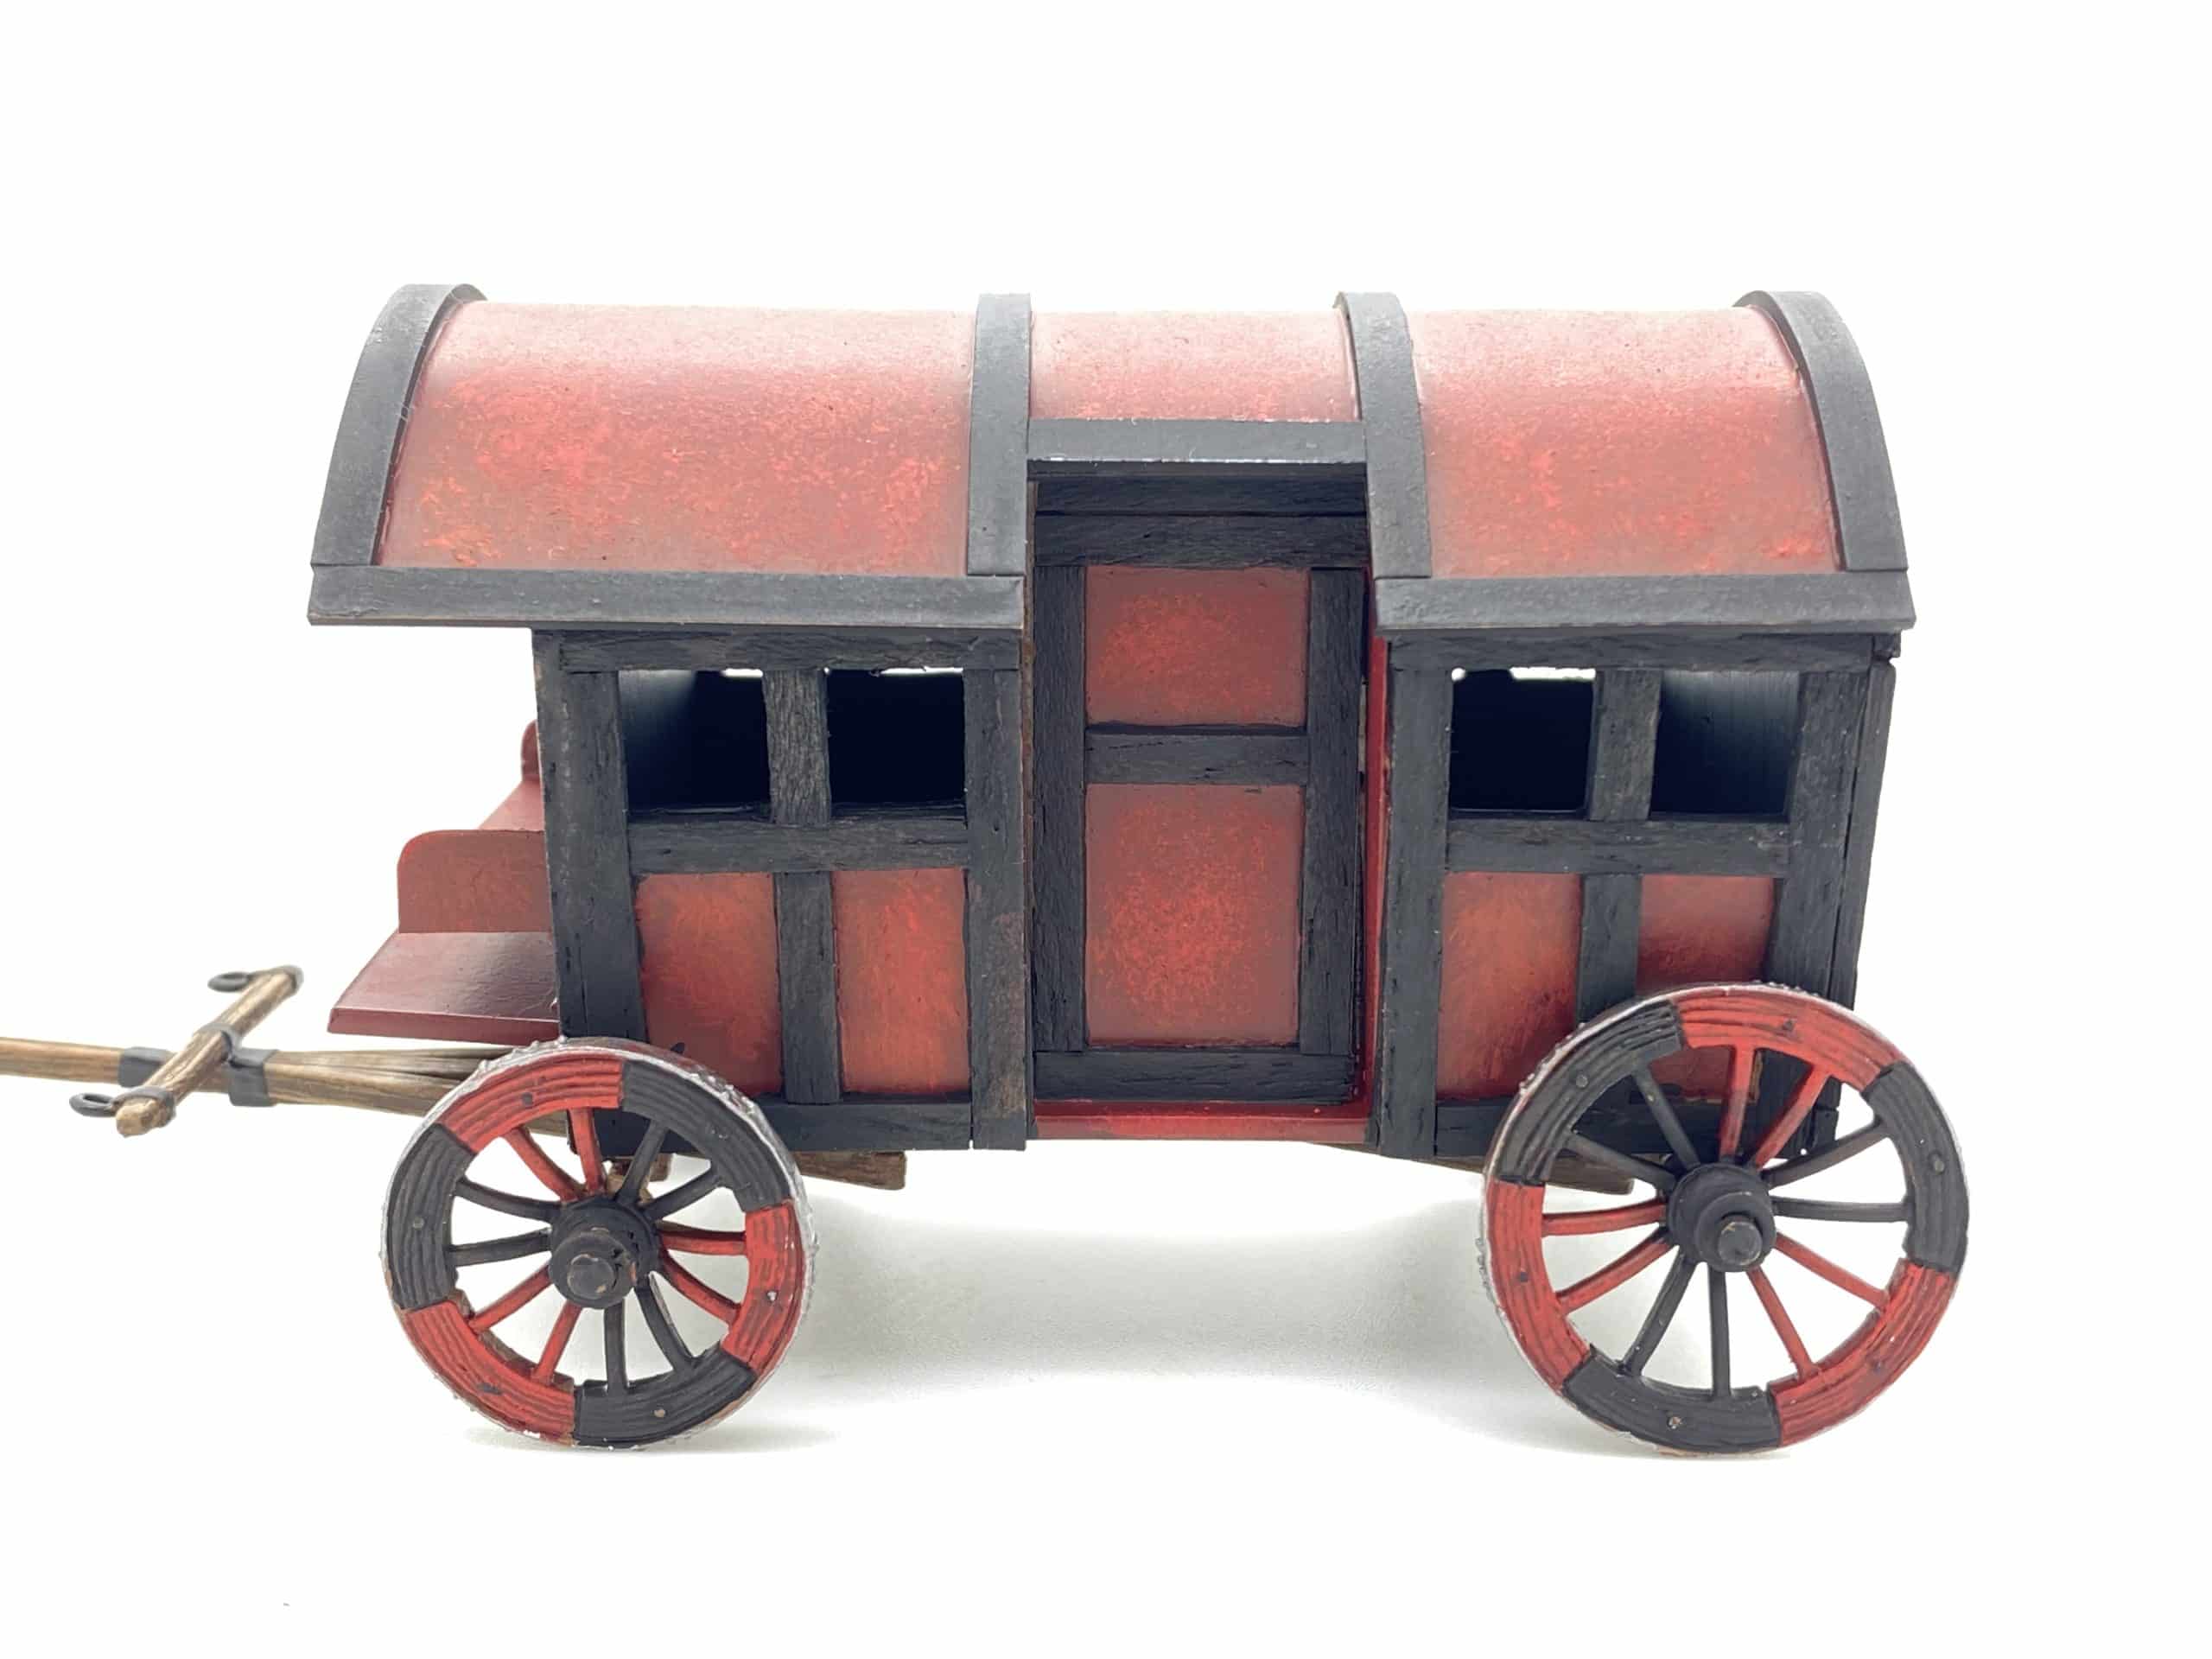
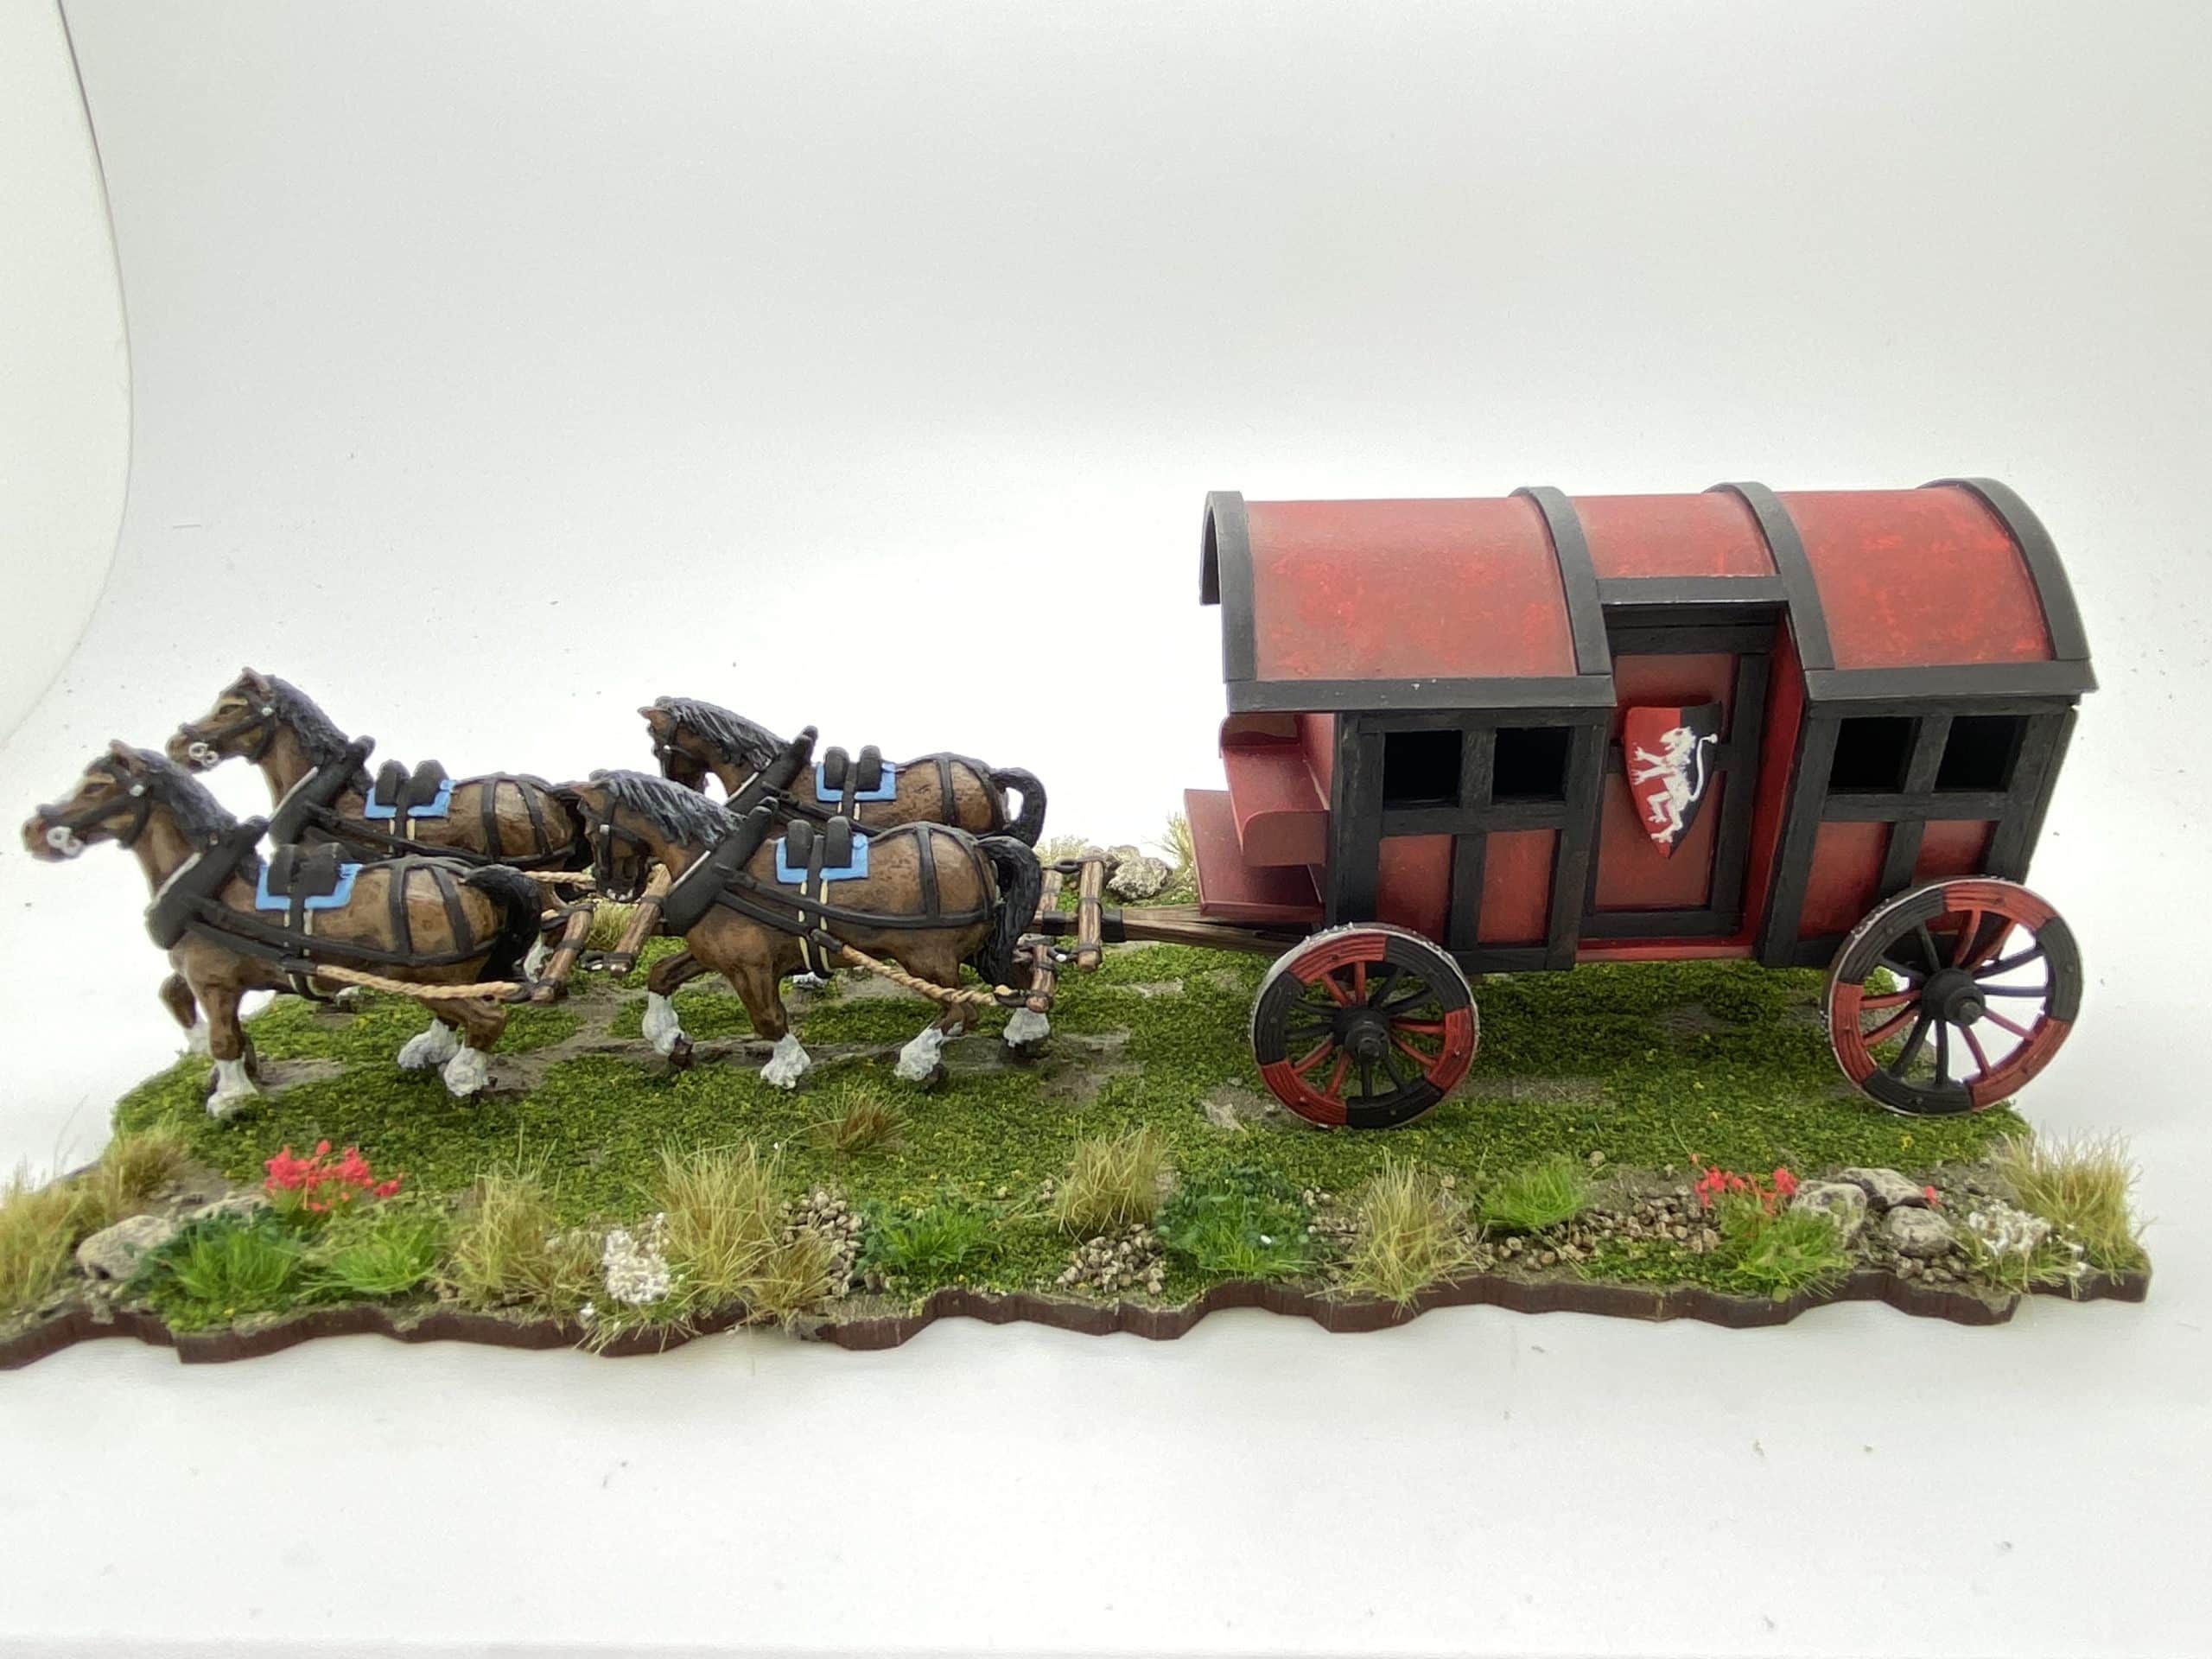
Ox Cart – Final touches

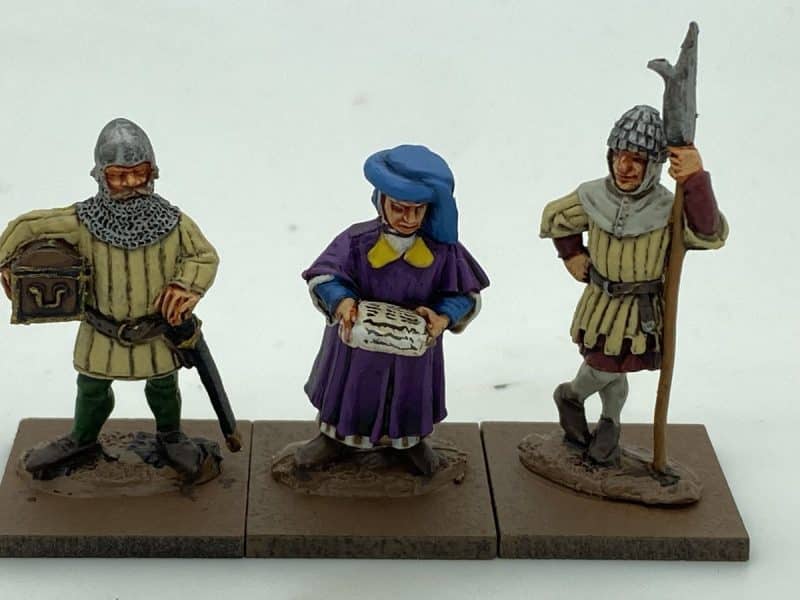
The final part of the project was to paint the ‘crew’ and base everything. Painting the figures was fairly straight forward – as they are supposed to be civilians, there was no need to worry about whether the figures would be in livery or not! I did check pinterest and Google images for pictures of medieval clothing and the general impression that I had from these sources was that the clothing would be mainly muted colours.

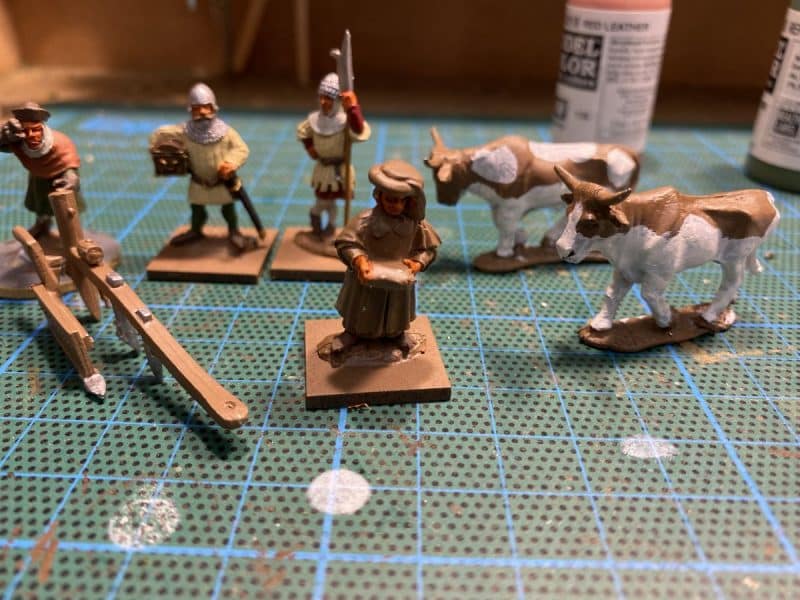
Passengers block painting in prgress.

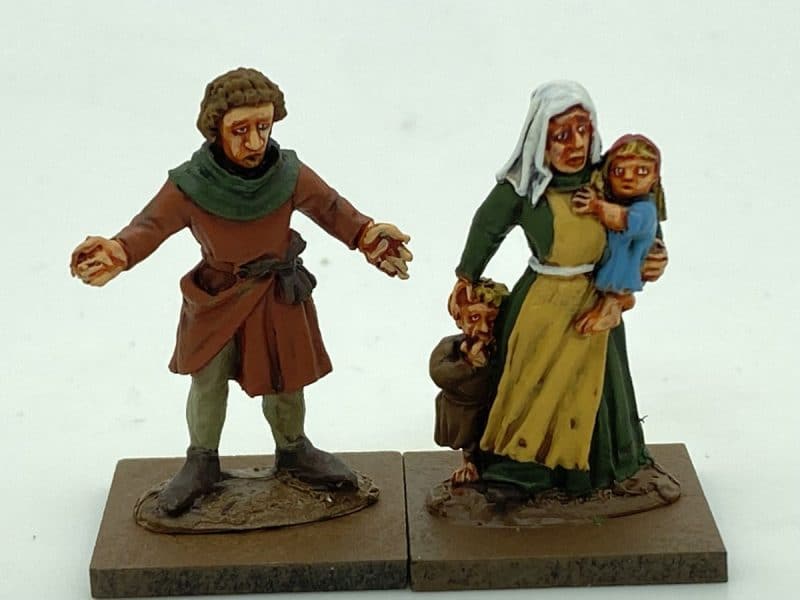
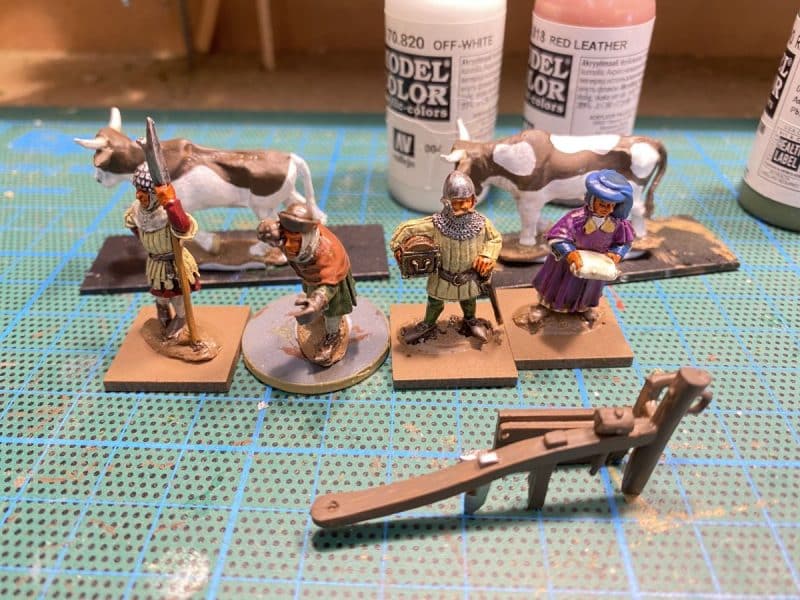
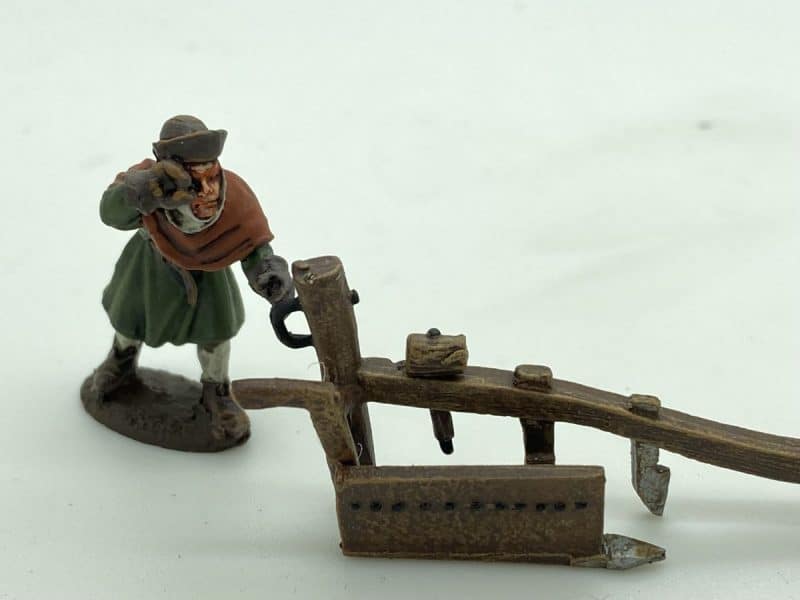
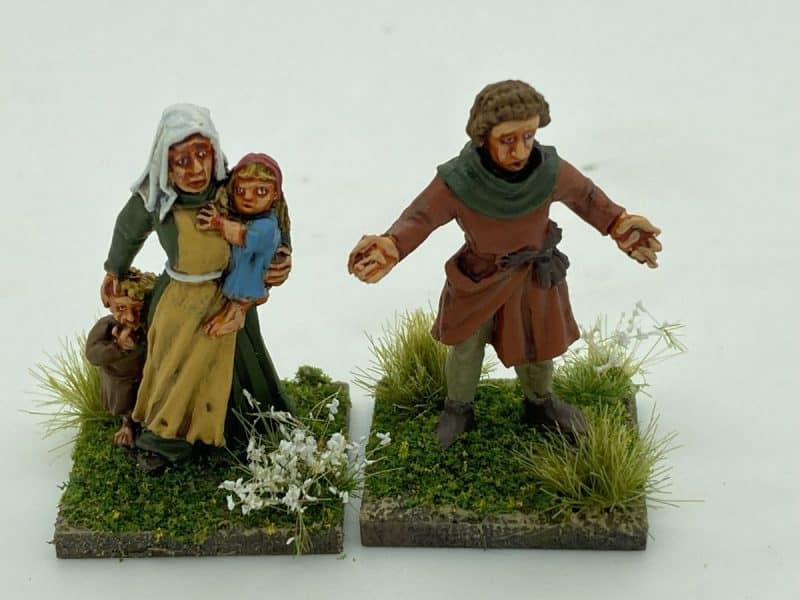
So the driver was painted in Gold brown 70877 for his leggings, and deep green 70970 for his jacket. The finished figure was actually brighter than I intended but he looks OK and adds some colour to the diorama. The female figure (the driver or drover’s wife?) was painted with a light grey 70990 apron over a burnt red 70814 dress. The baby and her hat were painted white to add interest and to show the baby off. The little lad was painted with black grey 70862 leggings and a khaki 70988 smock. I gave him a bright red hat to make him stand out against the luggage!

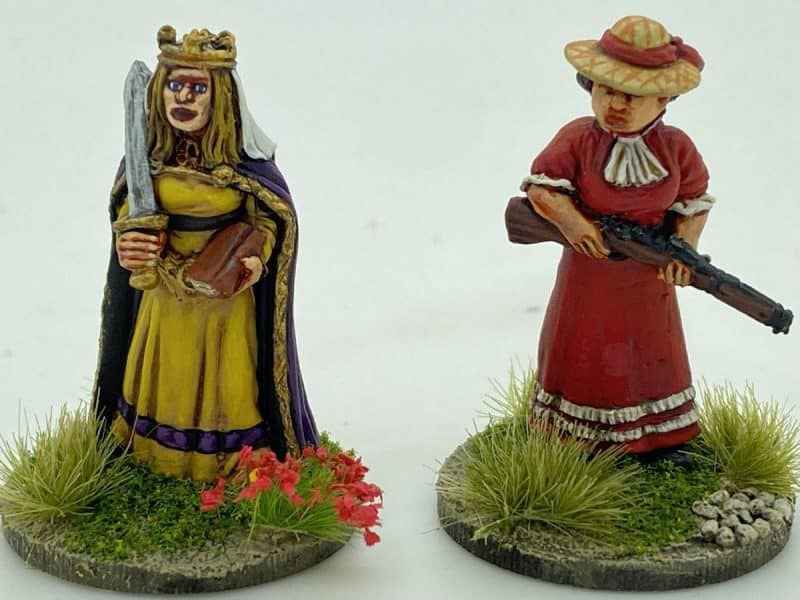
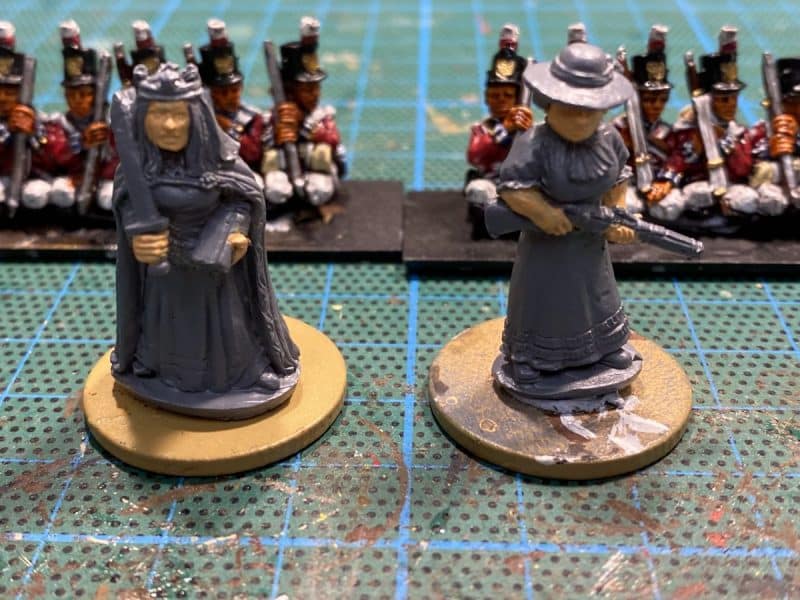
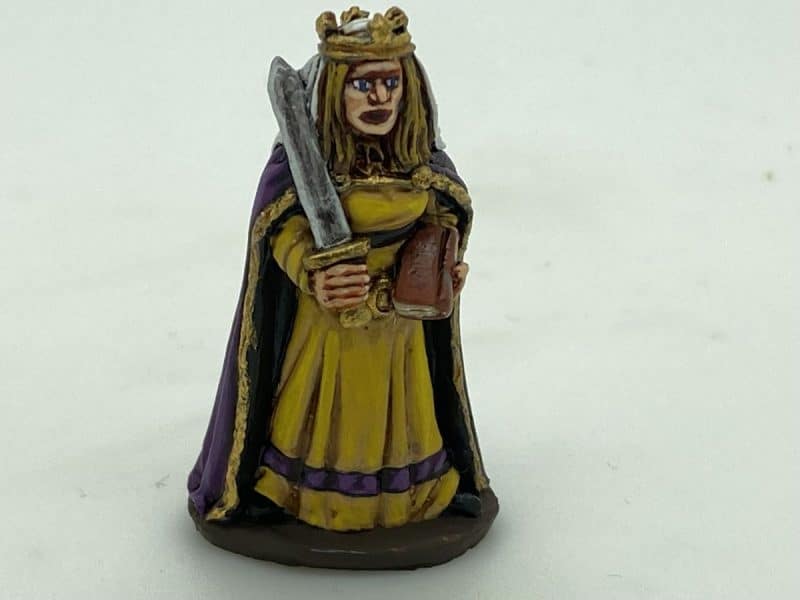
Edith Cavell – the free figure from Partizan 2021

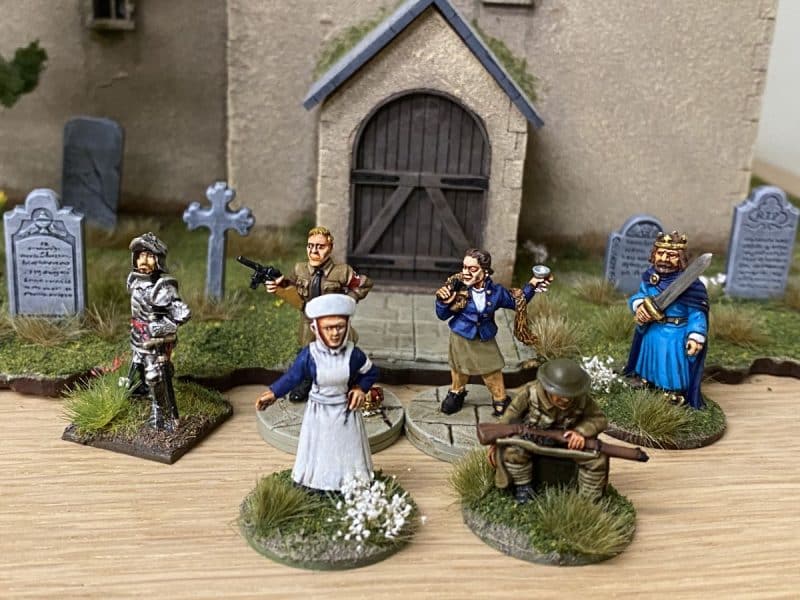
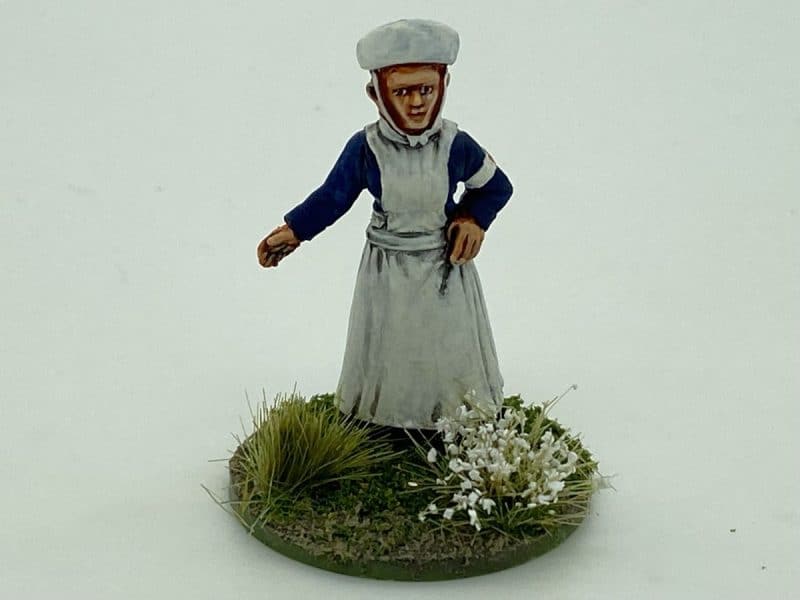
You may have noticed that there is a WW1 nurse in the picture above. It is the Edith Cavell figure that was being given out at Partizan this year. It made sense to paint her at the same time as the passengers, as I would be using similar colours. She is not included in the final diorama but here’s a picture of the finished model that I have added to my collection!

All aboard!

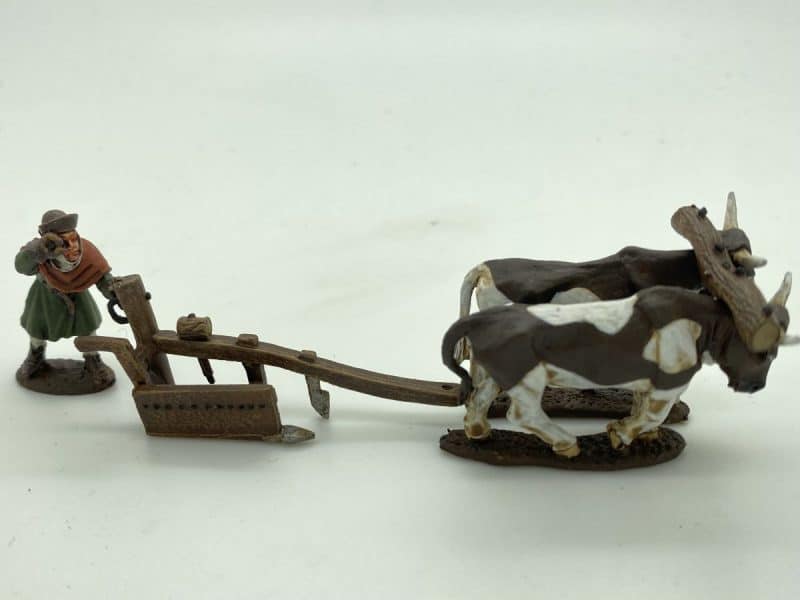
Once the figures were completed, they were based ( in the case of the drover) or added to the cart. The lady with the baby looks as though she’s is in a precarious position, perched right up on top. I’m sure that the Health and safety executive would not be pleased! However, this is where she is designed to go and from an artistic perspective, looks good!

Sabot base under construction
Test fitting everything.

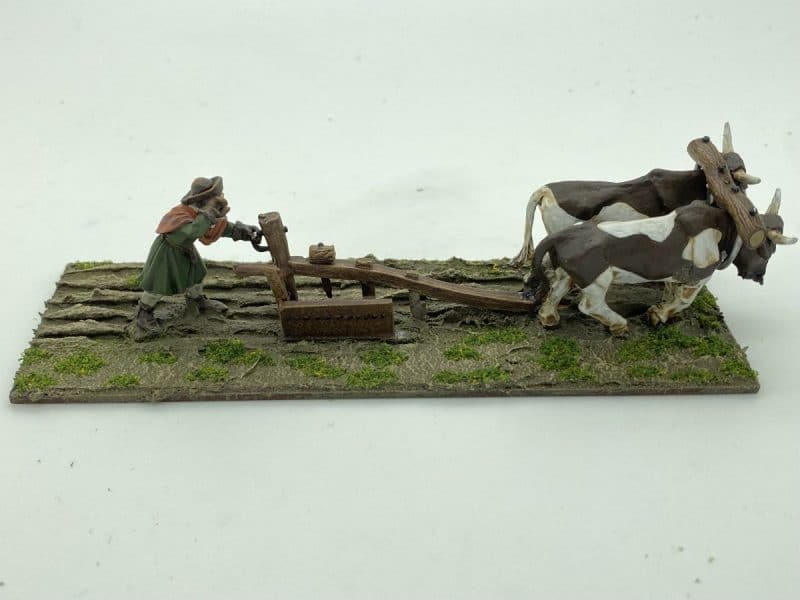
The next stage was to construct the base. For some reason, I have a tendency to go for ‘sabot’ style basing for my dioramas and vignettes. It allows me easier access to paint the bases and should I wish to change things in future ( I have no idea why I would want to….) I can do so. I used a piece of MDF for the base – I think it was part of a discarded movement tray that I had in my ‘bit’s’ box. It was then a question of using Plasticacrd and some spare renedra bases to block in the spaces around the wagon, Oxen and drover. The picures show how I did this.

Texture paste added

Once this is done, I covered the whole lot in Vallejo Dark Earth texture paste. I also added some ballast for some extra texture on the edges. I used my sculpting tools to stipple up the earth where the oxen would have walked, and created the cart wheel marks in the cart base.

Painted and dry brushed

When dry, everything was painted with my choice of emulsion ‘Delhi Bazaar’ and then dry brushed with Iraqi Sand. I was going for a dry look to the base rather than a muddy winter or autumn finish.

Green Turf added

I then added some green scatter from the woodland scenics range, a blended green Turf.

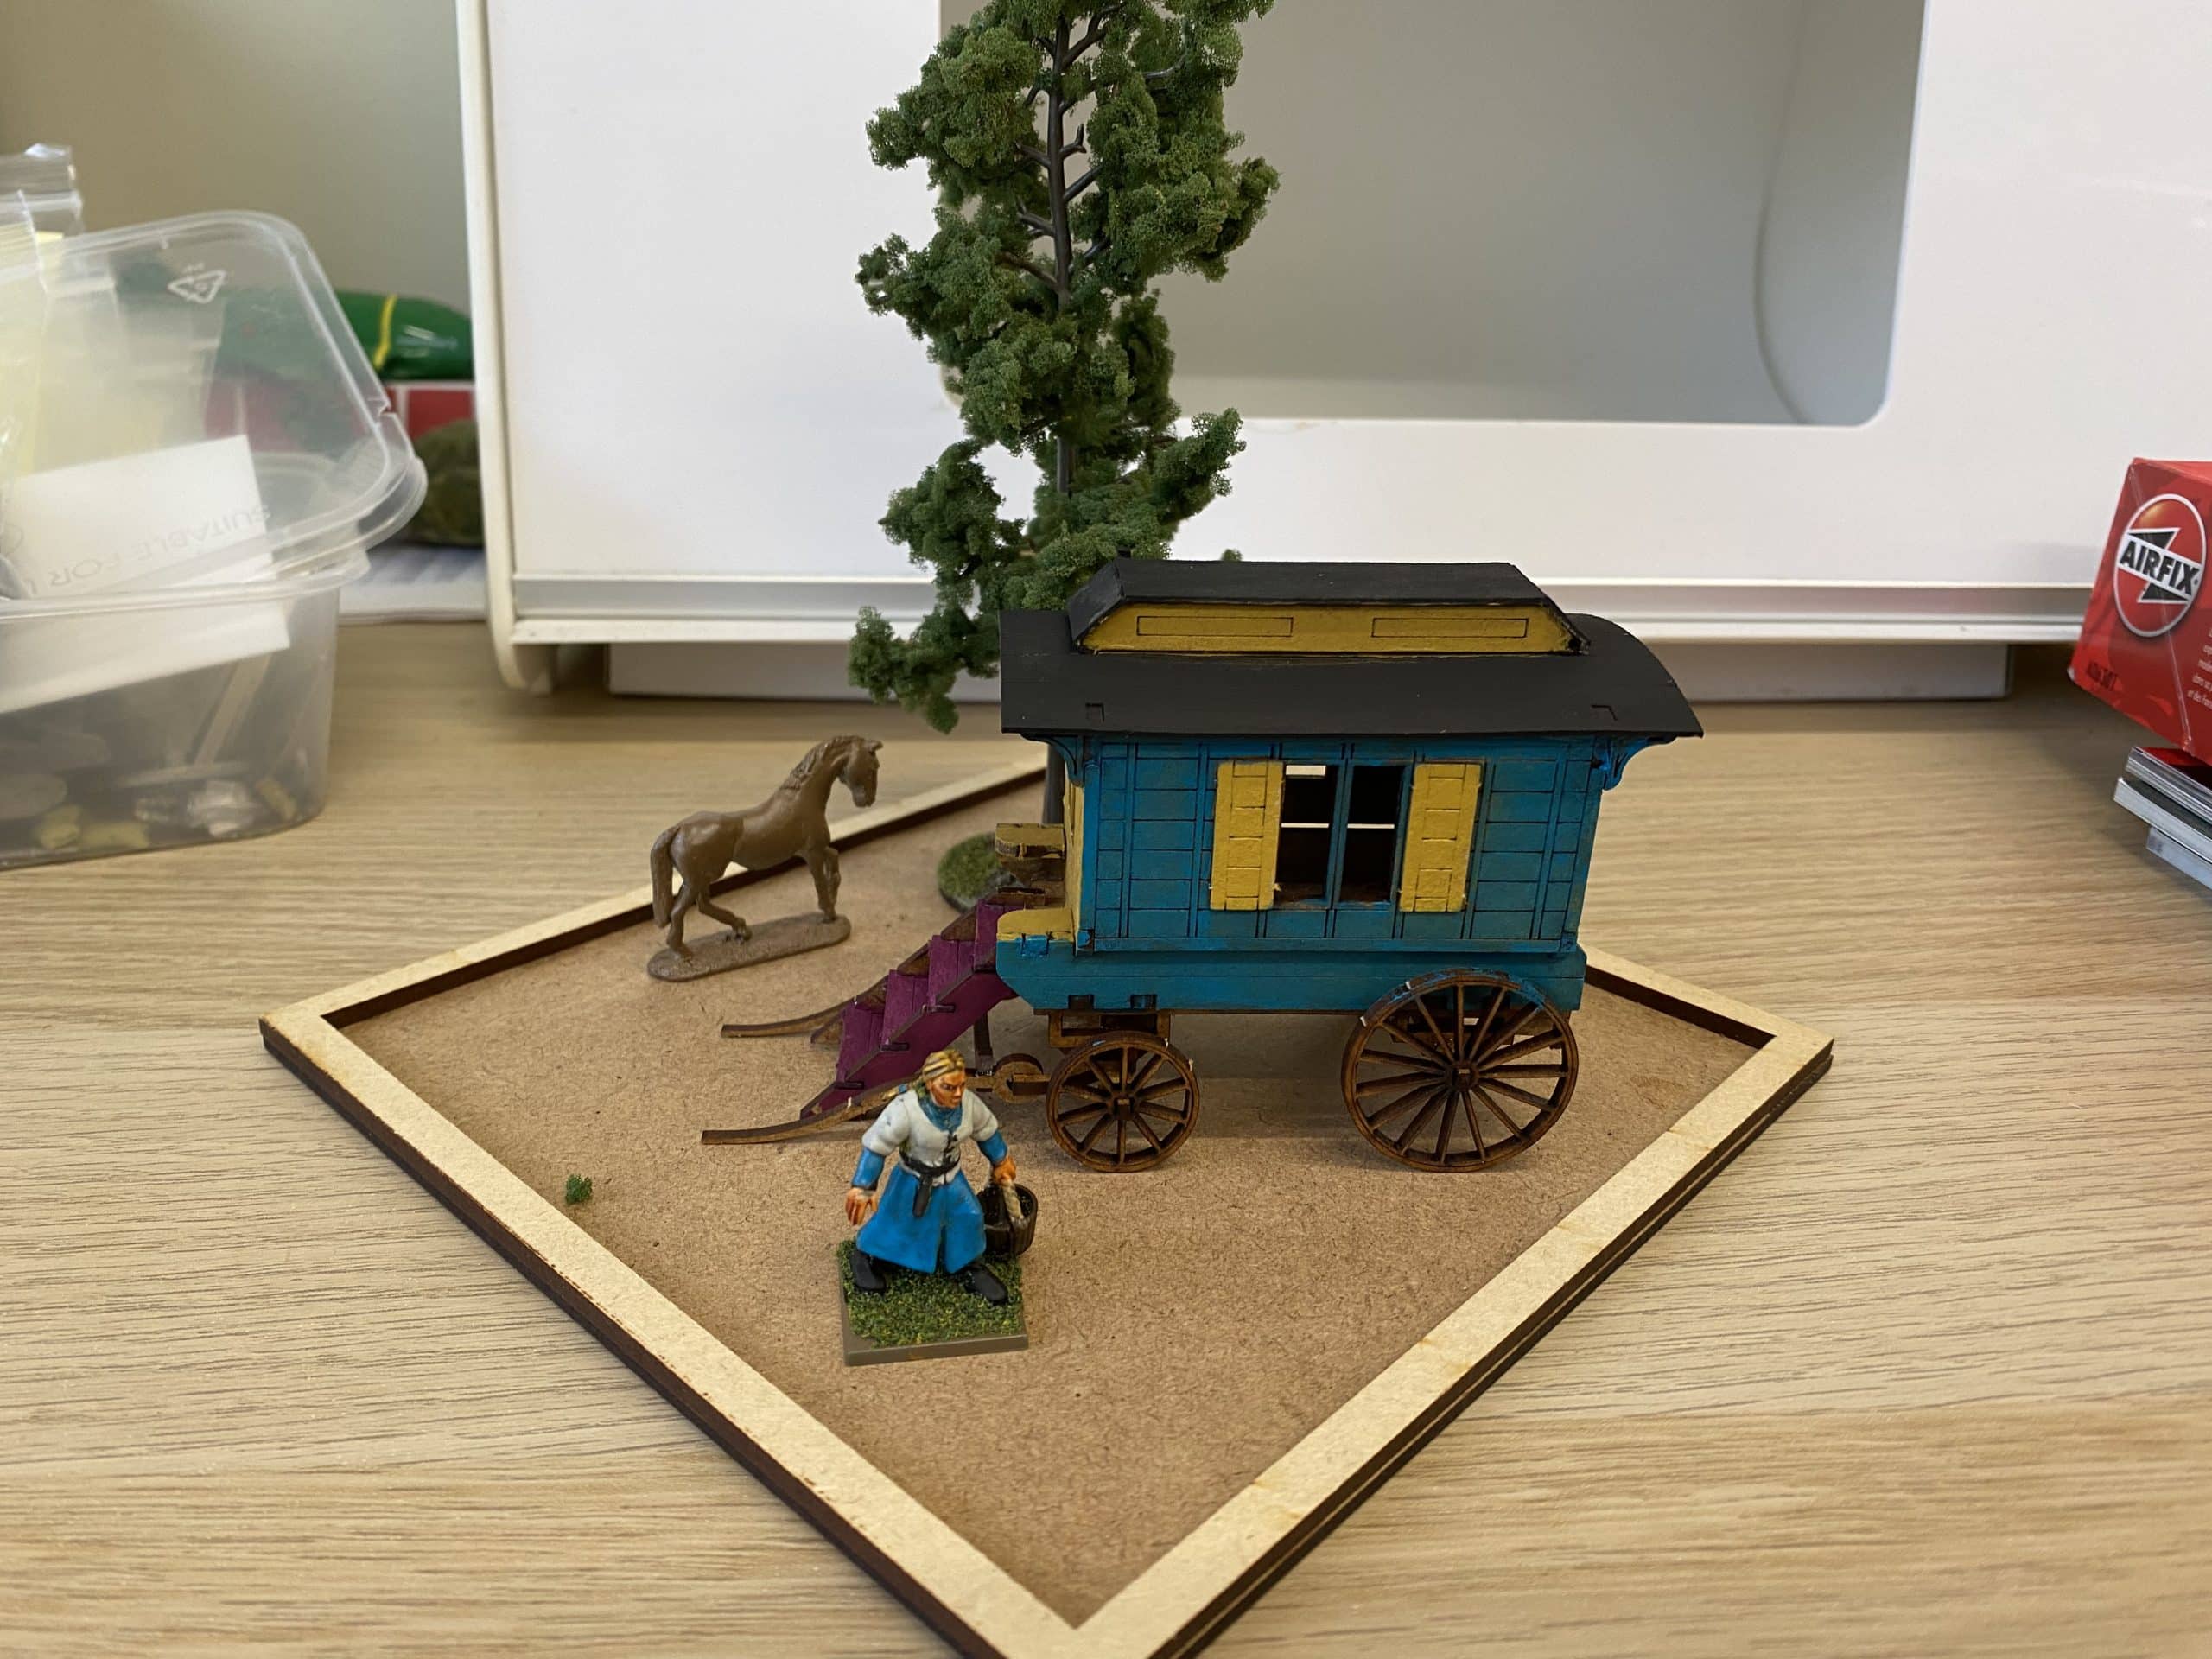
The finished diorama – oops! I need to touch up the sides…

The final touch was to add a variety of tufts and flowers. My friends say that I use too many flowers on my bases but I like the colour that they add! I think that it adds to the rural look!

The final result with the edge of the base touched up!
The view from the other side!

So the Ox wagon is compete and added to my collection. There is just one more thing that I will add. I need a length of chain to connect the front oxen team to the wagon but unfortunately, I am O/S of the size that I want and more annoyingly, I’m sure that I have some buried out in the shed somewhere! For now though, I’m calling this done and it’s on to the next project!

THE COMMERCIAL BIT

I hope that you all enjoy your hobby as much as I do – remember that our web site will have much of what you need! Click here to see our shop:

ARCANE SCENERY

To see our range of Vallejo paints click the link below. To go straight to a colour, type the paint number into the search bar:

VALLEJO PAINTS

To see our selection of MDF and Renedra bases click here:

BASES AND MOVEMENT TRAYS

To go straight to the adhesives and fillers section. Click here:

Glue. Fillers and Paints

To see our selection of tools, click here:

Tools and Modelling accessories

Happy Modelling!
Painting the Ox Cart

In my last blog, I showed you how I assembled the Ox cart. Now, on to the painting. I primed everything with Army Painter Leather Brown to give a good base for the paint. I then followed my usual procedure for painting wooden carts. With hind sight this was a bit of overkill for this opened frame cart but the results are acceptable. I started by painting the cart and Oxen Yoke Vallejo Chocolate Brown 70872.

First coat – 70872 Chocolate Brown.

I also picked out some of the wooden pieces of luggage in the cart load with the same colour. Next, I used Flat Brown 70894 to ‘wet brush’ over the same parts. A wet brush technique is like a dry brush technique but there’s more paint on the brush and it’s a bit heavier. The idea is to leave some of the darker brown in the shadows.

Flat Brown coat – again, the luggage is also coated

The next stage is to use a heavy dry brush of Flat Earth 70983 to lighten the wooden frame. This time, I’m not going so heavy with either the paint or the brush. I’m trying not to cover all of the previous coats.

Flat Earth dry brushed on. I’ve tried to avoid the luggage, to keep these a darker colour.

The next colour that I dry brushed on was Orange Brown 70981. This is a lighter dry brush than the other coats and the focus is now the high spots on the wagon, wheels and frame. I tried to avoid the luggage, although any mistakes and over brushing ( as you can see on the sacks) will be corrected when I paint the luggage.

Orange Brown starts to give the ‘wood’ some texture.

Once the Orange brown is done, yet another dry brush is layered on. This time, I used yellow ochre 70913 and I am aiming at the high spots and edges. Incidentally, I’m not waiting for the different highlights to dry. I just layer them on one after the other and I think that this helps to blend them.

Golden Brown layered on and we are nearly done!

You could stop there but there is one final dry brush, this time using 70815 basic skin tone. It seems like the wrong colour to use but as a very careful edge highlight, it works. I have learnt this technique from the ‘Painting War’ Holy War issue. It very effective on on larger areas of wood. Here’s a link to a previous blog where I use this technique for the first time to paint a trebuchet:

TREBUCHET

Flat flesh top highlights – not essential, you could stop at Golden brown if you are happy with this effect

The next task is to paint the luggage and detail the wagon. All the iron work on the wagon and luggage was painted in 70950 Black. I may go back and paint the wheel rims in gun metal as I think that the paint would quickly wear off. The Bindings were painted in Light Brown 70929 and later painted with Iraqi Sand ‘stripes to give a bit of detail.

Iron work and bindings done!

When it came to the luggage, I use a variety of colours, Stone grey 70884, Iraqi sand 70819, Kahki 70988, Black 70950, Deep green 70970, Off white 70820, and my new favourite colour, Deck Tan 70986! Once the colours were blocked on, I gave everything a wash with Army Painter Soft Tone. Once this was dry, I went back over every thing with the original colour, carefully leaving some of the shadows created by the ink, to add the highlights. The top Highlights were done with the original colours but with a bit of Iraqi sand added to lighten the original colour, I find that Iraqi sand can be less ‘harsh’ than adding white. Deck Tan is also very useful for this. One final thought. As I was struggling to paint the details on the luggage at the sides of the cart, if did occur to me that it might have been easier to paint it separately and add it to the completed wagon.

Luggage with first highlights added

Onto the Oxen. I am no expert on painting Oxen. I did google a few pictures but decided to just copy the picture on the Perry web site as I liked the effect. I painted them with Off White, Vallejo 70820 and then picked out the pattern in Flat brown 70984. After a good liberal coating of soft tone, I repainted the white bits and used the flat brown to highlight the brown areas, although it’s not particularly noticeable. Eyes and noses were painted in matt black and the horns in Iraqi sand. I highlighted the horns with off white and used a black grey 70862 to blend the noses!

Oxen block painted before adding soft tone

I then based the Oxen in pairs on 40mm x 40mm renedra bases. I had left them unbased up until now as it allowed me easier access to the insides of the Oxen teams. This did lead to a bit of chipping as I moved the animals around. So once based up, I touched up any errors and finished off the yokes with black and Army Painter plate mail for the top off the bolts.

Oxen based, shaded and completed

So that’s it for the wagon and Oxen team. The next task is to complete the passengers and base the set. I’ll show you how in the next blog but here’s a teaser of progress so far!

Its, nearly there! Just the basing to complete

THE COMMERCIAL BIT

I hope that you all enjoy your hobby as much as I do – remember that our web site will have much of what you need! Click here to see our shop:

ARCANE SCENERY

To see our range of Vallejo paints click the link below. To go straight to a colour, type the paint number into the search bar:

VALLEJO PAINTS

To go straight to the adhesives and fillers section. Click here:

Glue. Fillers and Paints

To see our selection of tools, click here:

Tools and Modelling accessories

Happy Modelling!
Medieval Ox Cart

My latest project is a Medieval Ox cart from Perry Miniatures. I seem to have a growing collection of wagons and although they are of little use in most wargames, they do look nice on the table as scenery pieces. They also look nice in the figure cabinet as part of my collection, so I seem to keep adding to my baggage train! As an aside, I must get around to writing a scenario or two involving either rescuing or raiding a baggage train. It would at least add some variety to our games.

Wagon and Arrow barrow from my collection

I am a great fan of the Perry Miniature sculpts – there are other company’s out there with some fantastic ranges but I like the style and proportions of the Perry’s figures. The Perry’s have also been involved in Medieval re-enactment, so they know their stuff when it comes to the period. There is just two minor grumps that I have with their products. Firstly, the casting quality is not always as good as it could be., particularly with their horses and wagons. It took me a couple of evenings to clean up the parts for the Ox wagon – the wheels were a particular challenge. The other issue is that there is no assembly instructions with these kits and I think that they are complicated enough to warrant some sort of guide. If not supplied with the kit itself, a bit more information on the web site would help.

There are plenty of parts in the Ox cart kit!

So here’s how I went about assembling the wagon. I hope that it is useful. The first place to start is of course, the clean up. I used a couple of differently shaped needle files and a Scalpel with an old blade for scraping the mold lines. For assembly, I use Expo Thick Super glue. I find it ideal for assembling metal miniatures. It’s thickness gives the glue some ‘fill ability’ on the joints so they don’t have to be perfect to stick together. Also the slower set time allows me to make sure that everything is lined up before the glue sets. The set time is about 10- 12 seconds, depending on the size of the bond. You can speed things up by using an accelerant. Despite being careful, I usually end up sticking parts to my fingers and usually get enough glue on my finger tips to stop me logging into my iPhone…

The Cart components after clean up.

One other thing, I always wash resin pieces in hot soapy water before assembly. Resin seems to be particularly likely to have a residue of the mold release agent on it, which will cause problems when painting. The picture above shows the main components for the wagon all cleaned up and ready to assemble.

Front wheels assembled. Load ready to glue to wagon base

The small wheels fit onto the front assembly. The Wagon load is fixed to the wagon bed. Note that the front of the wagon bed is the rounded bit and the rear of the load has the poles sticking out.

The sides look a bit wonky! They will straighten out once the top components are added.

Next, attach the sides to the wagon bed. They locate into the cut outs above the axle and may need a bit of filing to get them to fit. The two pieces in front of the assembly are the top connectors – they hold the railing sides together at the top.

Basic Wagon assembled

Here’s the wagon with the wheels on and the top connectors in place. The next part of the assembly is to fix the ‘elbow’ reinforcements to the wheels ( I made that term up – I’ve no idea what they are actually called!). They will need a bit of careful bending to go around the wheels and attach to the railing of the cart. It’s important that the joints are cleaned up and I cannot stress how important it is that you test fit everything before getting out the glue! It was during this part of the assembly that I stuck myself to the cart a couple of times! Those joints are difficult!

Elbow joints….?

With the elbow joints in place, the cart assembly is complete. What ever those things are that connect to the axles, they do make the cart look more substantial so I think it is worth persevering to add them.

The completed cart.

The next part of the assembly is to make the draft oxen. After cleaning up the pieces, you will need to glue the heads on the Oxen at the same time as placing the yolk over the animals neck. I haven’t glued the yolk into place, it will stay there without the need for glue and the movement will allow me to prime and paint the animals later.

The forward ox team awaits their heads!

Once the Oxen are assembled, I cleaned up the ‘crew’ and you can see the finished wagon below ready for priming. I’ll cover the painting process in my next blog – all being well!

Wagon ready to roll!

One final note, You get two types of Oxen – heads up or heads down. I decided to pair them. With hindsight, it might have been better to have one’ heads up’ with one ‘heads down’ as their horns tend to clash the way I have assembled them!

THE COMMERCIAL BIT

I hope that you all enjoy your hobby as much as I do – remember that our web site will have much of what you need! Click here to see our shop:

ARCANE SCENERY

To go straight to the adhesives and fillers section. Click here:

Glue. Fillers and Paints

To see our selection of tools, click here:

Tools and Modelling accessories

Happy Modelling!
Another work bench round up!

As we approach the end of October, I thought that another work bench round up was in order. My on going painting projects are still, to some extent, curtailed by the work that is continuing to convert my garage into a proper wargaming den. The good news is that all the building work on the room is now completed, with one exception….We haven’t been able to get the floor done! The date for this work is 16th November and until the floor is laid, I really cant move anything back in. So patience is the key word. I have been over to Ikea to check out desks and storage and I’ve been out chalking up possible arrangements on the concrete floor for the cabinets and gaming table. However, until the floor is laid, the project is really on hold.

Furniture in place but still no floor!

Meanwhile, I have been pursuing my hobby as best that I can, given my restricted circumstances. On 10th October, I attended the Partizan show over at Newark. As it is just down the road from me, it wasn’t too much of a hardship to get there! Unusually, I didn’t take any photos of the actual show, even though there were some superb demonstration games on show. I was too busy talking to people that I hadn’t seen for so long thanks to the issues with Covid. I did purchase some more Perry Miniatures whilst I was there and for once they have gone straight onto the painting table rather than into the lead pile. I treated myself to some Irish Kern and an Irish Command set. I don’t intend to build a full Irish army but I thought that another unit of Kern would be useful and I intend to have a couple of units of Gallowglass so that I can add some Irish mercenaries to my WOTR army.

Another six Kern join the collection!

I painted the first batch of Kern in exactly the same way that I painted the Crusader miniature versions in my collection. You can see how by clicking here:

KERN SKIRMISHERS

Gallow Glass.

When it came to painting the command group, I primed the two Armoured figures in Black and the rest in Desert yellow rather than the flesh undercoat that I had been using for Kern. As you can see, the two armoured figures are ready for basing. With hind sight, the Dark red cloak was a bad idea. I should have gone for a Dark blue or Green cloak as the red effect is slightly reminiscent of Father Christmas!

The pipers

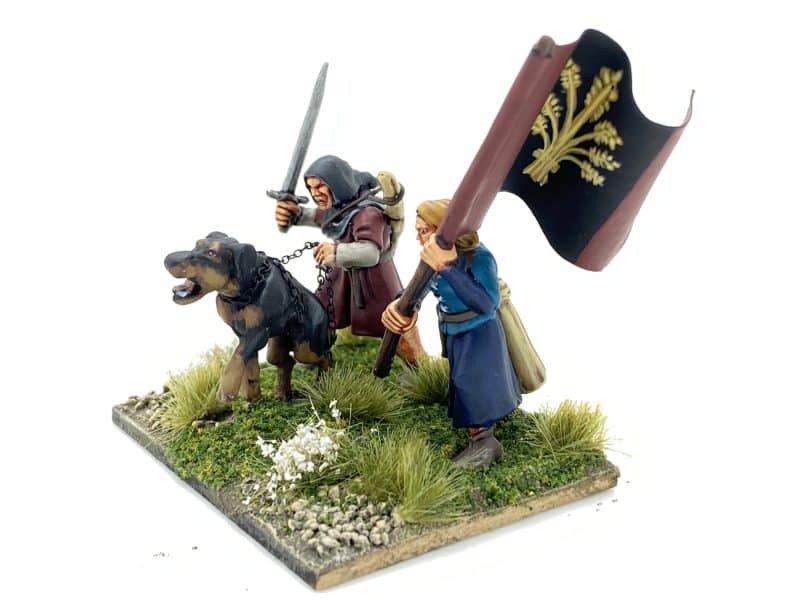
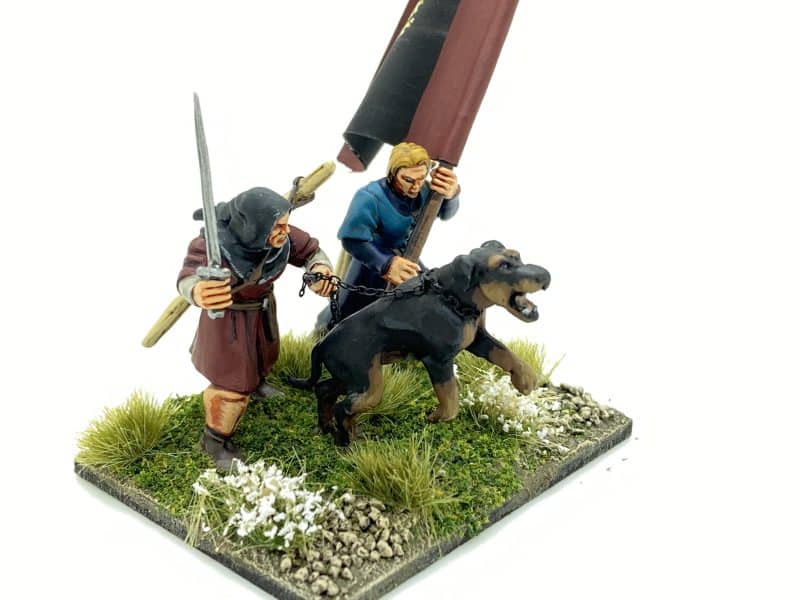
The remaining Kern are also nearly finished – the two pipers are about ready for basing. I was tempted to go for a tartan finish to the bag on the bag pipes but my references show them as being a plain leather bag. In this case, I went for the easy option rather than let my ‘artistic interpretation’ run loose! The two other Kern are also near to completion. One will make a good standard bearer, so I will have to add a flag. The other is sword armed and perhaps represents a ‘Bonnacht’ – a more professional and experienced Kern, perhaps a bodyguard for the Standard bearer.

Kern – or Bonnachts

So another 12 figures are nearing completion and my WOTR army continues to expand, despite me thinking it finished a year or so ago! I did buy one other item at Partizan. A medieval Ox cart. I think that I might take my time on this project and perhaps provide a step by step guide to making and painting it.

The six figures that make the Irish Command Group
Every thing is still a bit cramped! My photo set up is not quite as I would like!

THE COMMERCIAL BIT

I hope that you all enjoy your hobby as much as I do – remember that our web site will have much of what you need! Click here to see our shop:

ARCANE SCENERY

Happy Modelling!
Rainbow Spitfire and other stuff – Workbench round up

Work is progressing slowly on the war room. I now have plastered walls and electrics! The second fix of cupboards, skirting boards etc is due next week. The bad news is that it is unlikely that the flooring will be finished much before the end of October..

Slow progress but progress at least! Plastering done and electrics in.

So I am still using the granddaughters craft tray in my office as a temporary paint station. Talking of whom, Emily, now aged eight, decided that she would like to make a kit after seeing the stack of models temporarily stored in my office. I went through the kit pile and found an Airfix 1/72 scale Spitfire that I thought would make an nice easy subject. We sat down together and spent a most enjoyable couple of hours assembling it during the rainy afternoon. I let Emily clip off the parts and sand them down before using the glue to assemble them. I didn’t let her use the scalpel to trim the parts – I’ve cut myself too often to risk letting an eight year old re-model her fingers!

Emily’s Spitfire!

On her next visit she wanted to paint it. I had showed her the painting instructions and explained all about camouflage but Emily wasn’t to impressed. She had her own colour scheme in mind, based on summer visits to the beach, starry nights and unicorn rainbows… I tried to influence her towards something more authentic, telling her tales of the brave female pilots that ferried the Spitfires around during the war. Yes, Granddad, that’s all very interesting but I want to paint the model in the colours that I like….

Apparently, Unicorn rainbows have pink and purple in them…

The good news was that we used colours that rarely see the light of day when I am painting and Emily proudly took her Spitfire home to Mum and Dad, so mission accomplished! I’m not sure whether I will tempt Emily into the world of Wargaming and modelling but I do know that we both enjoy the chance to do something together. I also believe that ‘People who make things, don’t break things’ so she is learning a valuable lesson regardless of whether the hobby sticks. By the way, the pilots name is Emma and she has long blonde hair, although you may struggle to see this in the pictures!

Cart and driver – the horses need a coat of Matt varnish

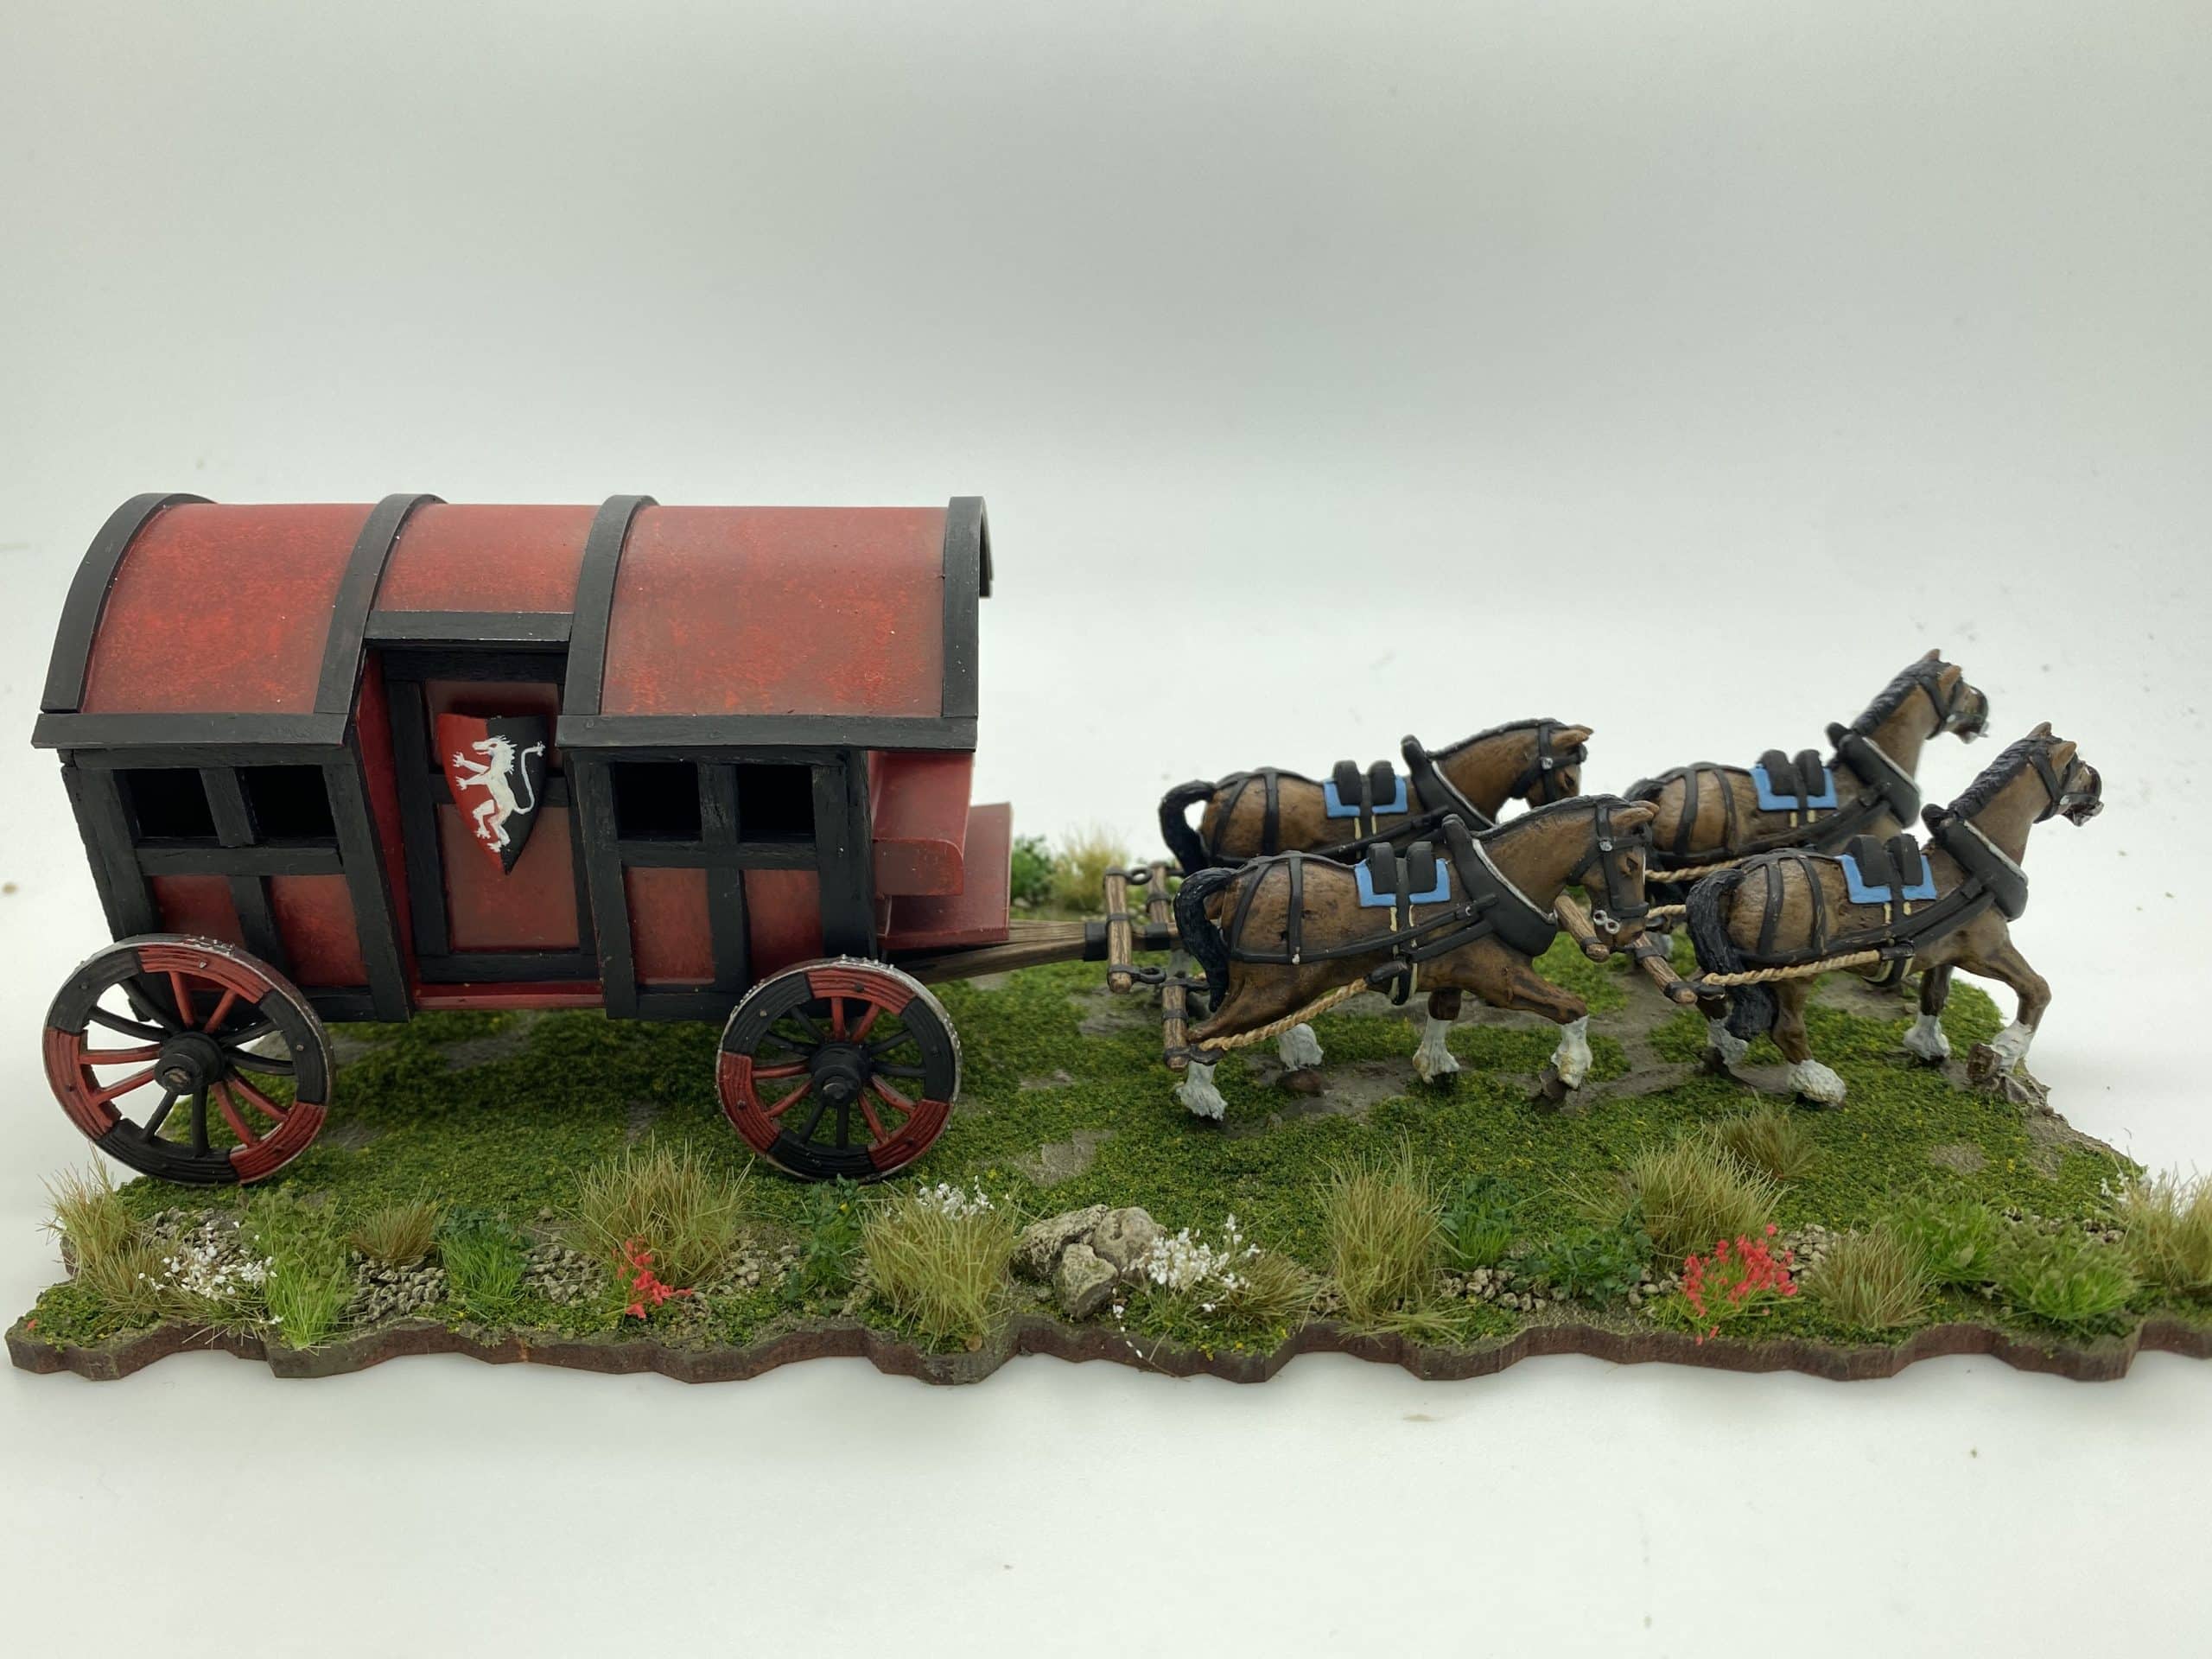
Despite my restrained circumstances, I managed to get quite a bit of stuff off of the lead pile in September. The only thing that is not possible is using my airbrush and of course, I have to wait for a dry day to do any spray undercoating or varnishing. So projects completed or nearly completed, include the Draft horse team for my Medieval cart (Matt varnishing, basing and traces still to be added) – I hope to do a more detailed blog on how I painted the cart and made the canopy once the model is completed on it’s base.

Twelve of The KGL ready for action!
Another unit of Duncans figures ready to take to the table. The end two figures ( on the right) are Crusader miniatures that I have painted to make up the unit.

I’ve completed twenty four figures representing the 8th Battalion KGL ( flags still to be added), Rebased and repaired another 12 pikemen from Duncans collection for the WOTR, Painted a DeeZee Giraffe and completed Six mounted Riders of Rohan.

Riders of Rohan – another unit for my LOTR collection.

So, despite the restrictions that I am working under, my collection is steadily growing, and my lead pile is gradually shrinking….

DeeZee Giraffe – painted and based at last!

THE COMMERCIAL BIT

I hope that you all enjoy your hobby as much as I do – remember that our web site will have much of what you need! Click here to see our shop:

ARCANE SCENERY

Happy Modelling!
Boromir and Gandalf

A much shorter blog this week. As I have already noted, work on the upgrade to my new wargames den is progressing well but I am still relegated to painting at the desk in my office. So rather than buying any new models or starting any new projects, I have continued to work through my lead pile.

Boromir was the ‘free’ figure from issue 11 of the ‘Battle Games in Middle Earth’ magazine series that I am working my way through. I actually painted him just before I lost the use of the garage but he hasn’t featured in my blog so I thought I would include him for continuity. As usual, I used the magazine as a reference as well as Youtube. I quite like the Planetmithril youtube channel and there is a wealth of painting advise and step by step tutorials to be found. There’s a link to the planetmithril web site below, if you would like more information.

Boromir in black!

I dont follow the guides exactly but use them as a help, particularly if I am not sure what colour to use. With Boromiir, I went for a much darker finish than the one in the video but this suited my style of painting.

Gandalf on the paint station

The next figure was Gandalf the Grey from issue 12 of the magazine. Again, the magazine and the you tube channel gave me all the help that I needed and again, I went for a darker look than the videos seem to show. The paint pallet was fairly limited – Gandalf the Grey is predominately , well, grey…

Gandalf, based and ready for action!

As these are fantasy figures, I feel that there is no need to slavishly follow a particular colour scheme. So long as the figure looks about right, it’s good enough for me. I have to confess to never having finished reading the ‘Lord of the Rings’. That’s probably heresy as far as Tolkien fans are concerned but for what ever reason, the book never caught my imagination. Quite the opposite, after 600 pages of second breakfasts, singing nonsense songs and endless descriptions of characters that seemed to do nothing, I gave up on the book. I think that I had come to LOTR too late in life and had been spoilt by watching the Peter Jackson films. Mind you, in the last of the films, the bum numbing rendition of ‘The Return of the King’ I was crying out for Bilbo to get on the fecking boat with the Elves at the end so I could go for a pint with the missus…It’s fair to say that whilst I did enjoy the films, I am not by any means an enthusiast of LOTR in particular and fantasy in general.

I digress slightly, I do like the painting the figures and they make a nice change from historical subjects. Perhaps when I have a large enough collection, I will try out the game. For now it’s back to the lead pile to choose my next subject.

THE COMMERCIAL BIT

The magazines that I am referring to are long out of print but still available on ebay should you wish to collect them.

If you need help in completing a project of your own we have a massive range of stock in the Arcane Scenery shop. Almost all of the paints, miniatures, bases, basing materials and anything that you are likely to need for your hobby are available from my shop here:

ARCANE SCENERY

You can find plenty of links to the paining videos as well as painting tips on the Planet Mythril site here:

PLANET MITHRIL

Happy Modelling!
No Fighting In The War Room

Yes, I stole the quote from the internet, via Dr Stangelove but it sort of sums up where I am at the moment. I decided to convert my integral garage into a proper games room/hobby room. I was spending a great deal of my spare time out there and at my age, I decided a bit of comfort would be nice. I had in effect closed the garage up and used some big sheets of marine ply, polystyrene foam sheet and some expanding foam to seal the door in an effort to make it a permanent den. My work bench was hand built and whilst functional, was not the greatest piece of carpentry that you would see! Add to that, I was sitting on a bar stool to paint and it’s little wonder that I have back issues!

The garage – empty but still boarded up and my trusty work bench in place!
Nearly stripped out!

That all said, it was a permanent set up that allowed me to pursue my hobby and paint and play when it wasn’t too cold or too hot. I was inspired by the gaming rooms that two of my friends have and I decided it was time that I had my own purpose built war games den! That was in October 2019 and I approached a local builder with my plans. These plans also included erecting a new shed in the garden to take the over spill of ‘stuff’ from the garage and a replacement for my 25 year old garden shed at the side of the house, that had rotted out so badly that I could see the house wall through the holes…

Boarding on door removed and insulation for floor going down
New floor laid
First fix electrics

The builder provided an estimate and work was due to start in the Spring of 2020. Well, we all know what happened next and thanks to the various COVID lock downs, massive pressure on the building industry and the difficulty in getting building materials, the project has proceeded at a slow pace. The sheds were completed back at the start of the summer and work was pencilled in to start on the garage conversion in August. In order for the work to start I had to empty the garage. Quite a task, not quite the Augean stables, the only live stock there being a huge number of spiders! This meant that all the ‘stuff’ ( an accumulation of 30 years of ‘That might come in handy one day…’)was moved either to fill my new shed, into the dining room or up into my office. Mrs W has been very patient as my ‘lead pile’ also occupied the tops of the wardrobes in the bedroom…

My new shed is full of my wargaming stuff….
So is the dining room….
And then there’s my collection of figures and book overflow…
And just some of my ‘lead pile’ stashed on the wardrobes
My temporary paint station

The result was that I no longer had a permanent set up and was reduced to painting and modelling on my office desk, using one of the granddaughters crafting trays as a paint station! If I have complained that my painting output was slow in the past, it was even worse now. Every time that I needed a new paint colour or tool, I had to ferret around in the various locations to try and find the required item.

The outside garage door – it’s seen better days!
Window to the right bricked up and new wall to replace door
How it looks from the outside.

At last, though, the project is moving along with an end in sight. As you can see from the pictures running through the blog, the main building work has been completed and the first fix for the electrics has been done. The next phase is to get the walls plastered, the carpet or flooring down and of course to move everything back in. Well, perhaps everything…The plan is that the new ‘big shed in the back garden will be home to some of my ‘proper’ tools and decorating gear and any other paraphernalia that you usually find in a garage. The gardening tools and such are already neatly stored in the rebuilt garden shed at the side of the house.

So in theory, all that is going back in will be a nice new desk, my figure cabinets, a very much culled book and magazine collection and of course a war games table. Oh! and as part of the deal, Julie will have some proper cupboard space to store some of the cleaning stuff and ironing board, as well as a new fridge and freezer, both easily accessible from the kitchen. The fridge being particularly useful for storing my beer!

I hope to be back in and painting comfortably by mid October! An up date will follow!

THE COMMERCIAL BIT

I hope that you all enjoy your hobby as much as I do – remember that our web site will have much of what you need! Click here to see our shop:

ARCANE SCENERY

Happy Modelling!
Bill Hooks BASH part 2 – the Battles!

This blog is an account of the battles that I was involved in at the Bill Hooks BASH held on September 4th at Boards and Swords in Derby. For more details of the actual event, please refer to my earlier blog, Bill Hooks BASH part one.

Sir Pete faces off against Sir Mike in the first battle

As always, it is difficult to participate in the battles, take photos and record exactly what happened. So the accounts are written after the event, from the brief notes that I made and of course, are totally biased from my perspective. As such, I suspect that makes my reports as reliable as the chroniclers of the time! If you get to talk to my opponents, they may hold a different view of what really happened! I must also apologise for not getting photos of every battle or even every army – there really was too much going on!

Sir Richard vs Sir Ian – game one
Sir Ralph prepares to Advance against Sir Robbie – Game one

BATTLE ONE vs Sir John Csonka

It’s worth mentioning that John had travelled all the way from Bournemouth on the coach to join us on the day. This was to be his first ever battle using the Bill Hooks rules. He had borrowed an army, very kindly supplied by one of the other players ( Robbie, I think), so as a result, he was limited in the options that he had for his troops. With an army composed of just Bows, Bills and Men At Arms, John adopted a defensive position on the top of a hill at the back of the table and invited me to attack and do my worst – I was happy to oblige!

Lord Hotspur approach’s John’s defensive position

The movement phase was a somewhat one sided affair as I redeployed my artillery and the battle opened with them opening fire without effect on the opposing army. I had moved my main ward within long range bowshot of John’s defensive position. The idea was that we would either tempt John off of the hill or let him use his arrow supplies at long range whilst I moved my MAA into position to charge. My opening bow shots caused a bit of damage to John’s archers. To my surprise, John’s opening shots at long range killed seven of my archers in Lord Harry Hotspurs unit. At the end of the turn they were forced to make a morale check. A roll of 8 + would be good enough, with a 5, 6 or 7 causing the unit to be daunted and to fall back. I rolled a 3 and a 1!

Just don’t roll a four….

This would cause the unit to rout! I used Harry Hotspur’s command status to reroll the 1. I rolled another one…The whole block, along with Sir Harry ran from the table – game over! With the benefit of hindsight, I only needed to test the archer unit’s morale as the casualties were caused by shooting. Once they failed, they would have routed back through Sir Harry and his MAA but not caused any further morale checks with the MAA as they would ignore the archers plight. However, Once I chose to use Sir Harry’s reroll it seemed only fair that he should abide by the result – served me right!

Gaps were appearing in Johns line but my army was struggling to find a way in.

As that battle had ended so quickly, John kindly suggested that I re instate Sir Harry ( less his cowardly troops!) and we carried on with the battle. A desperate struggle ensued, with Lord Harry Hotspur and his remaining ward and Sir Eric Die Hard grinding down Johns position and gradually temptimg them to advance. The Kern nearly won the battle for me. Having ground down a unit of MAA that were holding the flank and forced them to fall back daunted, the Kern nearly killed John’s isolated C in C. He escaped the combat with one wound, somewhat shaken but was able to re-join another unit and find safety.

The battle came to it’s second conclusion when Sir Daniel Rose charged his light cavalry unit at a unit of Billmen that had become exposed. If he could force a morale check, Johns army was in danger of routing. Although Sir Daniel won the combat 5 wounds to 4 he managed to roll another 1 when checking for wounds on the leader. As a dolt, he had only one wound and was killed. We decided that both units should test morale. The result was predictable and whilst John’s men stood, the few remaining light horse routed, giving a second decisive victory to John!

Battle Two vs Sir Ralph Dutton

Sir Ralph’s Household observes the battlefield!

Sir Ralphs army livery was based on his family name and his home location. The army was fairly ‘bow heavy’ and Sir Ralph adopted an aggressive strategy, advancing rapidly to bring his superior firepower into range of his opponents. The opening moves saw two significant events. I drew my first and only special event card of the day and caused a rainstorm preventing any firing in the first turn. Under cover of the rain, my Kern were able to advance quickly down the left flank, threatening the rear of Sir Ralph’s army. I was also move towards Sir Ralphs Bow men line safe in the knowledge that he would be unable to unleash an arrow storm for the time being.

The army is ready to advance!

As the rain storm ended, my Skirmishers were again activated. The bad news was that my Artillery piece blew up killing it’s crew. The good news was that the Kern had closed with the opposition skirmishers and put them to flight in combat. They continued to harry the left flank, disposing of another batch of crossbowmen and distracting the units on that side of the table throughout the game.

On the right, the two opposing units of Light horse charged each other. This time, after 2 rounds of combat, Sir Daniel Rose was victorious, routing his opponent. This left the right flank under pressure with my light horse threatening the bow men from this side, turning them away from my centre with a flank attack.

This looks like it’s going to hurt….wait they’ve missed – pile in boys!

In the centre, Sir Ralph finally unleashed his arrow storm but seemed to be suffering from damp bowstrings as casualties amongst my wards were extremely light. In reply to the arrow storm, Sir Eric Diehard was able to charge home, tying up one of Sir Ralphs ward and preventing its commander from giving orders. This allowed me to concentrate my fire on the formation of bowmen in line. They were out shot and routed.

Sir Ralphs MAA close in but have to weather an arrow storm!

Sir Ralph then attempted to charge my units but fell short. Surrounded by archers , they were almost annihilated and failed their morale bringing the battle to a close. Victory for Lord Harry Hotspur! In this game, apart from the episode with the artillery, my dice throws had been much kinder. I was lucky to take minimal casualties from Sir Ralph’s opening arrow storm, whilst my own troops were far more effective with their dice, with over average numbers of 6’s being thrown at each attempt.

Only four men left standing! Even the crossbowmen skirmishers get in on the act!

This was the first time that I had faced archers in a line formation in a ‘real battle’. We had play tested the formation and whilst it is devastating if it has the initiative – an arrow storm could be 48 dice! – we found it to be extremely fragile when in melee and of course vulnerable to a cavalry charge. Although light cavalry are vulnerable to arrows, an unsupported bow line is still going to struggle against a head on charge, even with a closing shot. I’ll leave you to do the maths!

Battle Three vs Sir Richard Robinson

Richard is now a veteran of Bill Hooks, being Peter Harris’s regular opponent. His well balanced army would be a formidable test. From the start, Sir Richard adopted a no nonsense ‘up and at ’em’ philosophy, with his army advancing rapidly towards me. Once again, my Kern were able to work their way down the left flank to cause mayhem with Sir Richards skirmishers and threaten to get behind his army. And once again, my artillery blew up in the opening turn!

The centre of each army closes. My light cavalry are lurking just out side of camera shot!

Despite that minor set back I managed to position my light horse to launch a flank attack on Sir Richards two units of archers in line. This caused them to pivot at right angles to my army, exposing his C in C and his ward of MAA. Although my light horse were beaten off and then ridden down by Sir Richards light horse, his battle line was in chaos, pulled to the left by the Kern and to the right by the light horse. After inflicting a couple of casualties on Sir Richards MAA, Lord Harry Hotspur ( rated as a Hero for this game) charged home with his MAA.

The archers have had to swing around to turn and face – Hotspur sees that gap and he’s in!

Lord Hotspur comfortably won the ensuing melee and was able to follow up in the next turn, pushing The opposing army commander off of the table. Another victory for Lord Hotspur! Once again, the dice goodess had been exceptionally kind to me. I think that I used my bad throws up in the first game!

Another superbly painted unit – I’m not sure who these are fighting for.
Like wise, I’m not sure who these fellows represent but the units looked lovely and the round basing in trays works really well.

So three great games, all with different highs and lows and three great opponents. All three games could have turned out differently with a change of the order of the cards or better or worse dice. I think that is part of the charm of the rules. No matter how good your initial strategy, lady luck will have her say. Which means that win or lose, you have something to talk about and the urge to fight another battle!

Clever use of spare arrows to count down the volleys!
Sir Robbie’s Irish Bonachts. There will be more on Irish troops in Bill Hooks Volume 2! You will have to wait though!

THE COMMERCIAL BIT

I hope that you all enjoy your hobby as much as I do – remember that our web site will have much of what you need! Click here to see our shop:

ARCANE SCENERY

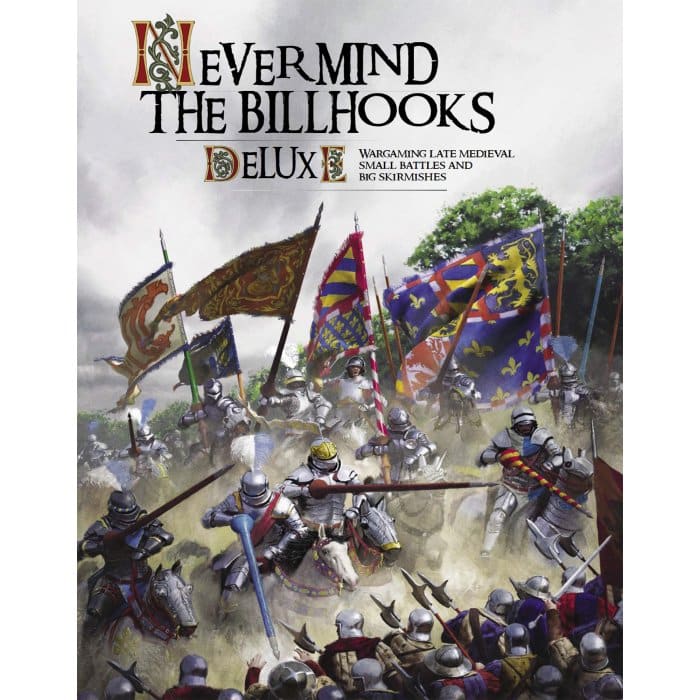
We also have a category devoted to Never Mind the Bill Hooks:

NEVER MIND THE BILL HOOKS!

Happy Modelling!
Bill Hooks BASH part 1- Overview

The first Bill hooks BASH was held at Boards and Swords Gaming venue in Derby on Saturday September 4th. The event was organised by Peter Harris and 14 gamers signed up for the event. The rules writer Andy Callan was in attendance to advise and help resolve any rules queries. Dan Faulconbridge of Wargames illustrated also attended to cast his eye over proceedings and to wish the participants a good days gaming!

Making up the goodie bags at Arcane Towers!

Tickets were just £15 and as well as unlimited tea and coffee, an individual pizza ( Dominoes!) of the players choice was provided for lunch. In addition, Wargames Illustrated and Arcane Scenery teamed up to provide a Goody bag for each player to take home. The contents included the current issue of Wargames Illustrated with a free Perry miniature medieval frame, a new set of 20 dice, two DeeZee Dogs and thanks to a last minute generous contribution from River Horse games, the Terminator Rules book plus 4 character miniatures and a frame of resistance fighters.

A sample of Mikes Painting – Figures are by Front rank. The basing is superb as well!

The plan was to play three games during the day with players declaring their allegiance to either York or Lancaster. In addition, a prize would be awarded to the best painted army, as voted by the participating gamers. That was as competitive the day was designed to be. The emphasis was on just enjoying the game and helping the less experienced players get to grips with the rules. A number of the players had made great efforts to attend. John had traveled from Bournemouth by coach! ( his home is in Hungary!) Mike, had made the trek from Bristol and Robbie had traveled from Durham. My trip from Bingham was much easier!

Mike Peters wins the award for the best painted army.

Mike Peters deservedly won the Painting competition with a near unanimous vote for his beautifully painted and based army. His army also featured hand painted banners as well as some superb brush work on the command figures. I’m not sure that my photographs do his figures justice – perhaps Dan can do a photo special in the future!

The Commander of Mikes Army

The gaming proceeded to plan with all games being fought in great spirit. The background noise of laughter, cheers and general kind hearted banter added to the friendly atmosphere. At the end of the event, York were declared the Winners with a total of 10.5 victory points to Lancasters 9.5. The 0.5 points came from a drawn game where both army commanders were killed simultaneously in the same melee! A first for Bill Hooks as far as I know. As for how individual players did, they kept their own scores and I hope like me they will have plenty of ‘war stories’ to tell their mates.

To see how Mike painted this banner visit his Blog – link is below in the ‘Commercial section.

The day ended on time at about 5.00pm. I made my short trip home feeling tired but that I had had a fantastic days gaming and met with some really great wargamers who clearly enjoyed playing for the love of the hobby! I hope to see them at future events. I’m not sure whether the rules bring out the best in players or whether the players brought out the best in the rules. I suspect it was a bit of both and the result was a most enjoyable day.

An Irish contingient courtesy of Robbie all the way from Durham!

Finally, a big thank you to Peter Harris for organising the day. Boards and Swords did a great job hosting the event and I heartily recommend this venue to any gamers that live in the area or are planning a visit to the ‘Lead belt’. And of course, thank you to all that attended, including of course Andy Callan, who was constantly on call to sort out any rules queries and save us the time of looking them up!

The Spanish Inquisition attached to Pete’s Army…that was unexpected!

In Part two of this article, I’ll cover how my battles went and of course add in some more pictures of the armies that I fought.

THE COMMERCIAL BIT

I hope that you all enjoy your hobby as much as I do – remember that our web site will have much of what you need! Click here to see our shop:

ARCANE SCENERY

We also have a category devoted to Never Mind the Bill Hooks:

NEVER MIND THE BILL HOOKS!

To visit Mike Peters blog and see his master class in banner painting, click here:

THE MINIATURE WORLD OF WILGUT

To visit the Boards and Swords website for directions and details of the venue, click here:

BOARDS AND SWORDS

Happy Modelling!
More Reinforcements for my WOTR army!

This blog is a bit of a catch up on some of the side projects that I have been working on. First up, I inherited some old foundry WOTR figures from a very good friend. They were unbased, a bit chipped and some of their spears had broken off. That said, they were beautifully painted, complete with hand painted standards. I thought that they deserved a bit of TLC so that they could return to the table top once again!

Foundry on the left, Perry plastics on the right

The Foundry figures were sculpted by the Perry’s so they are obviously very similar to my existing Perry Plastic army but a bit on the short side. I remedied this by re basing them on thicker MDF bases and used the basing texture paste to give them a bit more height. I then touched up any obvious paint chips, re painted the helmets to give them a bit of shine and re attached the spears. Once they were in their new movement tray they looked fine next to the newer Perry Plastics – as you can see from the photograph.

Whilst I was working on this unit I also thought that I would add some extra flags to my units. Pete Harris had kindly given me a sheet of Freezy Water Yorkist flags. Rather then leaving them languishing in a folder unused, I cut them out and attached them to 100mm spears that we sell at Arcane Scenery. I had to cut the spears down as they were a bit long. Be careful if you do this. I was using my Xuron cutters, that will go through the steel pins with ease BUT the off-cuts fly all over the place, so make sure that you protect your eyes! Once the flags were mounted, I painted the edges of the flags to cover any white that shouldn’t be showing with approximately the matching colours and then drilled the back of my movement trays to add the flags.

Extra Flags added to the movement trays adds interest to the units!

Now purists should sit down now. I didn’t worry at all about what flag should go with what unit or even who the flags should represent. So long as the colours were close to the livery of the figures, I added them to the tray. Should I decide to re fight a specific battle of the WOTR in the future, it is a simple matter to remove the flags and find the correct ones, but for now my units look prettier on the table!

Three new Men At Arms

Whilst I was in the mood to finish things off and get figures off of the lead pile, I decided to complete the three last figures that I had left over from a Perry’s Plastic WOTR command frame. I decided to give them heads from the mounted men at arms. I was influenced by Pete Harris ( the other one… yes, there are two Pete Harris’s that I game with and I thought that everyone in wargaming was called Dave) and my memories of the Crescent knights that I had as a child..

Cry Havoc!

The final figure that I painted was a limited edition Cry Havoc’ Games Workshop figure that I had acquired years ago. I realised that he was based on a Landsknecht and thought that he would make a good ‘Martin Schwartz’ should I ever get around to adding a German contingent to my army! He is a bit on the tall side but will make an imposing command figure. So despite ‘finishing’ my WOTR army, I keep finding excuses to add to it. It has now grown to well over 300 figures and there’s more to paint!

THE COMMERCIAL BIT

I hope that you all enjoy your hobby as much as I do – remember that our web site will have much of what you need! Click here to see our shop:

ARCANE SCENERY

We also have a category devoted to Never Mind the Bill Hooks:

NEVER MIND THE BILL HOOKS!

Please have a look at our tools section to find the Xuron clippers

EXPO TOOLS

Happy Modelling!
Round and Round the Mulberry Bush!

I had been thinking that we were playing too many games of Never Mind the Bill Hooks where we just lined up the armies and set to. I shared the thought with my gaming buddy, Pete, and he quickly came up with the following very simple but effective scenario.

The initial deployment of the main ward and commanders

The set up is very straight forward. The table is clear of scenery apart from a large wood right in the centre. The wood will effectively block line of site across the table and be impassable to all units except skirmishers. Both sides must set up their Commander in chief and his ward in the middle of their deployment zone right opposite the wood. Your second ward of infantry must be left off the table and will only enter the game on the second turn – more on this later.

The view across the table. Skirmishers and Light Horse deployed. Not Artillery on the flank.

Each player now throws a D6. on a 1,2 or 3, you must move your commanders ward to the left of the wood when activated, both in the manoeuvre phase and card phase ( You can choose not to move at all…) A 4,5 or 6 means you must move to the right. This results in either both players moving to clash on one side of the wood or going around opposite sides of the wood, chasing after each other….

Around the woods they go!

Once you know which way your main ward is going, you then roll a dice to see which order you set up any remaining skirmishers, Artillery and other units. Of course, the dilemma that you now have is whether to support your main ward or to go the opposite way around the wood…..

On the left, the reserve ward has deployed and engages with the enemy to slow them down!

Now back to the second ward. On turn two, they will join the battle on a roll of 5 or 6 on a D6. If they dont turn up, subsequent turns need a 4+, 3+, or 2+. You must get at least a 2+ after turn 5. A 1 is a fail regardles of how many times you have tried to bring the ward on. Just to add to the confusion, If your ward successfully throws to come on, you then throw a D6 to see which flank that they arrive on. a 1,2,3 it’s your left flank ( anywhere on that side of the board) – a 4,5,6, it’s the right hand flank.

Lord Callans Archers were my reserve ward. They managed to hold off Lord Woodborough despite the odds!

As you can guess, it’s not the sort of scenario that allows you to plan a grand strategy, so if you are of a controlling disposition, this is not for you. However, if you like the challenge of having to react to reverses of fortune or enjoy watching your opponent doing so, then it will be great fun. We have played the scenario through twice now with different outcomes and different problems to overcome.

Kern are extremely useful for driving off other skirmishers!

Just for fun, we also used identical armies as follows:

Commander in Chief, Level 2 with ward of two bows, one bills and one Men at arms – 60points

Second commander, Level 2 with ward of one bows, one bills – 29 points ( 5pts for extra commander)

Third commander, Level 2 with ward of Light horse – 17 points ( 5 pts for extra Commander)

One unit of skirmishers with crossbows and pavises – 9 points

One unit of Skirmishers – Kern 6 points

One Artillery piece- 9 points

An Artillery piece is useful if deployed on the clear flank – but unsupported artillery is vulnerable!

You can of course choose to use whatever forces that you prefer. Have fun!

THE COMMERCIAL BIT

I hope that you all enjoy your hobby as much as I do – remember that our web site will have much of what you need! Click here to see our shop:

ARCANE SCENERY

We also have a category devoted to Never Mind the Bill Hooks:

NEVER MIND THE BILL HOOKS!

Happy Modelling!
A Visit to Castle Rising

The pandemic has not just curtailed my wargaming over the last 18 months but prevented me from getting out and about to visit historical sites. Any spare time out of lockdown has been used to meet with Family and Friends. However, recently, the missus and I managed to sneak away for a weekend across to Norfolk. The primary aim of the weekend was a visit to Sandringham, the Queens personal home. We had a really excellent day there, made all the better by the fantastically helpful and pleasant staff. I would thoroughly recommend a visit. It certainly far exceeded my expectations as a place to visit. However, Sandringham wasn’t on my radar as a historical site. As far as I knew, it wasn’t involved in any sieges or battles, other than the occasional fallout between Andrew and Fergie or even Charles and Diana but I’ll leave all that to fans of the TV series, the Crown….

The Gate House and entrance to Castle Rising

Just down the road from our accommodation on the edge of Kings Lynn, was Castle Rising, a proper fortified castle with a long history to go with it. It was this site that interested me. At the time, I was unaware of the part that Castle Rising had played in history. I had not heard of it before my trip. I was not to be disapointed. Although the castle is now essentially a ruin, it is set in the most impressive defensive earthworks and looks everything like a castle should look! The entry fee was just £2.50 per person as there was no access to the upper ruins. Even so, I was happy to spend a couple of hours wandering around the place imagining how it would have looked in it’s prime.

The Castle Keep

It was originally built around 1140 by William d’ Aubigny primarily as a demonstration of his wealth and power. I’ve provided some links below to the official history and guides to the castle. It seems that the main claim to fame for the location is that it became the ‘prison’ of Isabella of France. She was the wife of Edward II but after attempting to take control of the crown with Roger Mortimer, Edward III, her son, placed her in house arrest here once he had toppled Mortimer.

Story board – A brief history of Queen Isabella

Although a most formidable fortress, Castle Rising came to be of more use as a hunting lodge and was known as a prestigious location in the 15th and early 16th centuries. The castle’s military defences were mobilised in 1461 by Henry VI in the Wars of the Roses but as far as I am aware no fighting took place in the immediate area.

View from the Left

I have since learnt that the castle had another role in the Wars of the Roses. On June 24th 1469, Richard, Duke of Gloucester ( later Richard III) was staying at Castle Rising. From here, he wrote to an unknown correspondent asking for a loan of £100. The Duke, who was on his first campaign, had left London in such a rush that had not had time to ‘purvey’ sufficient money for his own expenses.

The rear of the Keep

It seems that castles played a limited role in the War of the Roses but I suspect that they were used as ‘safe havens’ throughout the war. Although there were no great set piece sieges, it seems that Castles were still important as a means of projecting power and threatening the local area until such time as the protagonists eventually met on the field of battle. I guess that other point is that neither side really had the resources for prolonged sieges and no doubt there was little point in laying waste to a castle that you hoped to inherit!

Another view of the entrance

I find Castles both fascinating and inspiring and my imagination is usually in overdrive as I wander around these places. One day I really am going to build one for my gaming table! I hope that you enjoy the pictures and perhaps have a chance to visit for yourself.

The view of the Keep from the surrounding ramparts

The official links can be followed here:

CASTLE RISING WIKIPEDIA

CASTLE RISING ENGLISH HERITAGE

CASTLE RISING CASTLES FORTS AND BATTLES

THE COMMERCIAL BIT

I hope that you all enjoy your hobby as much as I do – remember that our web site will have much of what you need! Click here to see our shop:

ARCANE SCENERY

Happy Modelling!
1 3 4 5 6 7 41