I’m a bit late writing this up as the event took place on Saturday 2nd September and a lot of beer and bourbon has flowed under the bridge since then…..As usual, I started the day by taking a few pictures and making notes of the battles but as the day continued and the battles became more intense, my note taking dried up, as did my photography. So what follows is more of an impression of the day and some of the lessons that I learnt using my Landsknechts.
The event is organised by Pete Harris and held at the Derby Boards and Swords venue ( link below). Regulars to the event tend to meet up on the Friday evening and have a pre BASH meal and refreshments. Pete Harris had also kindly organised the evening, with the group first meeting in the Derby pub, the Tap (great beer!) and then walking on to the Exeter (great food!). After the usual pre-event banter and an extremely humorous and at times hilarious evening, we retired to the Travel Lodge for a night cap.
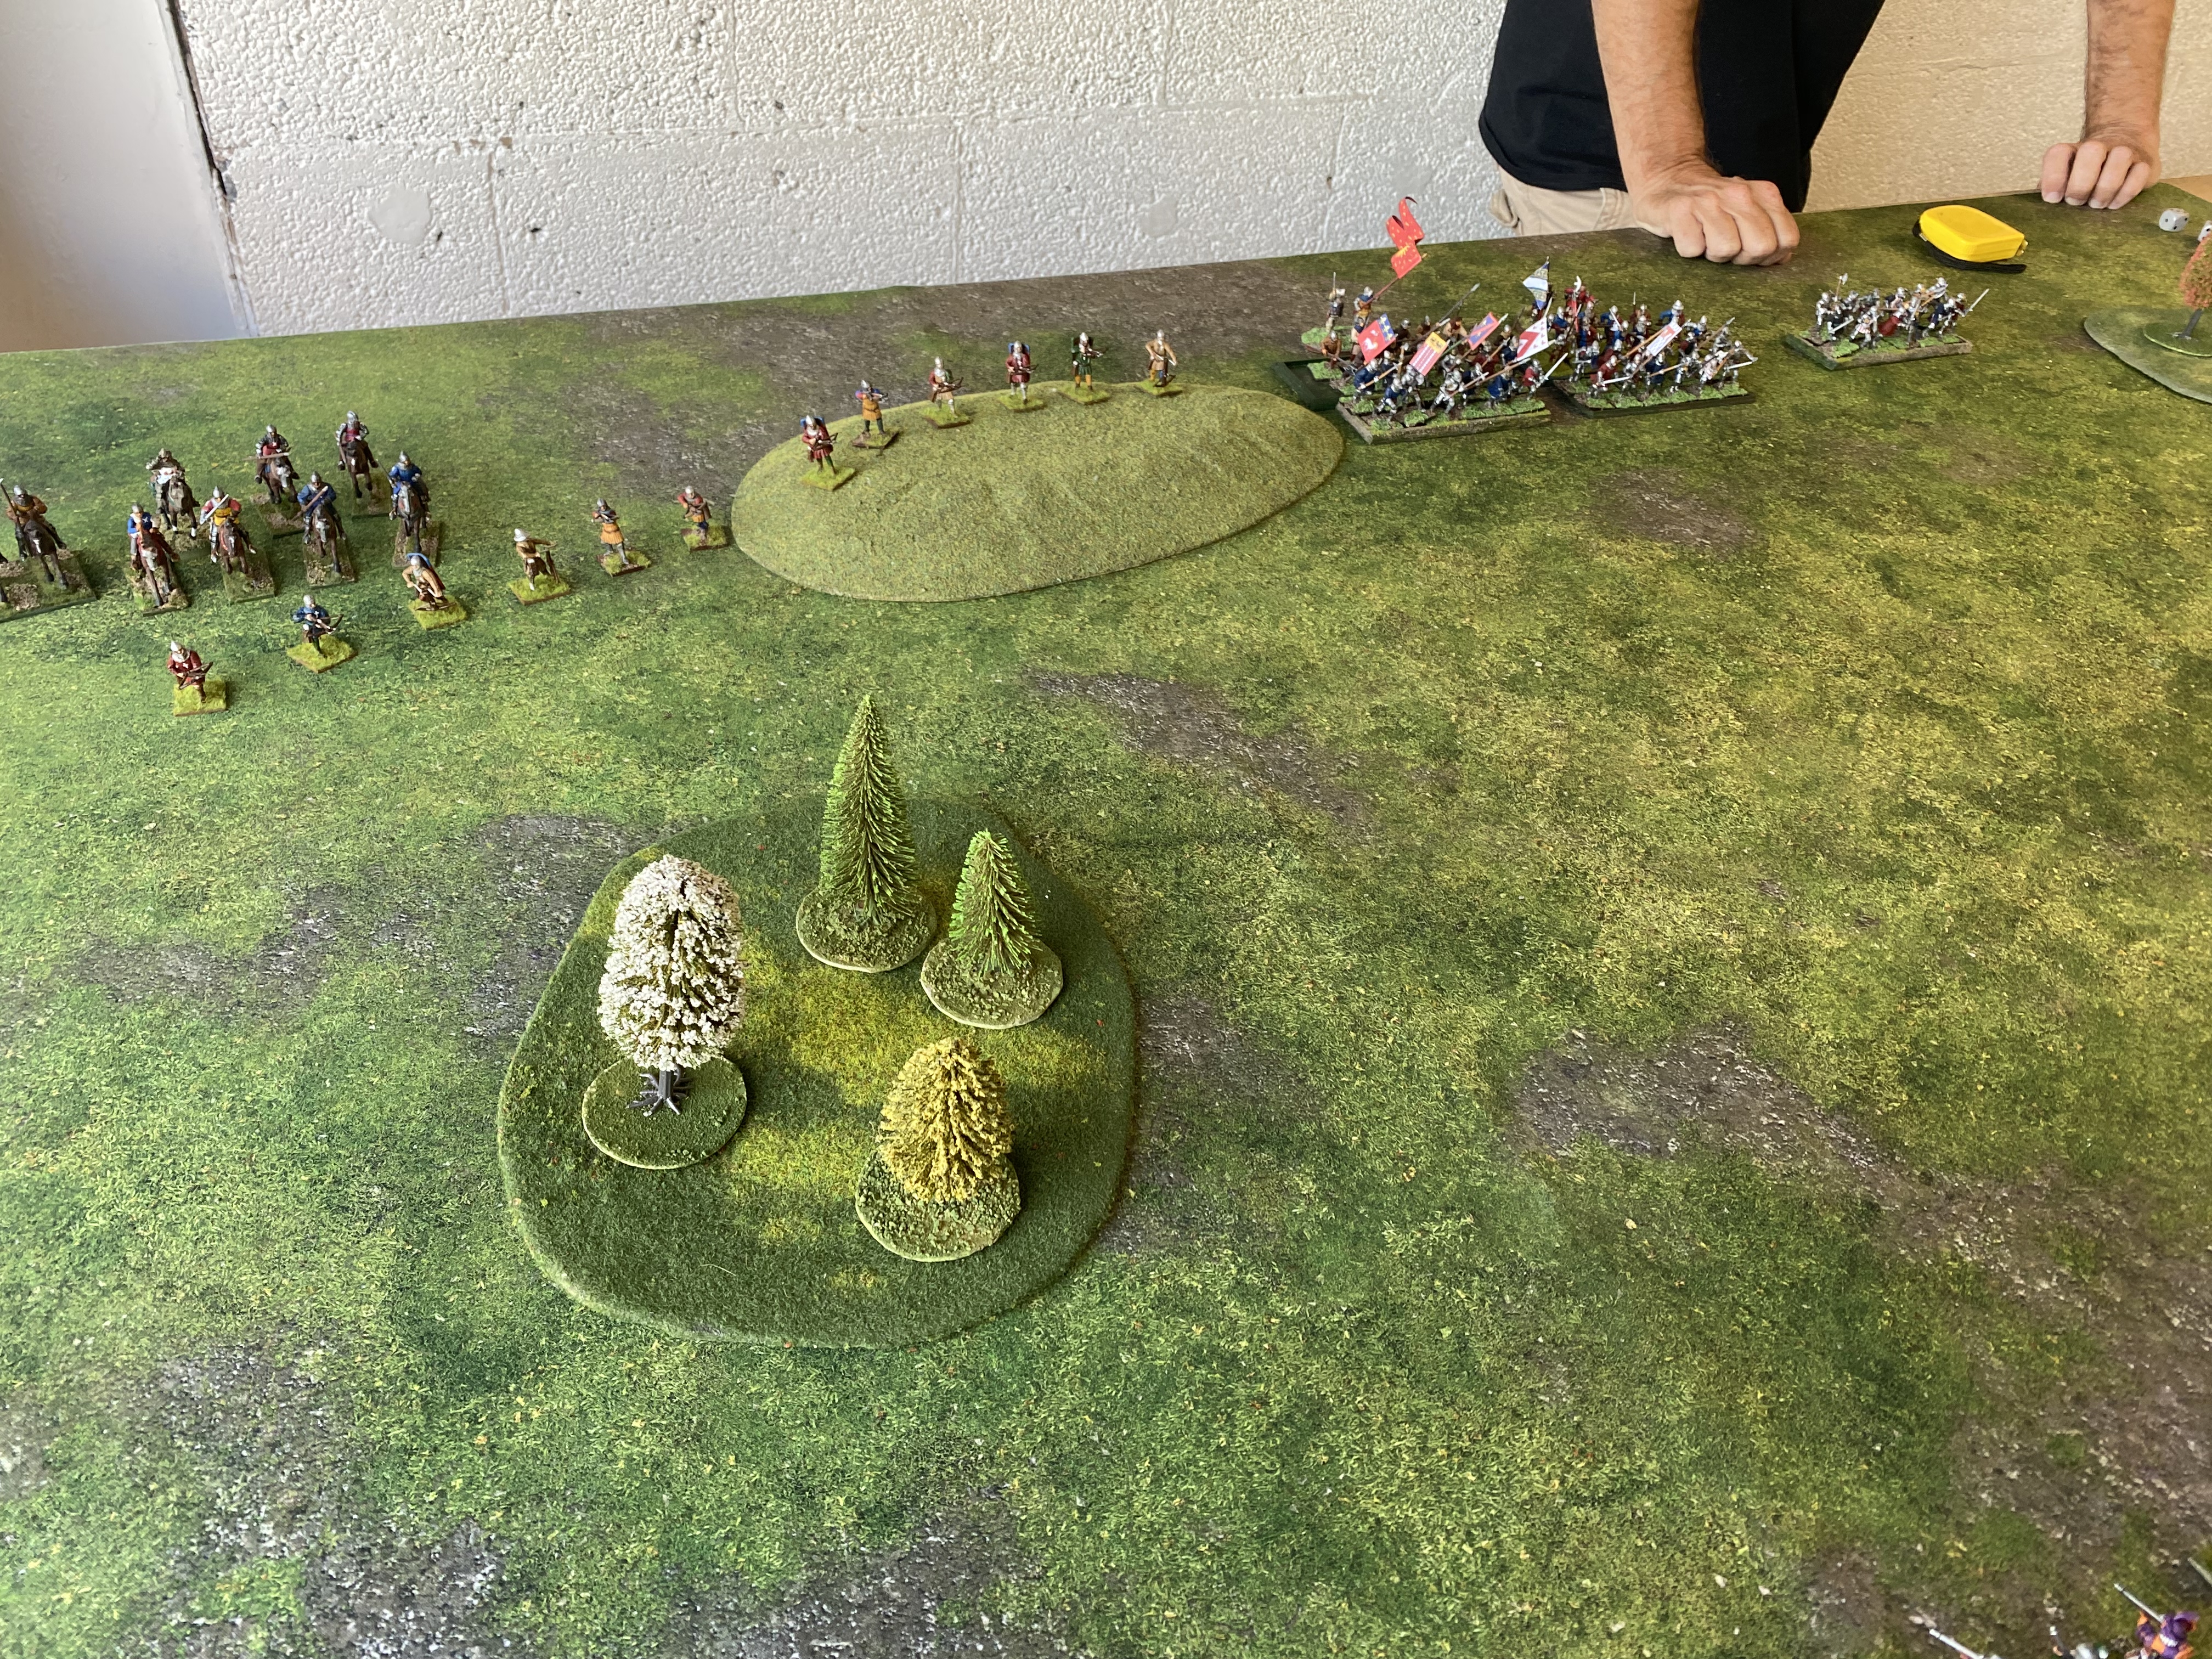
The next morning, a full English breakfast and multiple coffees helped to start the day and it was off to Boards and Swords to commence battle.
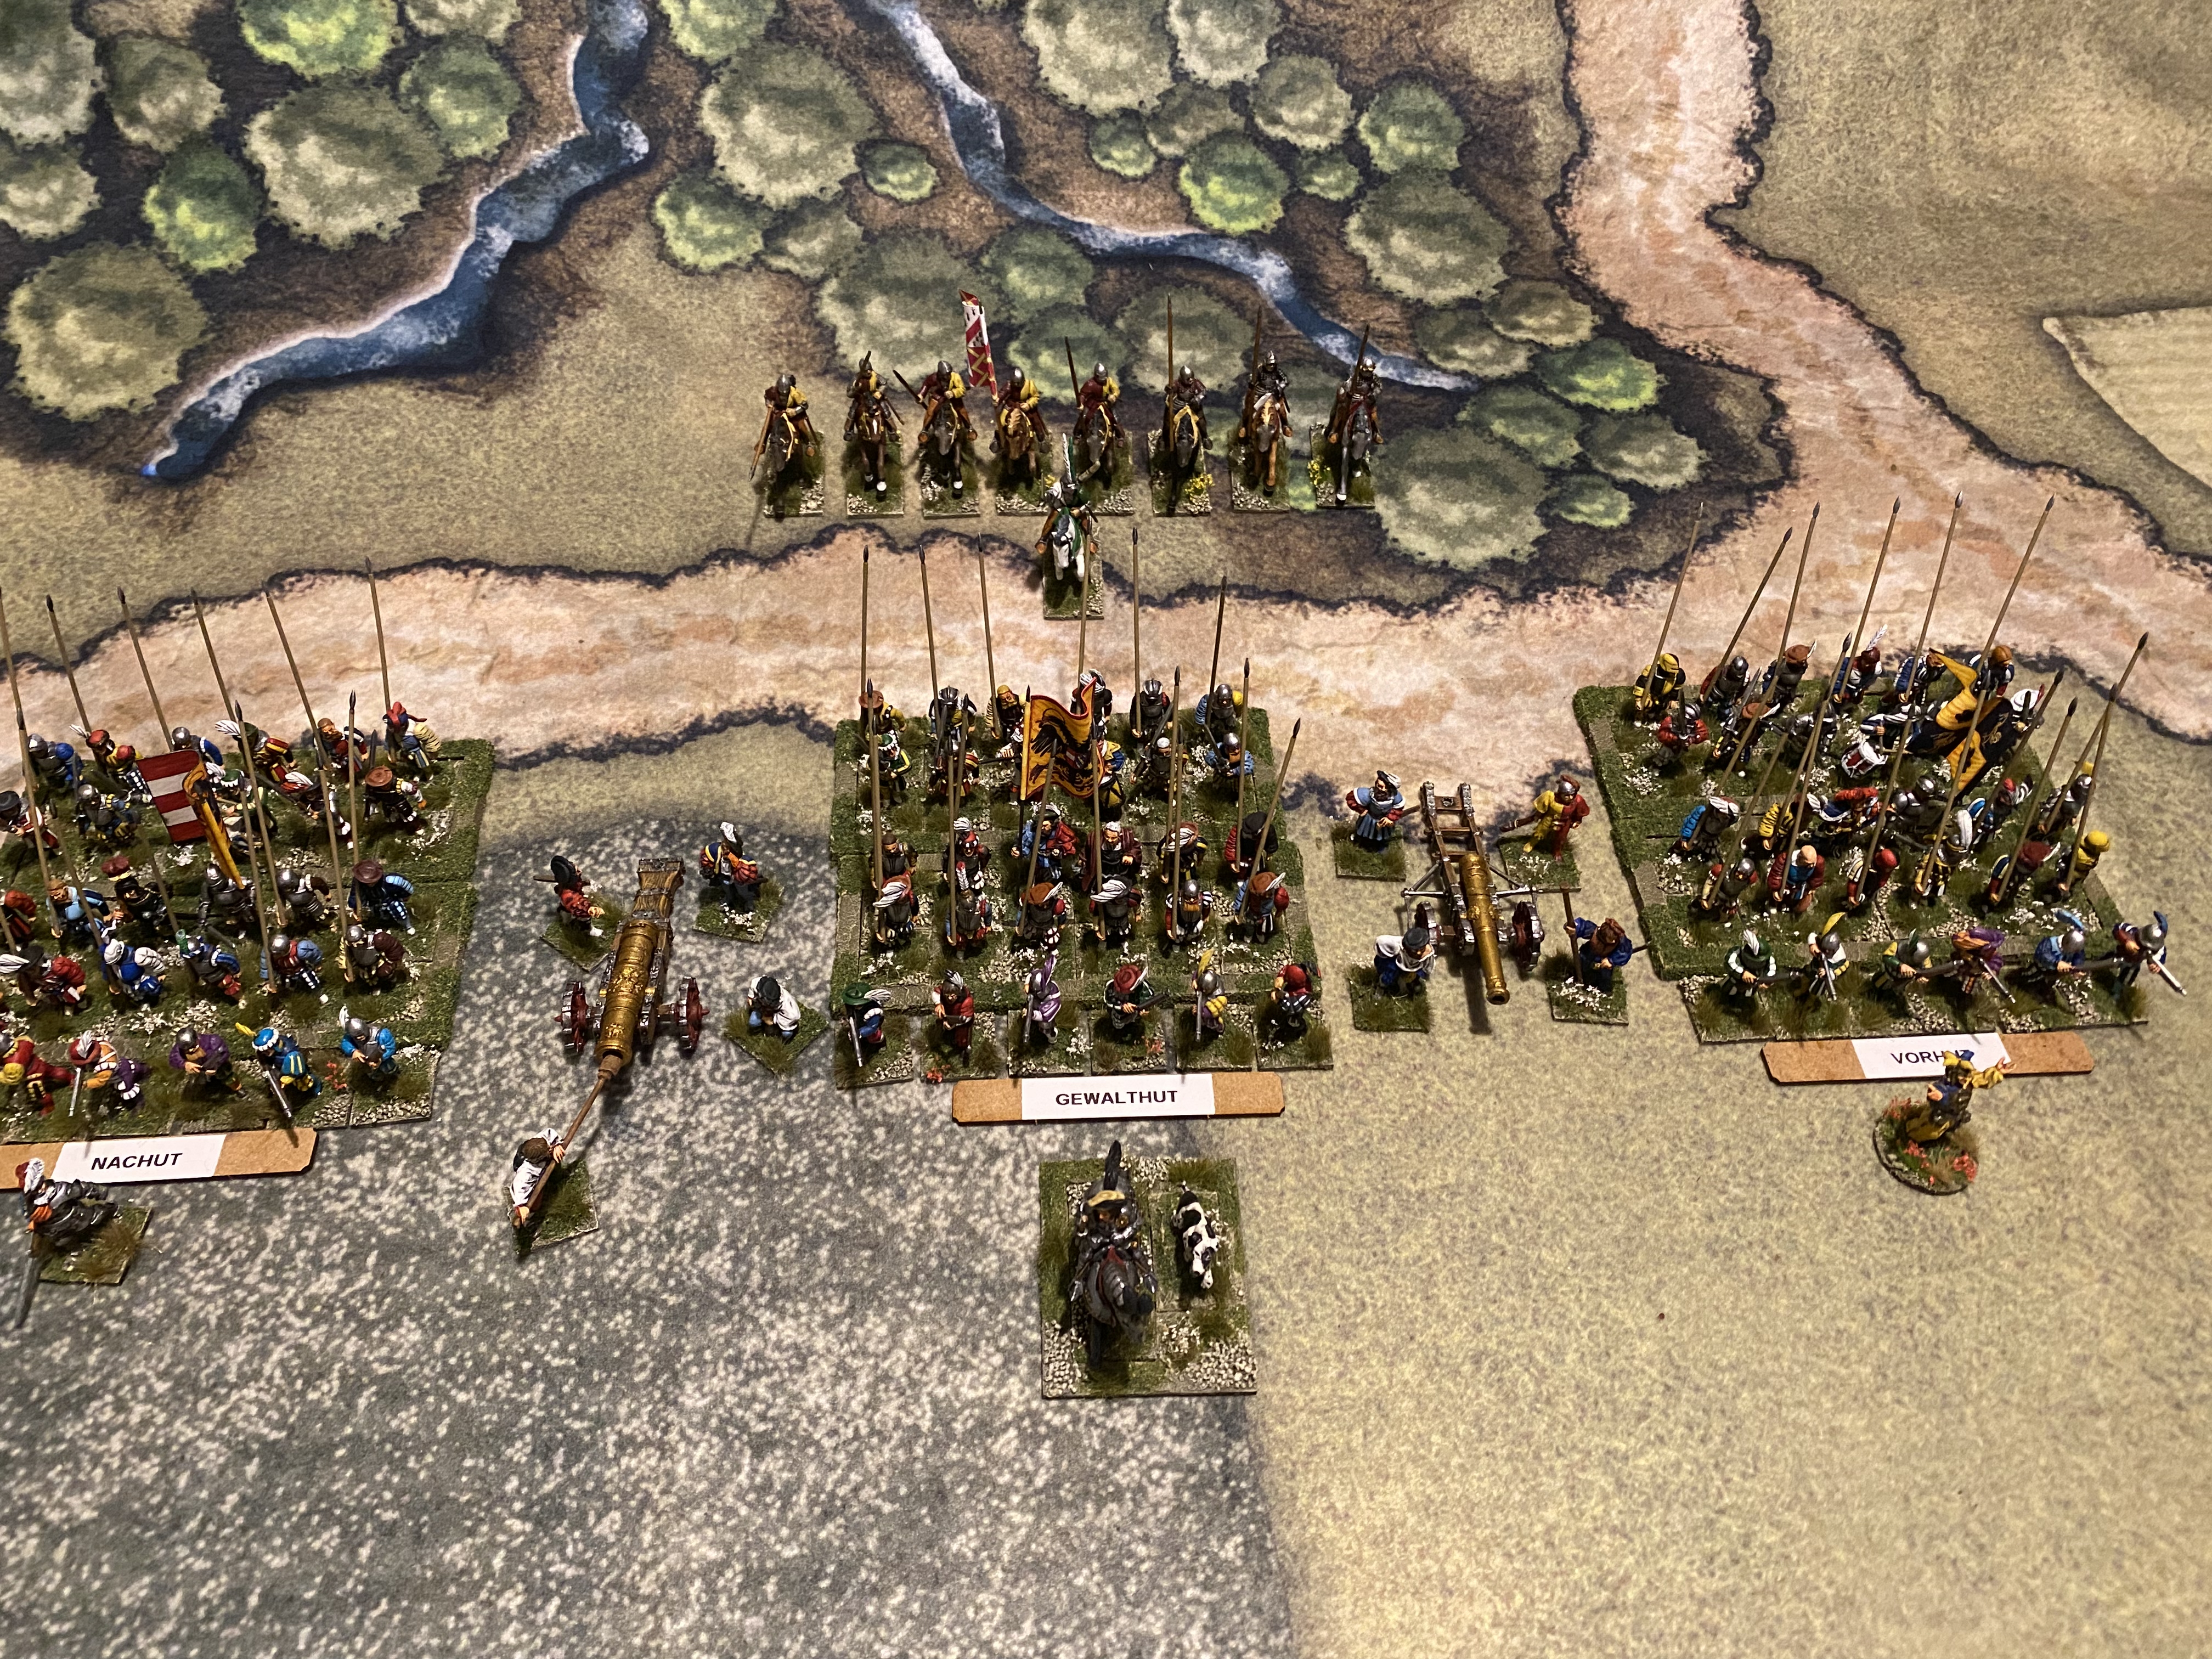
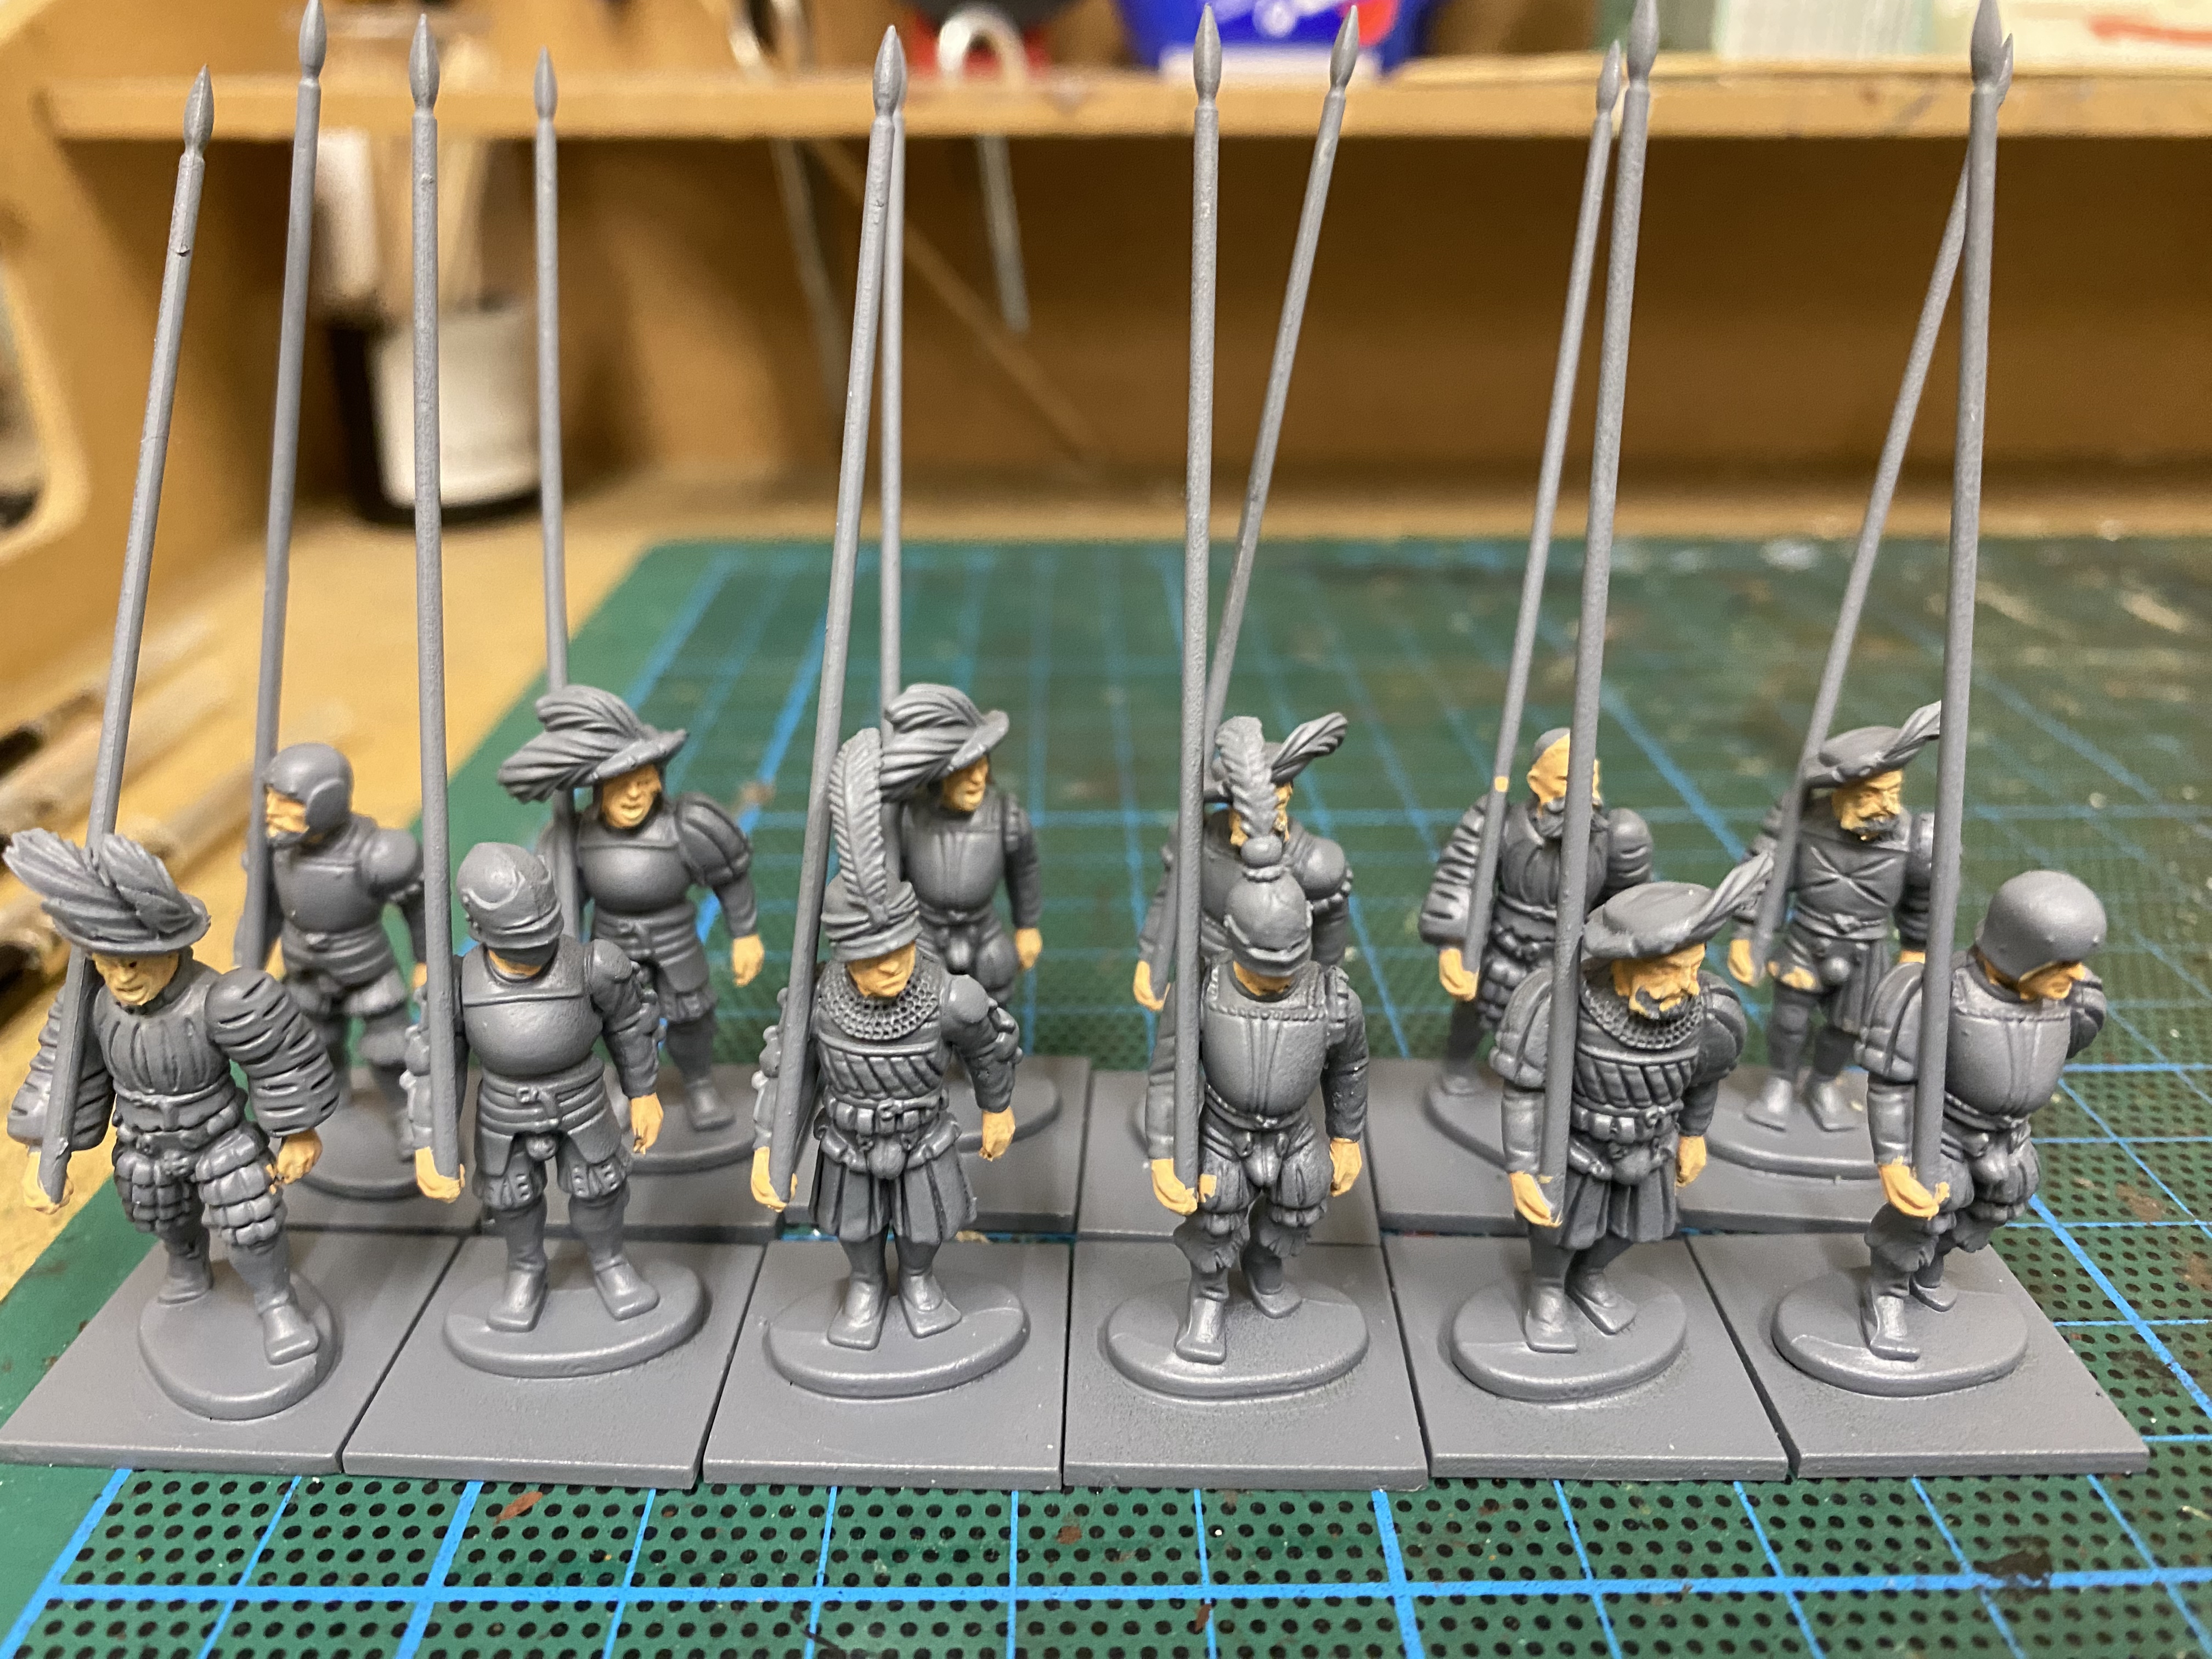
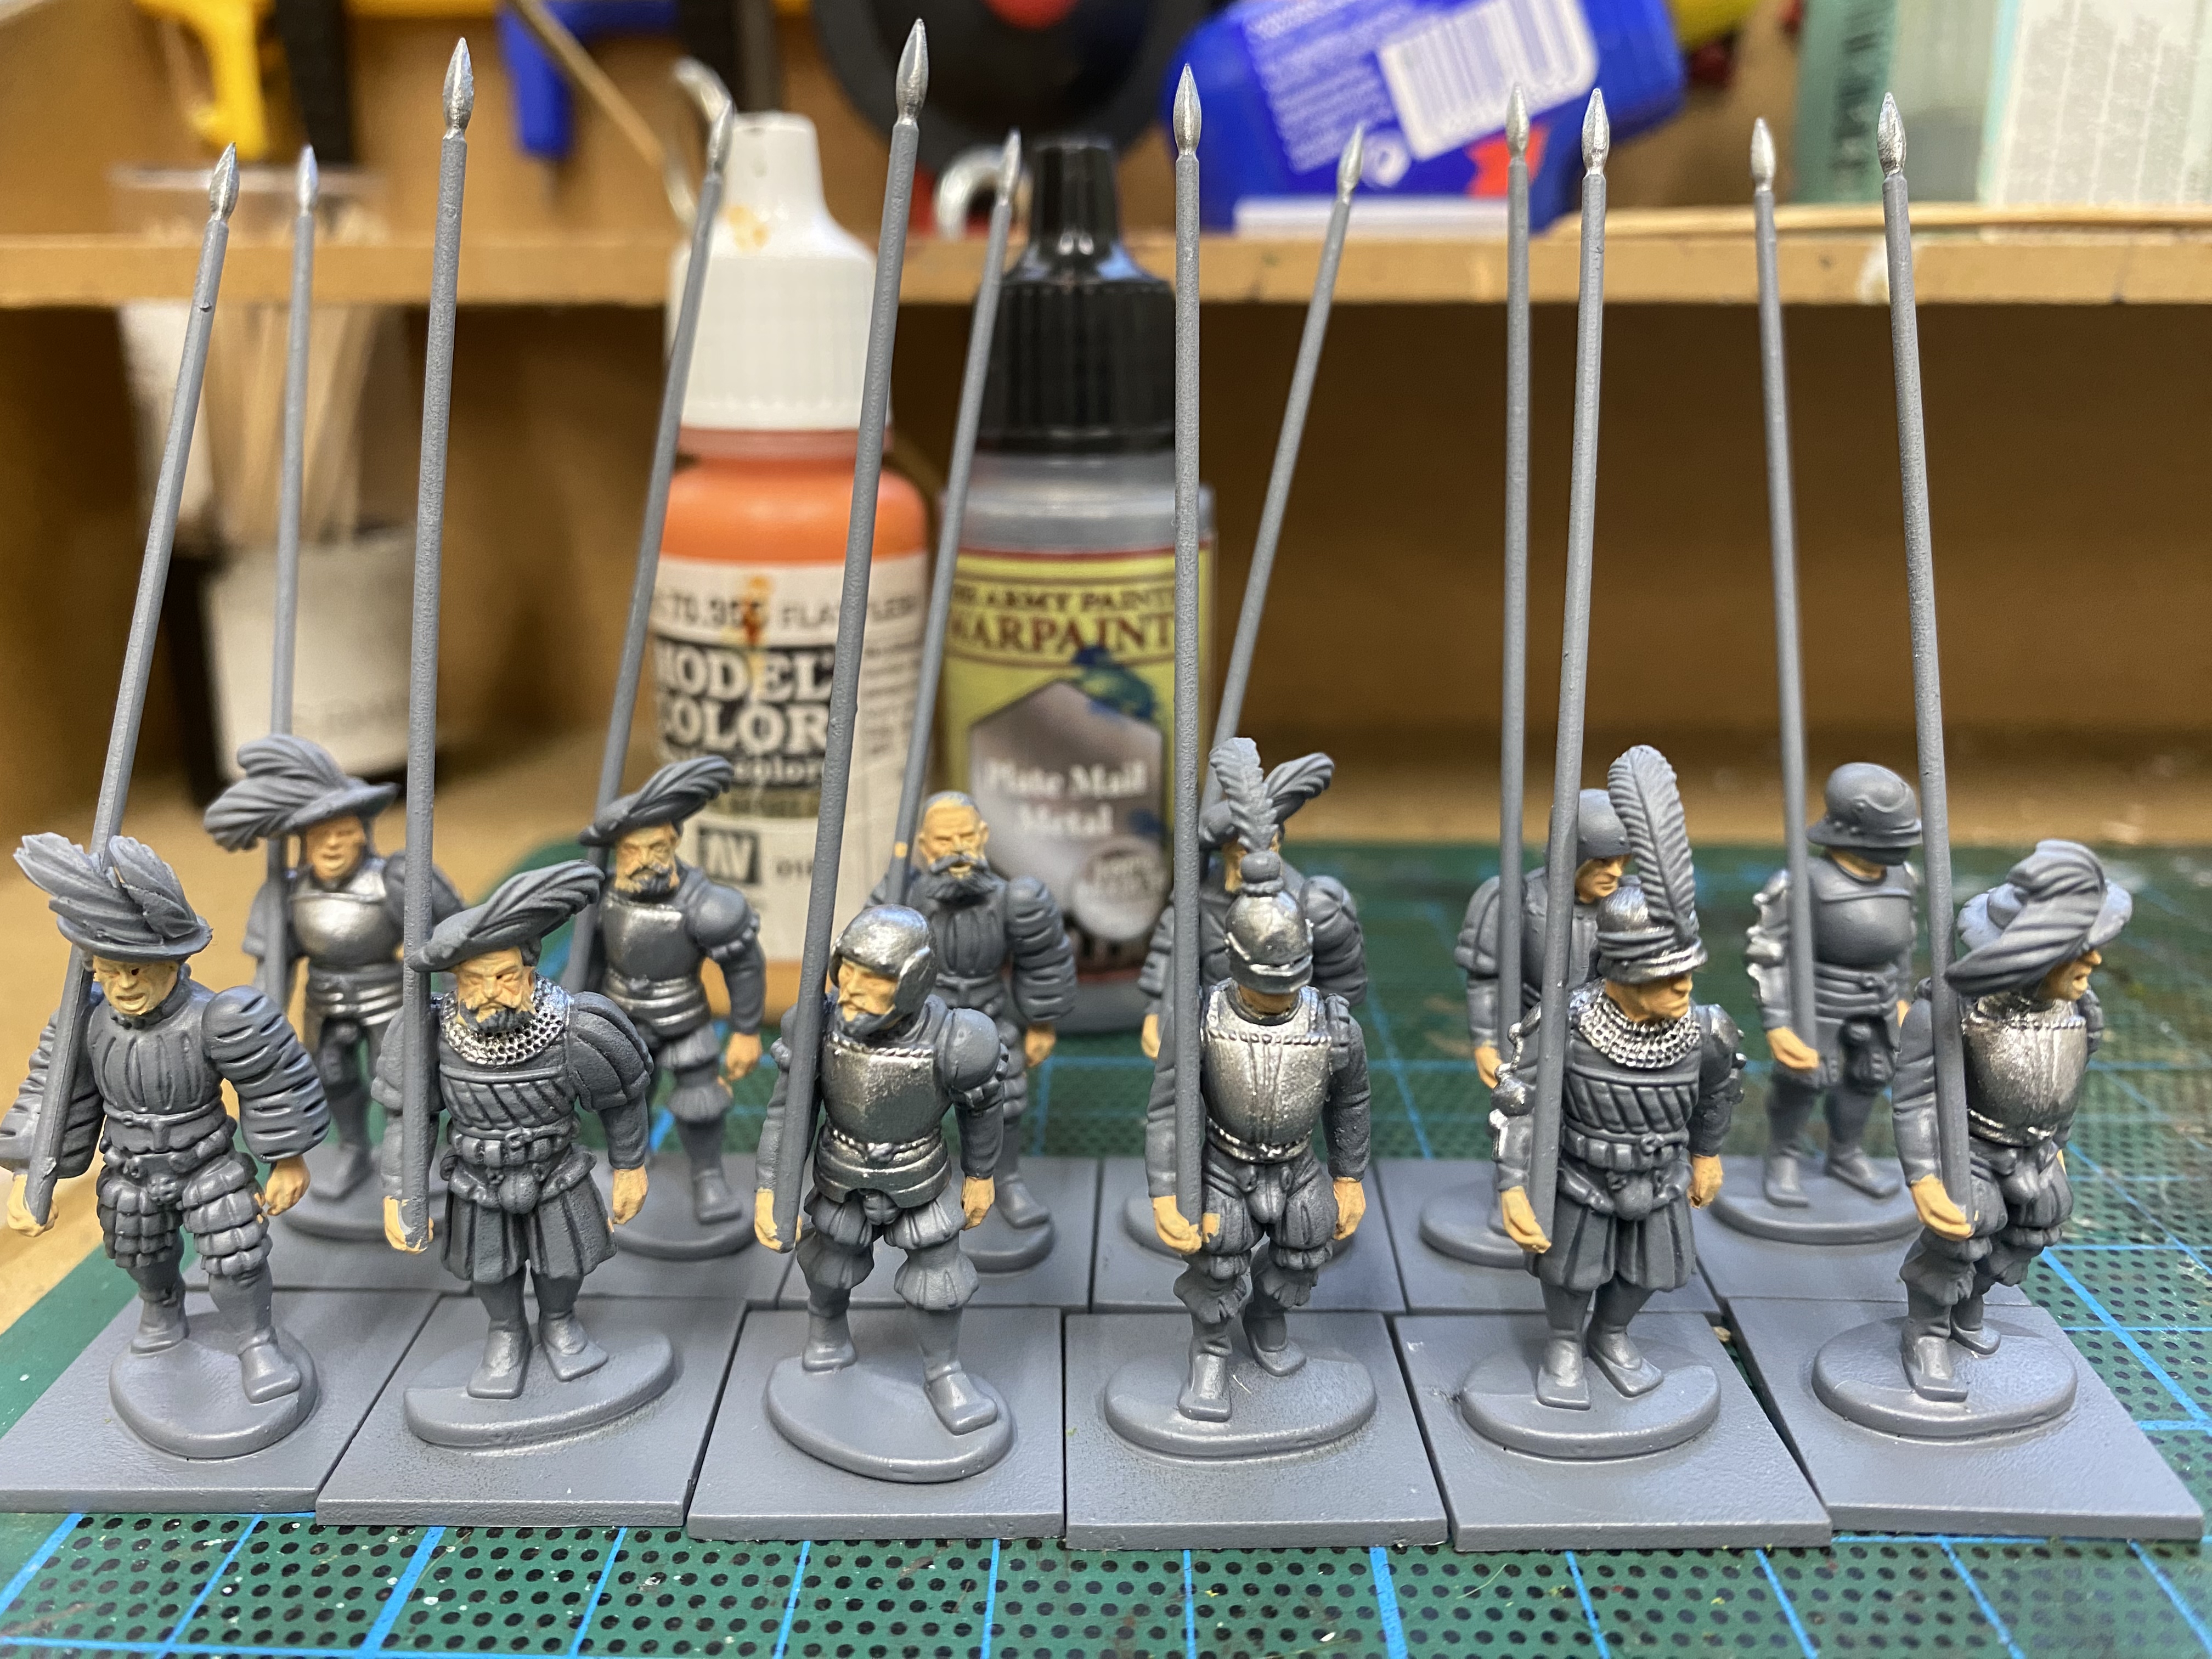
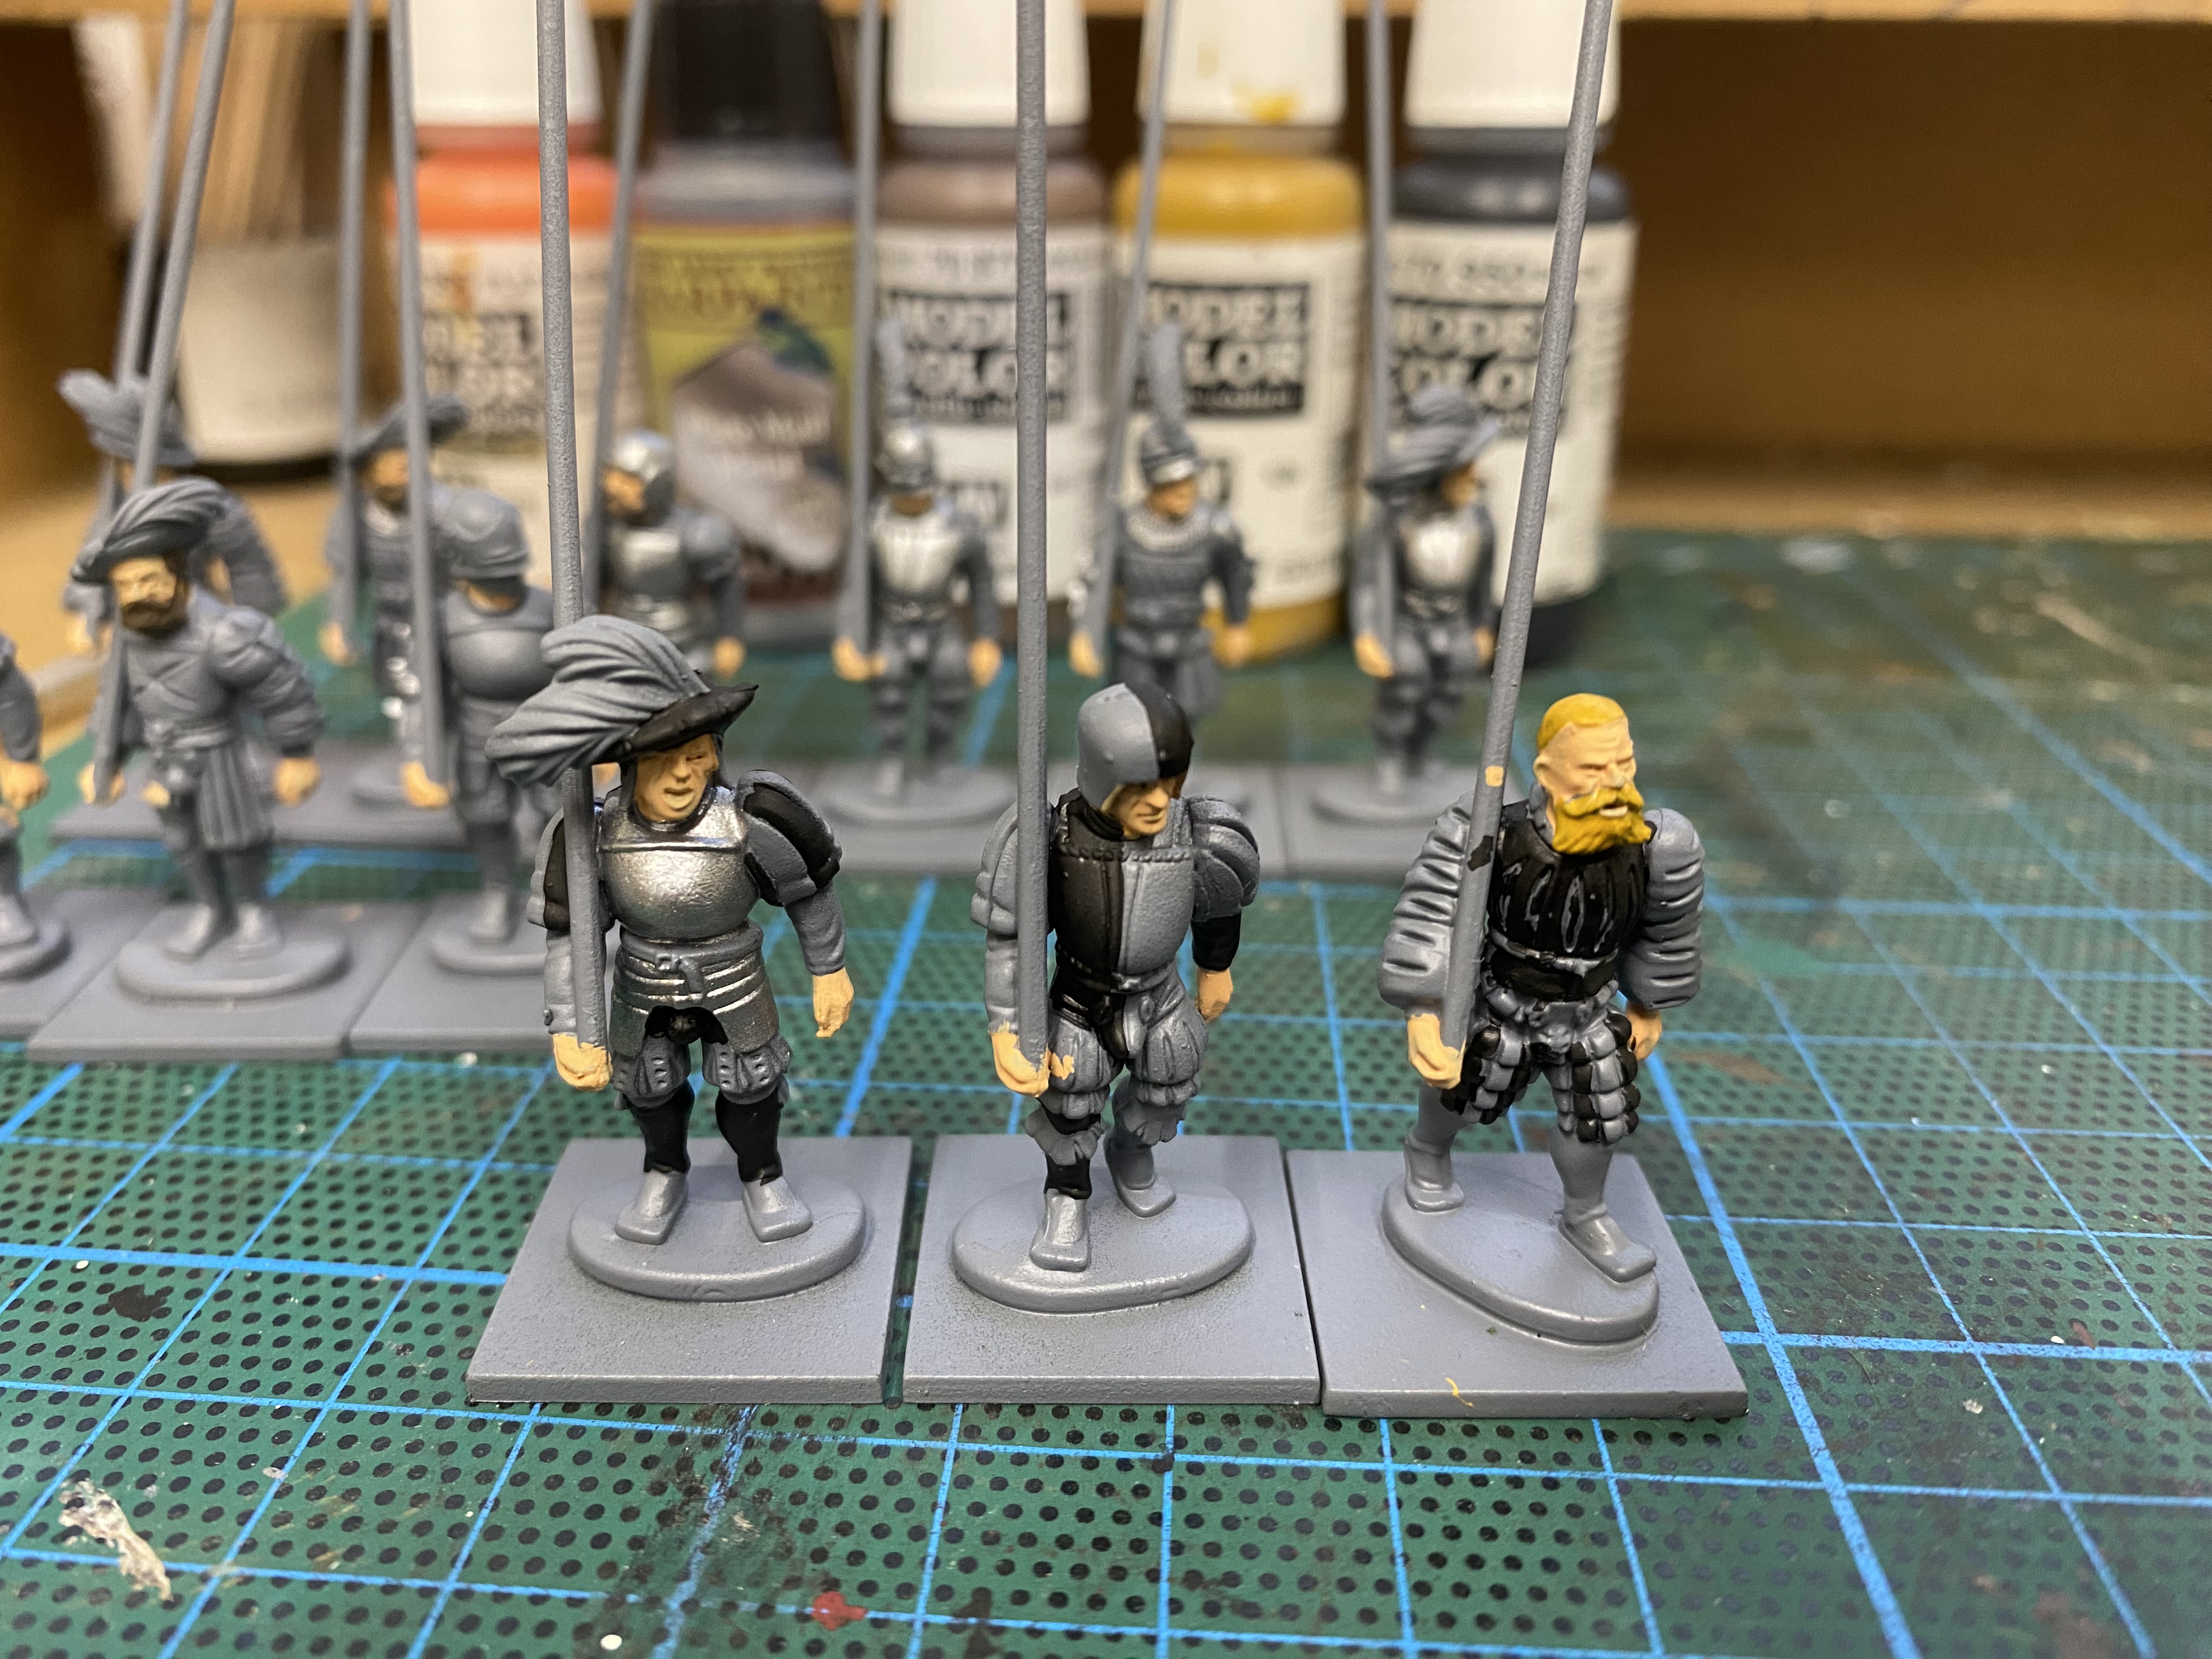
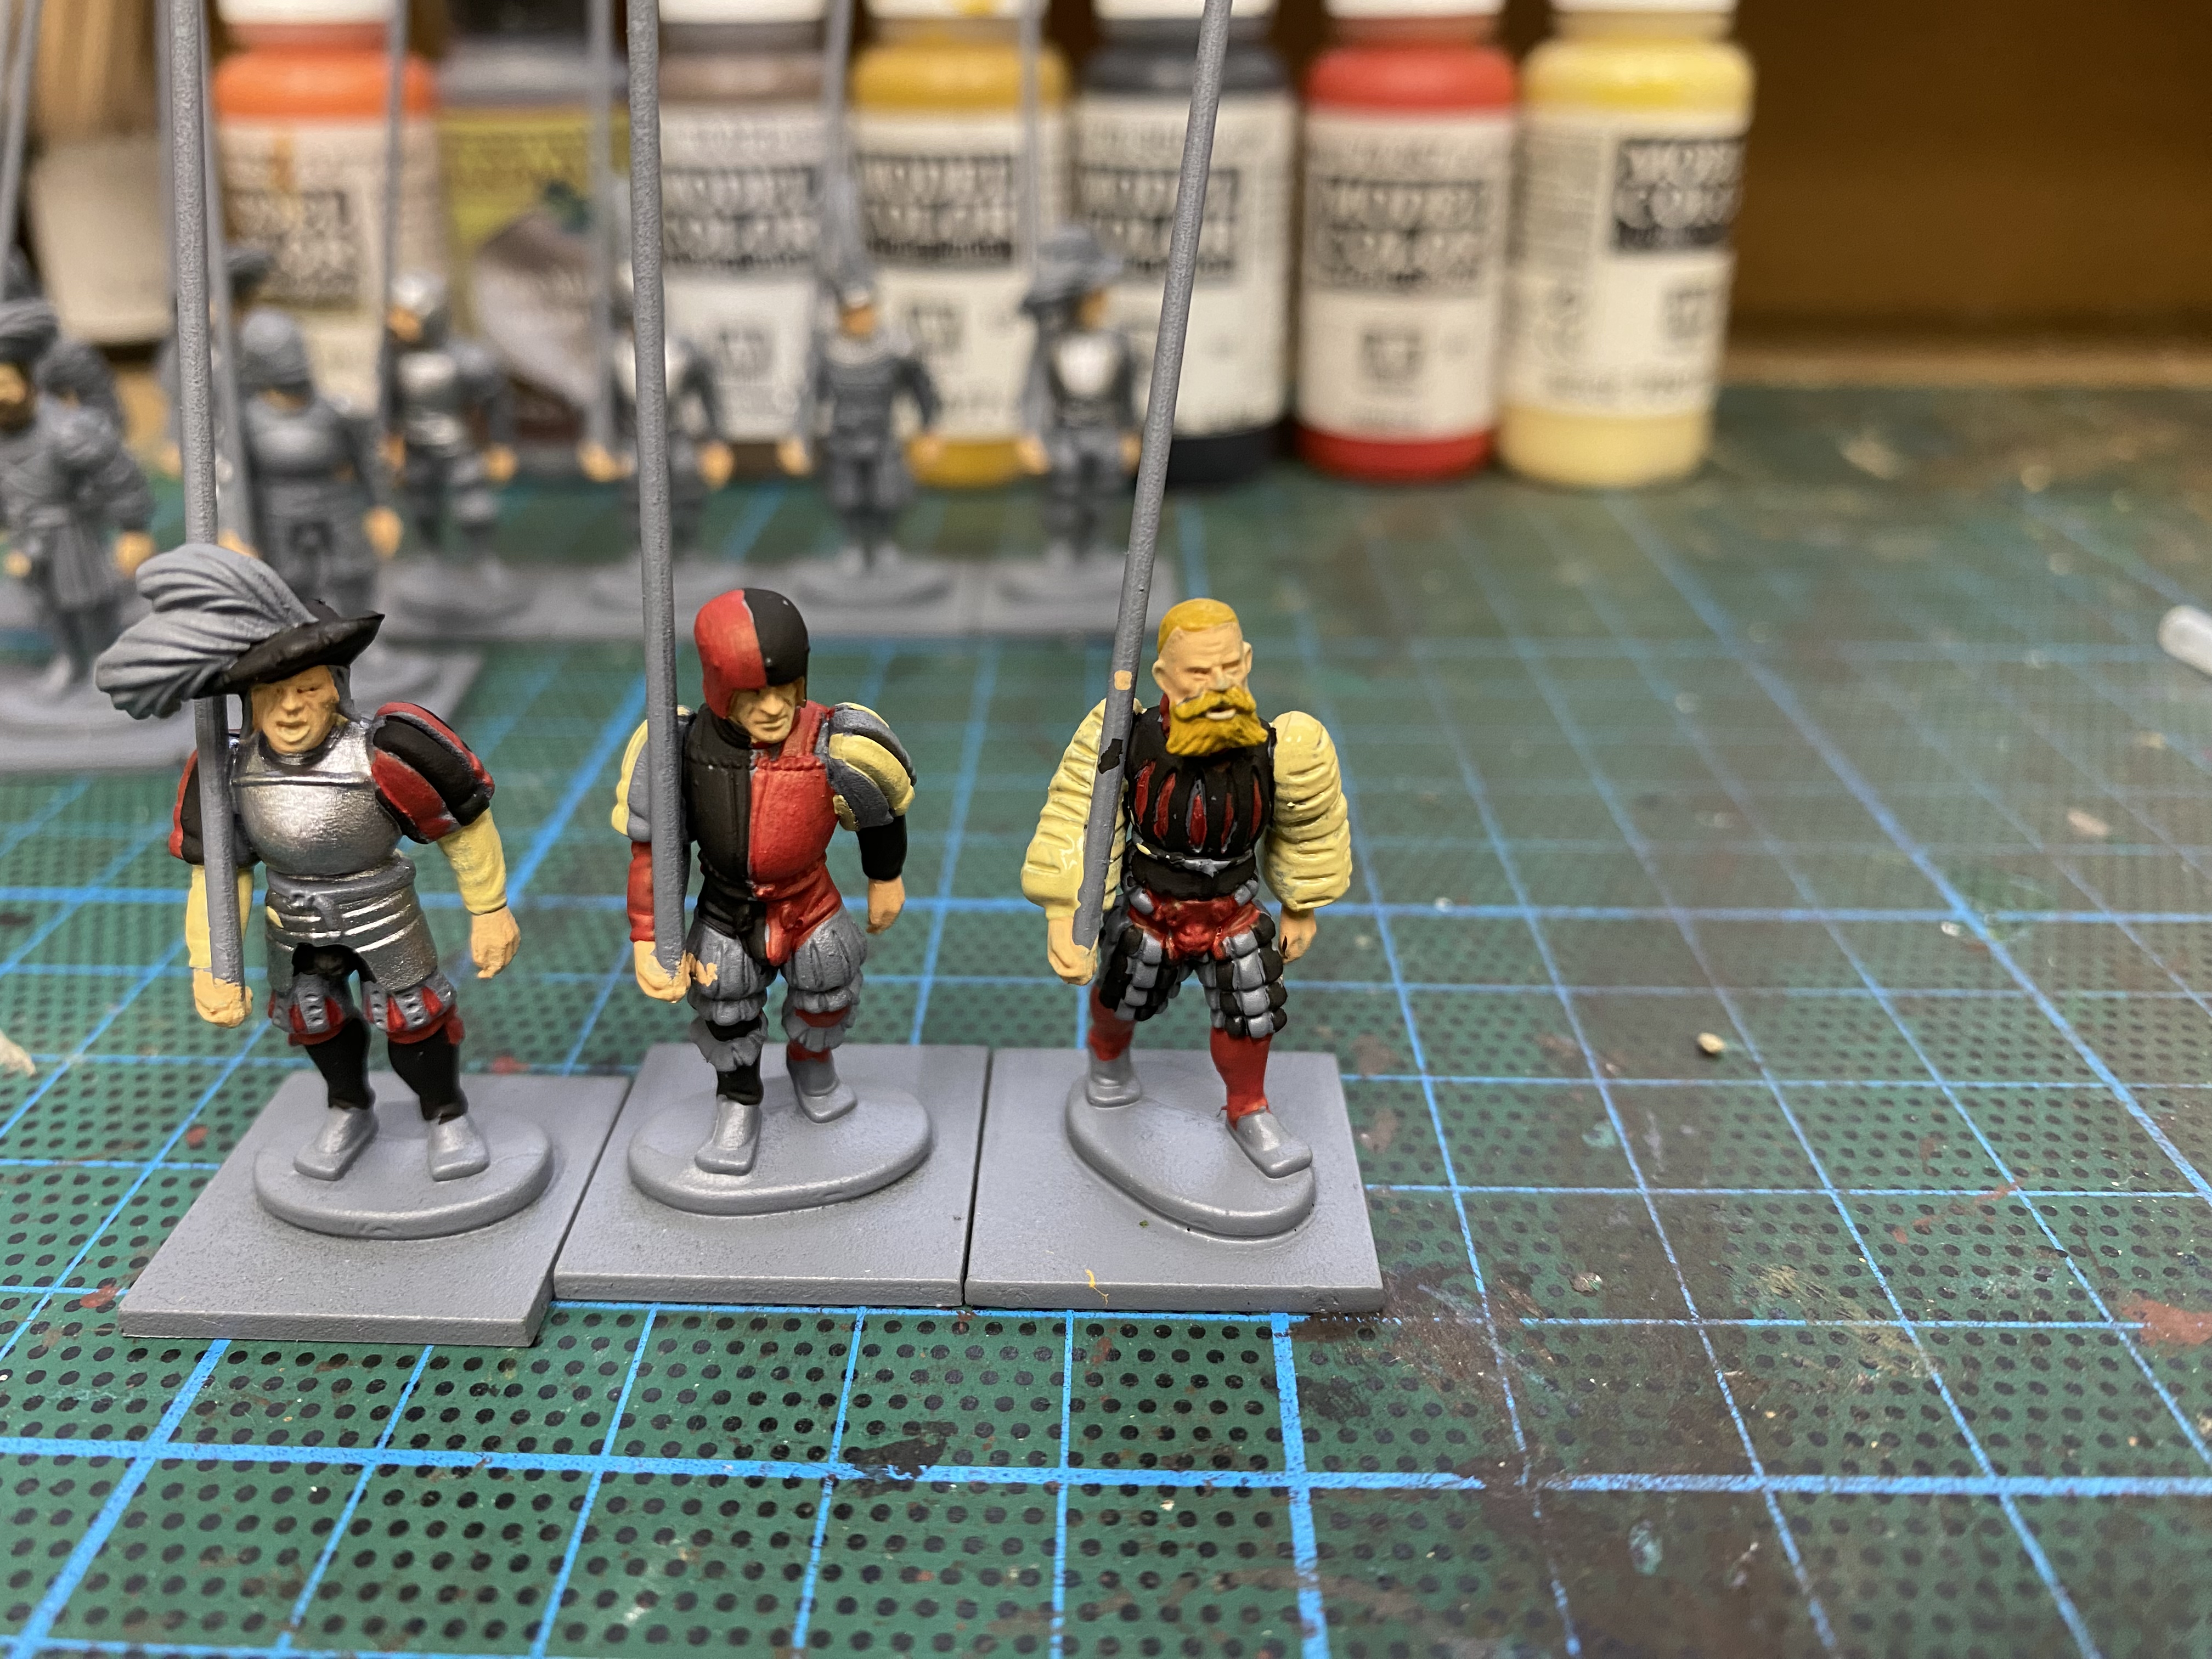
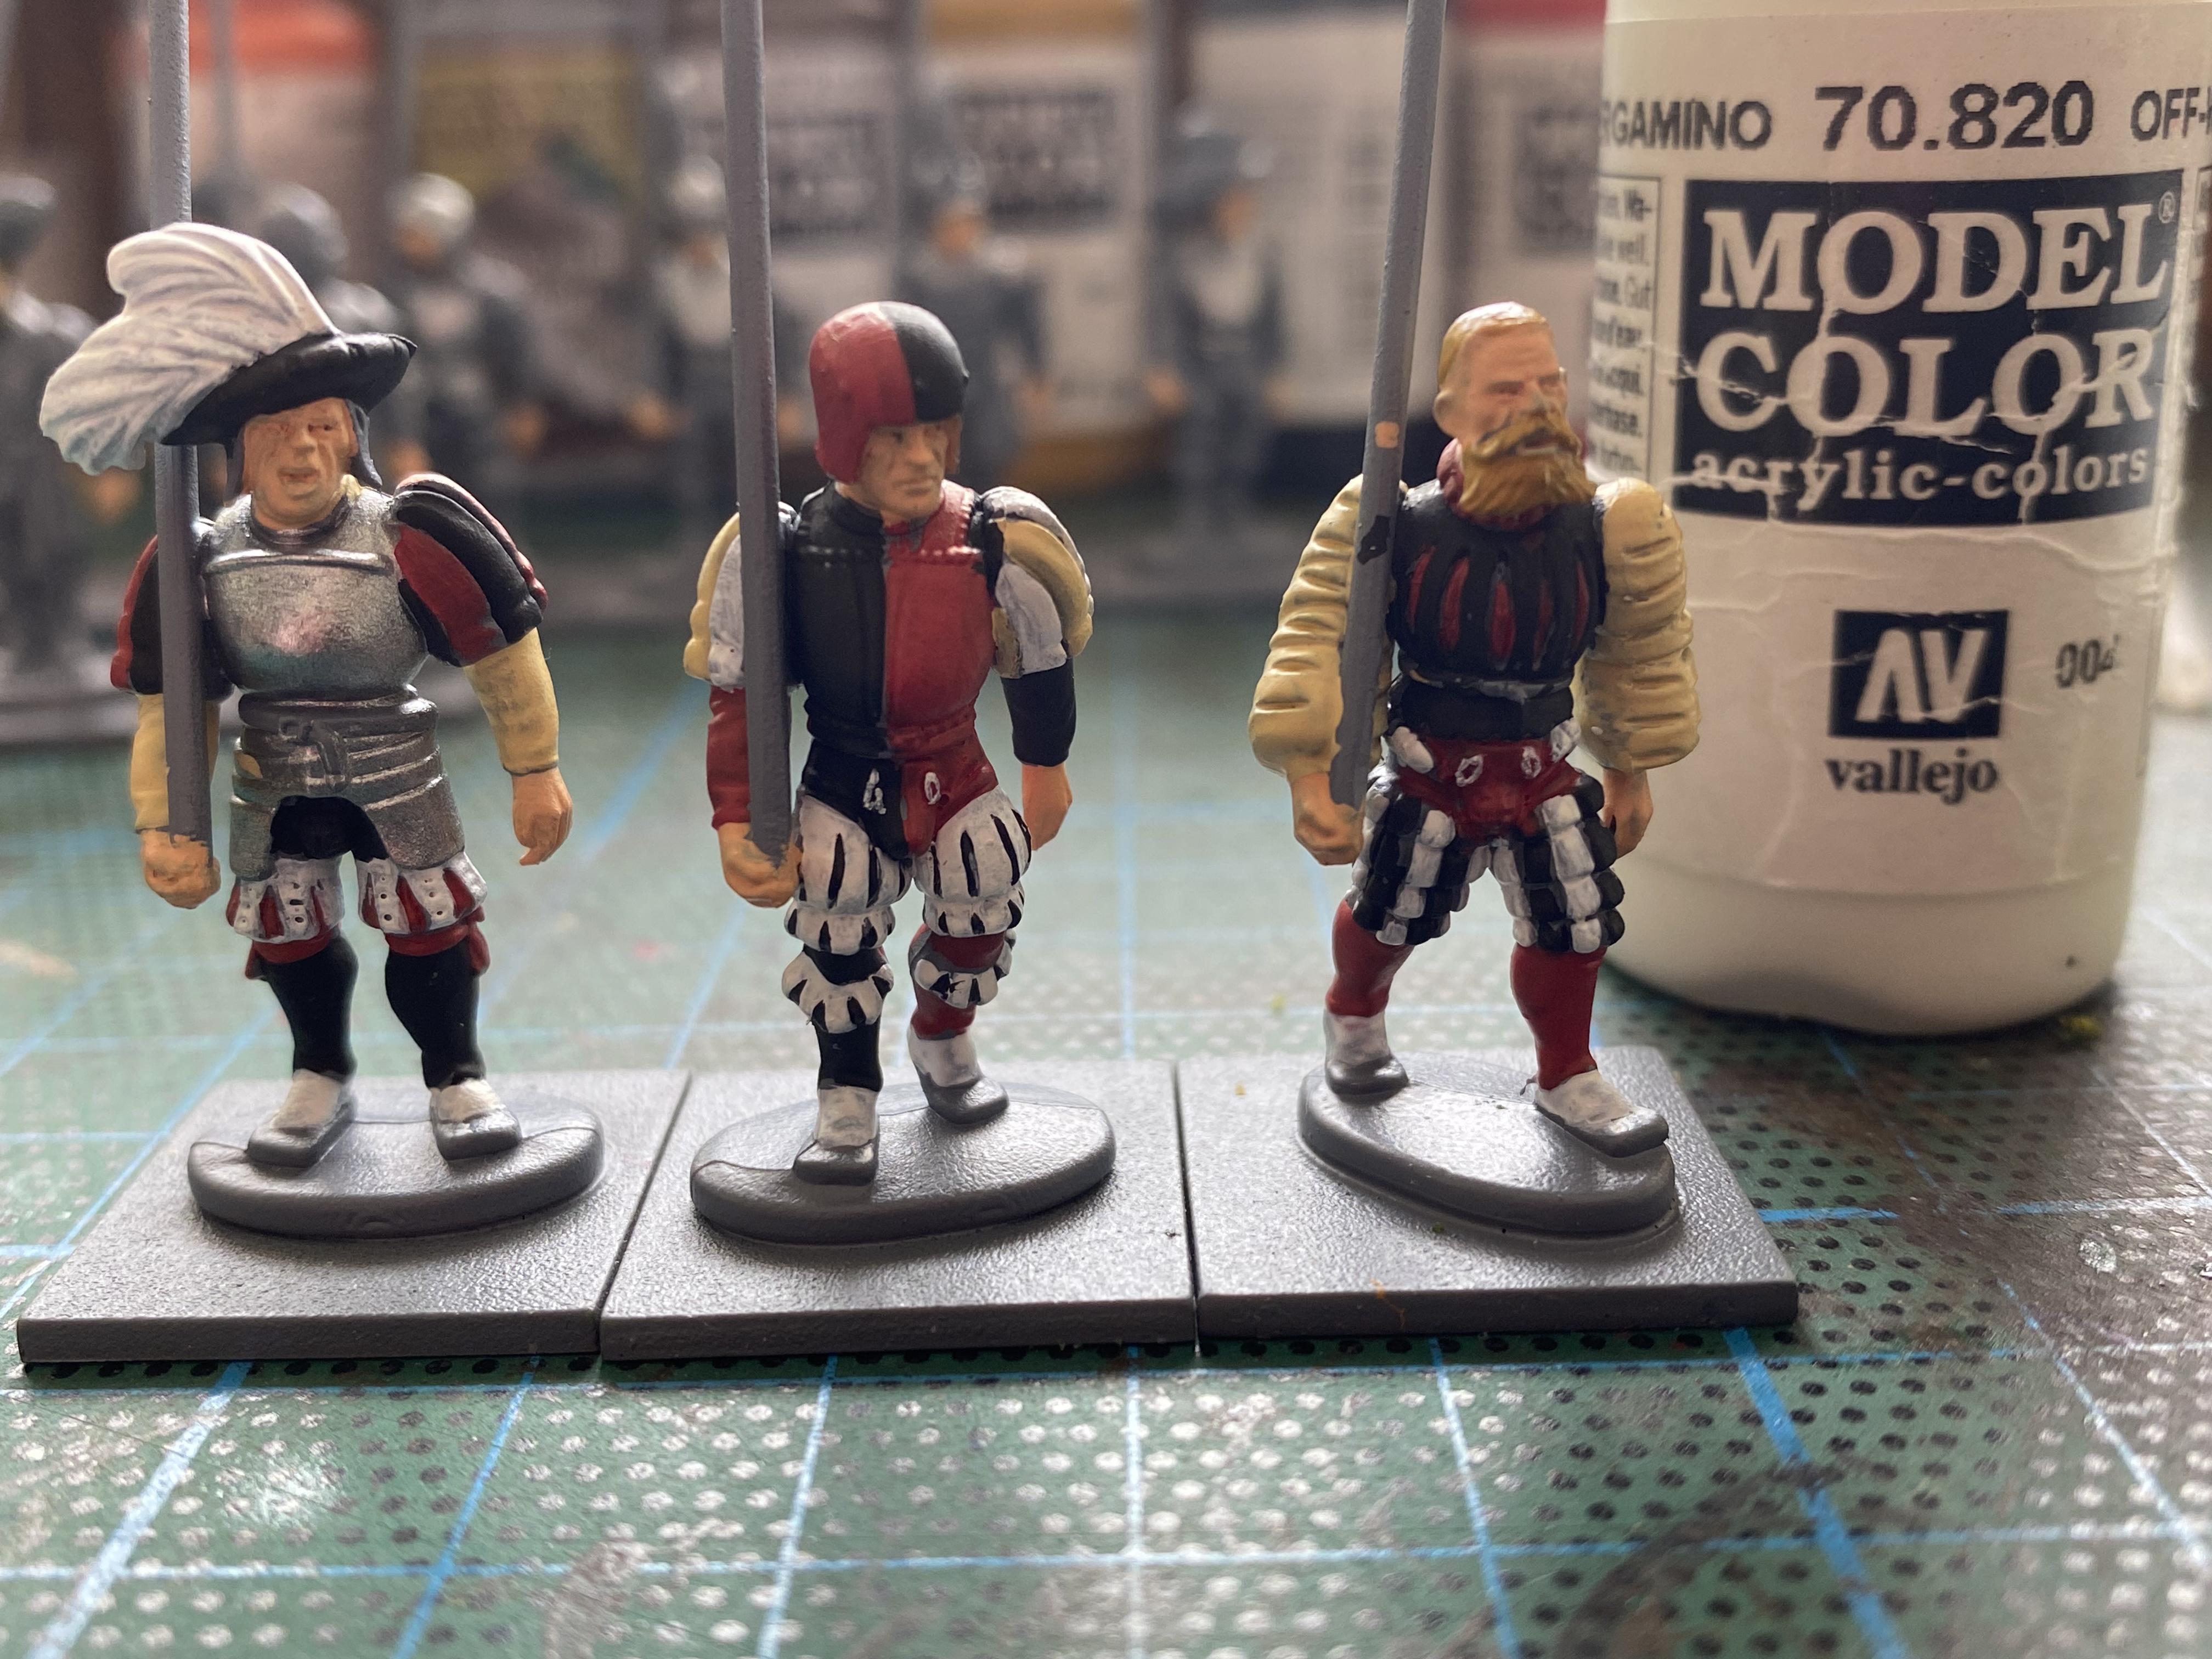
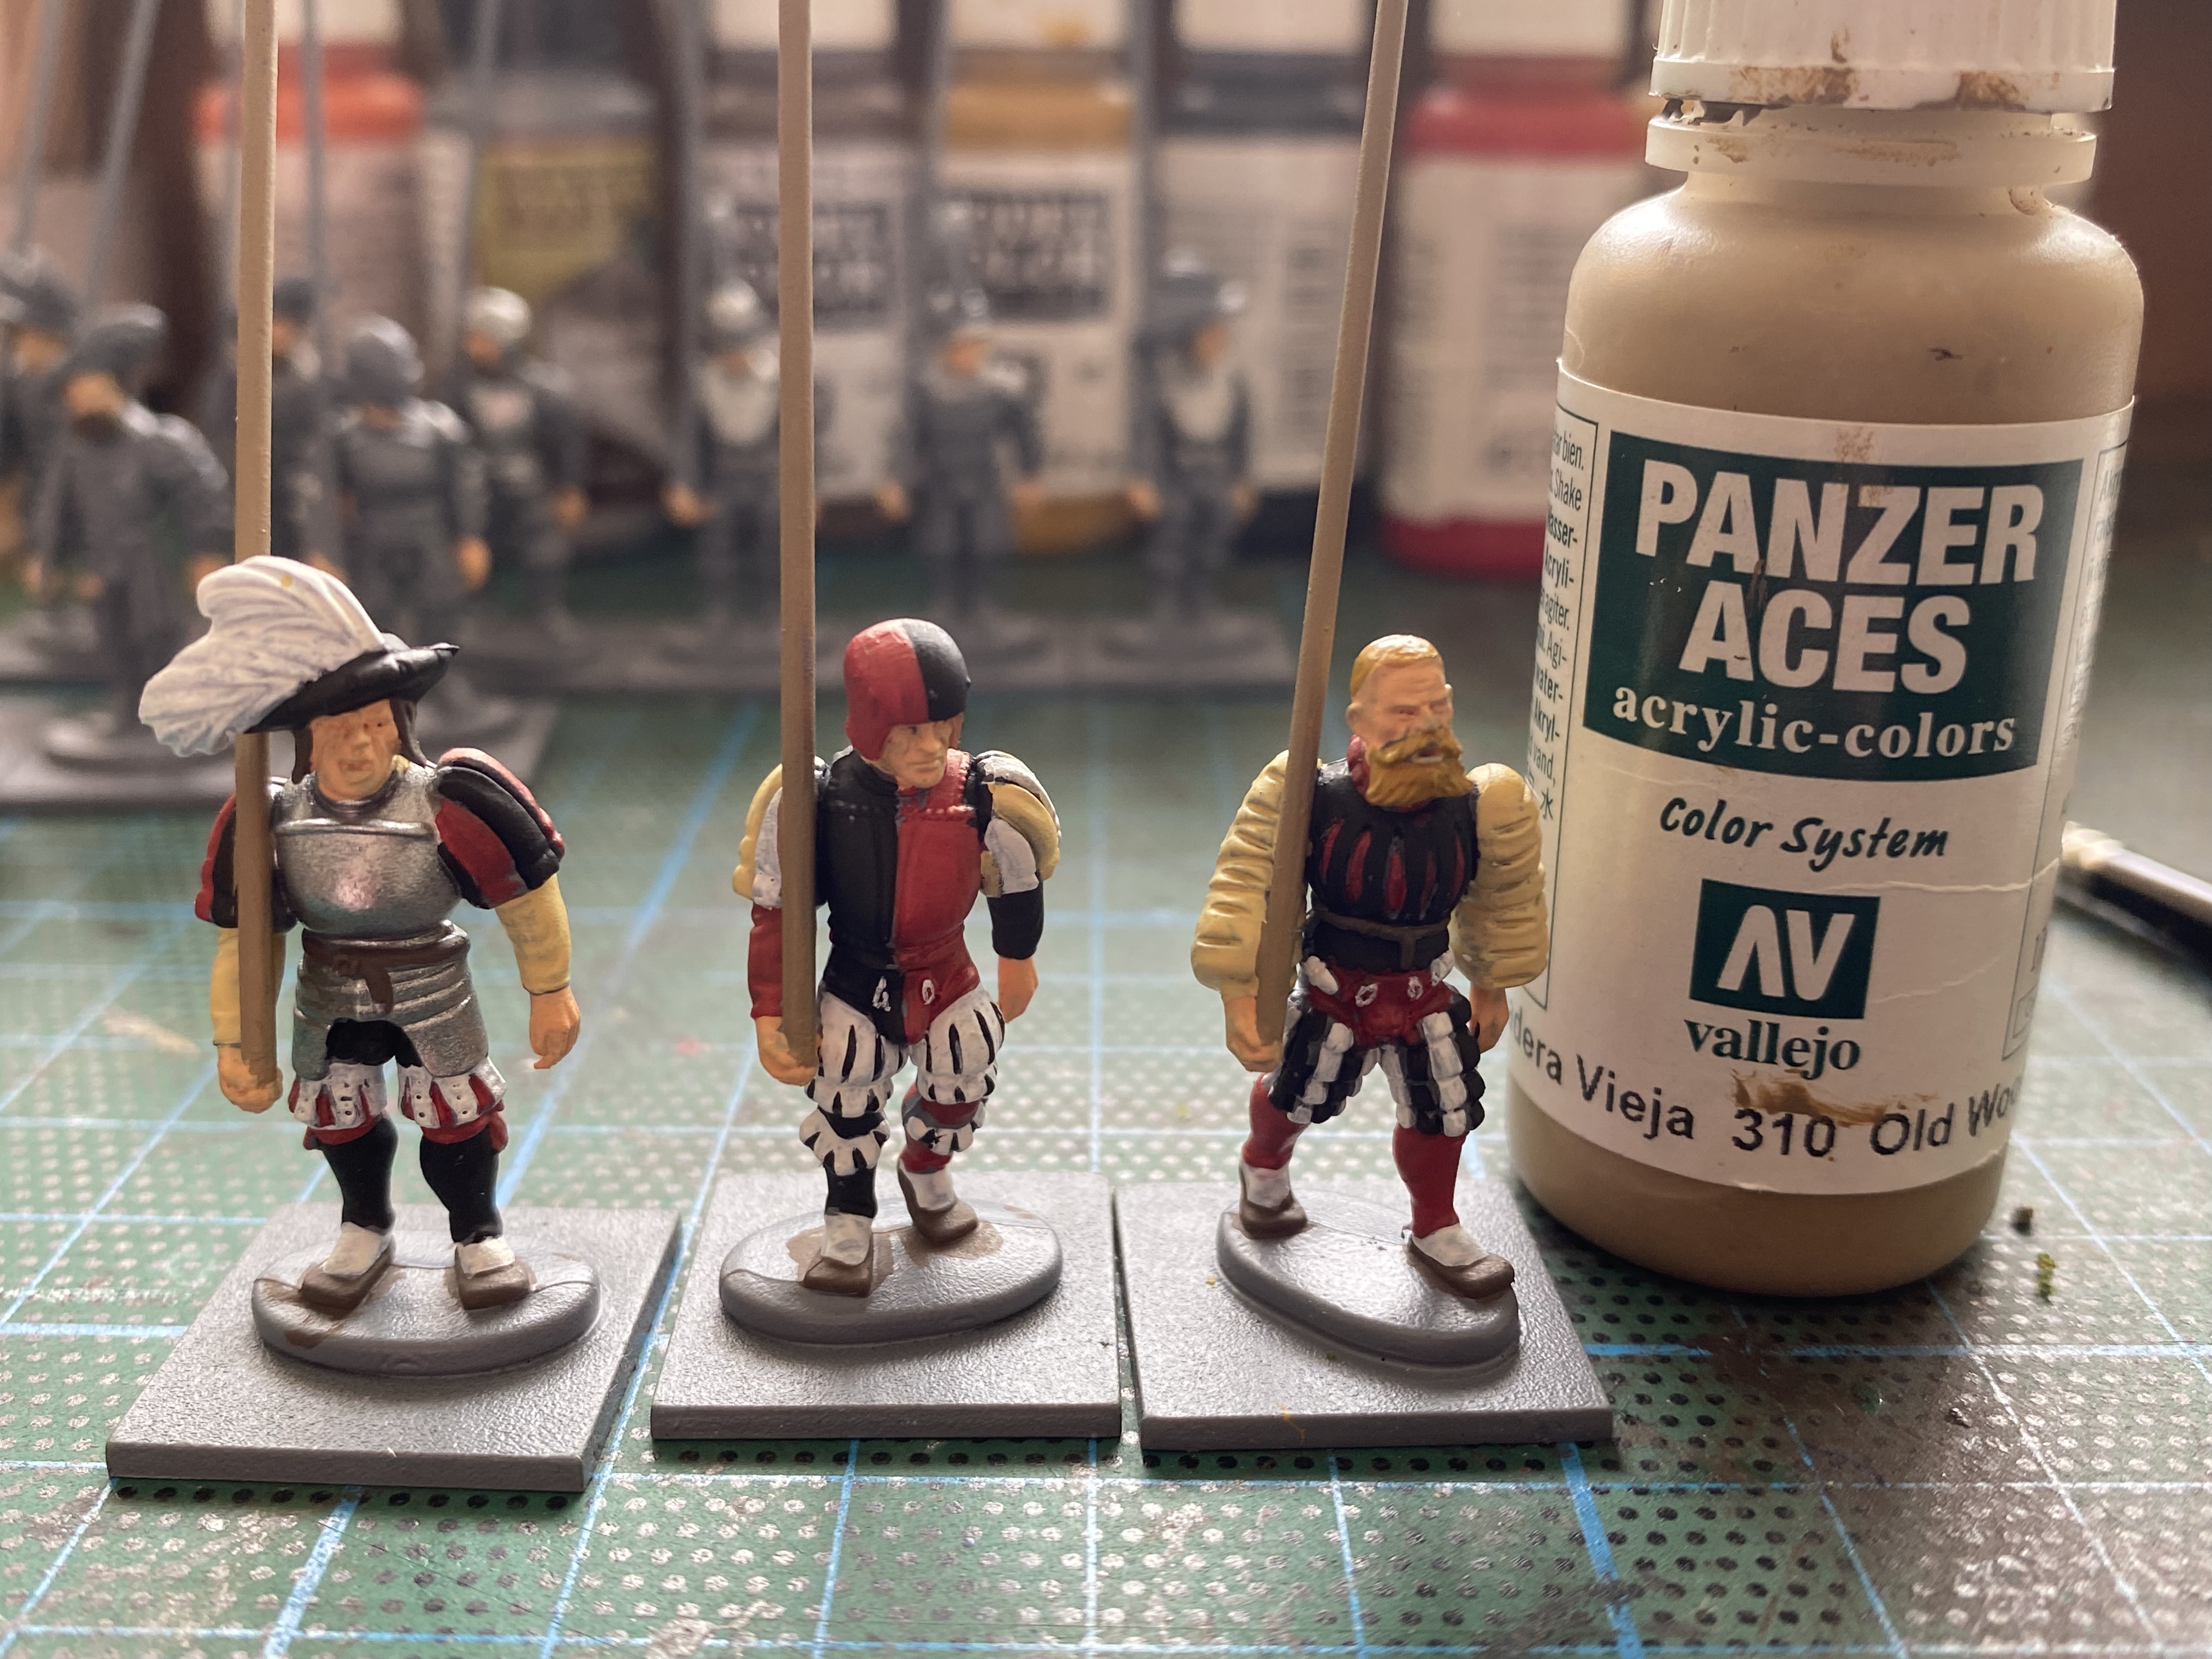
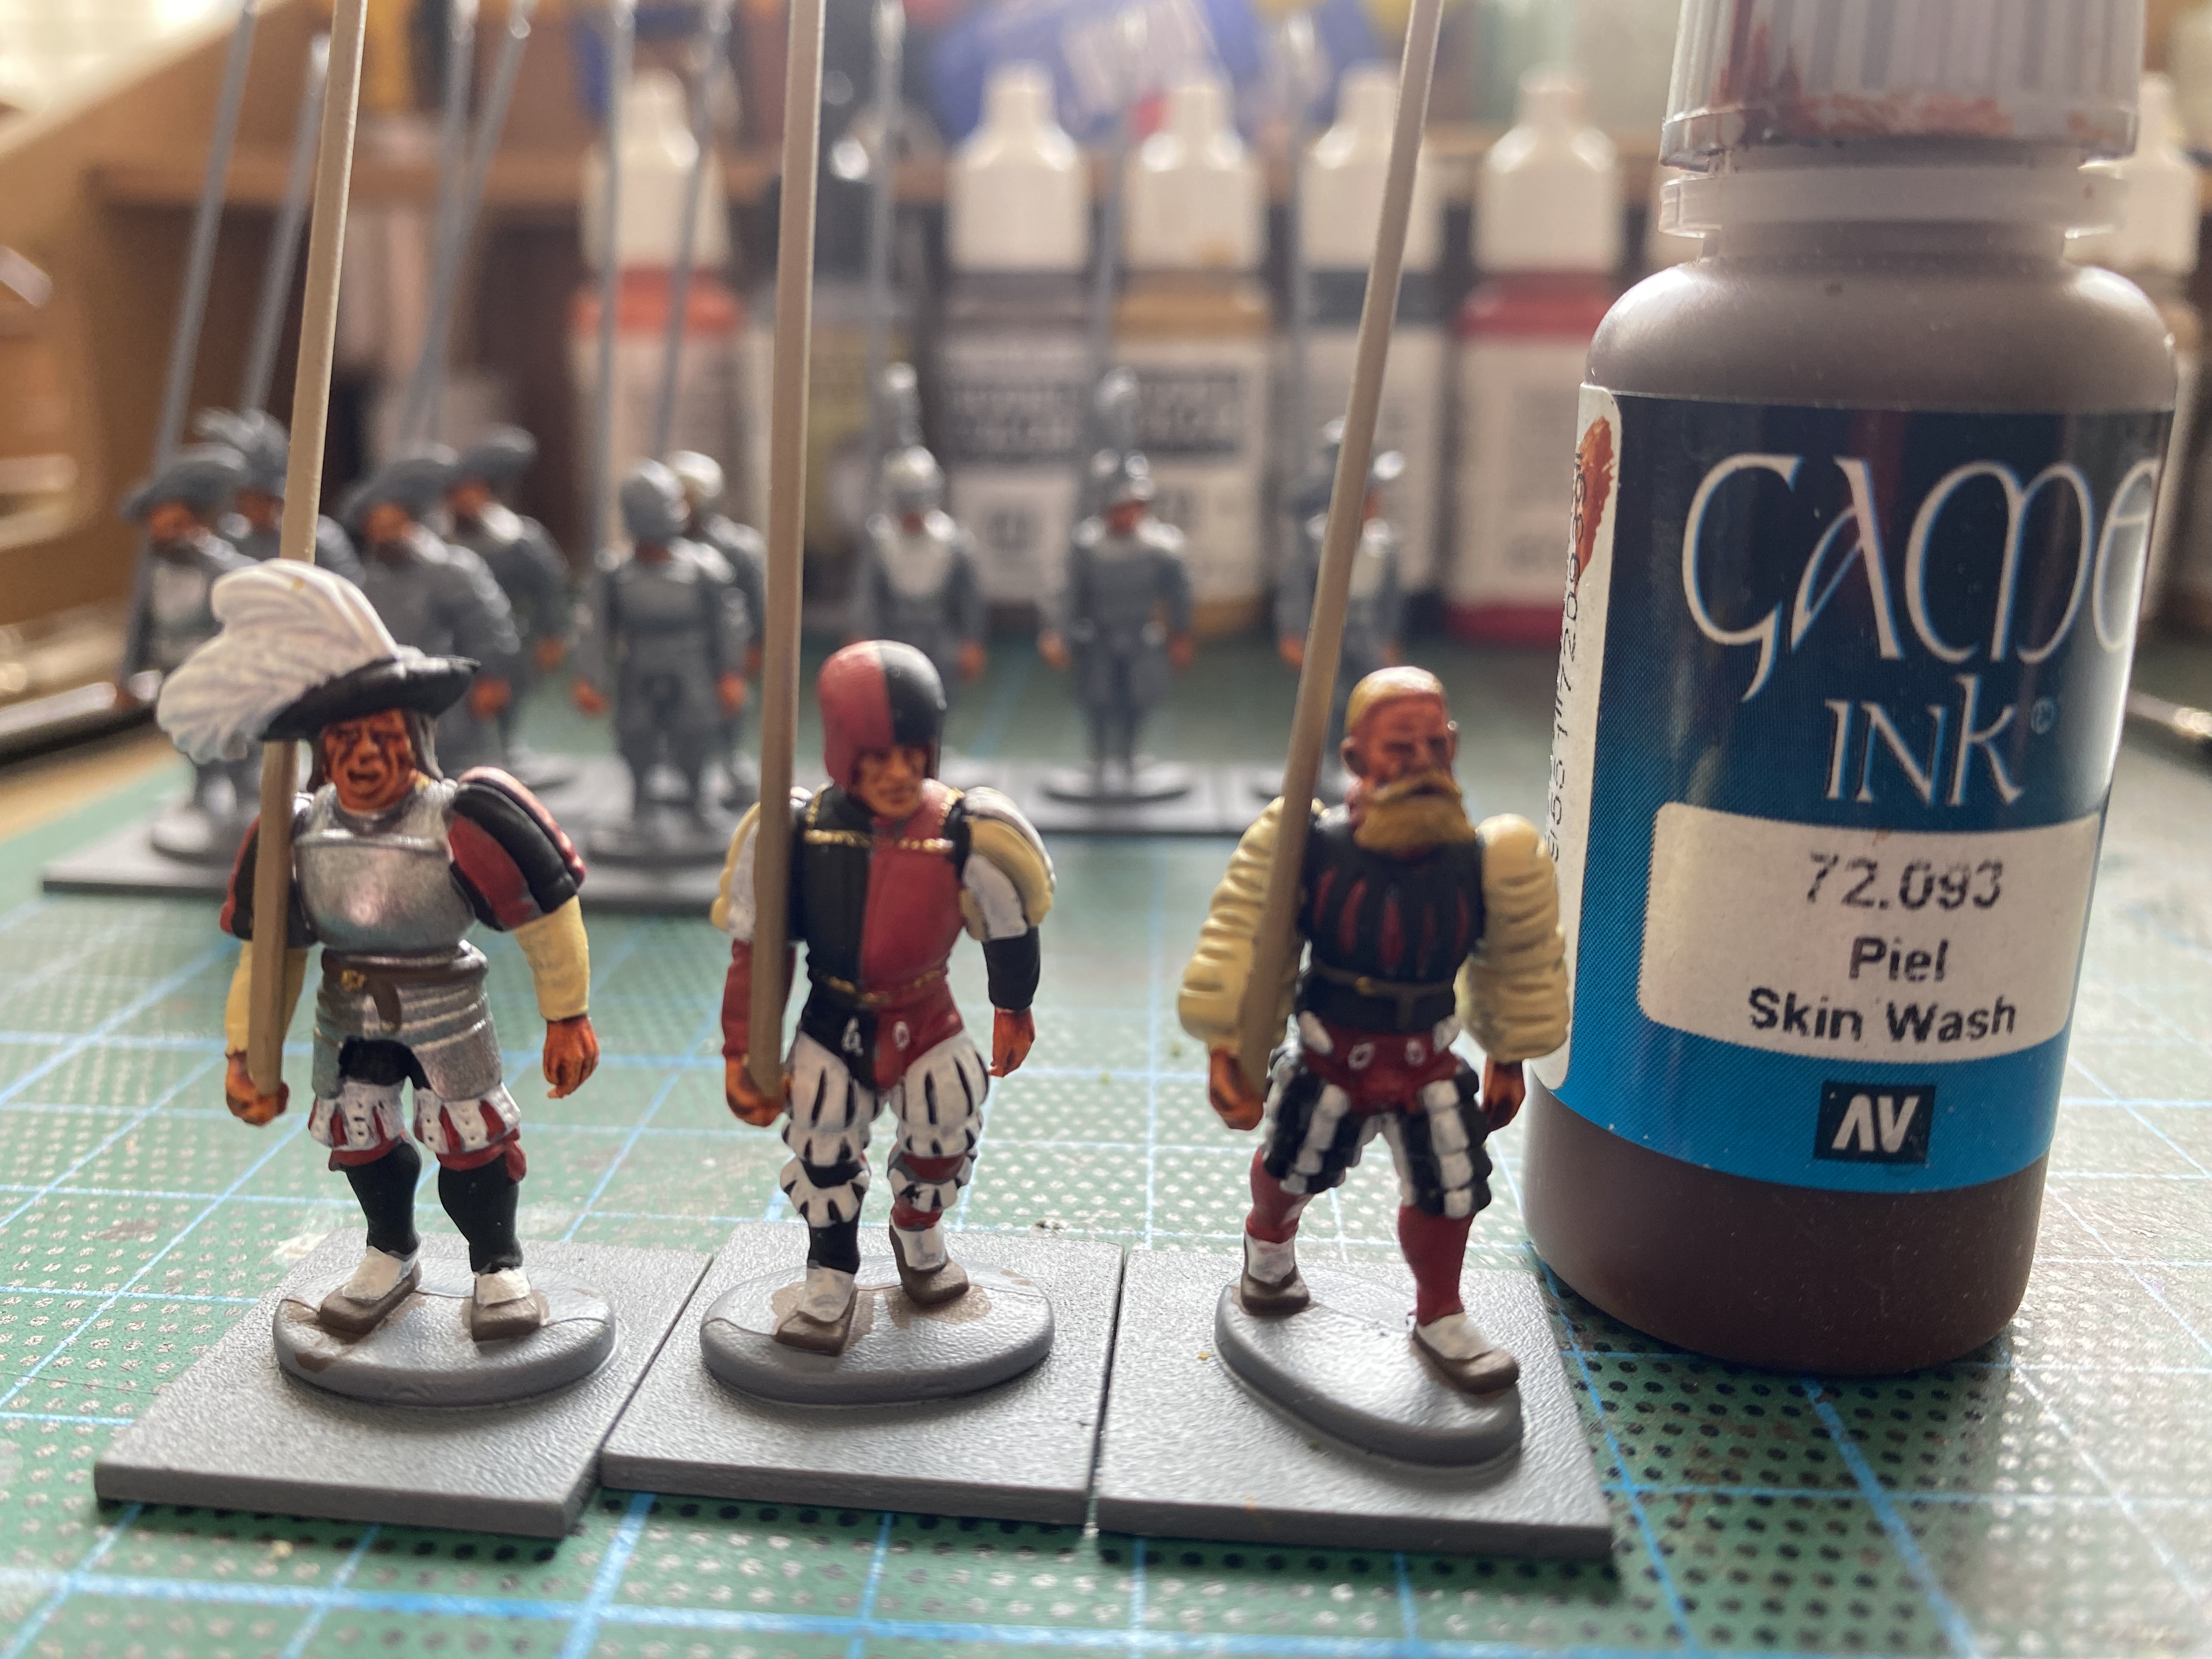
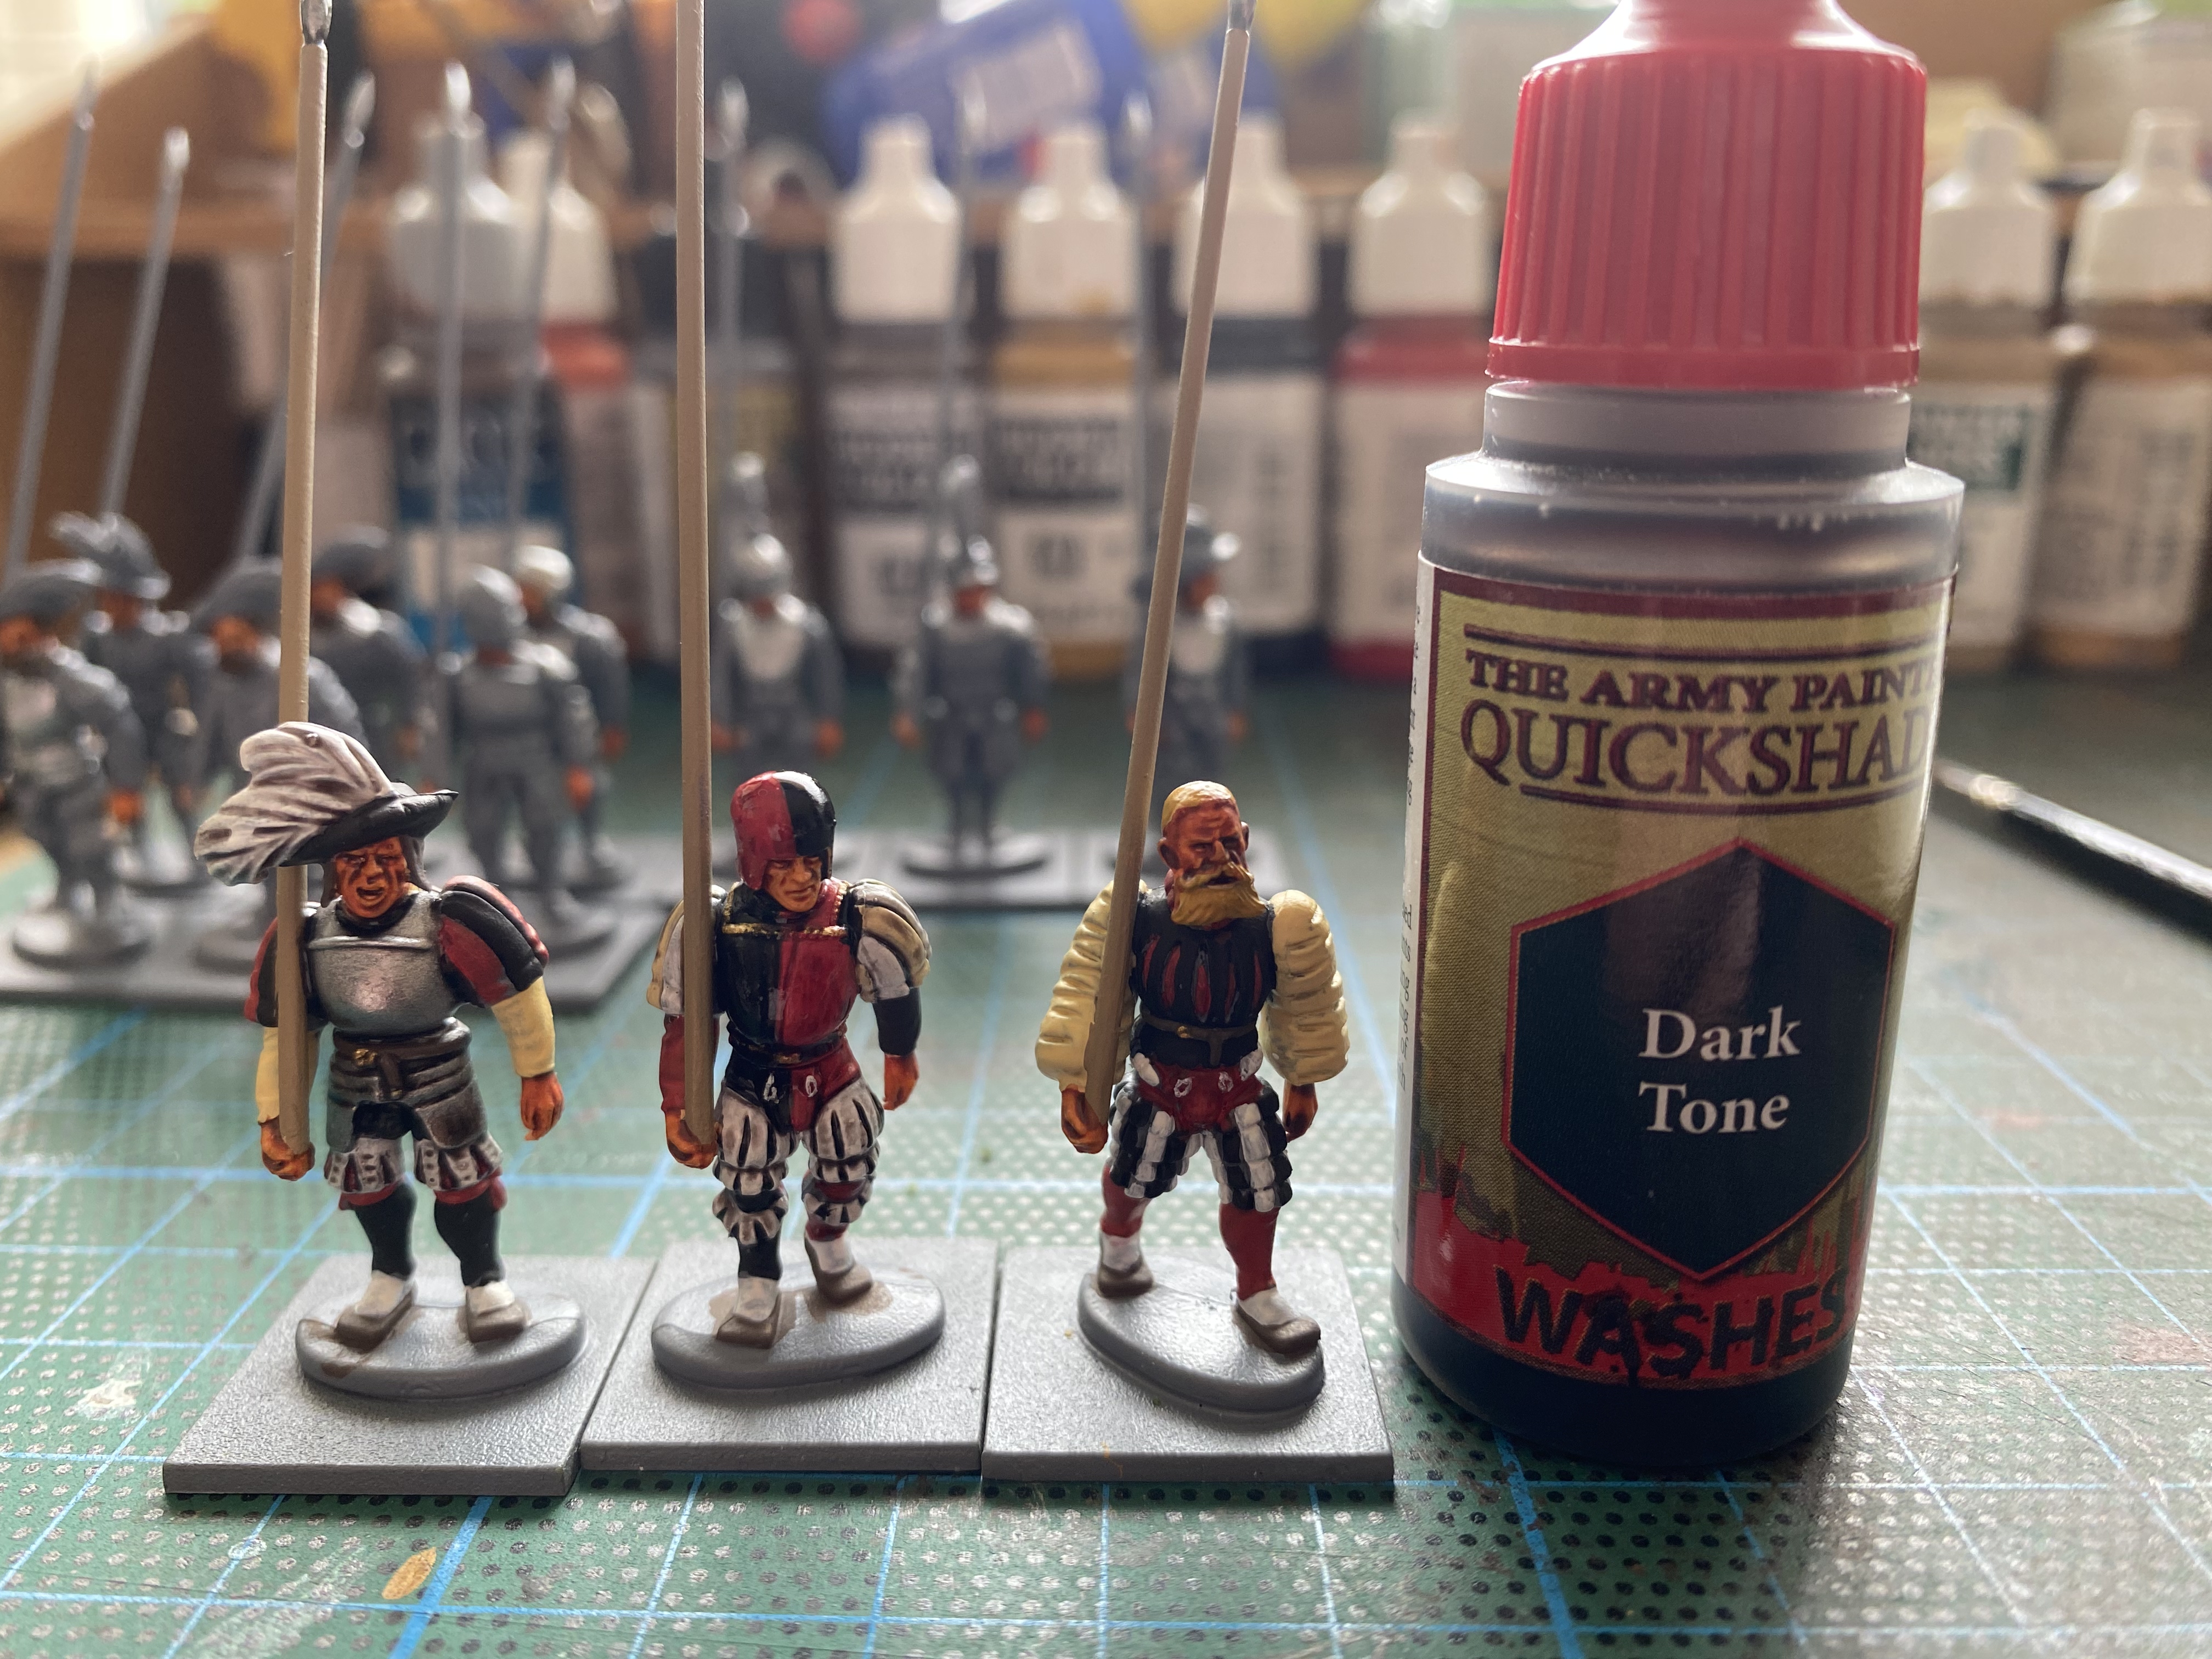
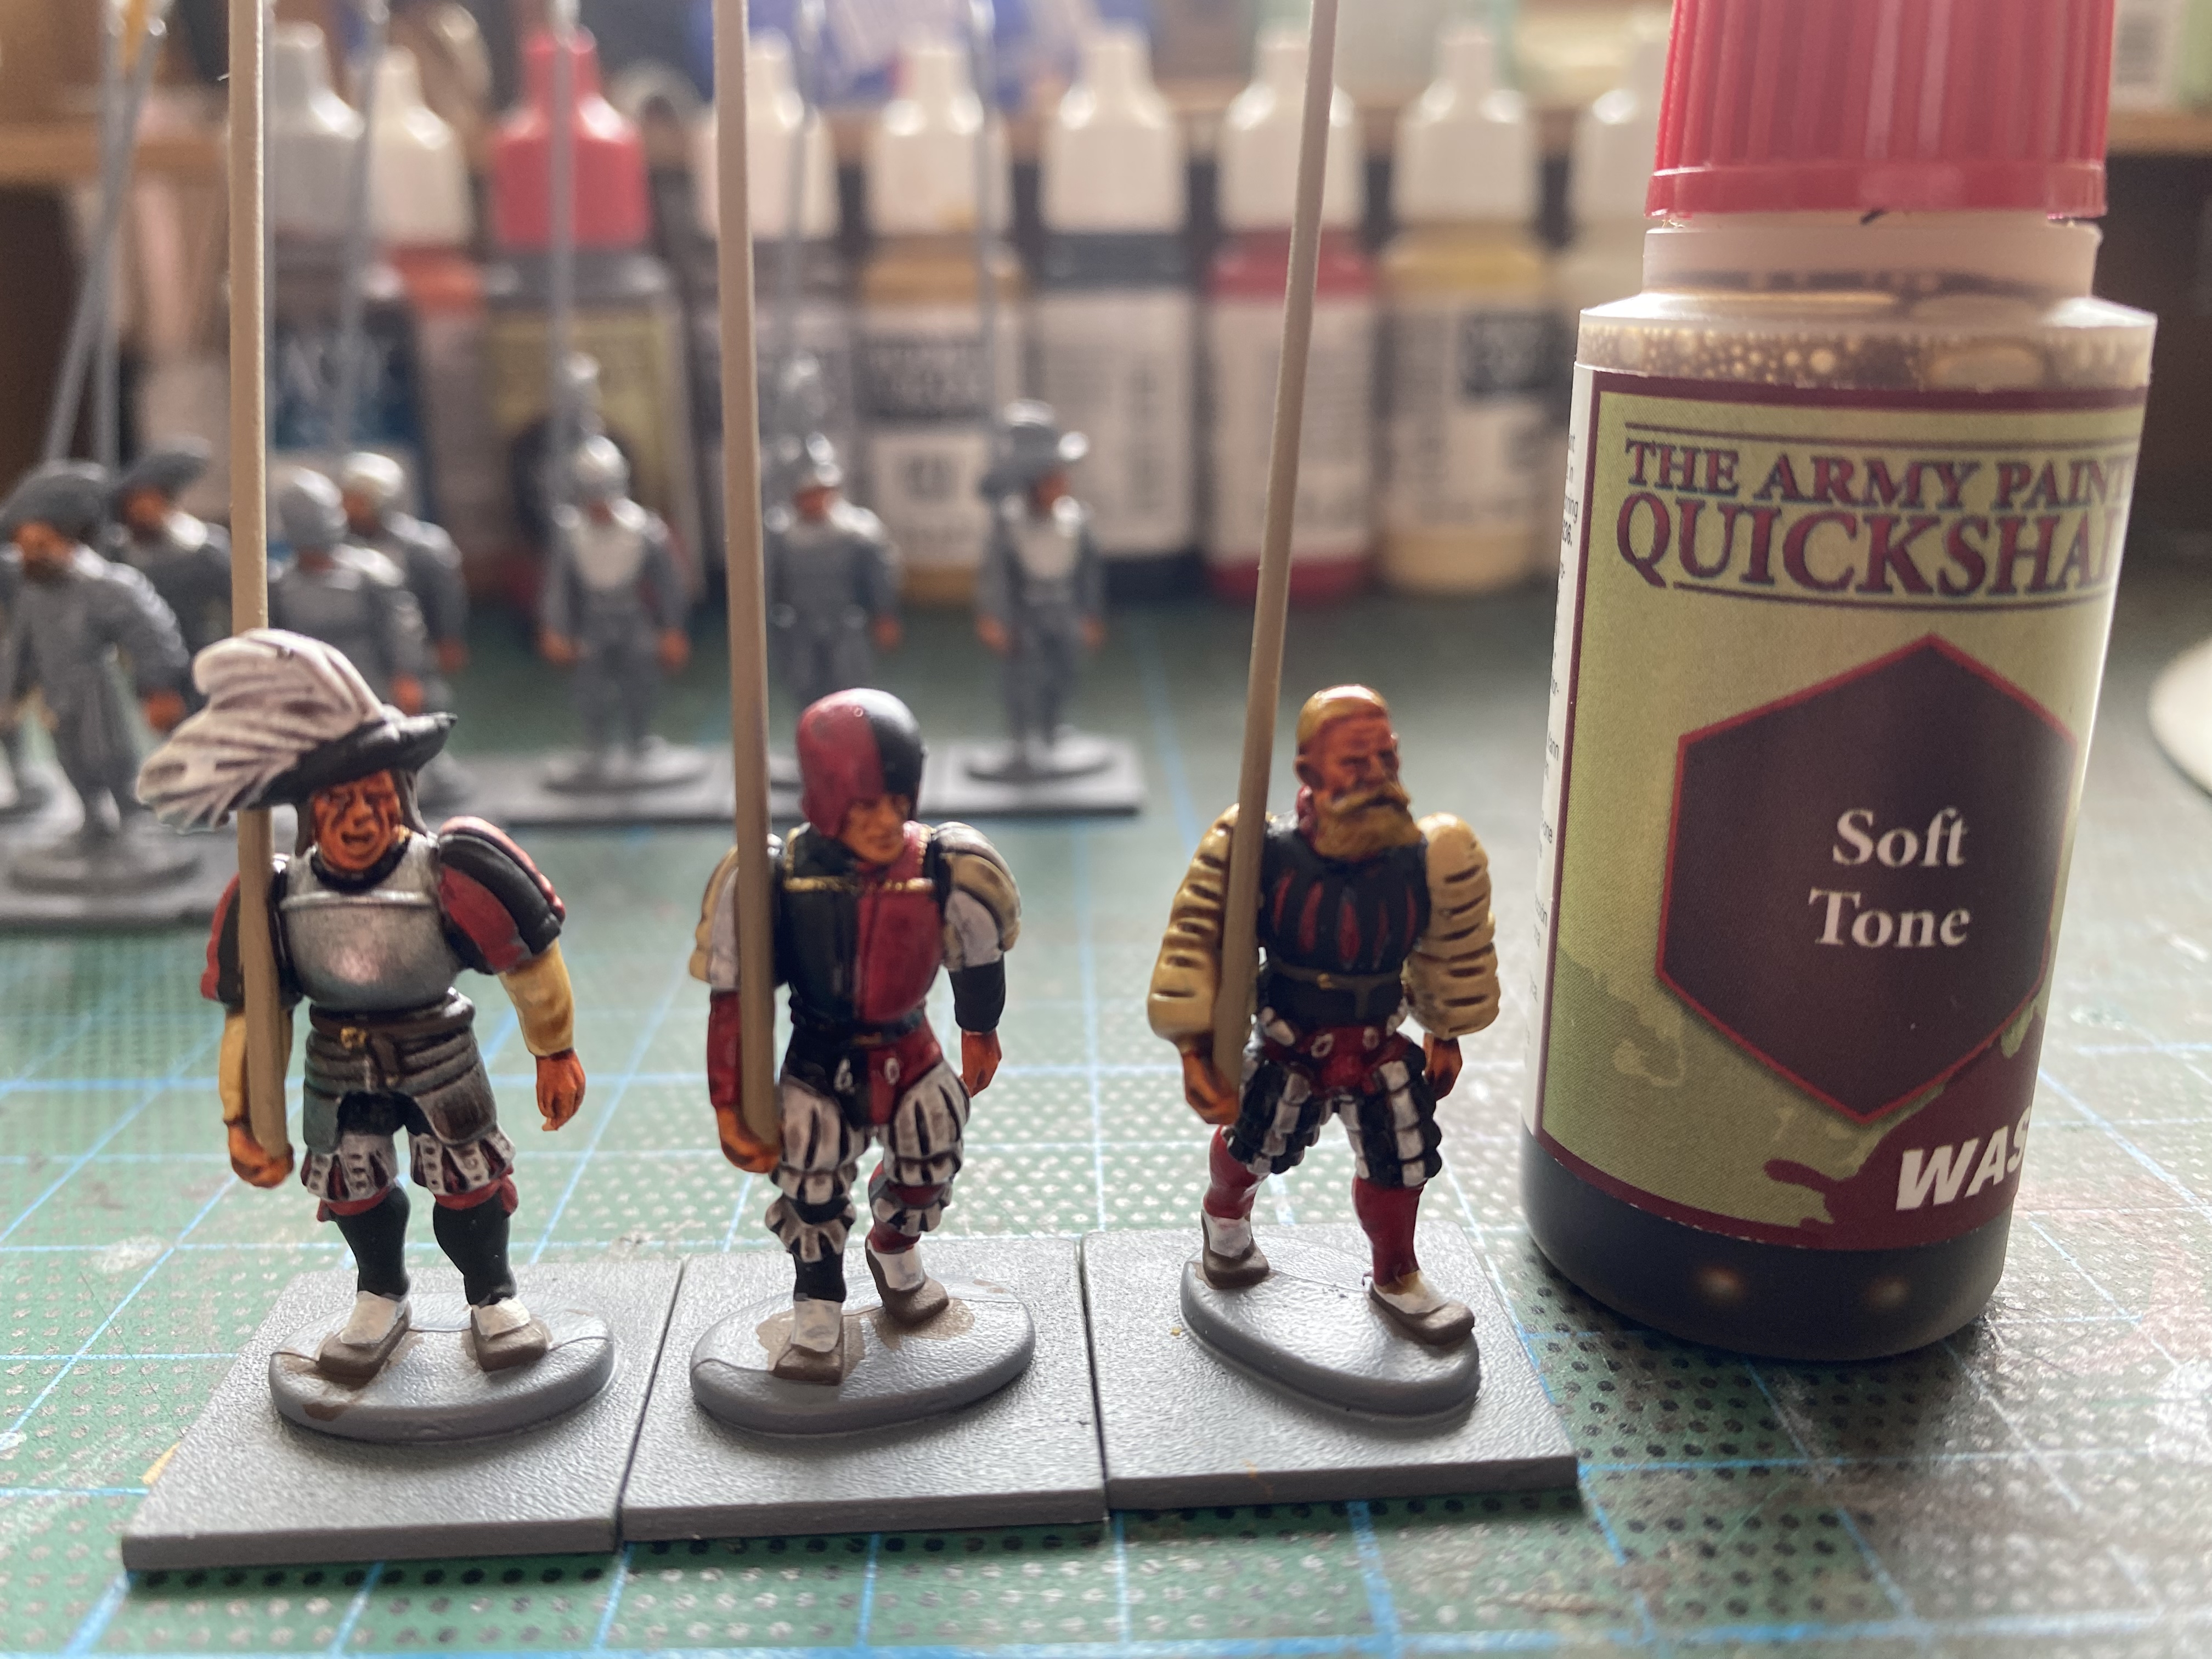
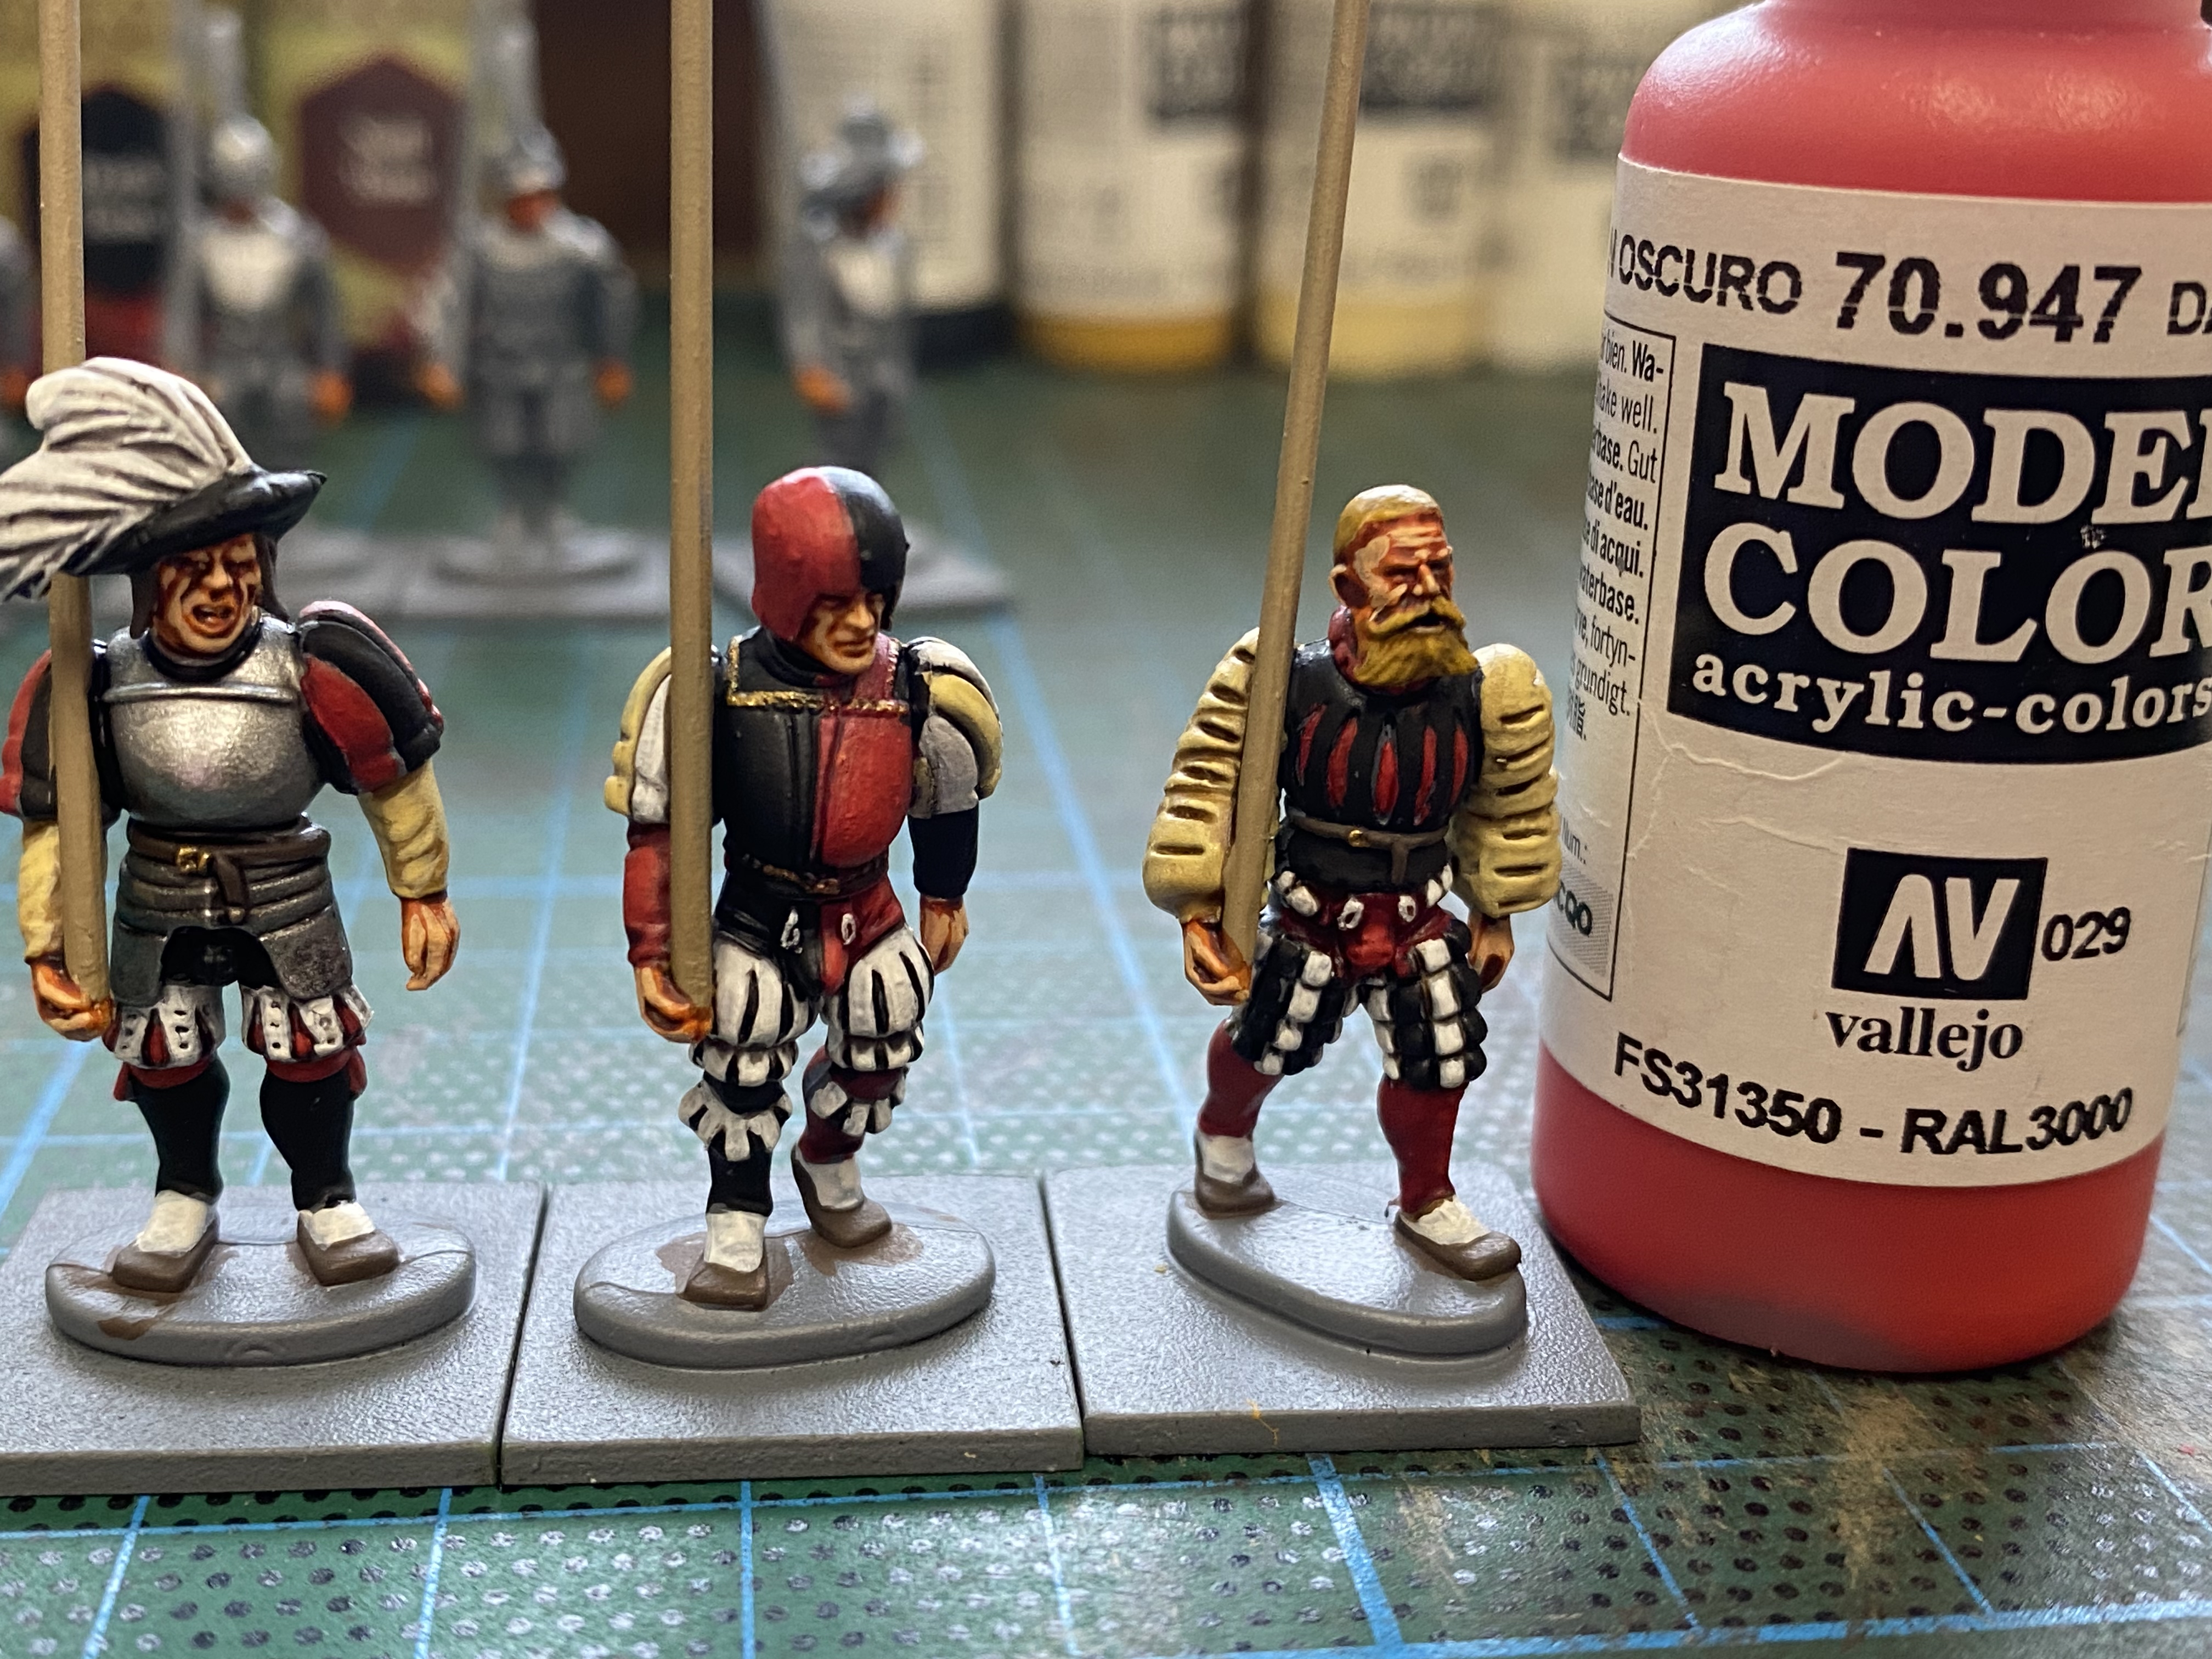
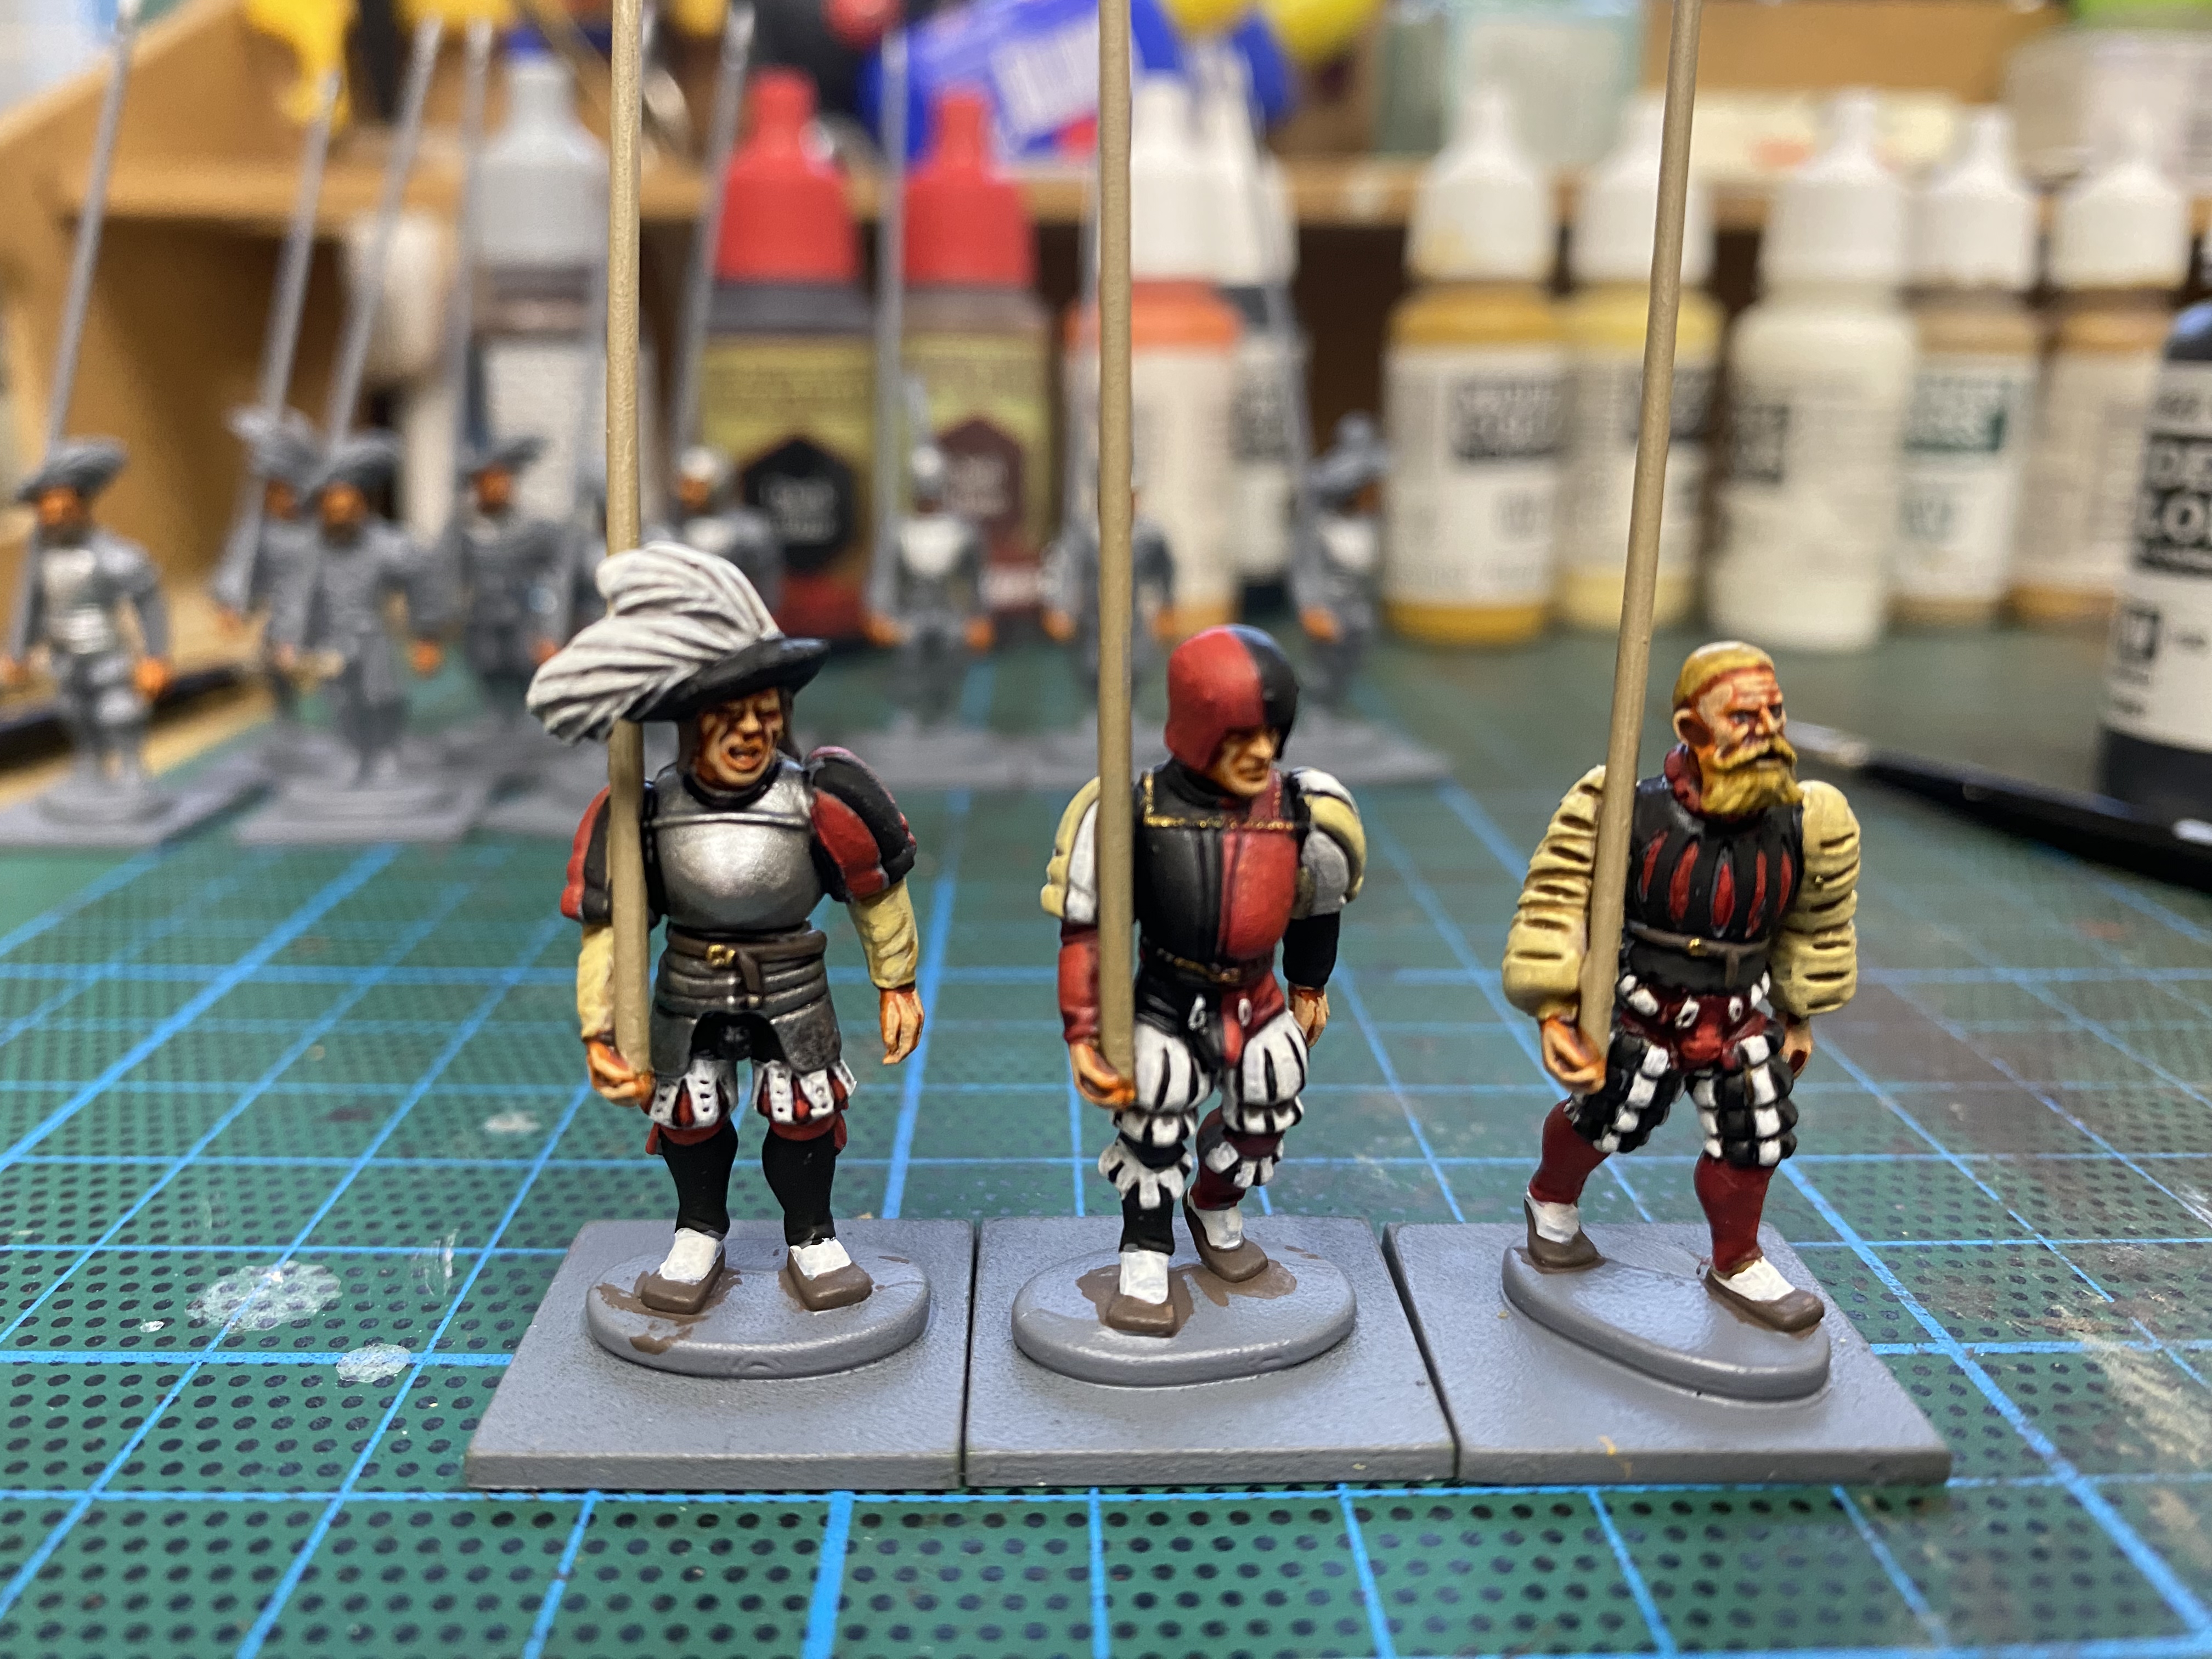
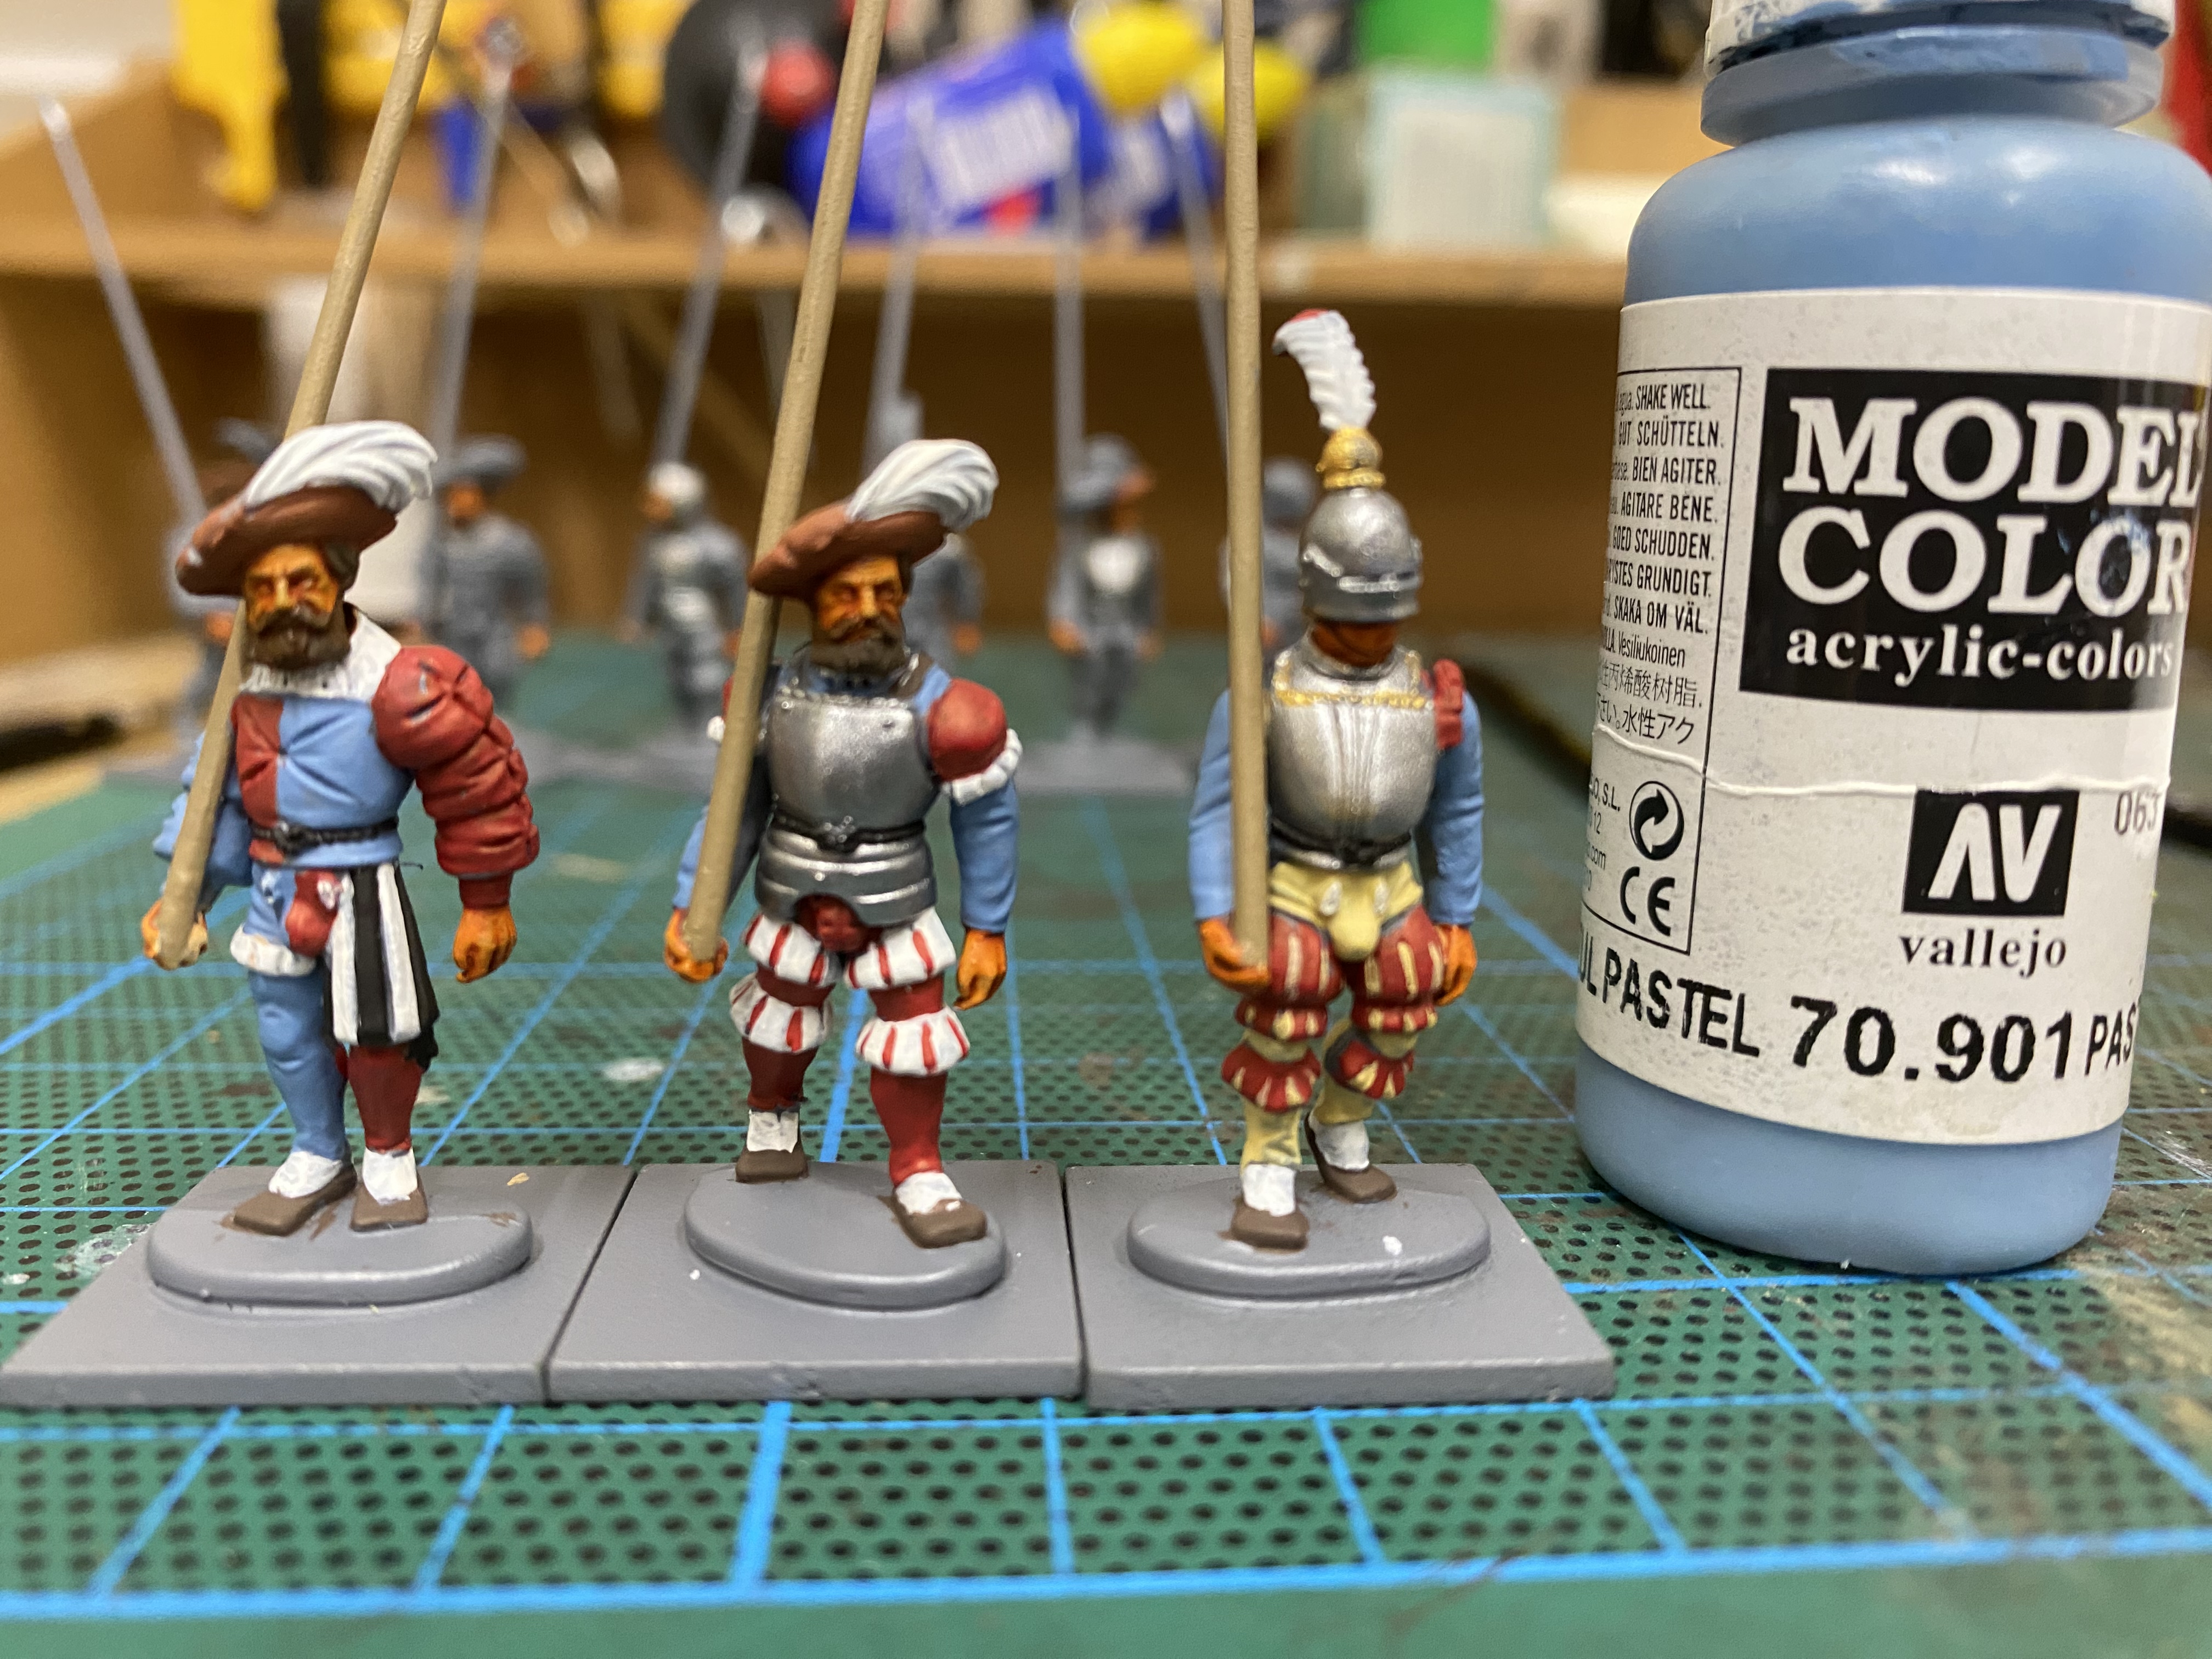
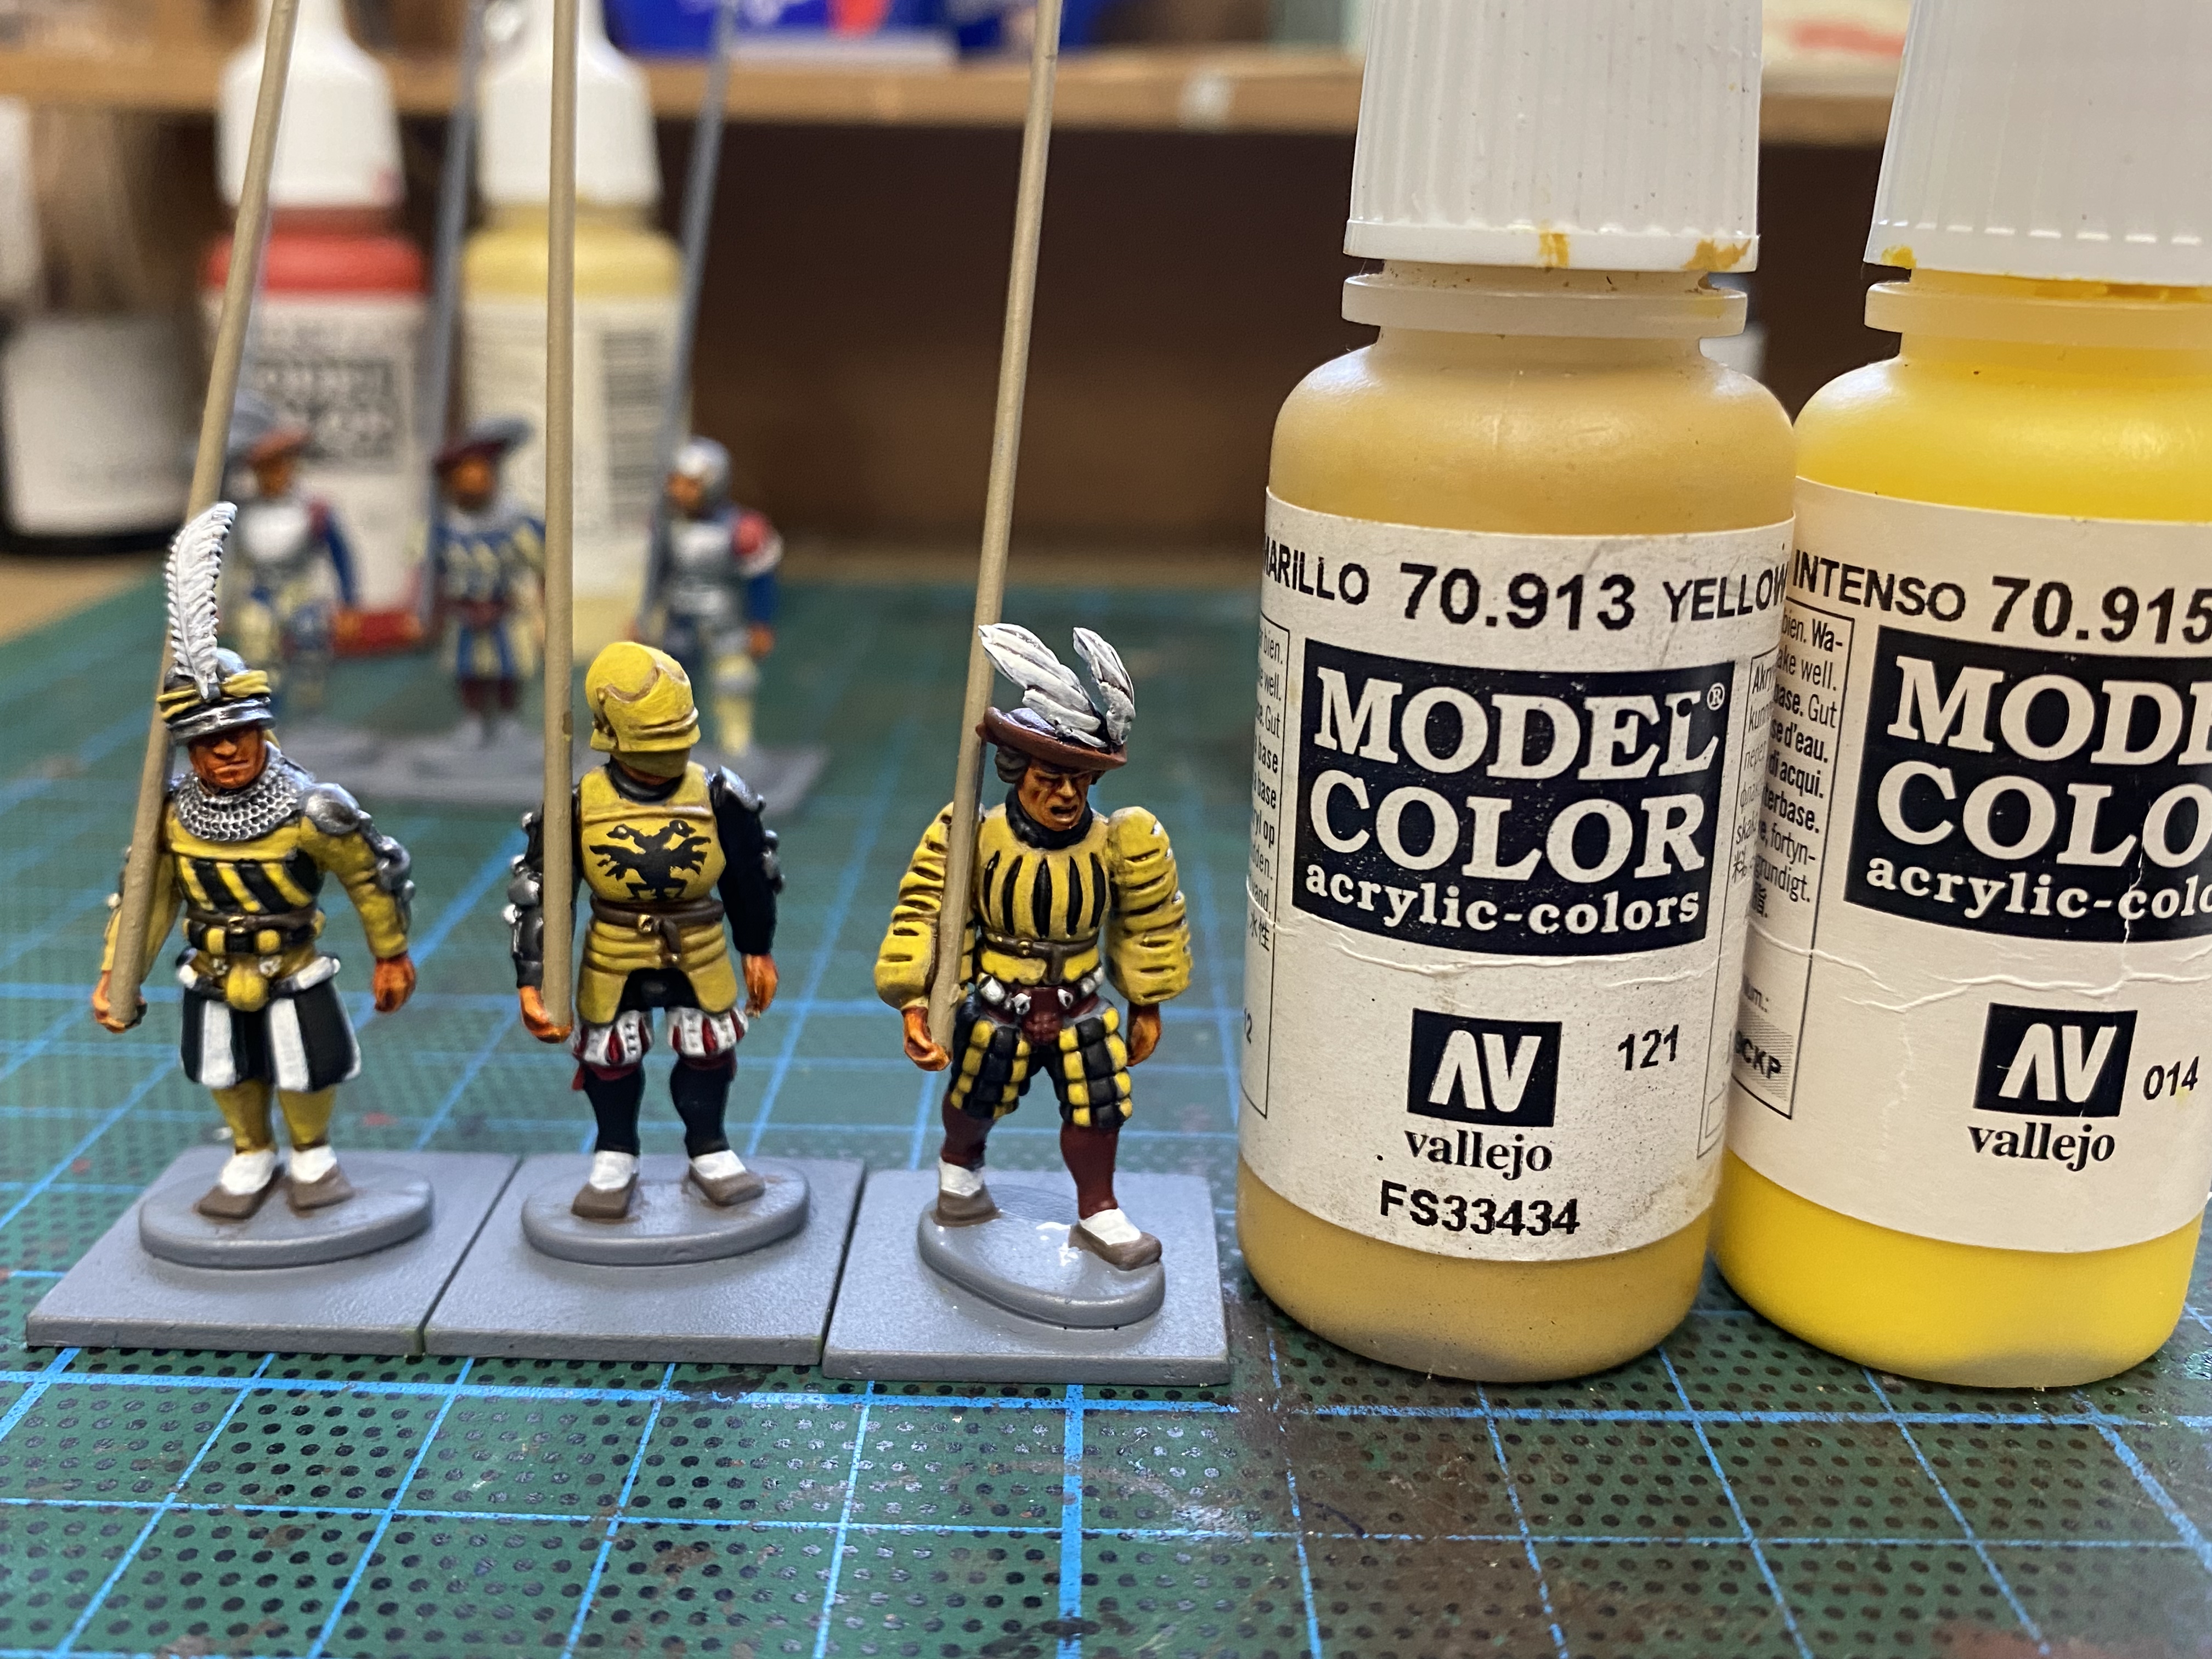
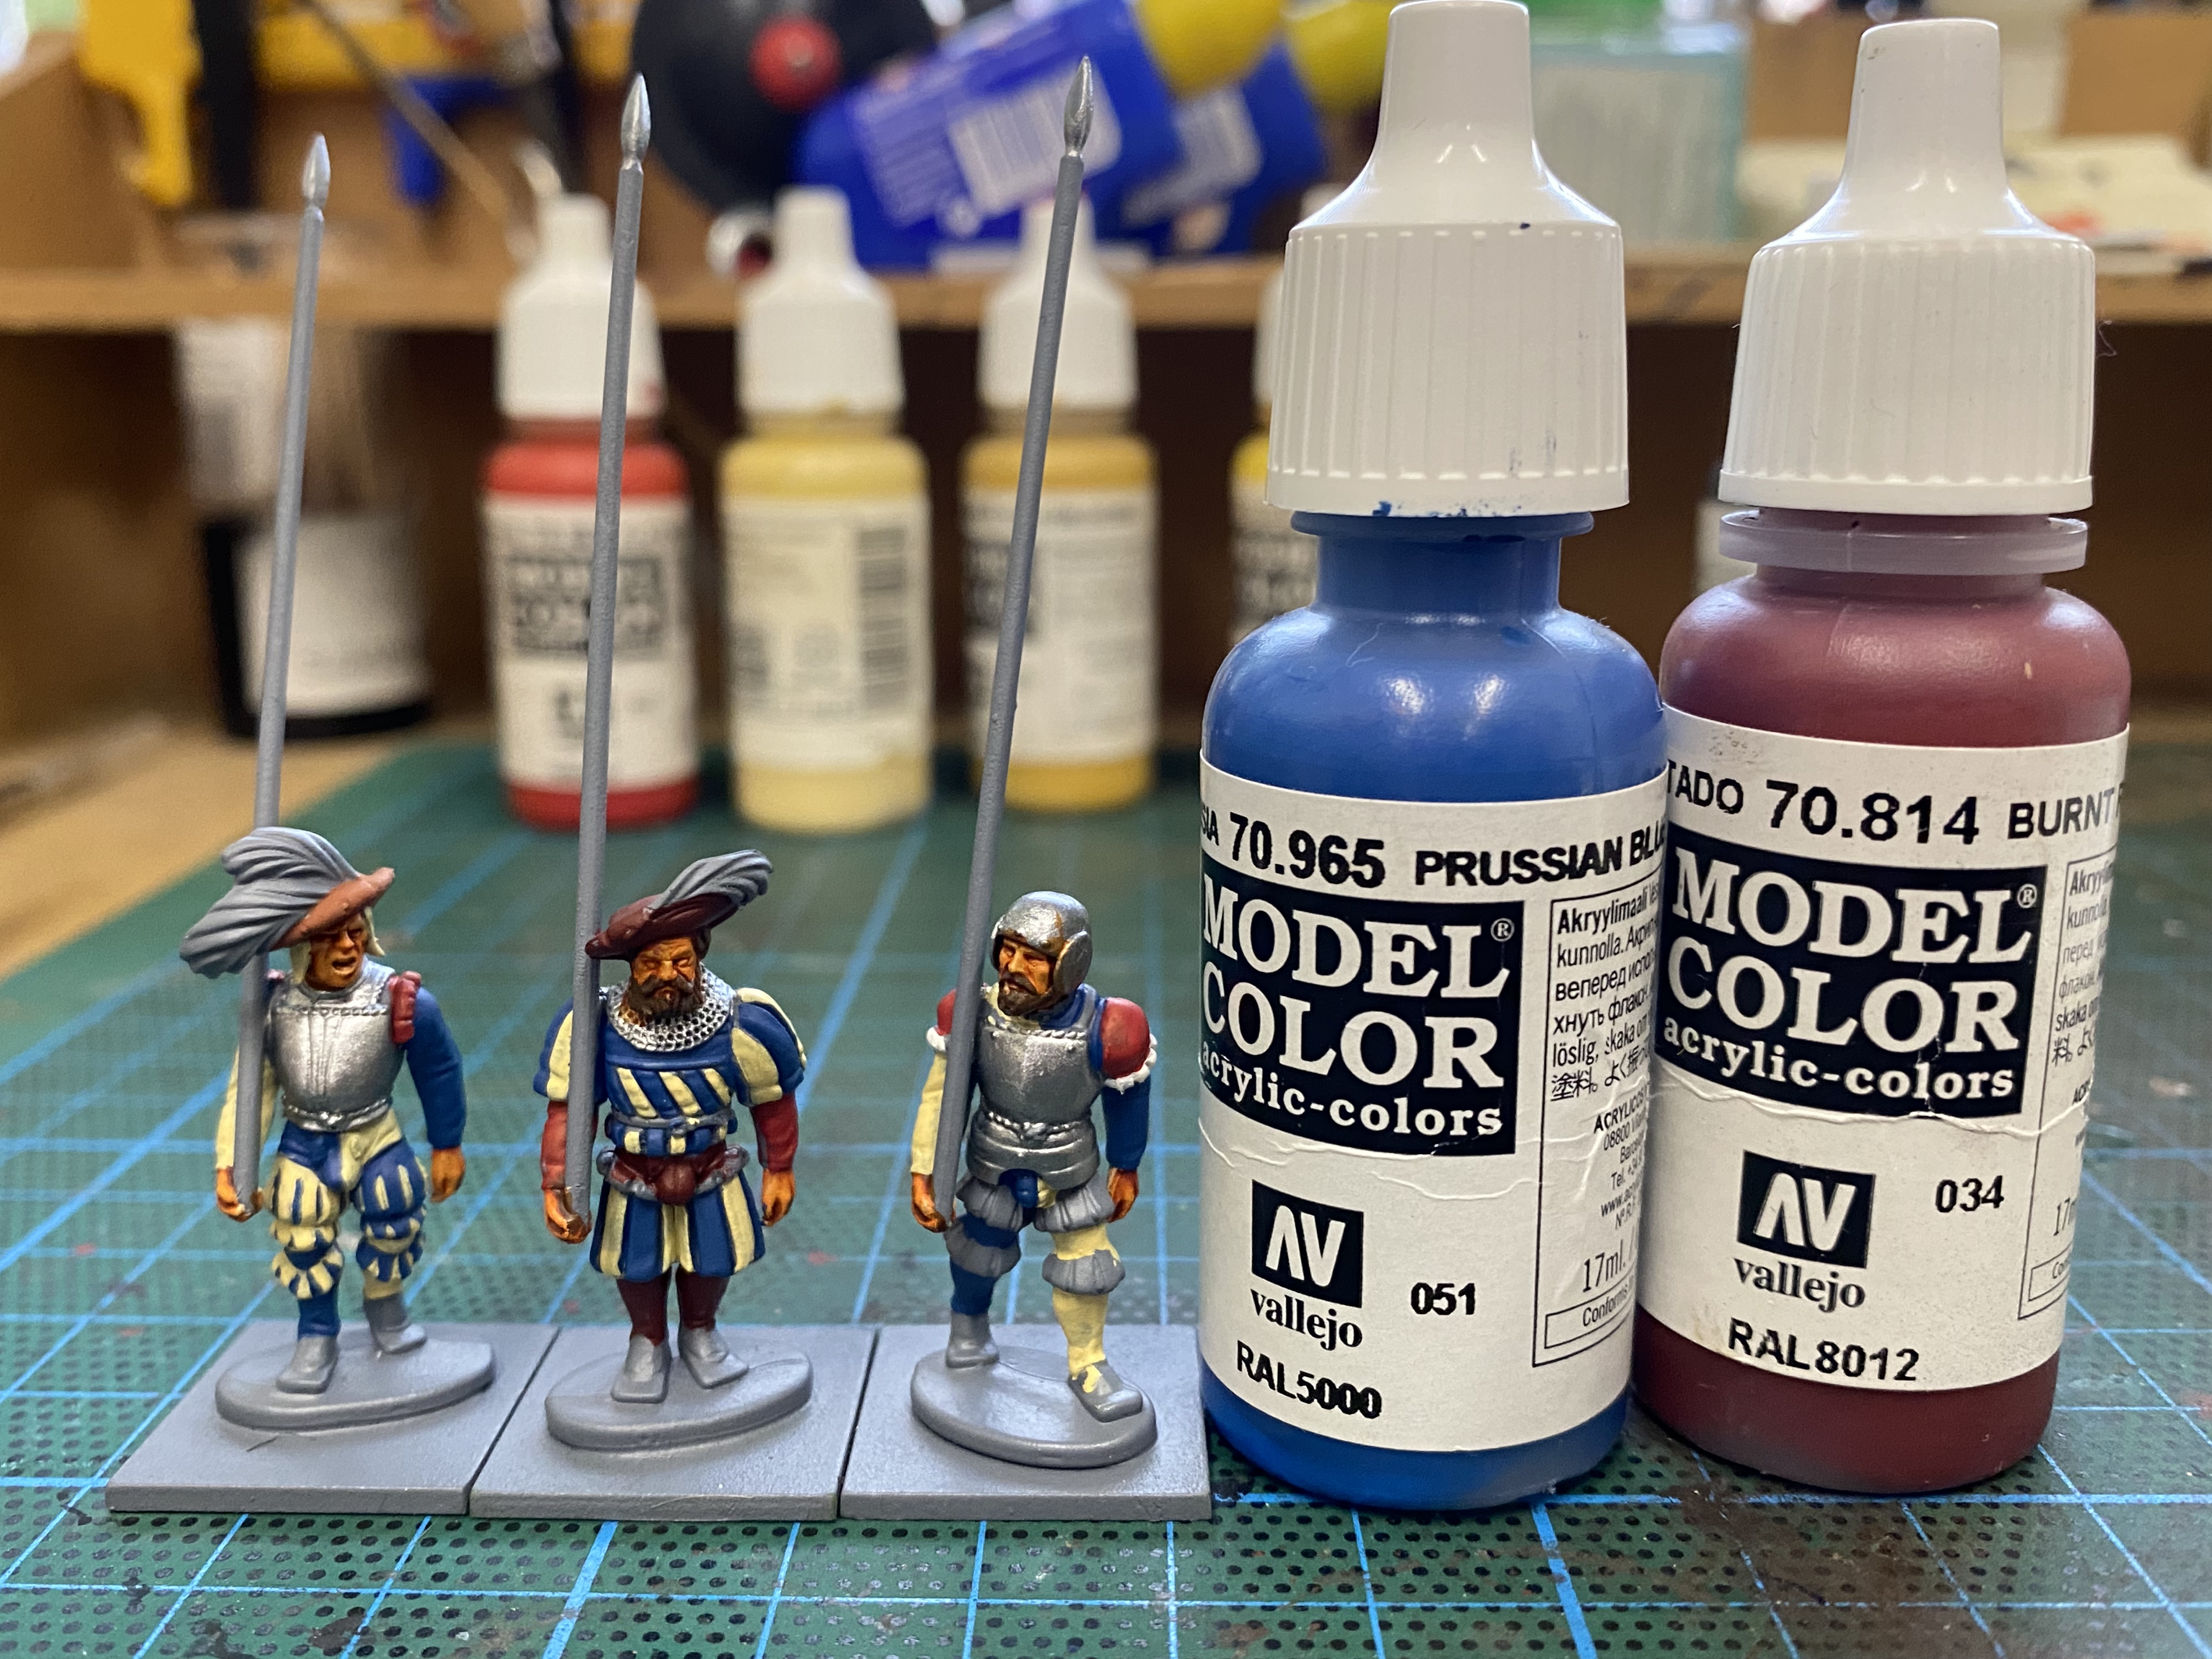
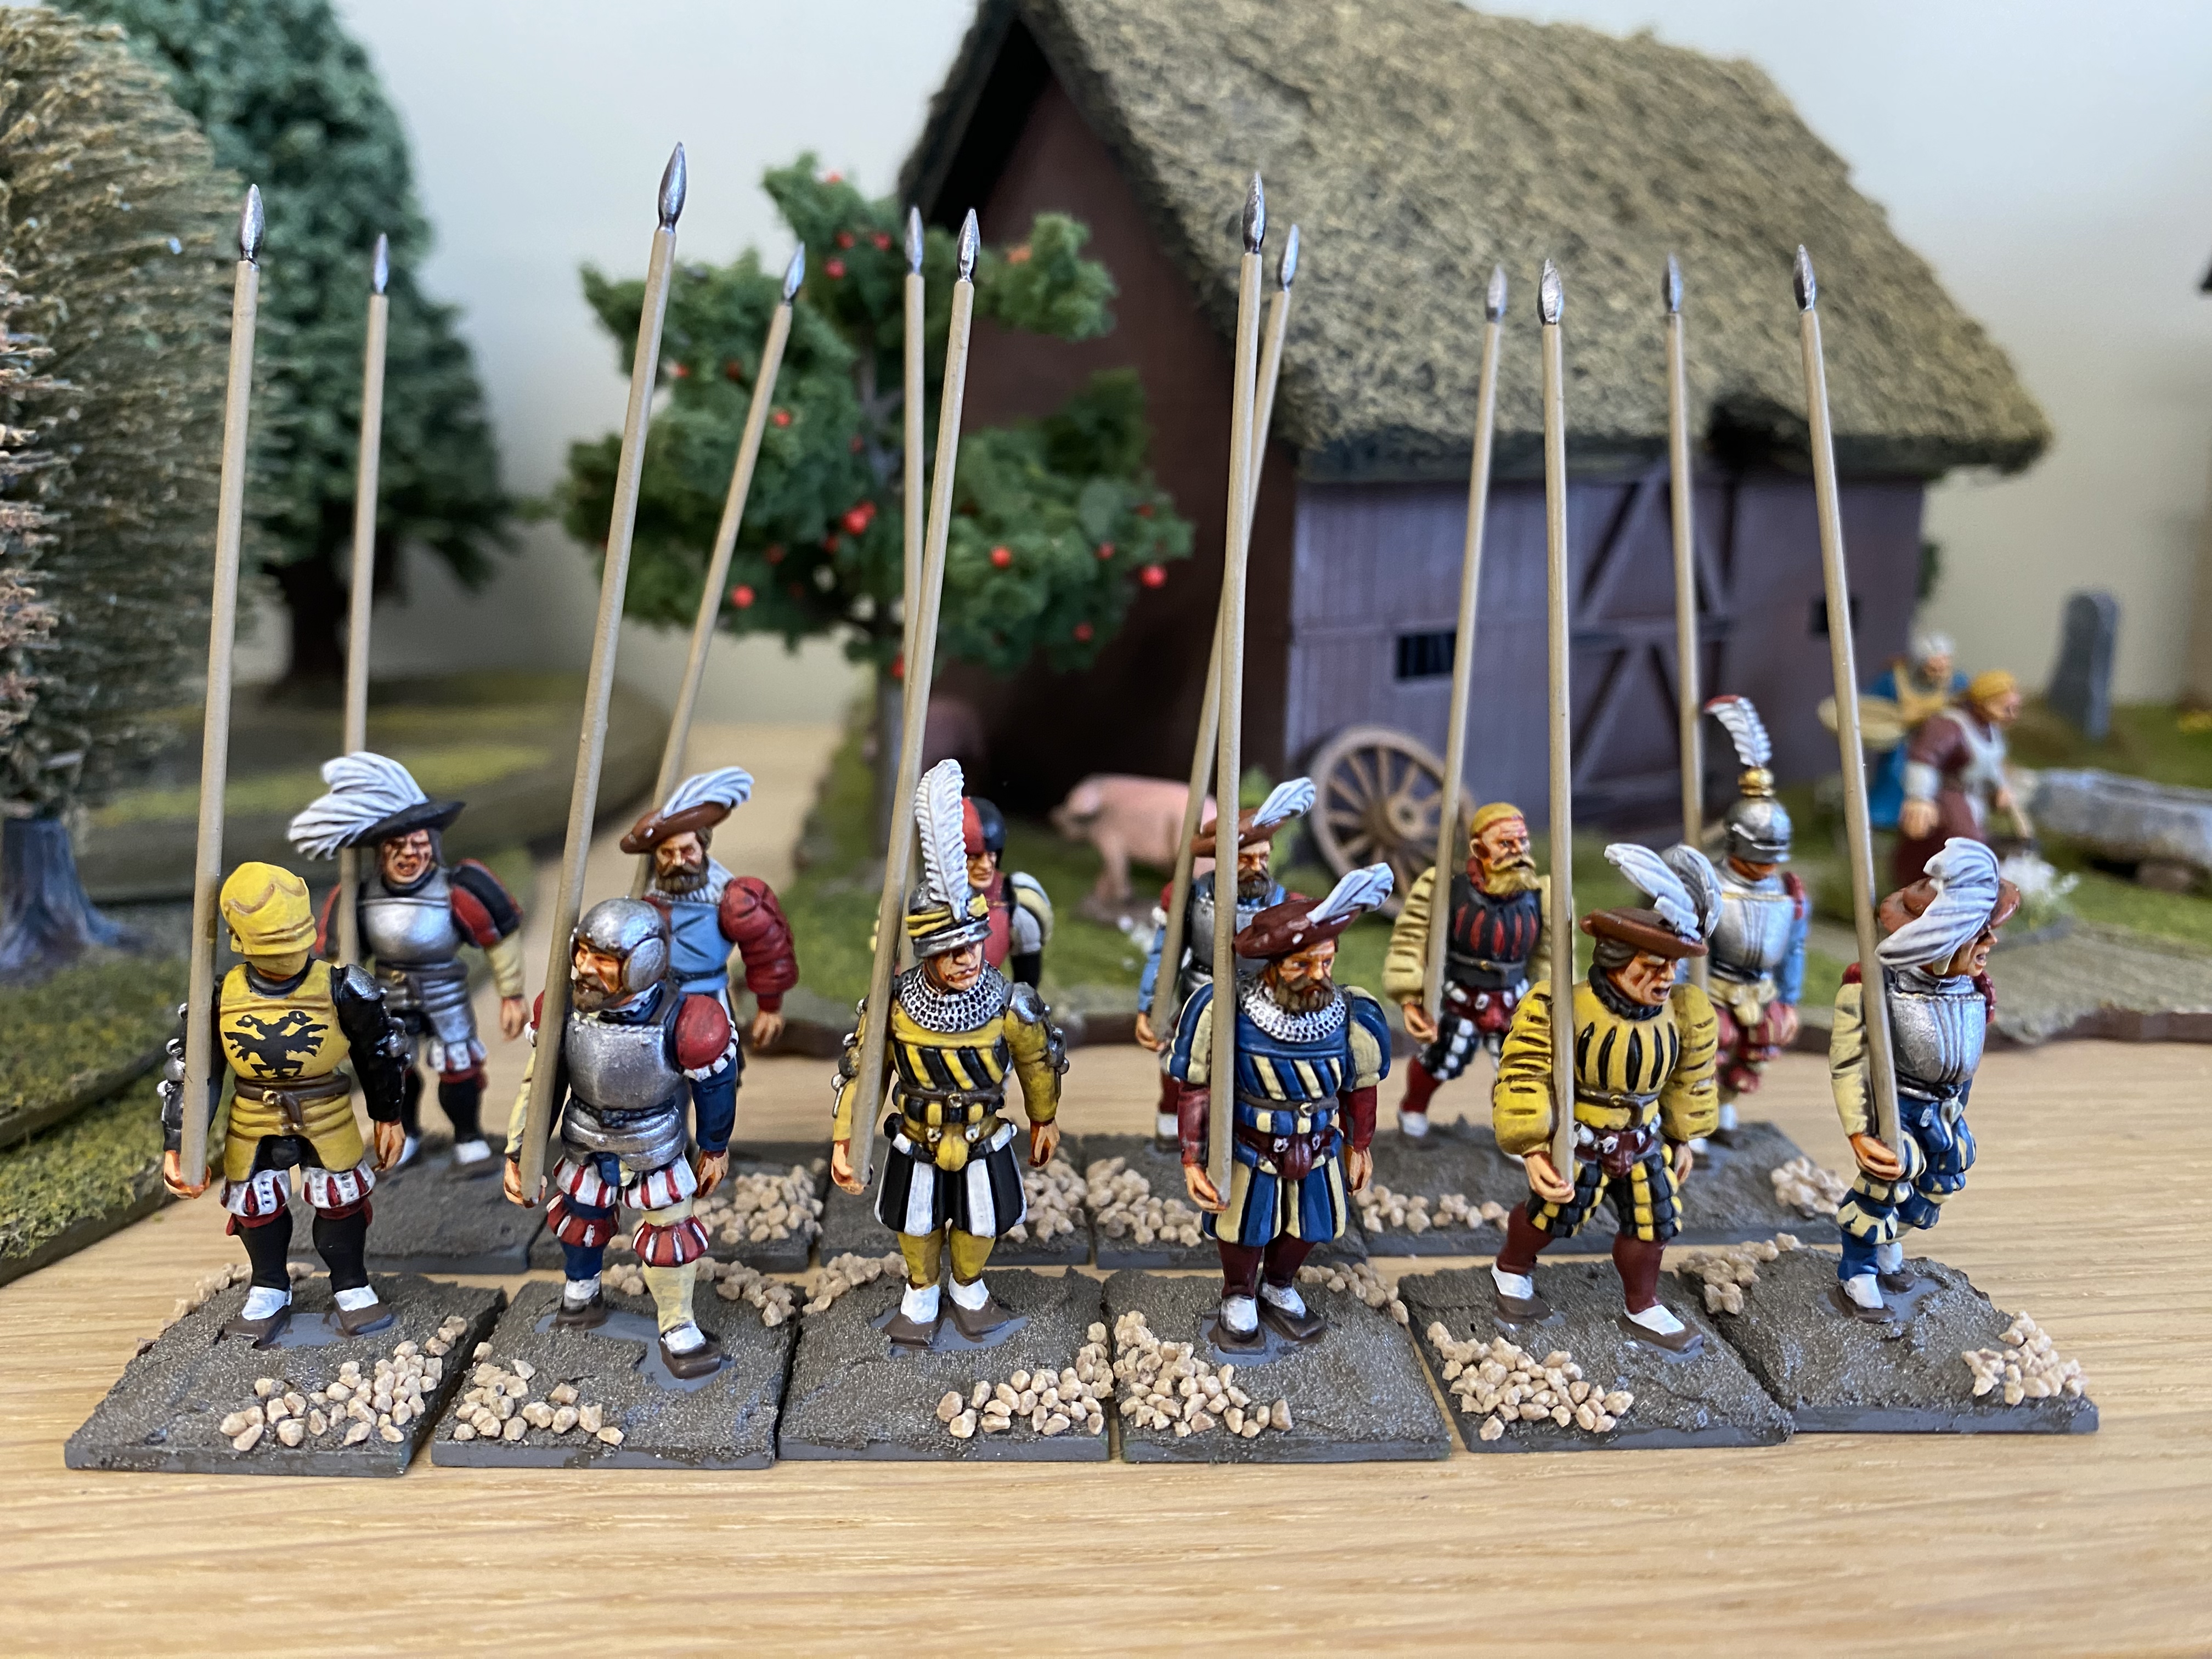
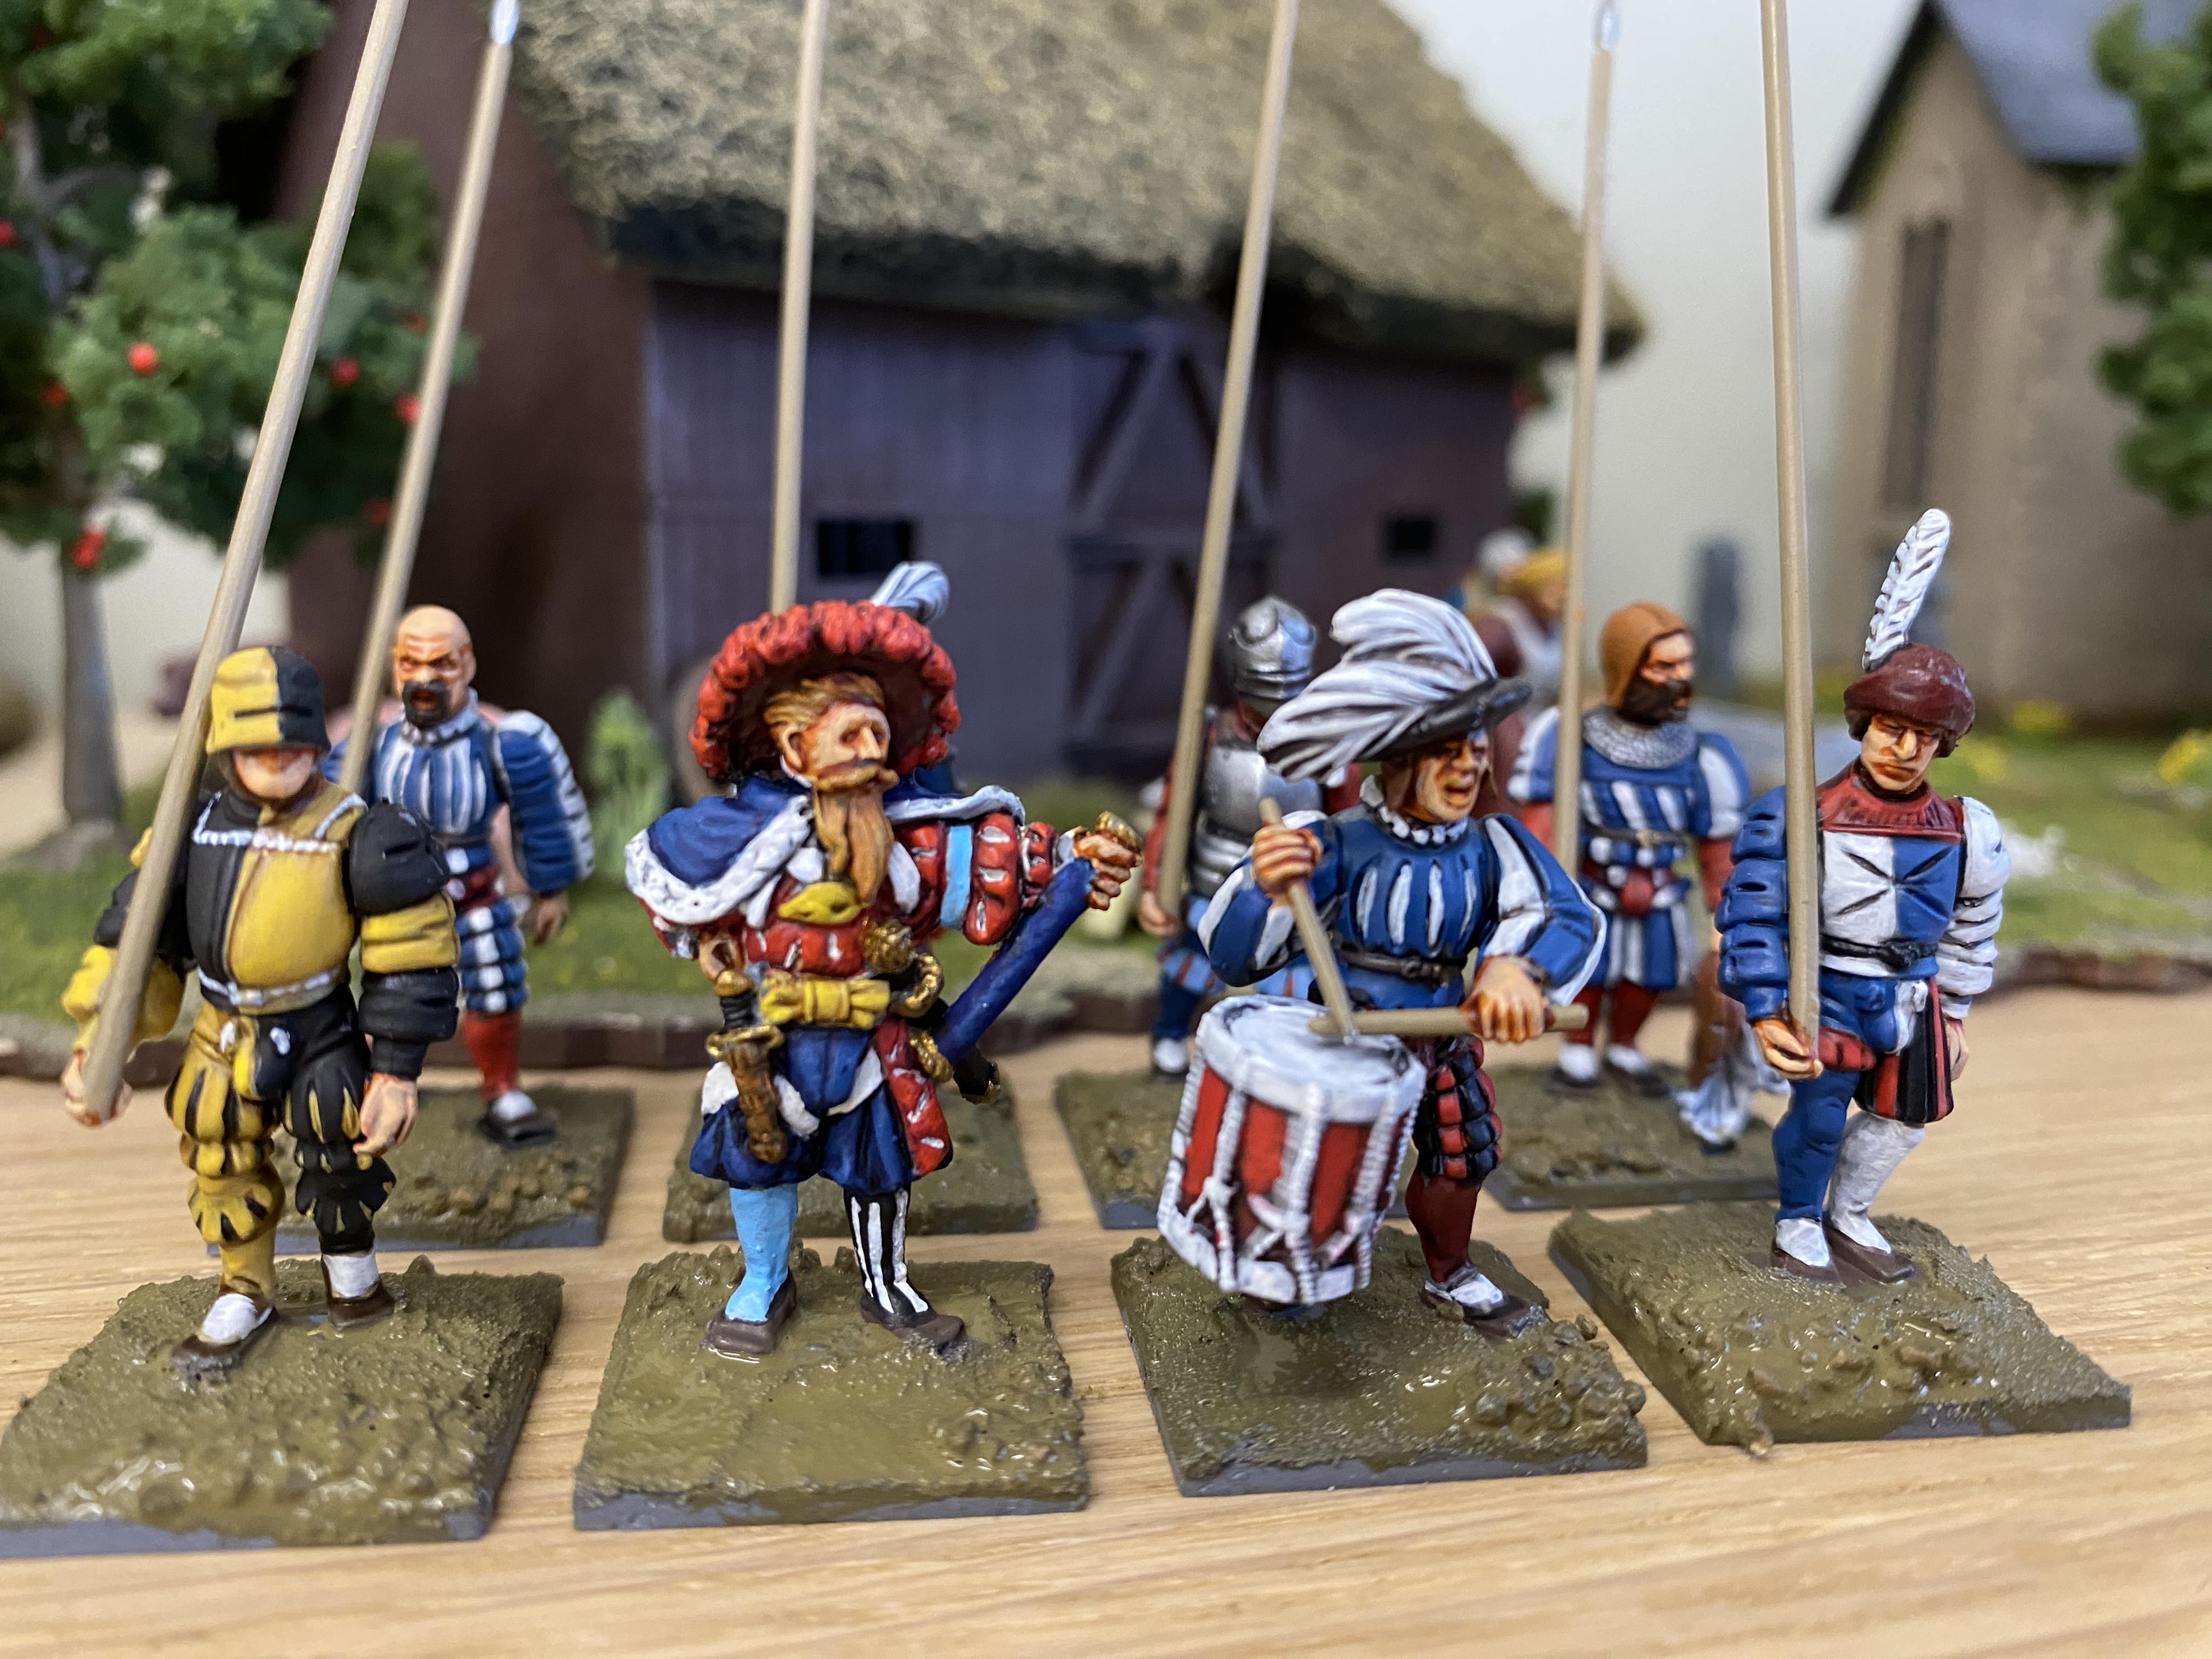
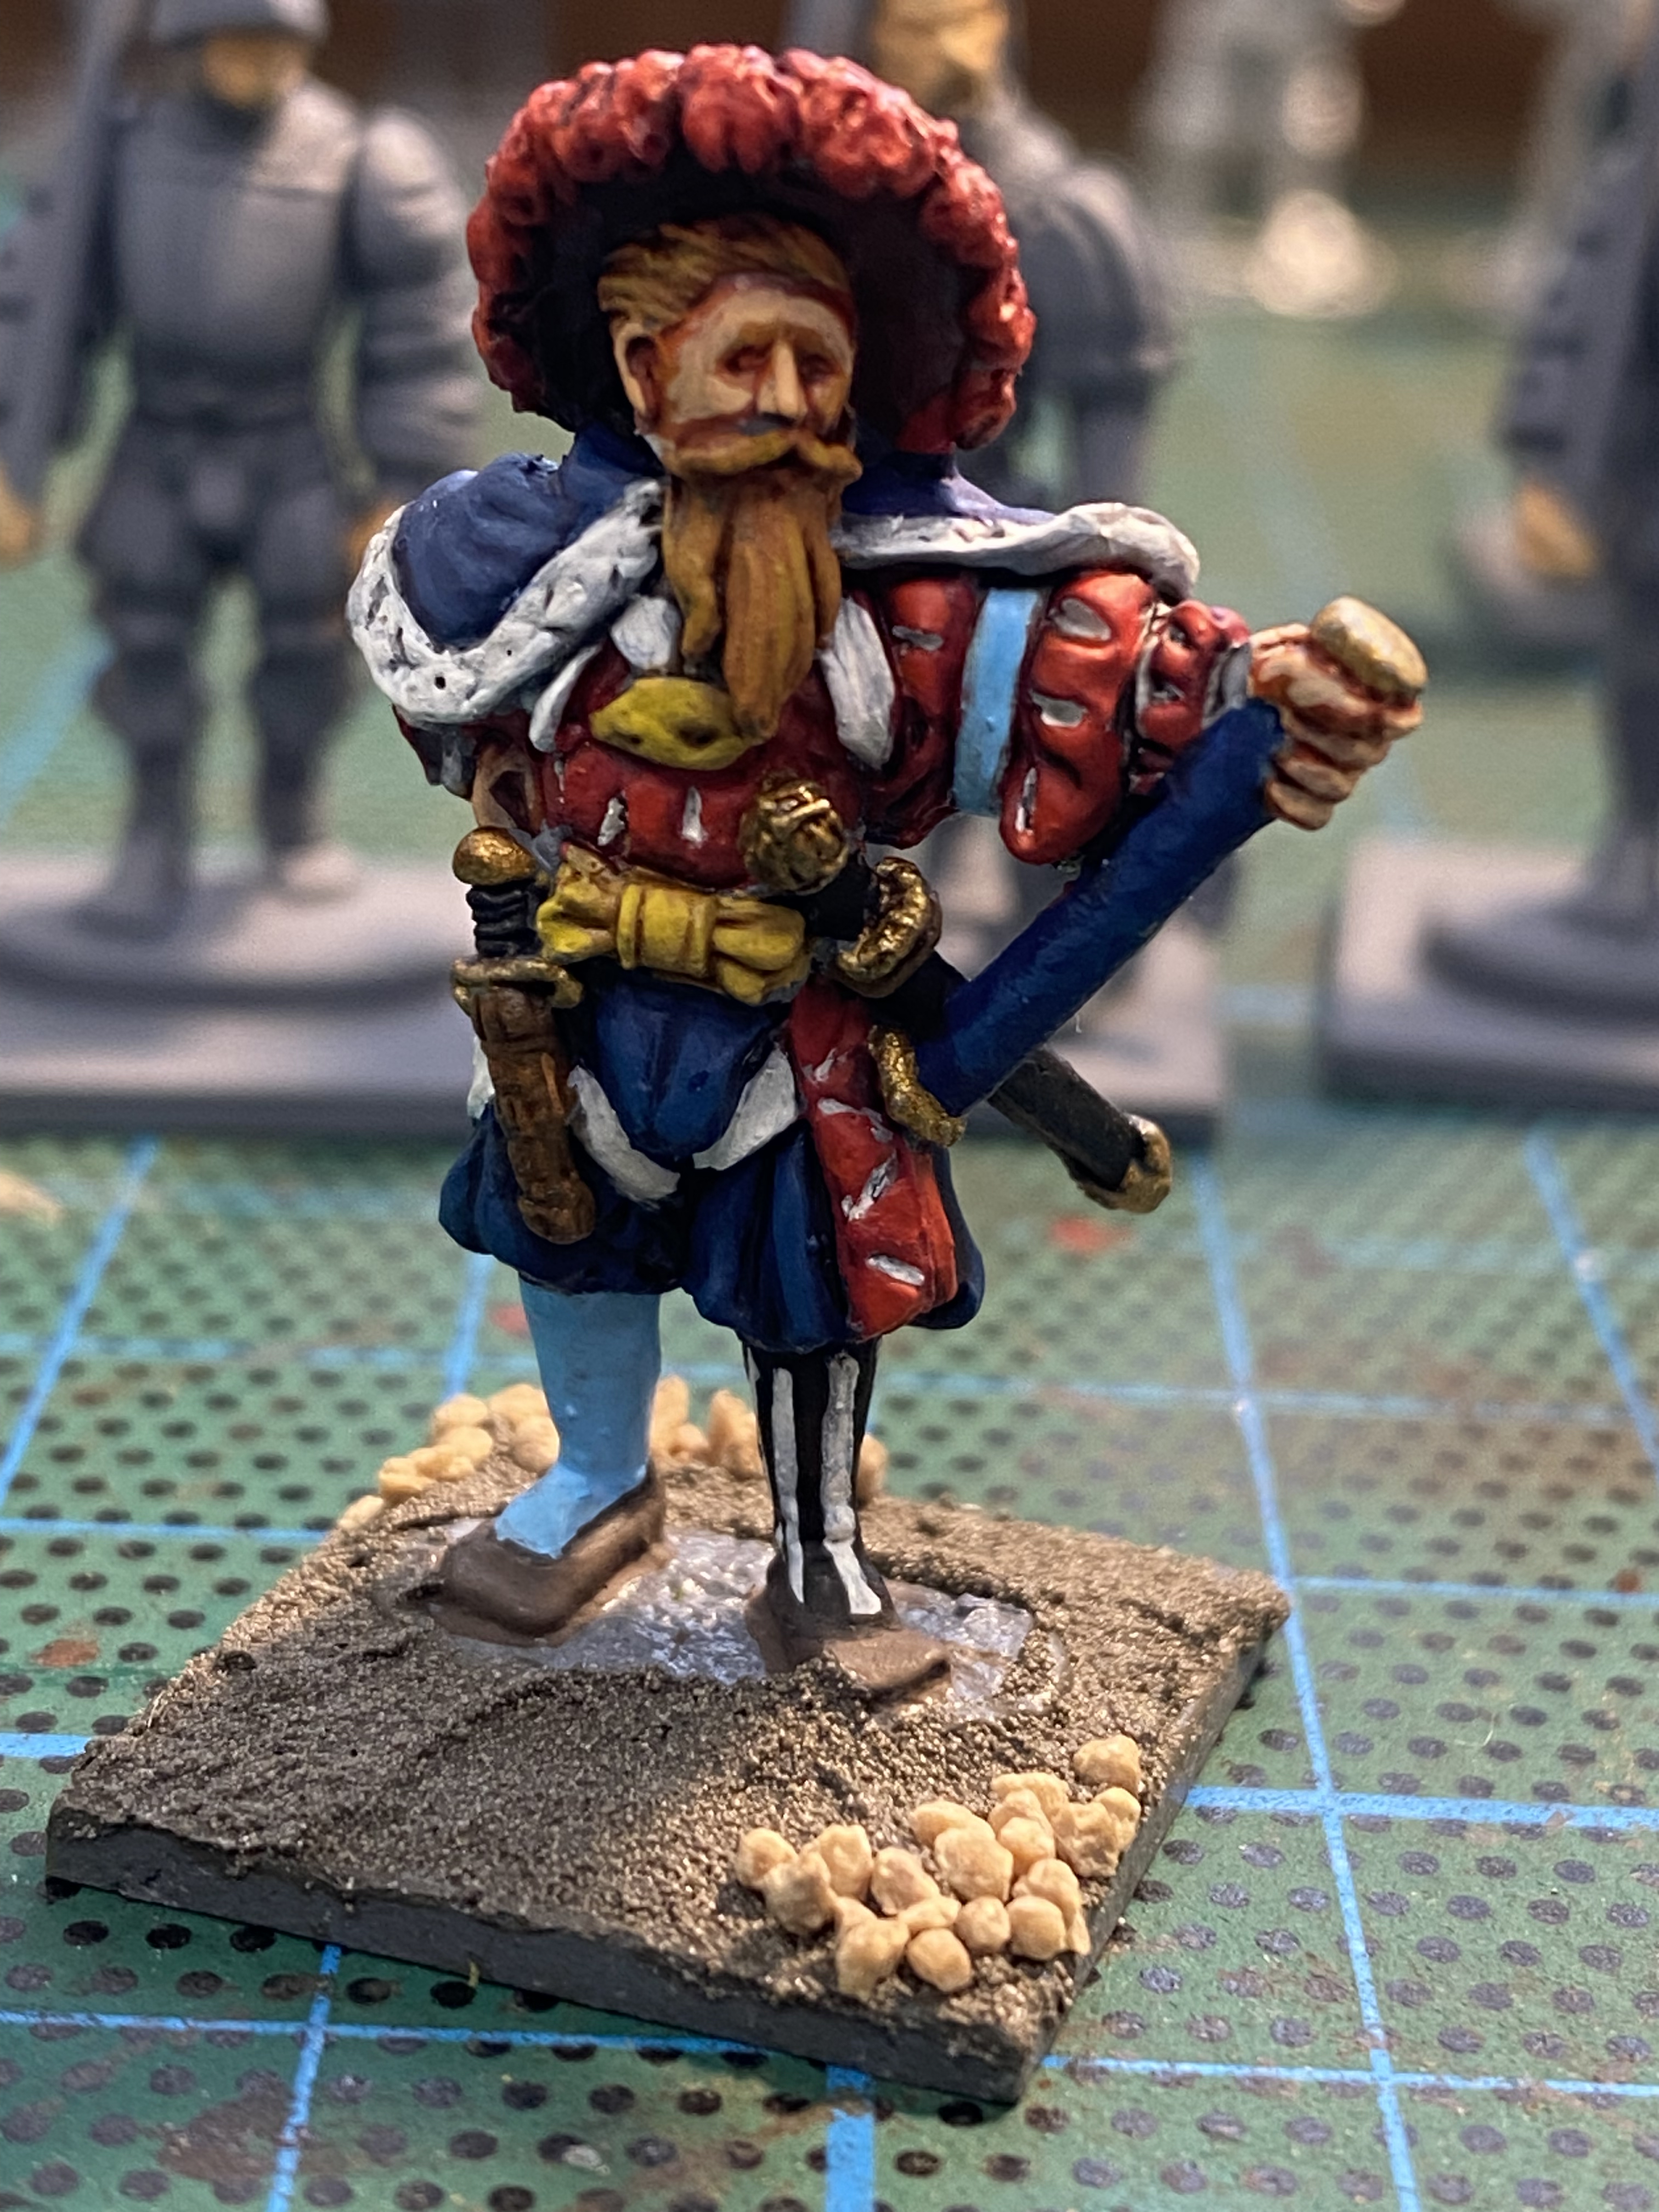
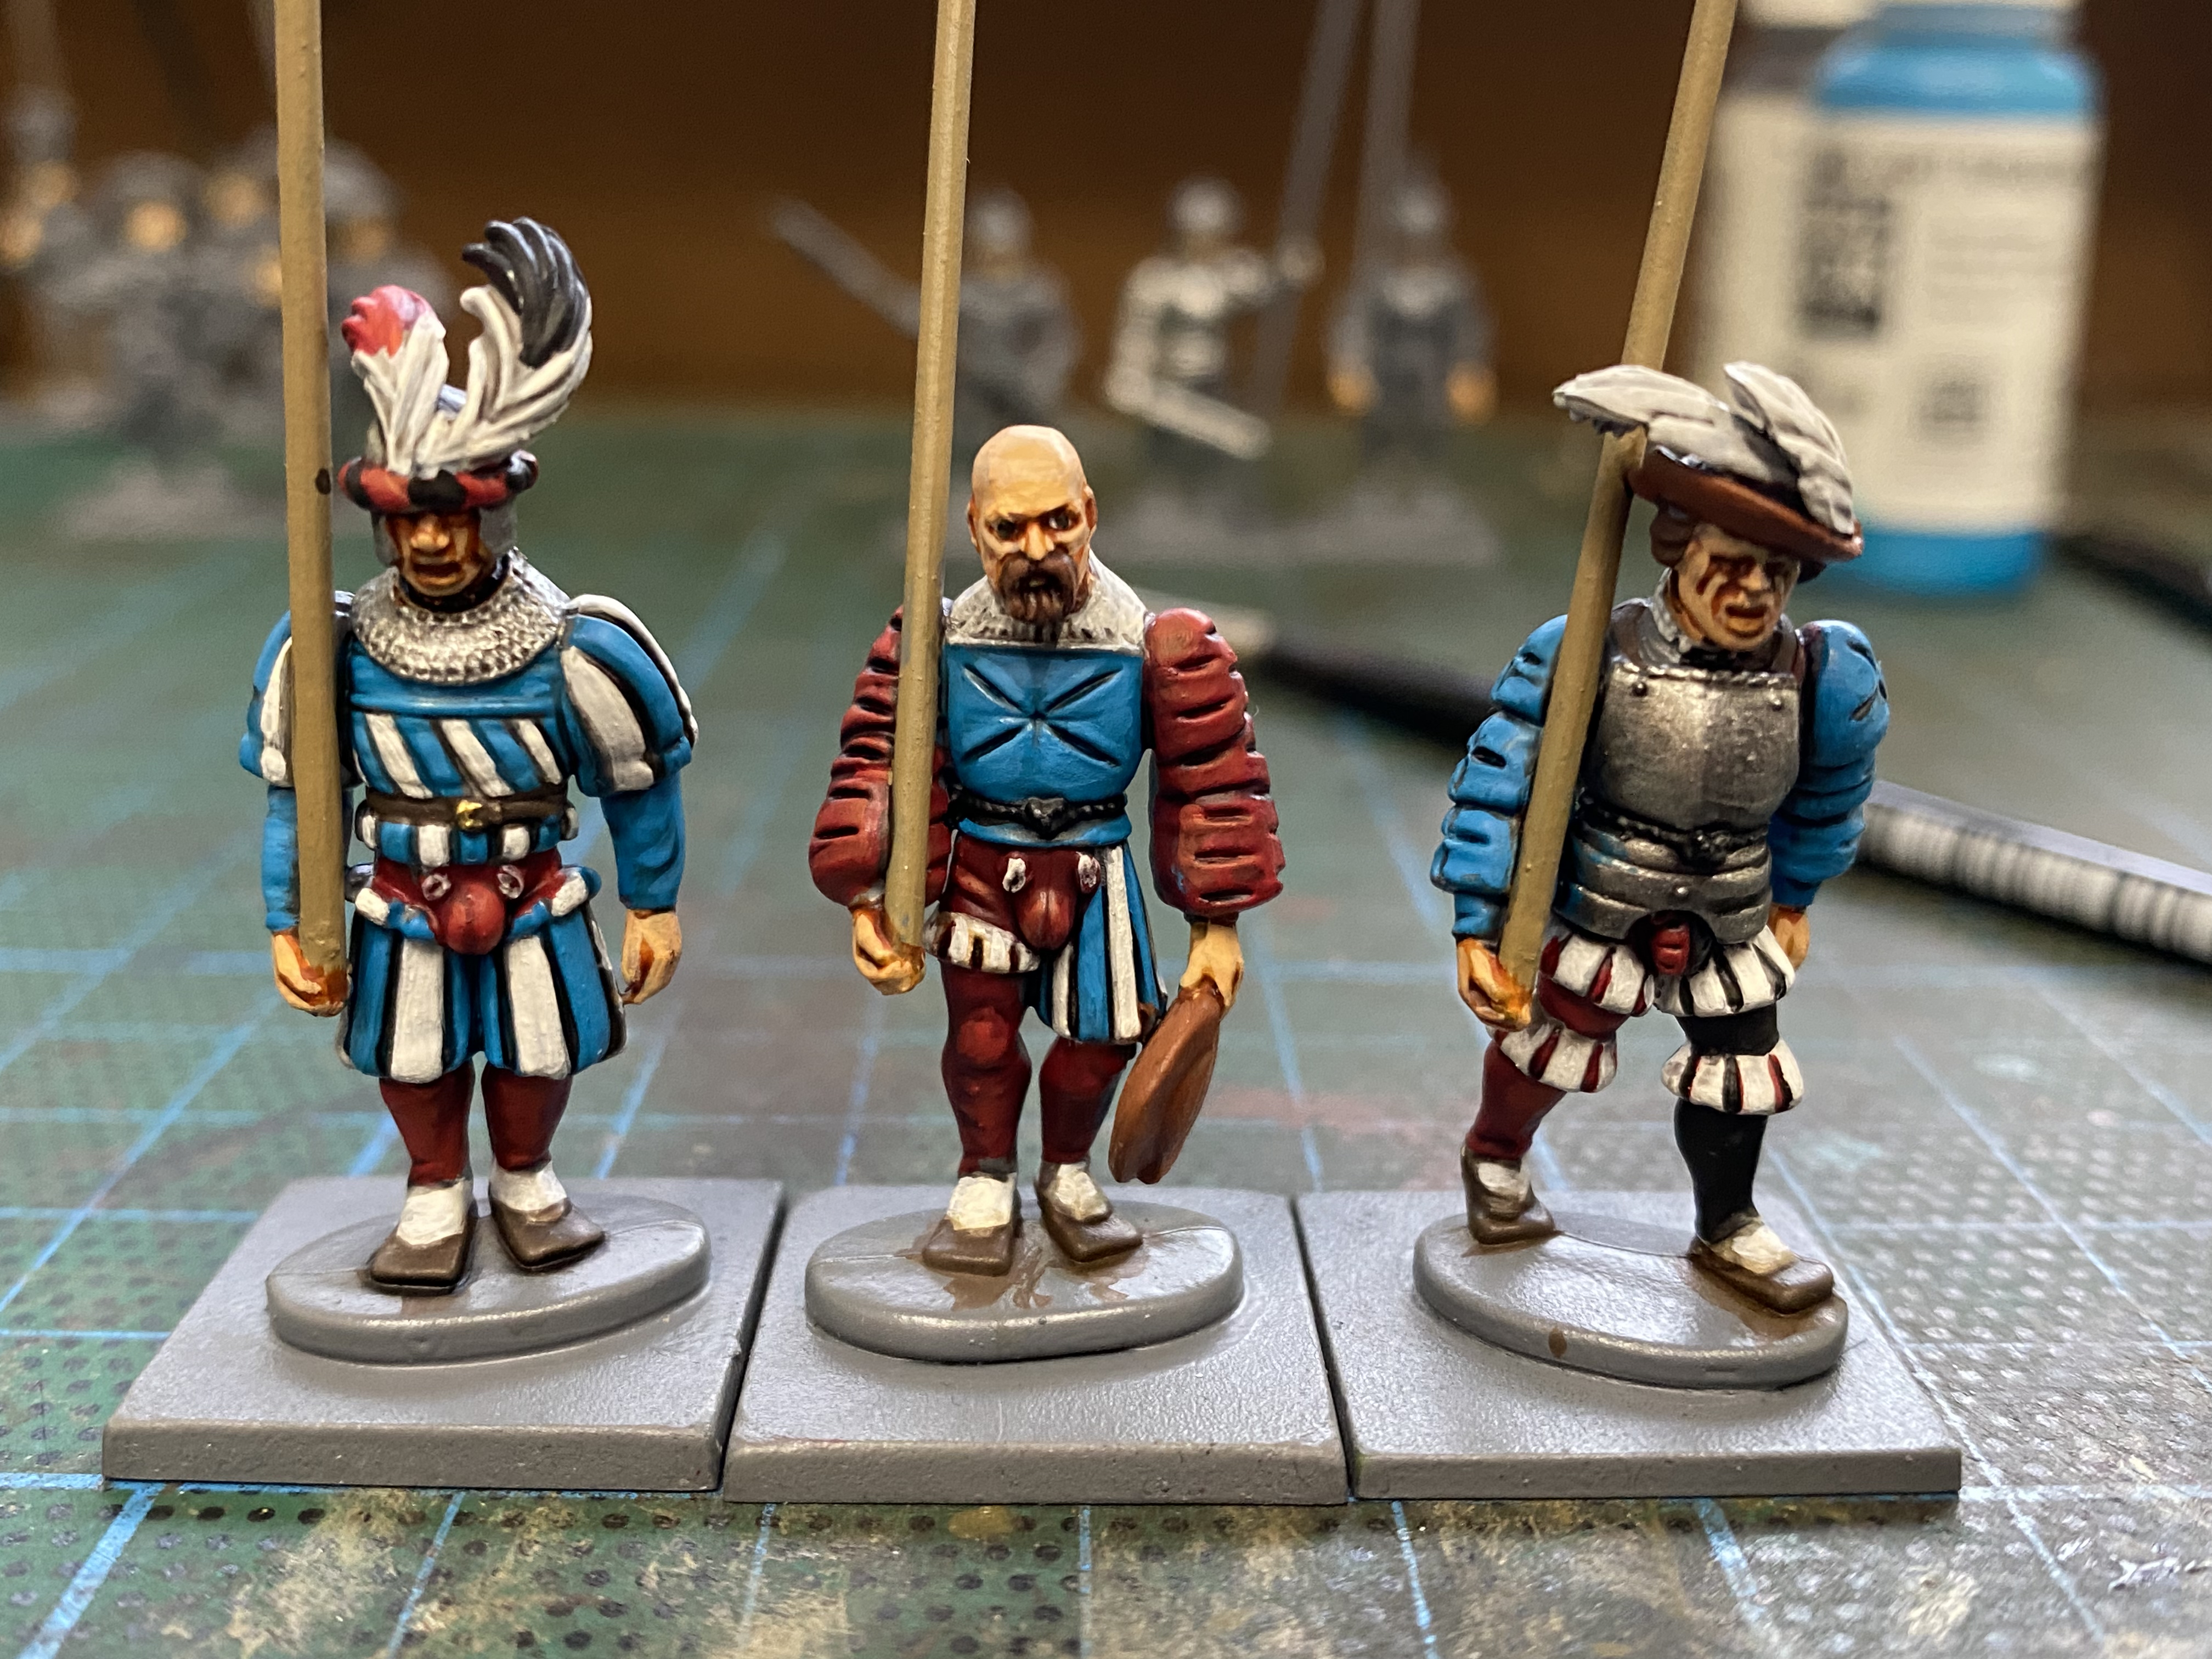
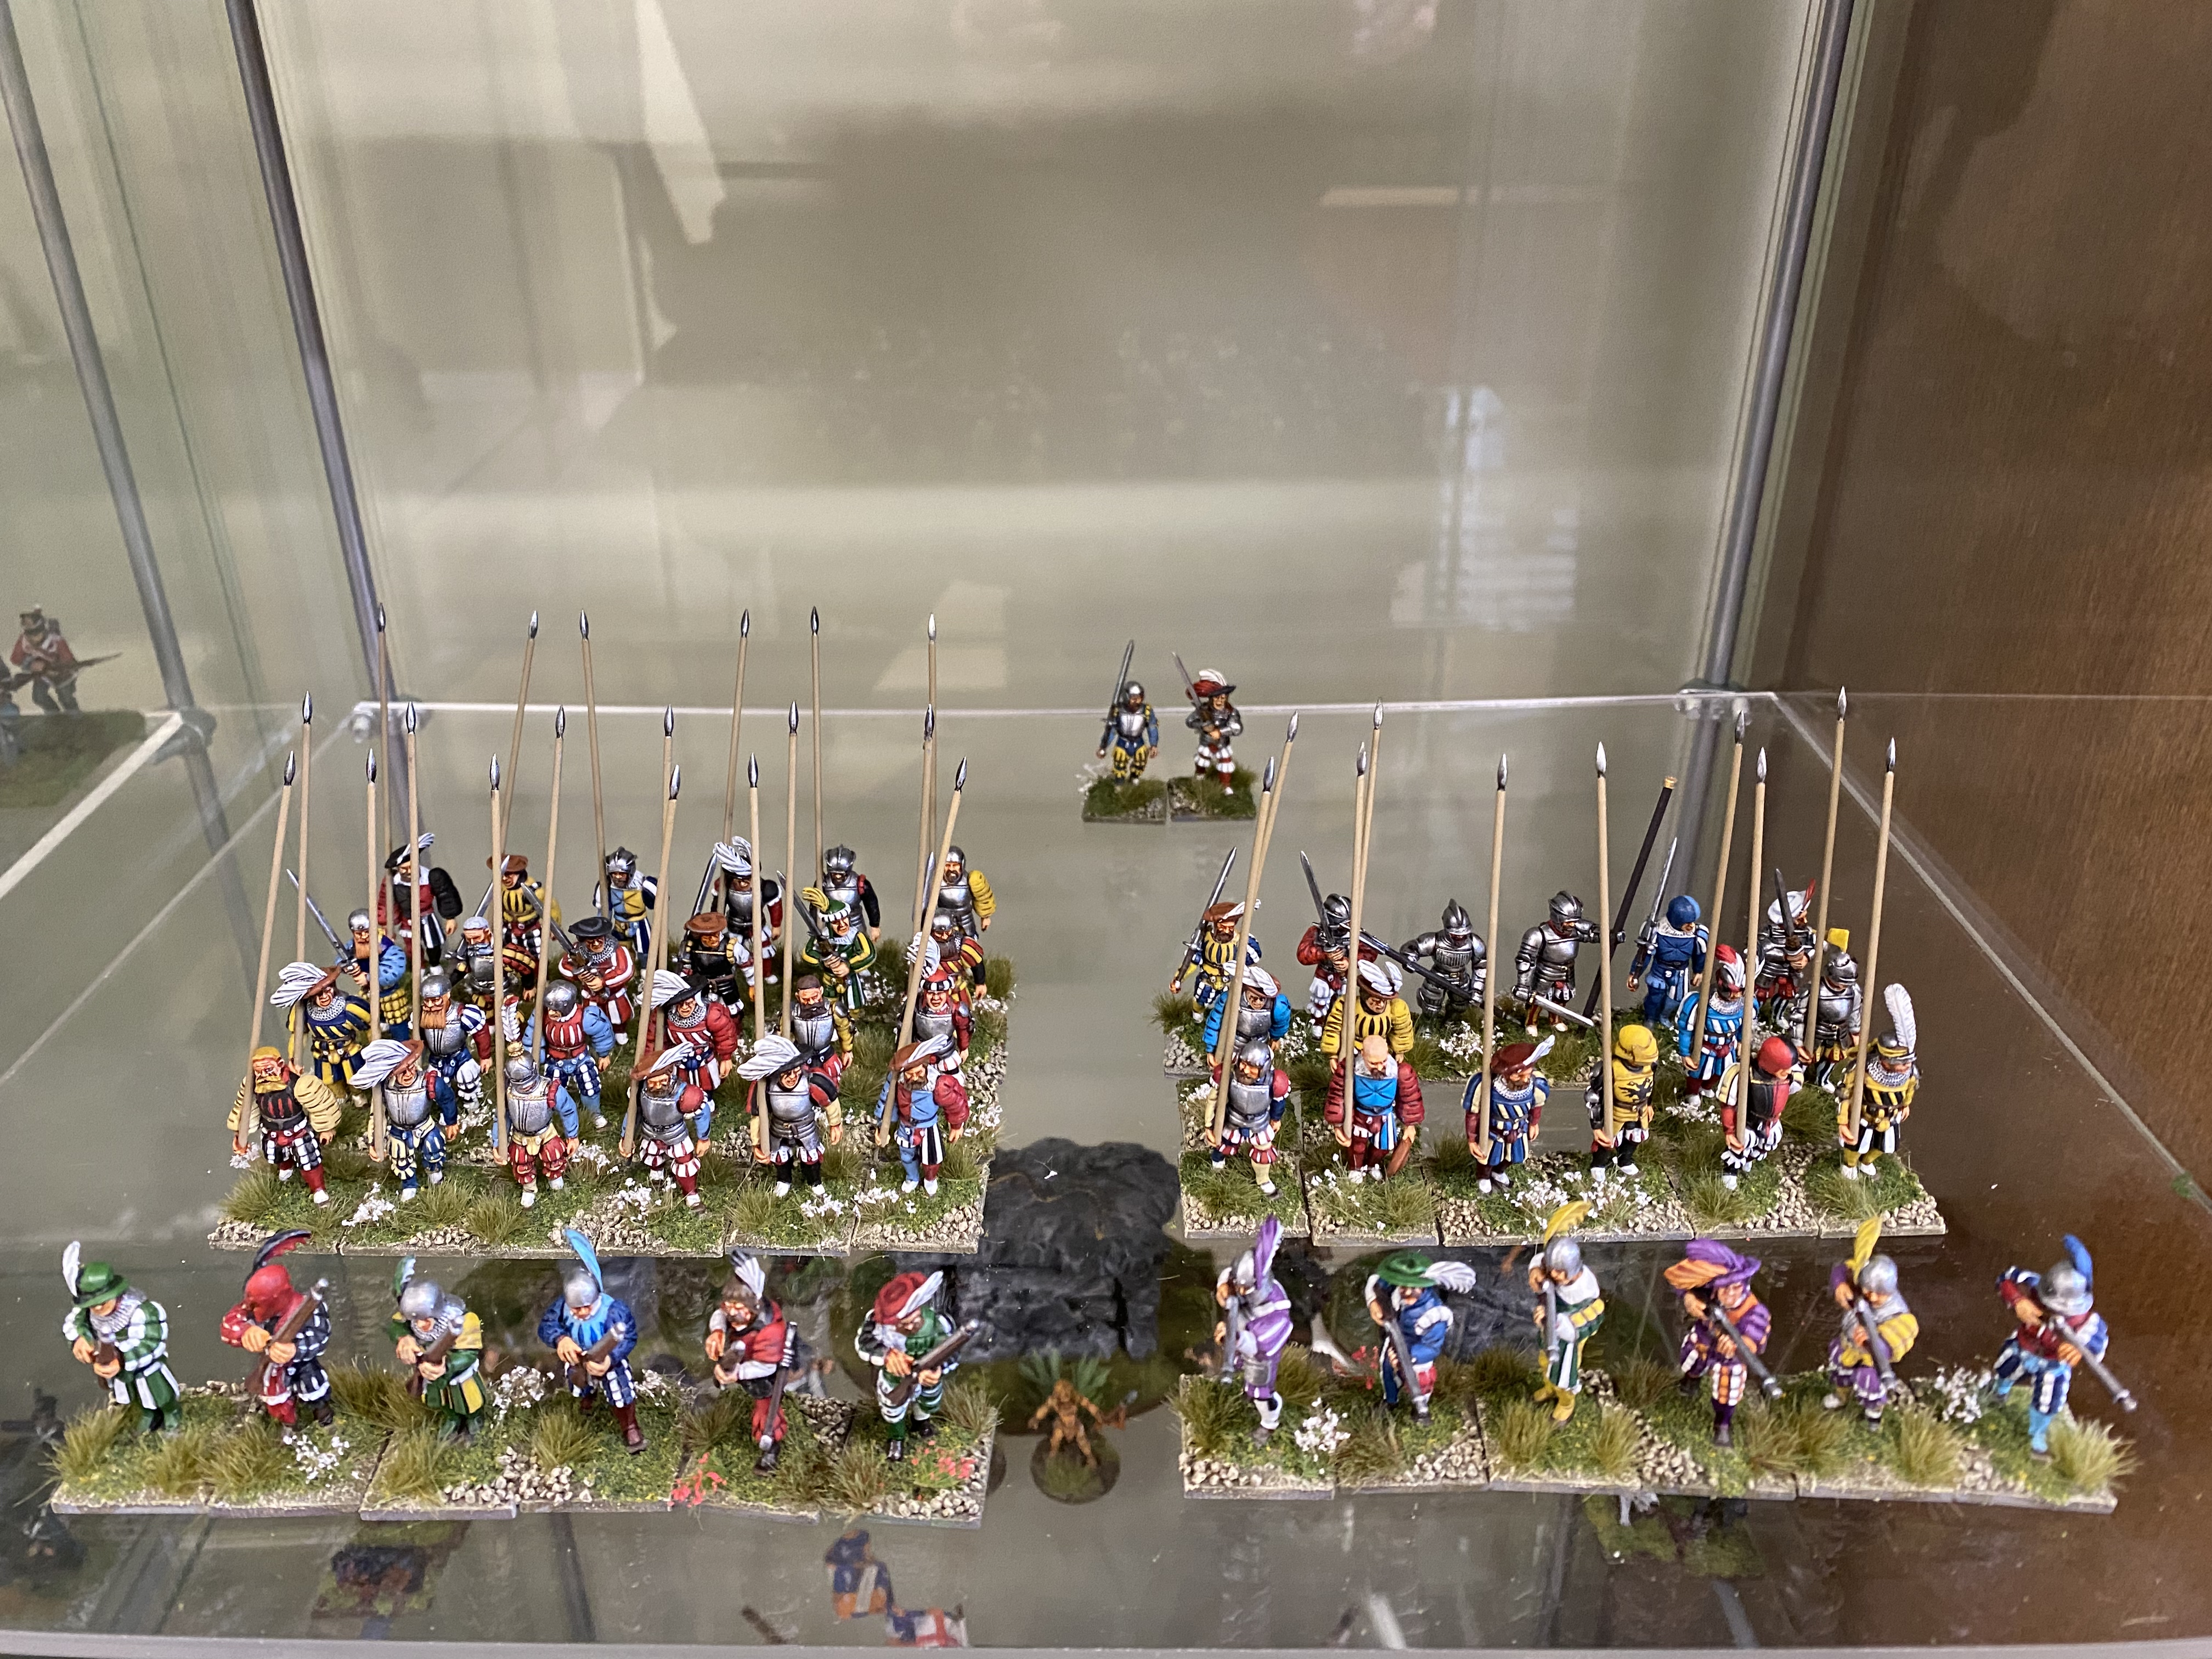
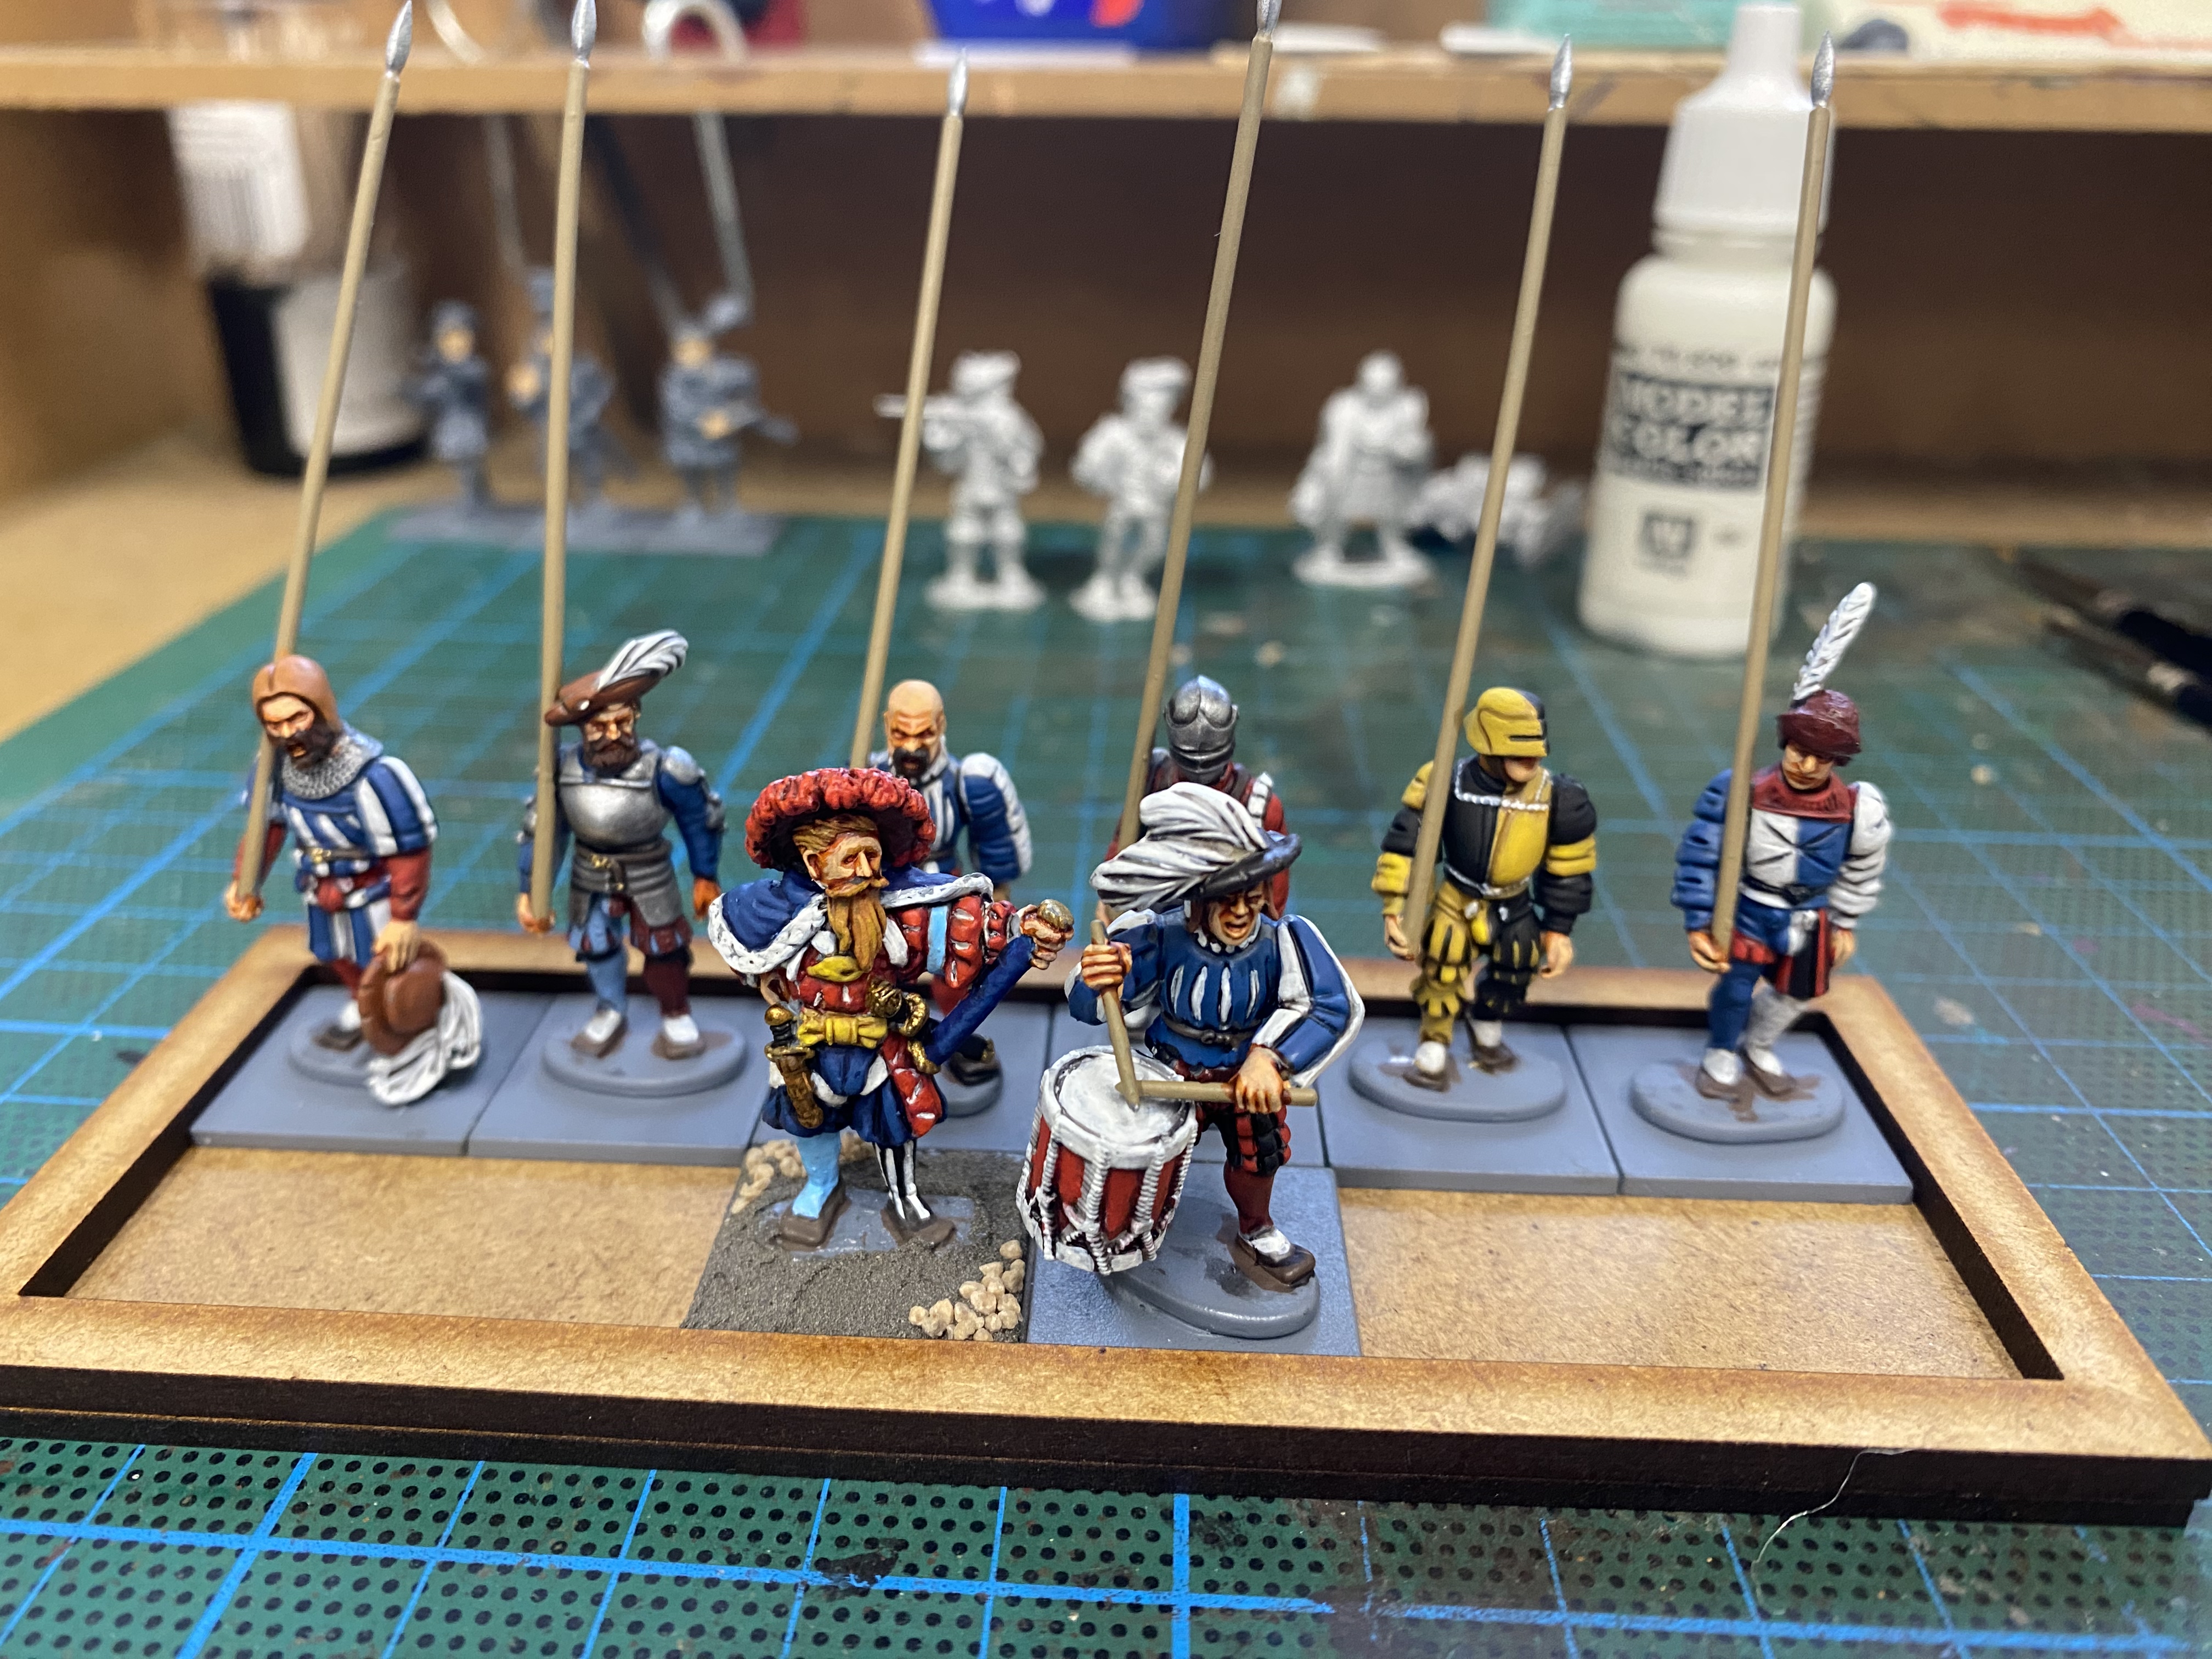
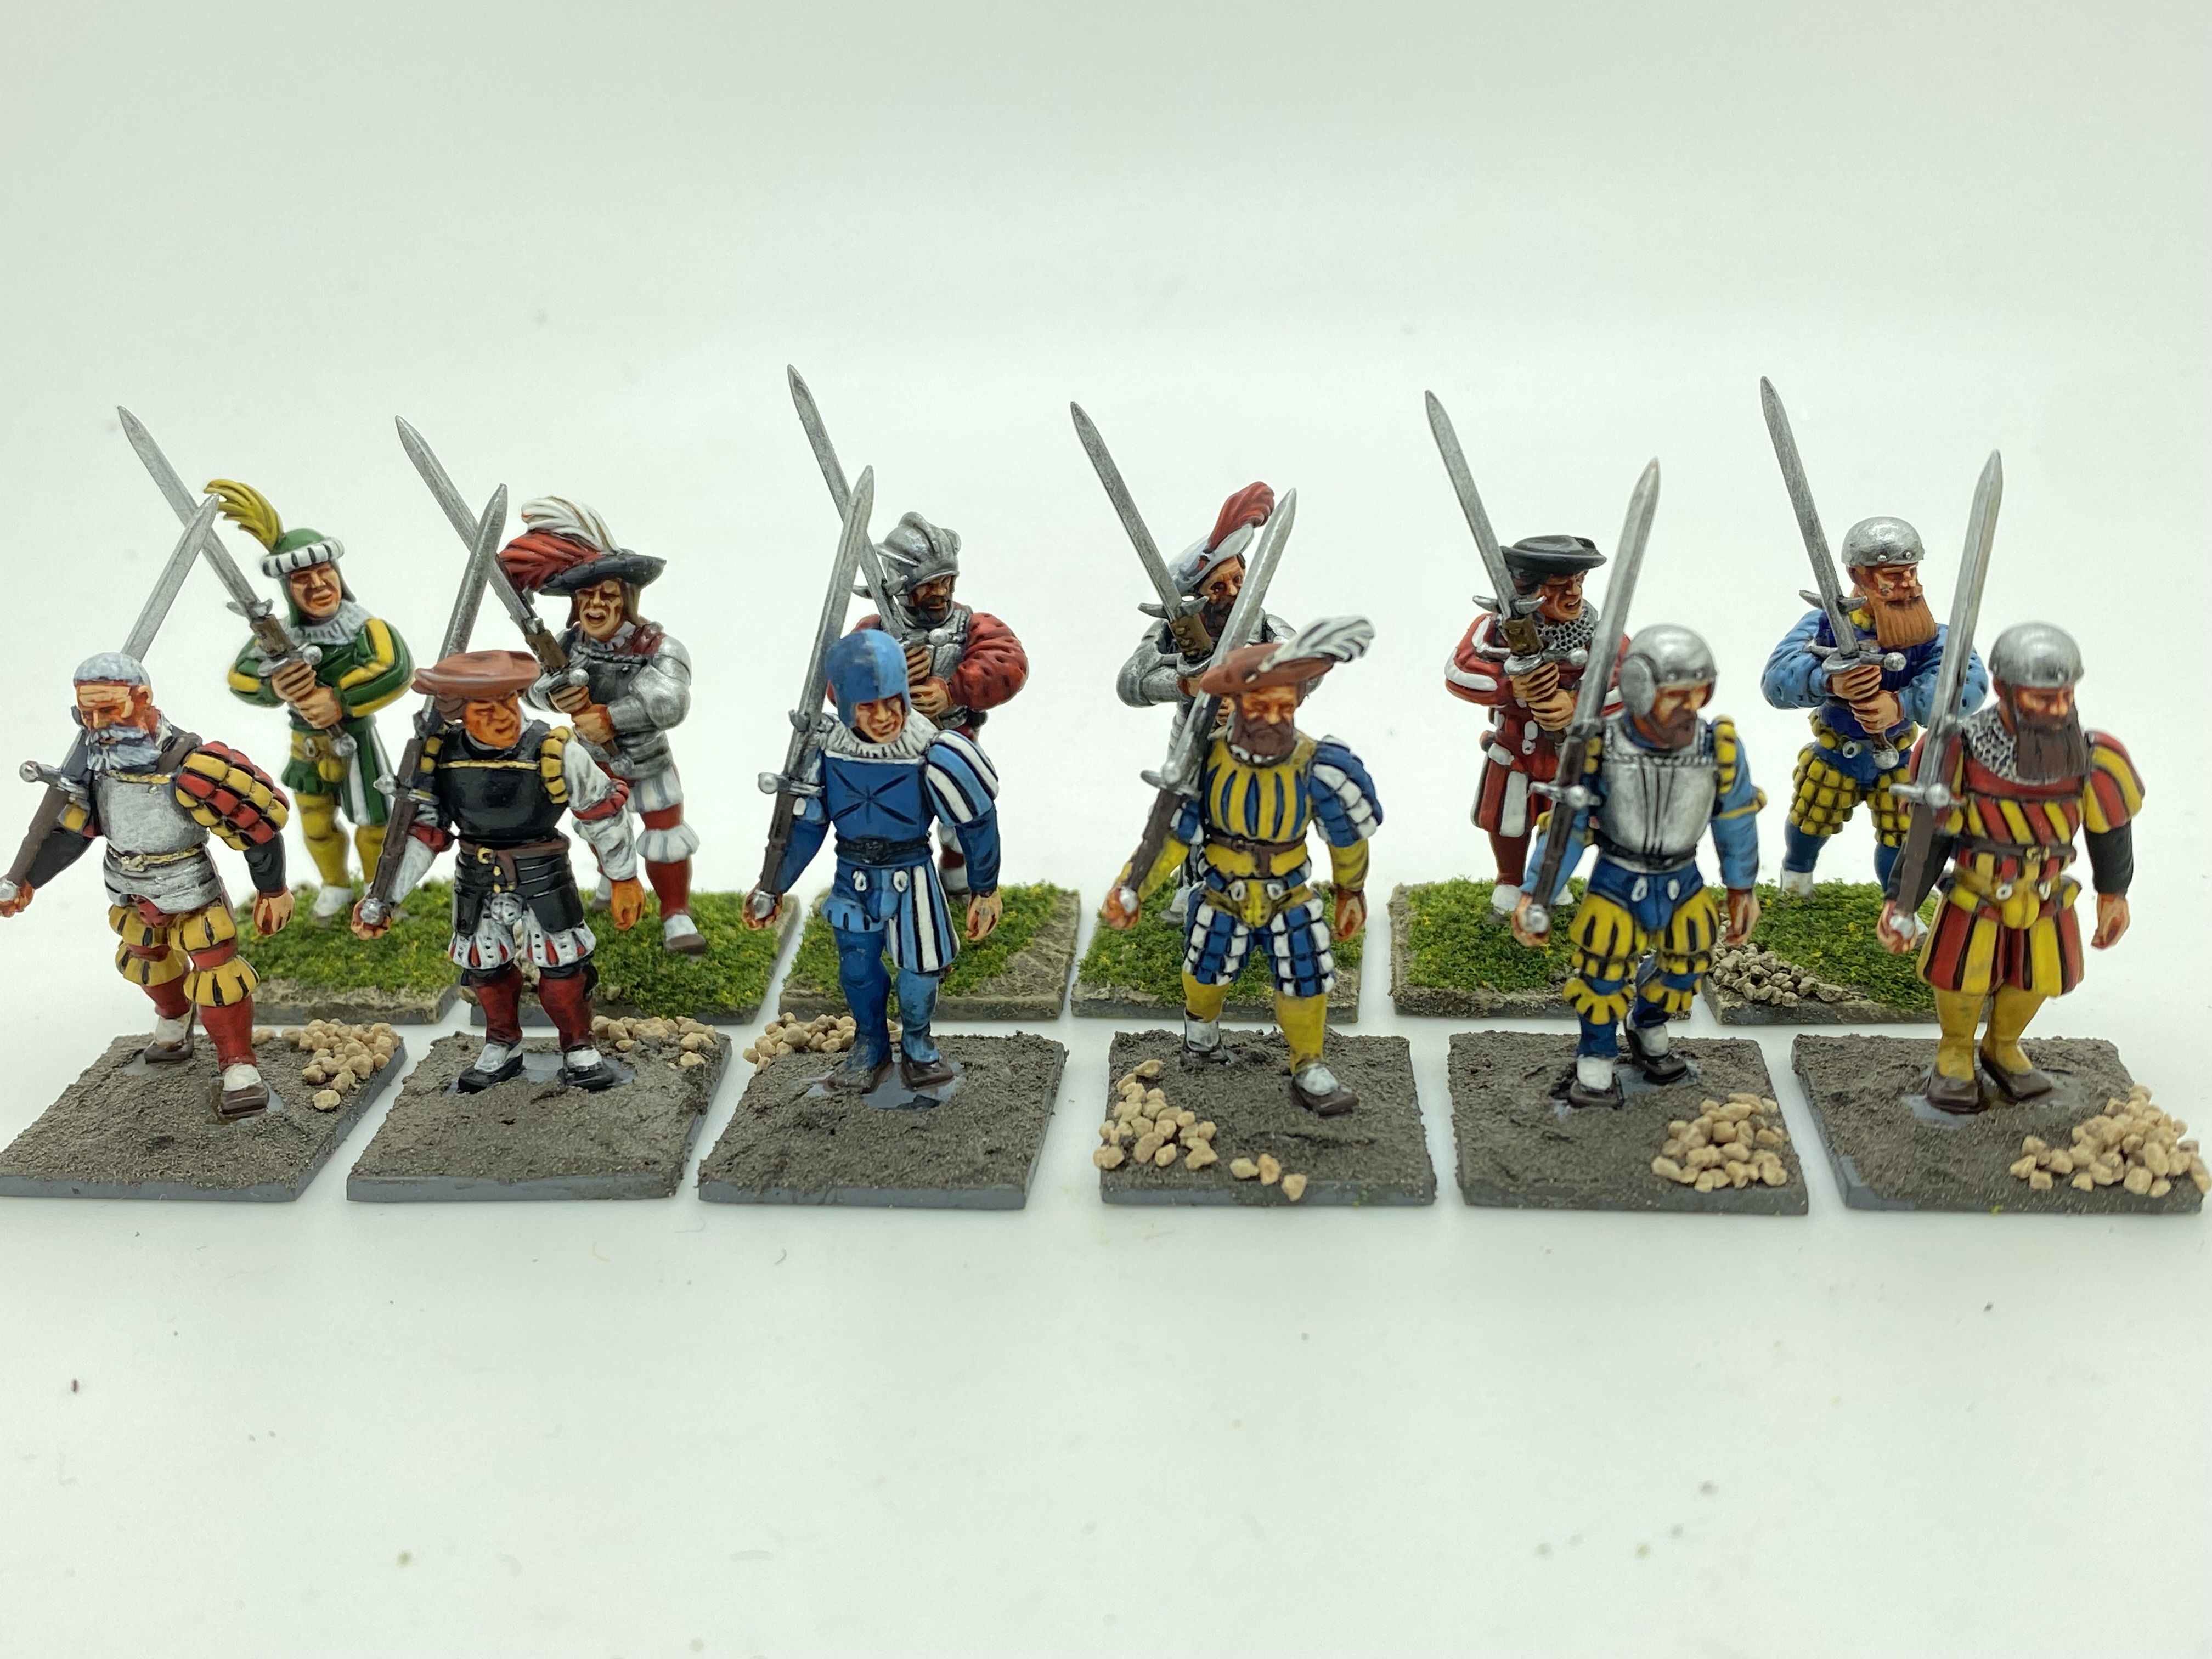
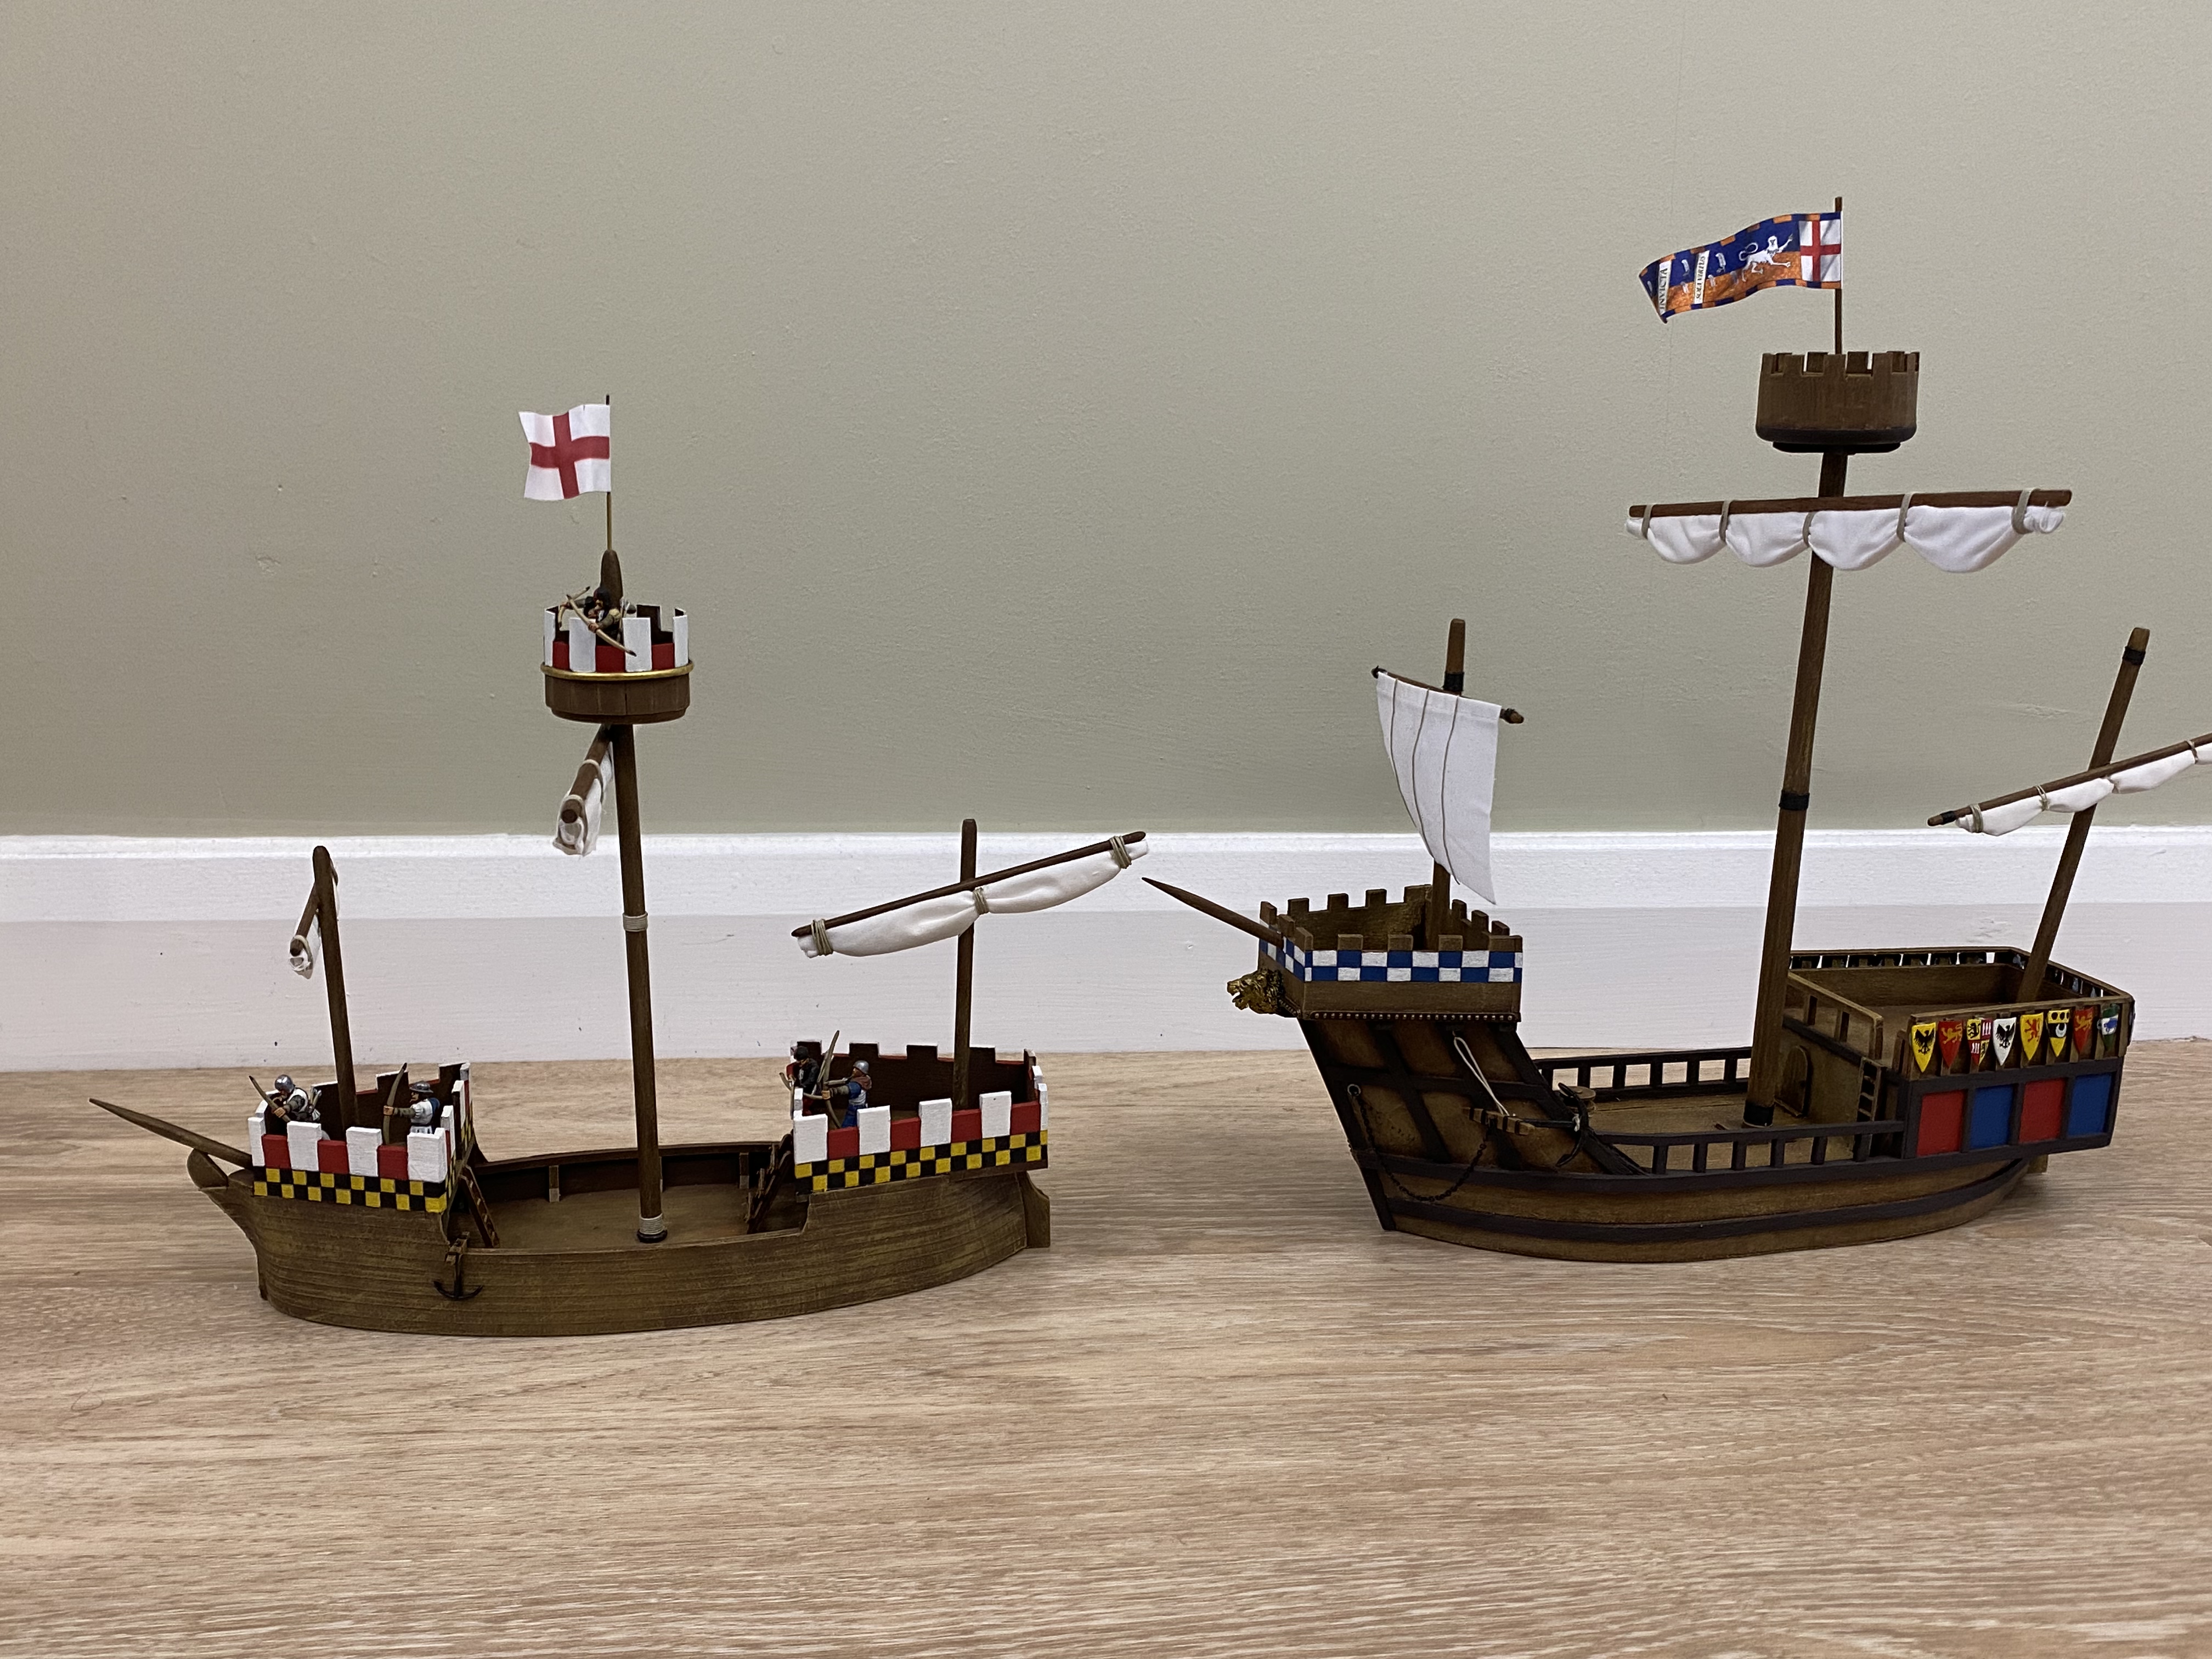
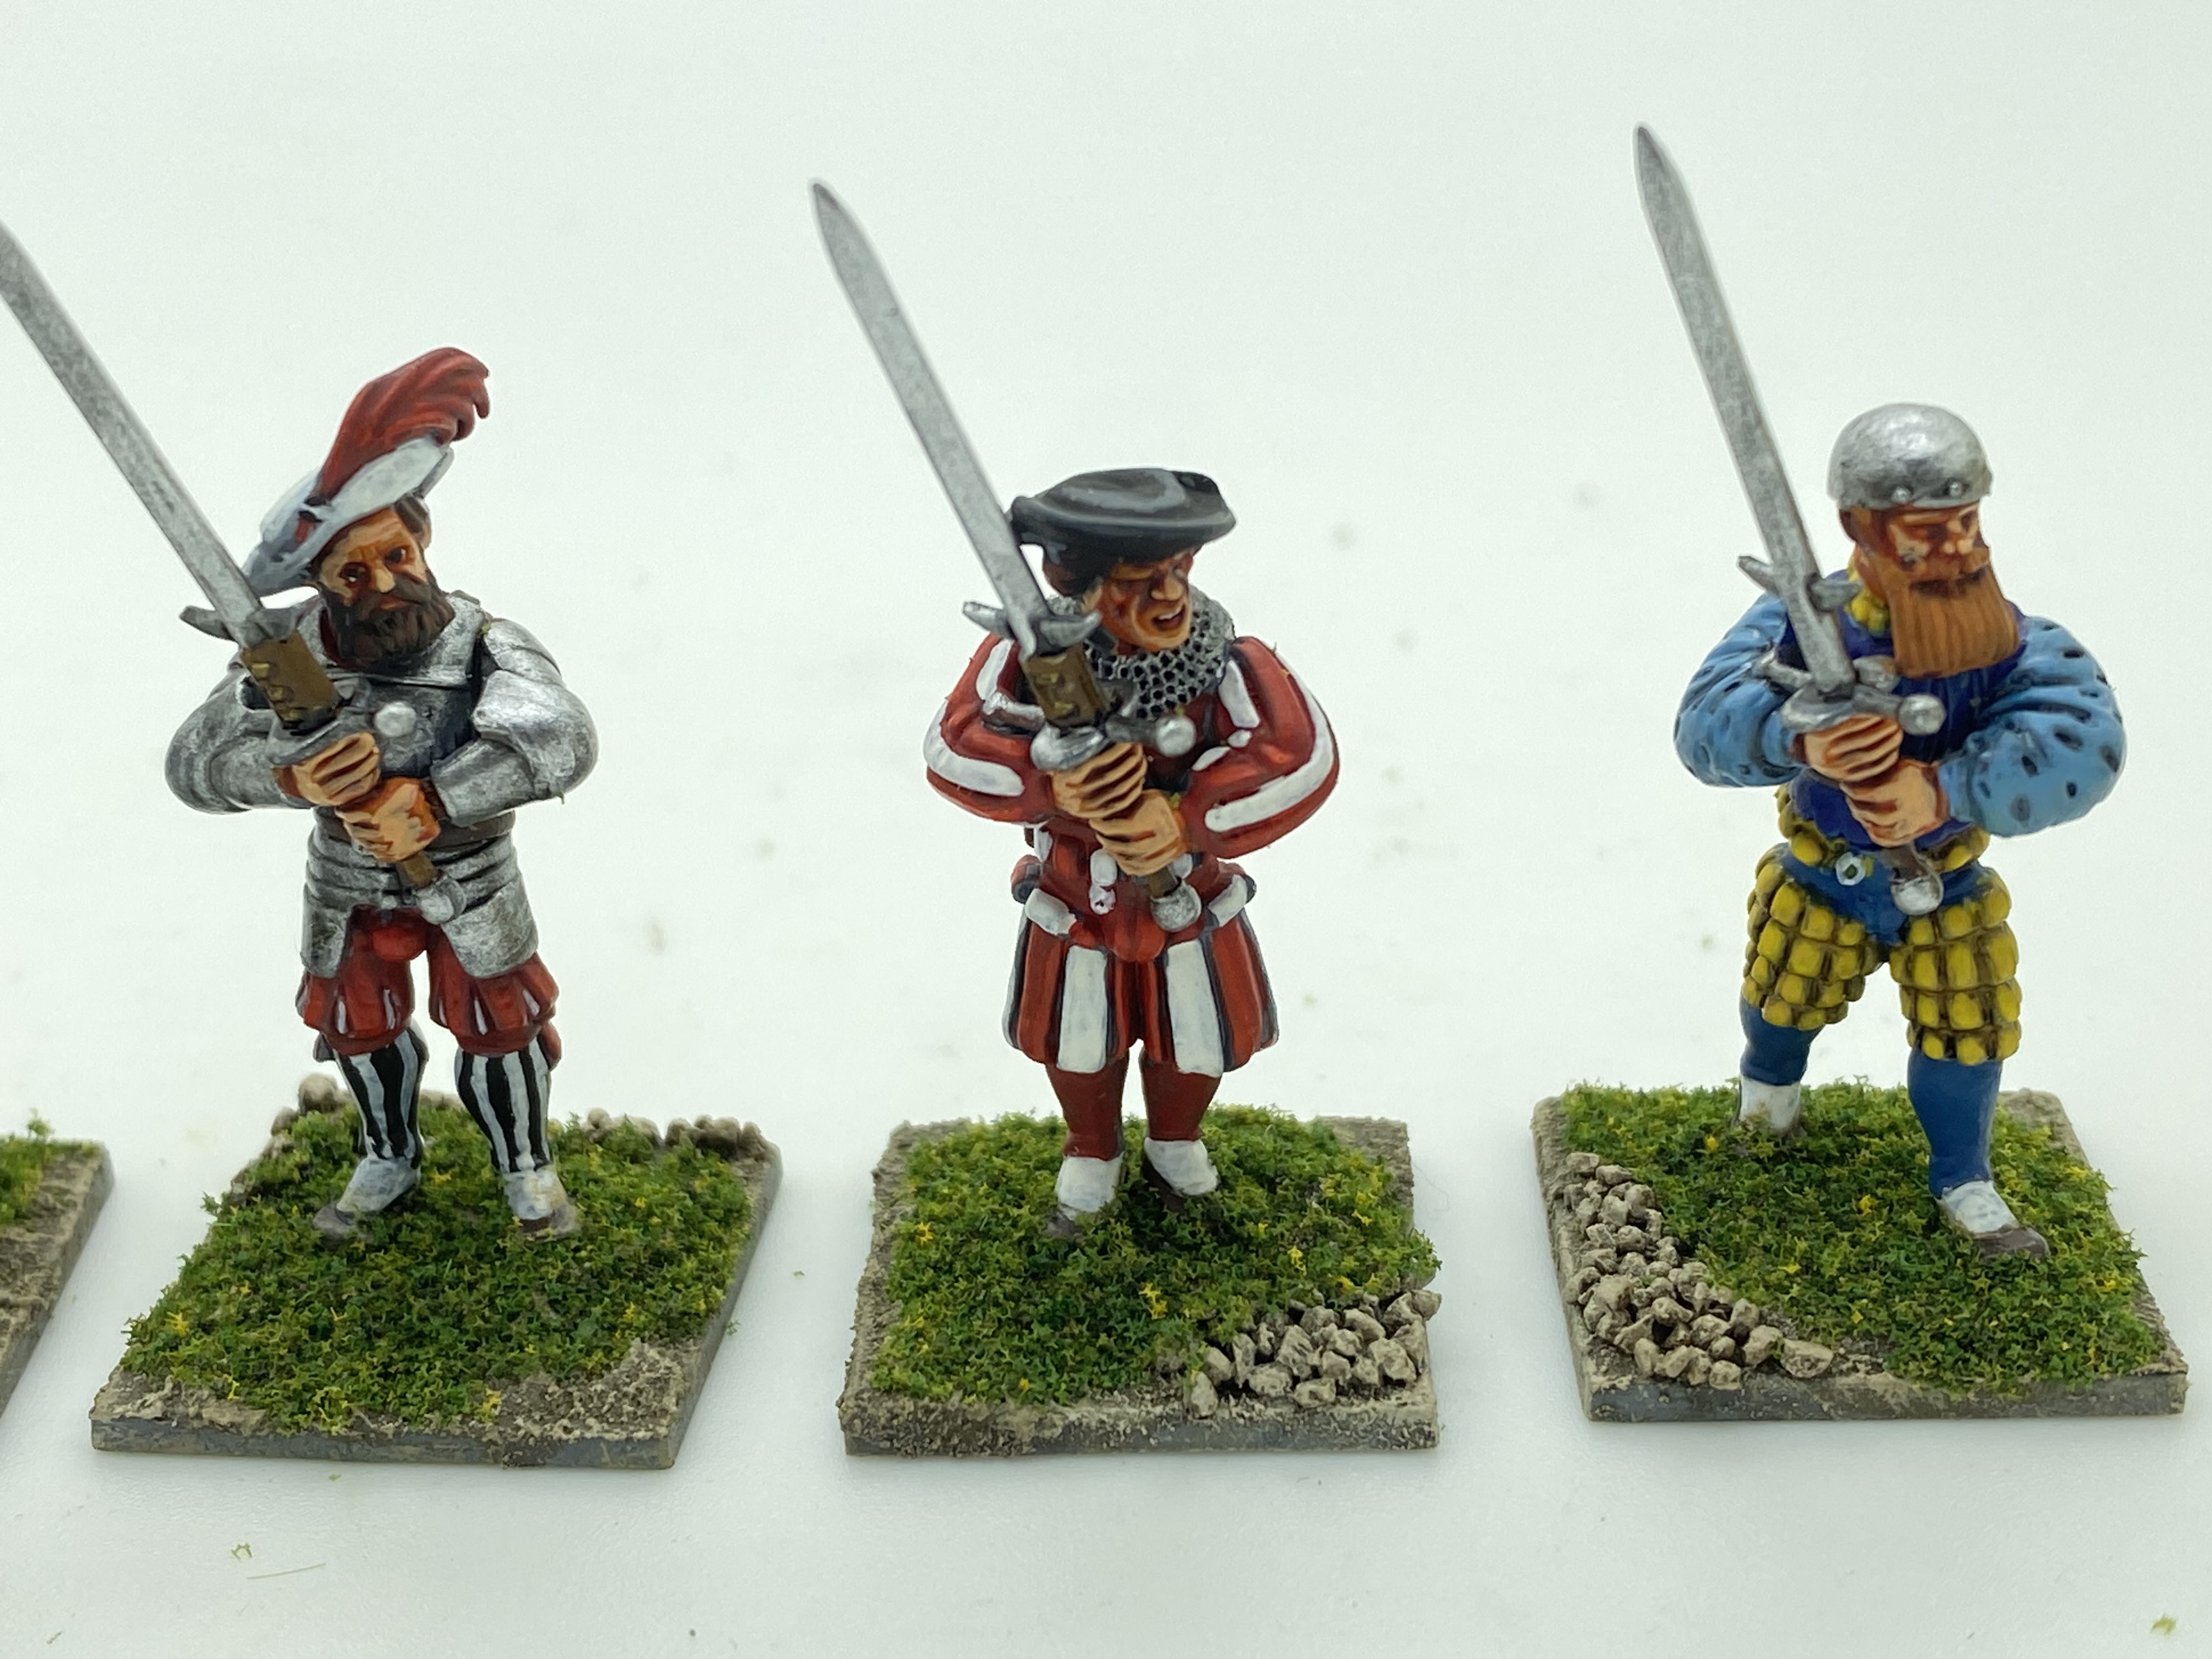
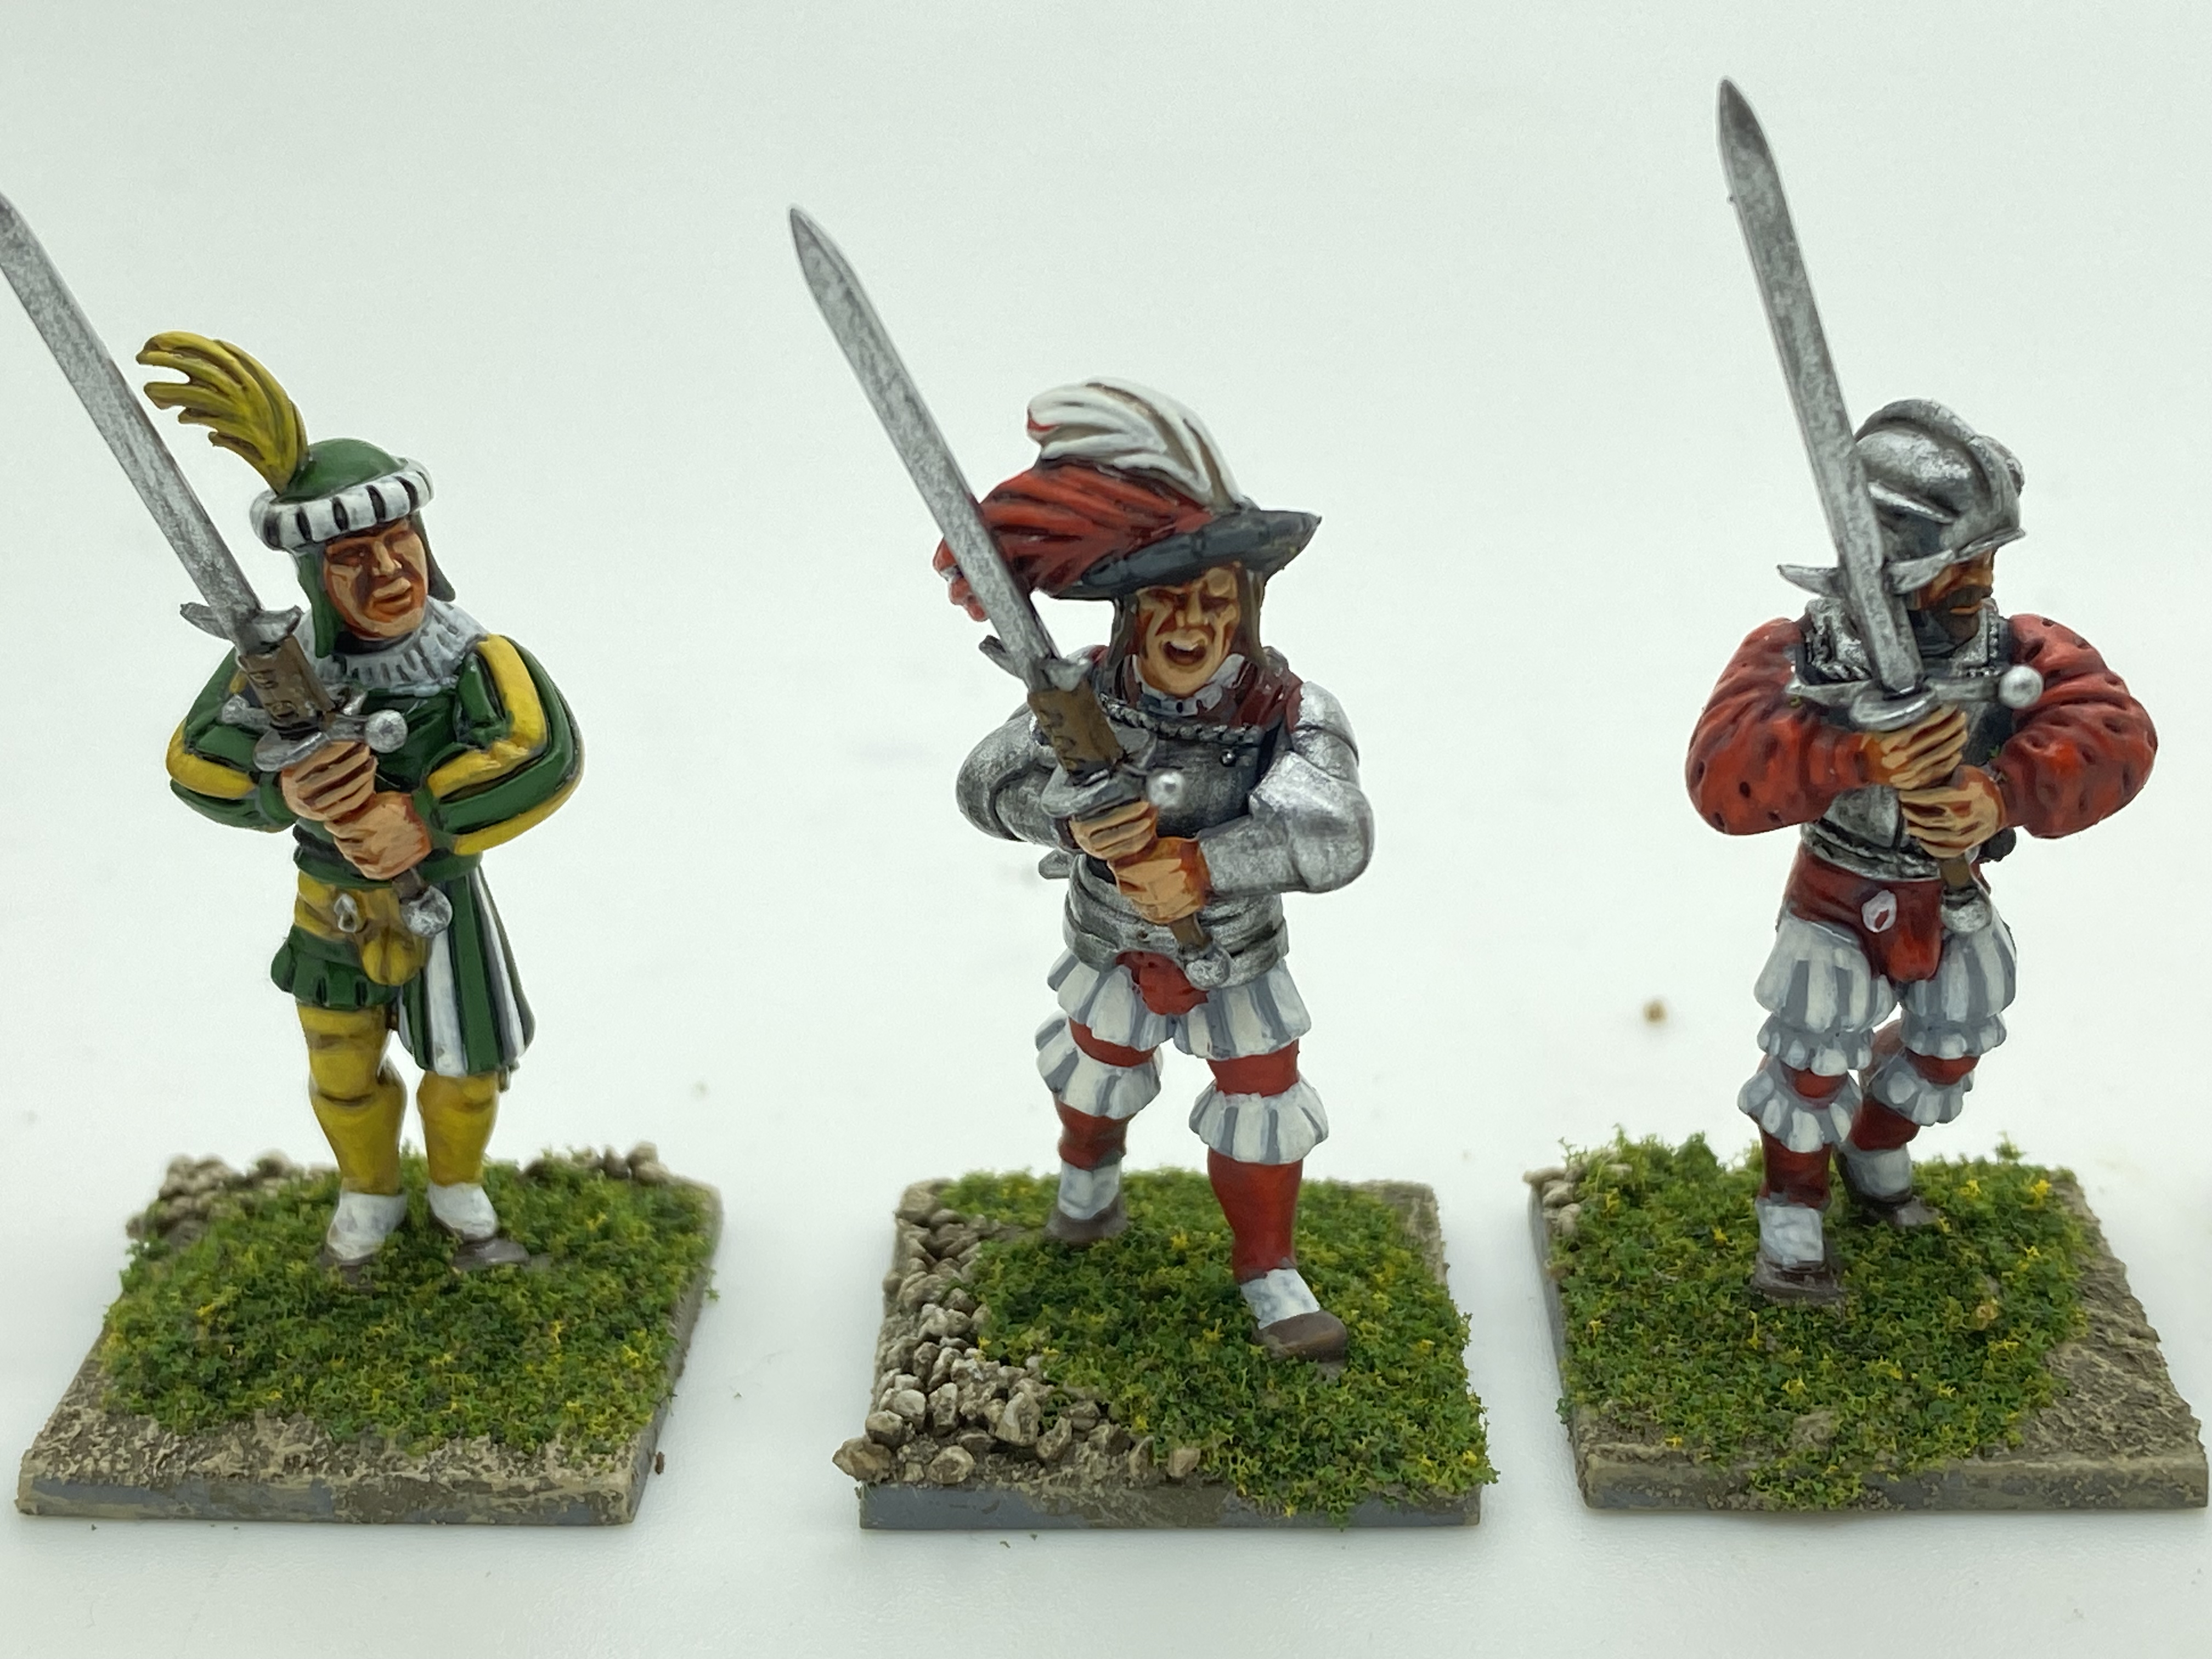
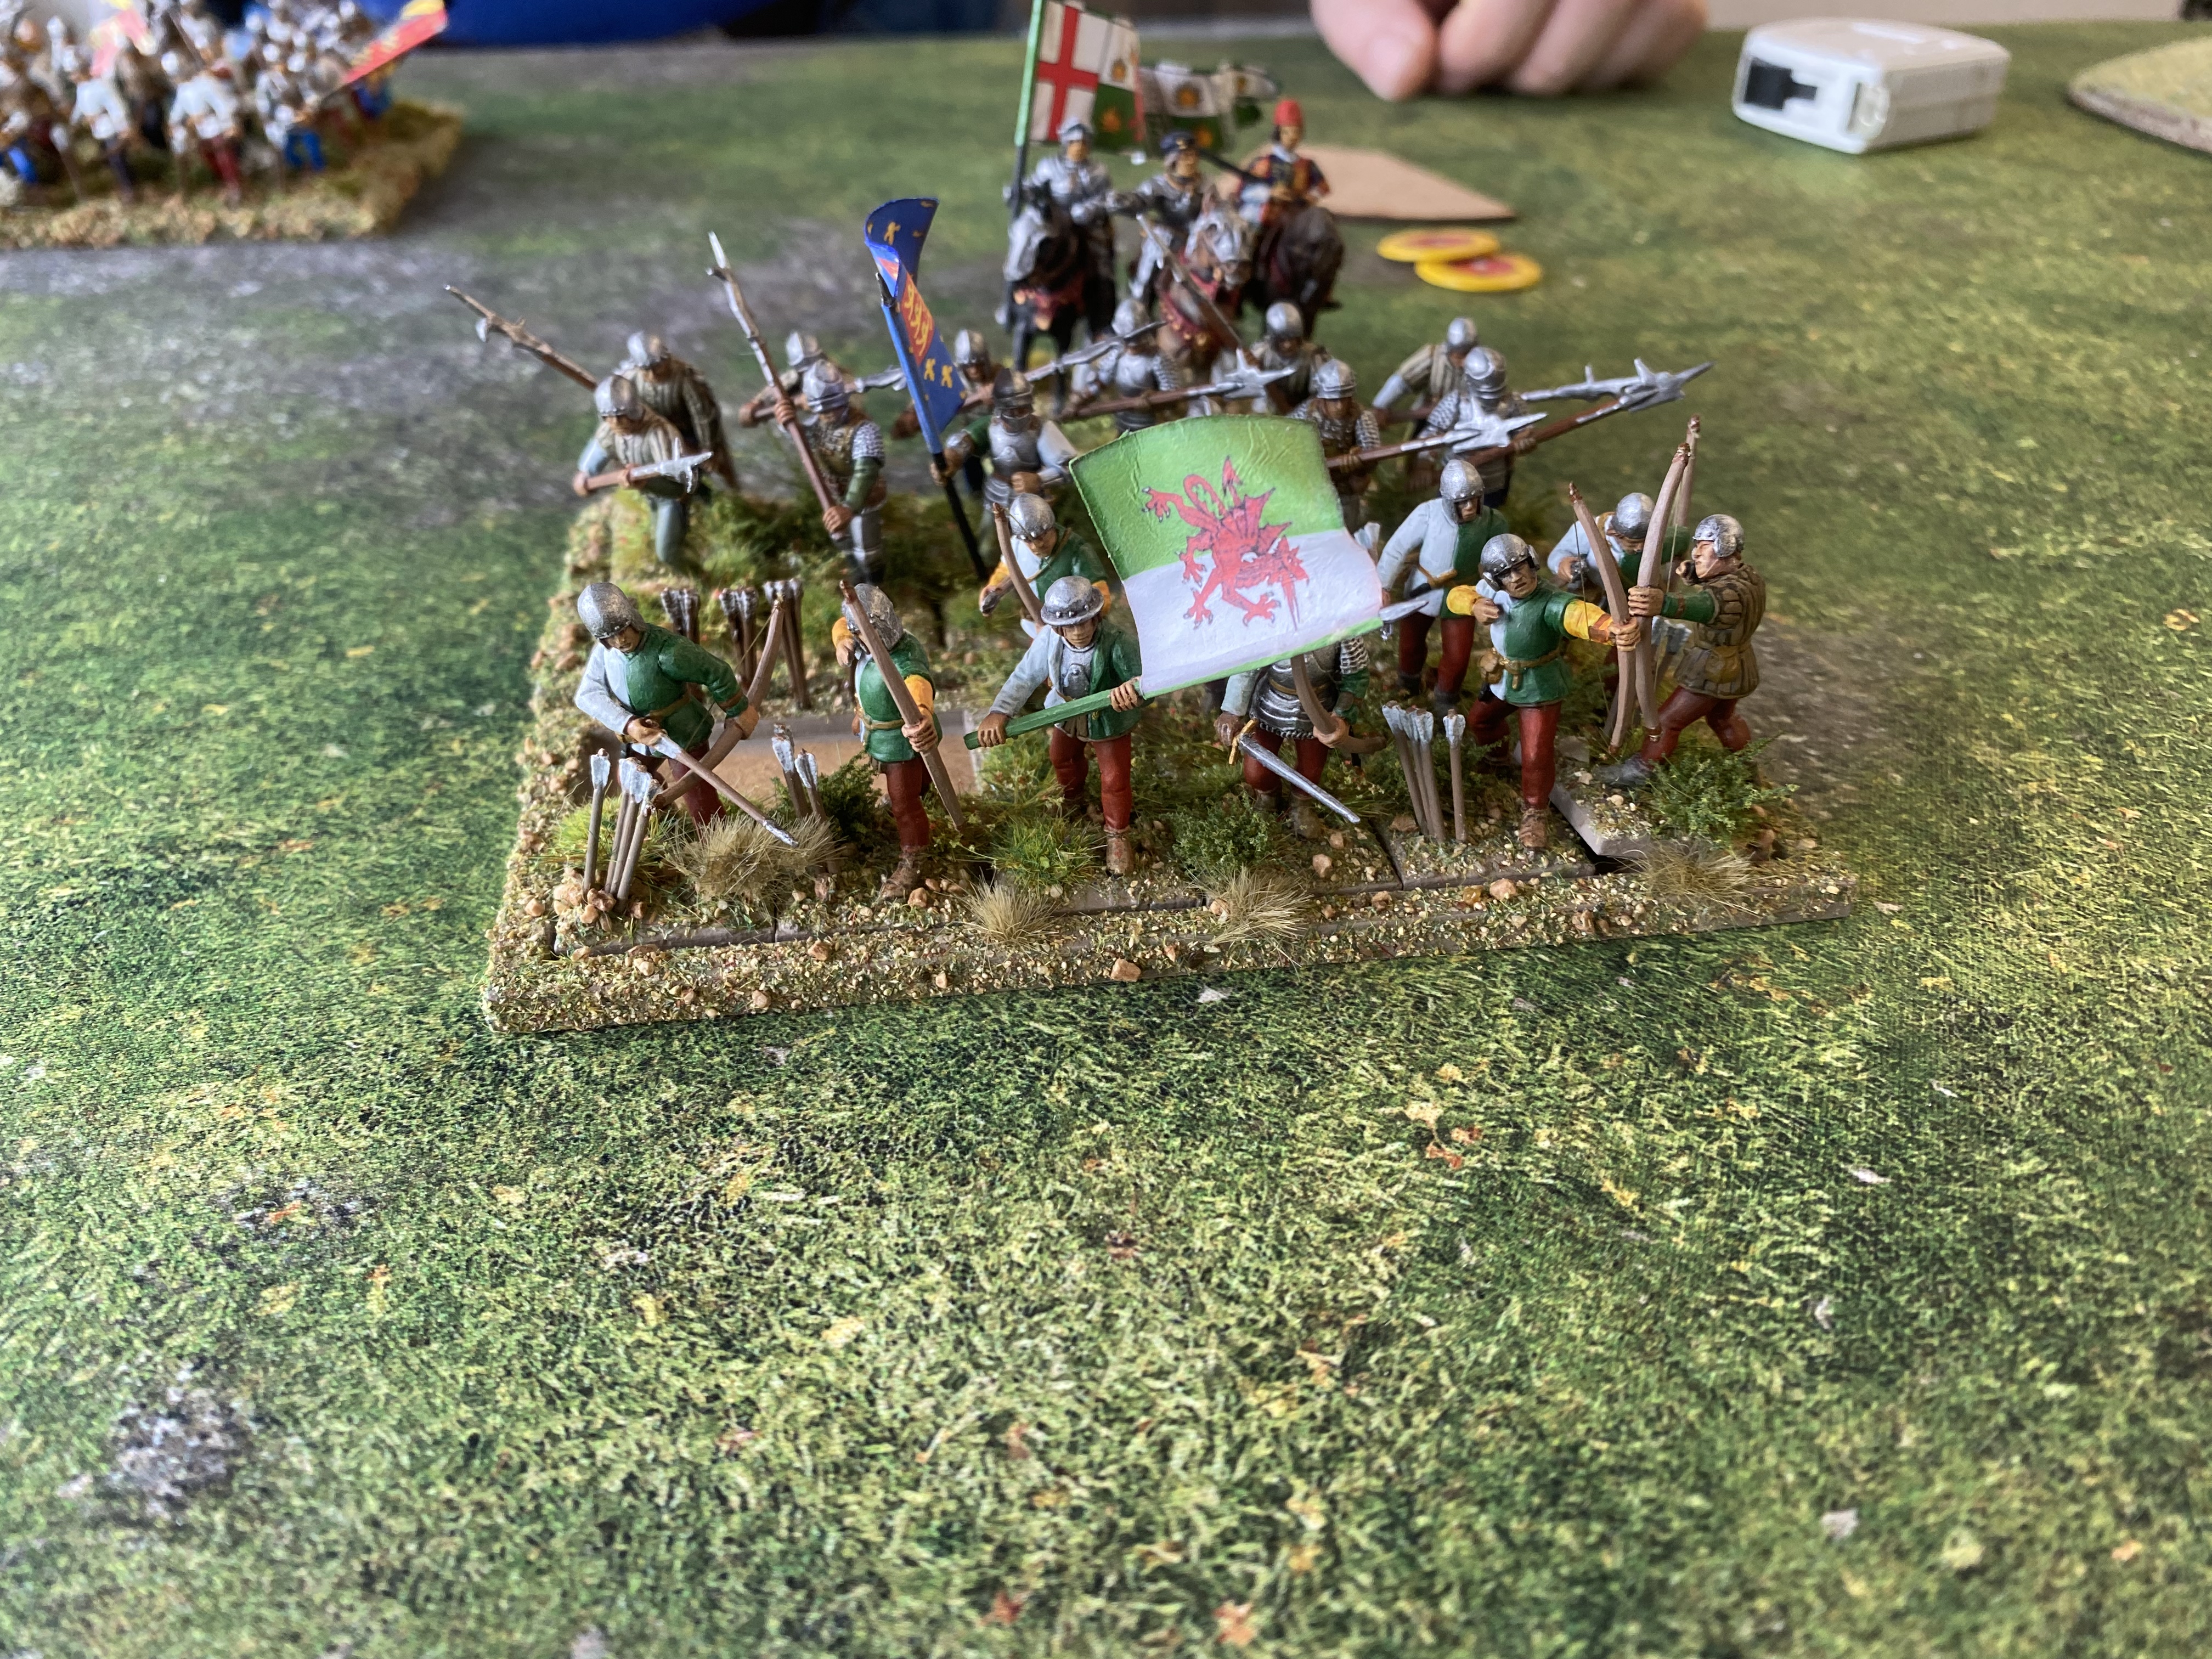
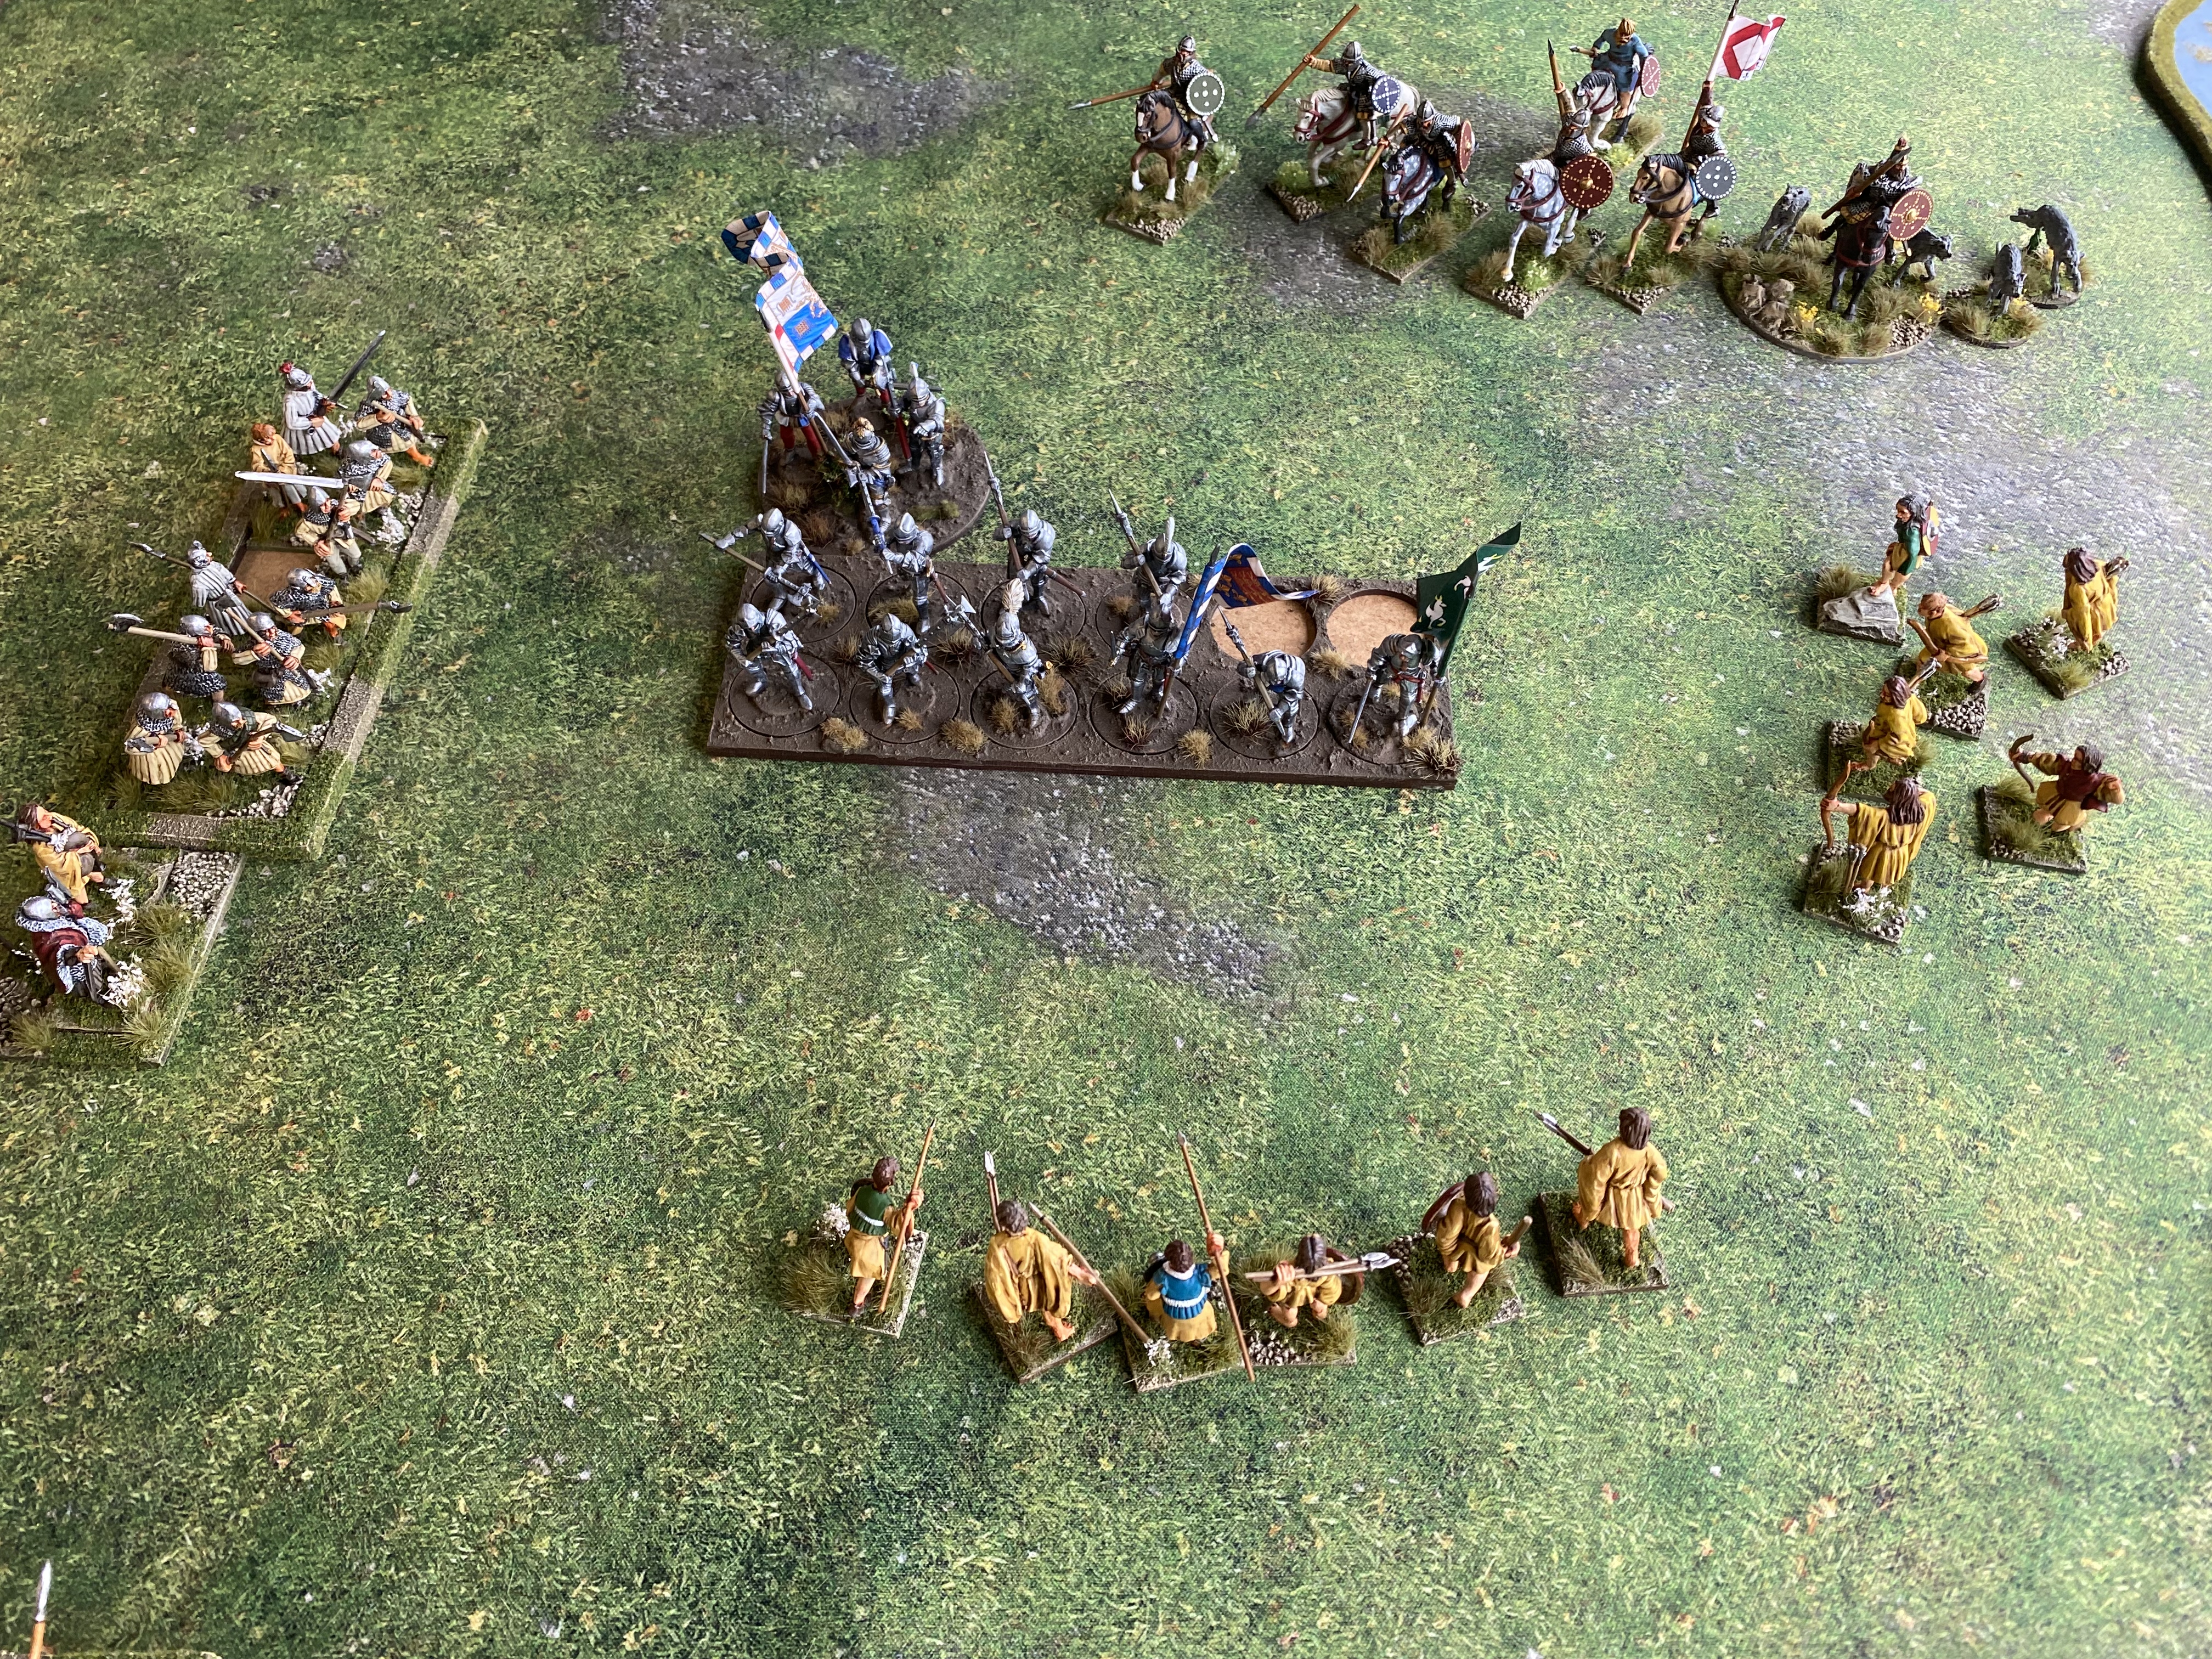
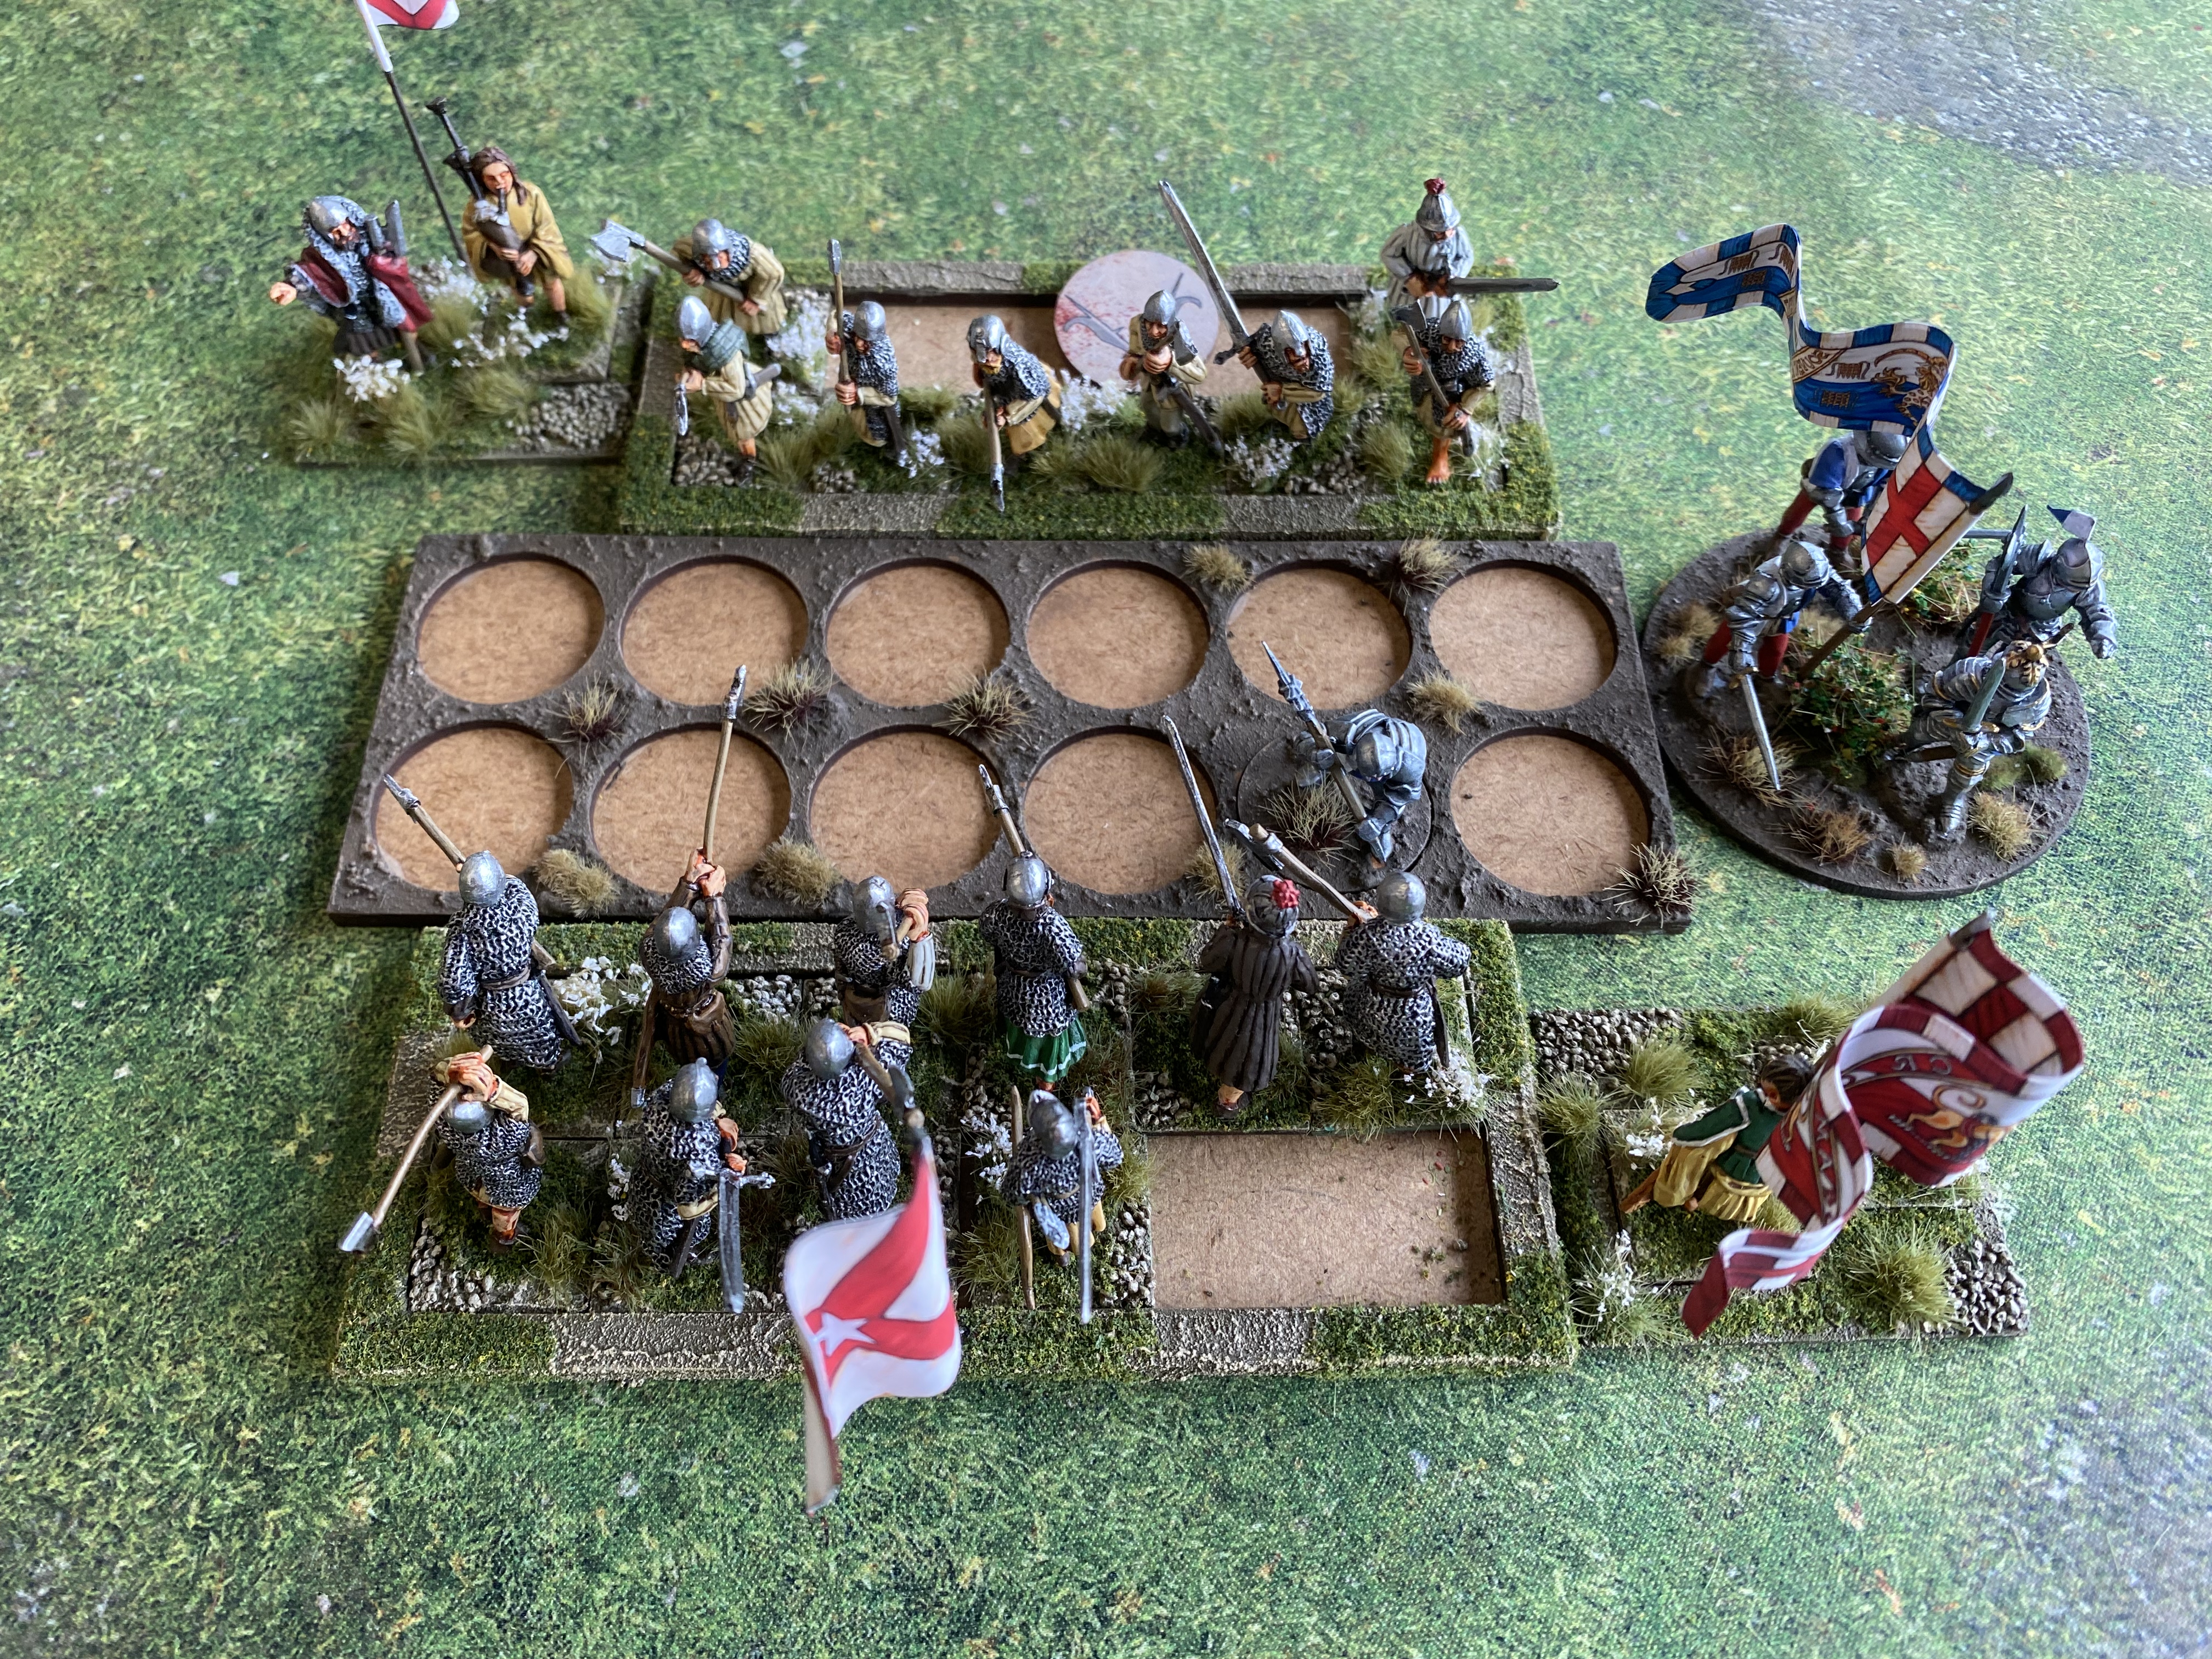
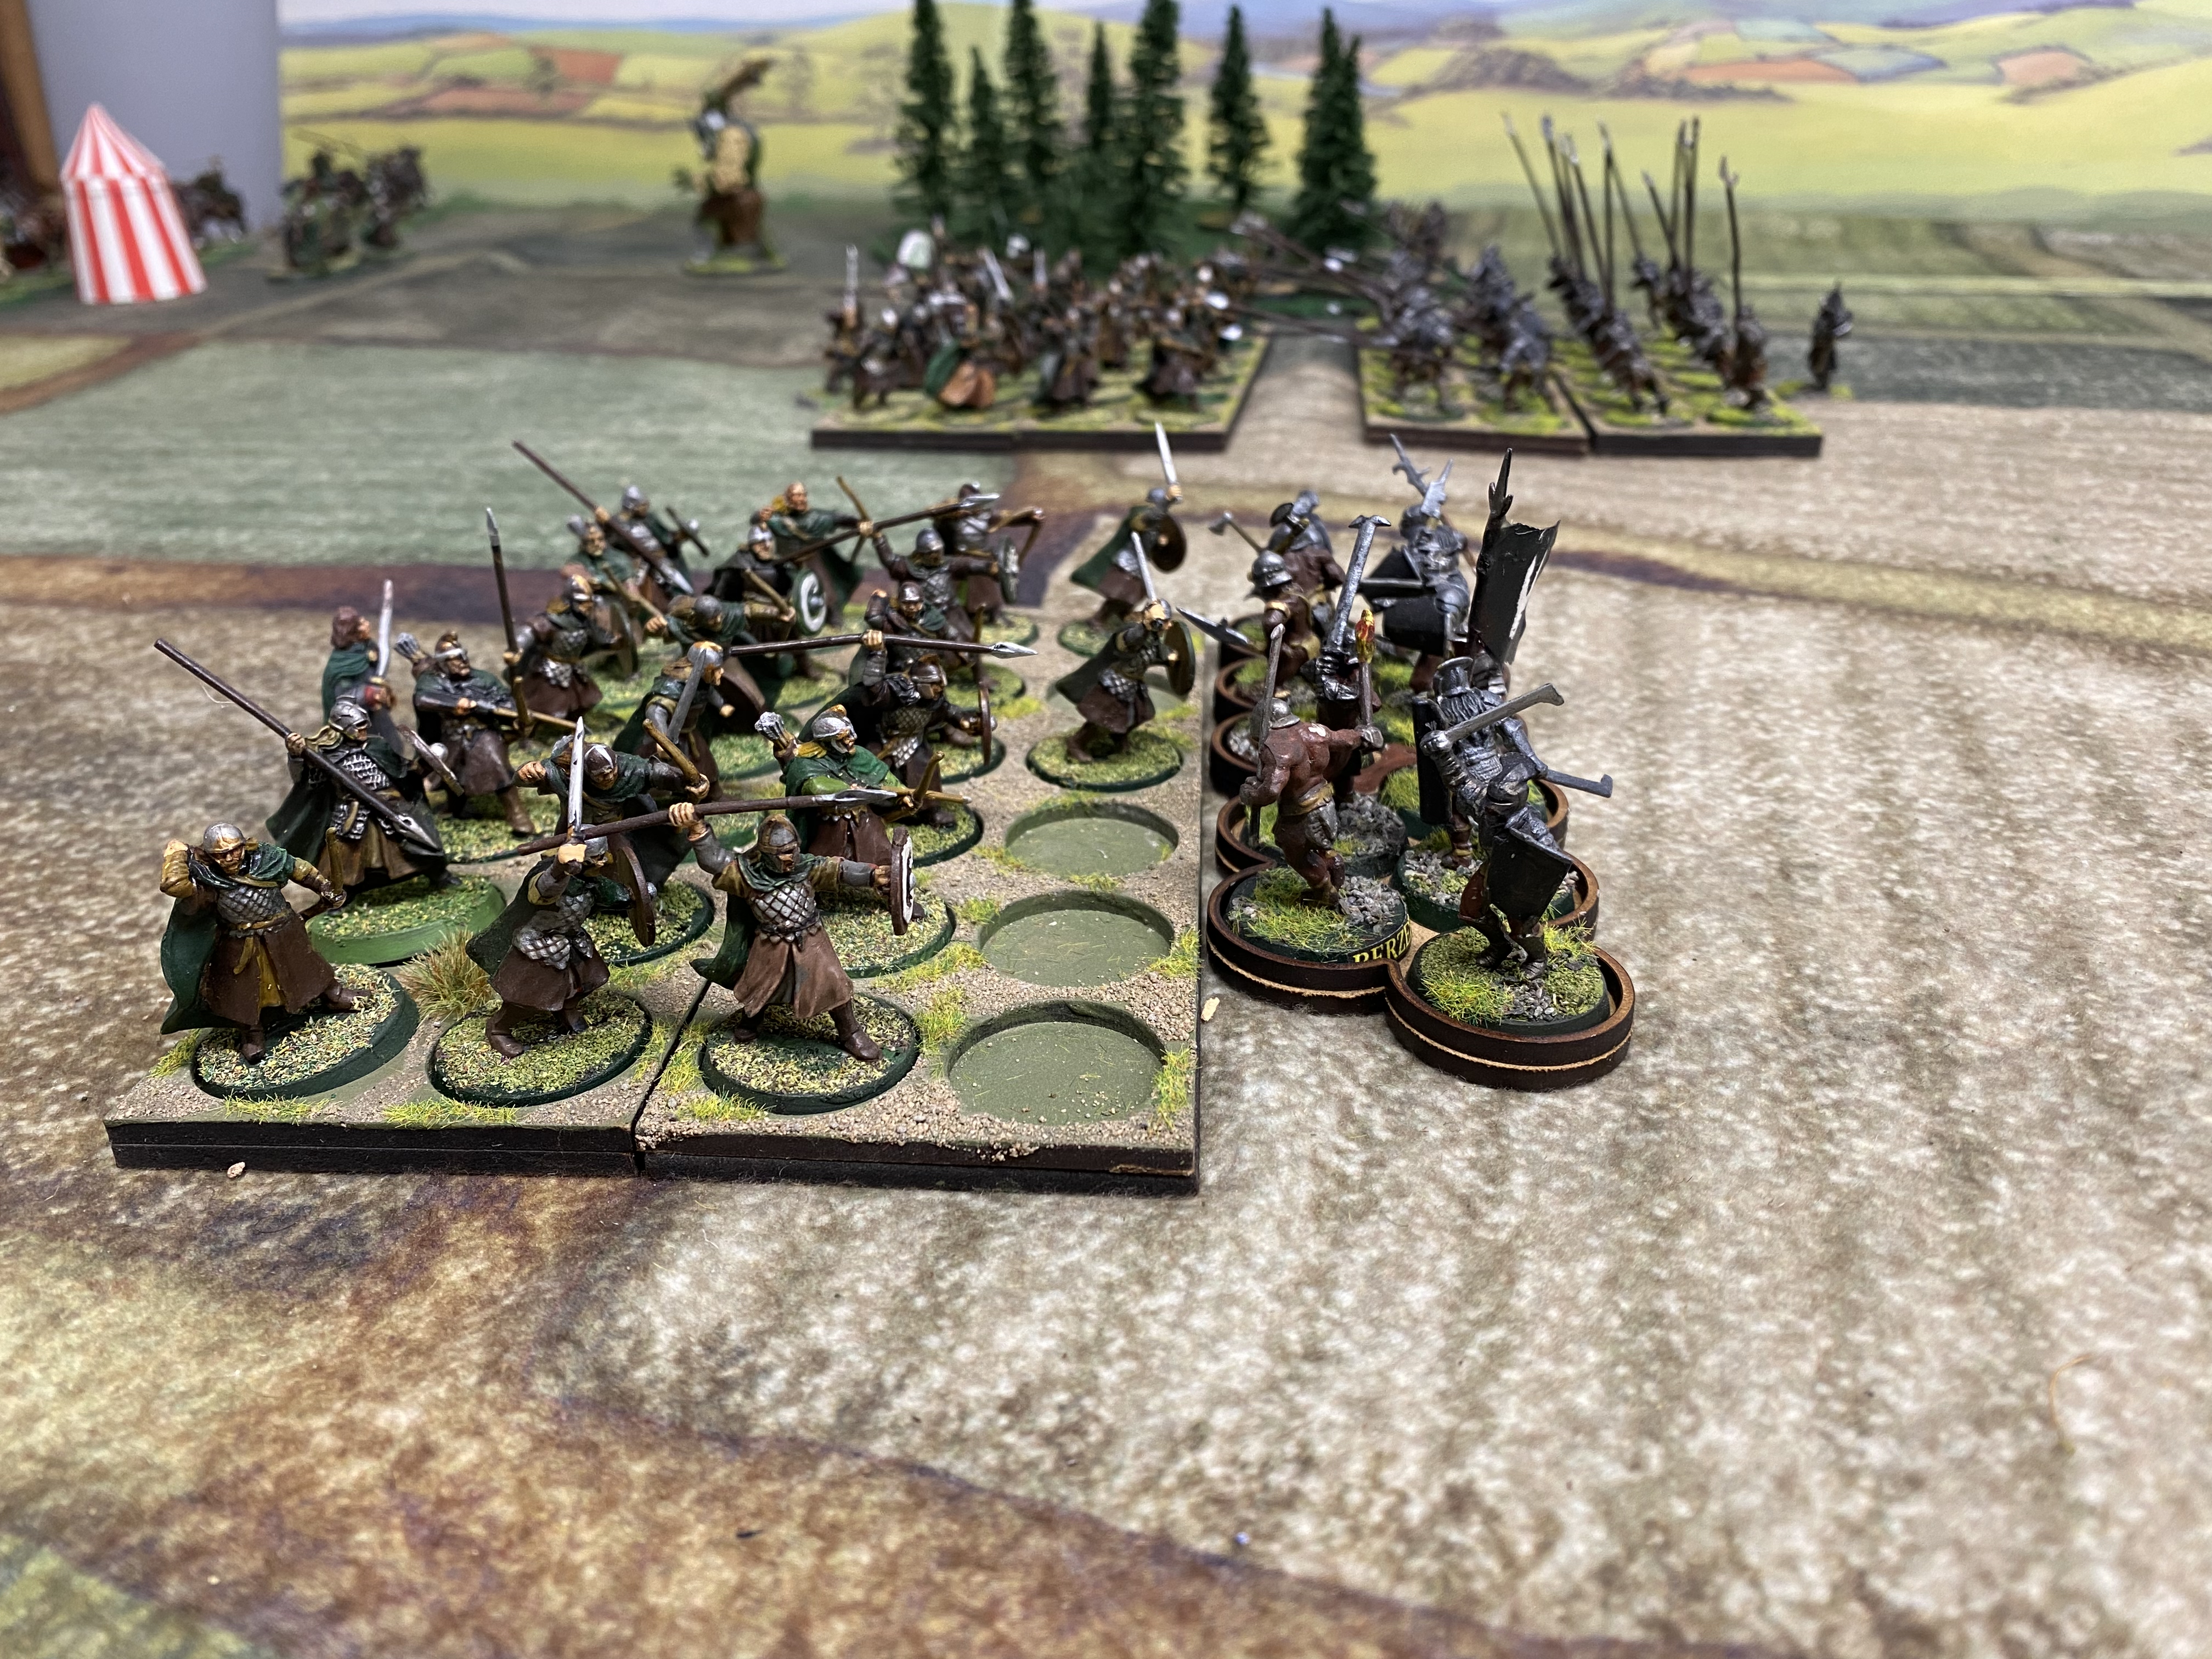
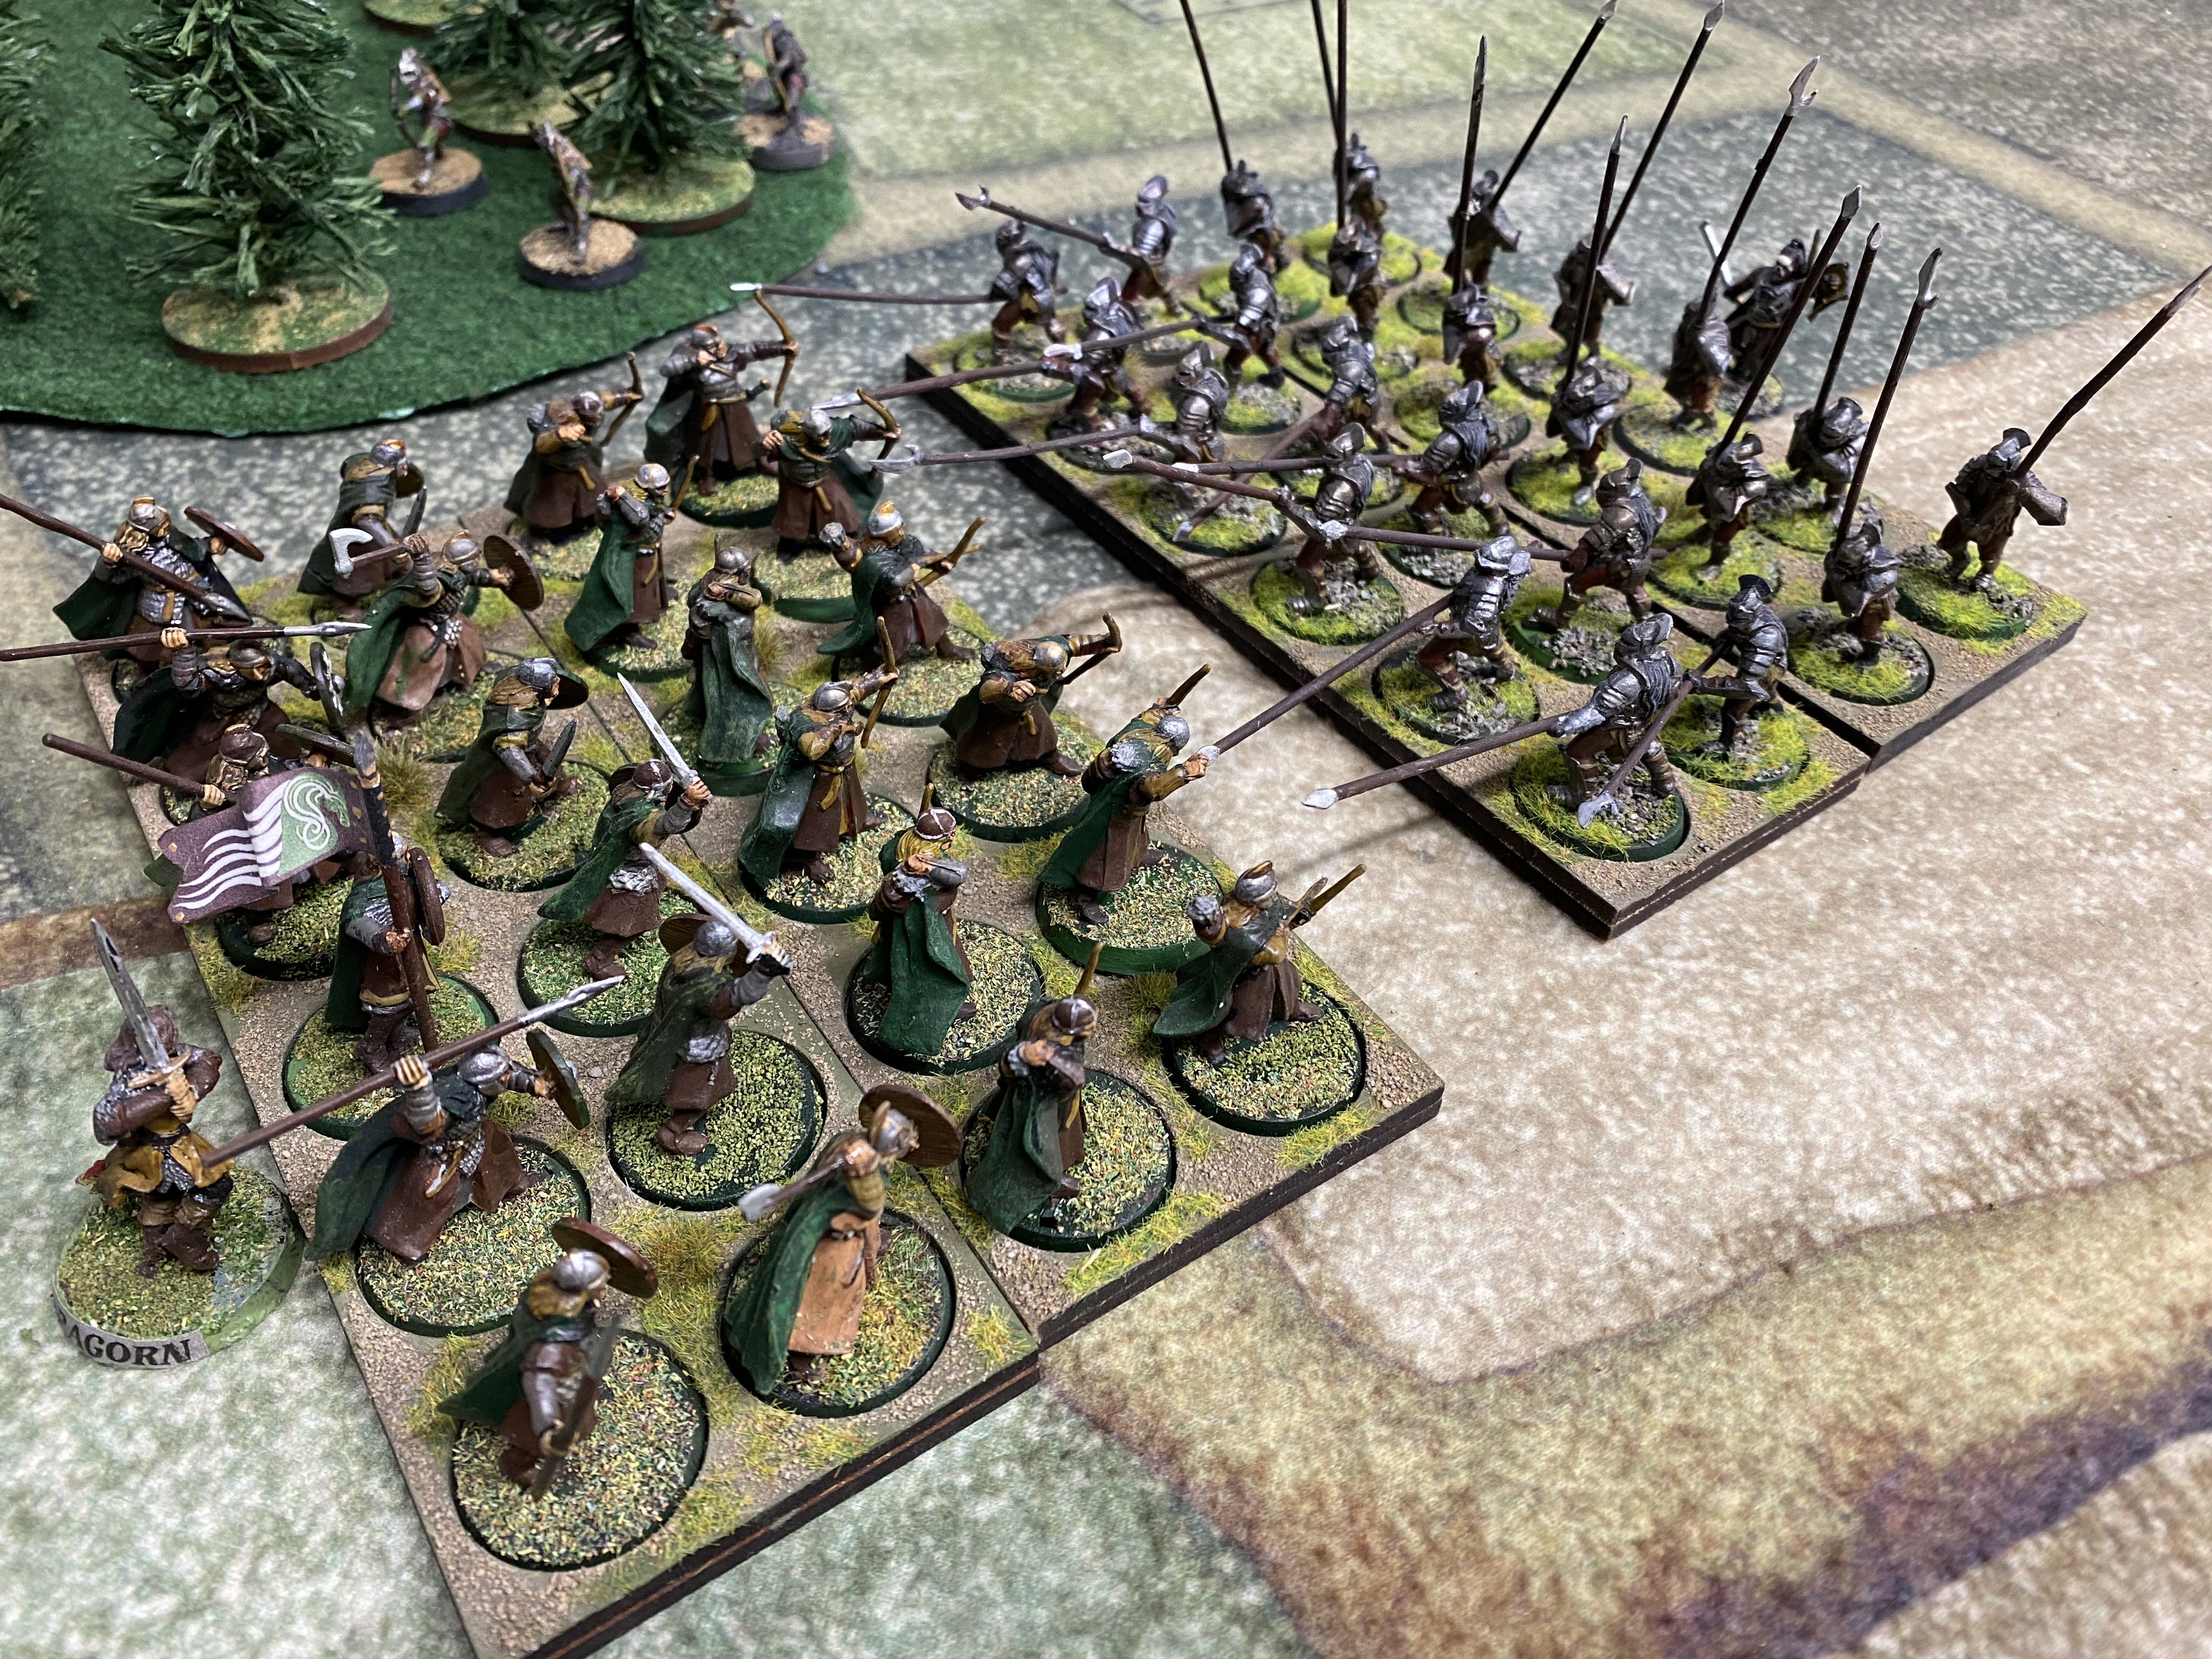
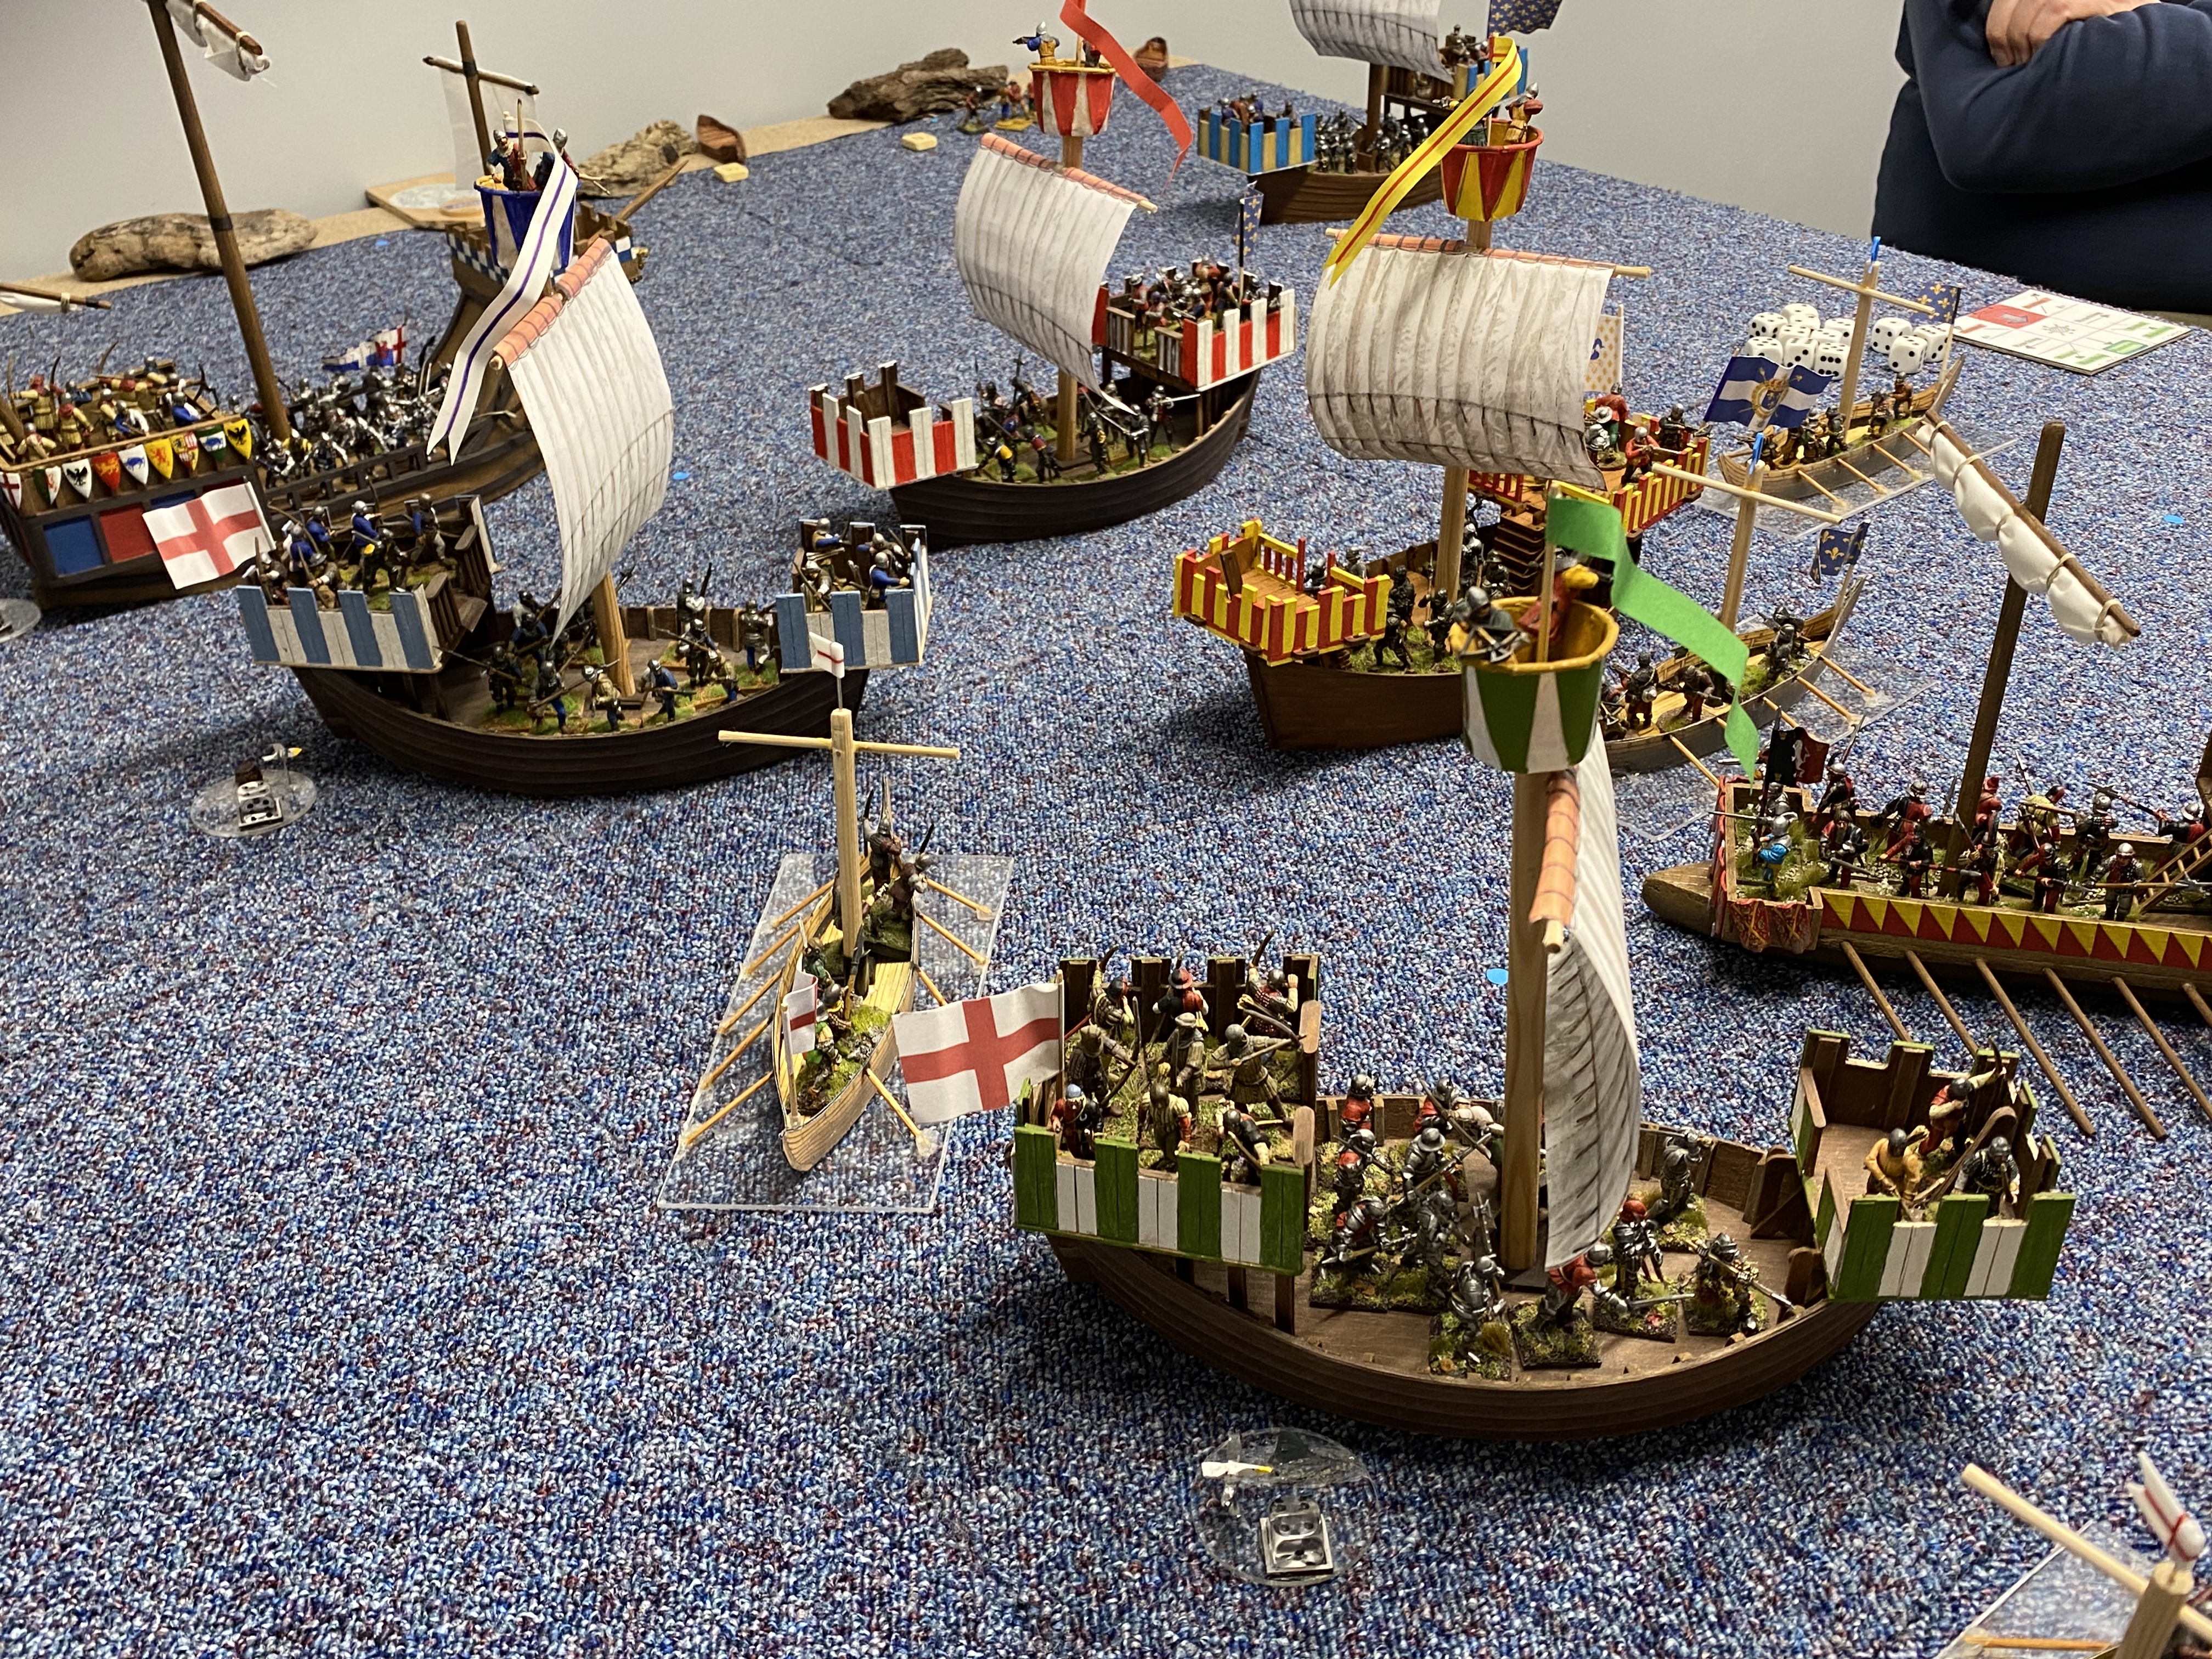
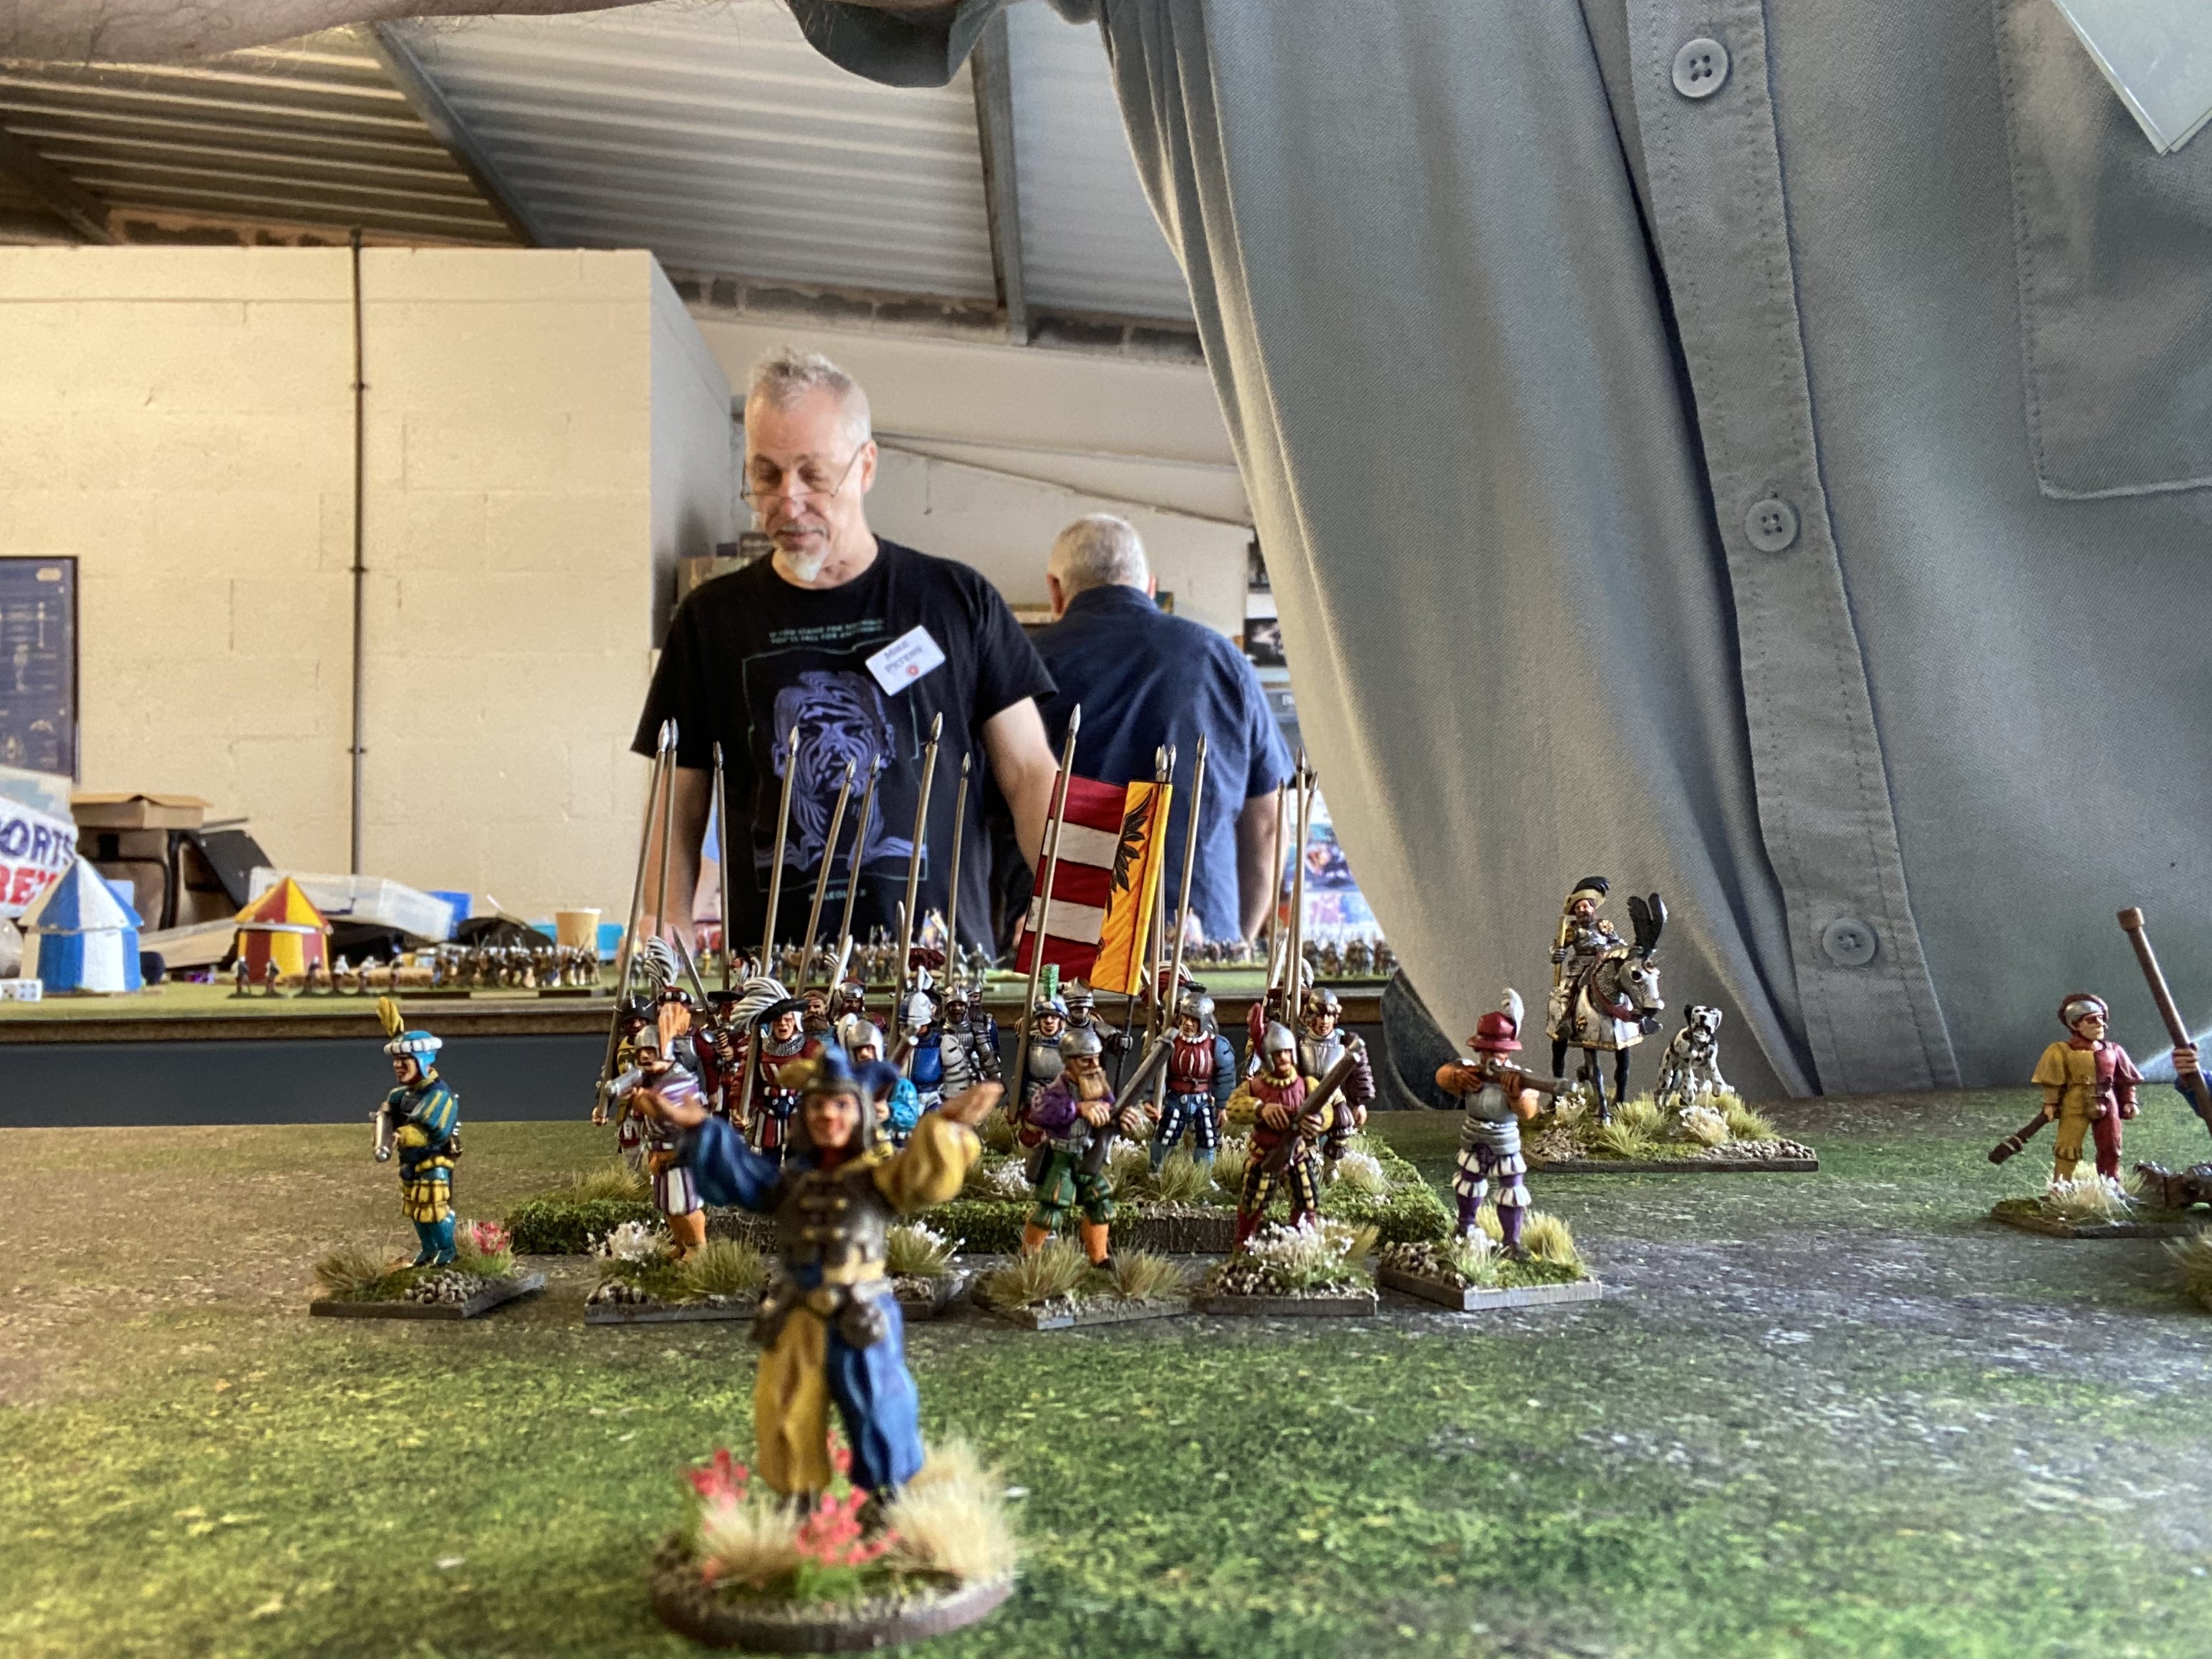
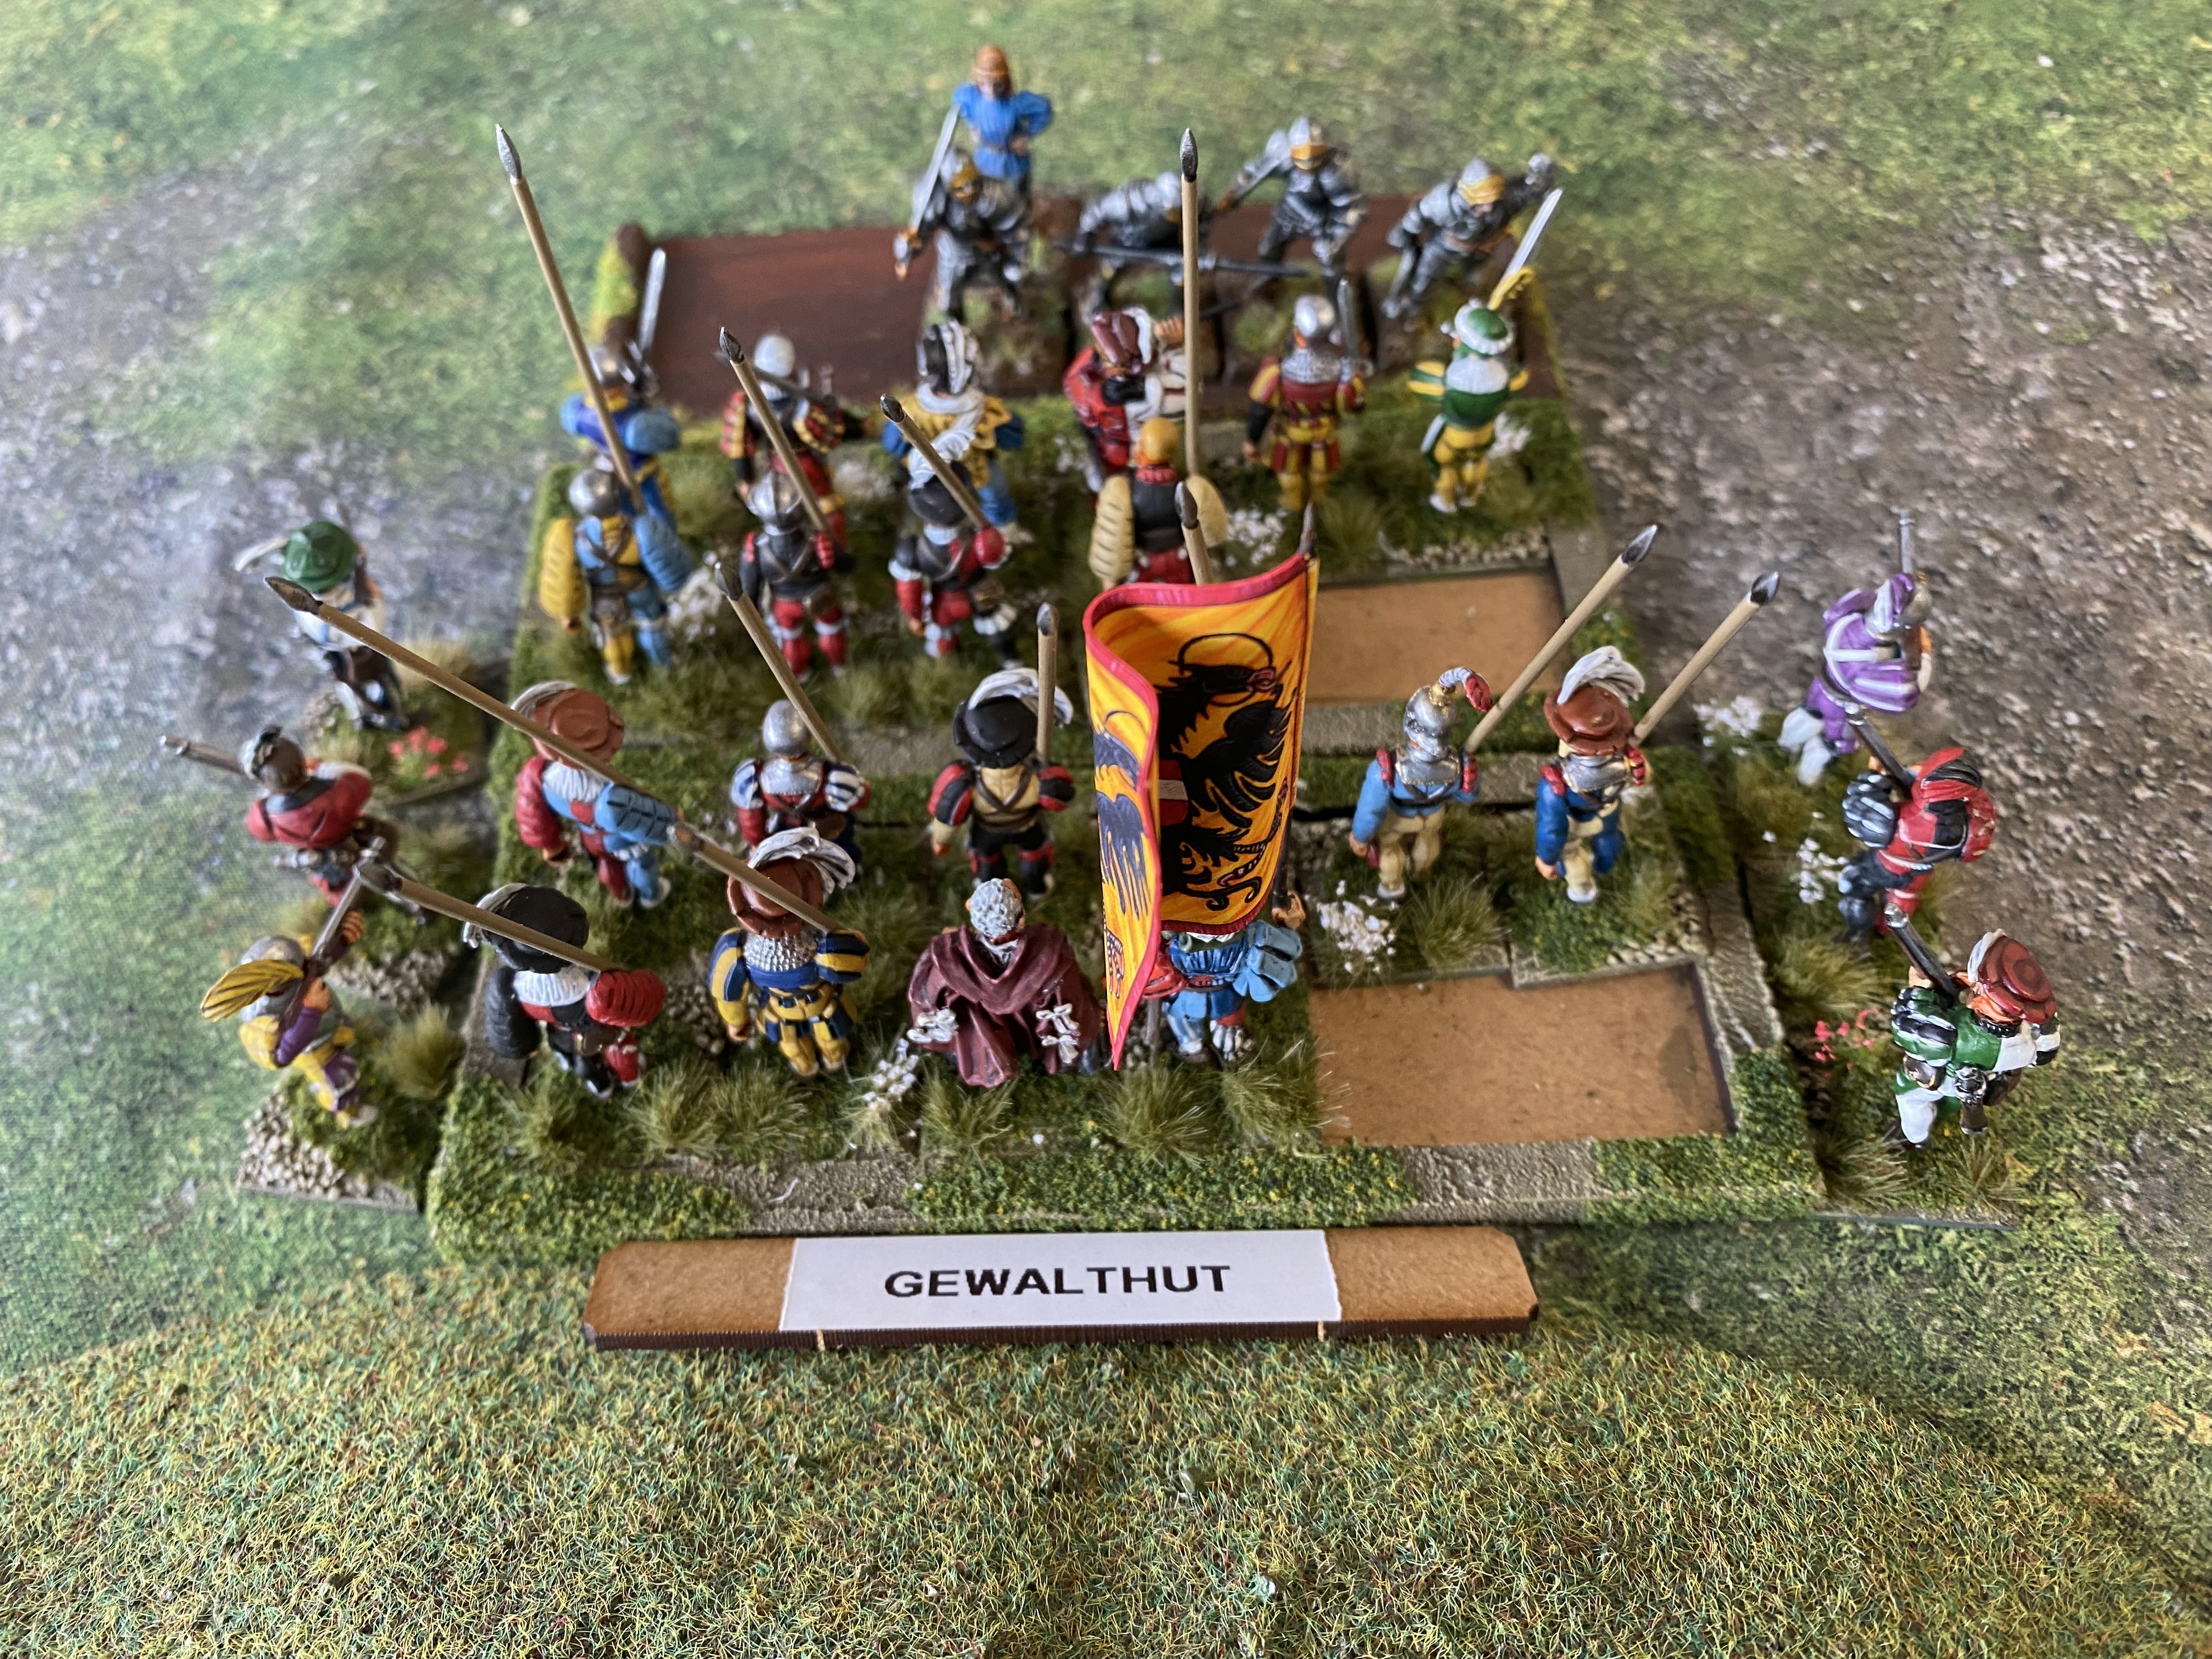
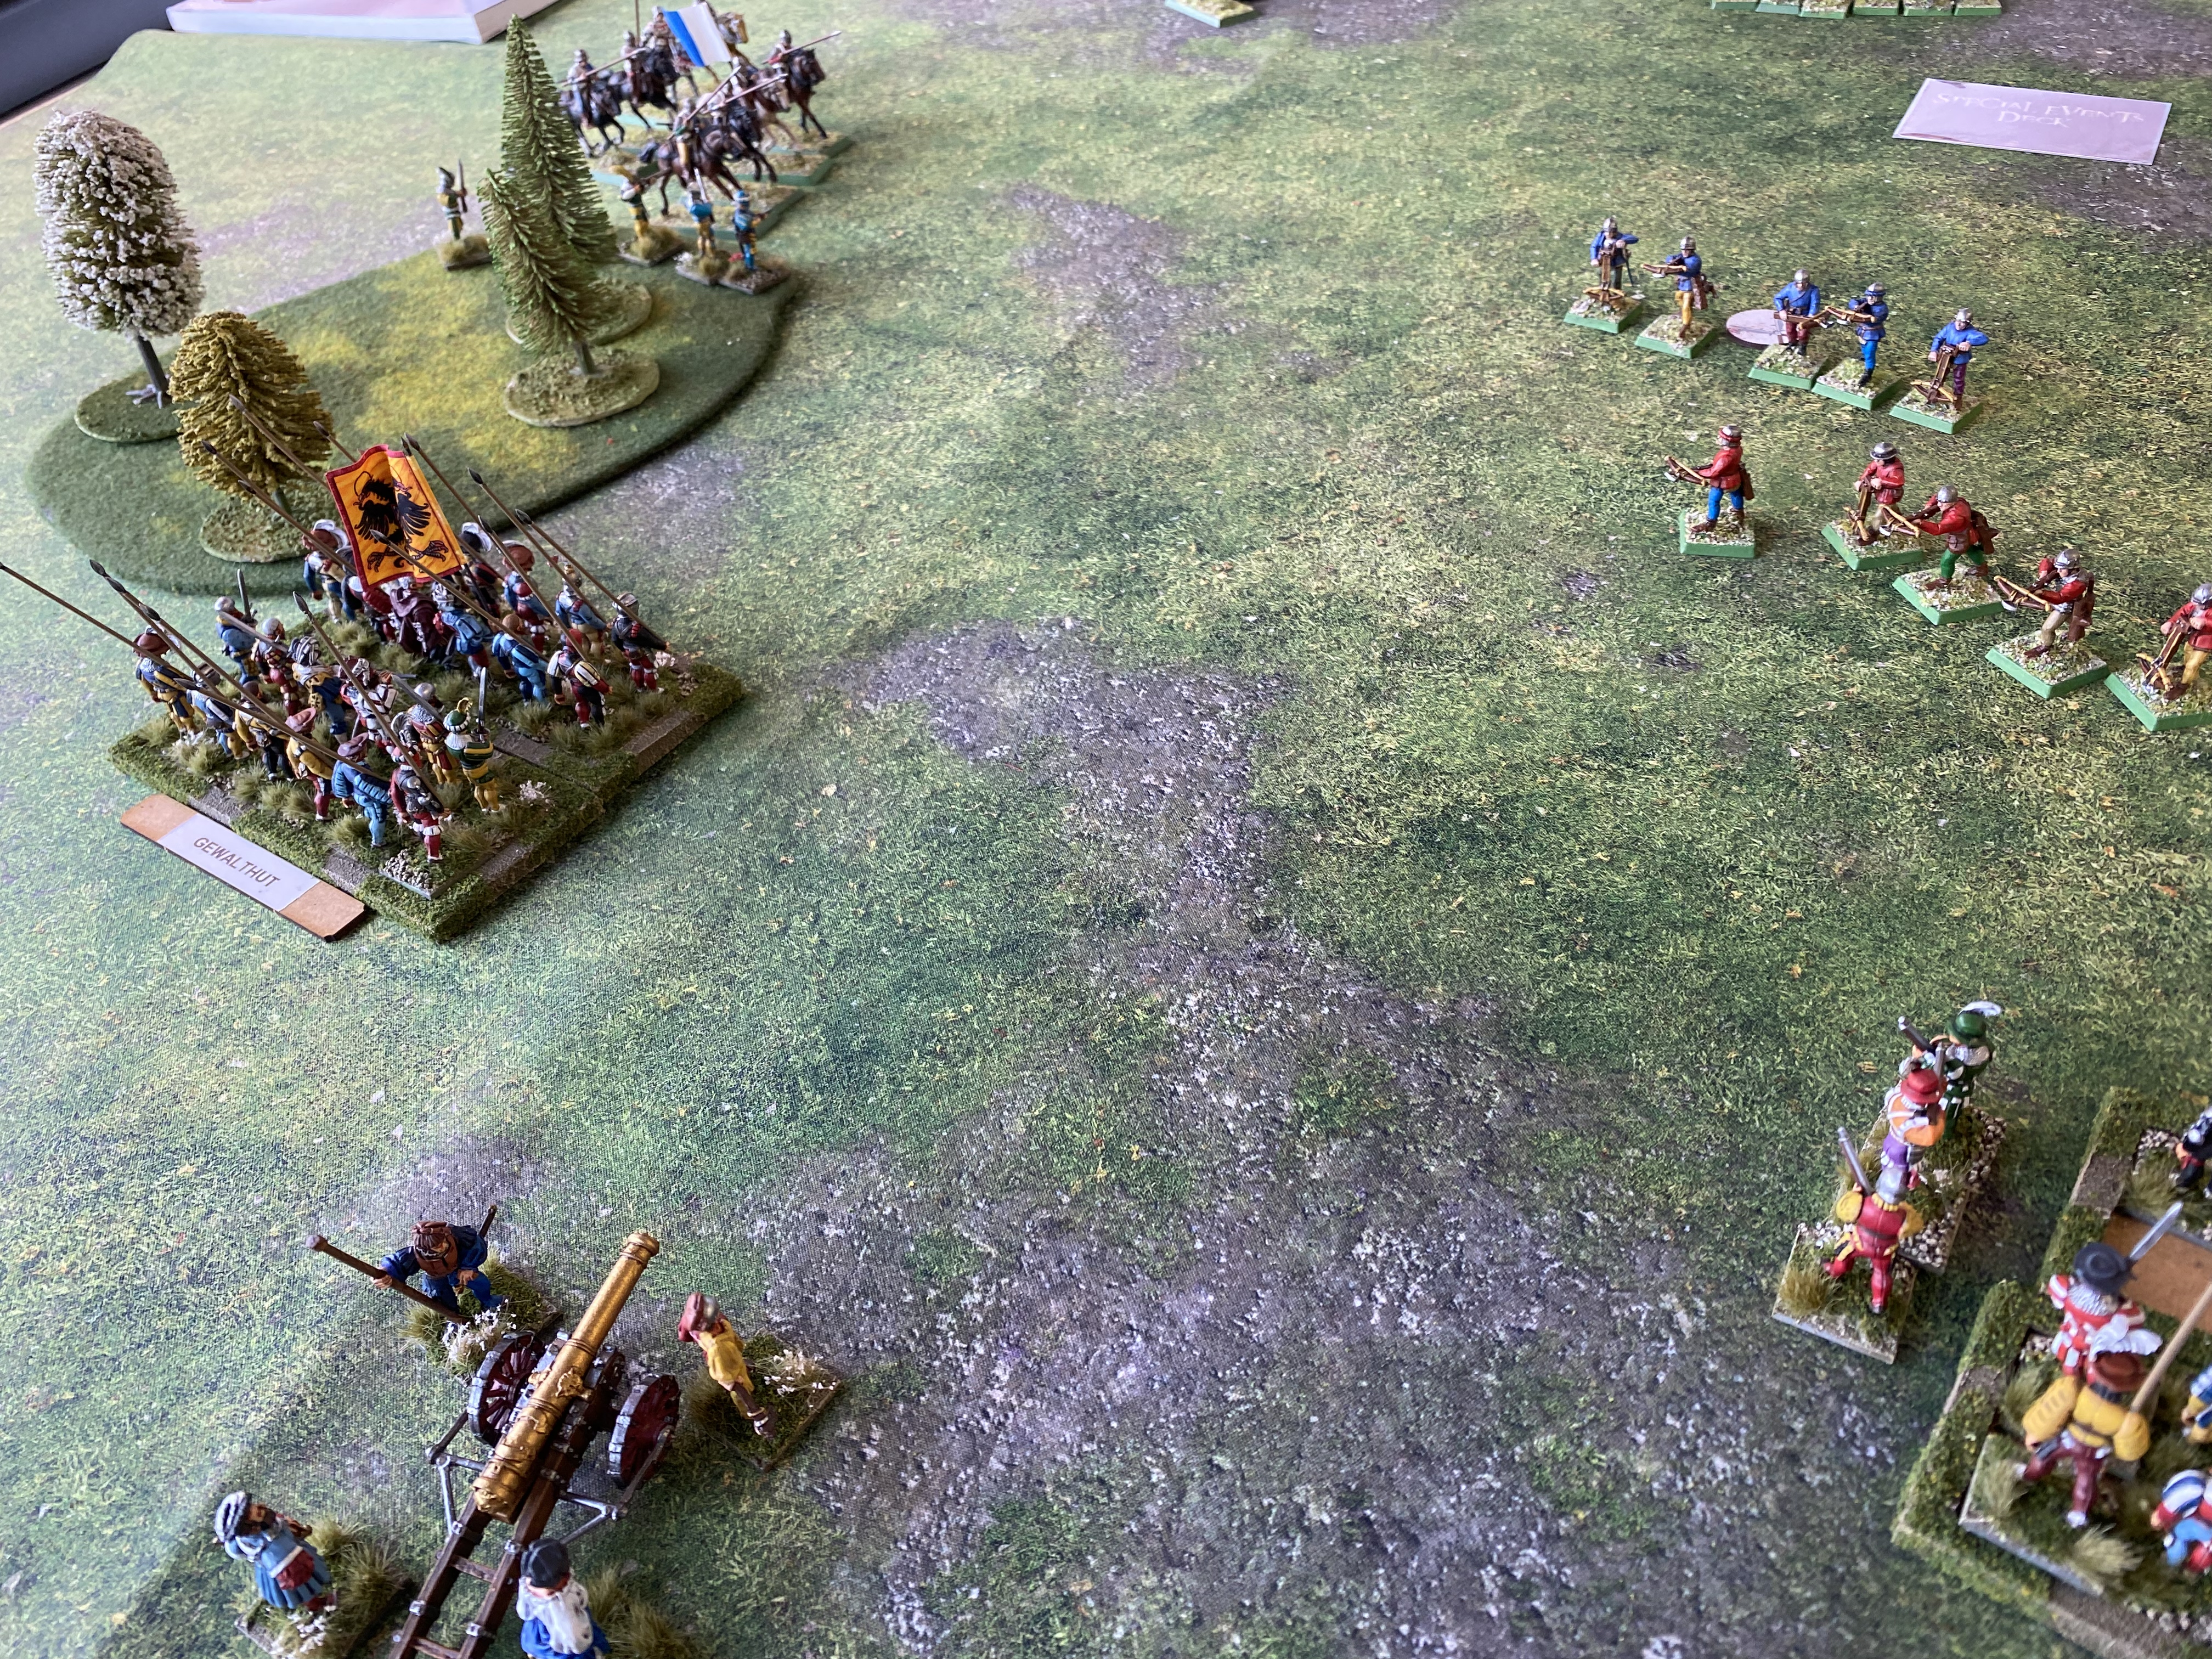
My Landsknecht force consisted of three blocks of 24 pikes, each with an accompanying band of six gunsmen. As each block is activated by it’s own card, I only had one army commander, Heinrich Kane, who’s main task was to undaunt any units in trouble or to issue orders to any unit that needed to react quickly to unfolding danger. As well as the troops, I had two Artillery pieces and a unit of light cavalry with their own leader.
This gave me 7 Army morale tokens, which sounds good but losing just two pike blocks would cost me 8 morale tokens. If that sounds unlikely, bear in mind that only the army commander can ‘undaunt’ a unit so if a block ‘daunts’ in combat it will split and the commander, assuming he is available, will have his hands full trying to rally the units. However, the upside is that the Army will have 5 commander cards plus the skirmishers and so plenty of opportunity and flexibility to move during the game.
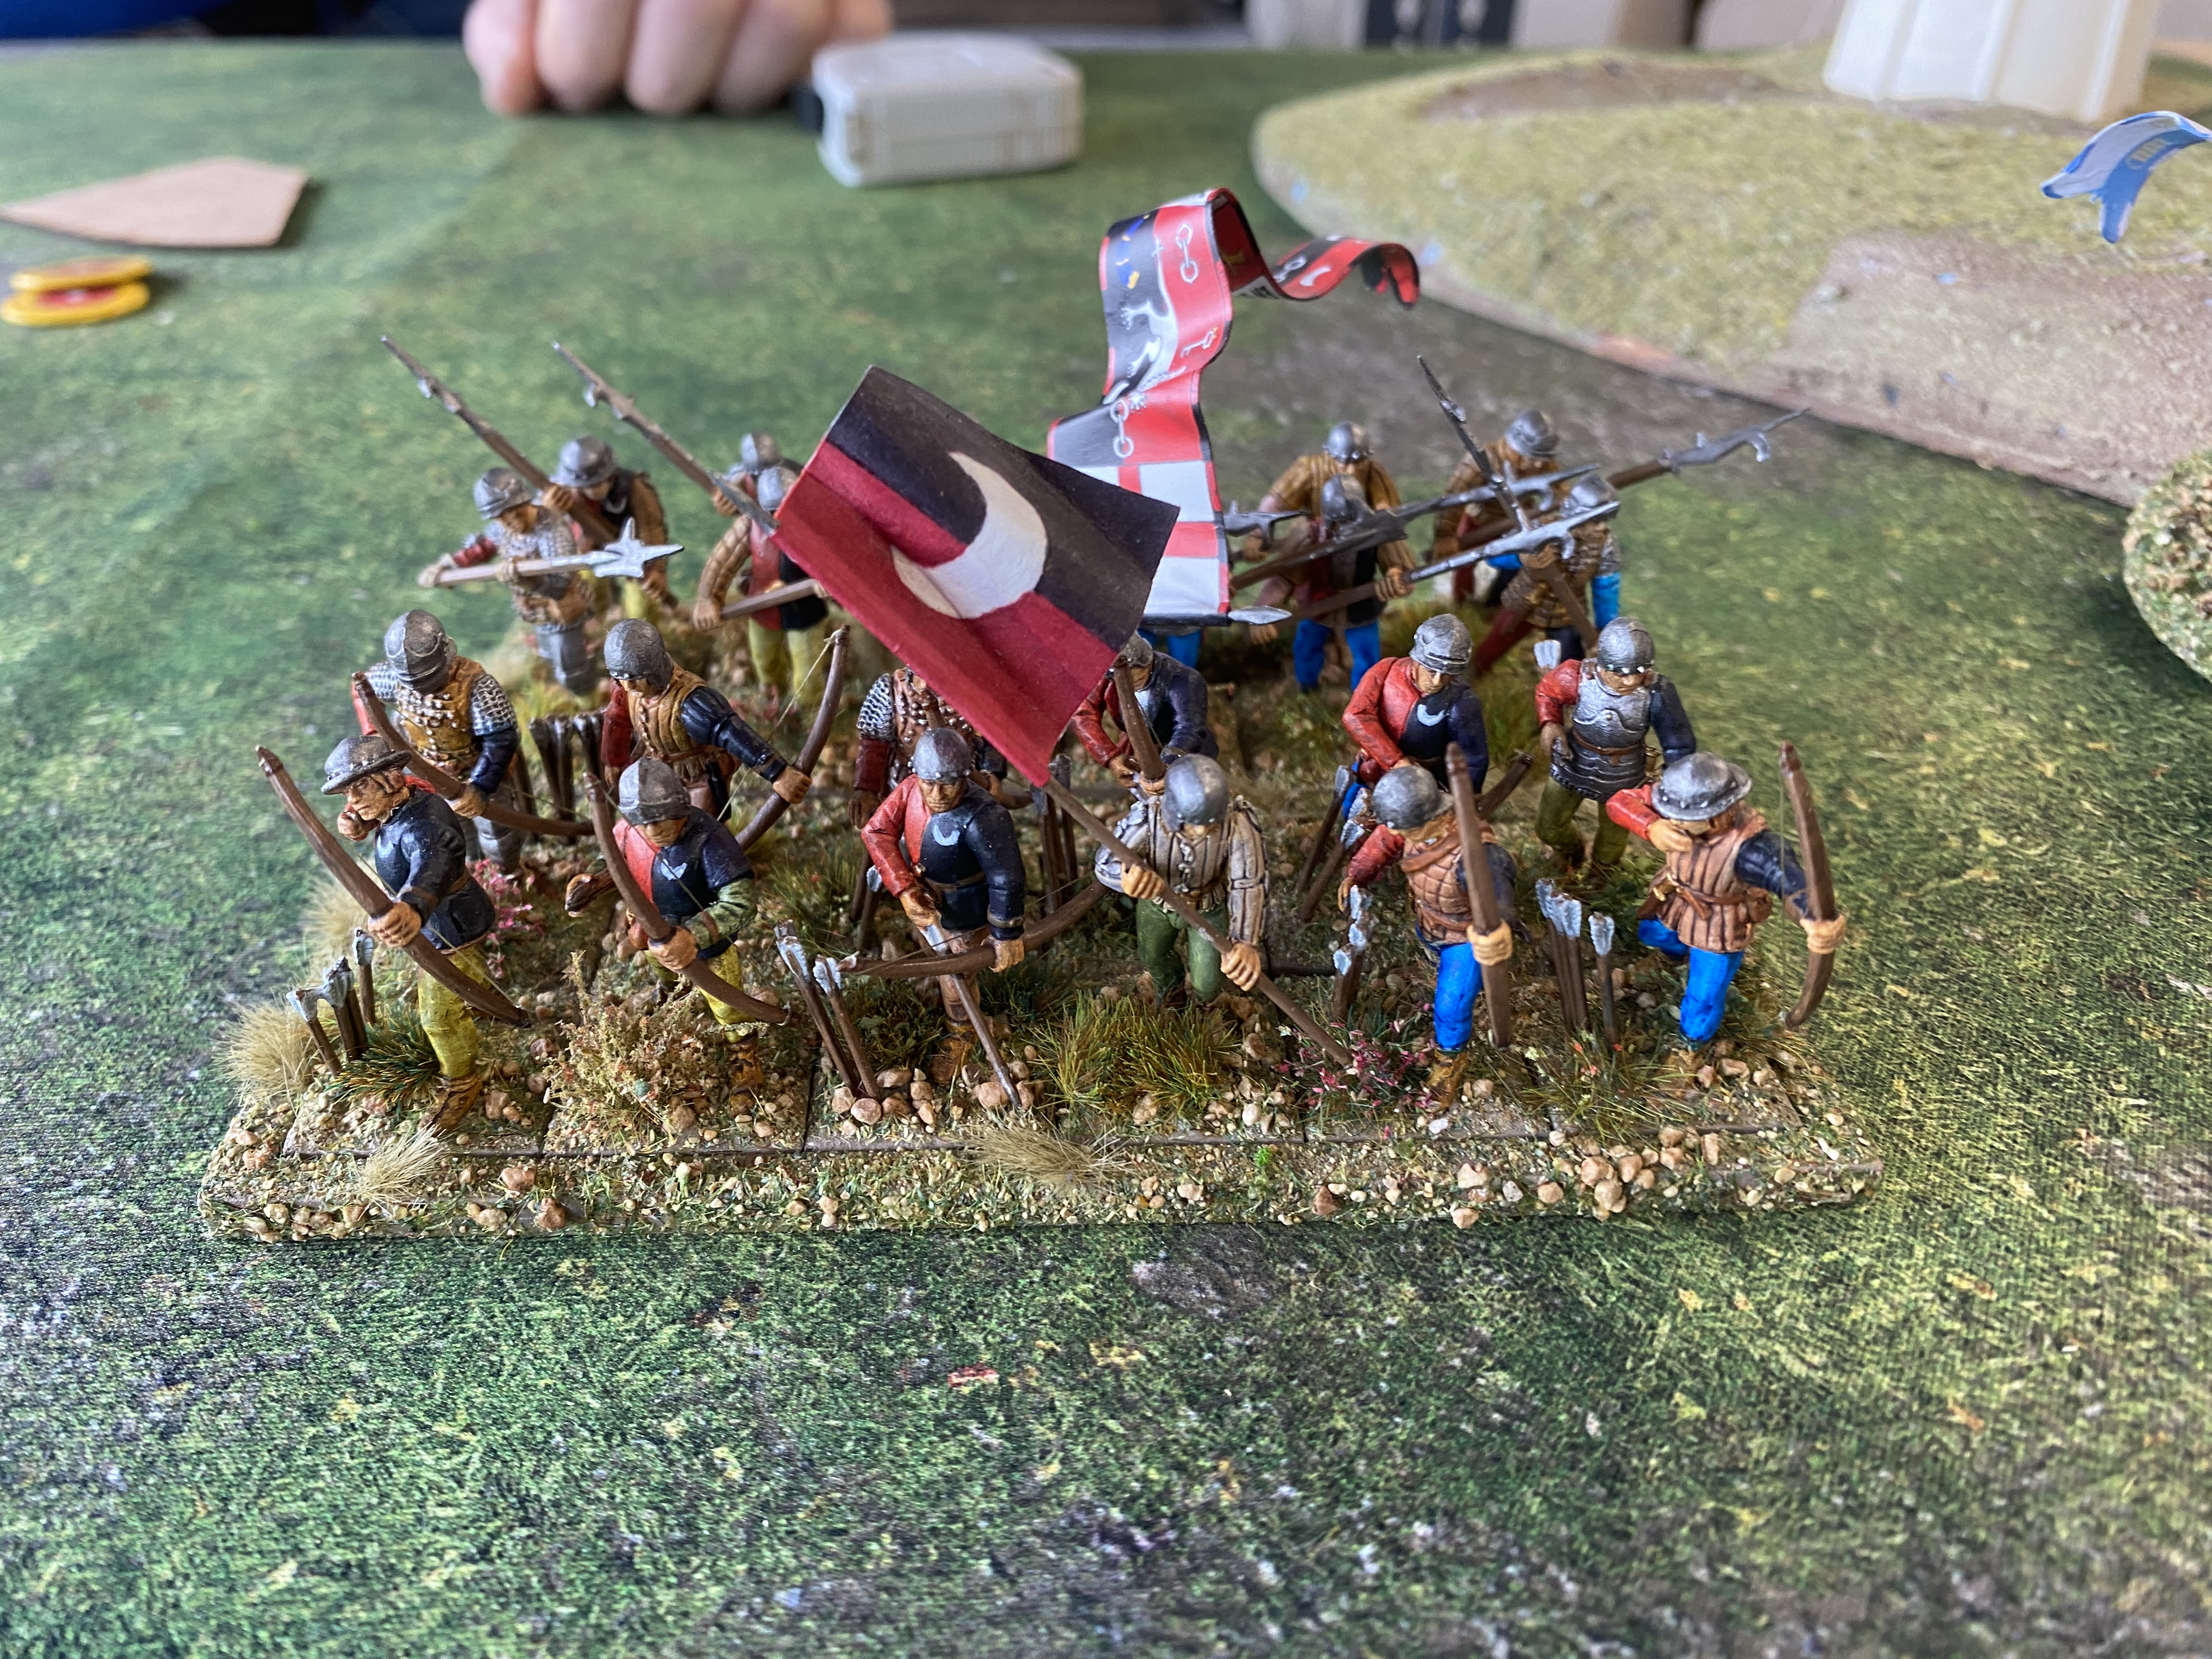
The other issue with Landsknechts in the game is their lack of fire power compared to some armies and that they will only save on a 5 or a 6 when shot at. As a pike block, they will also take an extra casualty if hit by artillery fire. To offset this, Landsknechts have the attached gunsmen, that can be detached and sent forwards as skirmishers to harass the enemy and tie up their skirmishers (they can’t directly ‘block’ fire from opposition artillery or full units of archers). In addition, they have the ability to spread casualties through the block, making them less likely to require a morale check due to incoming fire and are therefore more durable in combat.

My choice of two artillery pieces might seem extravagant, particularly as artillery seems to have the habit of blowing up in games. Despite this, I believed the odds ( apparently 216 to 1) would make this unlikely and decided that I need something to intimidate the enemy and inflict casualties at range. This proved to be a double edged sword as I will explain below!
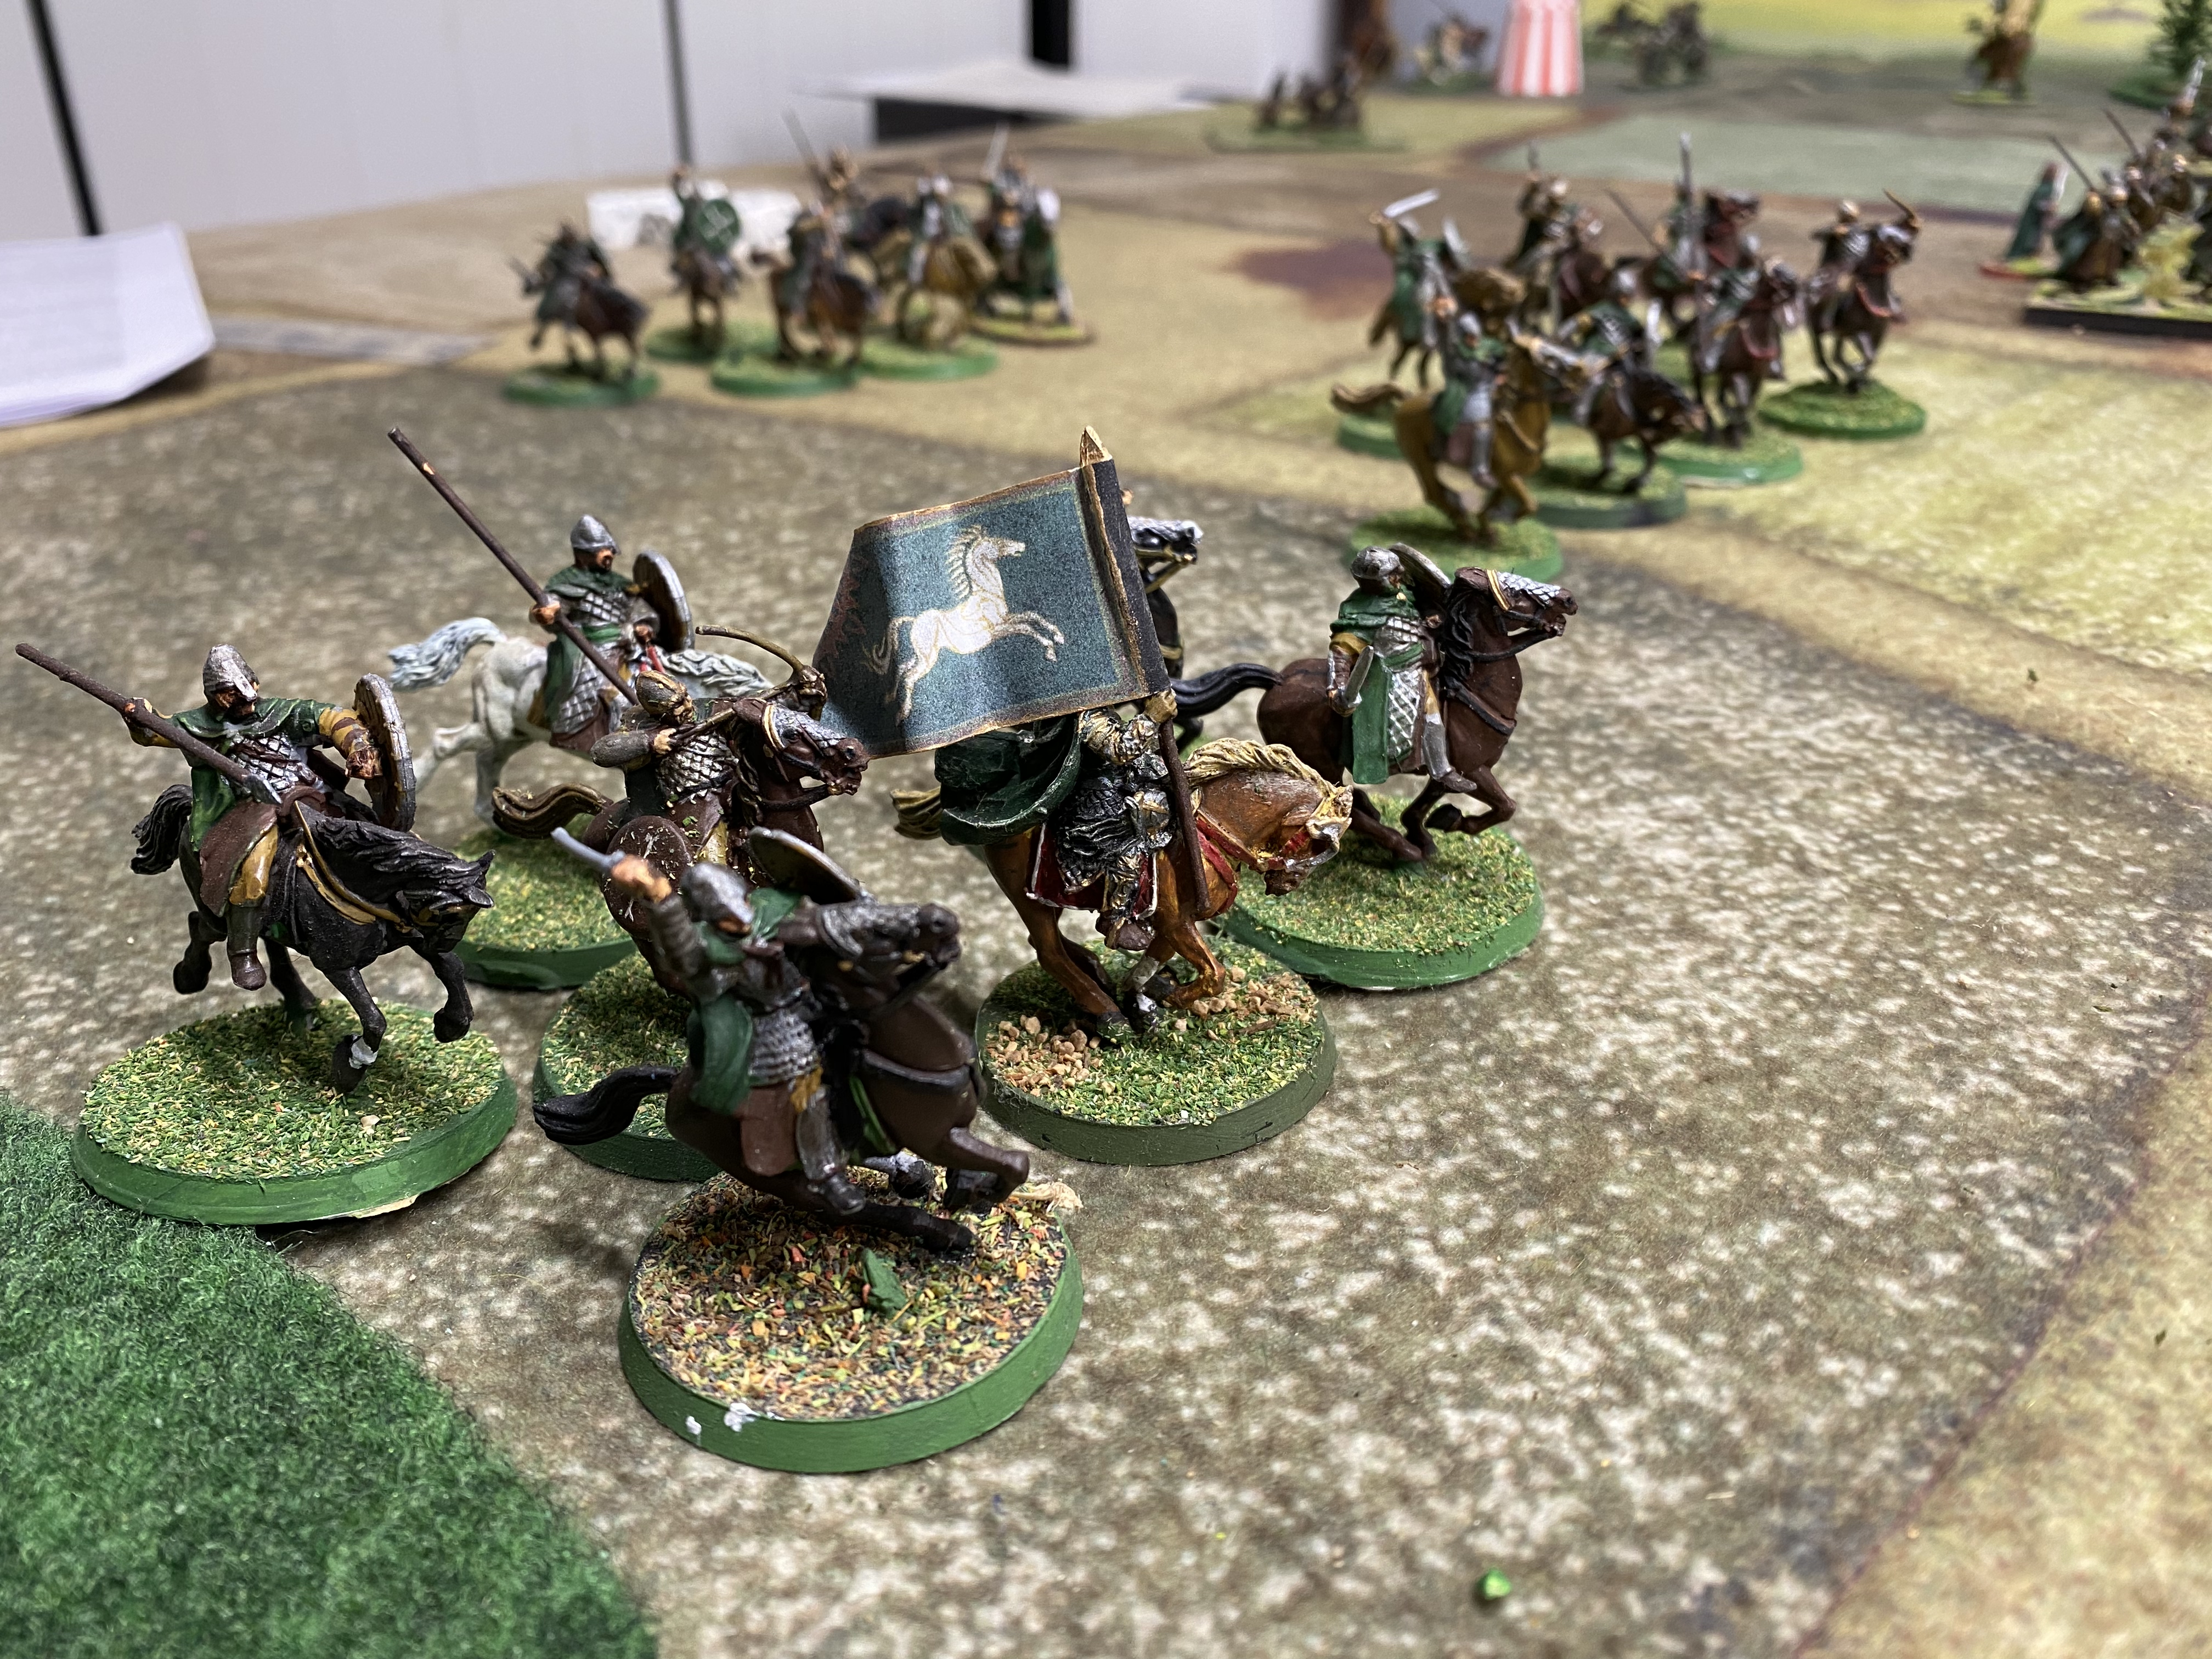
My final unit was a Light cavalry squadron. I will be changing these to Stradiots in the future – any excuse to buy some more toys….but for now they were a mercenary band of Welsh Cavalry led by Owen FitzTudor! I think that light cavalry are a valuable addition to any army. They can be brittle – a couple of lucky fusilades from skirmishers can see them off but they have the advantage of mobility and of course can get around the flanks of an army and cause mayhem.
And so to battle.
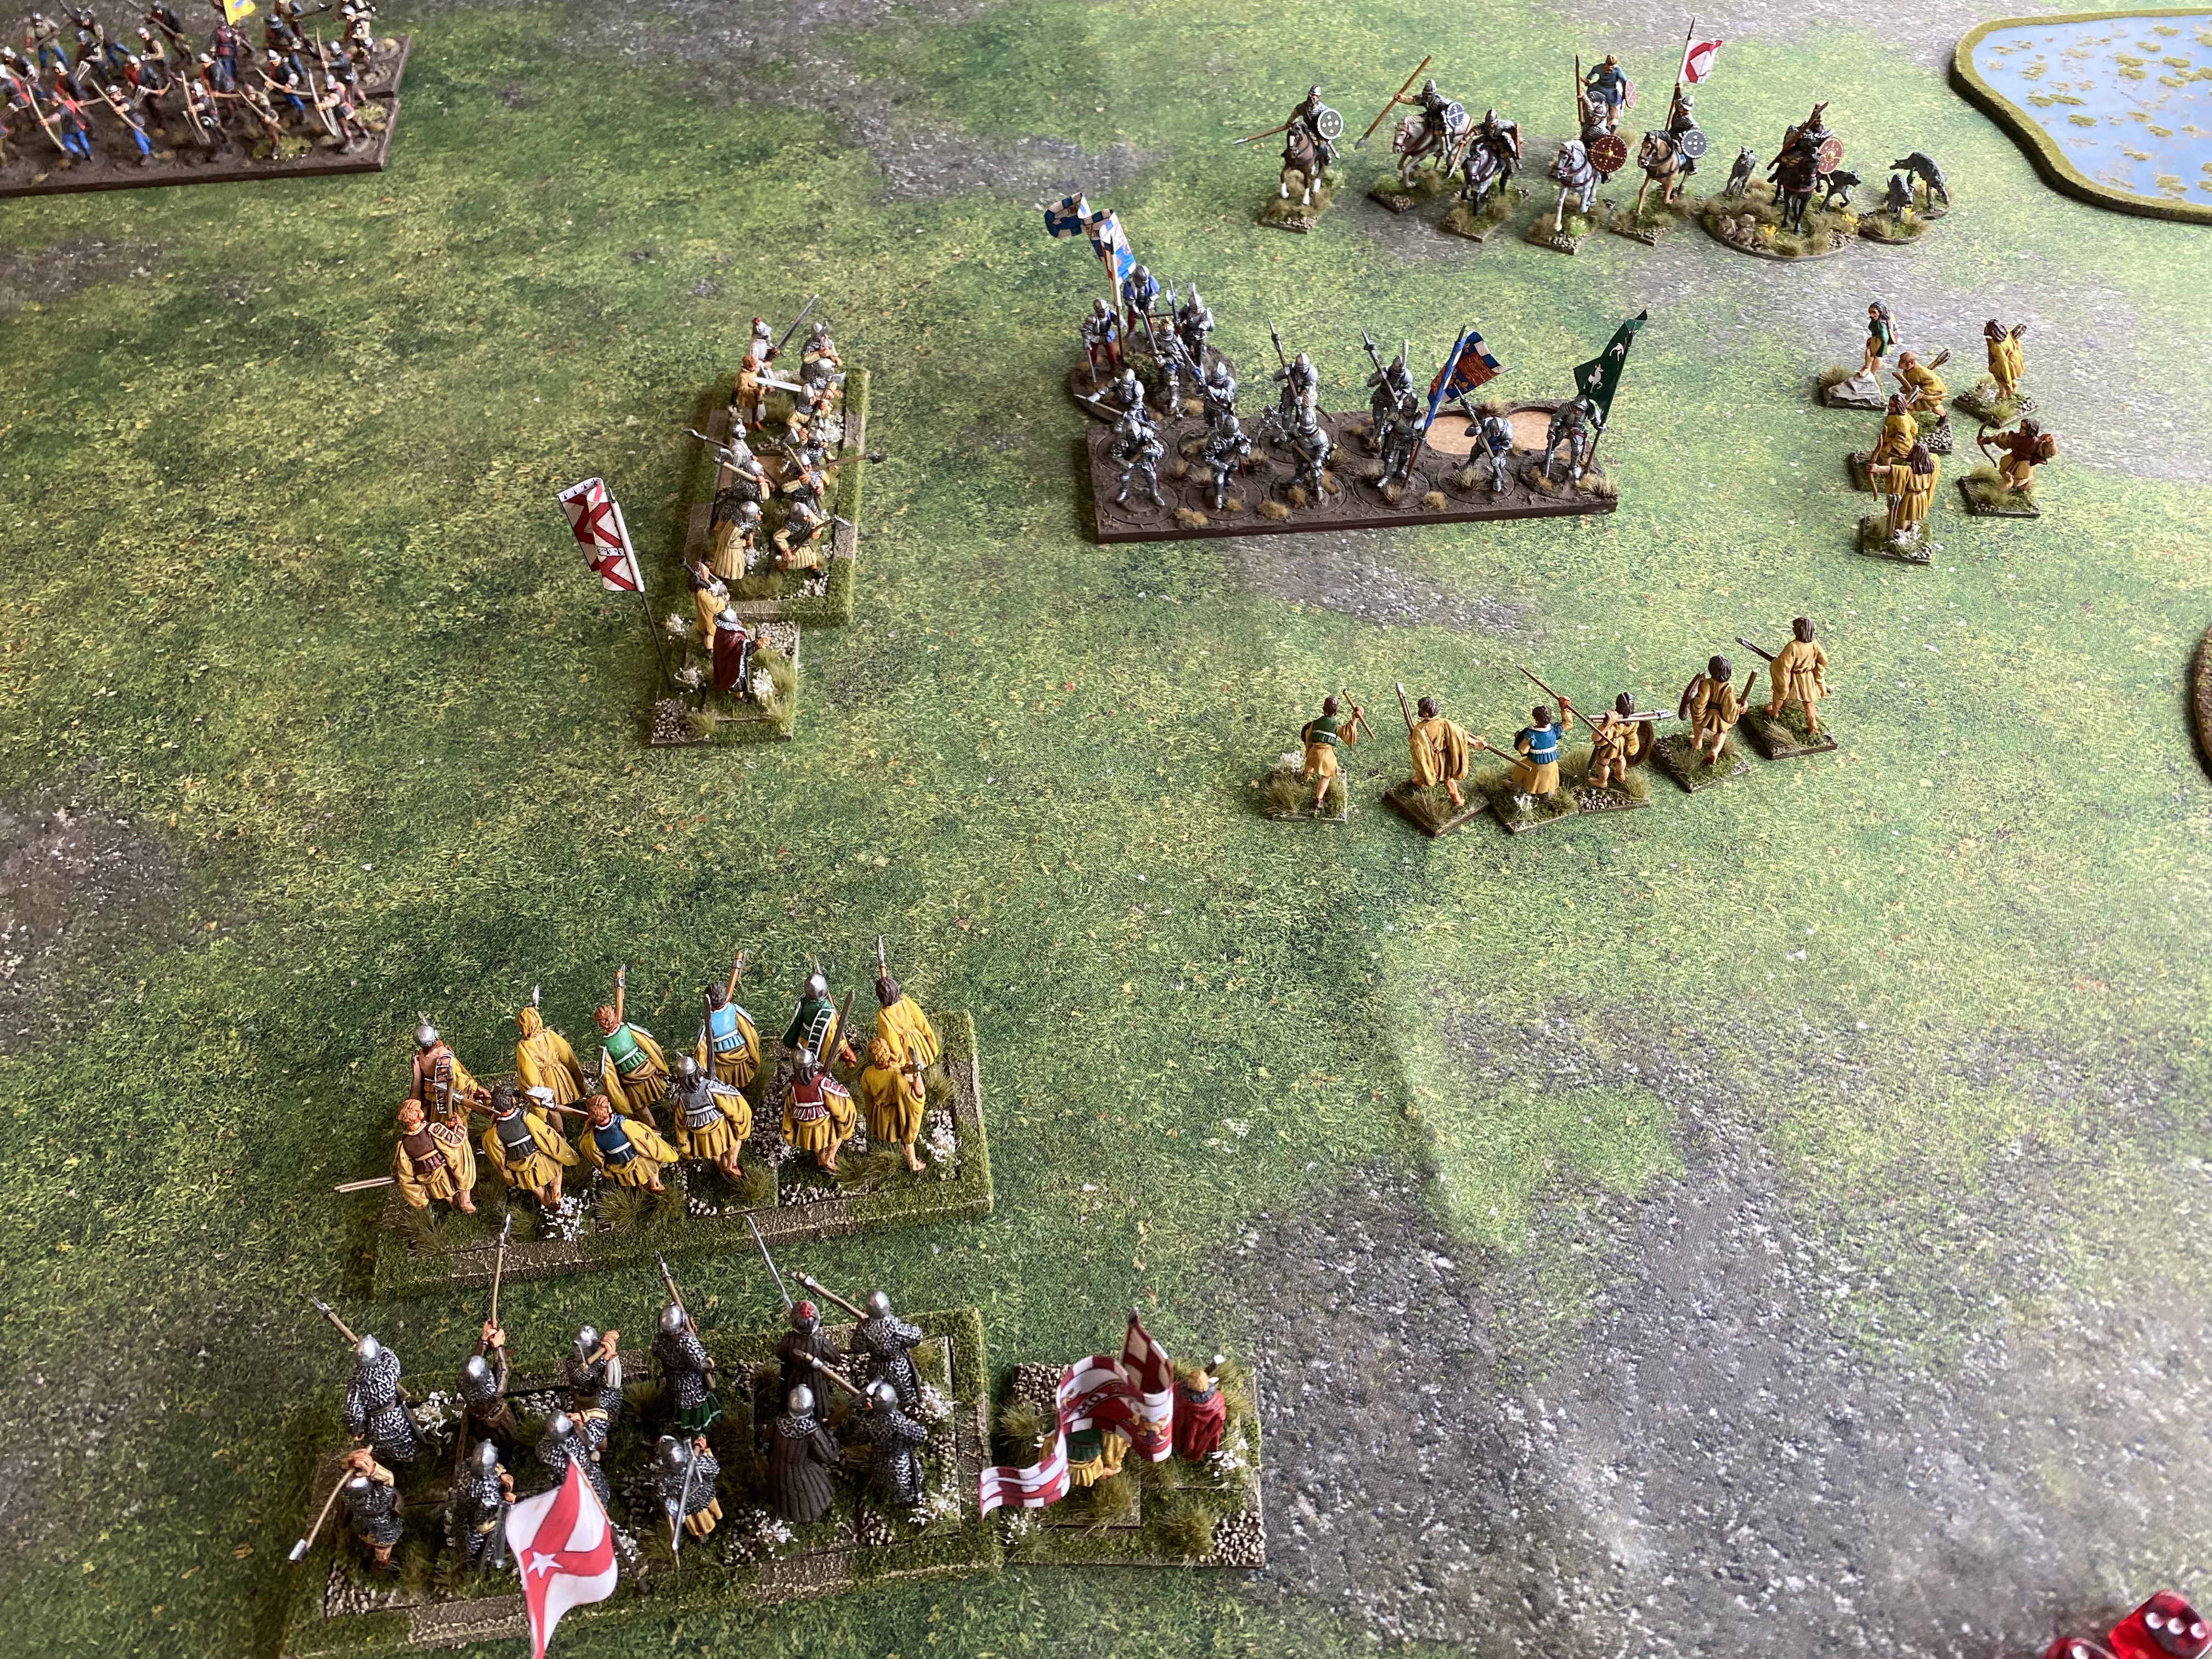
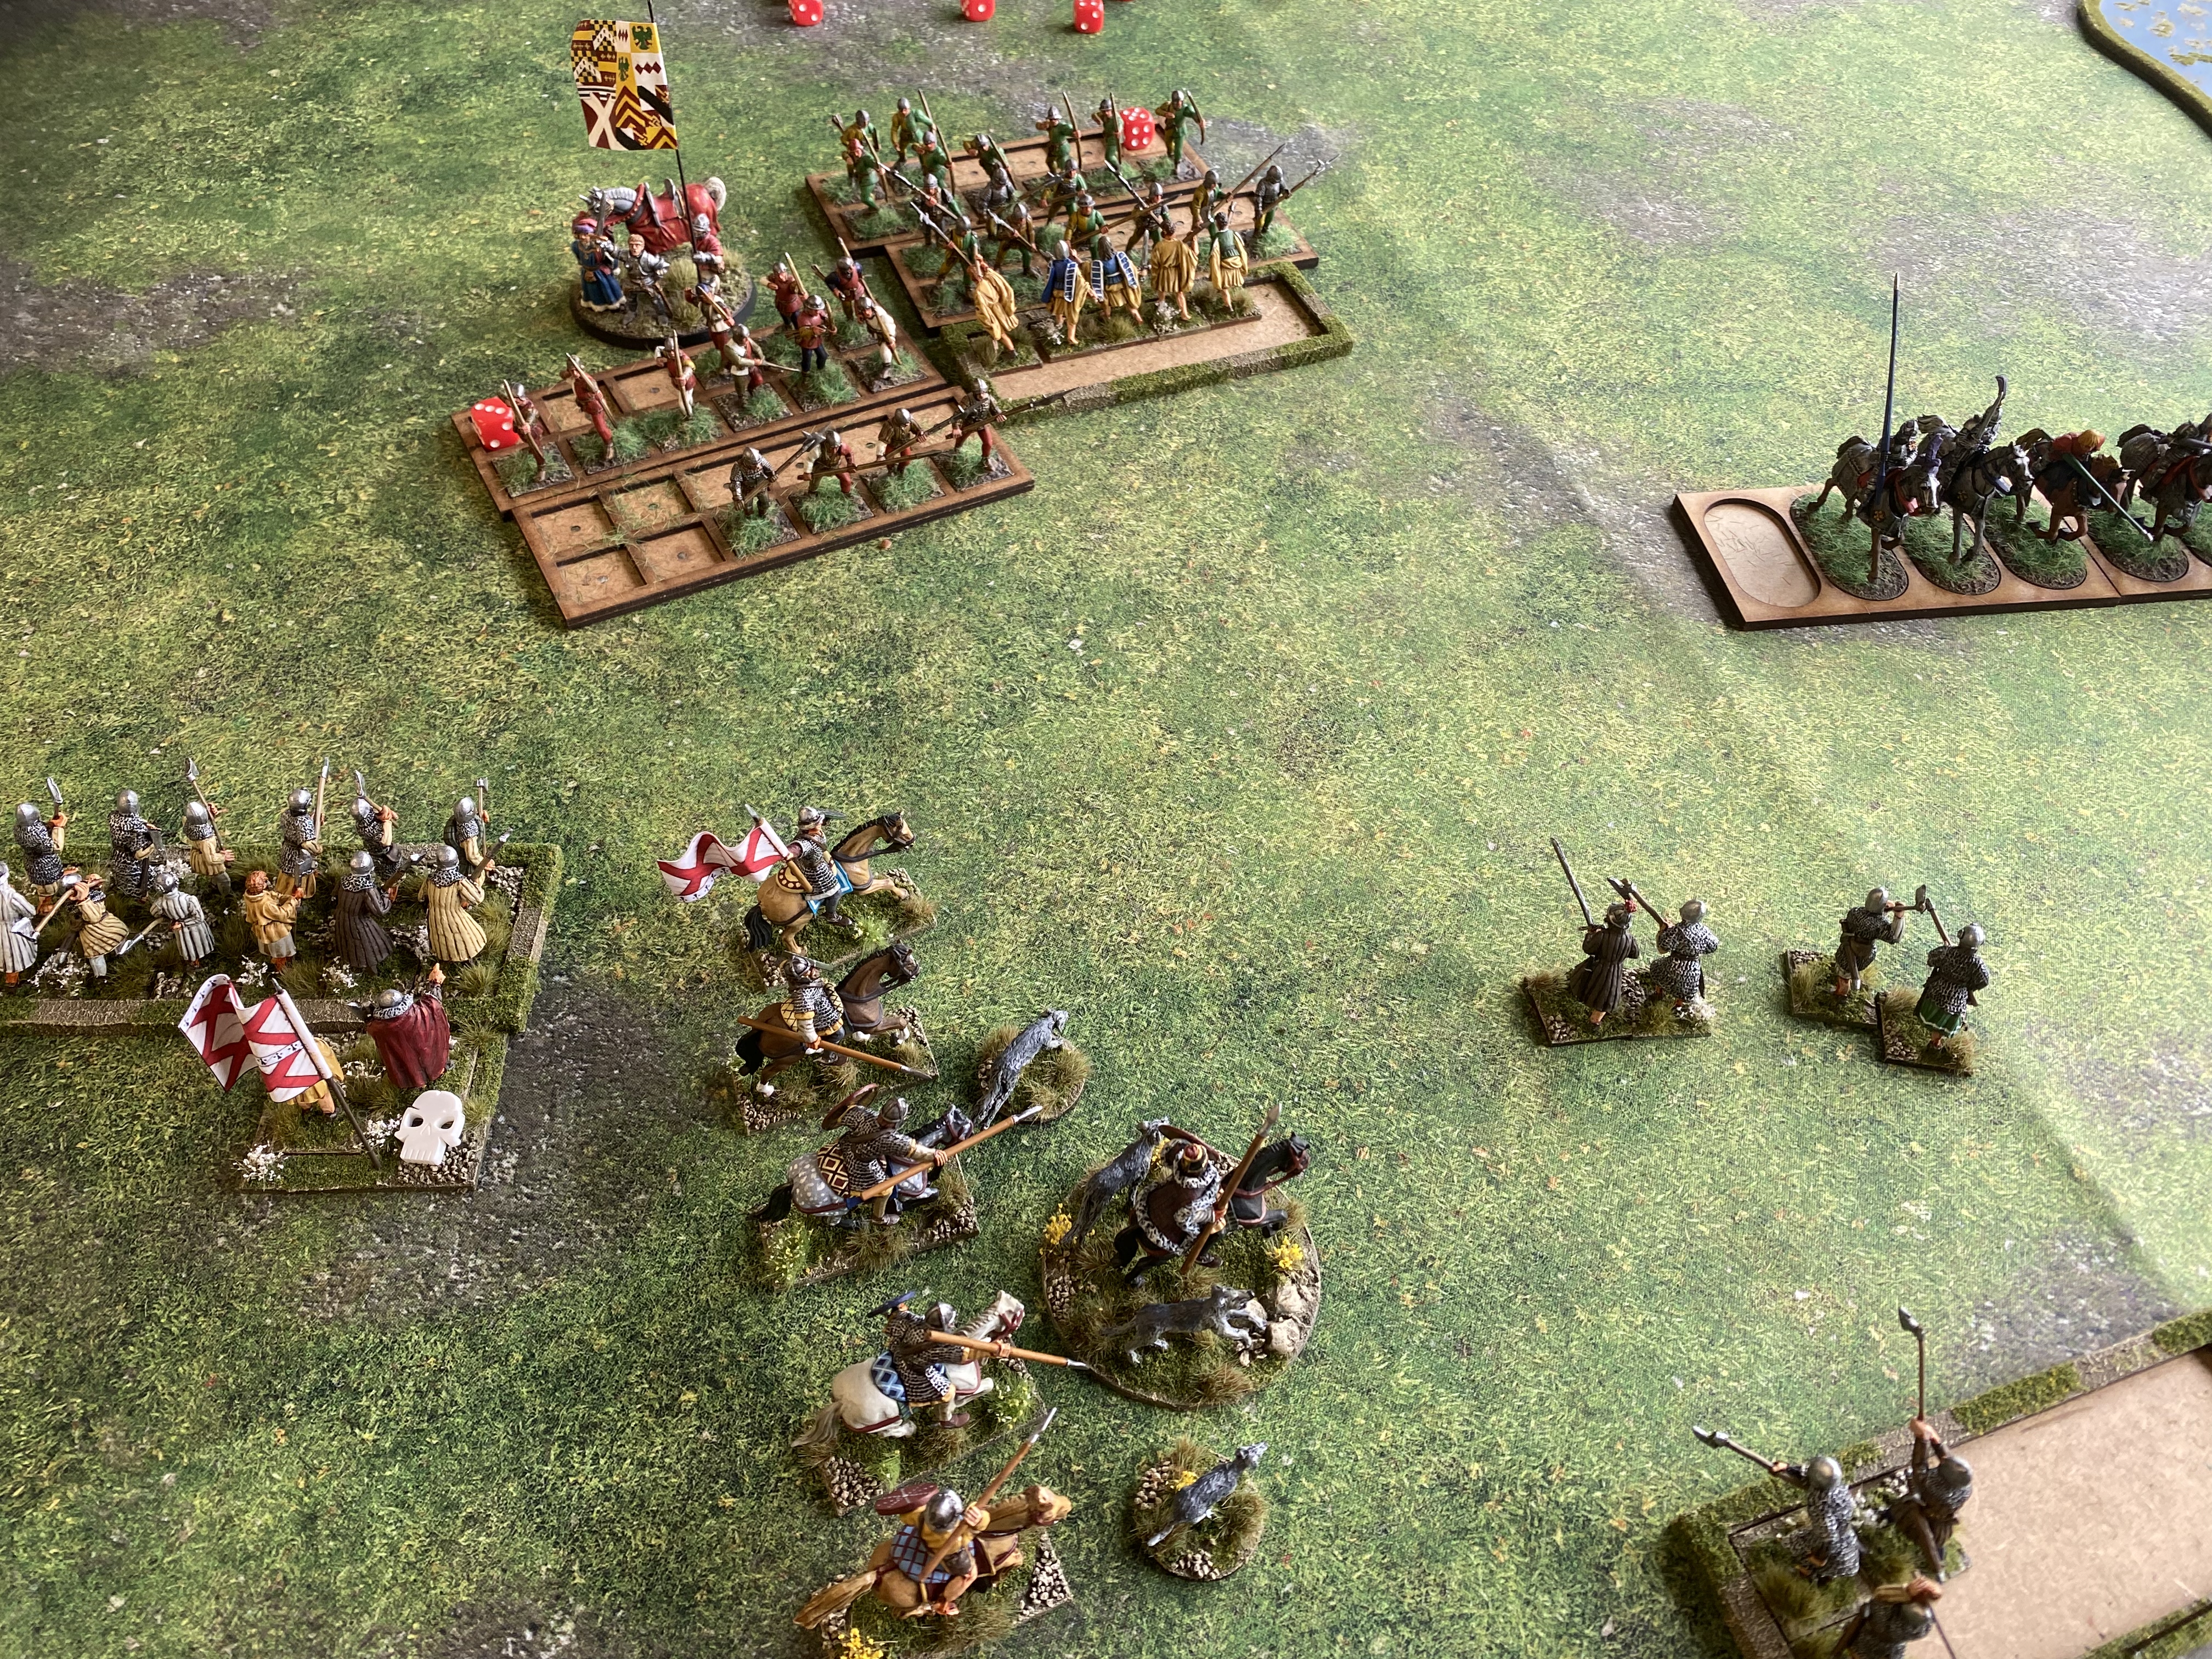
Battle one vs Richard Robinsons Burgundian Force
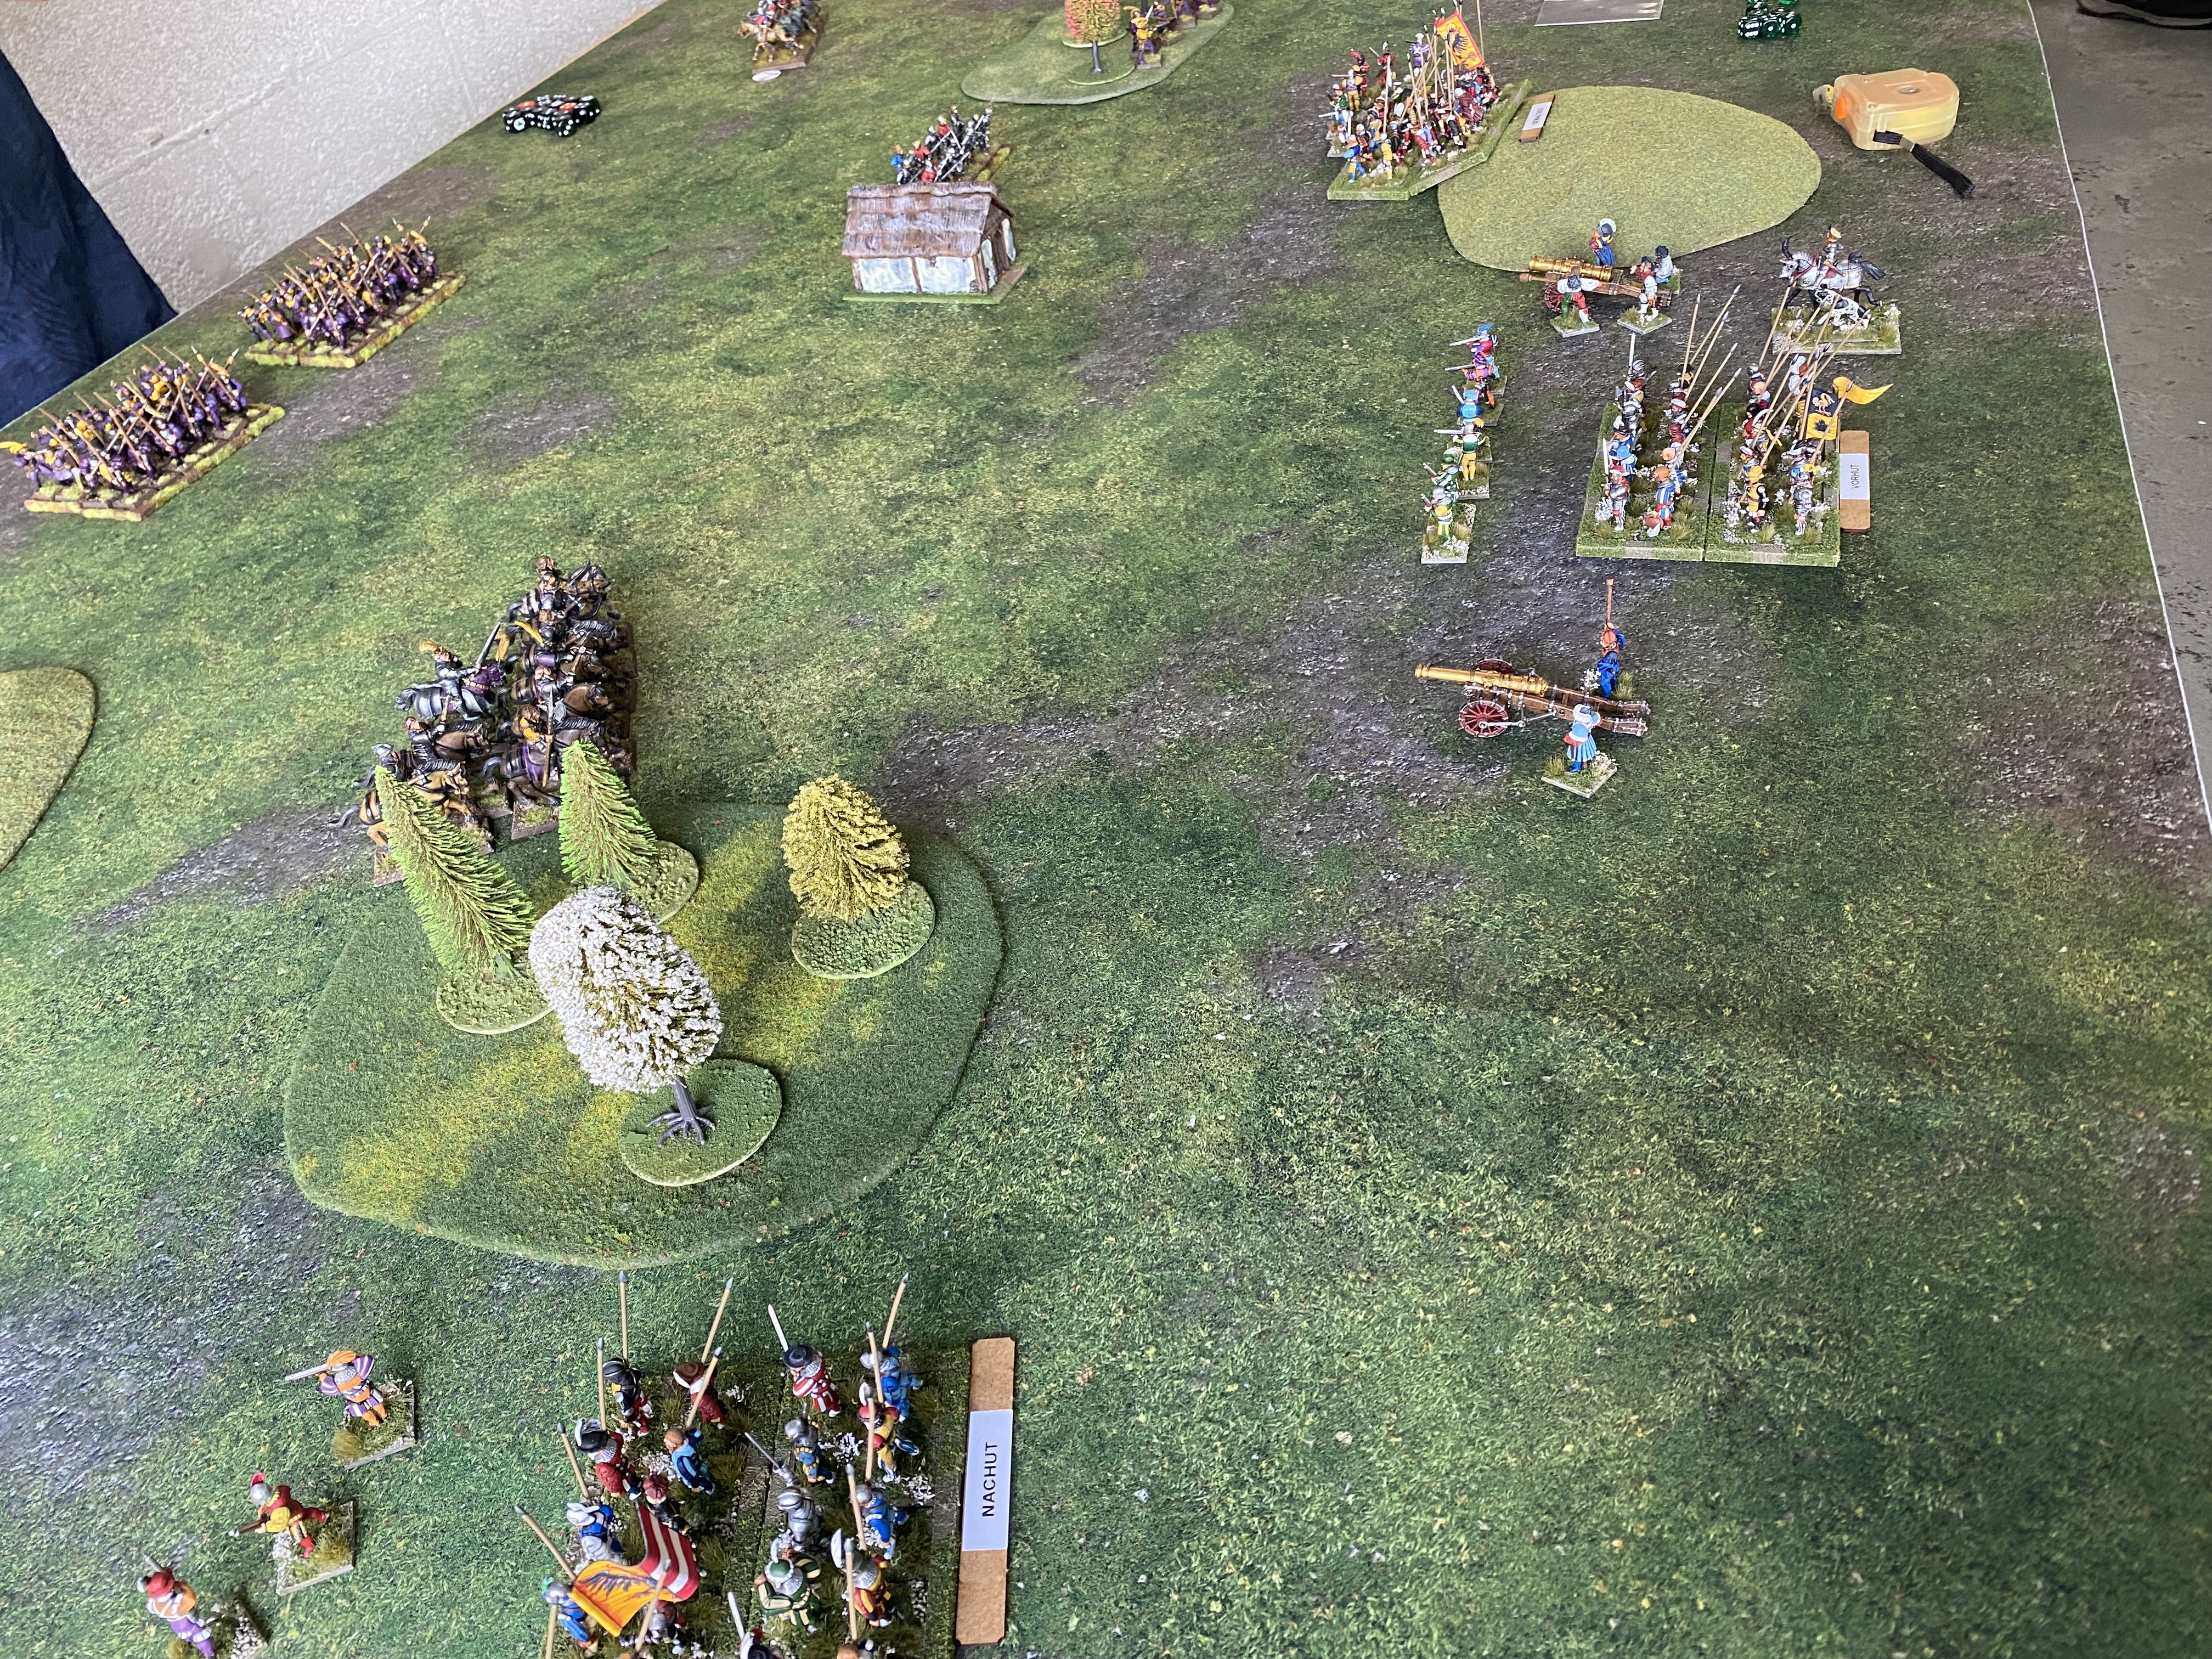
Richard opened the game immediately by firing his cannon. Despite my earlier comments regarding 216:1 odds of a catastrophe, Richards gun blew up, much to my amusement. So it was straight to the cards with the initial phases consisting of the skirmishers exchanging fire and my light cavalry winning the dice off with Richards light cavalry.
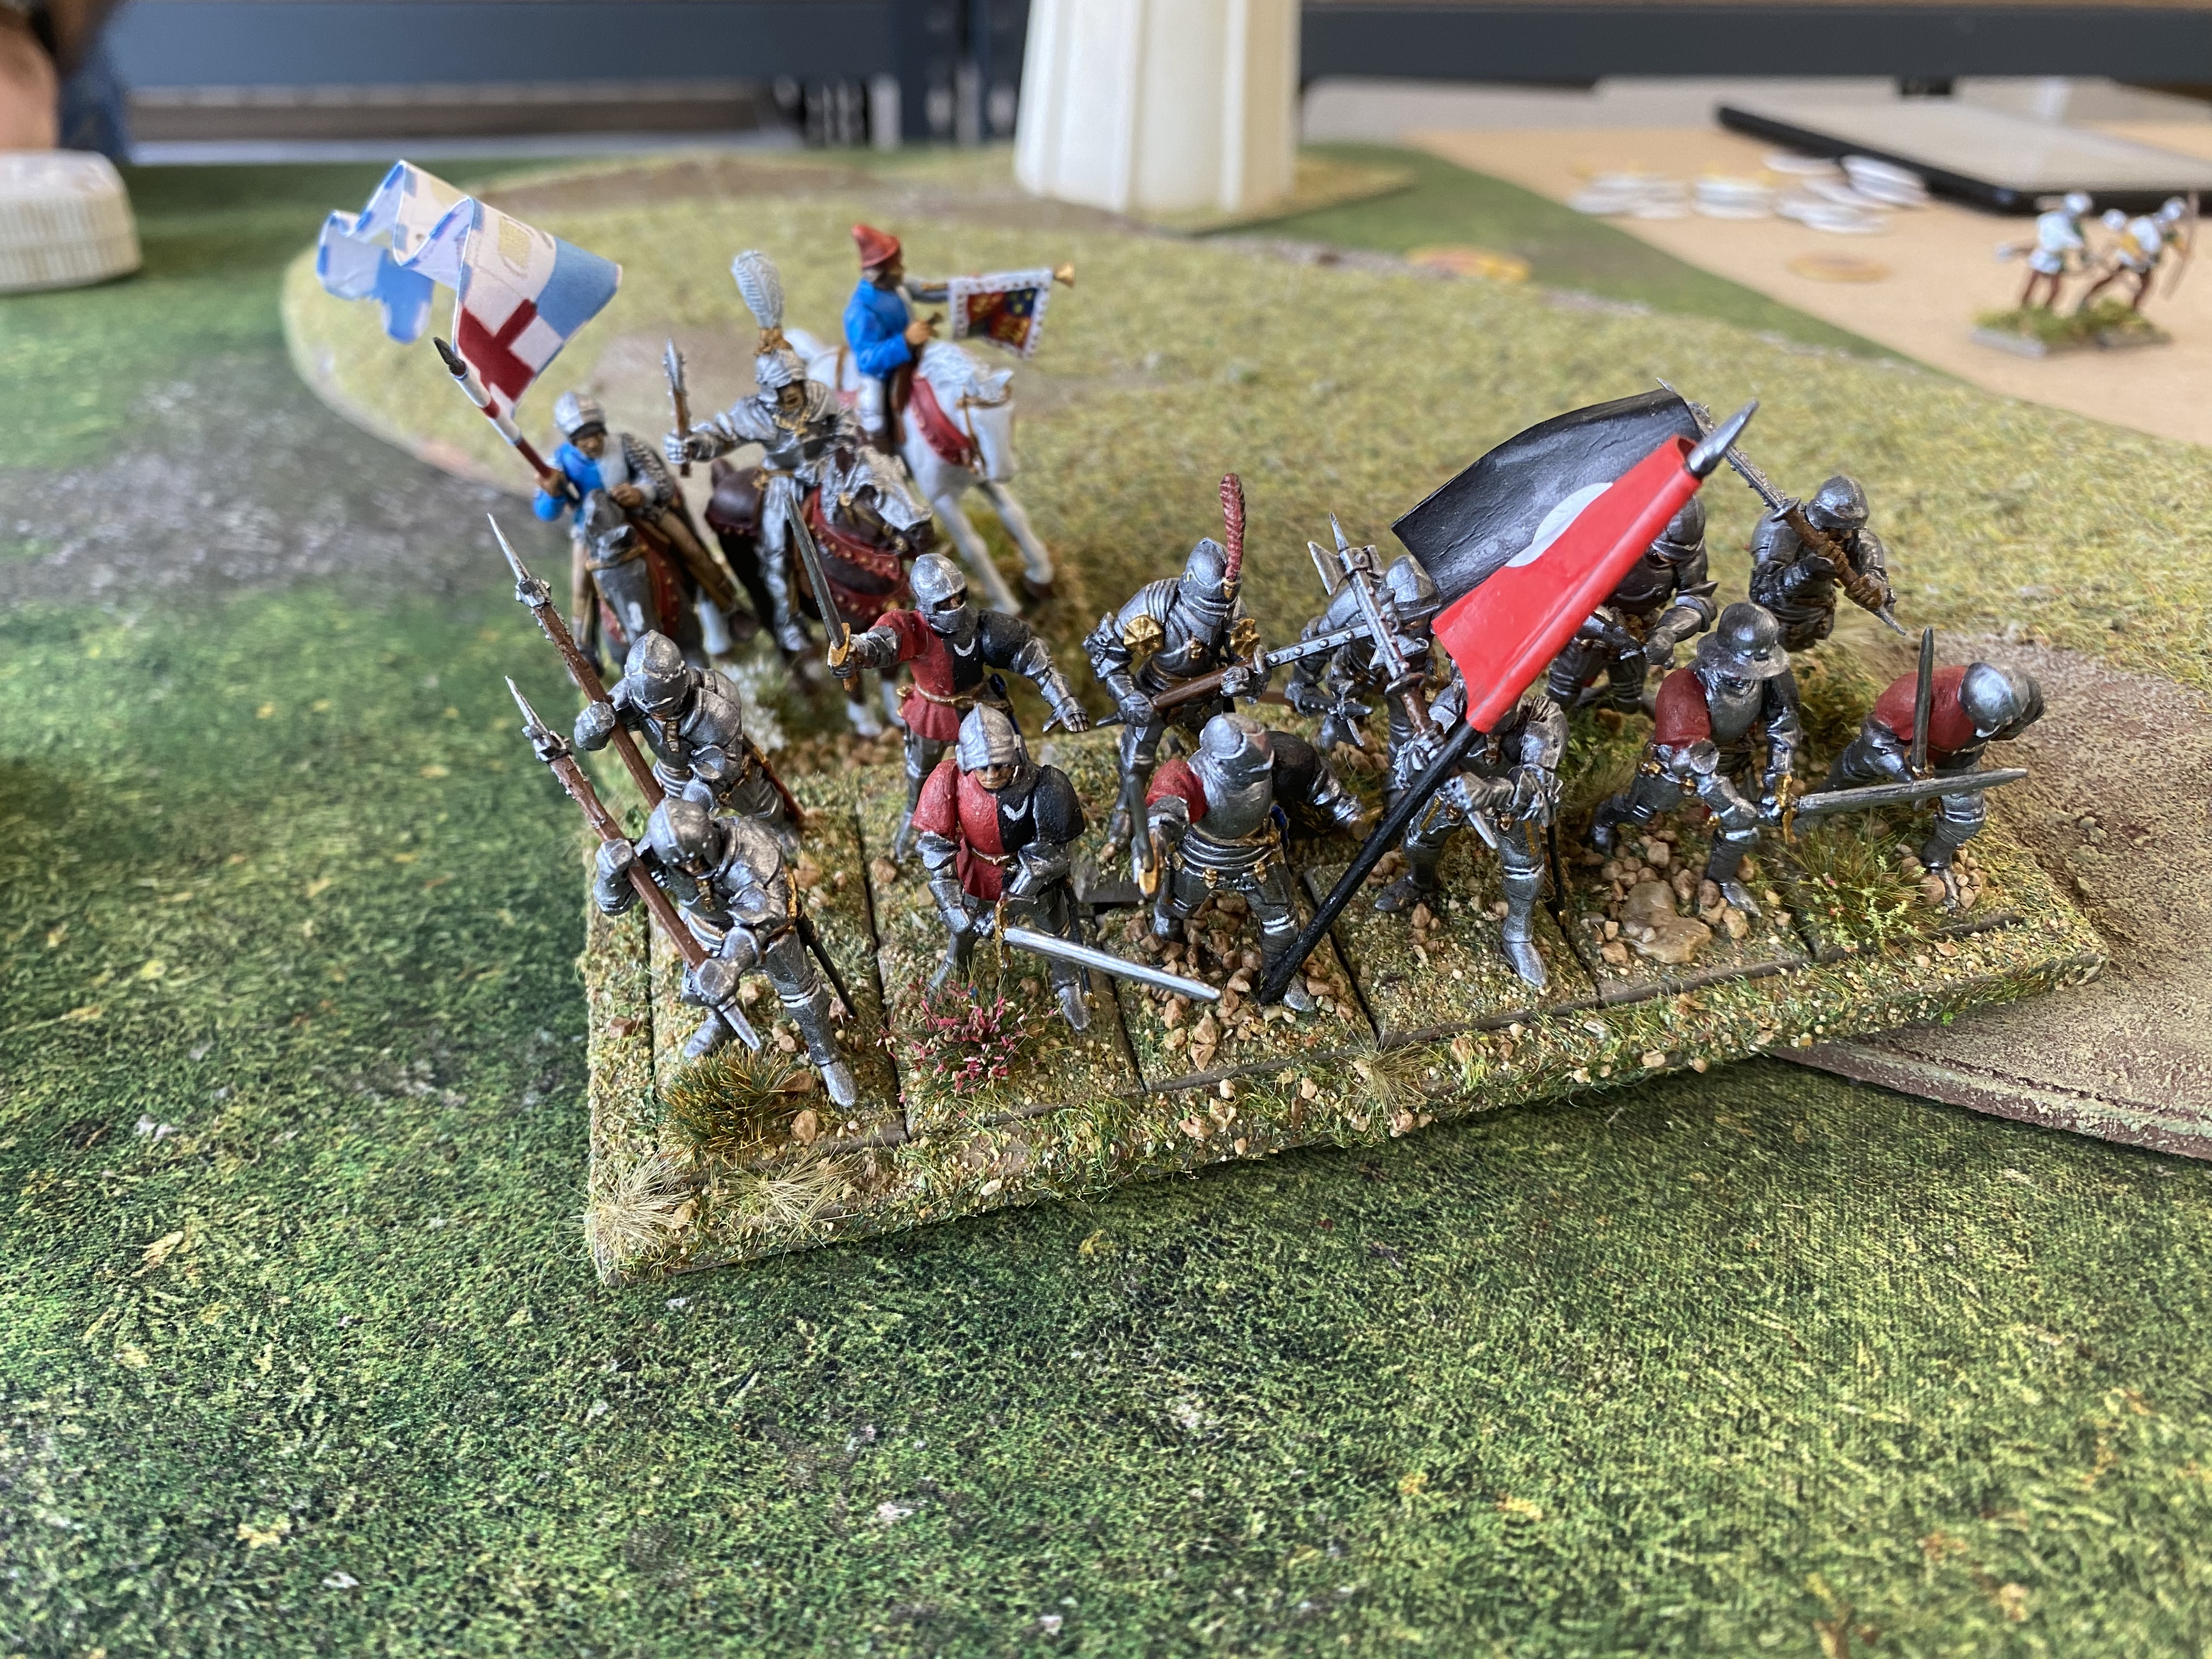
It was now that I realised that my artillery were counter productive. Although they didn’t succumb to an accident, they just spurred Richard into advancing as quickly as possible! Fortunately for me, this led to Richards army being split, with his bowmen units being left behind whilst his Men at Arms charged home. I was able to defeat the MAA in combat, the pike blocks easily able to match them in combat, and with a pike block sneeking around the Burgundians left flank, they were out numbered and unable get enough shots off to weaken the approaching Landsknechts.
Despite taking casualties from the bowmen, who were protected in a block by spearmen, once combat was joined the pike block was able to use it’s superior numbers the win the melee. Victory to the Landsknechts!
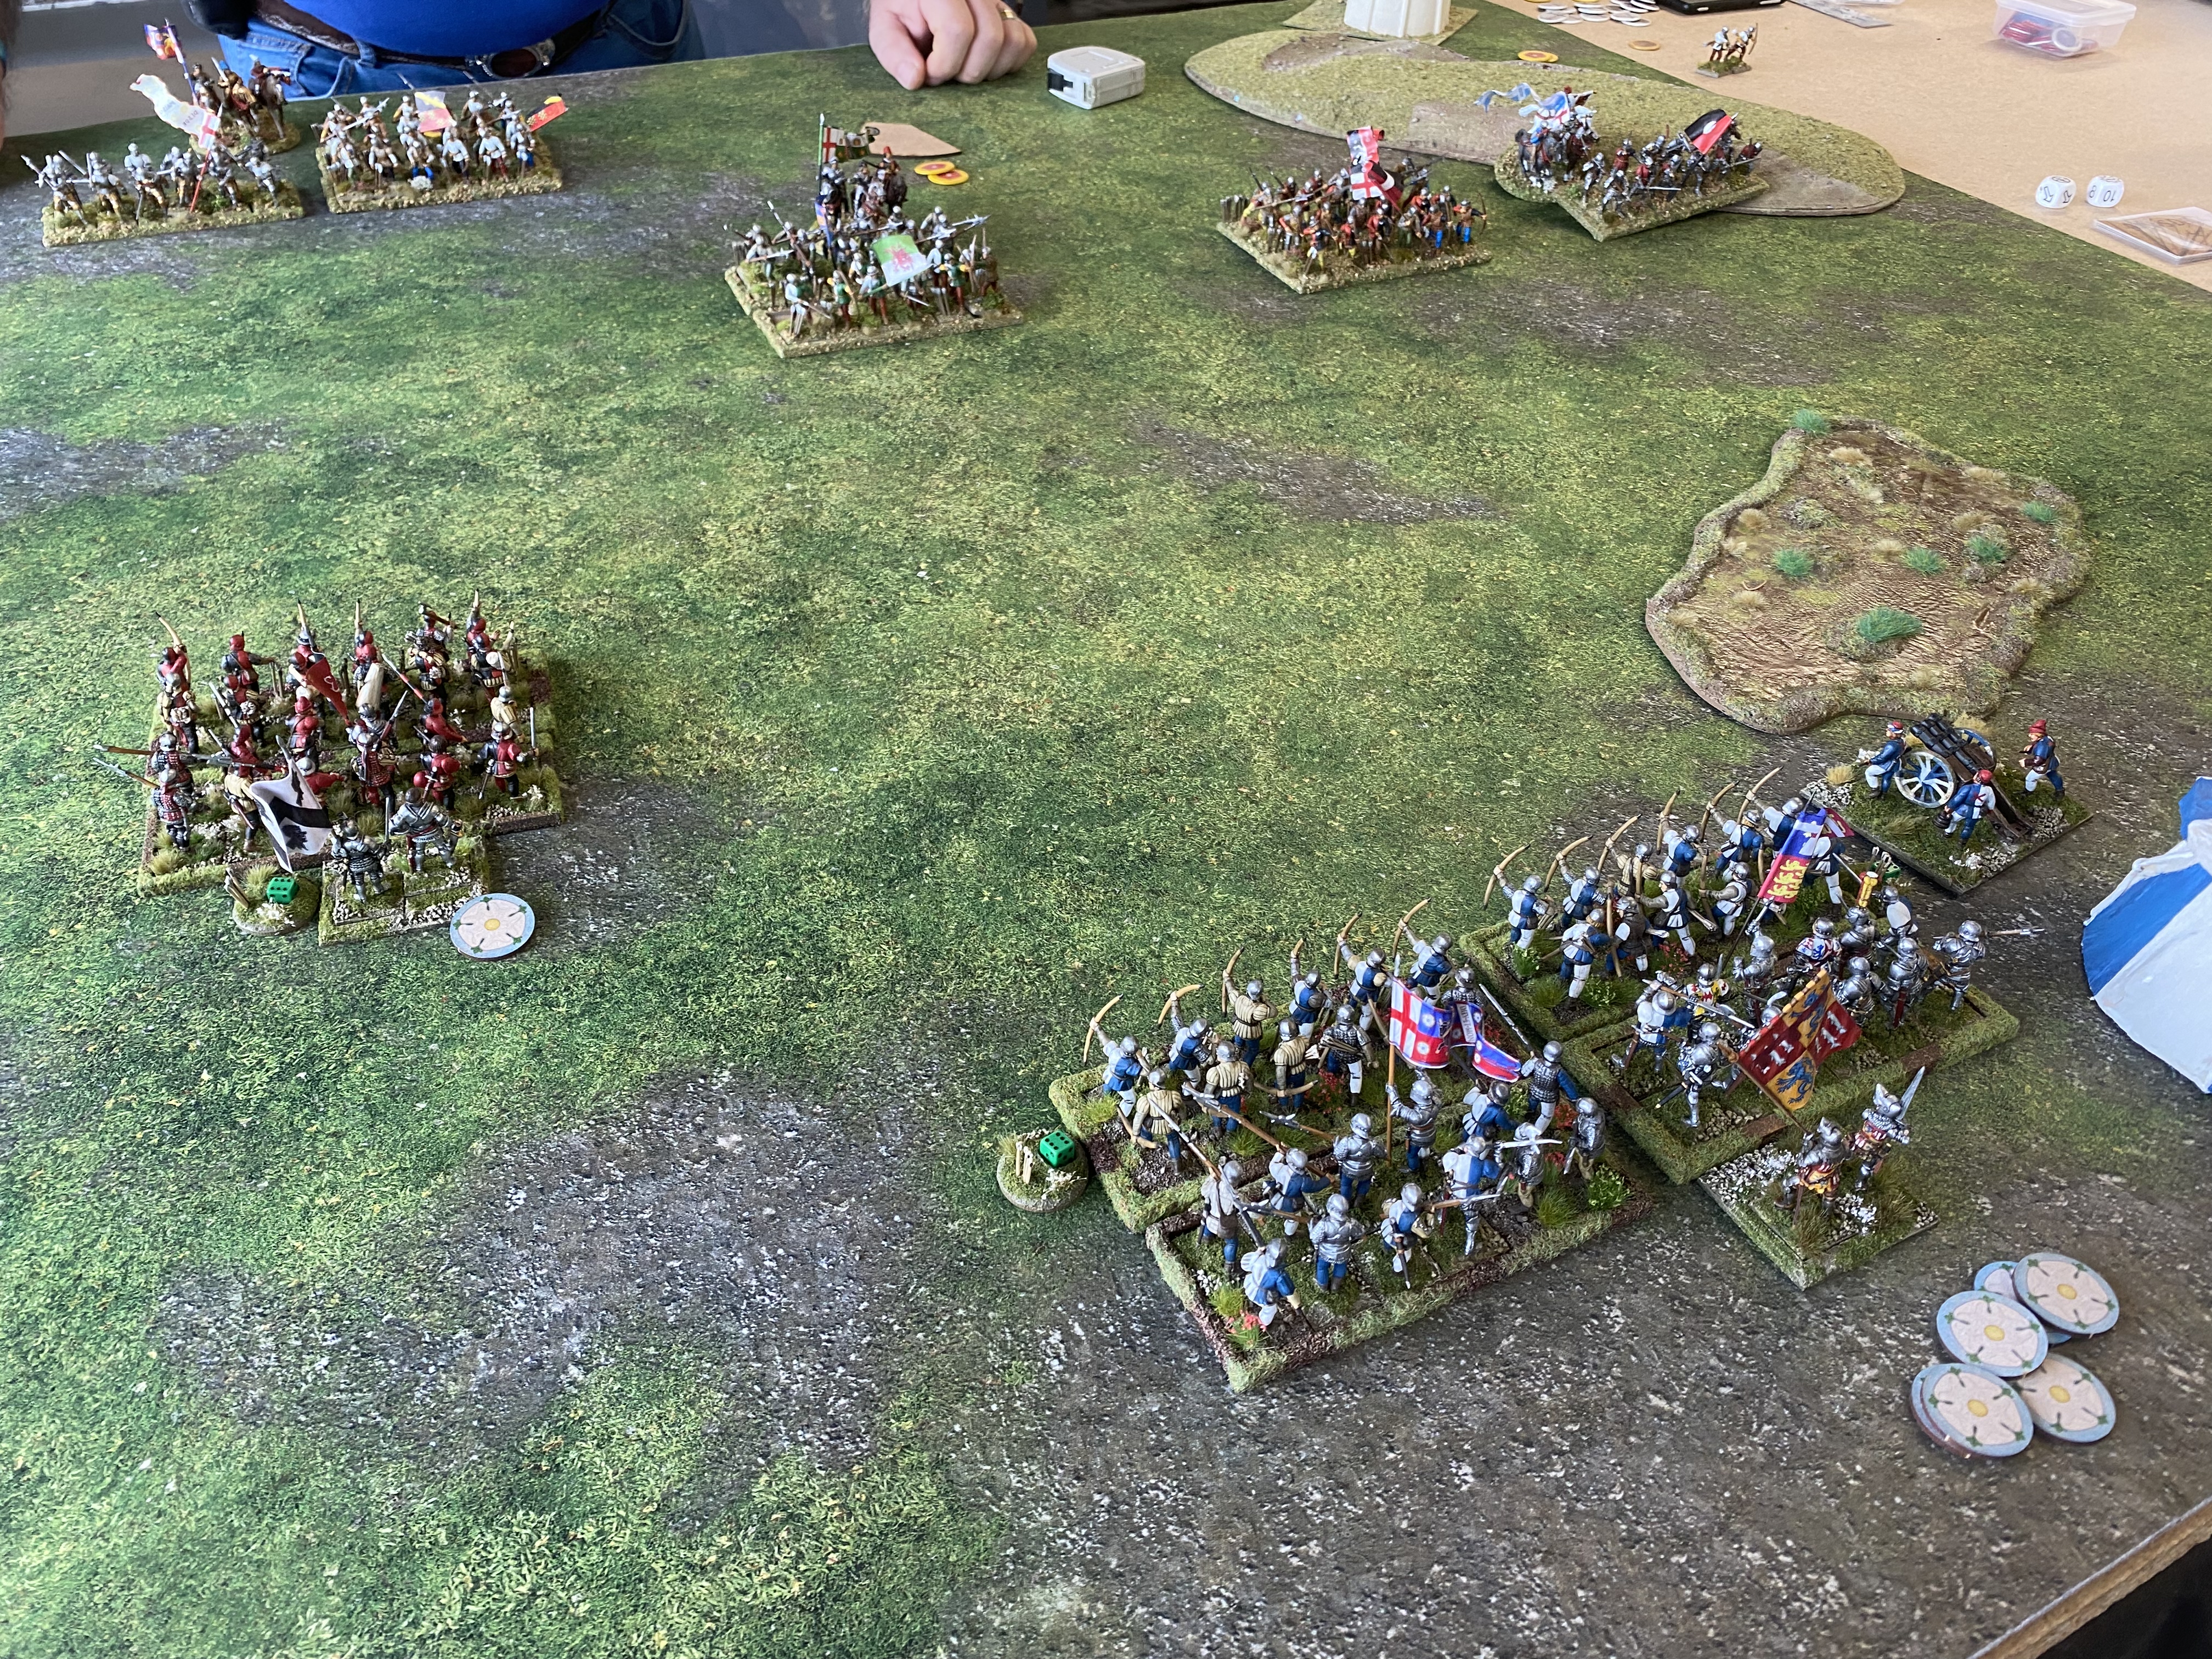
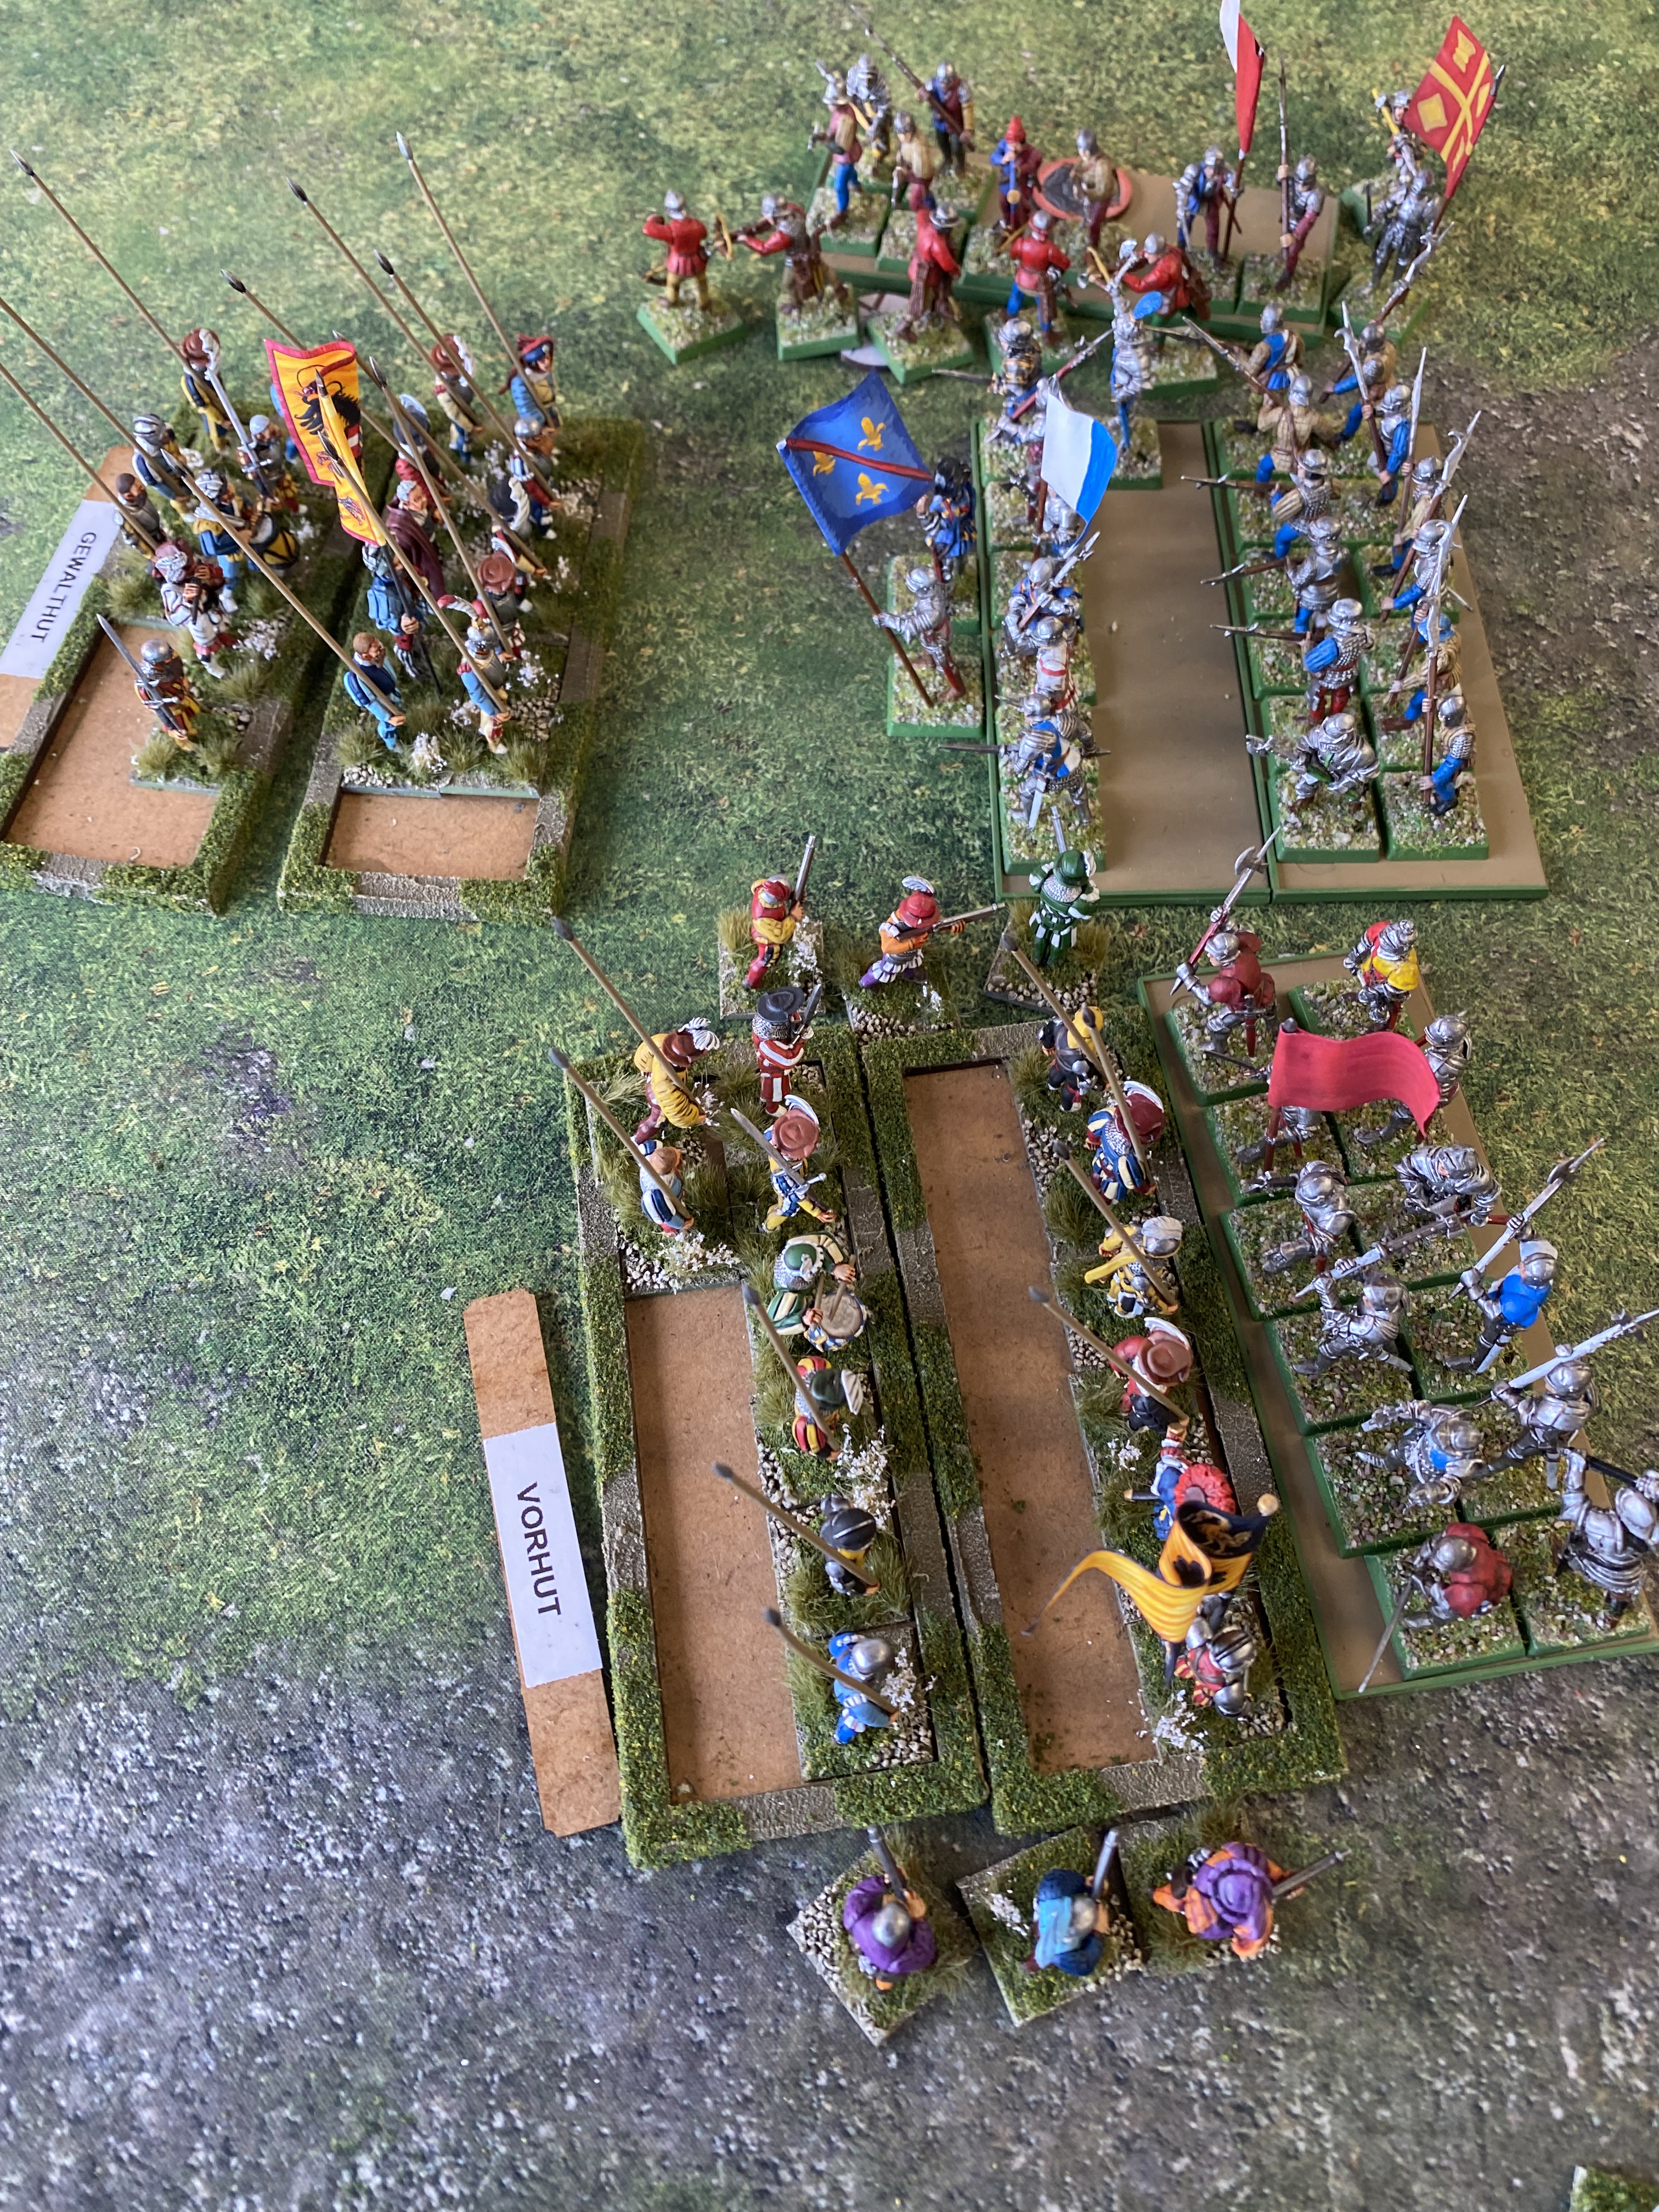
Battle Two vs Ian Callans French Gallia Force
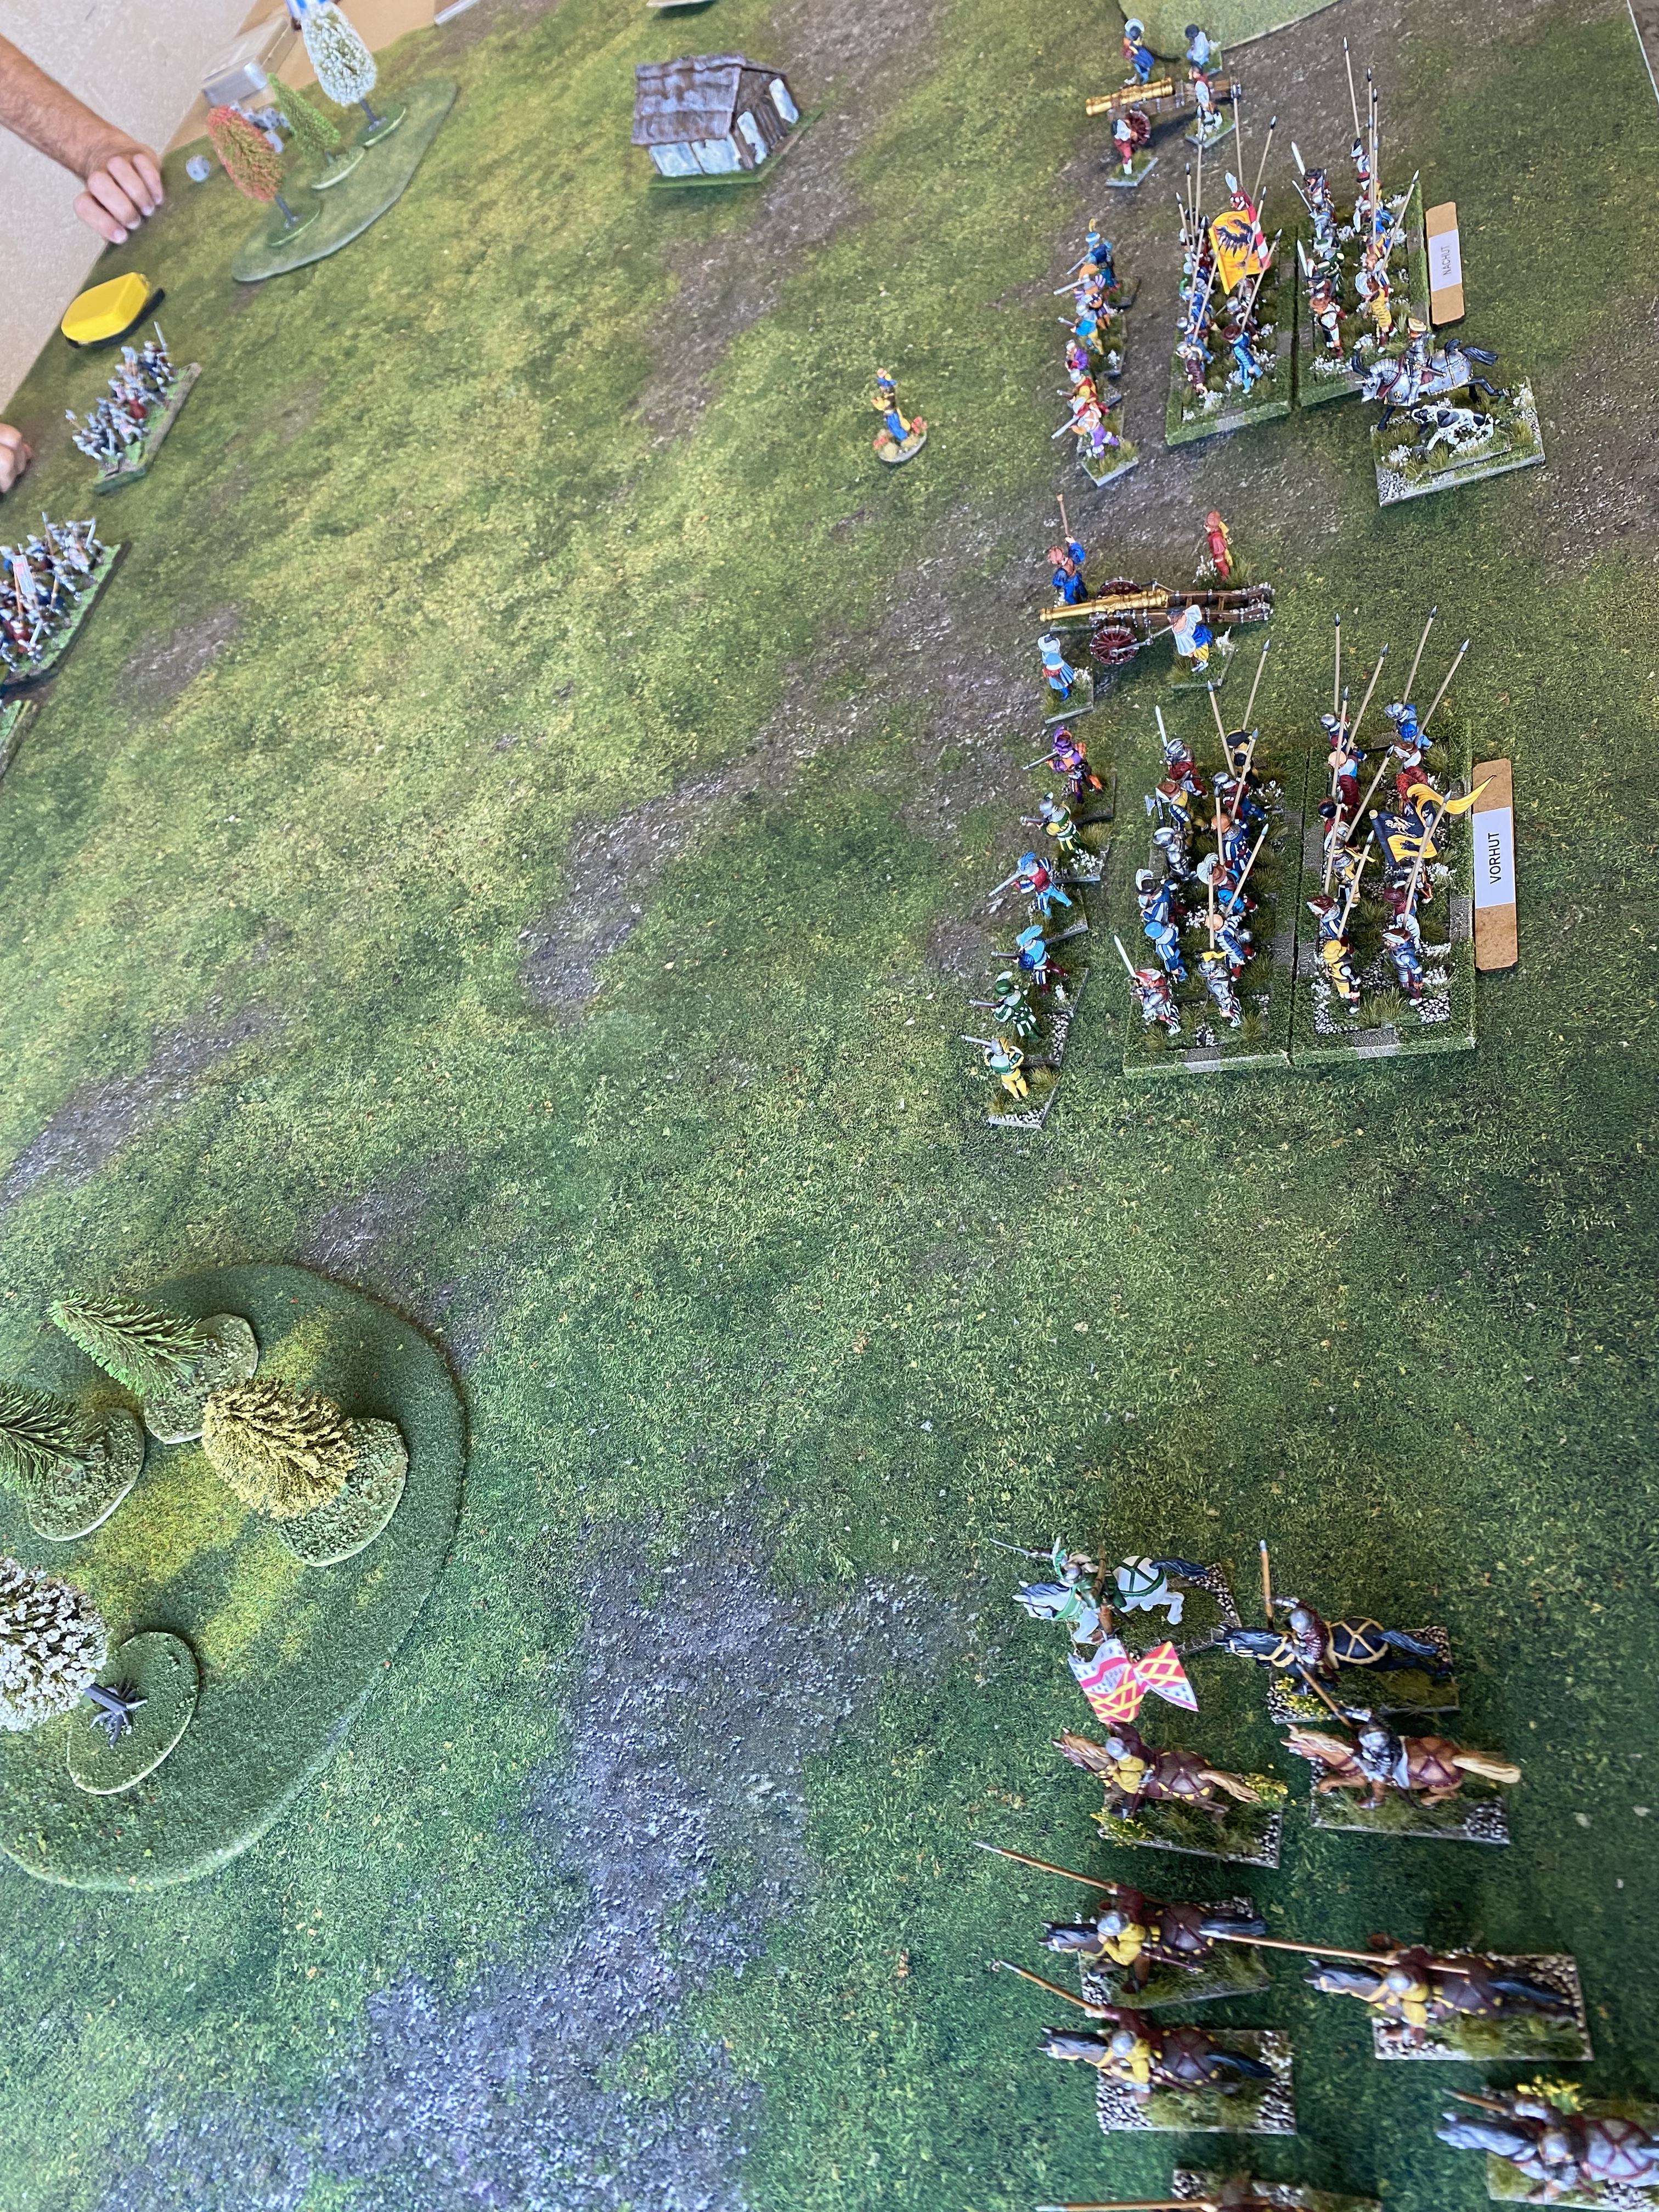
The French force was light on firepower but with blocks of MAA supported by spearmen, the offensive capability in melee is worrying! They get 24 dice for a full unit in combat but are saving on a 3+. Ian set up with a ‘refused’ right flank, pinning my opposing flank with his light cavalry and skirmishers.
I opened the battle by firing with one of my guns and again, rather than provoke a cautious response, the opposite happened! Ian’s French came charging across the battlefield, eager to engage in combat before they took any more casualties. In addition, his light cavalry slaughtered my lights and then went on to cause mayhem with a flank charge on a pike block and then chasing off one of my artillery crews!
The battle was decided with a large melee in the centre involving two pike blocks and two of the French MAA and spear combo’s. After a three turn ‘slugfest’, it was the French that were victorious, daunting one pike block and breaking the other. Victory to the French!
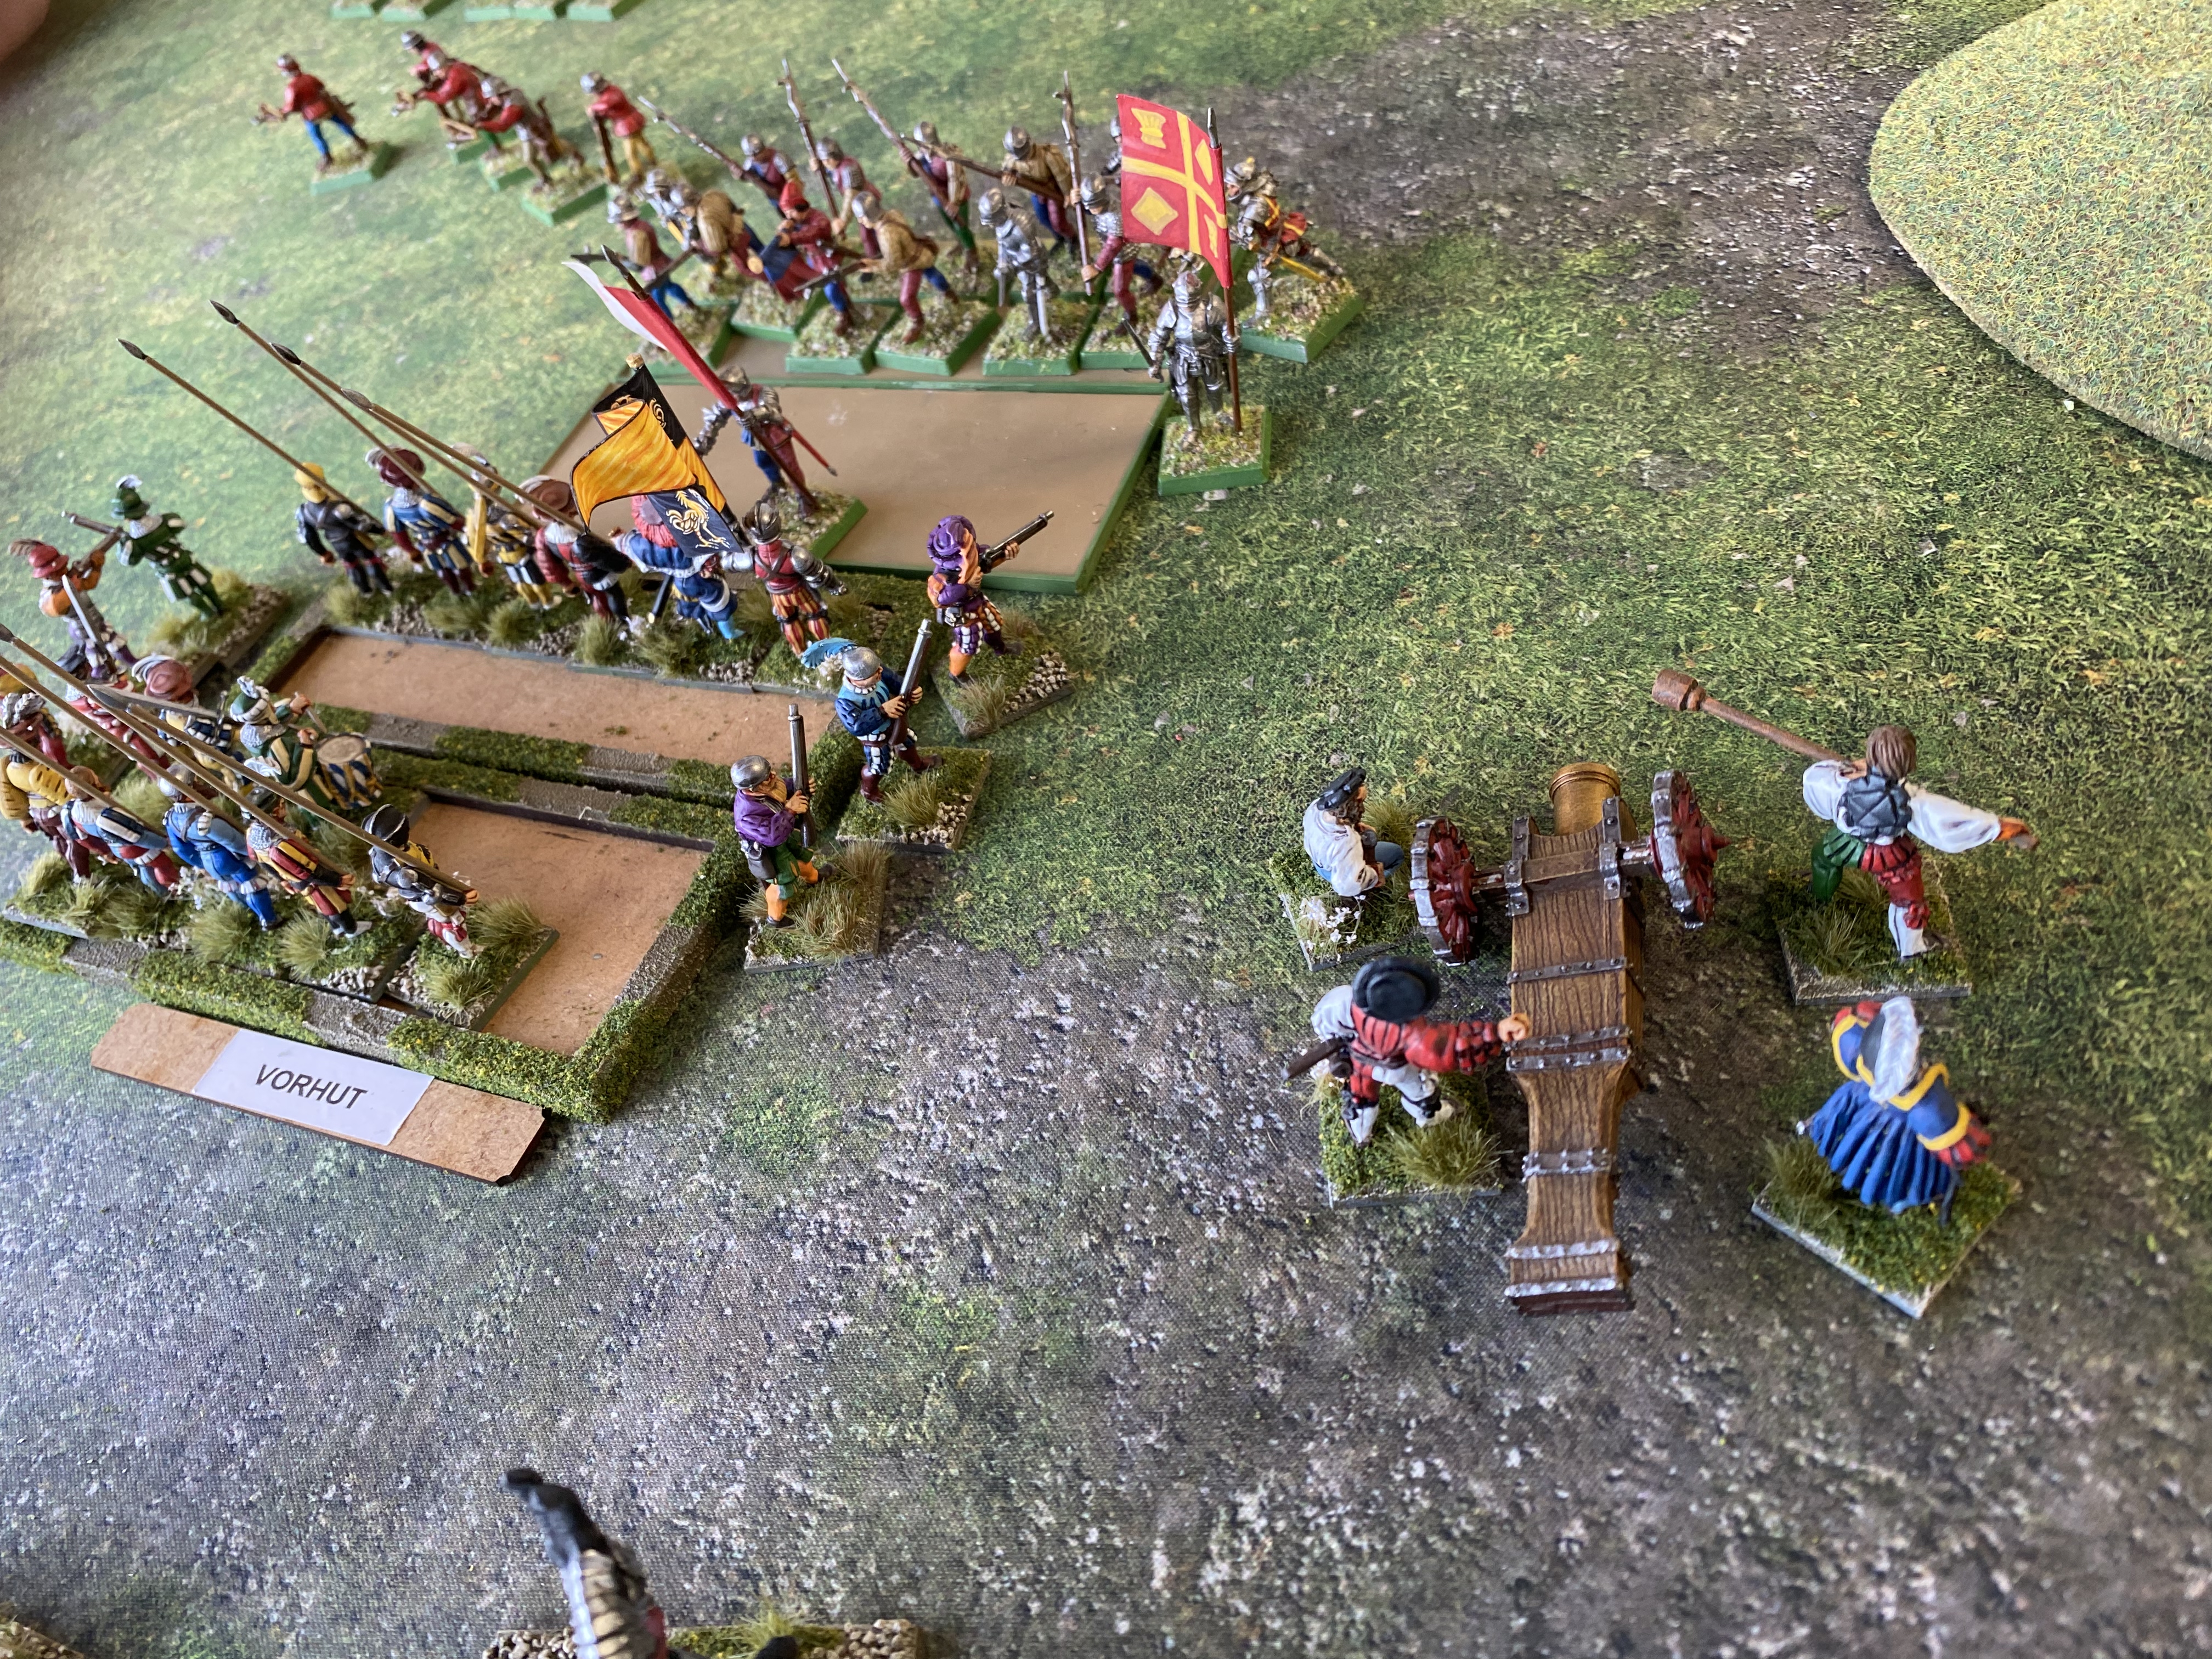
Battle Three vs Ralph Duttons French Gallia Force
I was hoping for a different match up after the last battle but drew Ralph’s French in a near identical set up to Ian’s army.
Ralph was somewhat wary of the Landsknechts, initially focusing on their strengths rather than trying to find the weaknesses! Once again, that changed when I opened fire with my guns, prompting him to get into combat as quickly as possible! Despite initially holding their own in combat, the 3+ save of the French MAA gradually won the day.
After a protracted, hard fought combat sequence, again, going into the third round, the Landsknechts had to withdraw, in disarray, as it was them who initiated combat. They were unable to withstand the next charge of the French MAA and were driven from the battlefield. The French were victorious!
The Consultation prize
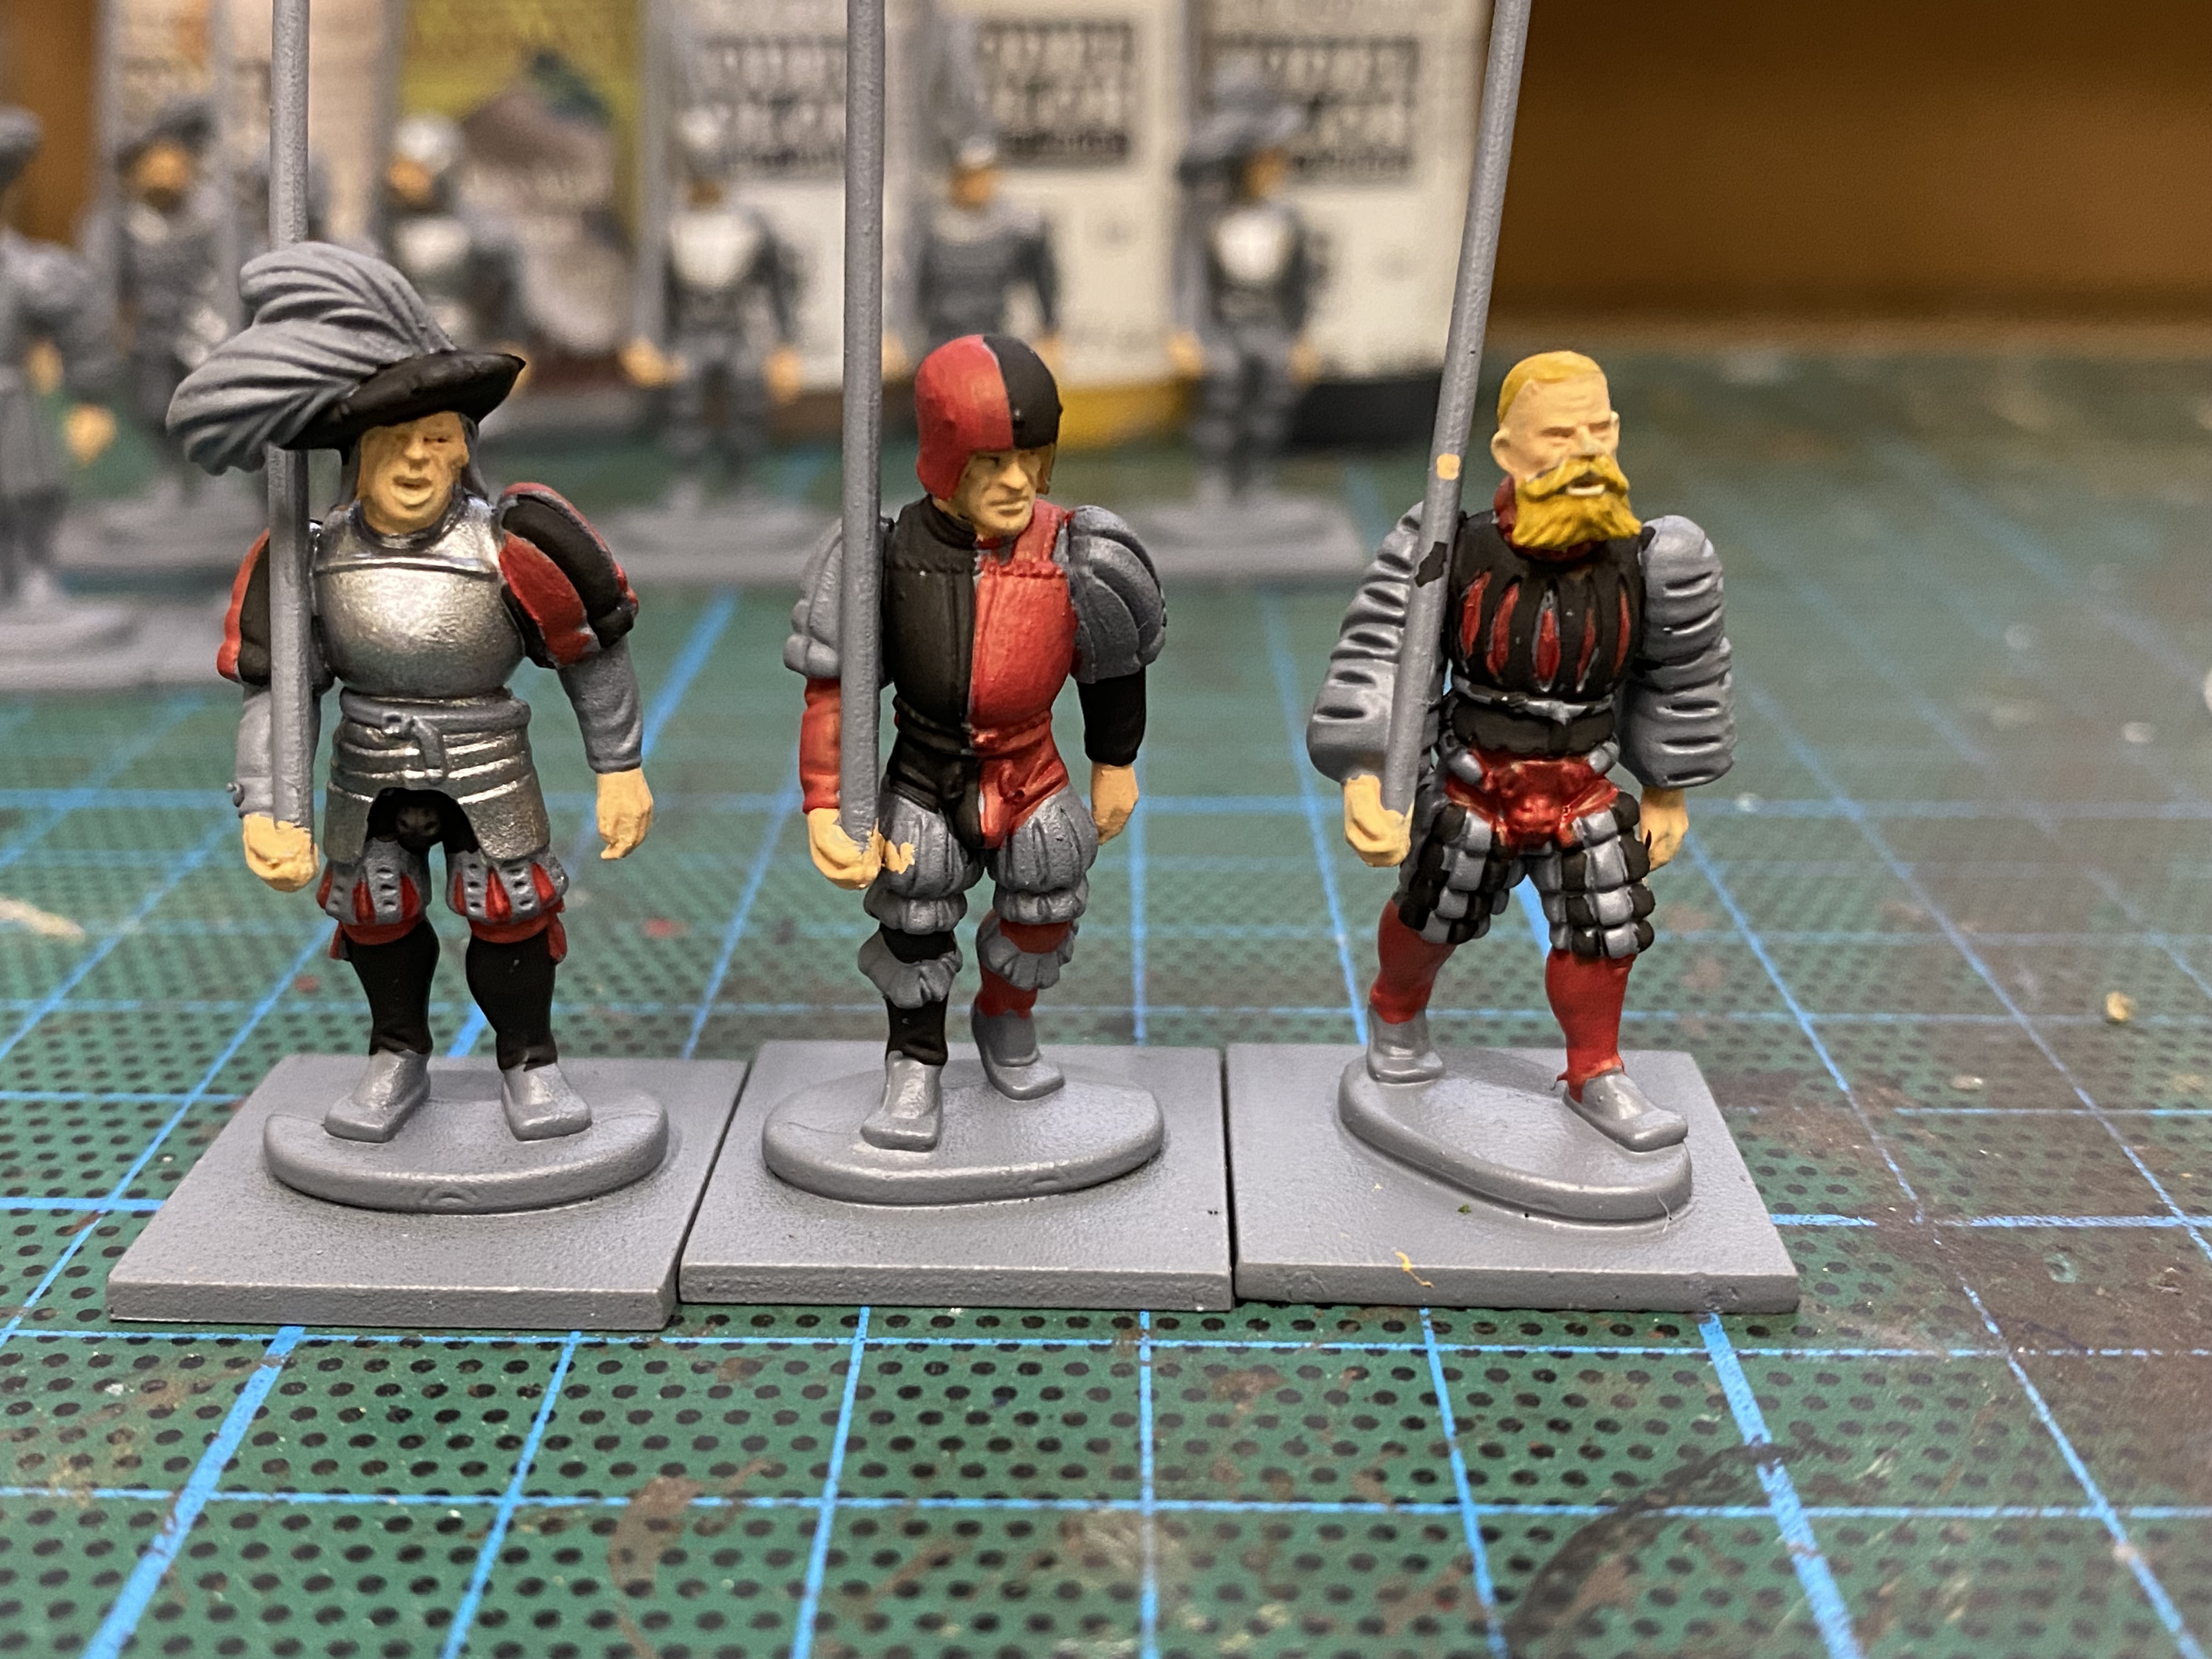
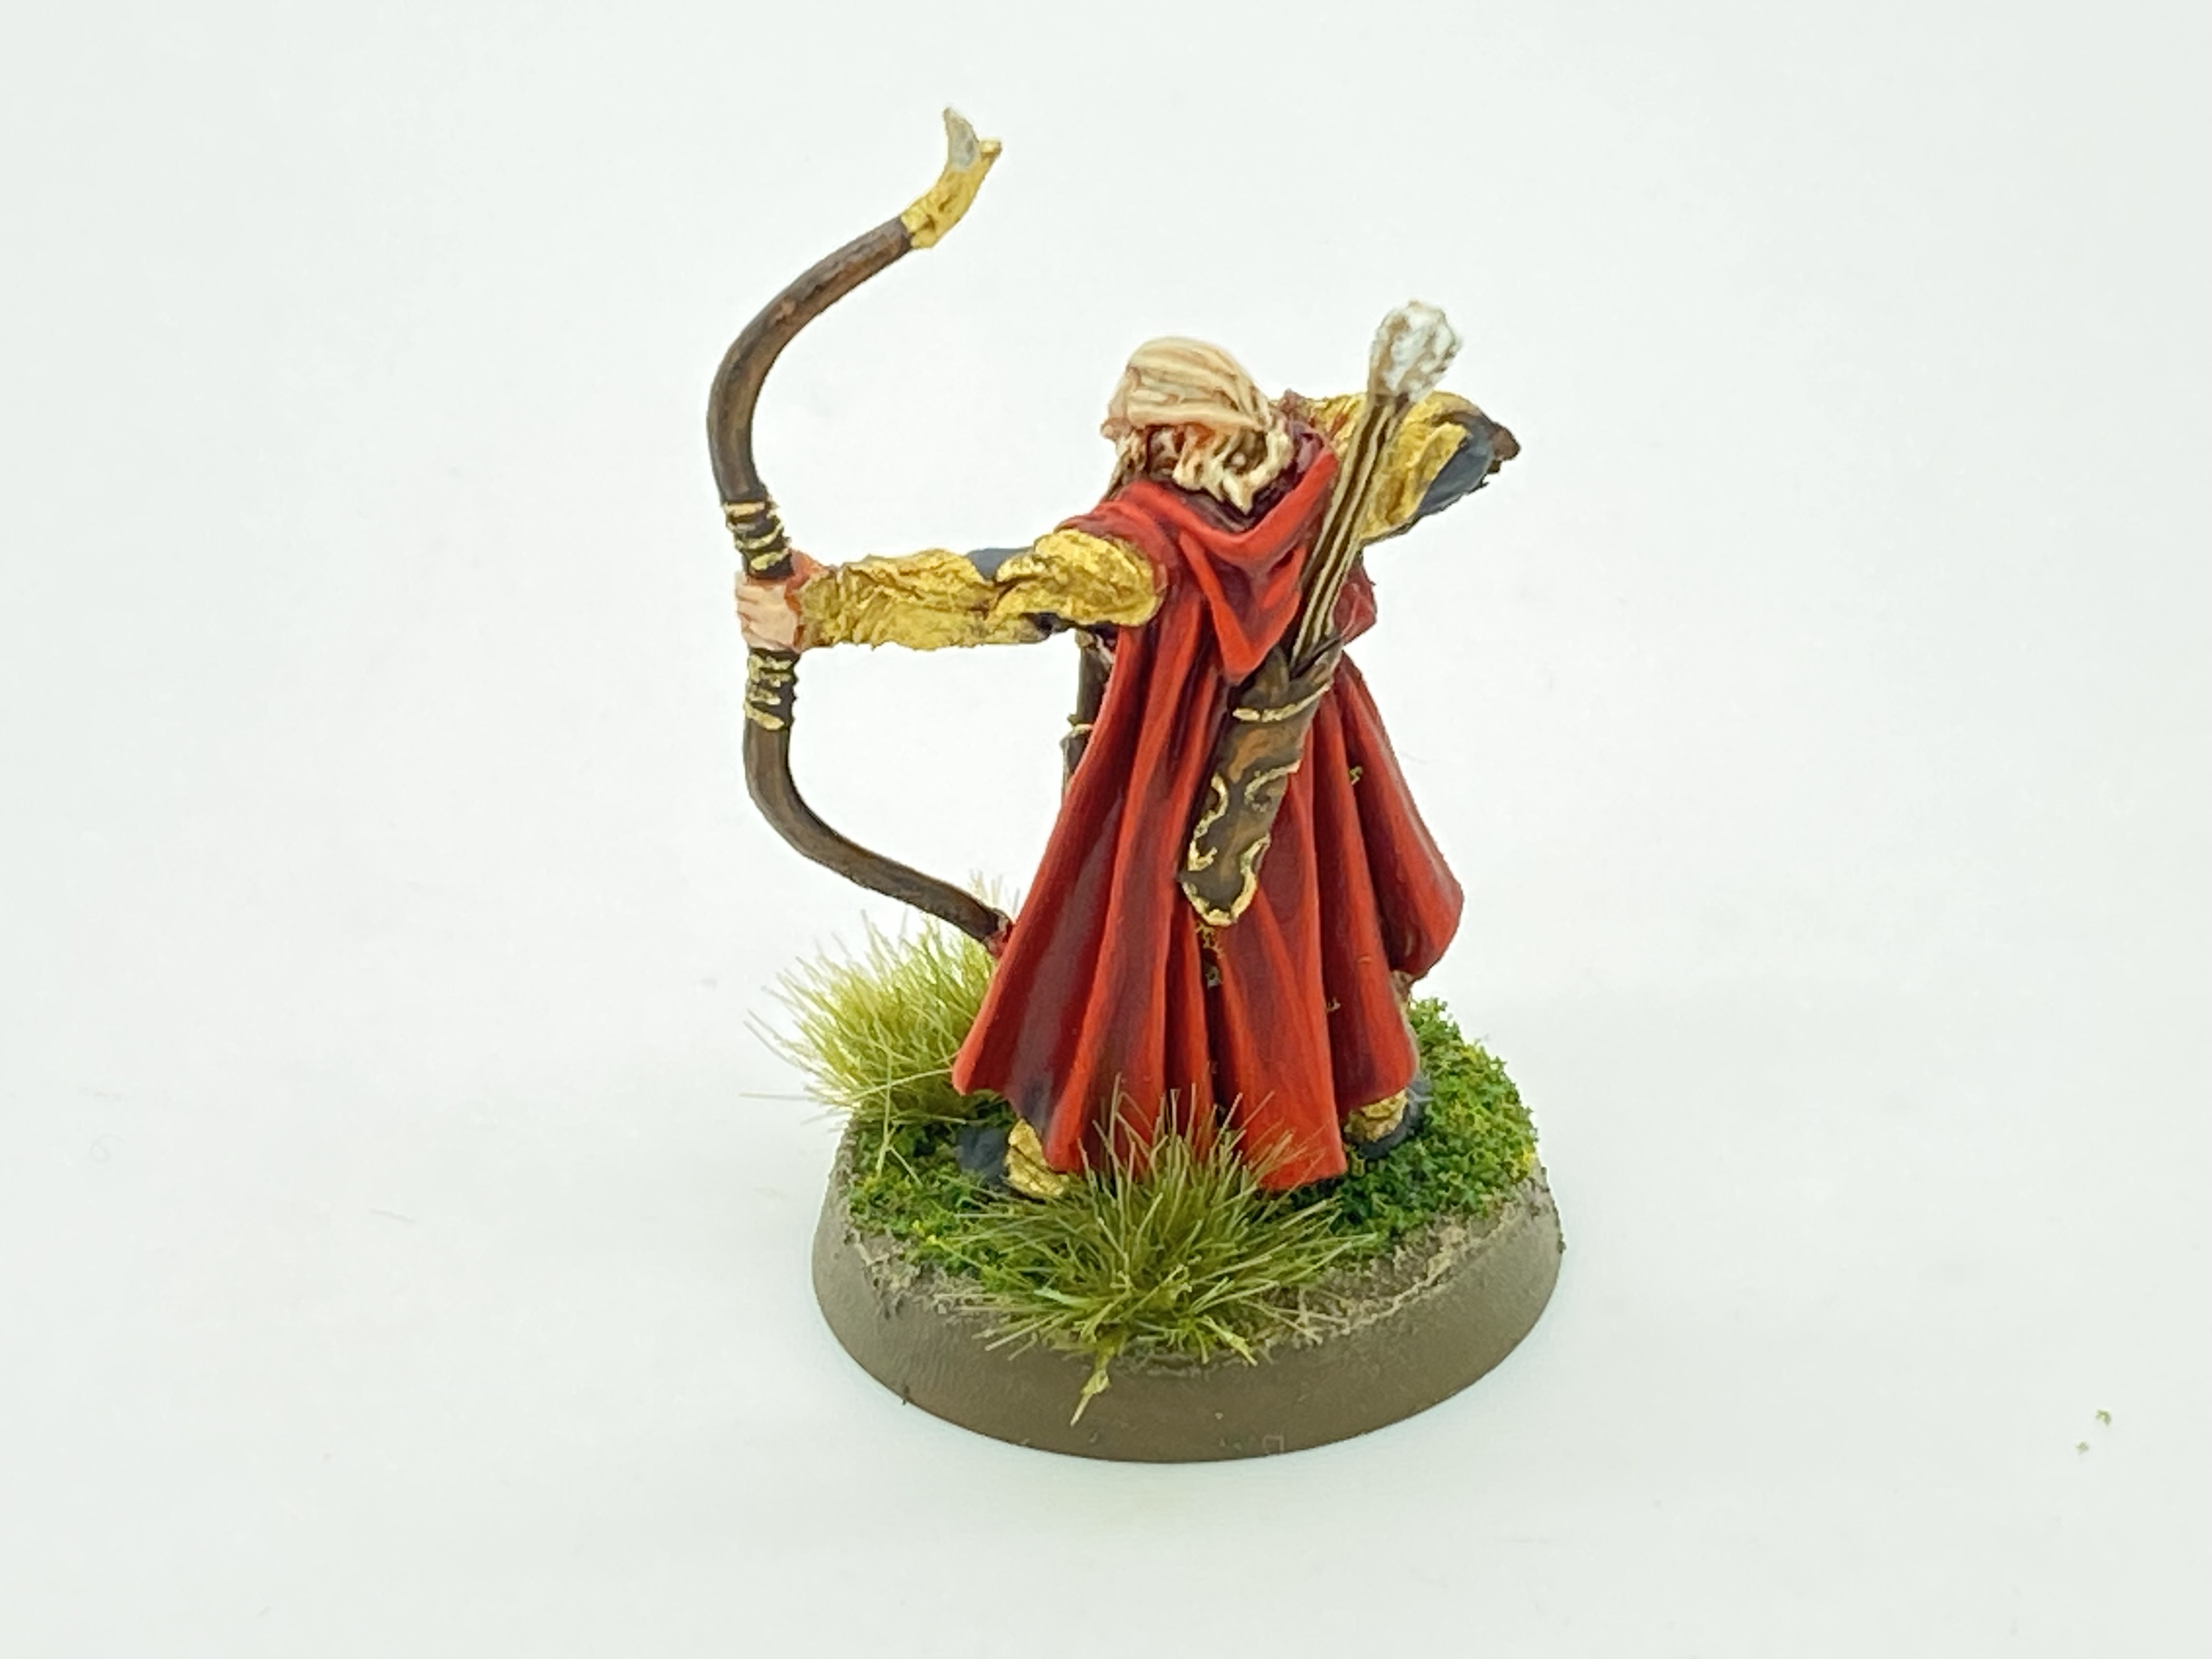
Well they didn’t fair so well in battle but the Landsknechts were voted the best painted army. So I was pleased with the effort that it took to get them to the table! I have learnt a great deal though. I tended to fight a defensive battle, trying to wear down my opponent before closing in melee. I think that this is a mistake and in future, I will try to be more aggressive and attack first. This will give me all four ranks of pikes in the first round of combat and a re roll of any ones.
The artillery is a mixed blessing. I think that the chance of a gun blowing up is exaggerated ( I only lost one throughout the day). However, there were turns when they hit nothing and as the battle progressed, the targets available diminished as my own troops got in the way and combat was joined. The 18 points that I paid for them would upgrade all three blocks to veterans! The other issue with the artillery was that it just forces the opposition into action, in effect giving them the initiative.
Hmmm, as a certain wise man once sang, ‘I think I better think it out again’
Oh! and it wasn’t Chris De Burgh…..
THE COMMERCIAL BIT
I hope that you all enjoy your hobby as much as I do – remember that our web site will have much of what you need! Click here to see our shop:
We also have a category devoted to Never Mind the Bill Hooks:
To visit the Boards and Swords website for directions and details of the venue, click here:
Happy Modelling!